How to record screen on a Mac
The ultimate guide for how to record screen on a Mac

When it comes to figuring out how to record screen on a Mac, you've got a few options, including a trick that will let you narrate your own video (my preferred choice). Capturing the actions on your MacBook screen might sound like magic or like something that should be really easy, but once you get a hang of it, you'll wonder how you lived without it.
For starters, this is how I show proof of all sorts of lottery drawings that I do for side projects, because when it's time to show that yes I used a number randomizer, this is a lot cleaner than recording my screen with my phone.
- How to use macOS — essential tips and tricks
- The best laptops right now
- MacBook Air vs Pro: What's right for you?
I've also used these steps to show my parents how to use things they're not as familiar with, so they can watch the best Netflix shows on their laptops. I've also shown my parents how to record screen on a Mac, so I can remote diagnose issues on their MacBooks, and solve their weird Wi-Fi issues when I can't get near their house.
No matter why you want to record screen on a Mac, once you've read both of our walkthroughs, you'll have everything you need to know. To decide where to start, think about if you'll want to edit the file immediately or not. If so, move to "How to record screen on a Mac with Quicktime."
How to record screen on a Mac with keyboard shortcuts

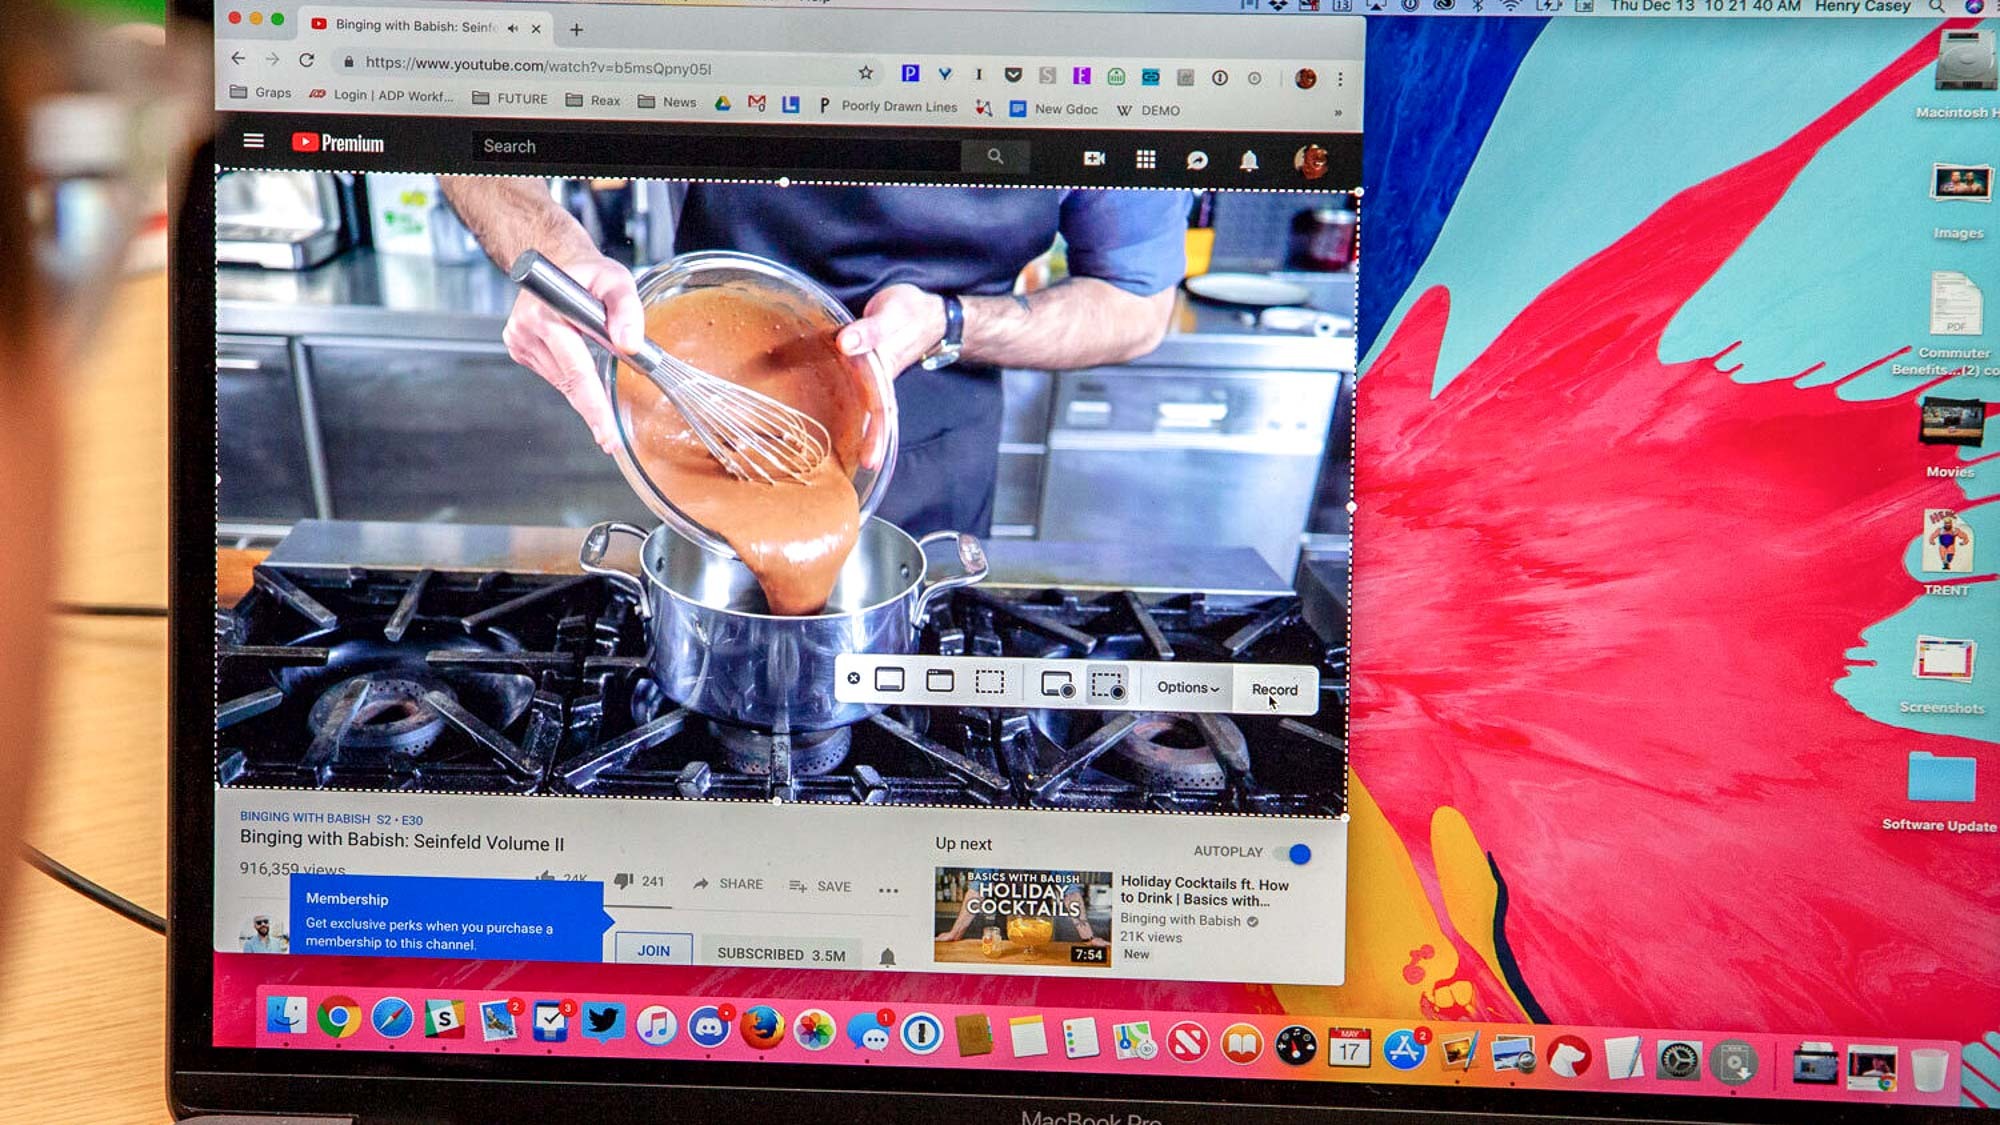
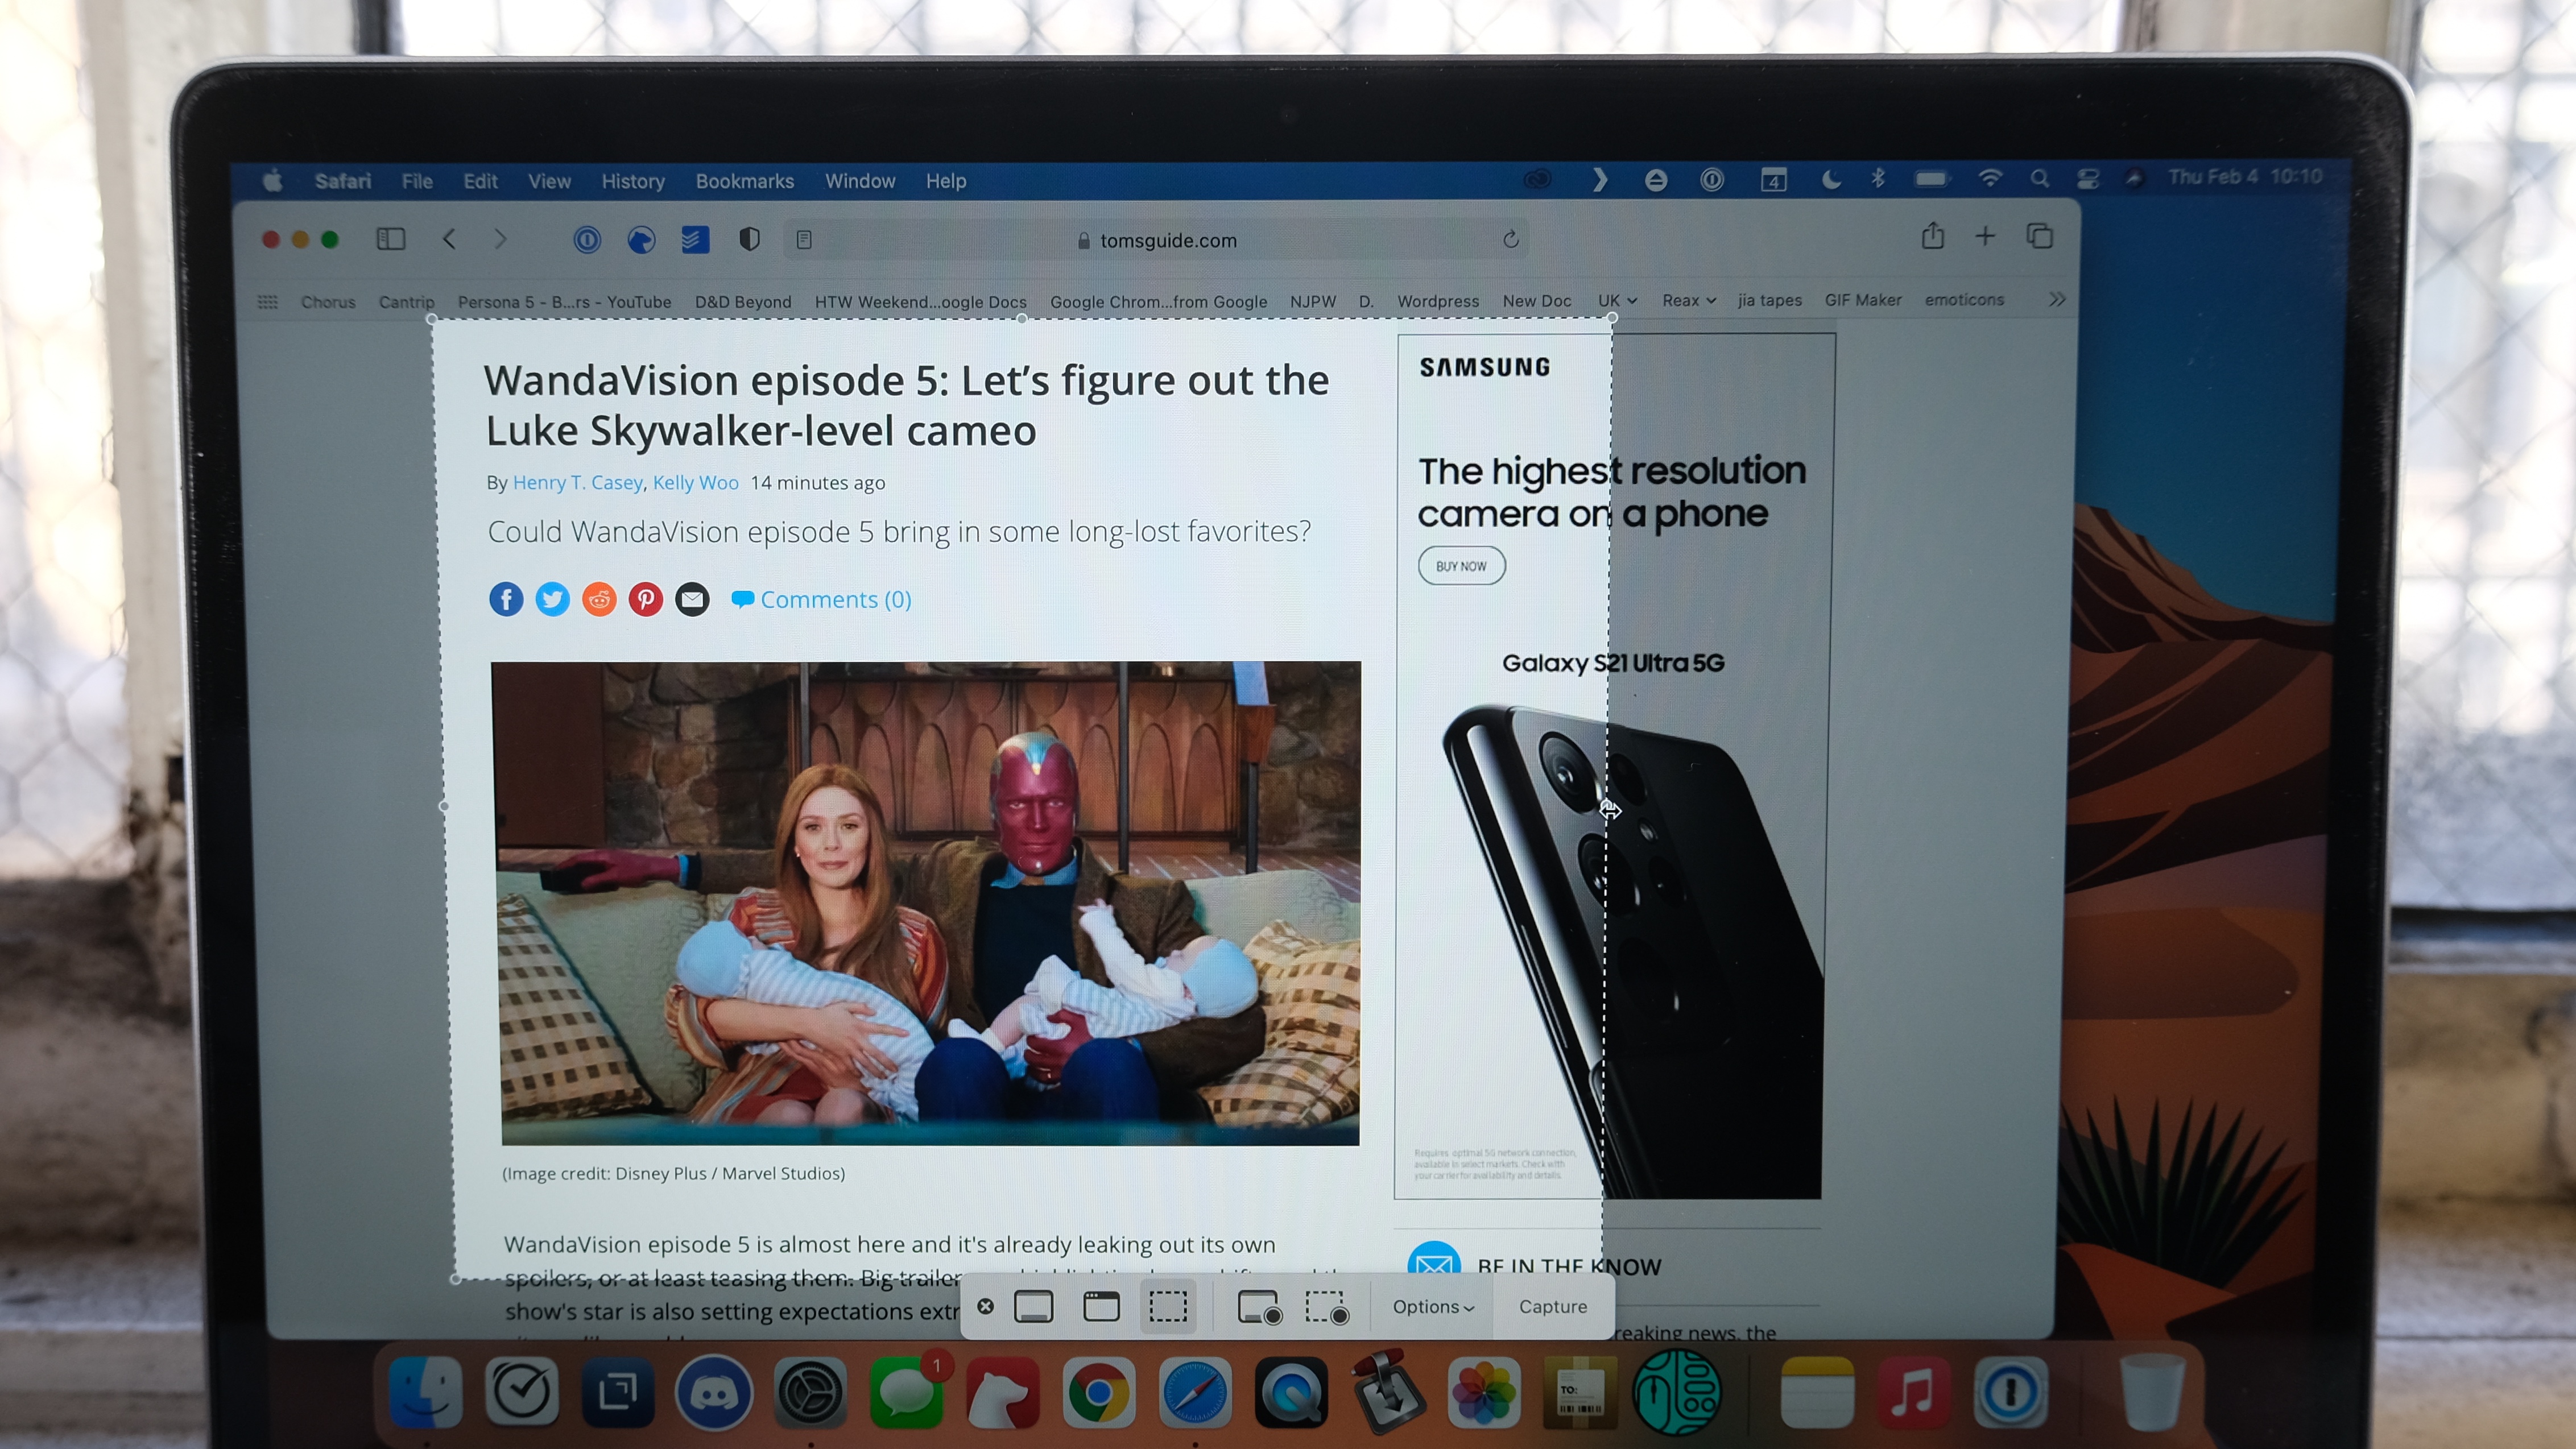
- Hit Command + Shift + 5
- Click Options to make sure your settings are correct.
- You can opt to show your cursor or hide it: select Show Cursor if you're teaching someone how to do something.
- Select Built-in Microphone (or any audio input device available) under Microphone if you want to narrate.
- Change the destination of your video under Save To
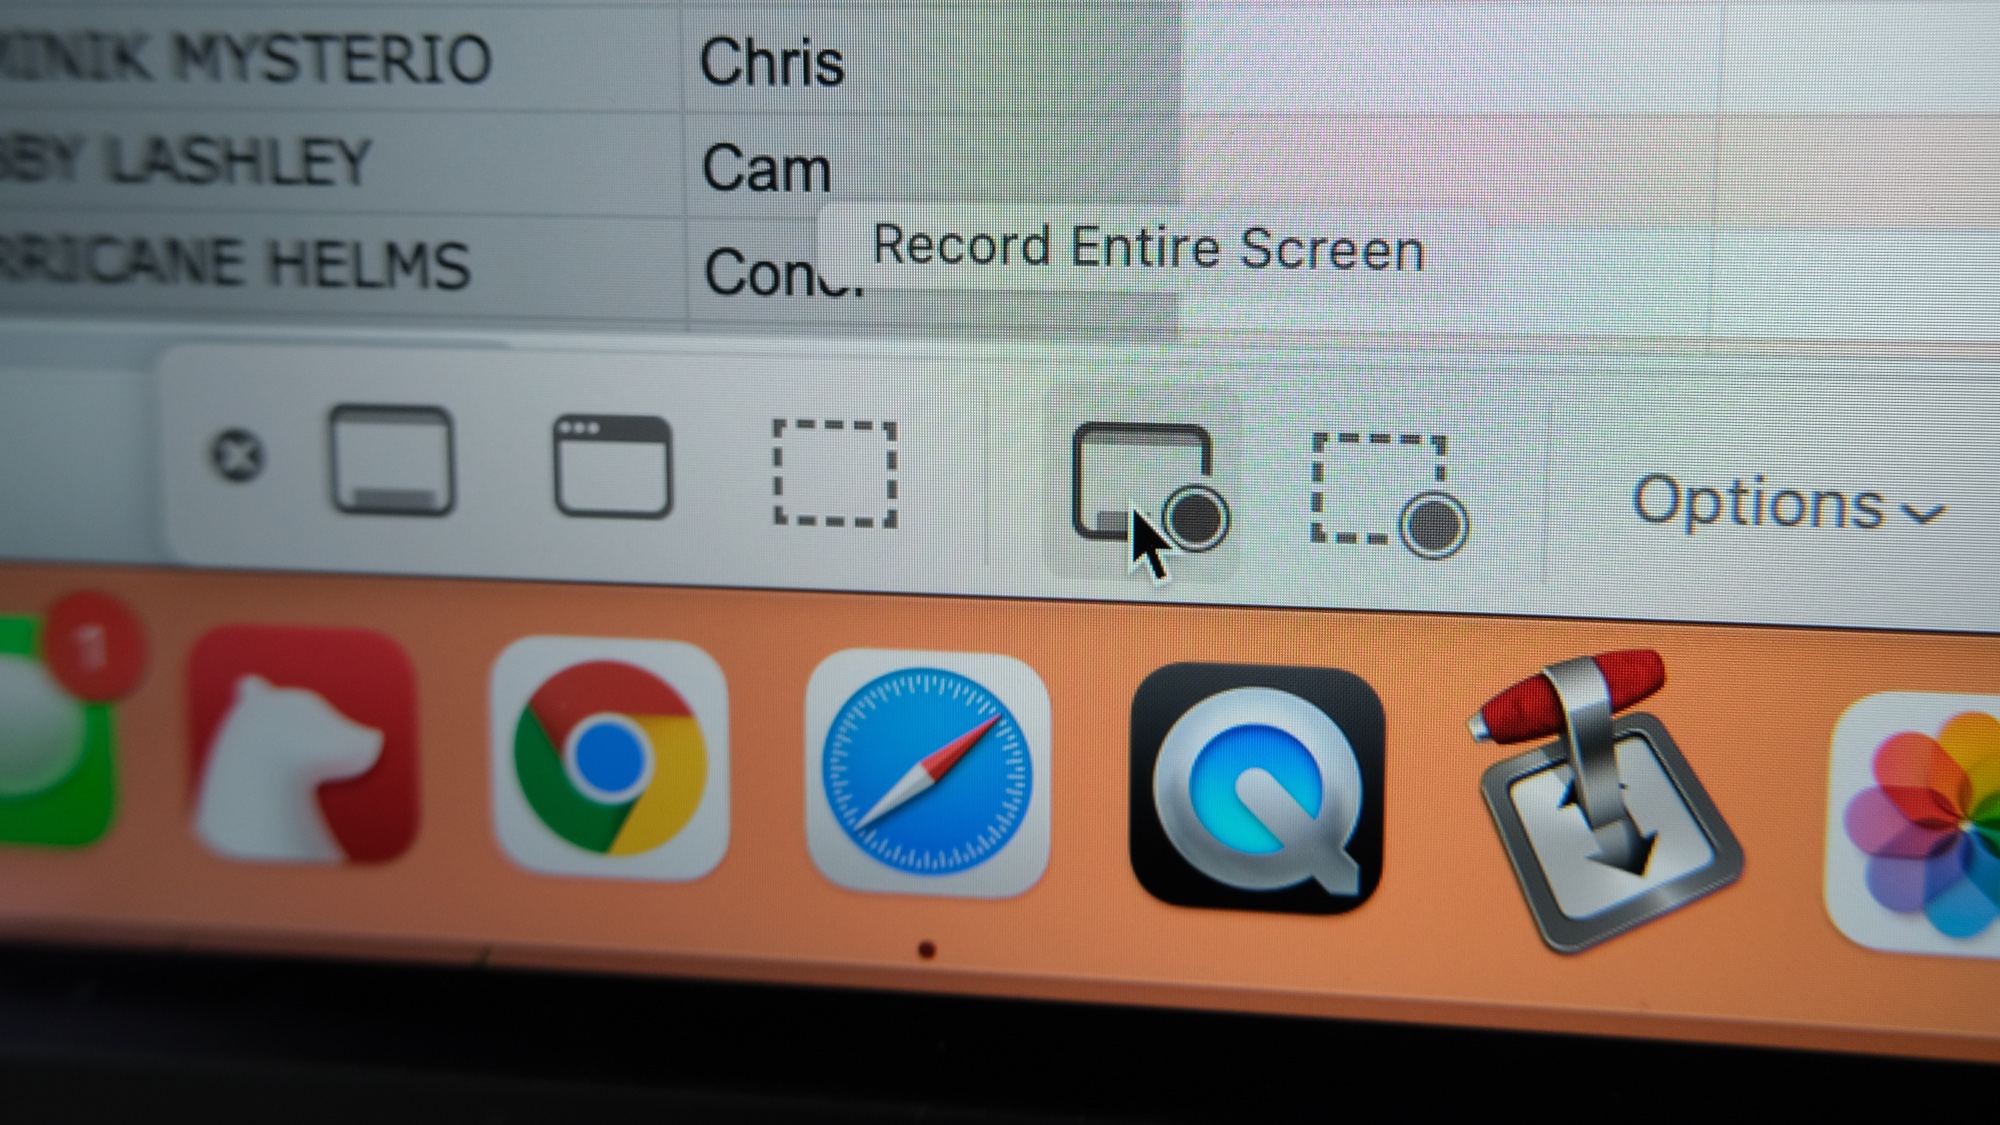
- Click the 4th icon from the left if you want to record an entire screen
- Click the 5th icon from the left if you want to capture a specific part of your screen (you'll need to select the region after you click this option)
- Click Capture or hit Enter
- When you're done, hit the Stop button in the Menu bar.
- Your screen recording will appear on your desktop, or wherever you chose to save it.

How to record screen on a Mac with Quicktime
- Hit Command + Space
- Type in Quicktime
- Select Quicktime Player
- Click File
- Select "New Screen Recording"
- Click the little arrow next to the Record button.
- Select an audio source if you want to narrate.
- Enable "show mouse clicks" if you want your video to walk someone through the steps you took.
- Click to start recording screen on a Mac. You can also click and drag your cursor to record a part of the screen.
- Click the Stop button when you're done.
- Your recording will now show up as a Quicktime Player video you can edit using Trim.
More macOS tips
- How to screenshot on a Mac
- How to print screen on a Mac
- How to force quit on Mac
- How to copy and paste on a Mac
- How to show the hidden files in Mac
- How to uninstall apps on a Mac
- How to reset a MacBook Pro — and any other Mac
Sign up to get the BEST of Tom's Guide direct to your inbox.
Get instant access to breaking news, the hottest reviews, great deals and helpful tips.

Henry is a managing editor at Tom’s Guide covering streaming media, laptops and all things Apple, reviewing devices and services for the past seven years. Prior to joining Tom's Guide, he reviewed software and hardware for TechRadar Pro, and interviewed artists for Patek Philippe International Magazine. He's also covered the wild world of professional wrestling for Cageside Seats, interviewing athletes and other industry veterans.
