How to put lime on your lawn and when to do it
Here’s how to put lime on your lawn in 8 simple steps

If you want to know how to make your grass greener all year round, you'll need to know how to put lime on your lawn. Adding lime to your lawn will not only give your soil a much-needed pH boost, but will also encourage healthy growth for the new year.
Unlike the citrus variety, lime intended for the garden is known as "garden lime" or "dolomitic lime." Typically, this is made from ground-up rock, limestone, or dolomite, or comes in pellets. Garden lime has a high concentration of natural magnesium carbonate and calcium which is often used to neutralize acidic soil. That’s why it’s important to know how to put lime on your lawn and when to do it, to ensure your grass gets the right amount of calcium, and a balanced pH soil to maintain a greener lawn.
Although the process seems tricky, it’s actually simple to do with the right equipment and care. So, if you want to have a green lawn to impress your guests, here’s how to put lime on your lawn with these simple steps.
For more lawn care tips, check out these 5 tips for keeping your lawn green, and learn how to stripe your lawn to make it look bigger. Just be sure not to make any of these 7 common lawn care mistakes or lawnmower mistakes while you’re at it.
When is the best time to lime your lawn?
The best time to add lime to your lawn is fall or early spring. This tends to be the time when it rains, snows, and has freezing and thawing cycles, which helps lime break down and get to work in the soil. In addition, fall gives it several months to dissolve before spring planting. If the weather is dry, it's advisable to water your lawn straight after applying garden lime or sprinkle it before a rain shower.
How to put lime on your lawn
Before you start, remember to never apply lime onto wet grass, and only when dry. Similar to applying fertilizer in wet grass, too much rain will wash it away before the soil gets a chance to absorb the lime.
1. Test the soil pH level
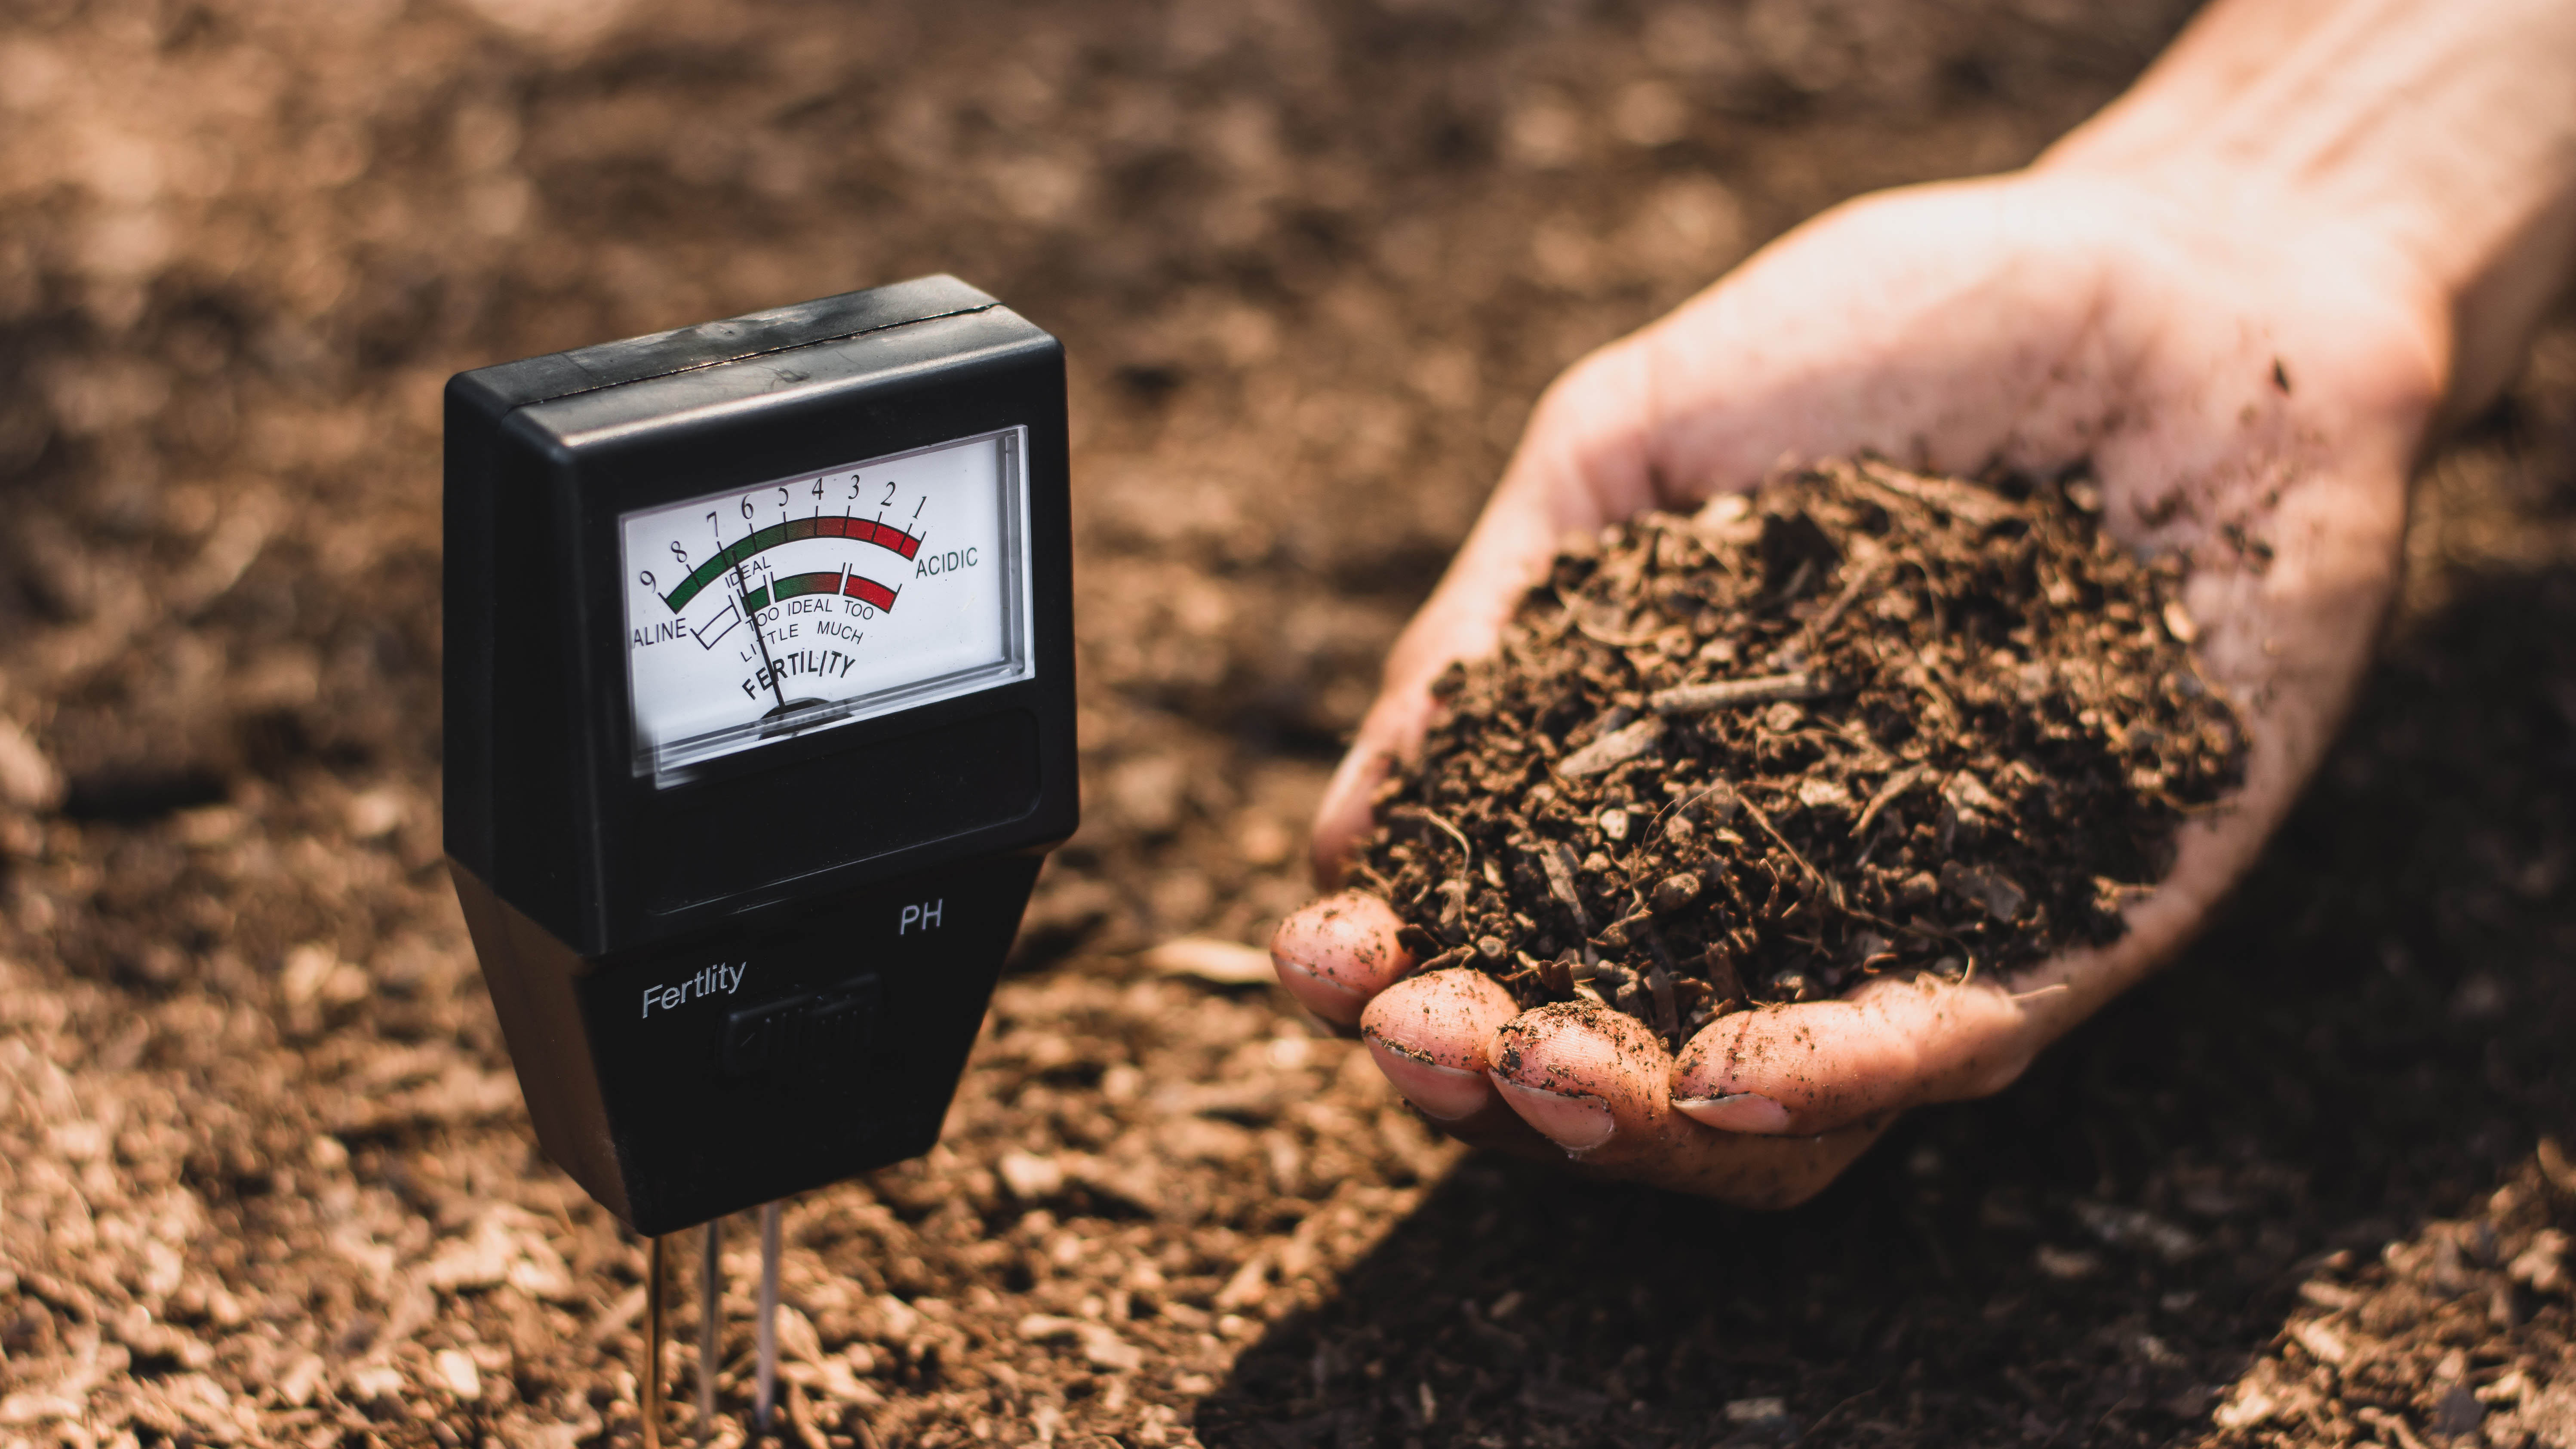
First, test your soil pH to determine if your soil needs liming or not. Use a soil pH meter like this ToolBay Soil Meter ($11, Amazon) to take an accurate reading, and will also test the moisture levels. Ideally, the recommended pH level of turf grass is from 5.8-7.0, any lower means it will benefit from adding lime to it.
Sign up to get the BEST of Tom's Guide direct to your inbox.
Get instant access to breaking news, the hottest reviews, great deals and helpful tips.
2. Purchase your lime
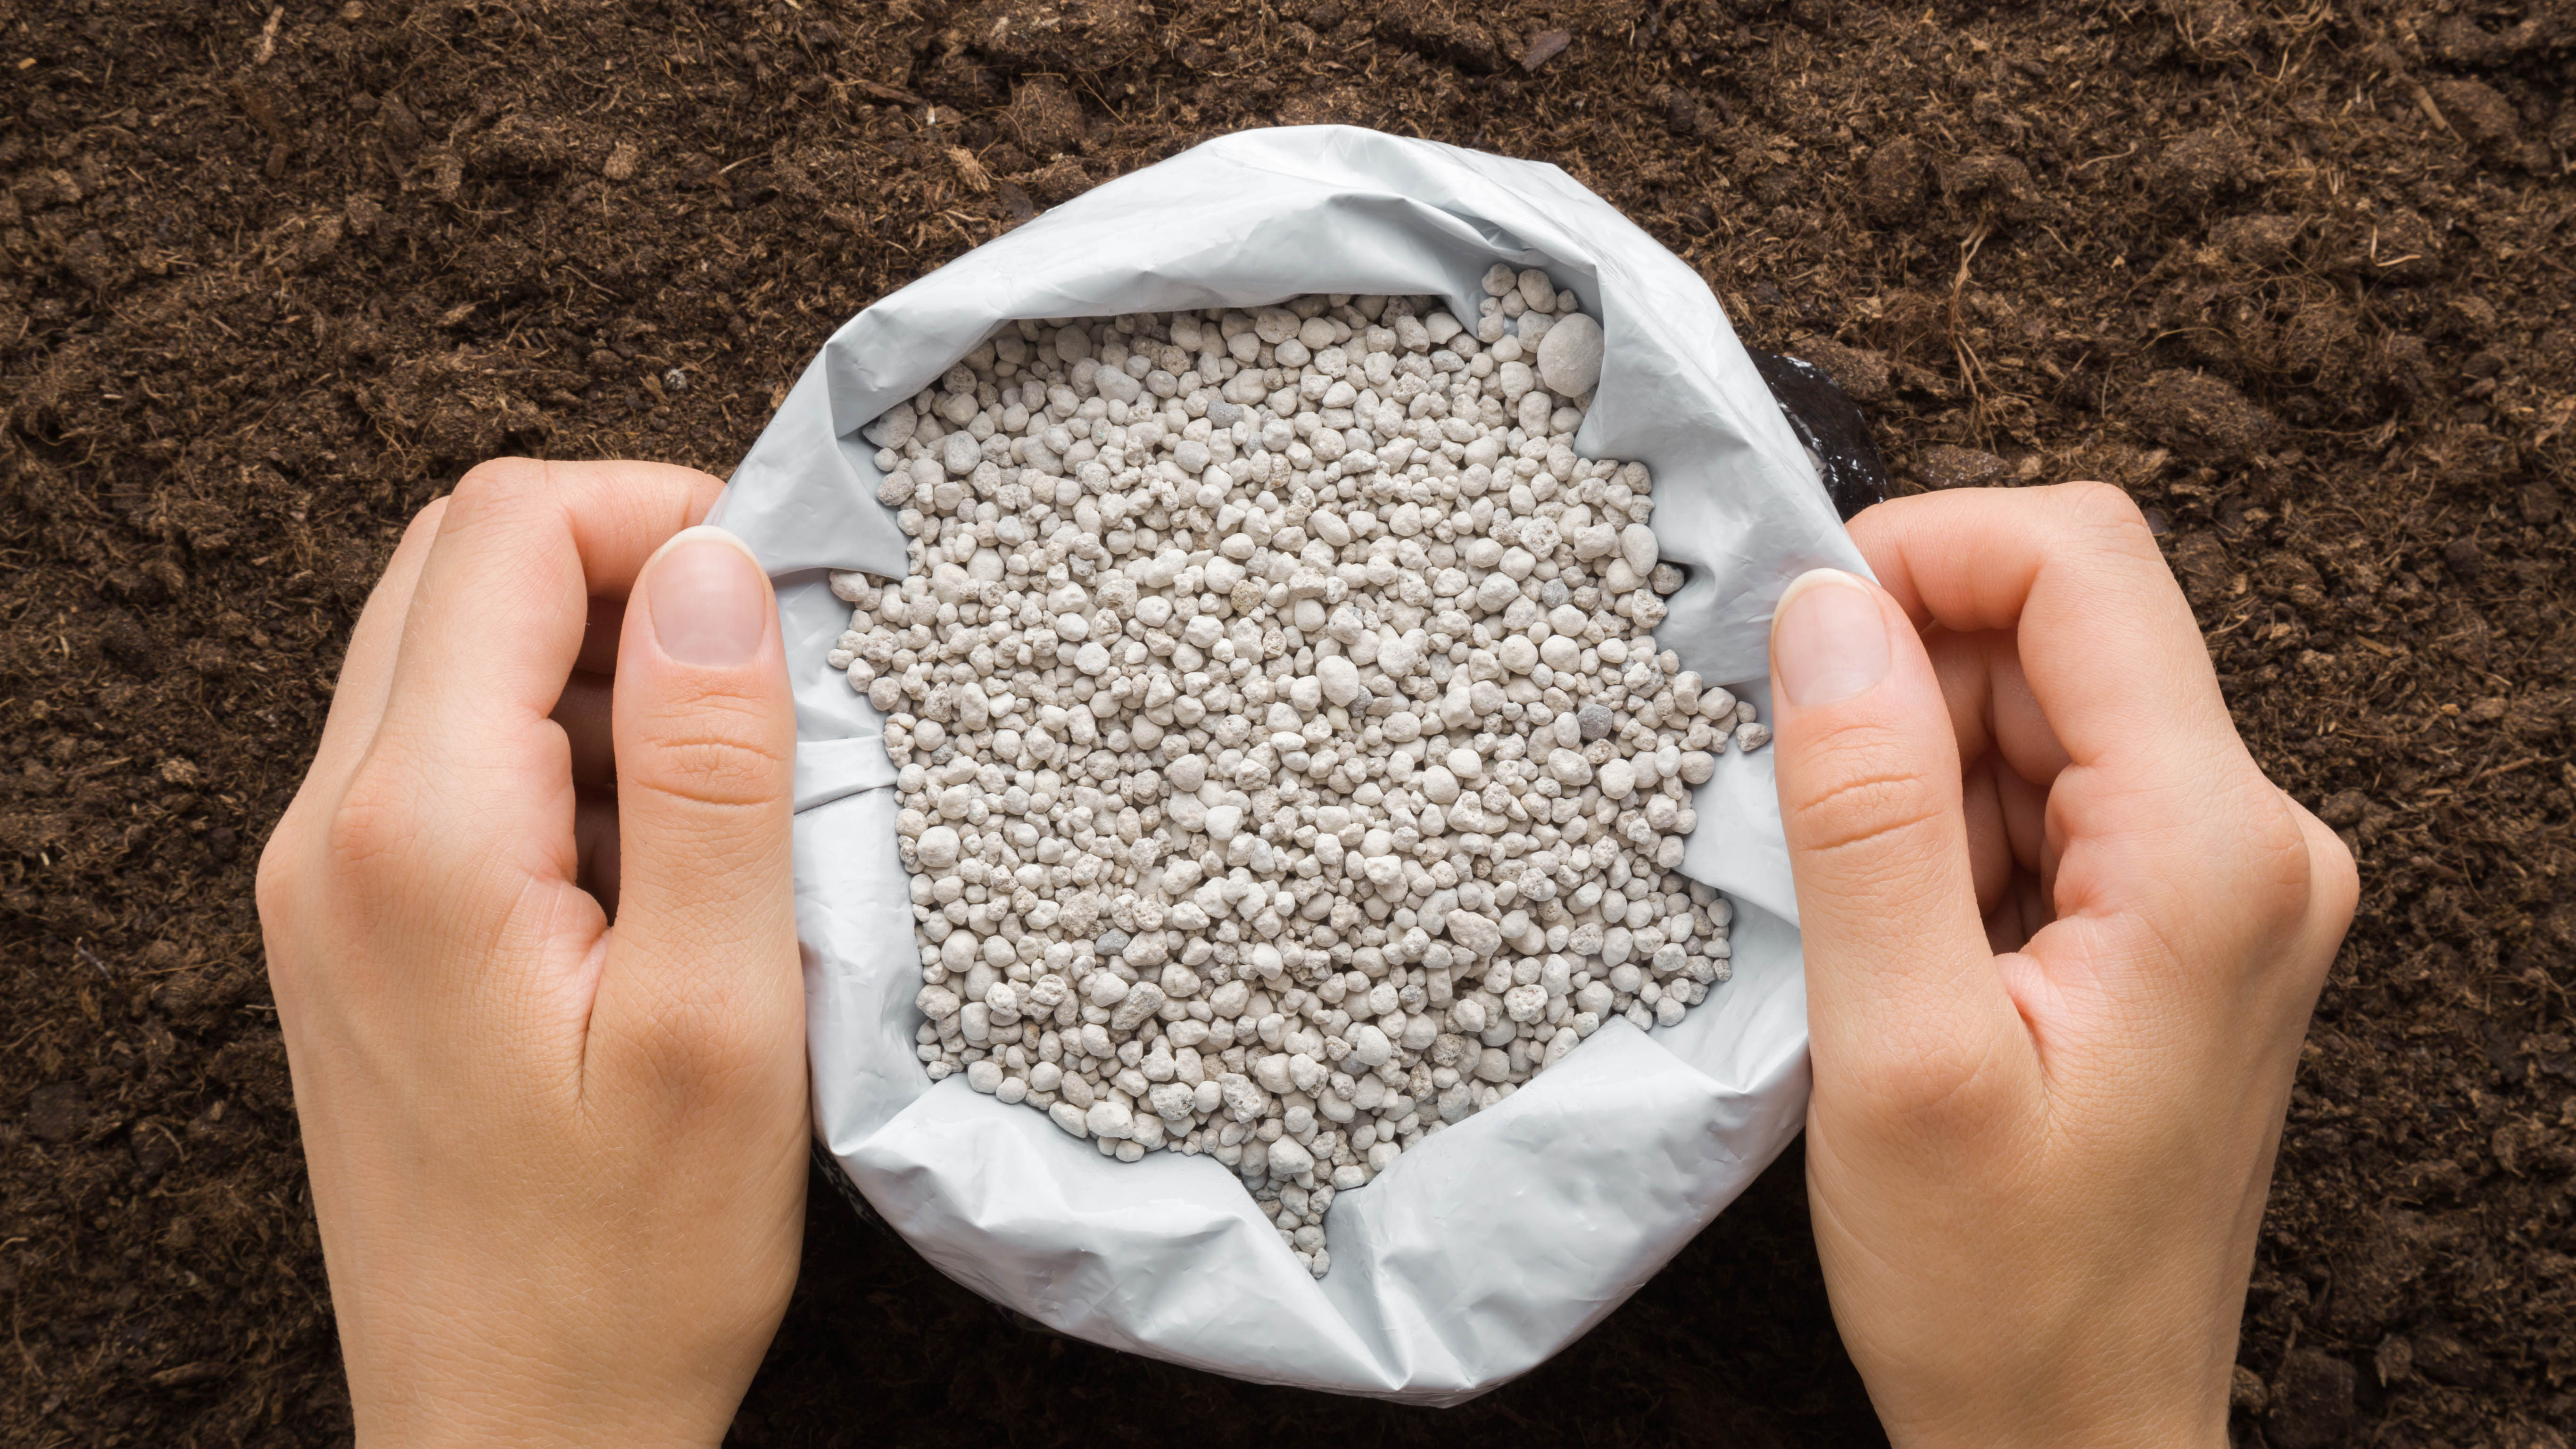
Next, purchase the garden lime needed to apply to your backyard. This can be bought from your local garden center, and usually comes in the form of powder or pellets. It’s also important to consider the size of the area you need to cover. A general rule is to apply 50 pounds of lime to cover about 1000 square feet (23 kg, 93 square meters) of ground, but always read the instructions for guidance before application.
3. Handle with safety gear
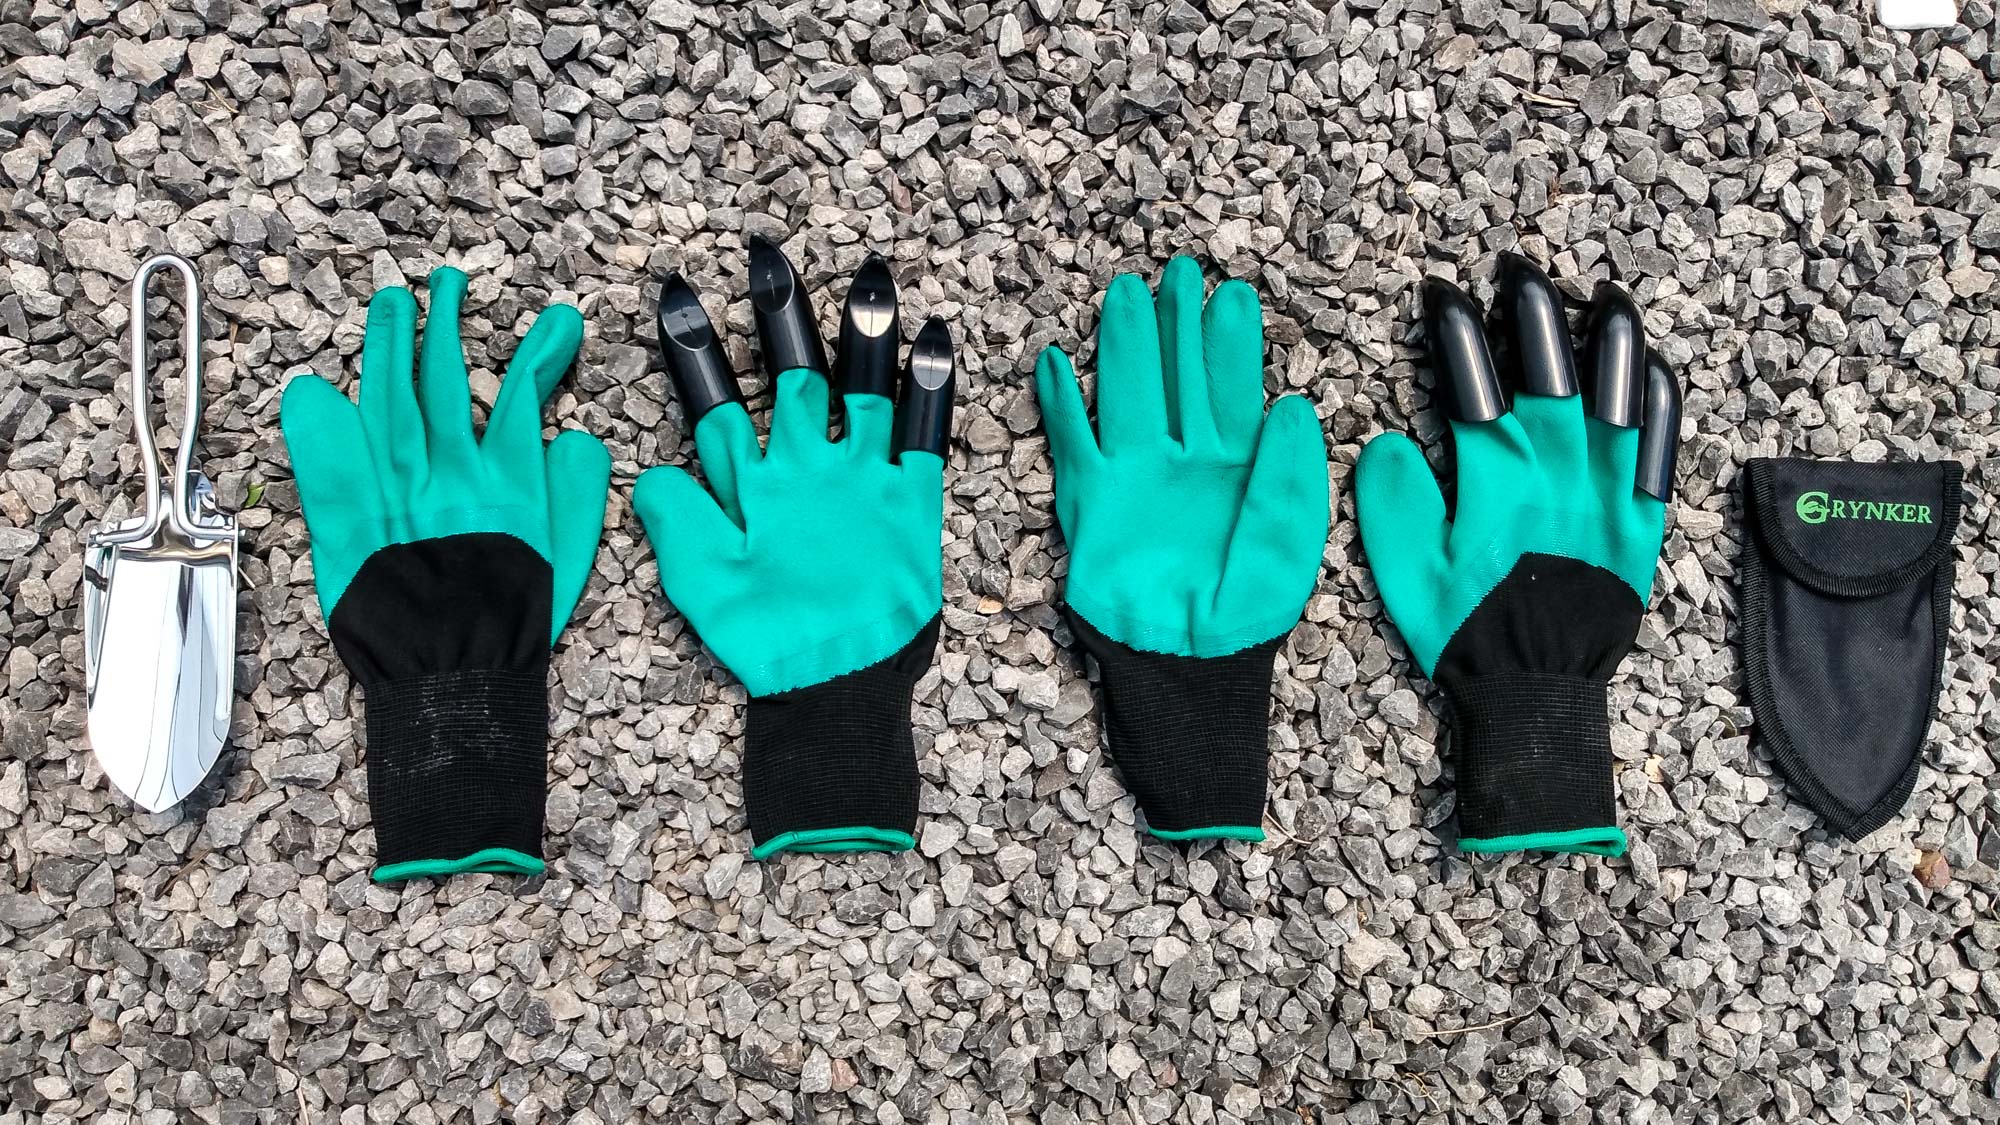
When handling garden lime, always wear one of the best gardening gloves to avoid possible skin irritation. You can also opt to wear safety glasses if you are spreading lime on a windy day. Never spread lime by hand, even with gloves on, as it’s not a safe practice or as effective as using a spreader. While lime is not known to be toxic, it can often irritate the skin, so be sure to use it with caution.
4. Prepare the spreader
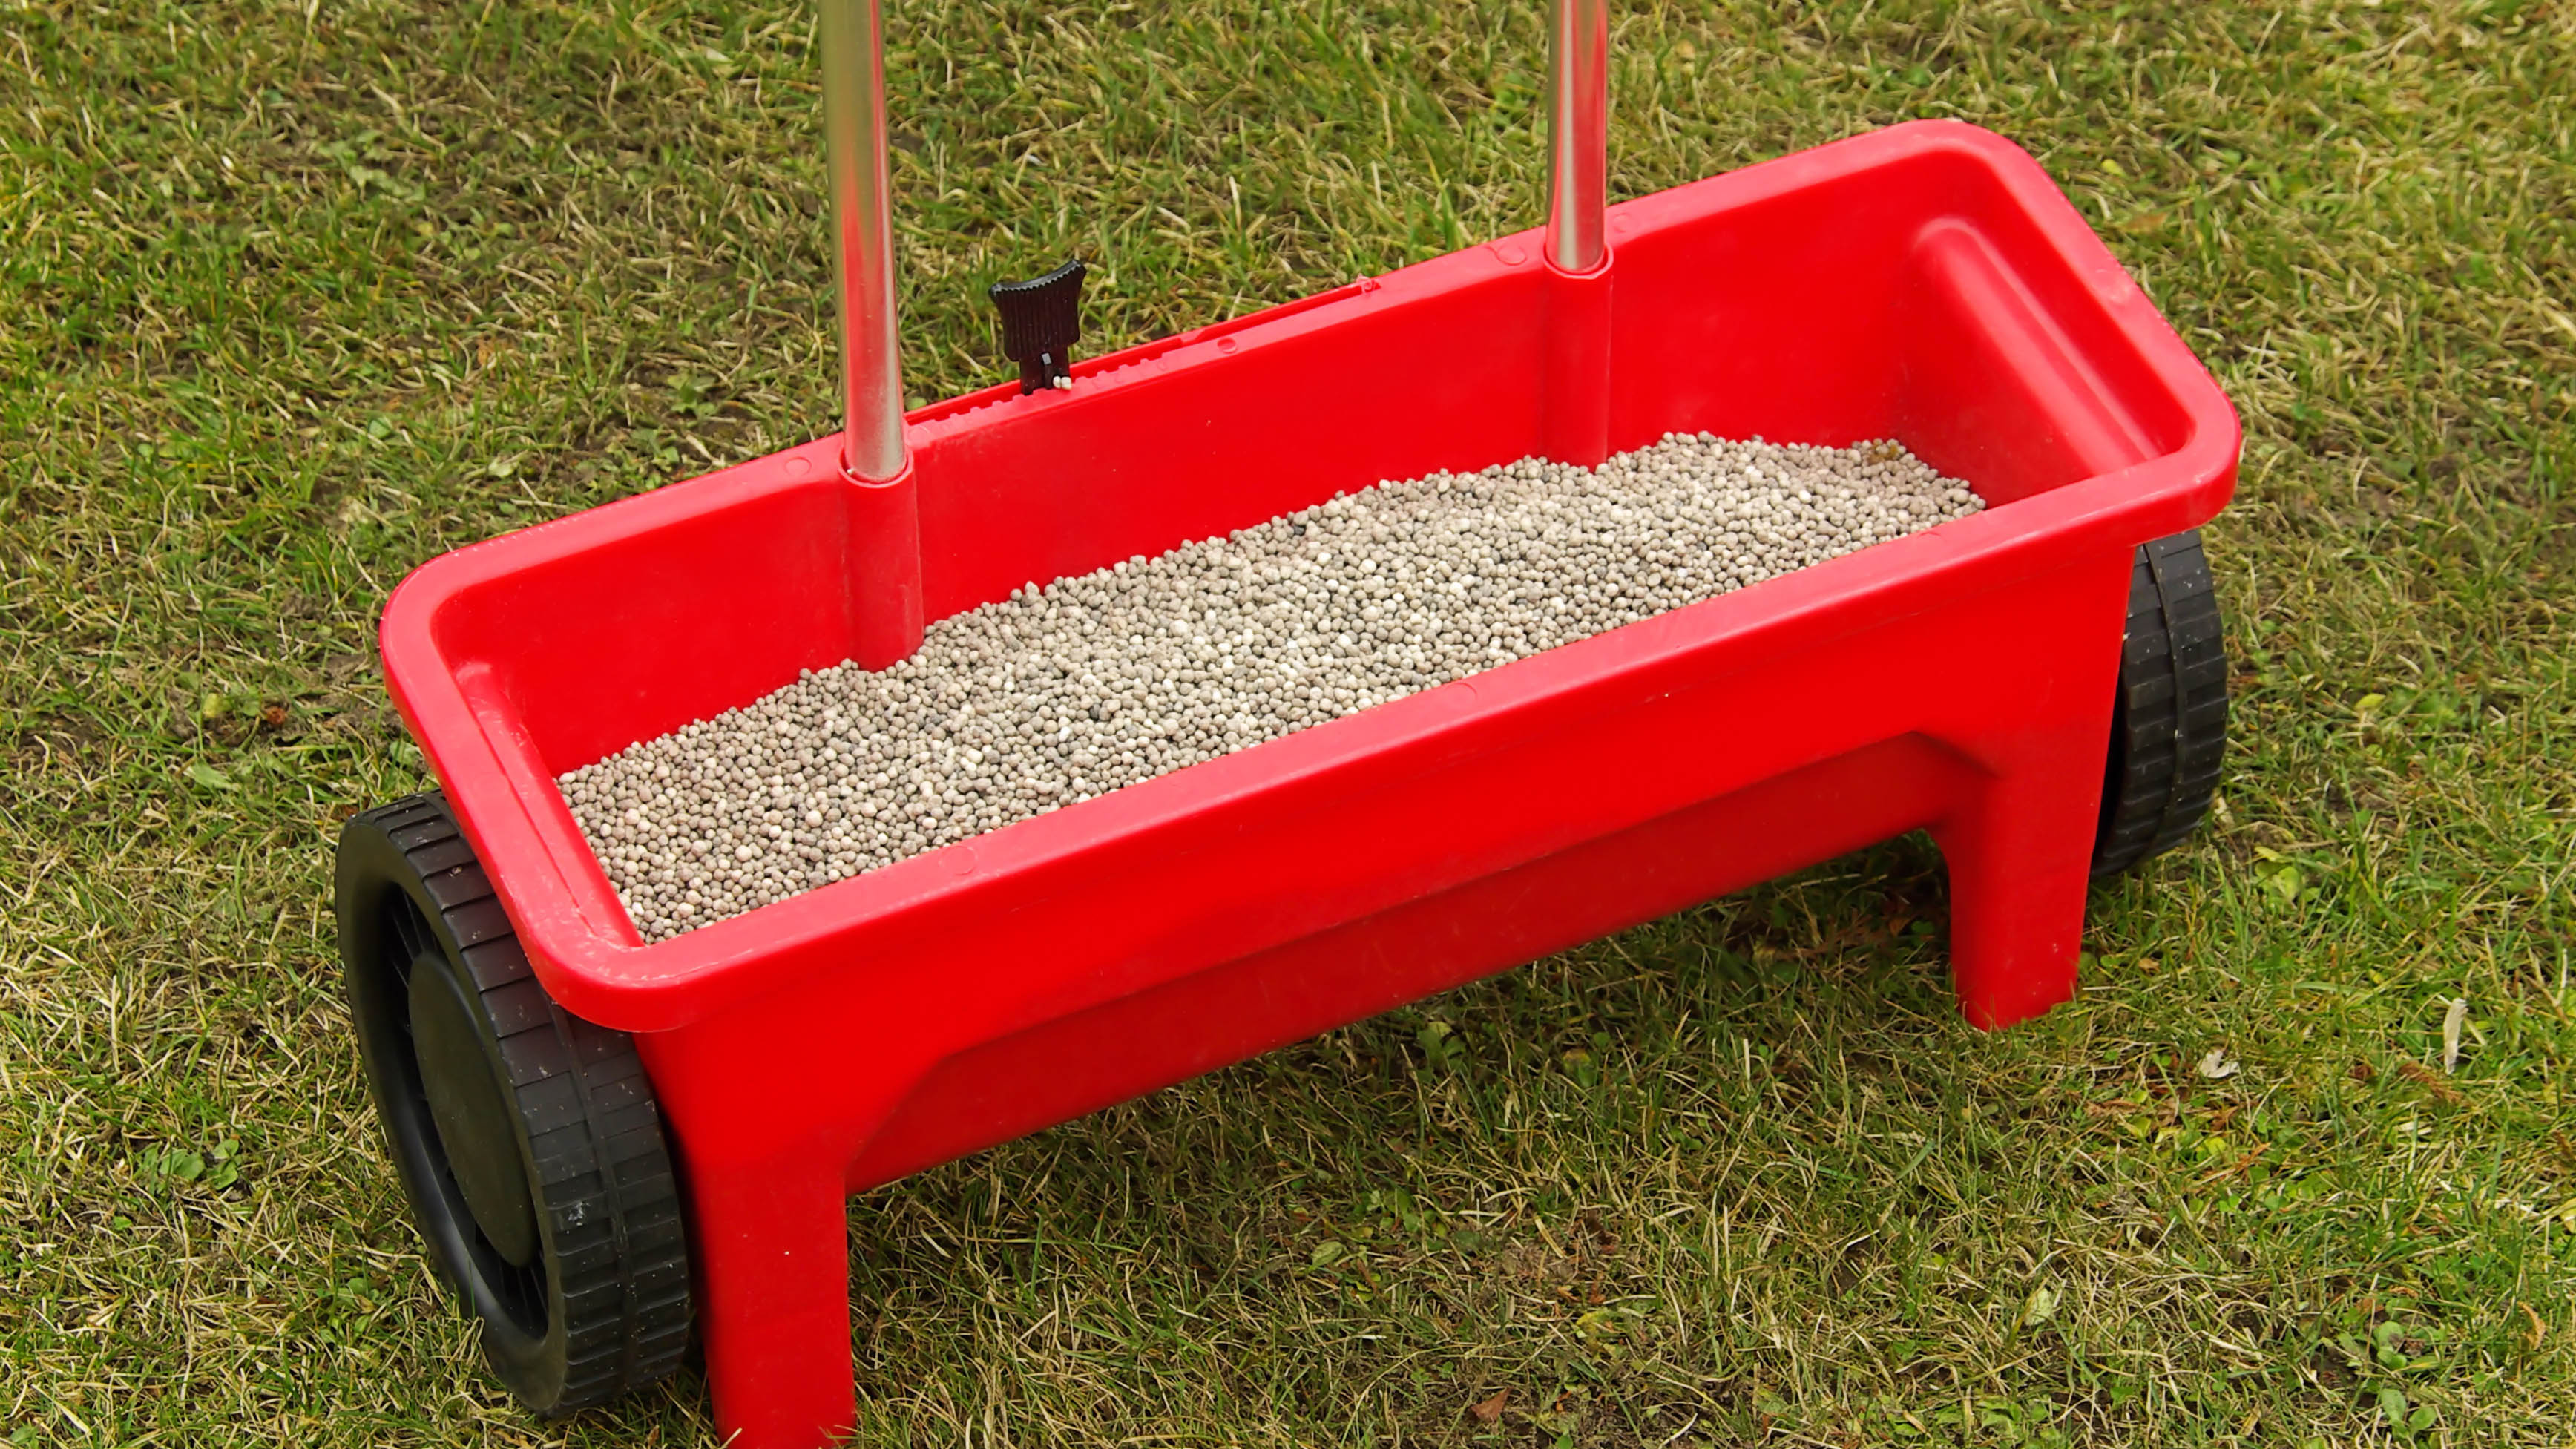
You will need a spreader to apply lime to your lawn. There are two basic kinds that are available to buy. Drop spreaders literally drop the minerals straight down through holes in the bottom of the basin, while rotary spreaders operate via a mechanism to flip it in wider circles. We can recommend this AMAZE 75201 Broadcast Spreader ($50, Amazon), for best results. When you fill it, set the spreader on concrete before pouring the lime into the basin of the spreader. If there is no specific fill line, leave about an inch from the top empty. In any case, always read the instructions on both the lime and the spreader to set the correct spread rate before applying.
5. Apply the lime onto your lawn
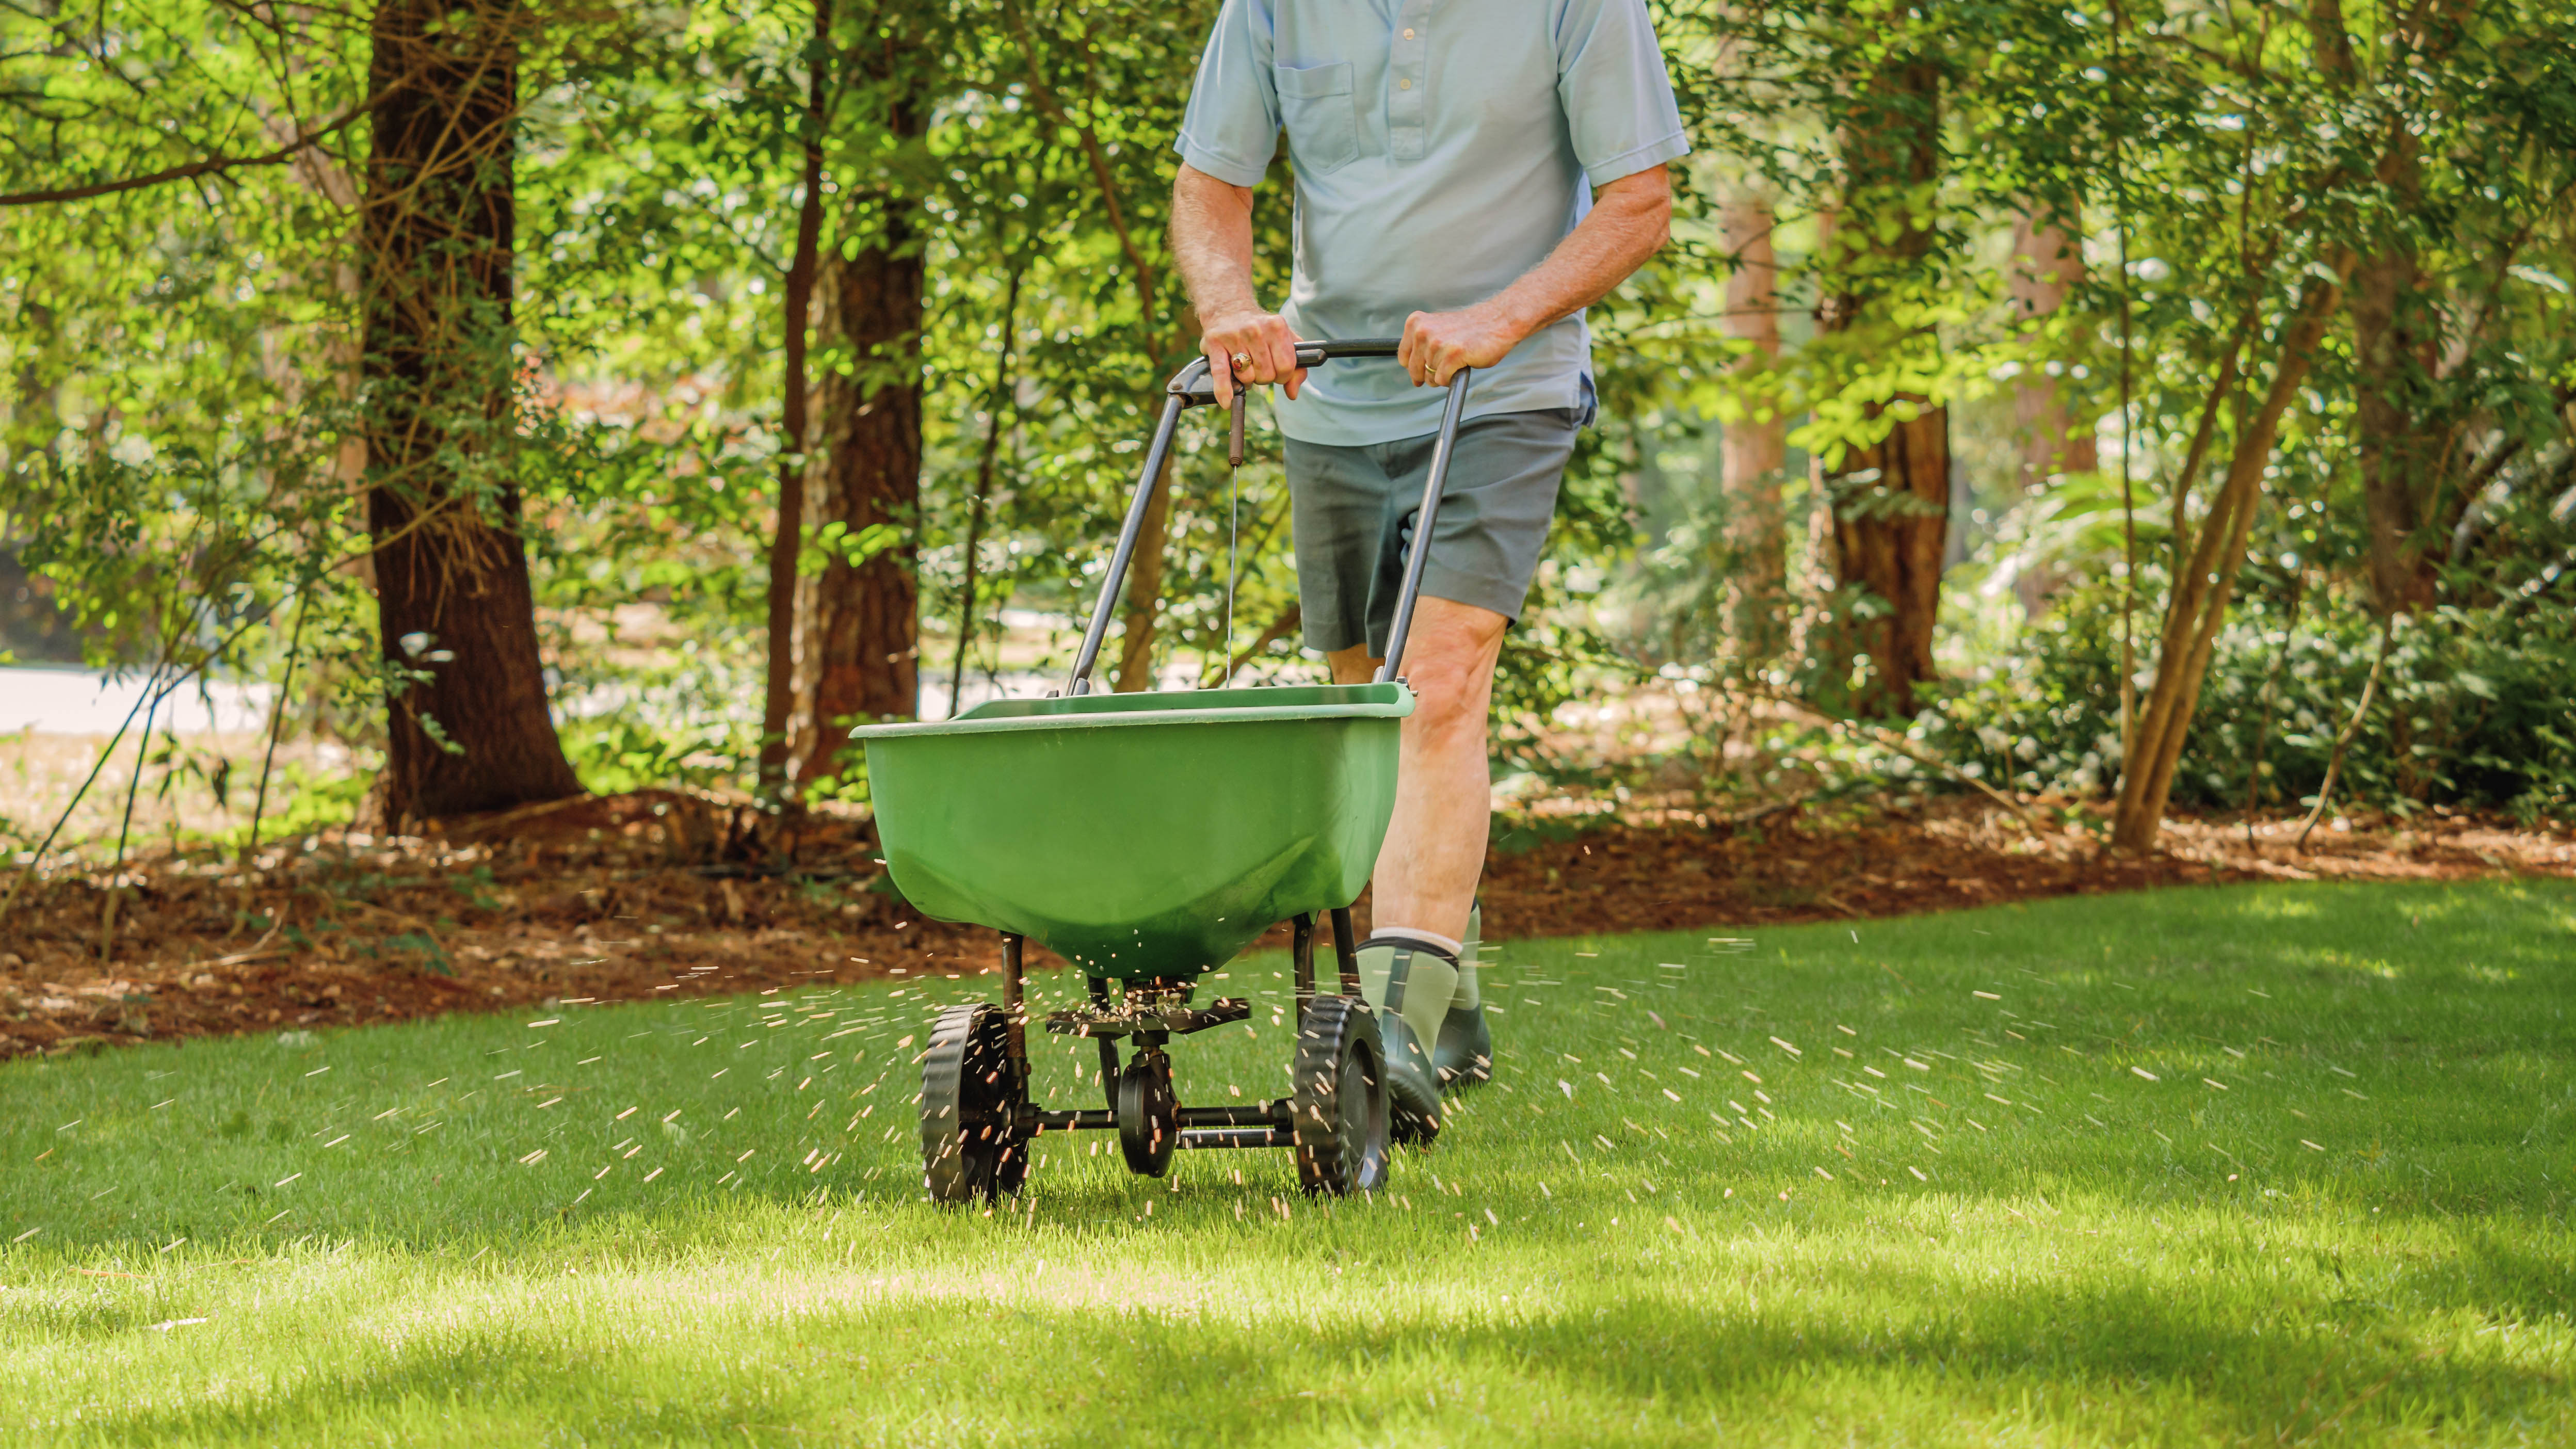
The best method of applying lime onto your lawn is to first walk the entire perimeter of your backyard, or the area you want to cover. This will provide an outline to help you make turns where necessary. Then, walk straight lines back and forth from one end of the yard to the other, until you’ve covered the area. For those with awkward or irregular shaped yards, try to ensure you keep each line ‘straight’ by following the pattern of the previous line.
6. Apply the second round of lime
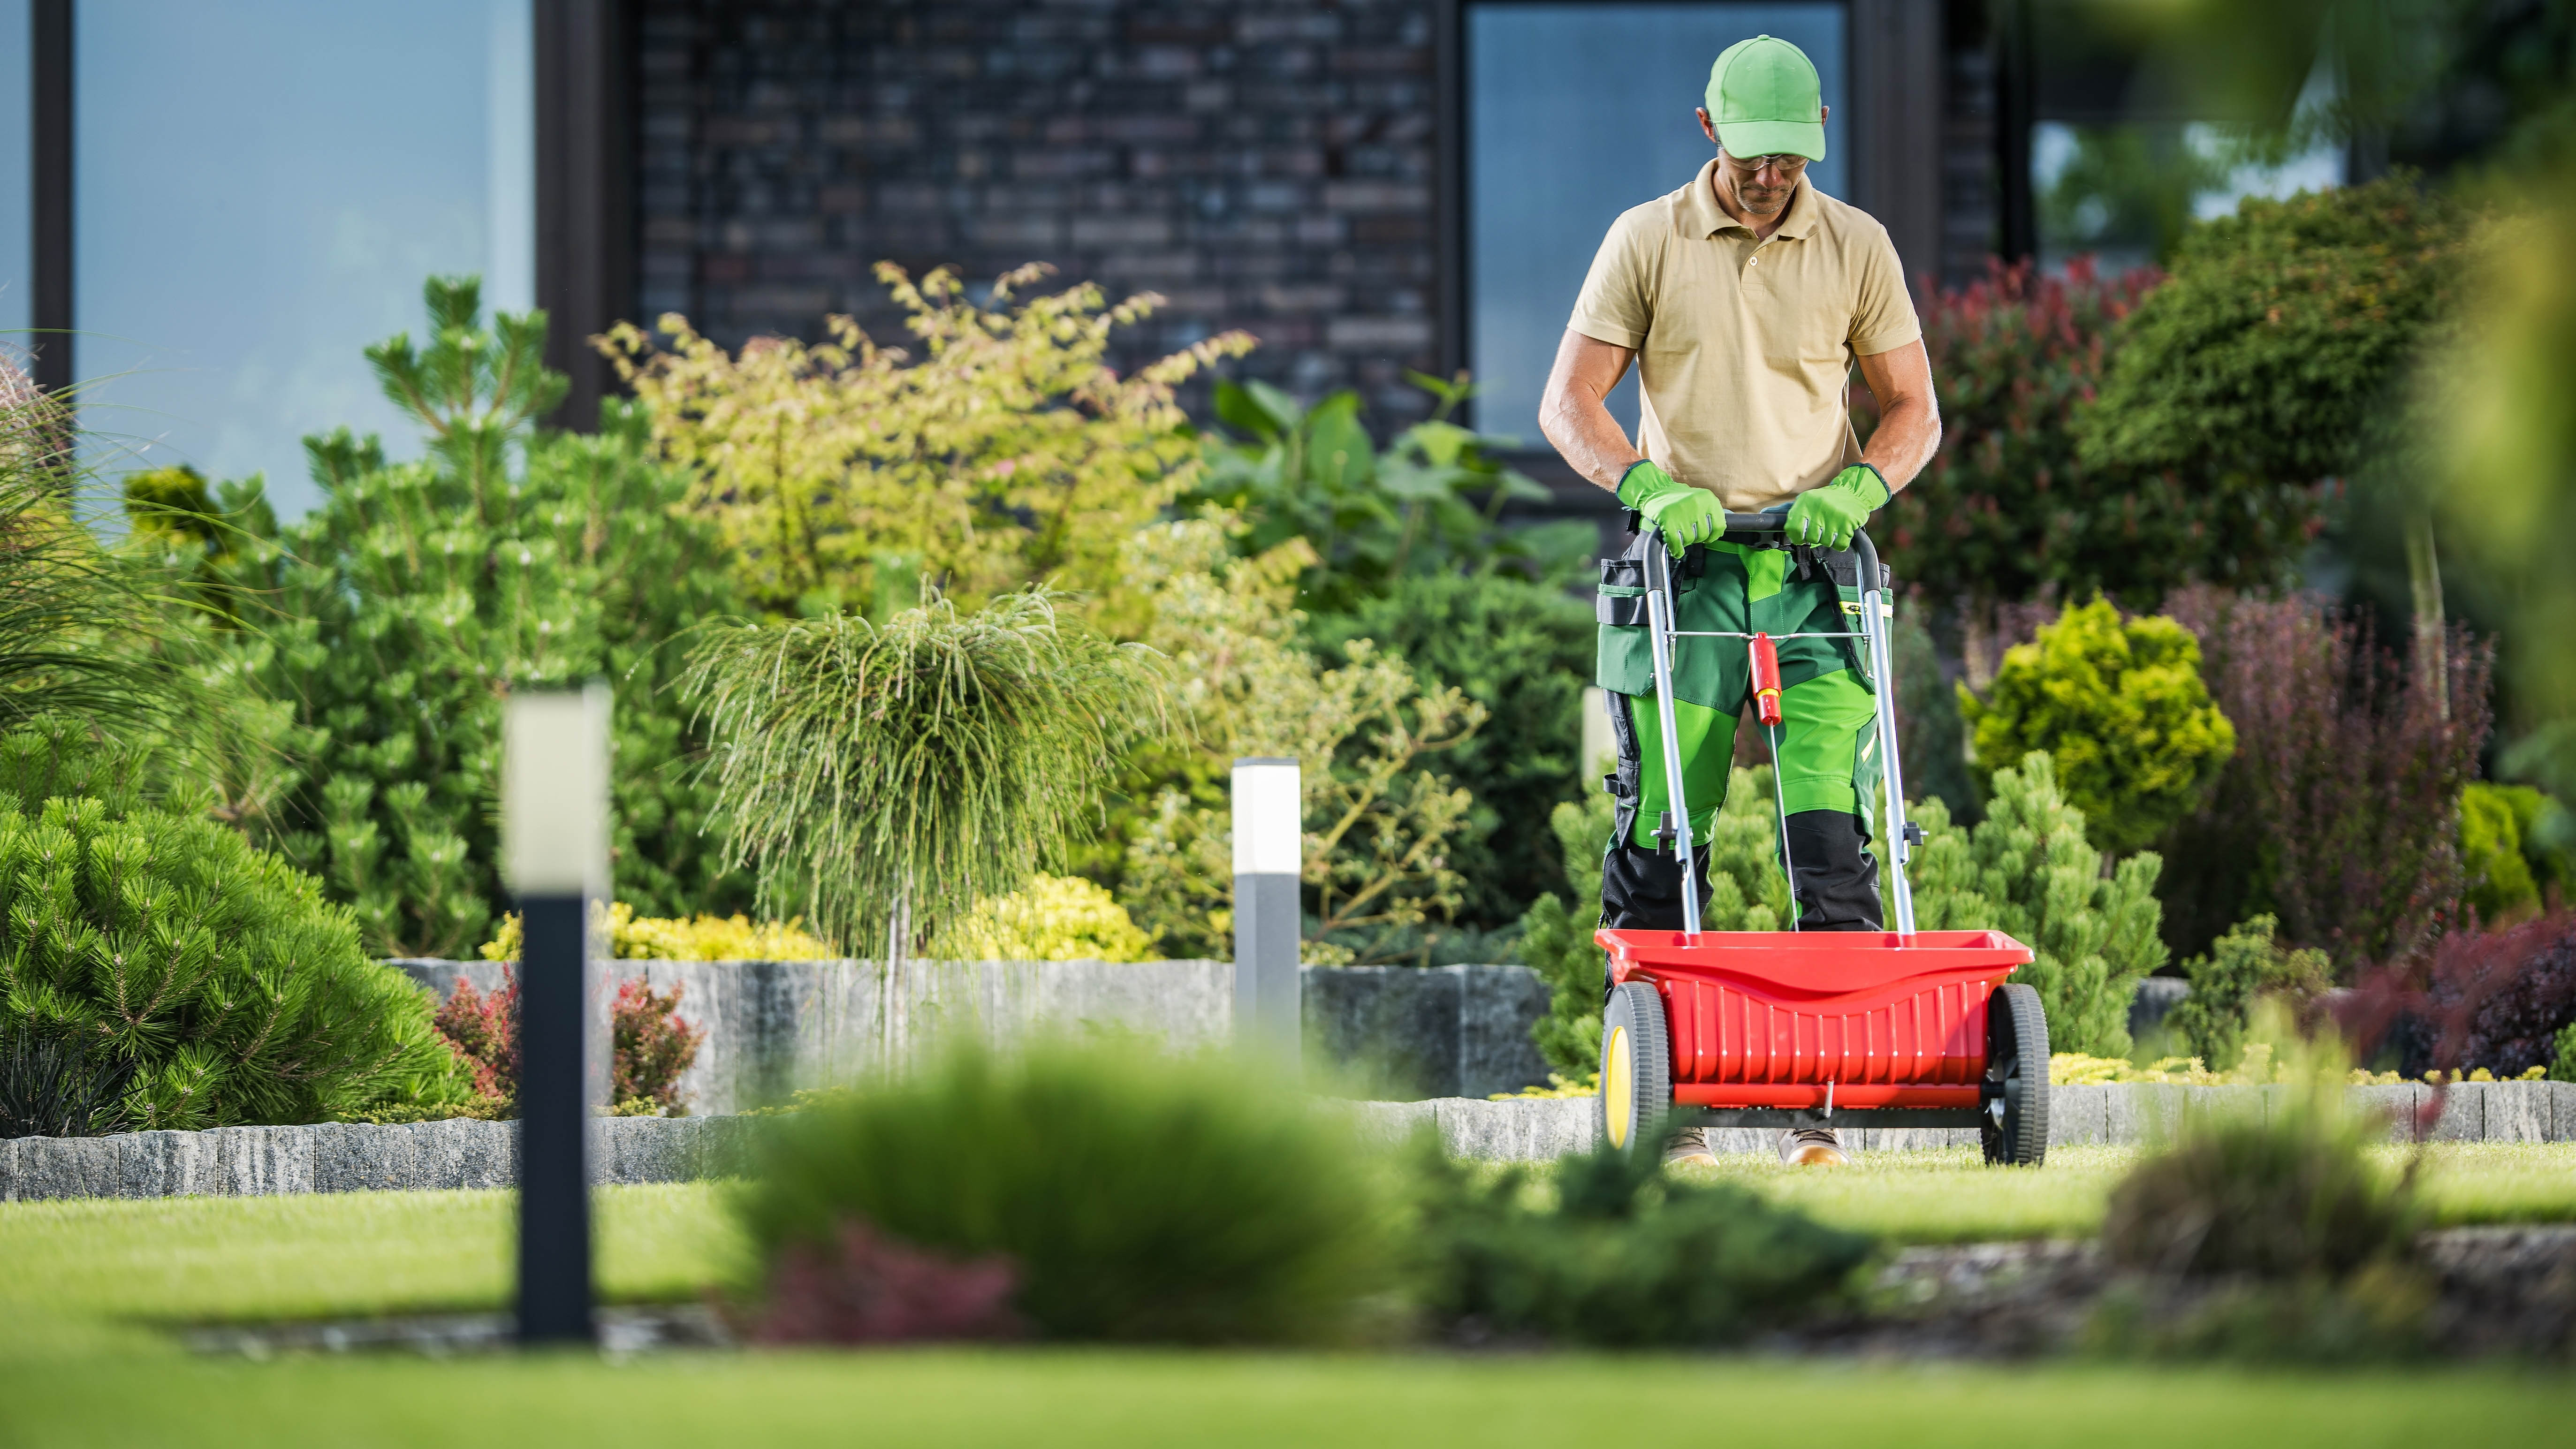
Then, apply the second round of lime by criss-crossing the first set of lines you had made. Simply walk lines that run perpendicular to the first set of lines, to cross that set. This method ensures you have every inch of the lawn covered, and is more effective for an even, healthy lawn.
7. Water your lawn
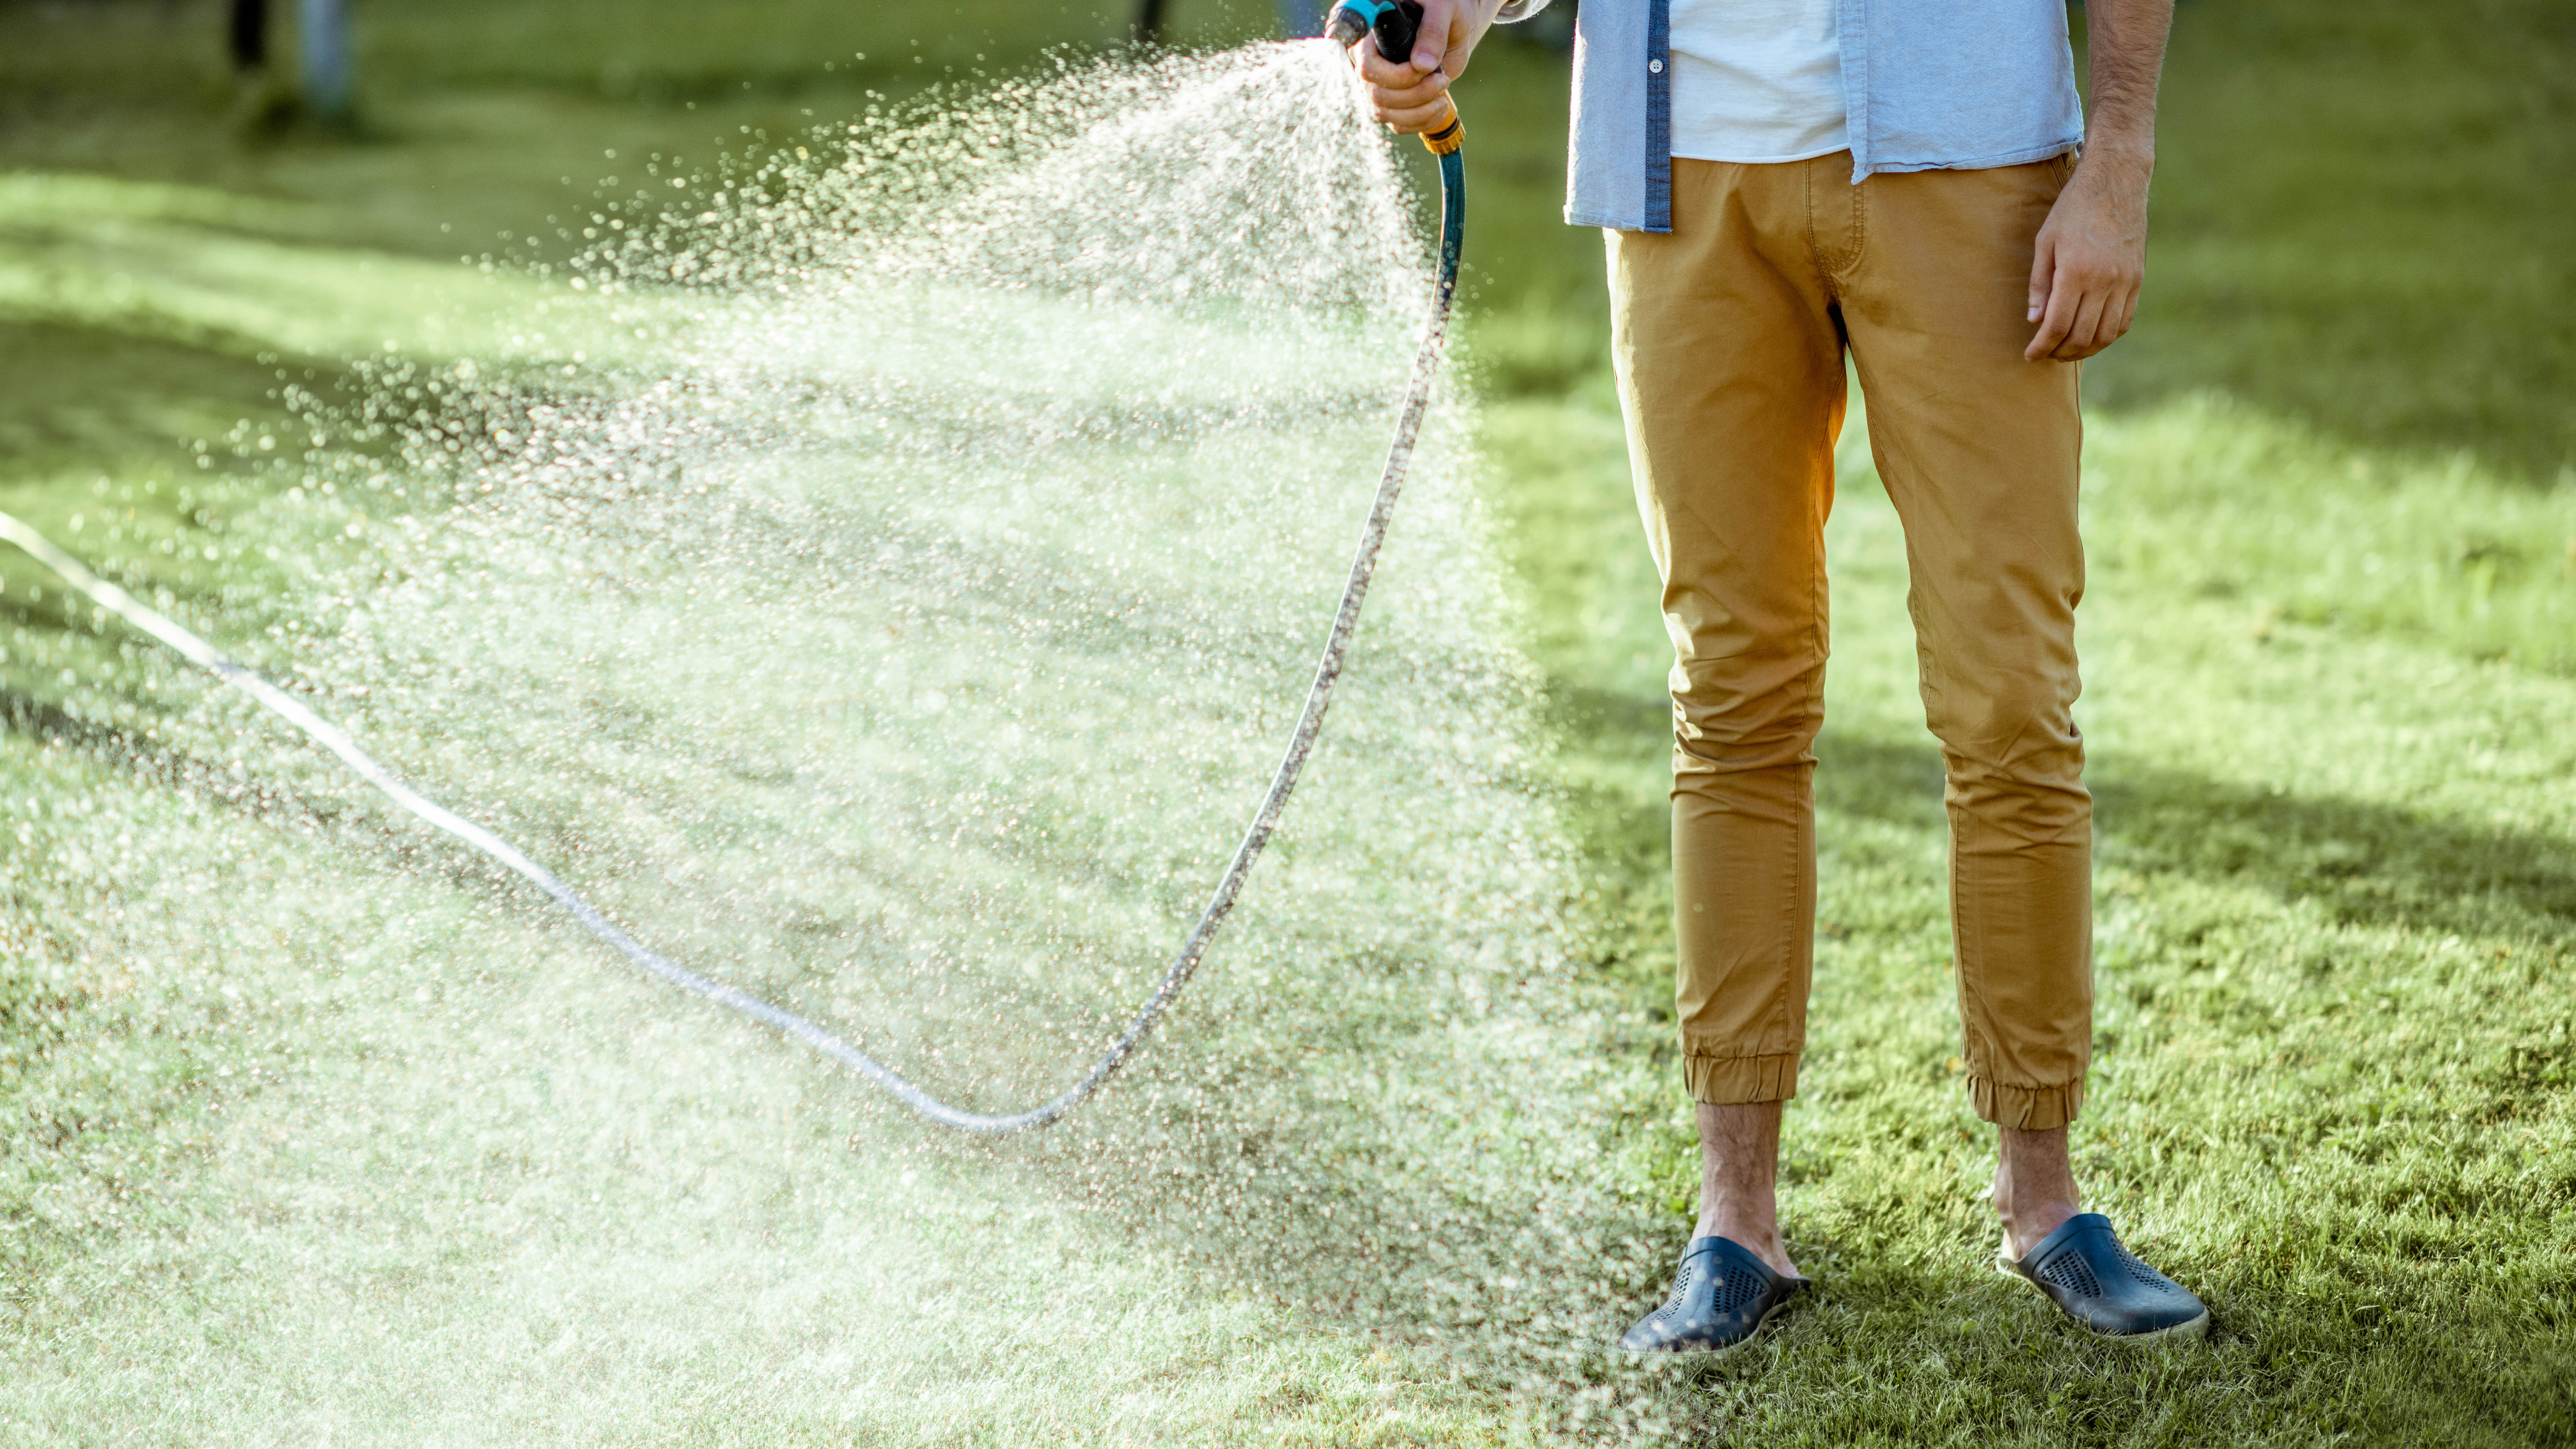
Next, lightly water your entire lawn, making sure the lime starts to soak into the soil. This will also rinse off any lime particles that are stuck to the blades of grass straight into the soil, and prevent the grass blades from ‘burning.’ You can use a water sprinkler like this WOVUU Lawn Sprinkler ($19, Amazon), but ensure not to flood your lawn or you’ll need to learn how to fix a waterlogged lawn for a healthy yard.
8. Check the soil pH level in a month
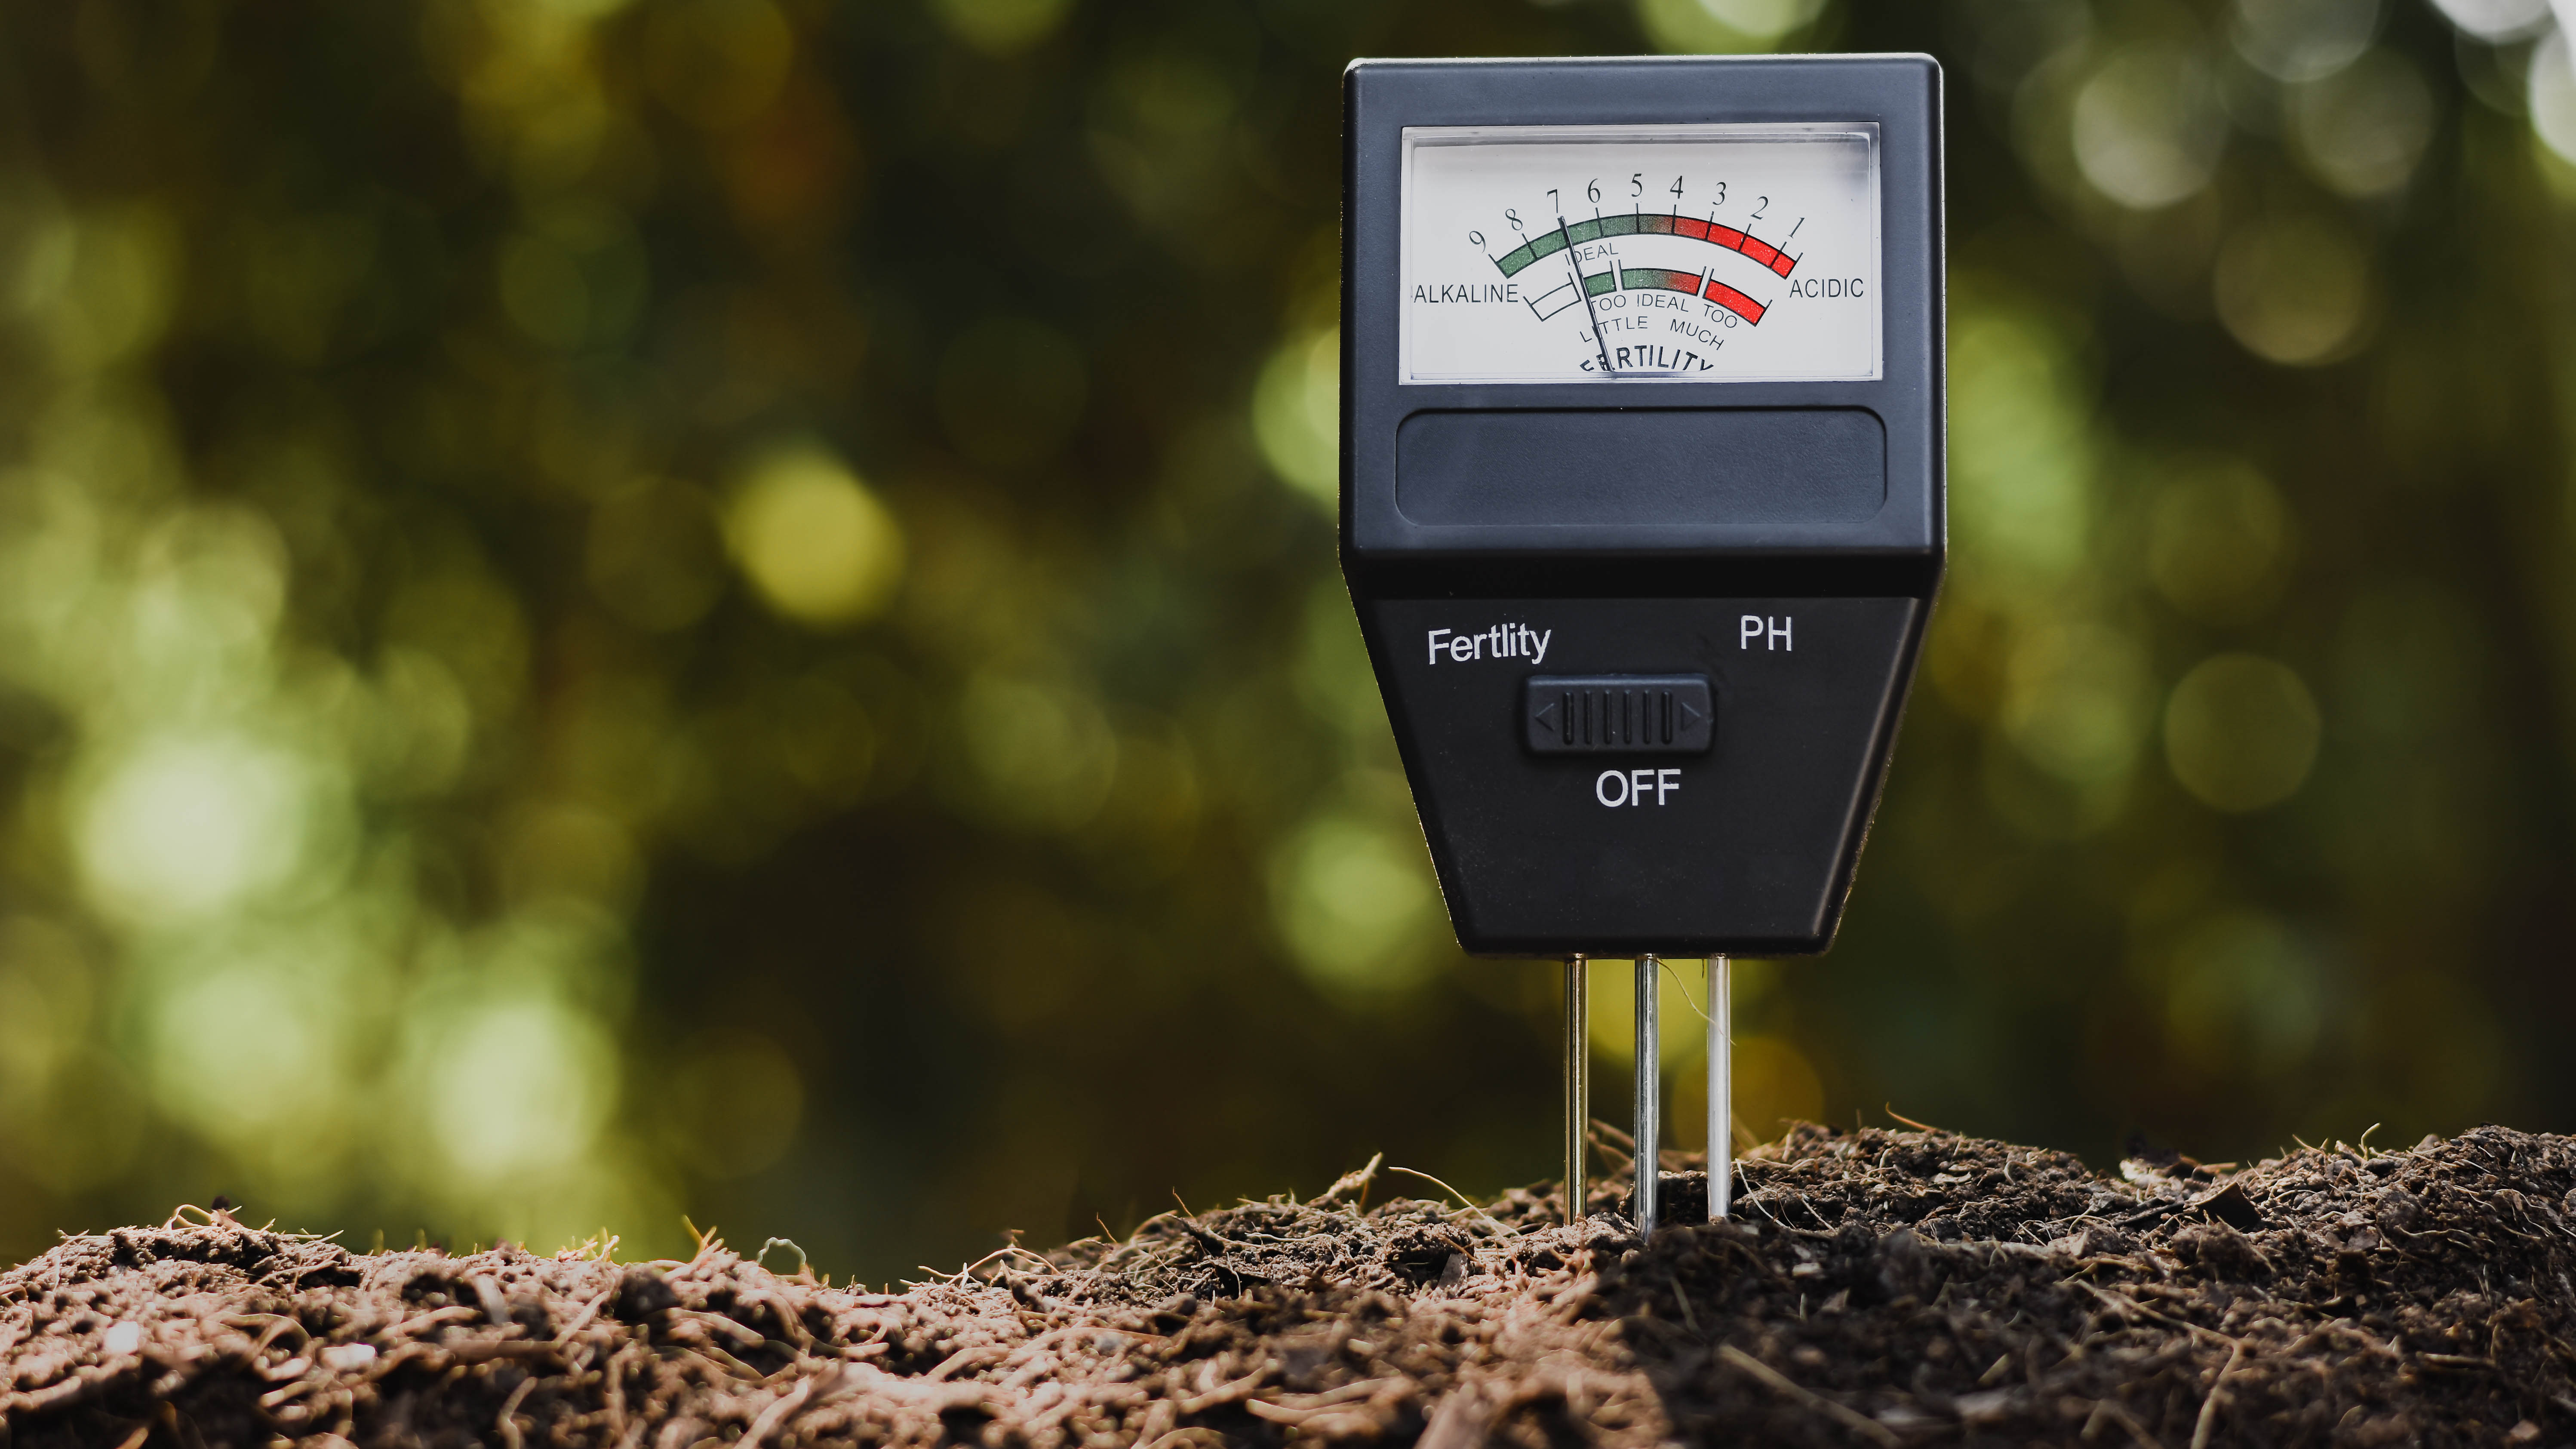
After one month, check the soil pH level to see whether it requires more lime. If you find that your soil is still very acidic, you may need to apply lime more than once. Bear in mind that lime is a slow-acting mineral, so it will take months before it works its way into the soil, and change the pH level. In some cases it could take up to six months to see a significant reading, so patience is key.
How often should you put lime on your lawn?
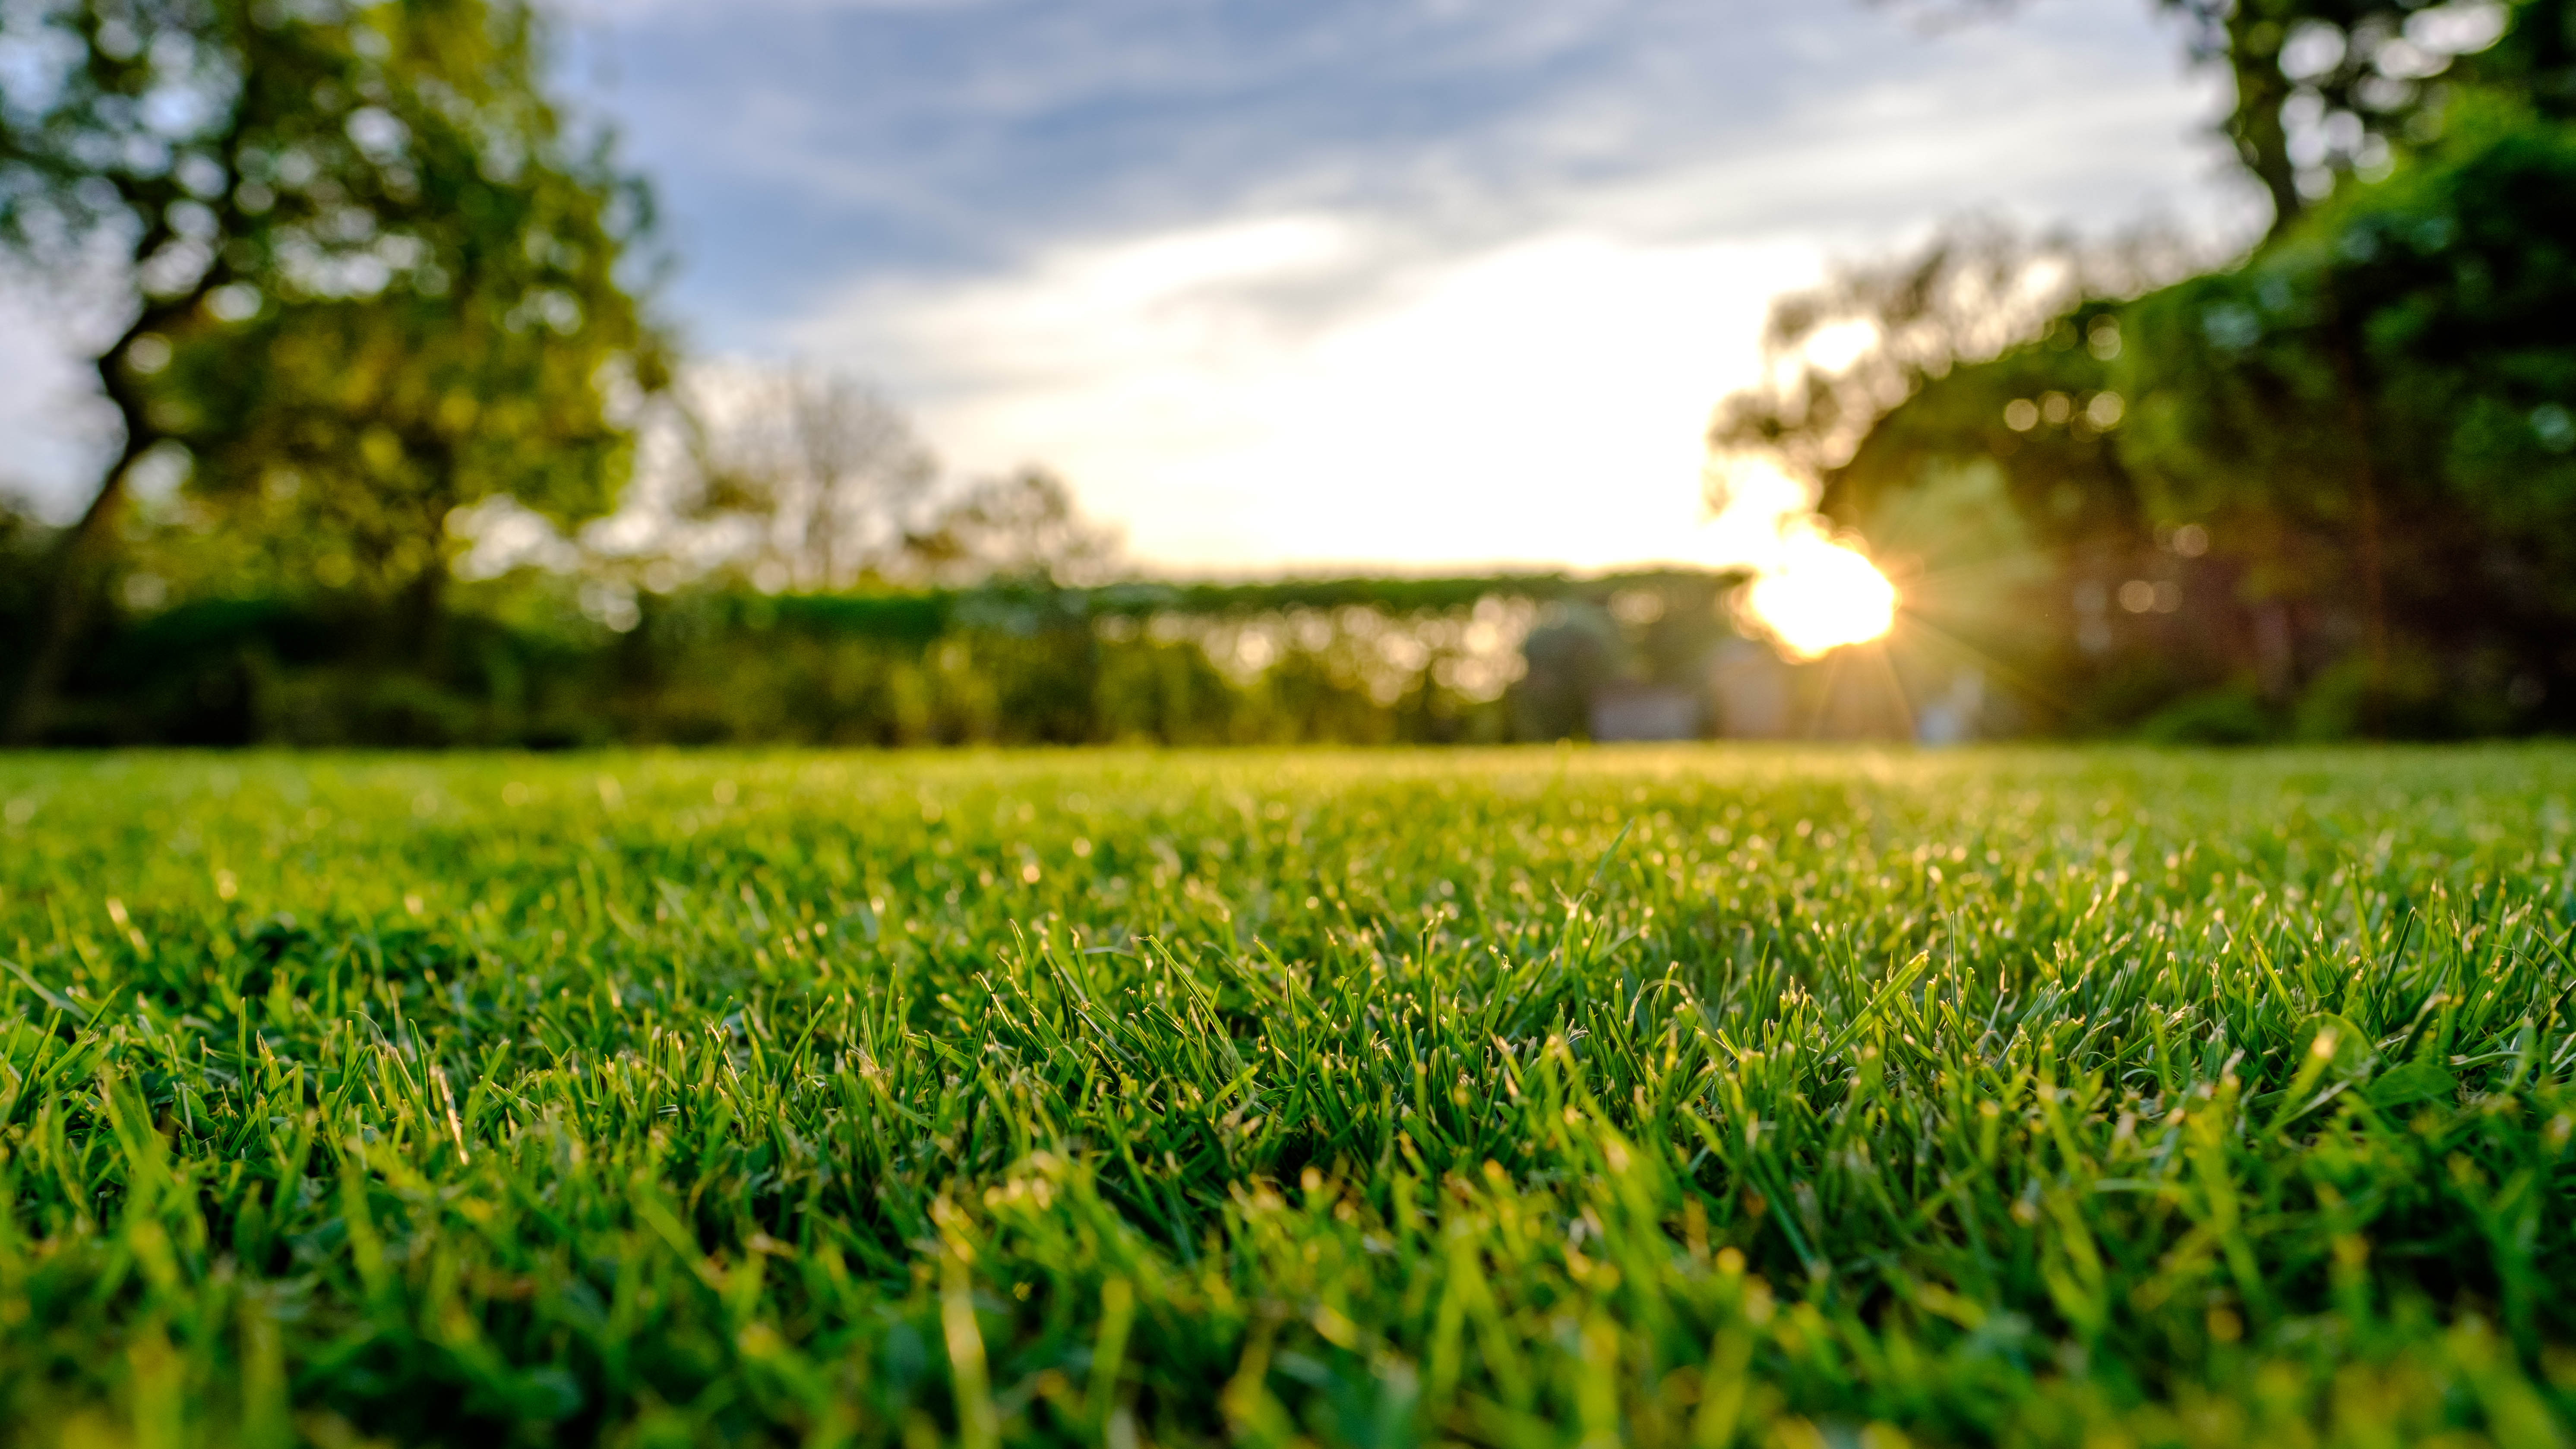
Generally, you should apply lime every three to five years. However, check your soil pH every 1-2 years, and only when the pH is dropping, should you repeat lime treatment as needed.
If you’re thinking of upgrading your lawnmower, here are 5 reasons to buy an electric lawn mower. Or If you're in the market for gardening tools, take a look at the best pruning shears.

As the Homes Content Editor, Cynthia Lawrence covers all things homes, interior decorating, and garden-related. She has a wealth of editorial experience testing the latest, ‘must-have’ home appliances, writing buying guides and the handy ‘how to’ features.
Her work has been published in various titles including, T3, Top Ten Reviews, Ideal Home, Real Homes, Livingetc. and House Beautiful, amongst many.
With a rather unhealthy obsession for all things homes and interiors, she also has an interior design blog for style inspiration and savvy storage solutions (get rid of that clutter!). When she’s not testing cool products, she’ll be searching online for more decor ideas to spruce up her family home or looking for a great bargain!
