How to plant potatoes and when to do it
Here’s how to plant potatoes step-by-step
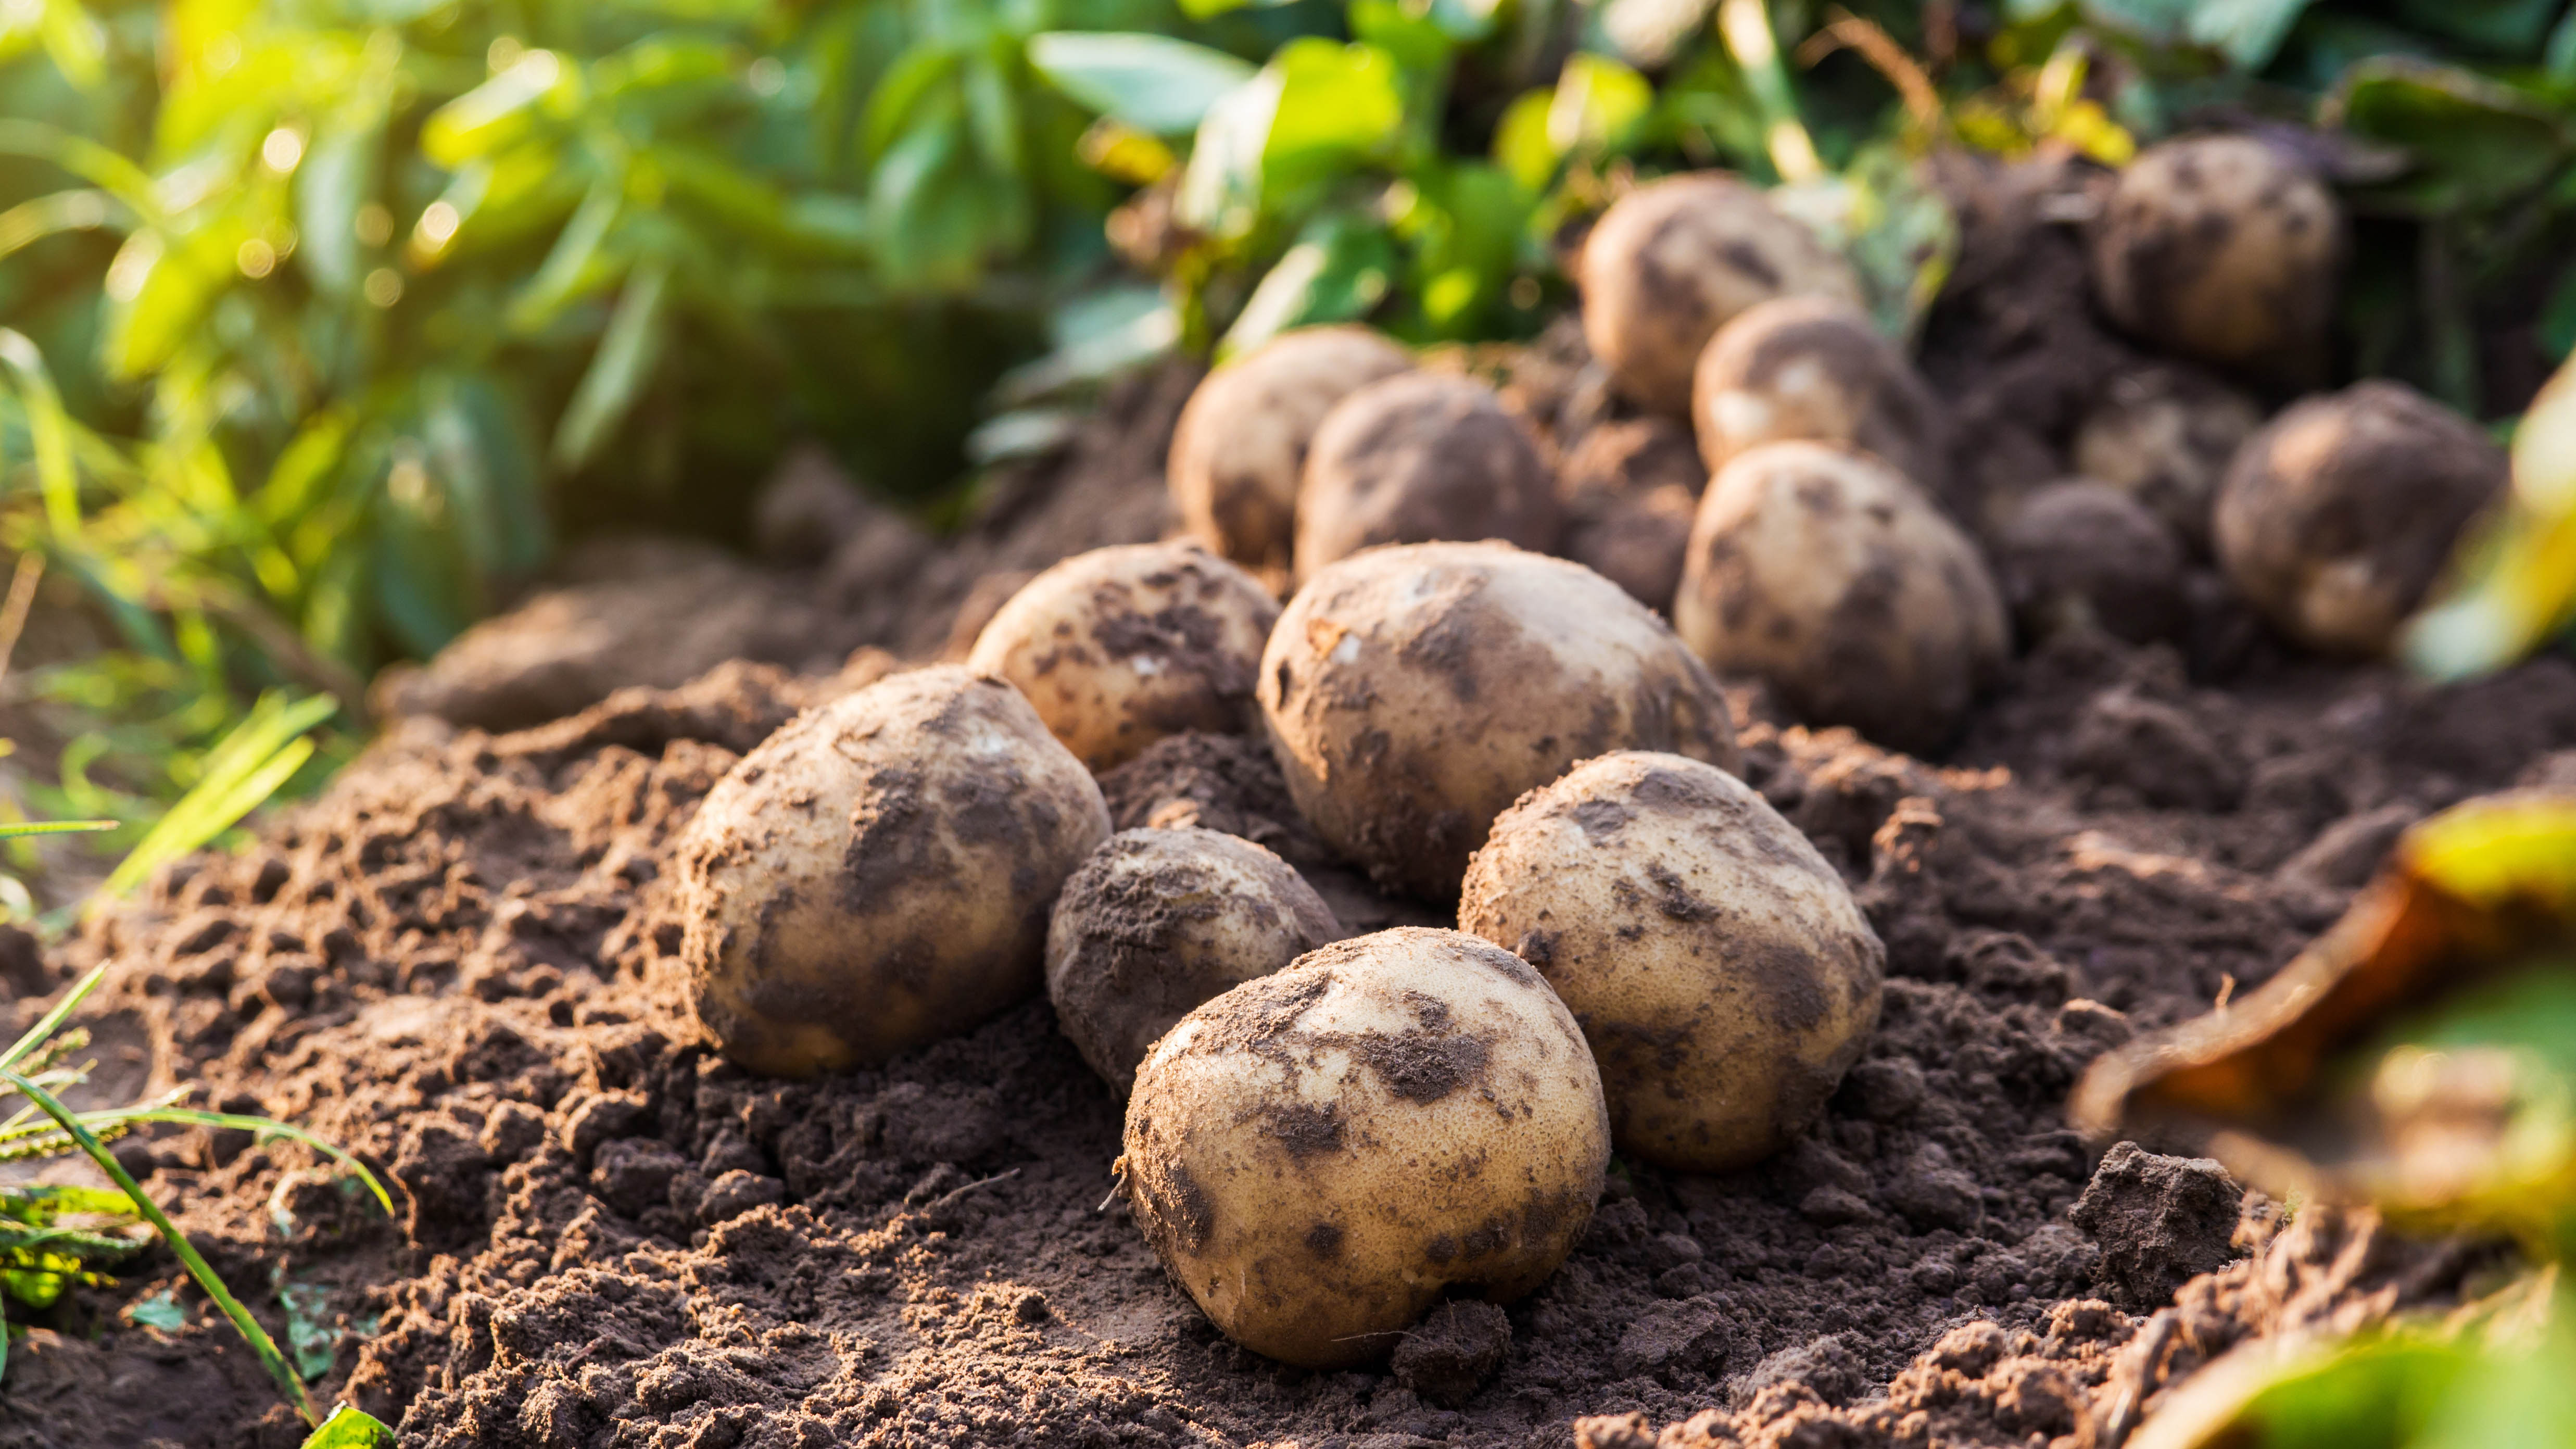
Once you know how to plant potatoes, you’ll be surprised by how easy the process is. Just like learning how to grow tomatoes from seeds, potatoes are quick and simple to raise, but having said that, there’s always things you can do to improve the conditions and quality of the harvest. It’s worth making the extra effort as well — it will result in bigger and more flavorsome potatoes.
Whether you’re new to potatoes or a seasoned grower, we’re here to help. We’ve broken down all you need to know to get your potatoes thriving. Here, we cover everything from the best time of year to grow them, to watering habits, all the way to storage tips, so you can get the most out of your spuds. Keen to learn more? Here’s how to plant potatoes.
If you're new to the world of growing food, check out the 9 easiest vegetables to grow for beginners and 9 mistakes to avoid when sowing seeds. Or learn how to plant asparagus the easy way for delicious meals.
How to plant potatoes
Seed potatoes
Paring knife
Fertilizer
Compost/aged manure
Hoe/shovel
1. Choose a spot — First, you need to decide where you want to plant your potatoes. Pick an area which gets plenty of sun, ideally with slightly acidic soil (PH of 5.0 to 7.0). Don’t worry if you can’t quite meet these standards — potatoes are pretty hardy and will grow mostly anywhere.
2. Pick out your seed potatoes — Make sure you buy seed potatoes for planting, not potato seeds. Any potatoes you pick up from a grocery store won’t work as they will have been treated with a sprout-retardant. You can find seed potatoes at local farm shops, but they’re widely available online too, such as these seed potatoes from Simply Seed ($13.99, Amazon).
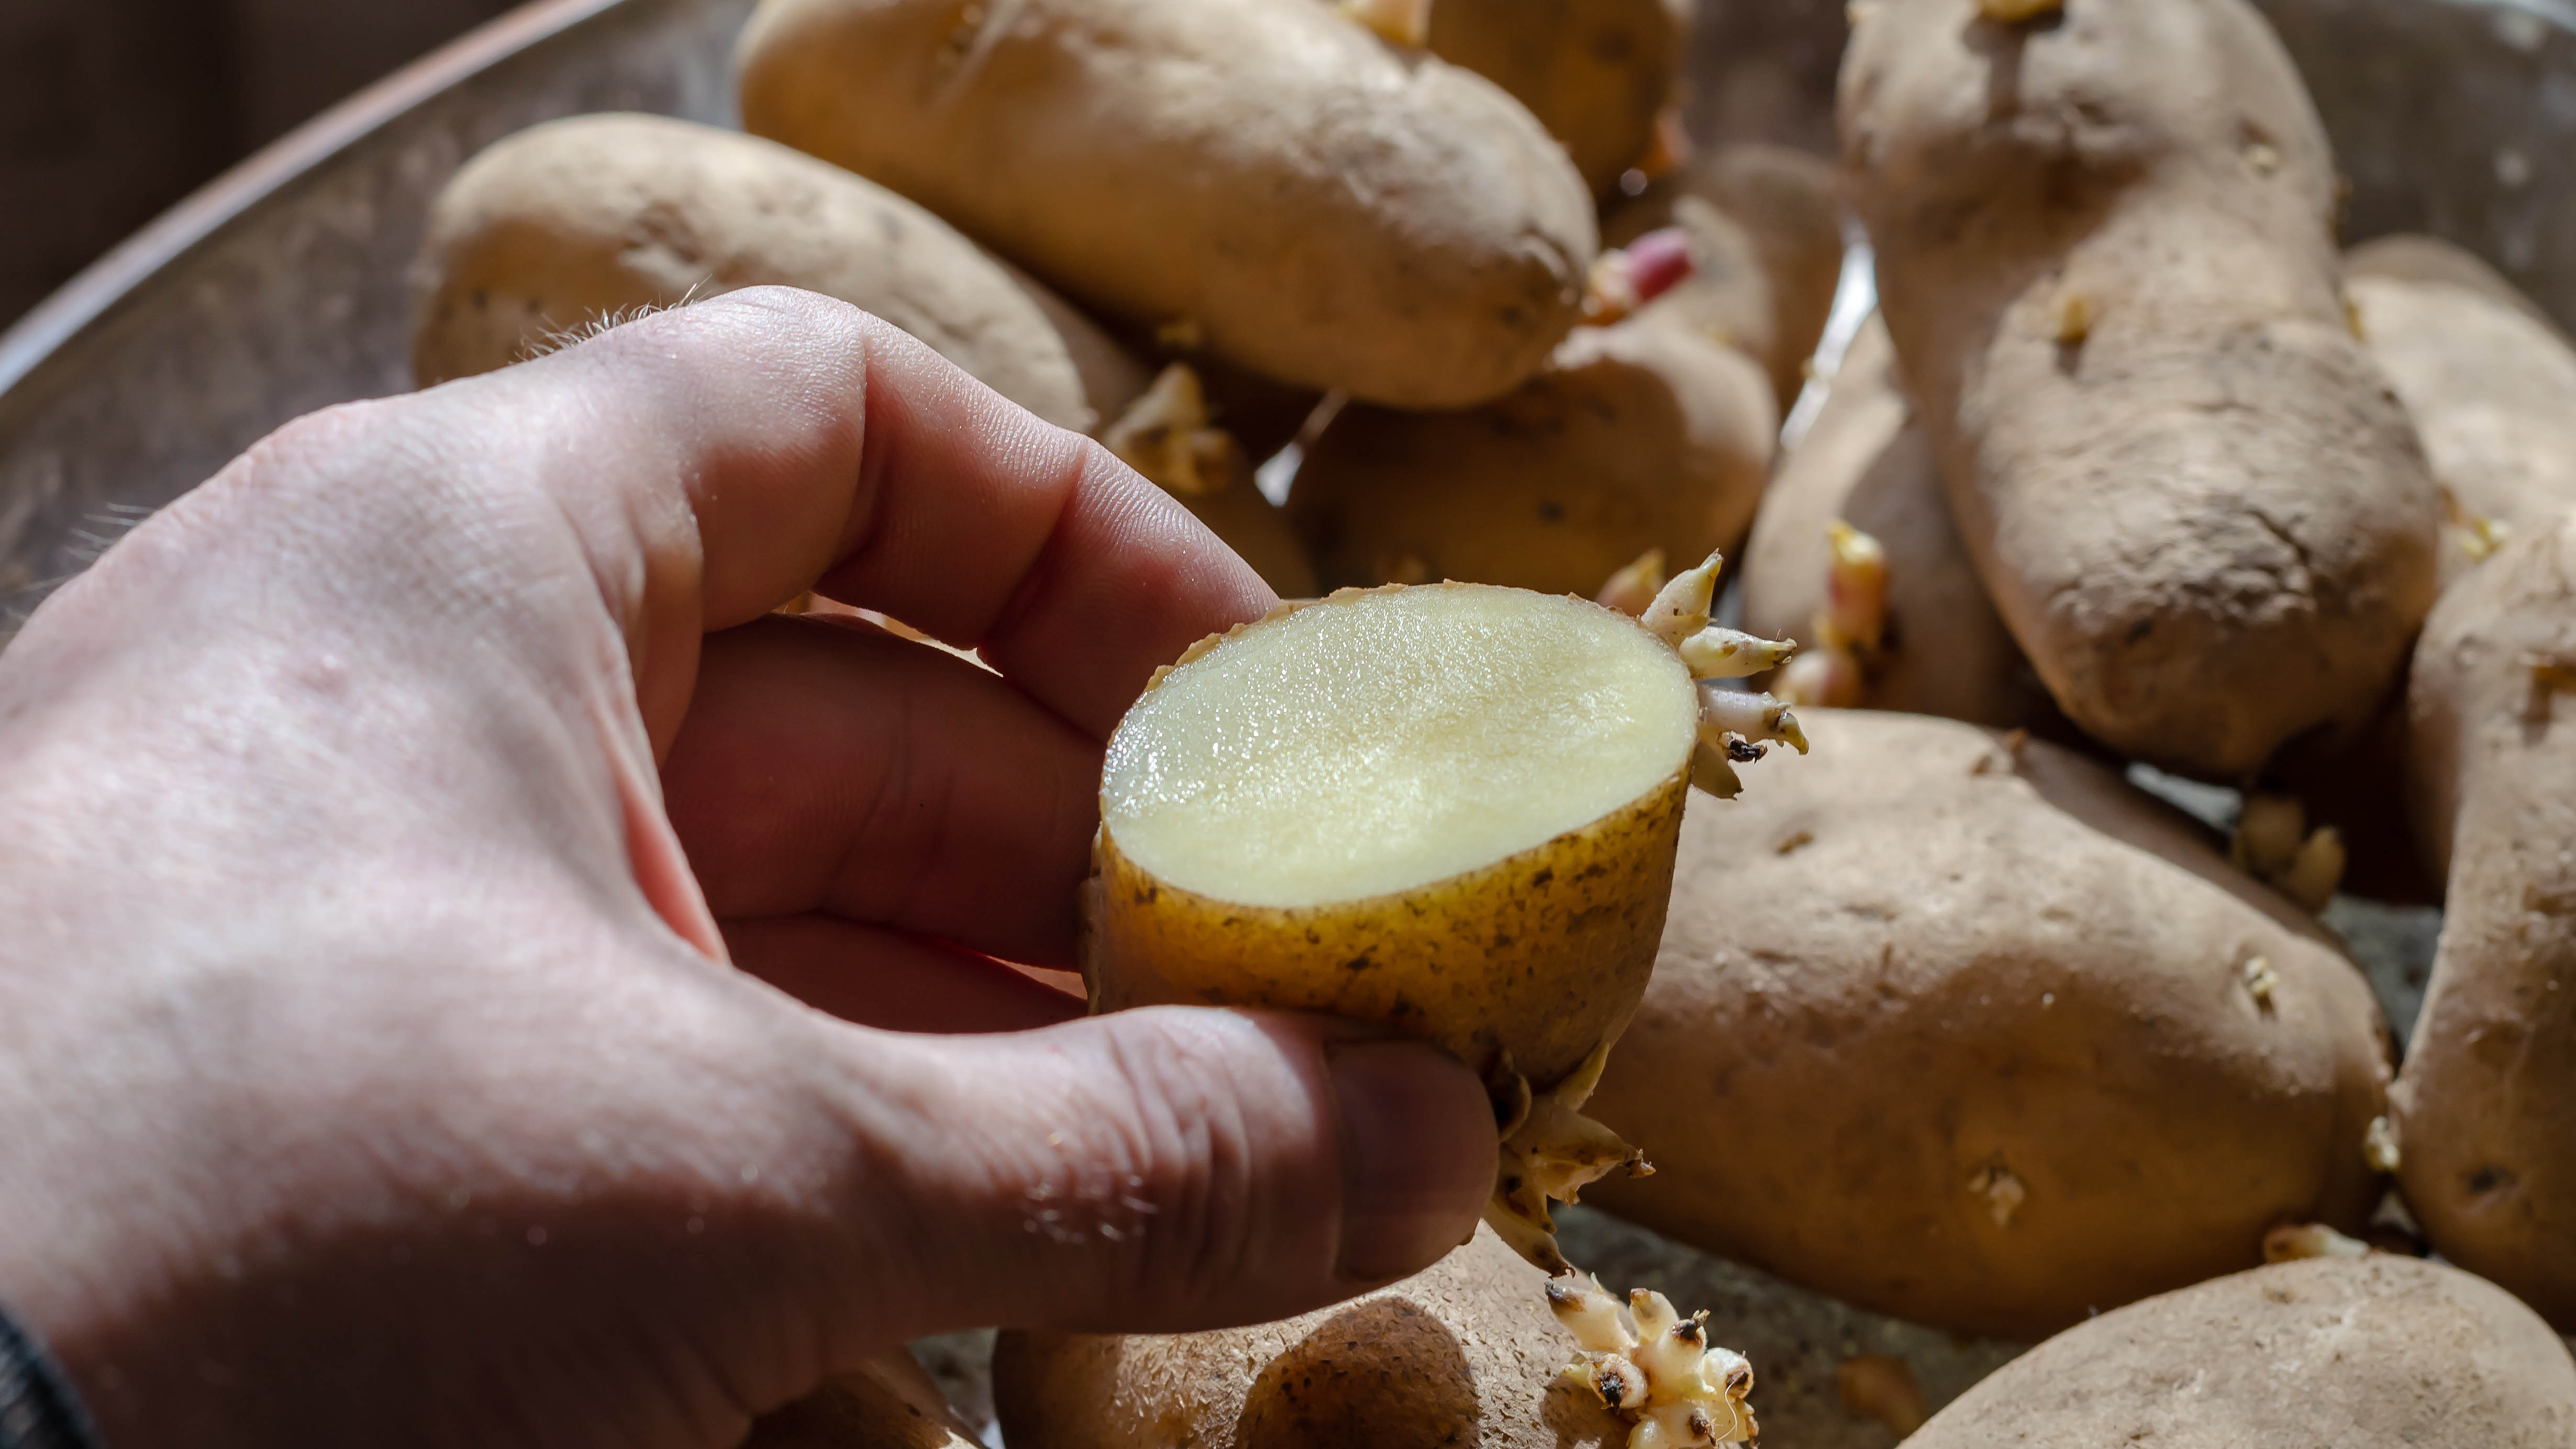
3. Cut your seed potatoes — You need to cut your seed potatoes 3-5 days ahead of planting them. This will help them retain moisture and better protect them from rotting as well. Any large potatoes should be cut in half so each segment is about the size of a golf ball. You want each piece to have a couple of ‘eyes’ which is where it will sprout from. Don’t worry about cutting any smaller seed potatoes which are already the size of a golf ball.
4. Cure your seed potatoes — Now, you need to leave your cut potatoes out to ‘cure’ for 3-5 days. You can lay them out in the sun, or just keep them in a warm space (roughly 70°F). You should notice a thick callous forming over the cuts within a couple of days.
Sign up to get the BEST of Tom's Guide direct to your inbox.
Get instant access to breaking news, the hottest reviews, great deals and helpful tips.
5. Prep the ground — While your potatoes are curing, you can get to work on the ground. Remove any weeds and, using a hoe or shovel, dig a trench roughly 6-8 inches deep, with the base about 3 inches wide. If you need more than one row, keep about 3 feet between them. Cultivate the soil by mixing in compost or rotted manure at the base of the trench.
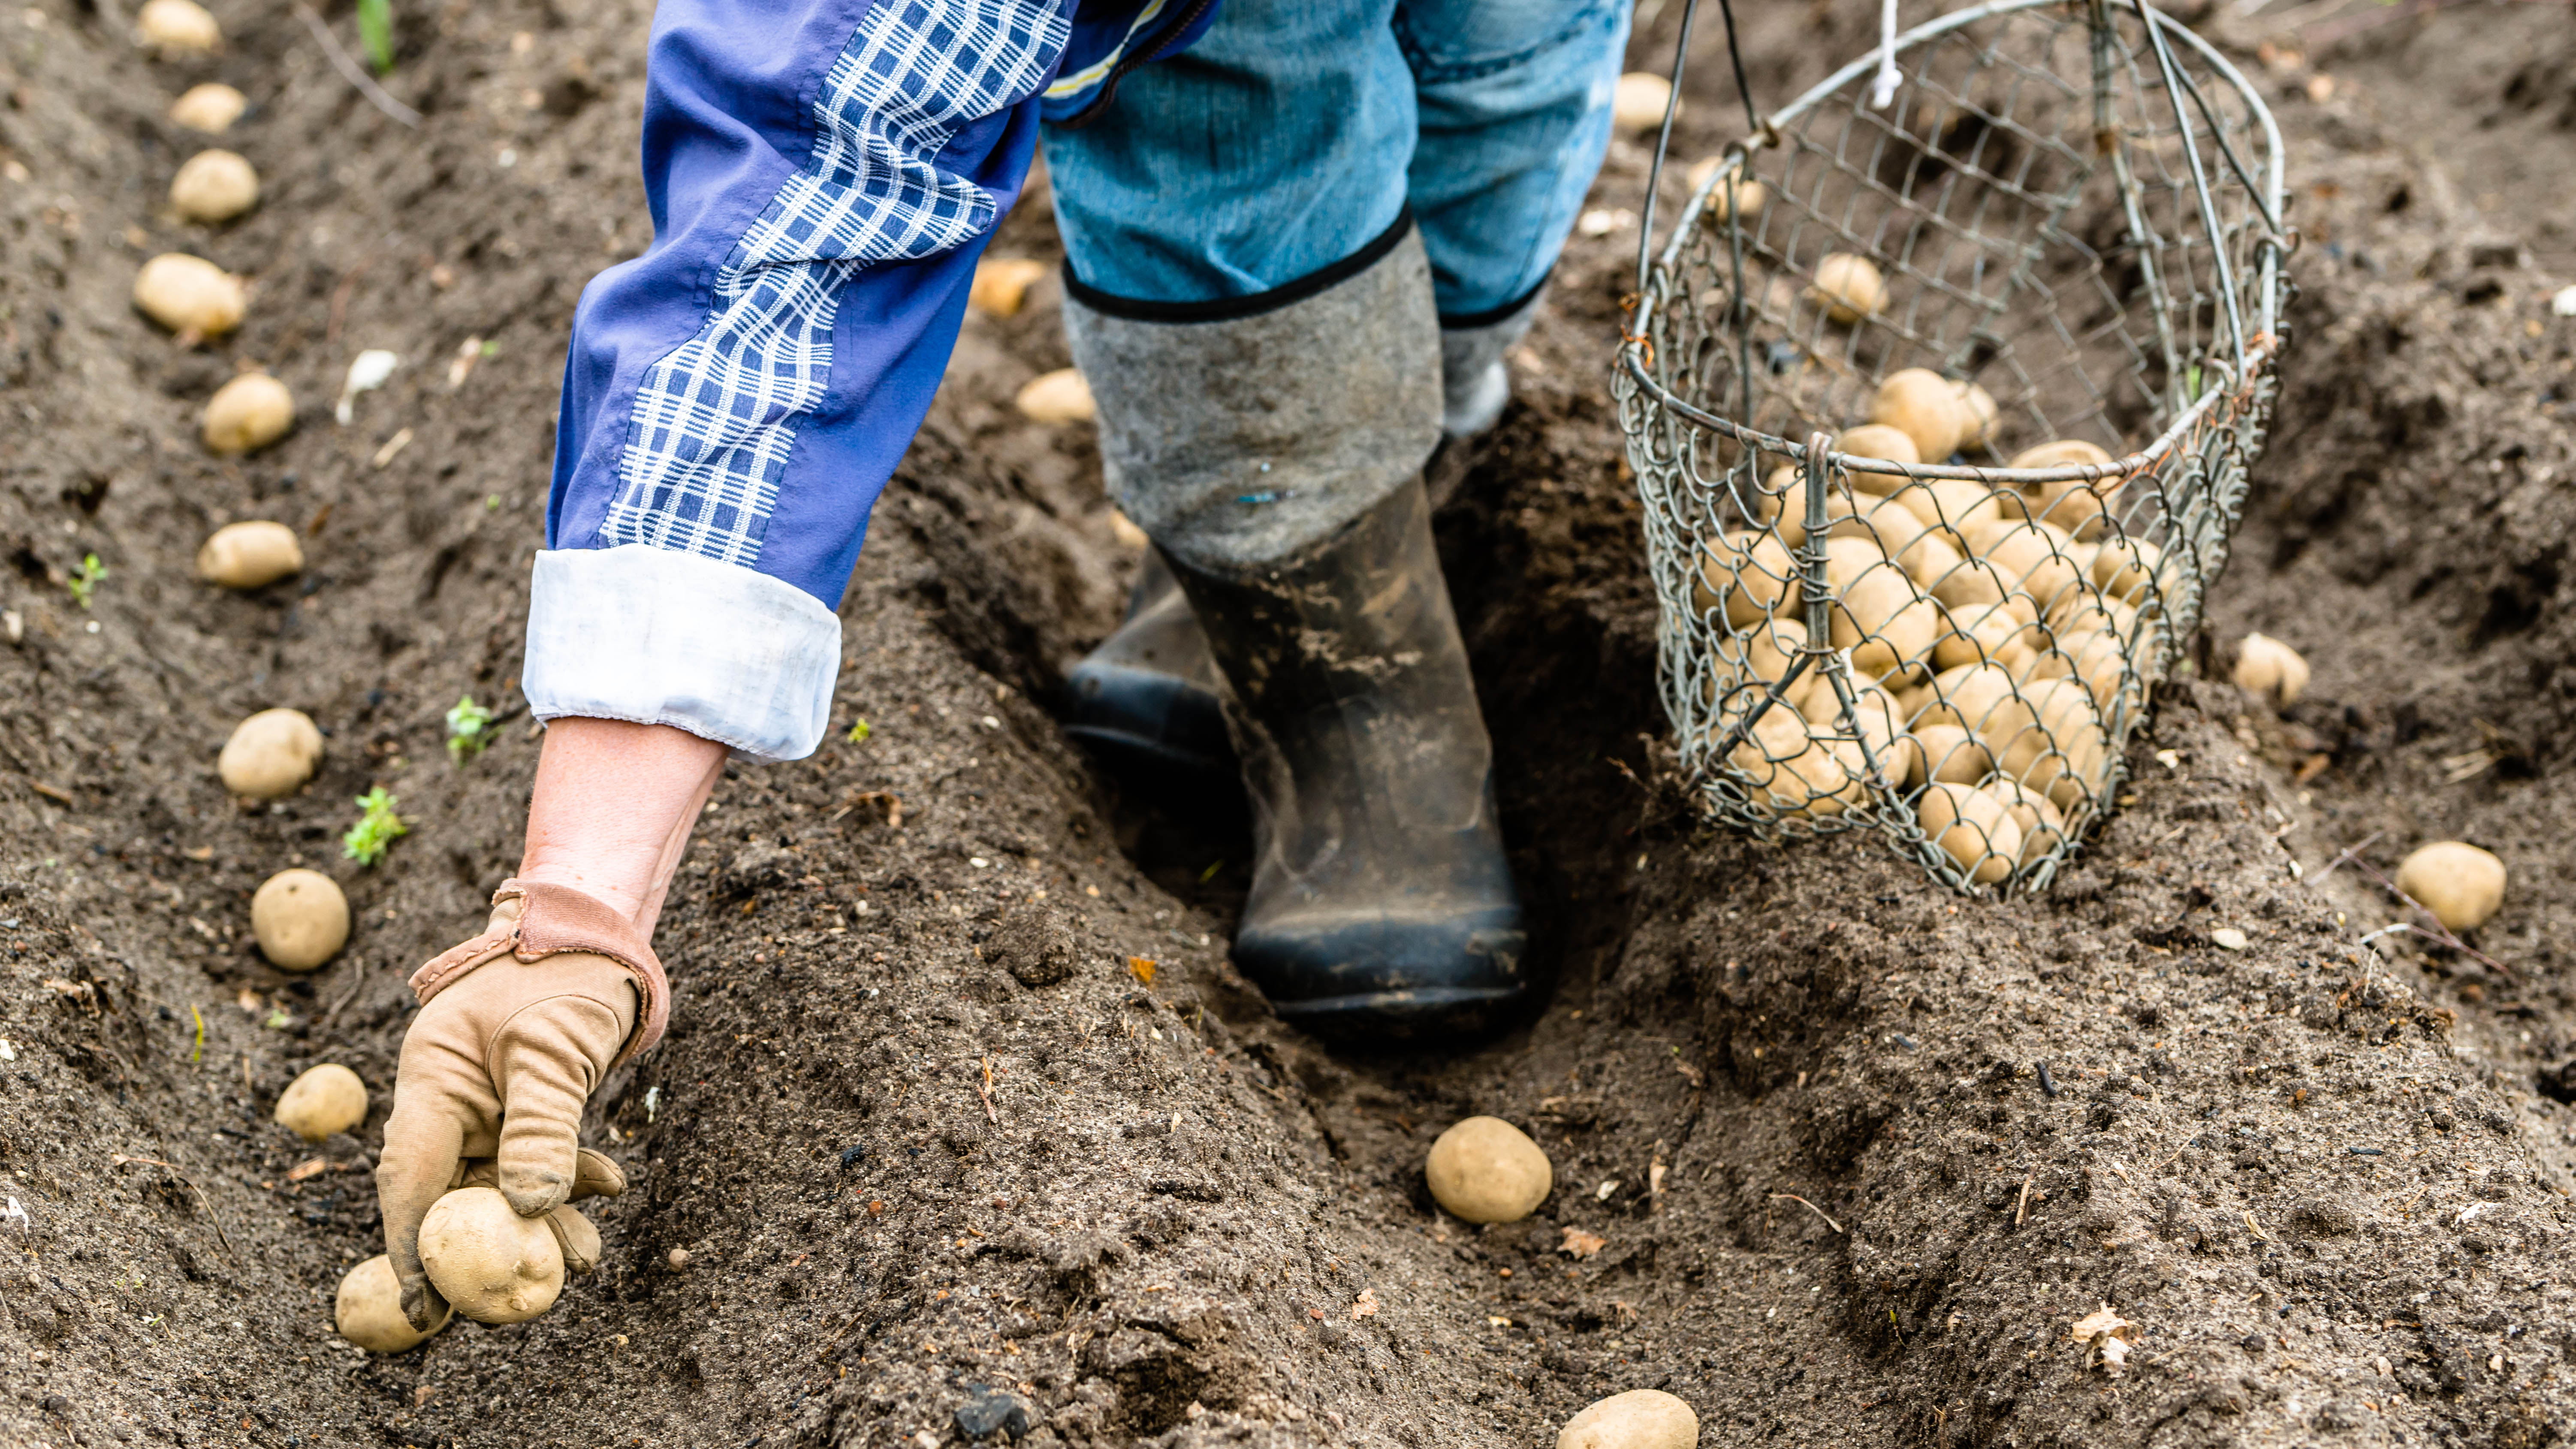
6. Plant your potatoes — Each potato should be planted cut-side down with the ‘eyes’ up, and spaced 12 inches apart on every side. (Baby potatoes can be spaced every 9 inches.) Sprinkle fertilizer, such as Burpee Bone Meal Fertilizer ($12.99, Amazon) between each potato seed, following pack instructions for dosage. Then cover with 3-4 inches of soil to start.
As the plants grow and sprout (reaching roughly 8 inches in height), you will need to add another 3-4 inches of soil on top, so only the top leaves are poking out of the ground. Then repeat again when they grow another 8 inches, which can take several weeks. By this point, your soil should be about 5 inches above ground level. This technique is known as ‘hilling’ and the more you do it, the better the harvest will be, although you should stop when the plants flower.
7. Water and wait — Potatoes need about one to two inches of water a week for general guidance, but don’t overwater them as they first start to grow. Give them plenty of water through the summer, especially when they start to flower. Once the leaves turn yellow and die back, stop watering — this will help preserve the potatoes for harvest.
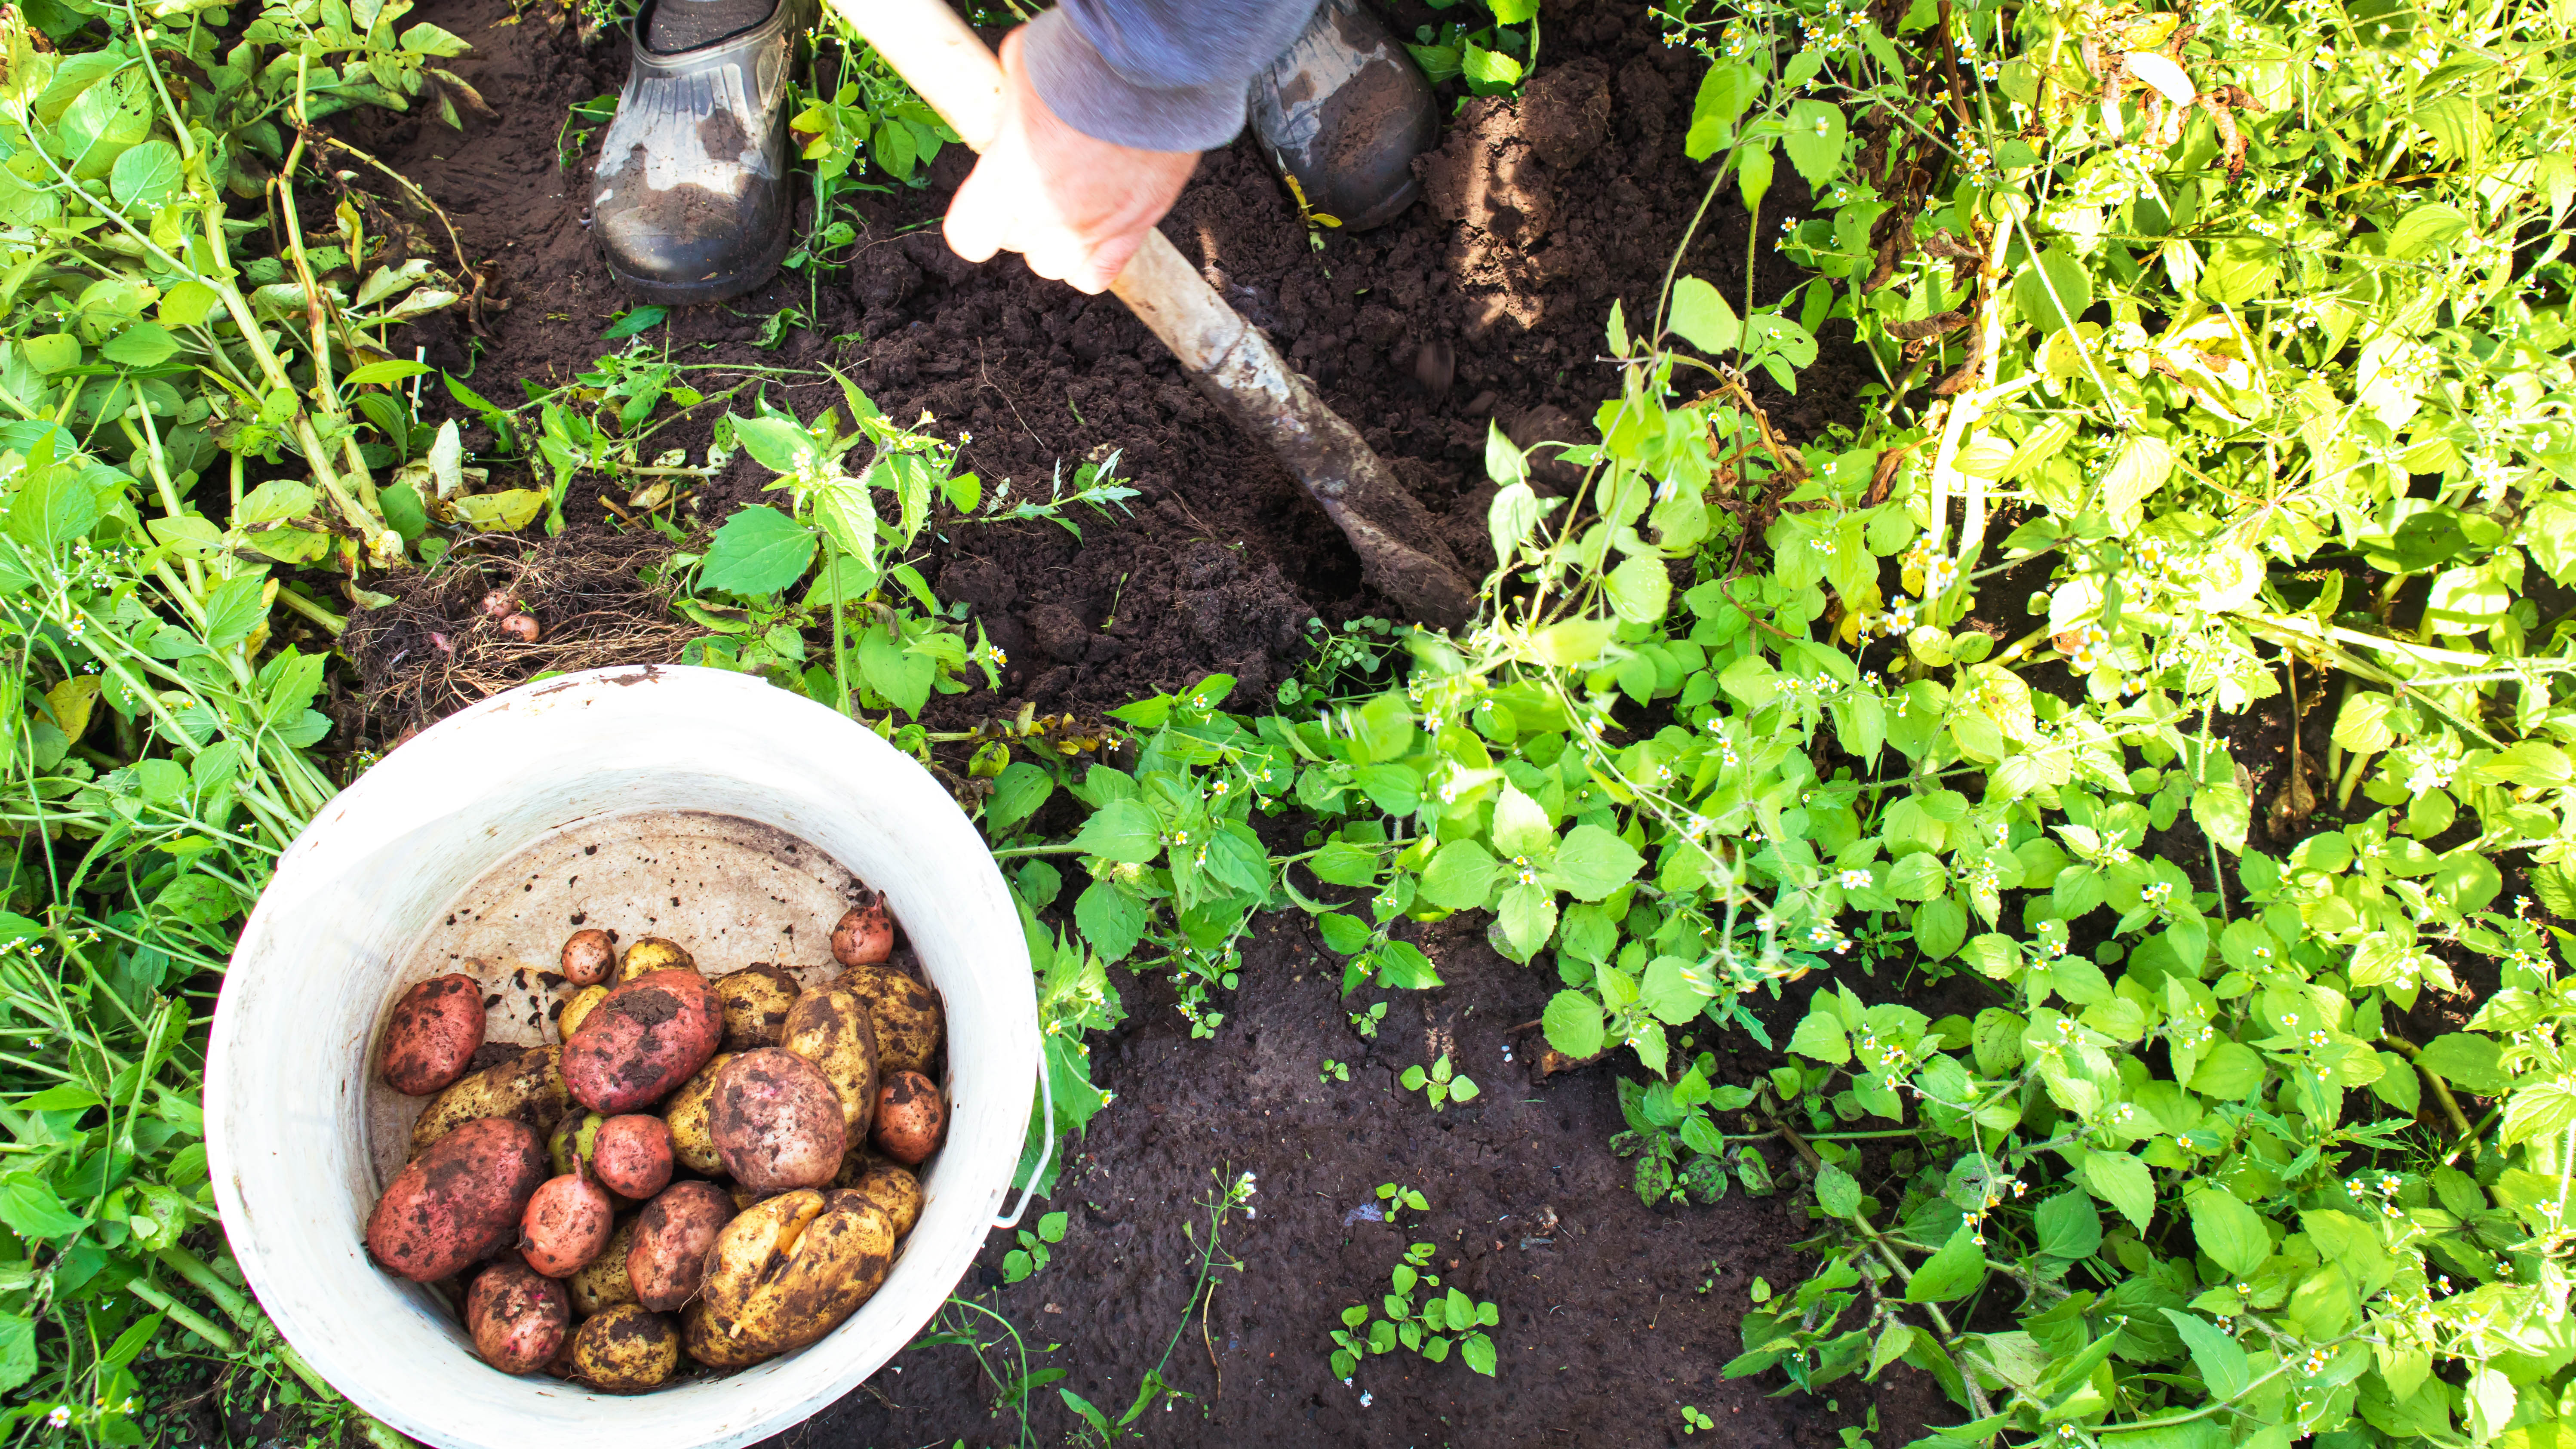
8. Harvest your potatoes — This is best done on a dry day. You can harvest new potatoes two weeks after the plant has finished flowering, but bear in mind these won’t cure and will need to be eaten within a few days, so you may only want to dig up one or two plants at a time. Ideally, you should wait for 2-3 weeks after the foliage dies back to dig them out.
9. Store your potatoes — If you want your potatoes to last, you should first let them cure for a few days on the top of the soil after carefully digging them up. If it rains, move them to shelter.
Once cured, you should store your potatoes somewhere dry, cool, well-ventilated and dark (35-45°F). Don’t wash them until you’re ready to use them, as this will shorten the lifespan. For long-term storage, a root cellar is ideal.
When should you plant potatoes?
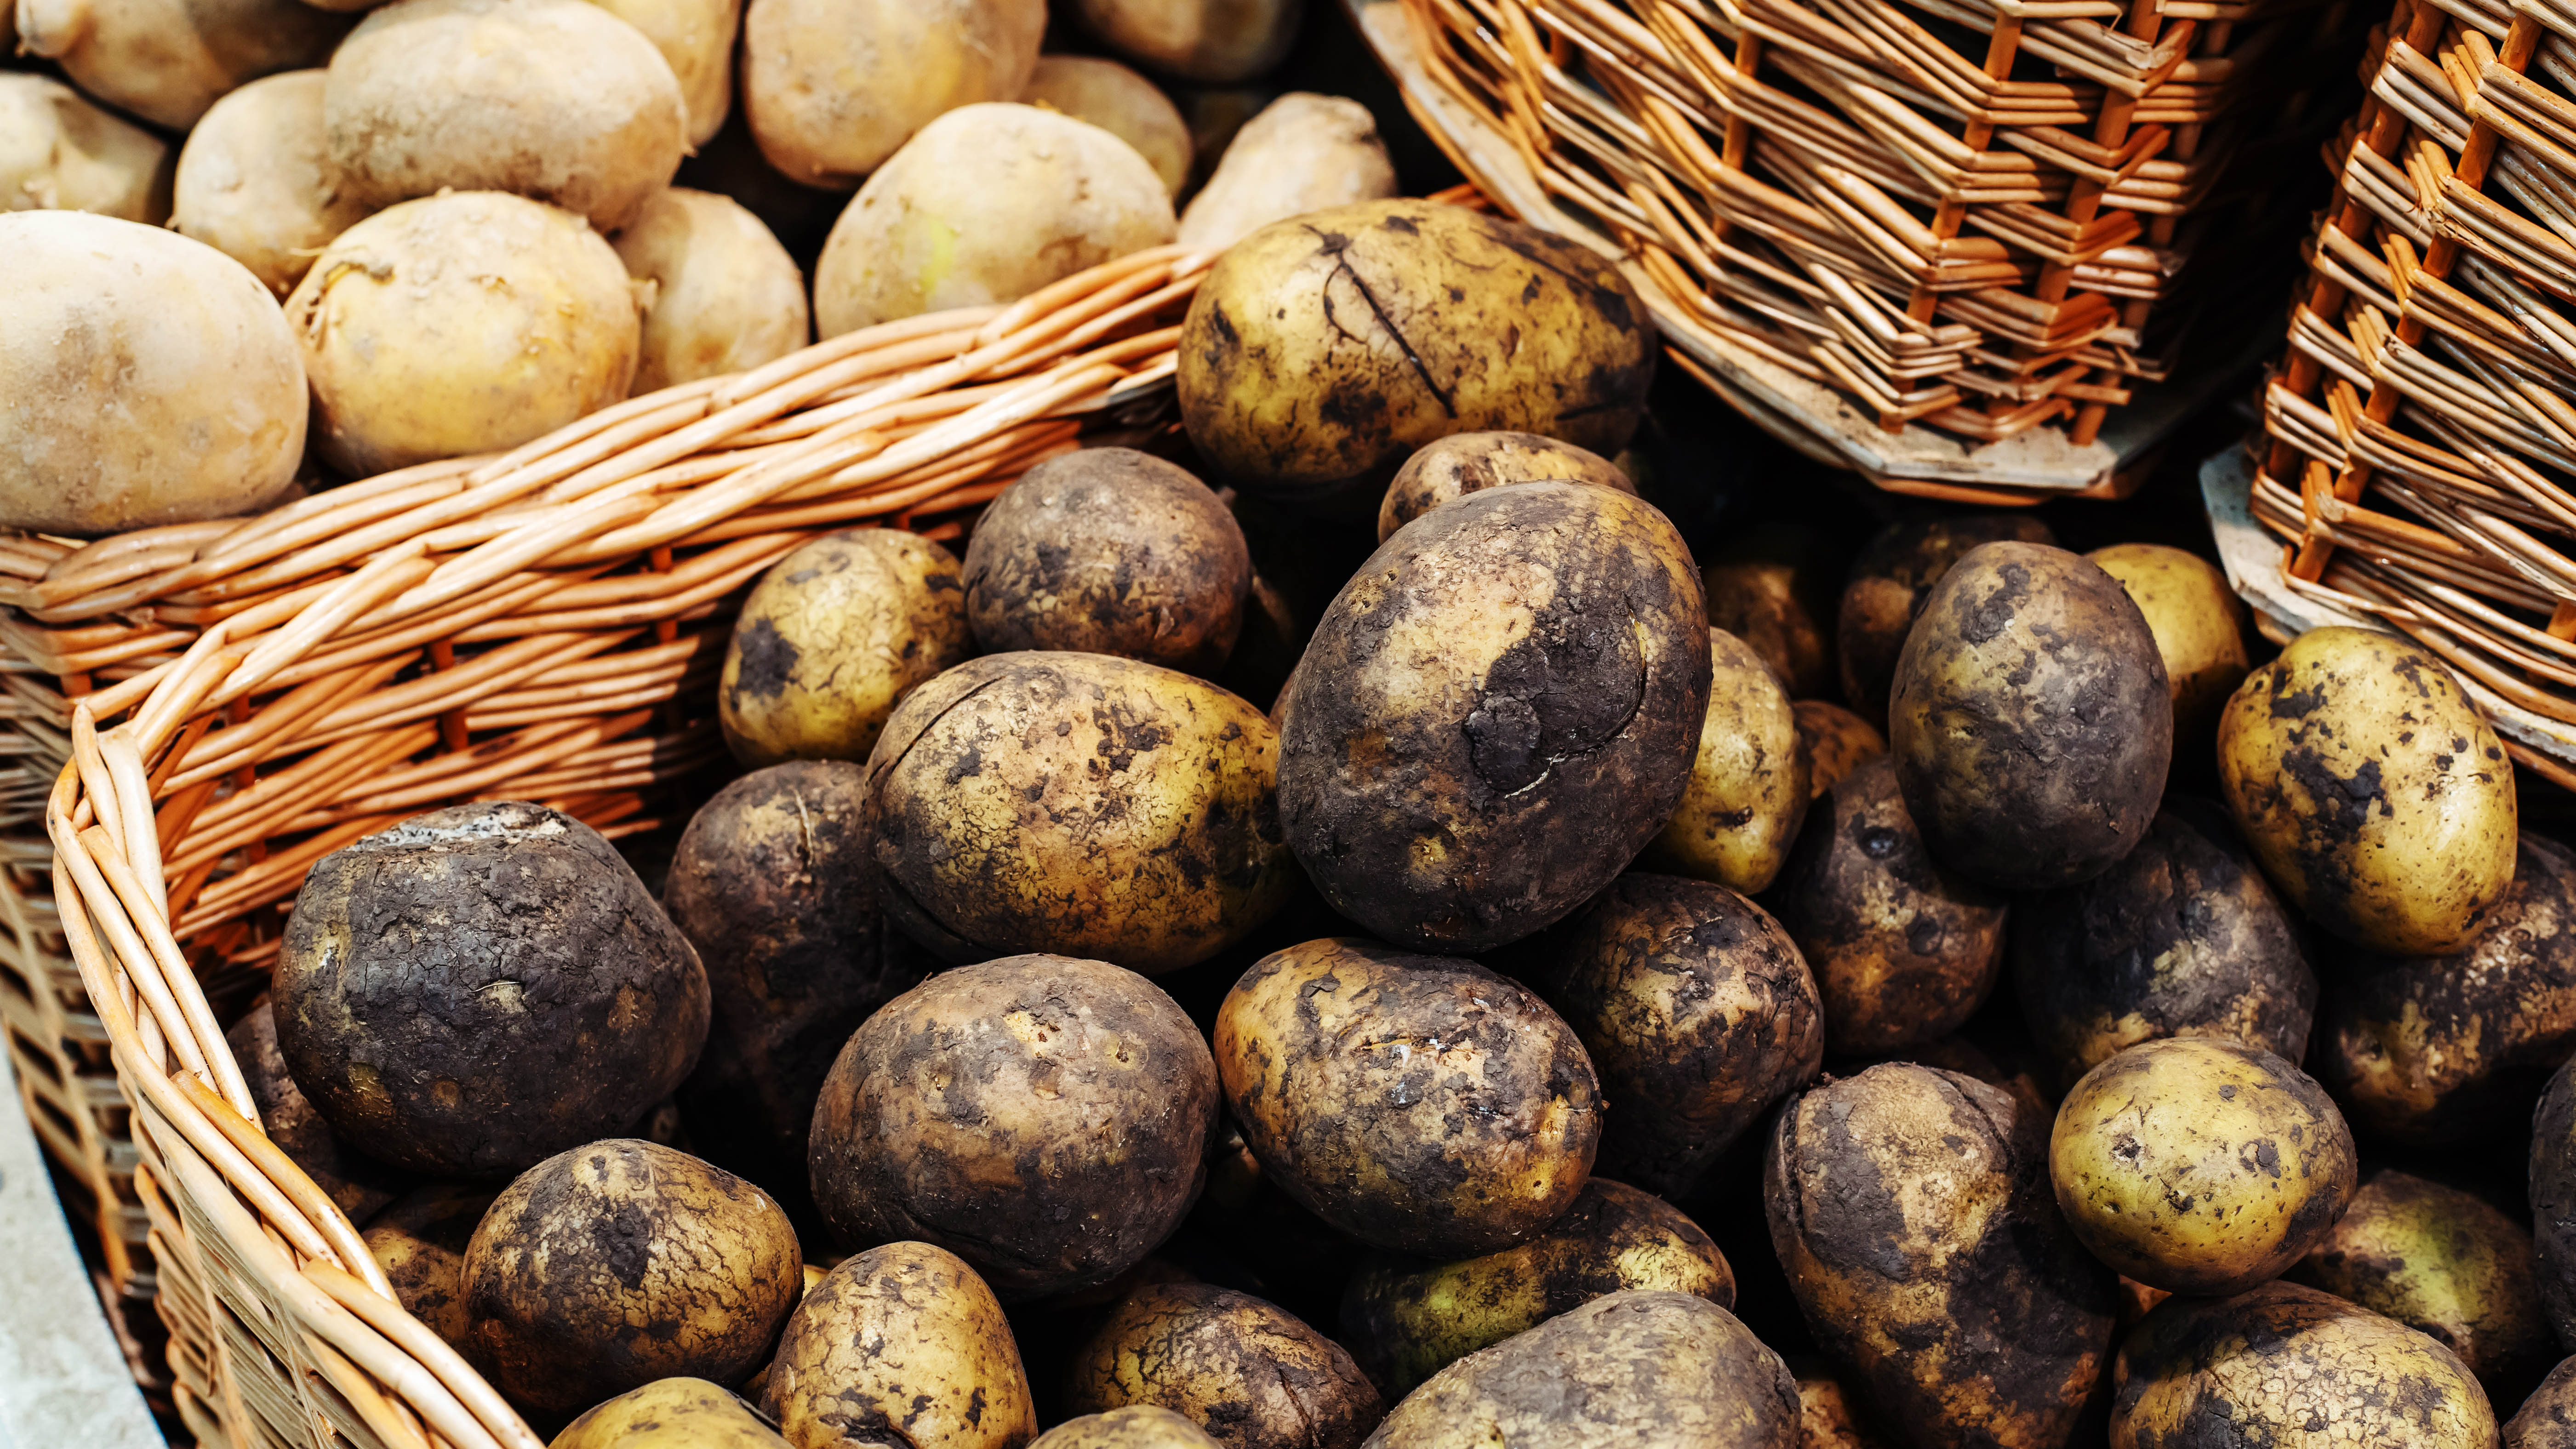
Potatoes are best planted in early spring or as soon as the soil can be worked. The soil should be between 45º to 55ºF, which means you will need to protect your potatoes with a cover if a late frost hits your yard. You don’t want the soil to be overly wet either as this can rot the potatoes. It’s best to wait 2-3 weeks prior to the last frost date for general guidance. However, potatoes can be planted as late as June, so you’re not tied to these dates.
How long does it take potatoes to grow?
This really depends on the type of potato you’re growing and the size you want to grow them to. New potatoes need between 60-90 days to grow, whereas full-size potatoes require about 120 days. You can tell they’re ready to harvest because the leaves start to die back and you might also notice a small mound of soil pushed up at the base of the stem. Failing that, you can also feel for the size of the potato in the soil if you’re unsure.
For more planting tips, tricks, and how-tos, check out our guides on how to plant sunflower seeds and when to do it, how to prune hydrangeas, how to care for an orchid, how to plant grass seed and get a greener yard, and 5 things to get your garden ready for spring. You can also check out these deer resistant plants that will keep Bambi away from your garden.
While you work in the garden, you might want to check out our guide on the best gardening gloves that we have tried and tested.

Katie Mortram used to be a Homes Editor for Tom's Guide, where she oversaw everything from kitchen appliances to gardening tools, as well as smart home tech. Specializing in providing expert advice for cleaning and home manintenance, she now works as Household Advice Editor for Good Housekeeping.
