How to paint a ceiling without making a mess
Here’s how to paint a ceiling to give your room a new lease on life
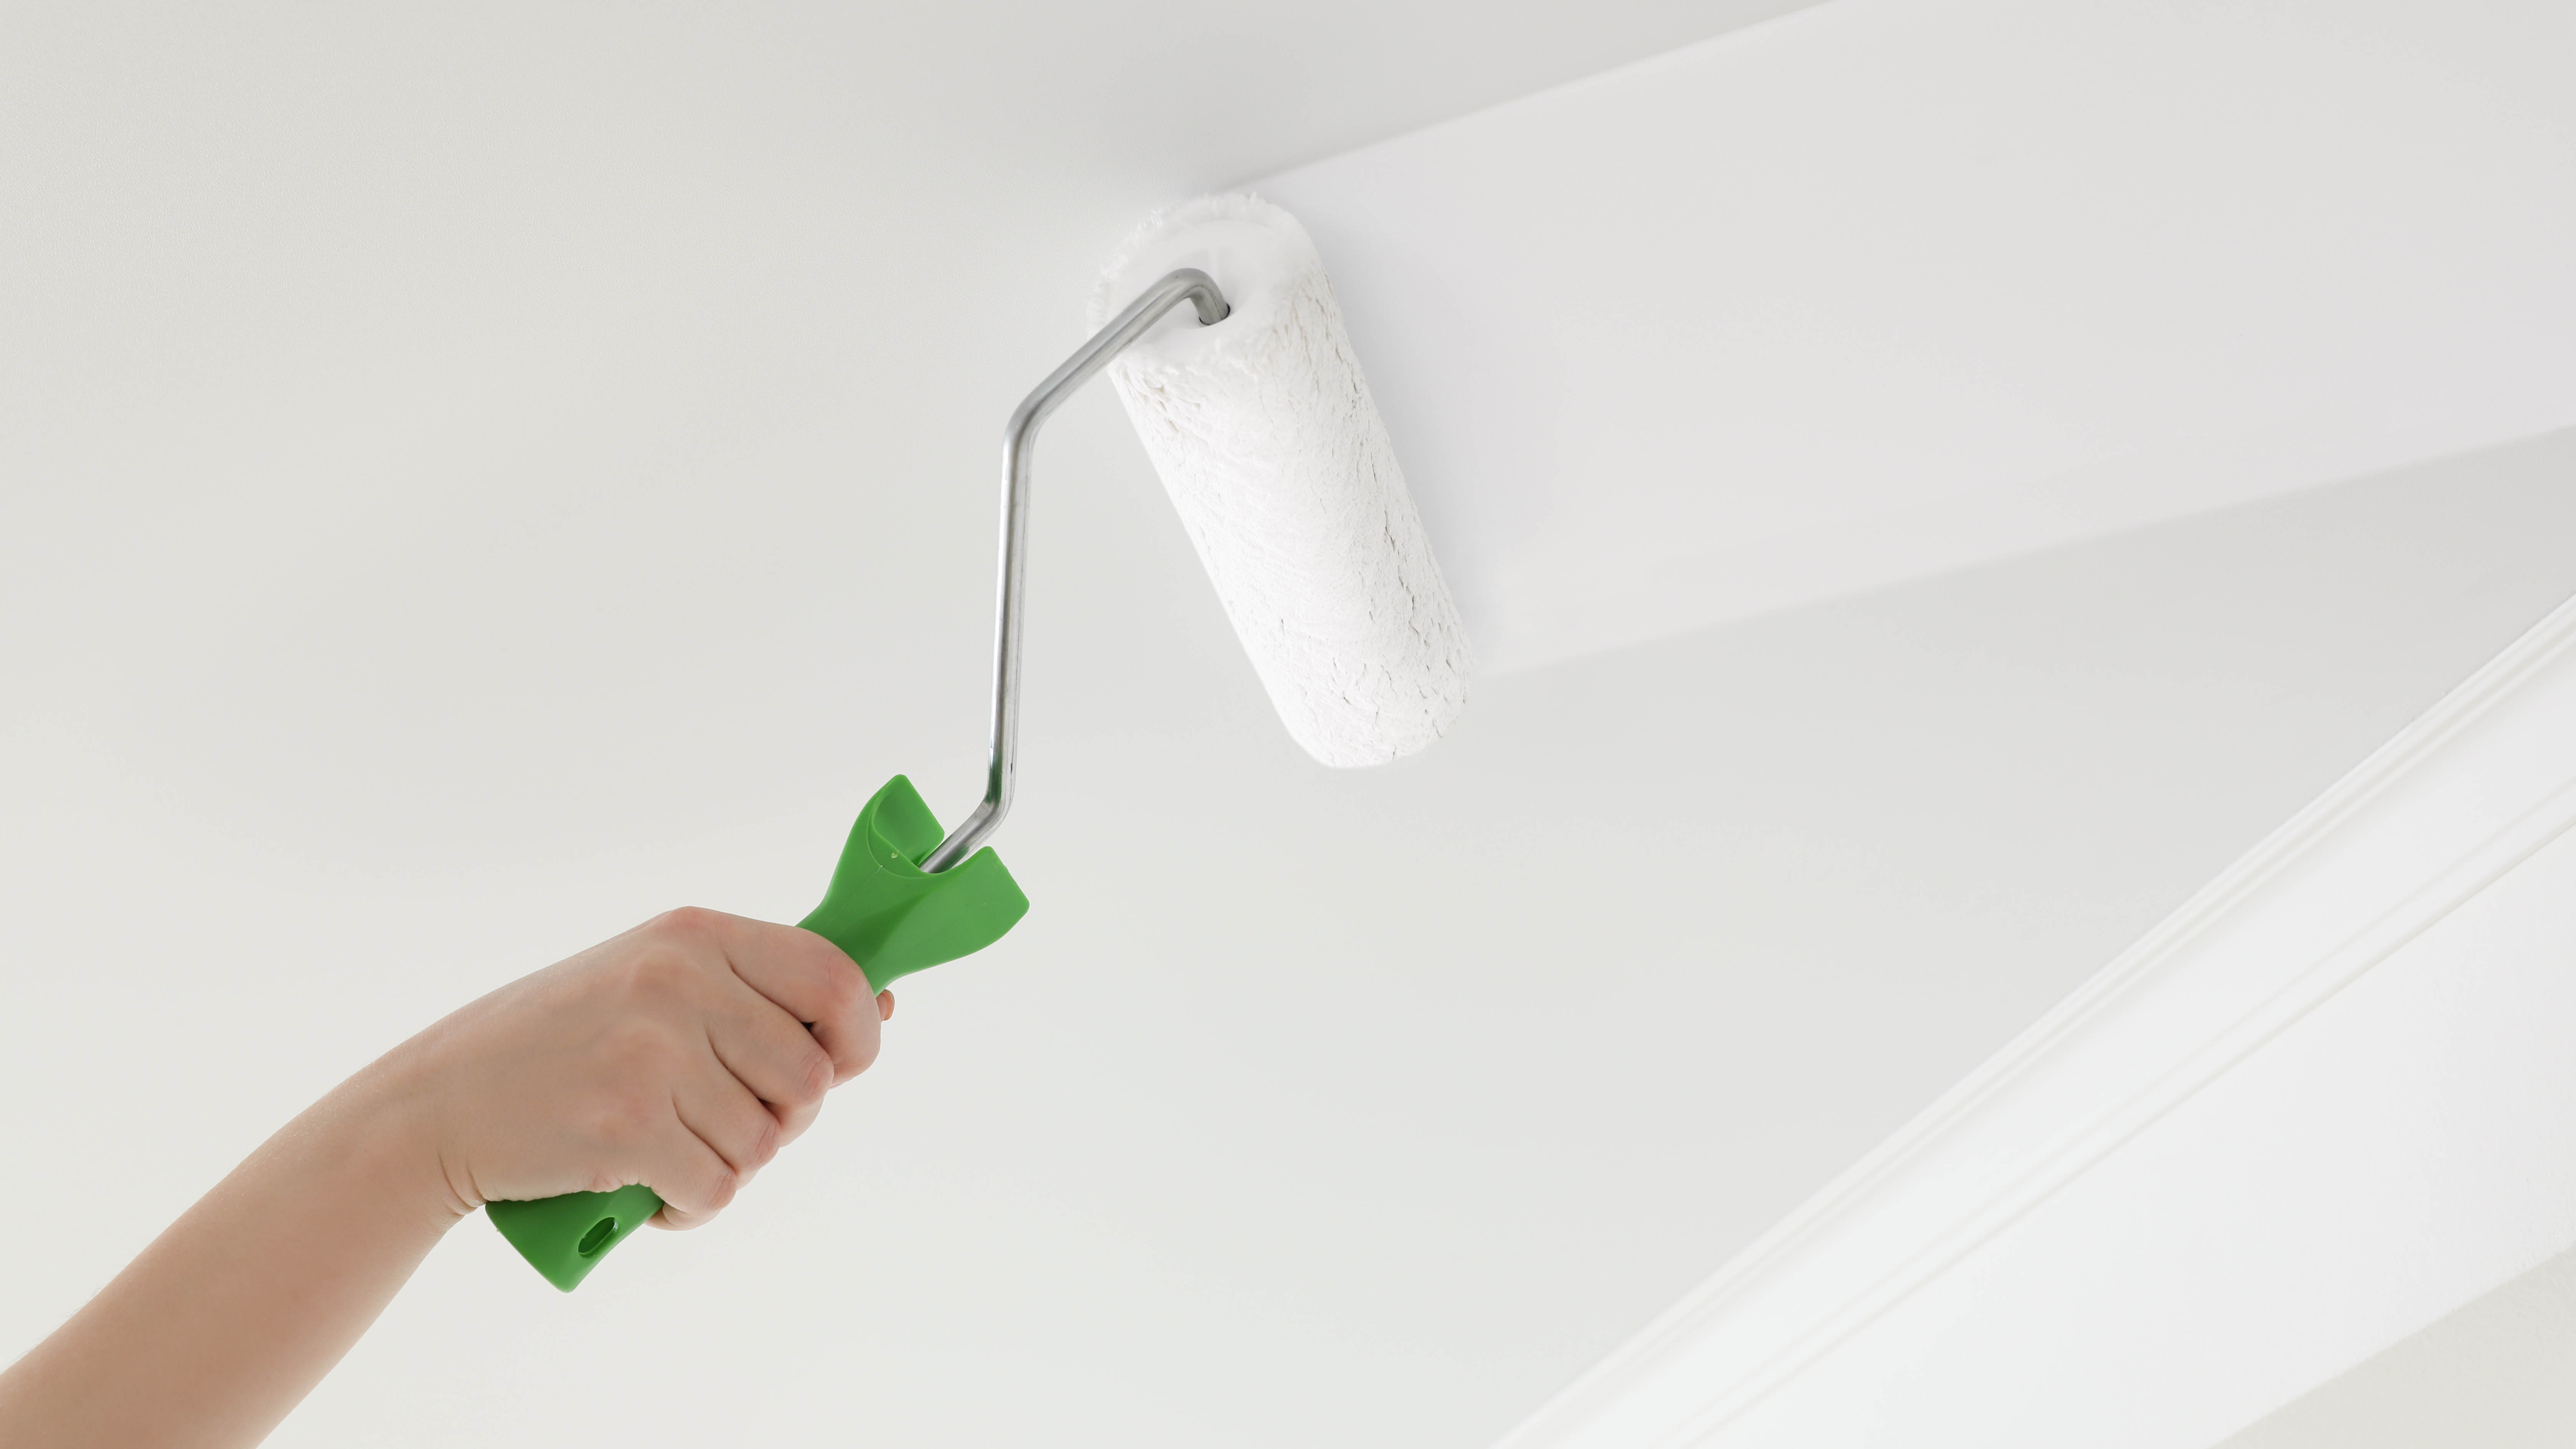
Knowing how to paint a ceiling might seem like a straightforward task, but the truth is many of us don’t know the ins and outs that can save time and produce better results. With the right tools, method and order, you can prevent a mess and make the task a whole lot easier on yourself.
You need to complete the look if you’re learning how to paint a room in its entirety. A fresh coat of paint on the ceiling can make a huge difference to the end result — brightening up the space and potentially making the room look bigger, so you mustn’t ignore it. If you're stripping walls, you'll need to know how to remove wallpaper before painting. Before you paint a room, check out these 7 clever painting hacks to save you time, and how to clean baseboards.
Not sure where to start? We’ve pulled together this comprehensive guide to take you through what to do step-by-step. Here’s how to paint a ceiling.
How to paint a ceiling
Microfiber cloth
Drop cloths or plastic sheets
Painter’s tape
Paint brush
Roller
Primer
Ceiling paint
Before you start, make sure you won’t need access to the room you intend to paint for at least two weeks, if possible. As well as that fresh paint smell, some primers and paints also release VOCs once first applied, which can be harmful to breathe, so it’s essential that you wait. (One of the best air purifiers will also help remove these compounds.) If you intend to paint a whole room, you should also start with the ceiling before you work your way down to the walls.

1. Prepare the room — First thing’s first: Clear all removable furniture and objects from the room. The emptier it is, the easier it will be to paint. Remove any hanging fixtures and smoke detectors — be sure to switch the power off first — and clear any dust and cobwebs from the ceiling using a microfiber cloth or vacuum.
If you spot any cracks in your ceiling, repair them prior to painting using a sealant such as High Strength Fiber- Large Hole Repair Kit ($9.98, Lowes).
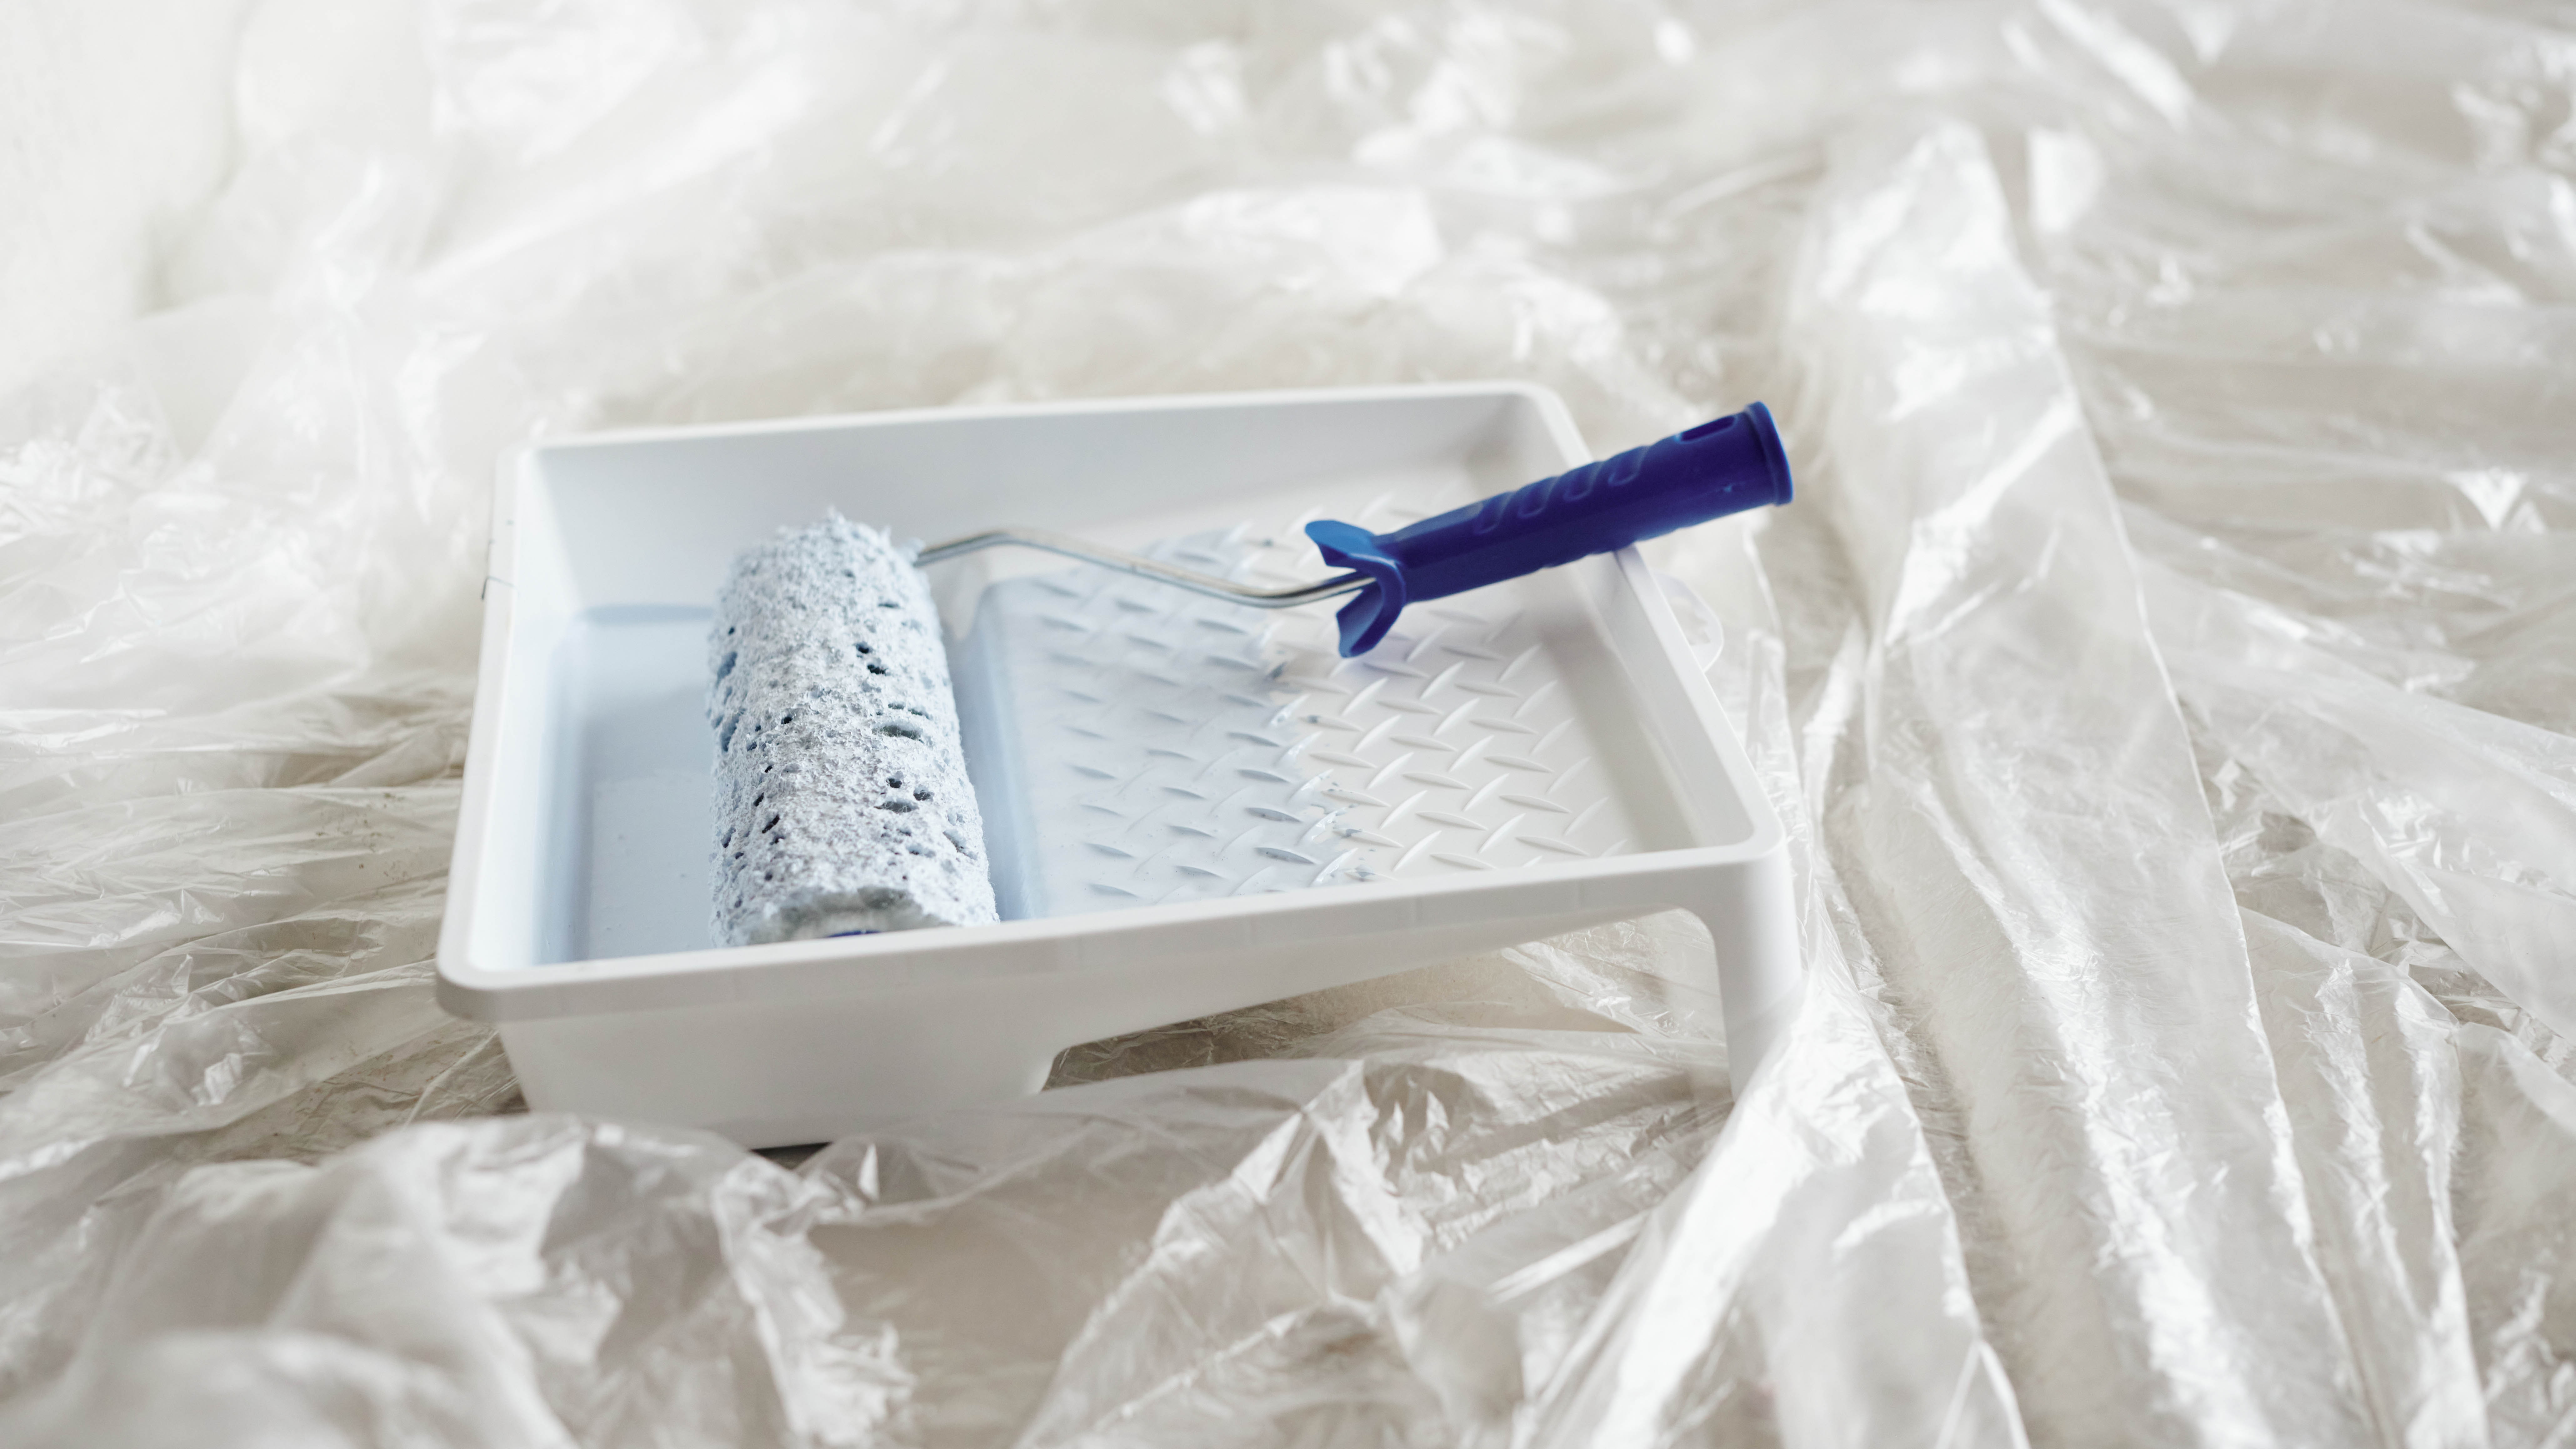
2. Cover and protect your floors — While ceiling paint is thicker and stickier than standard wall paint, it will still produce a fine splatter as you apply. For this reason, you must protect your floors with drop cloths or plastic sheets, which should cover it all the way to the edges. Overlap the layers where necessary and use painter’s tape to hold them to your baseboards so they don’t shift.
Sign up to get the BEST of Tom's Guide direct to your inbox.
Get instant access to breaking news, the hottest reviews, great deals and helpful tips.
Make sure you also cover and protect any furniture which couldn’t be removed from the room as well as any windows and doors.
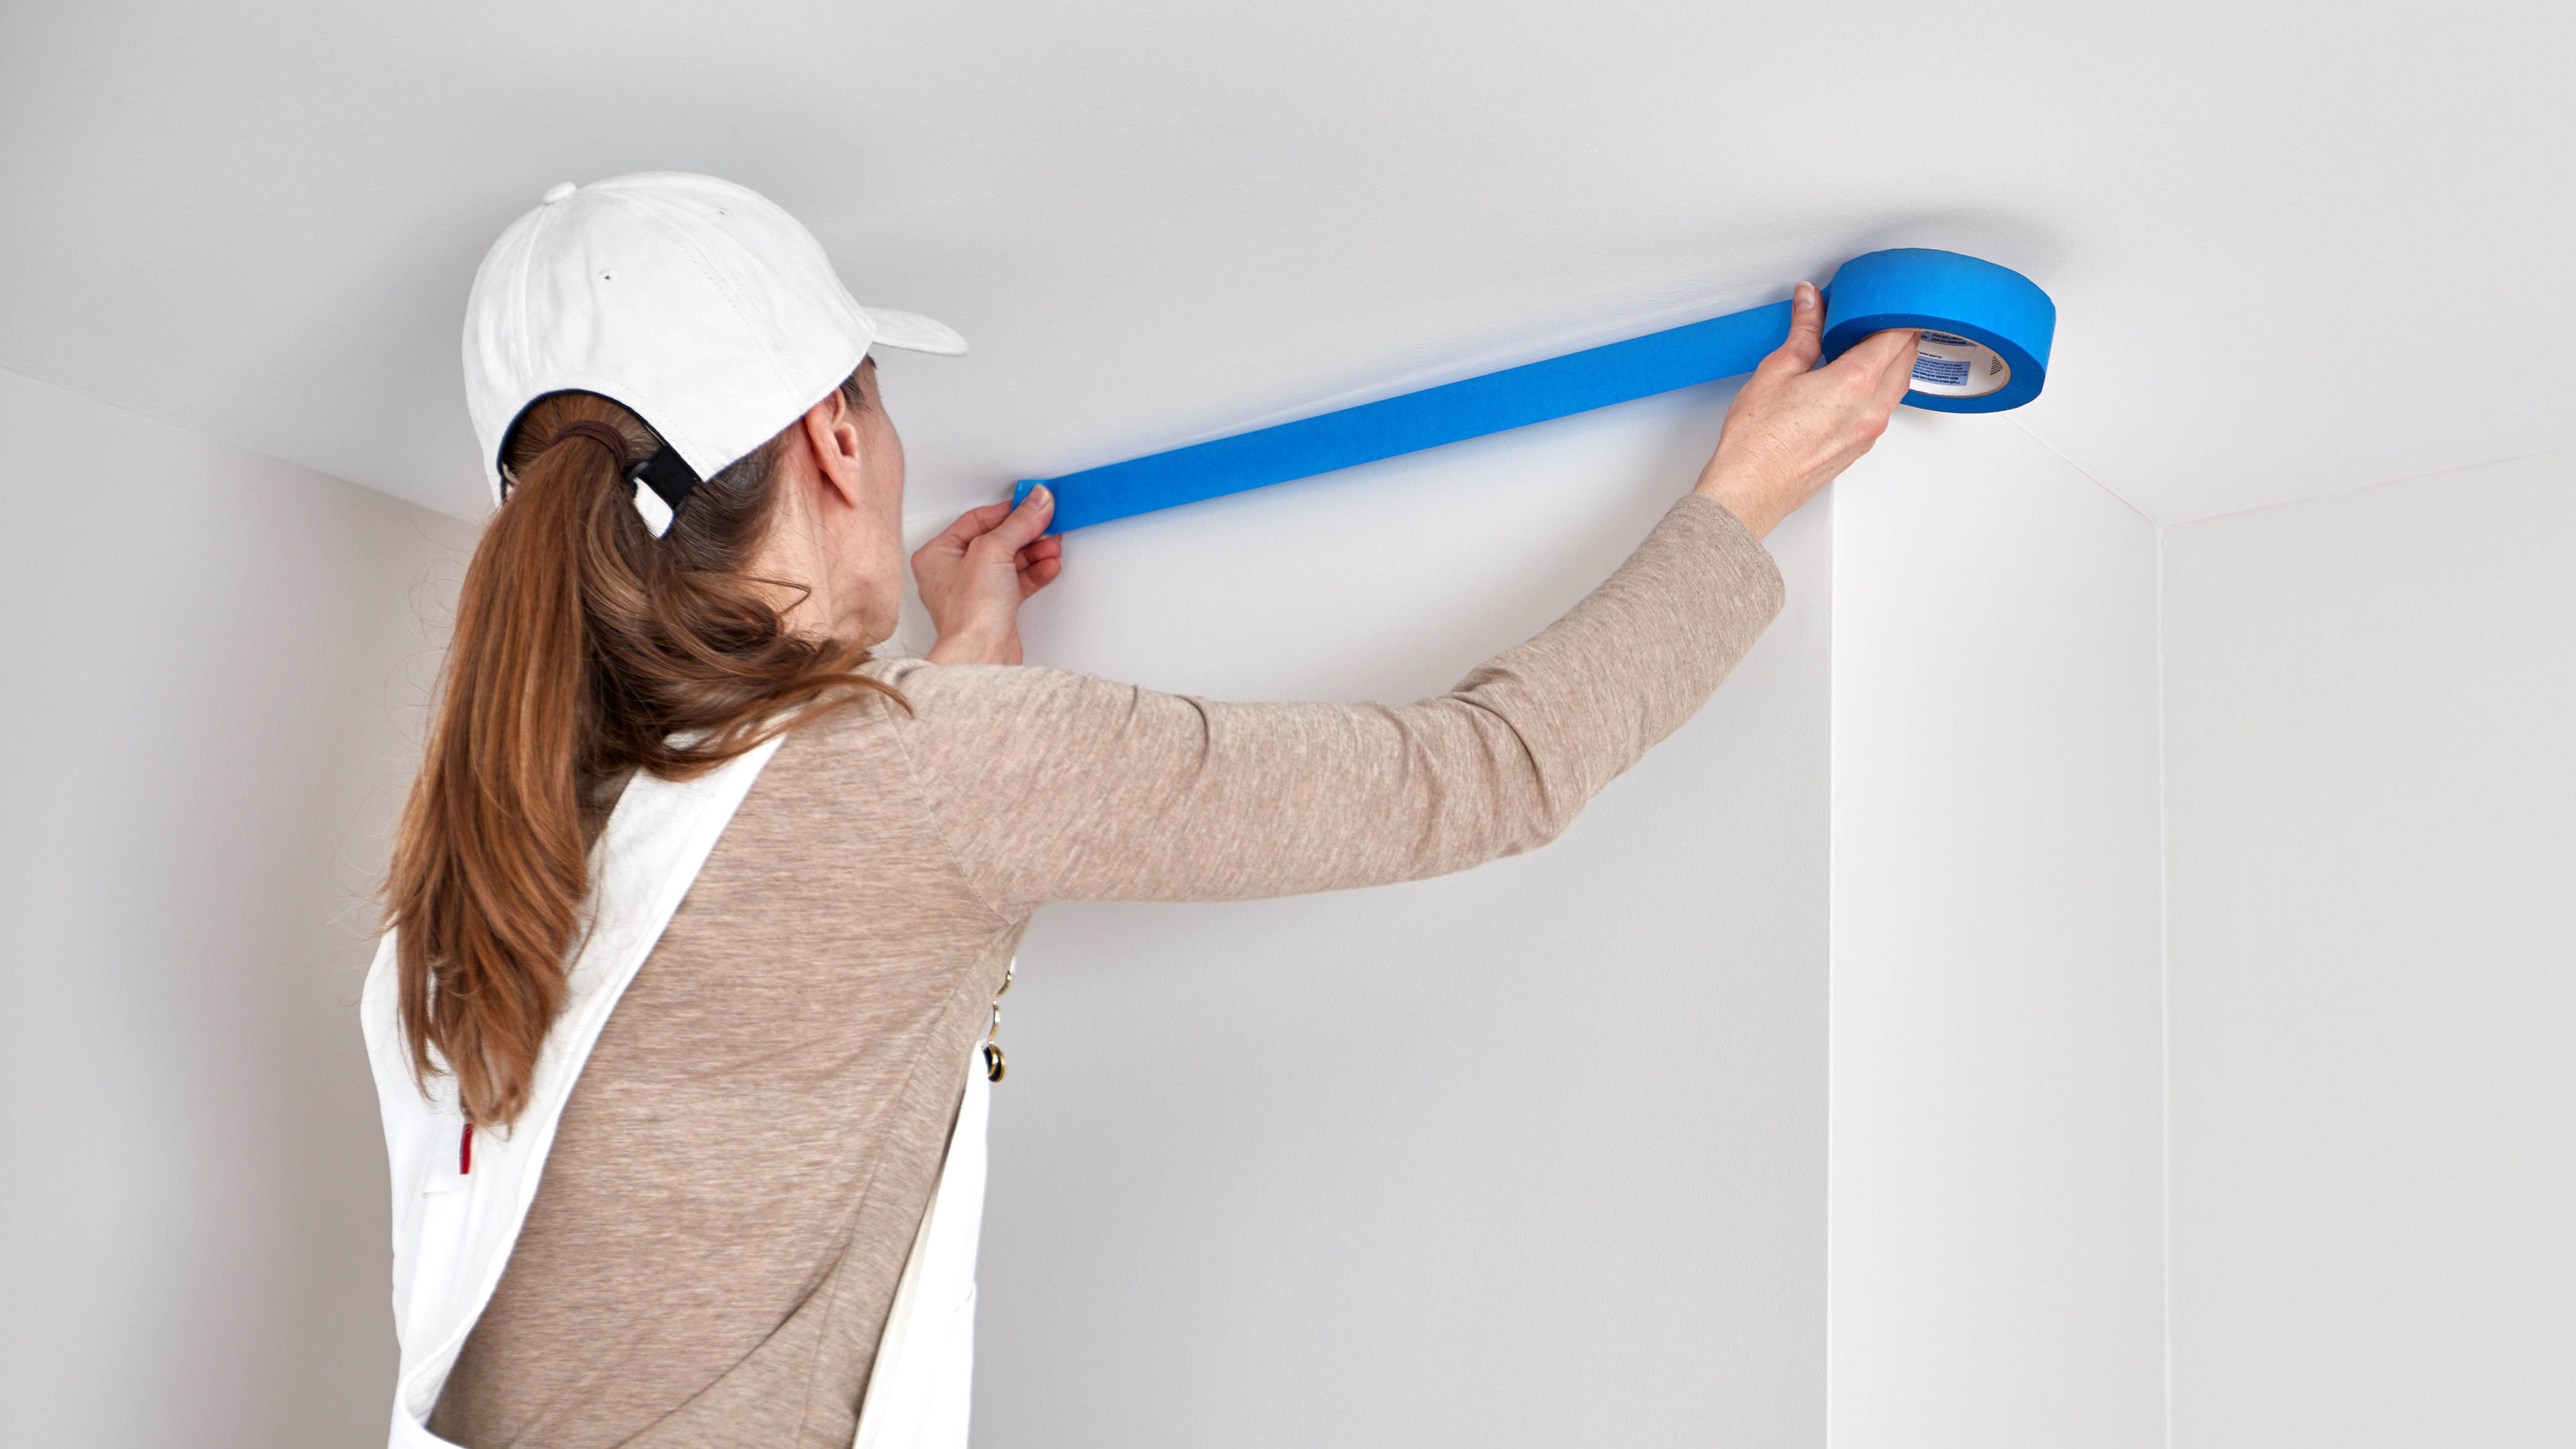
3. Protect your walls — If you’ve just painted the walls and you’re doing the ceiling last, or you’re just painting the ceiling on its own, you need to protect the existing paint on the walls with painter’s tape. Run a strip of painter’s tape along the edge of the ceiling trim to stop paint from accidently transferring.
Make sure the tape is thick enough should your roller catch it — we recommend a minimum of 2-inches thick, such as ATack Professional Blue Painter's Tape ($8.99, Amazon). If you plan to paint the walls next, you don’t need to worry about this step.
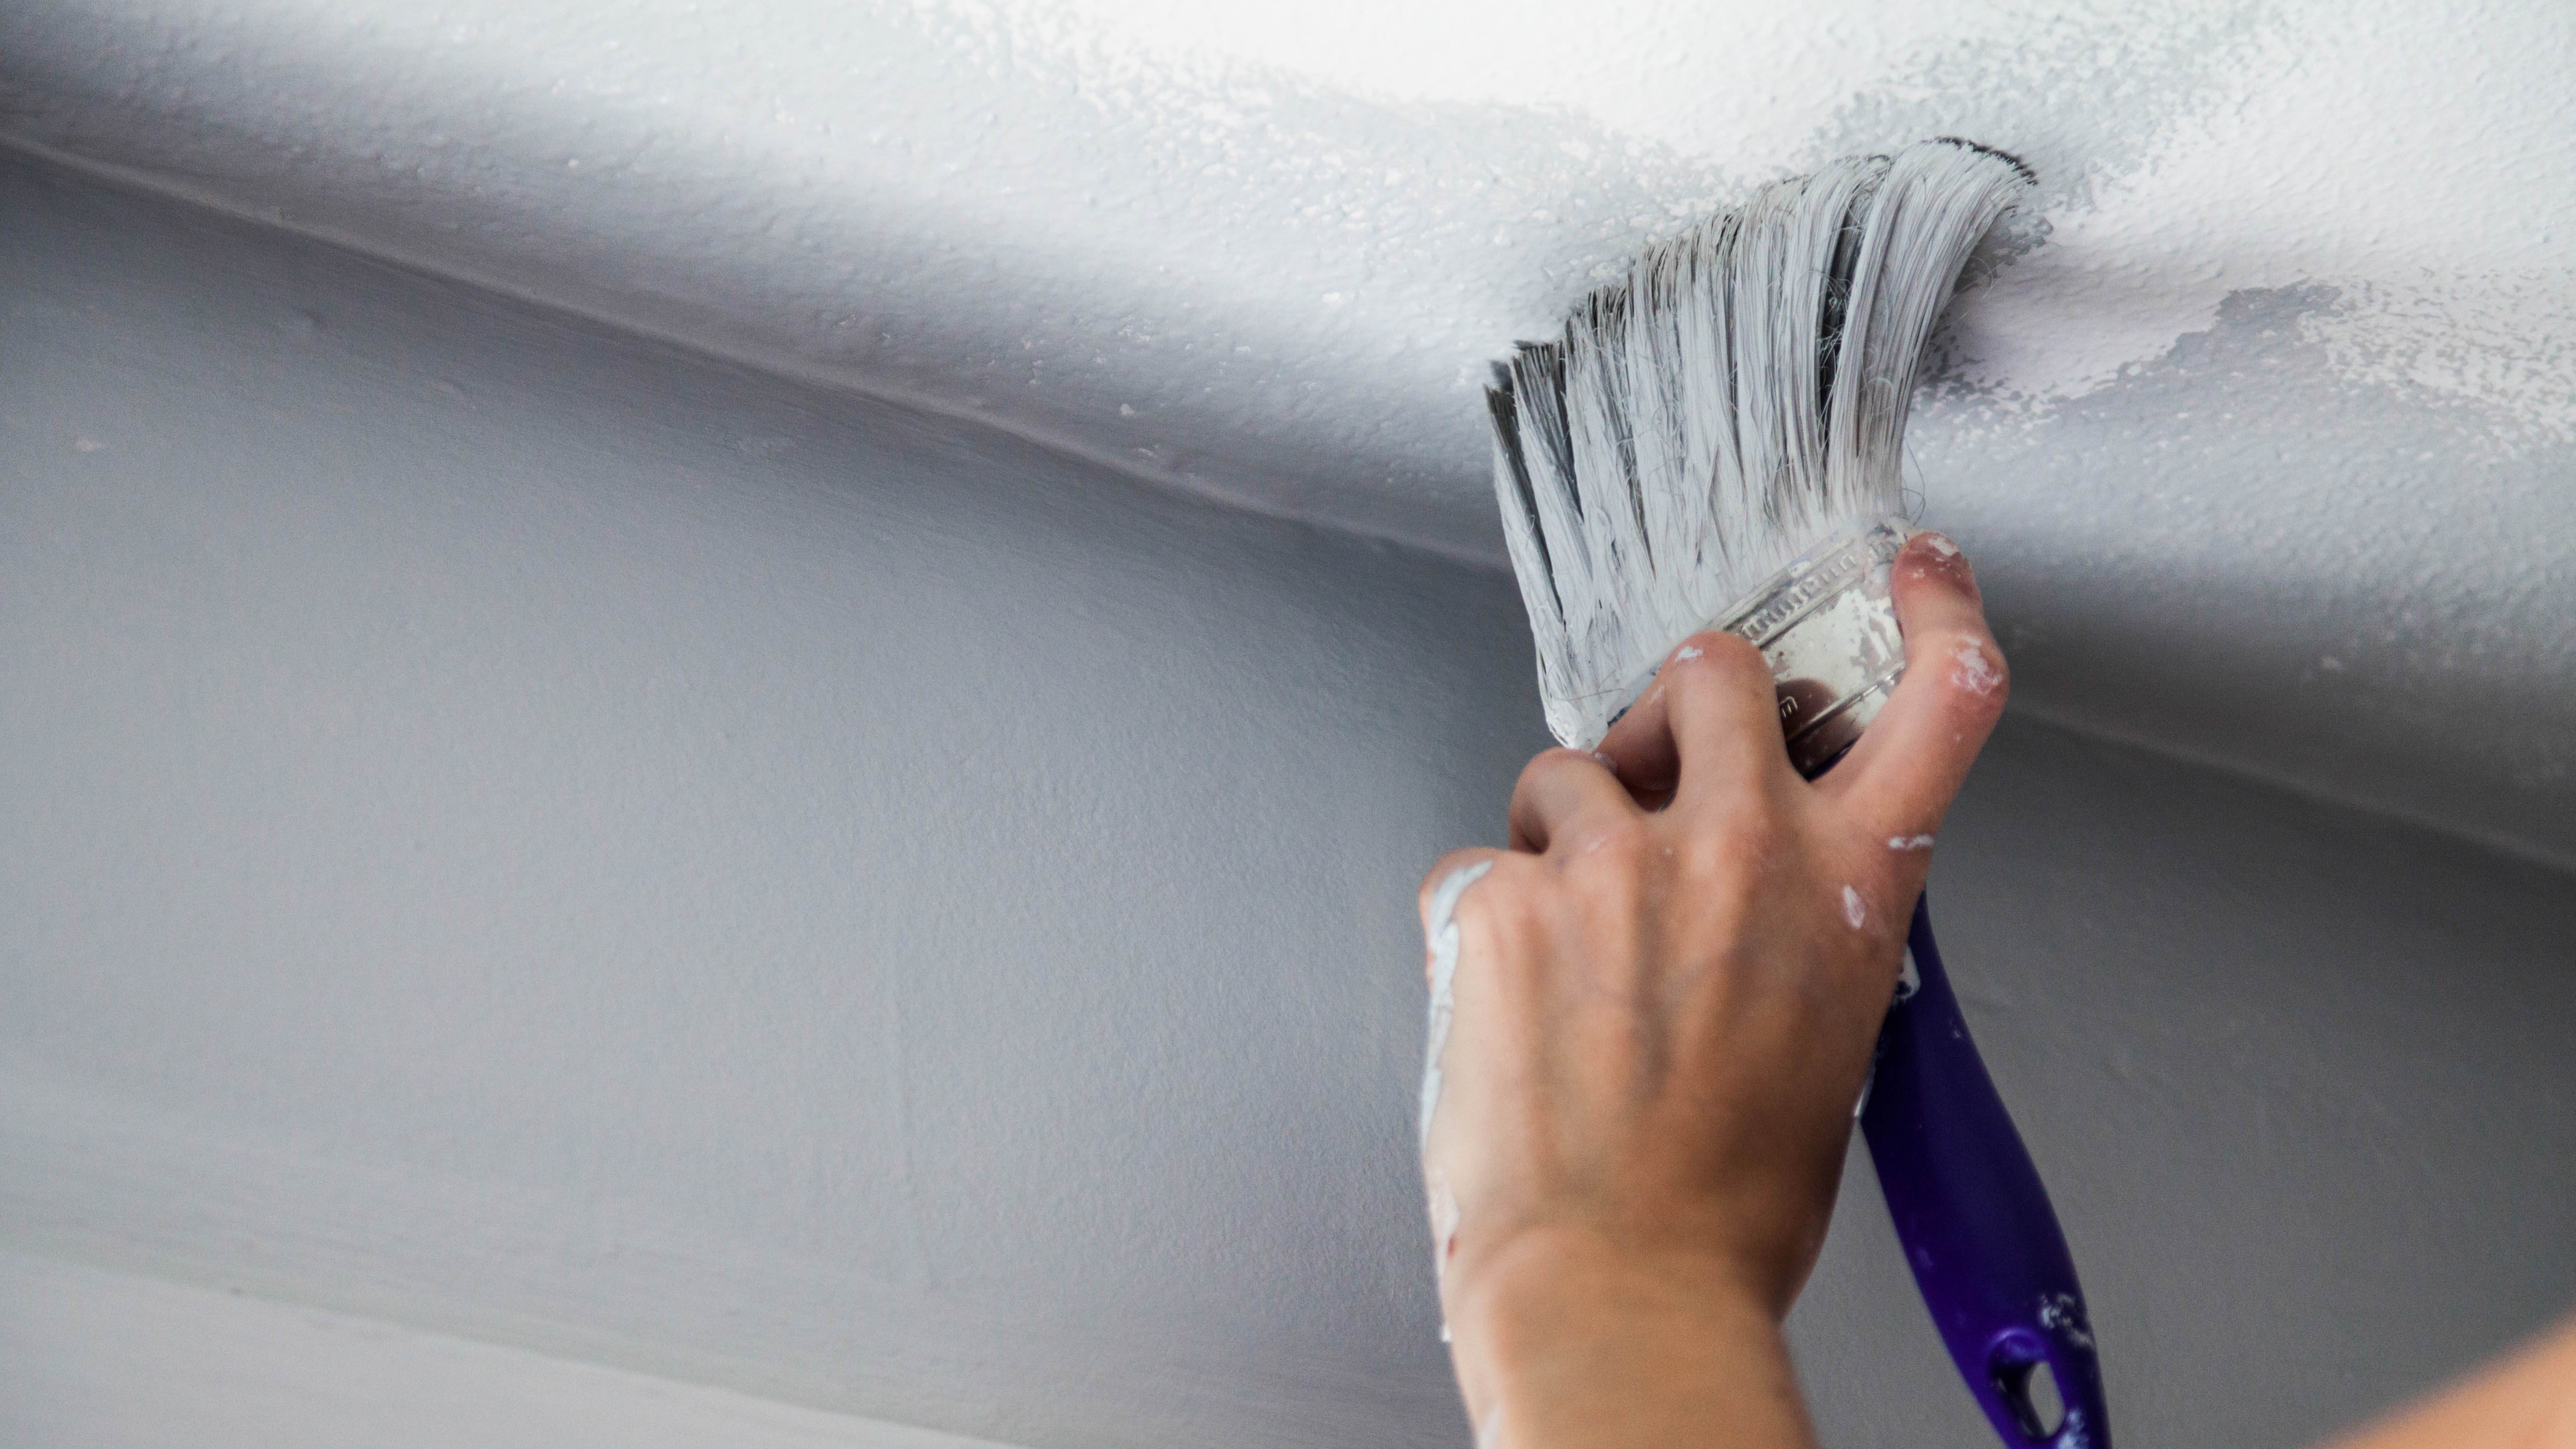
4. Apply primer — Primer provides the best surface for your paint and it’s an effective cover-up if you’ve got a lot of stains too. For that reason, it’s an essential step. If your ceiling has quite a prominent texture, use a high-build primer. Otherwise, interior latex drywall primer will work for most smooth or light-texture ceilings.
Wearing a pair of safety goggles and adequate protection for your clothing, use a paint brush to ‘cut the corners’ with your chosen primer. This involves starting where the ceiling meets the walls and brushing the paint carefully up to the painter’s tape. Then, use a roller to apply the majority of the primer to the rest of the ceiling. Leave the primer to dry for the amount of time recommended by the manufacturer, with doors and windows open.
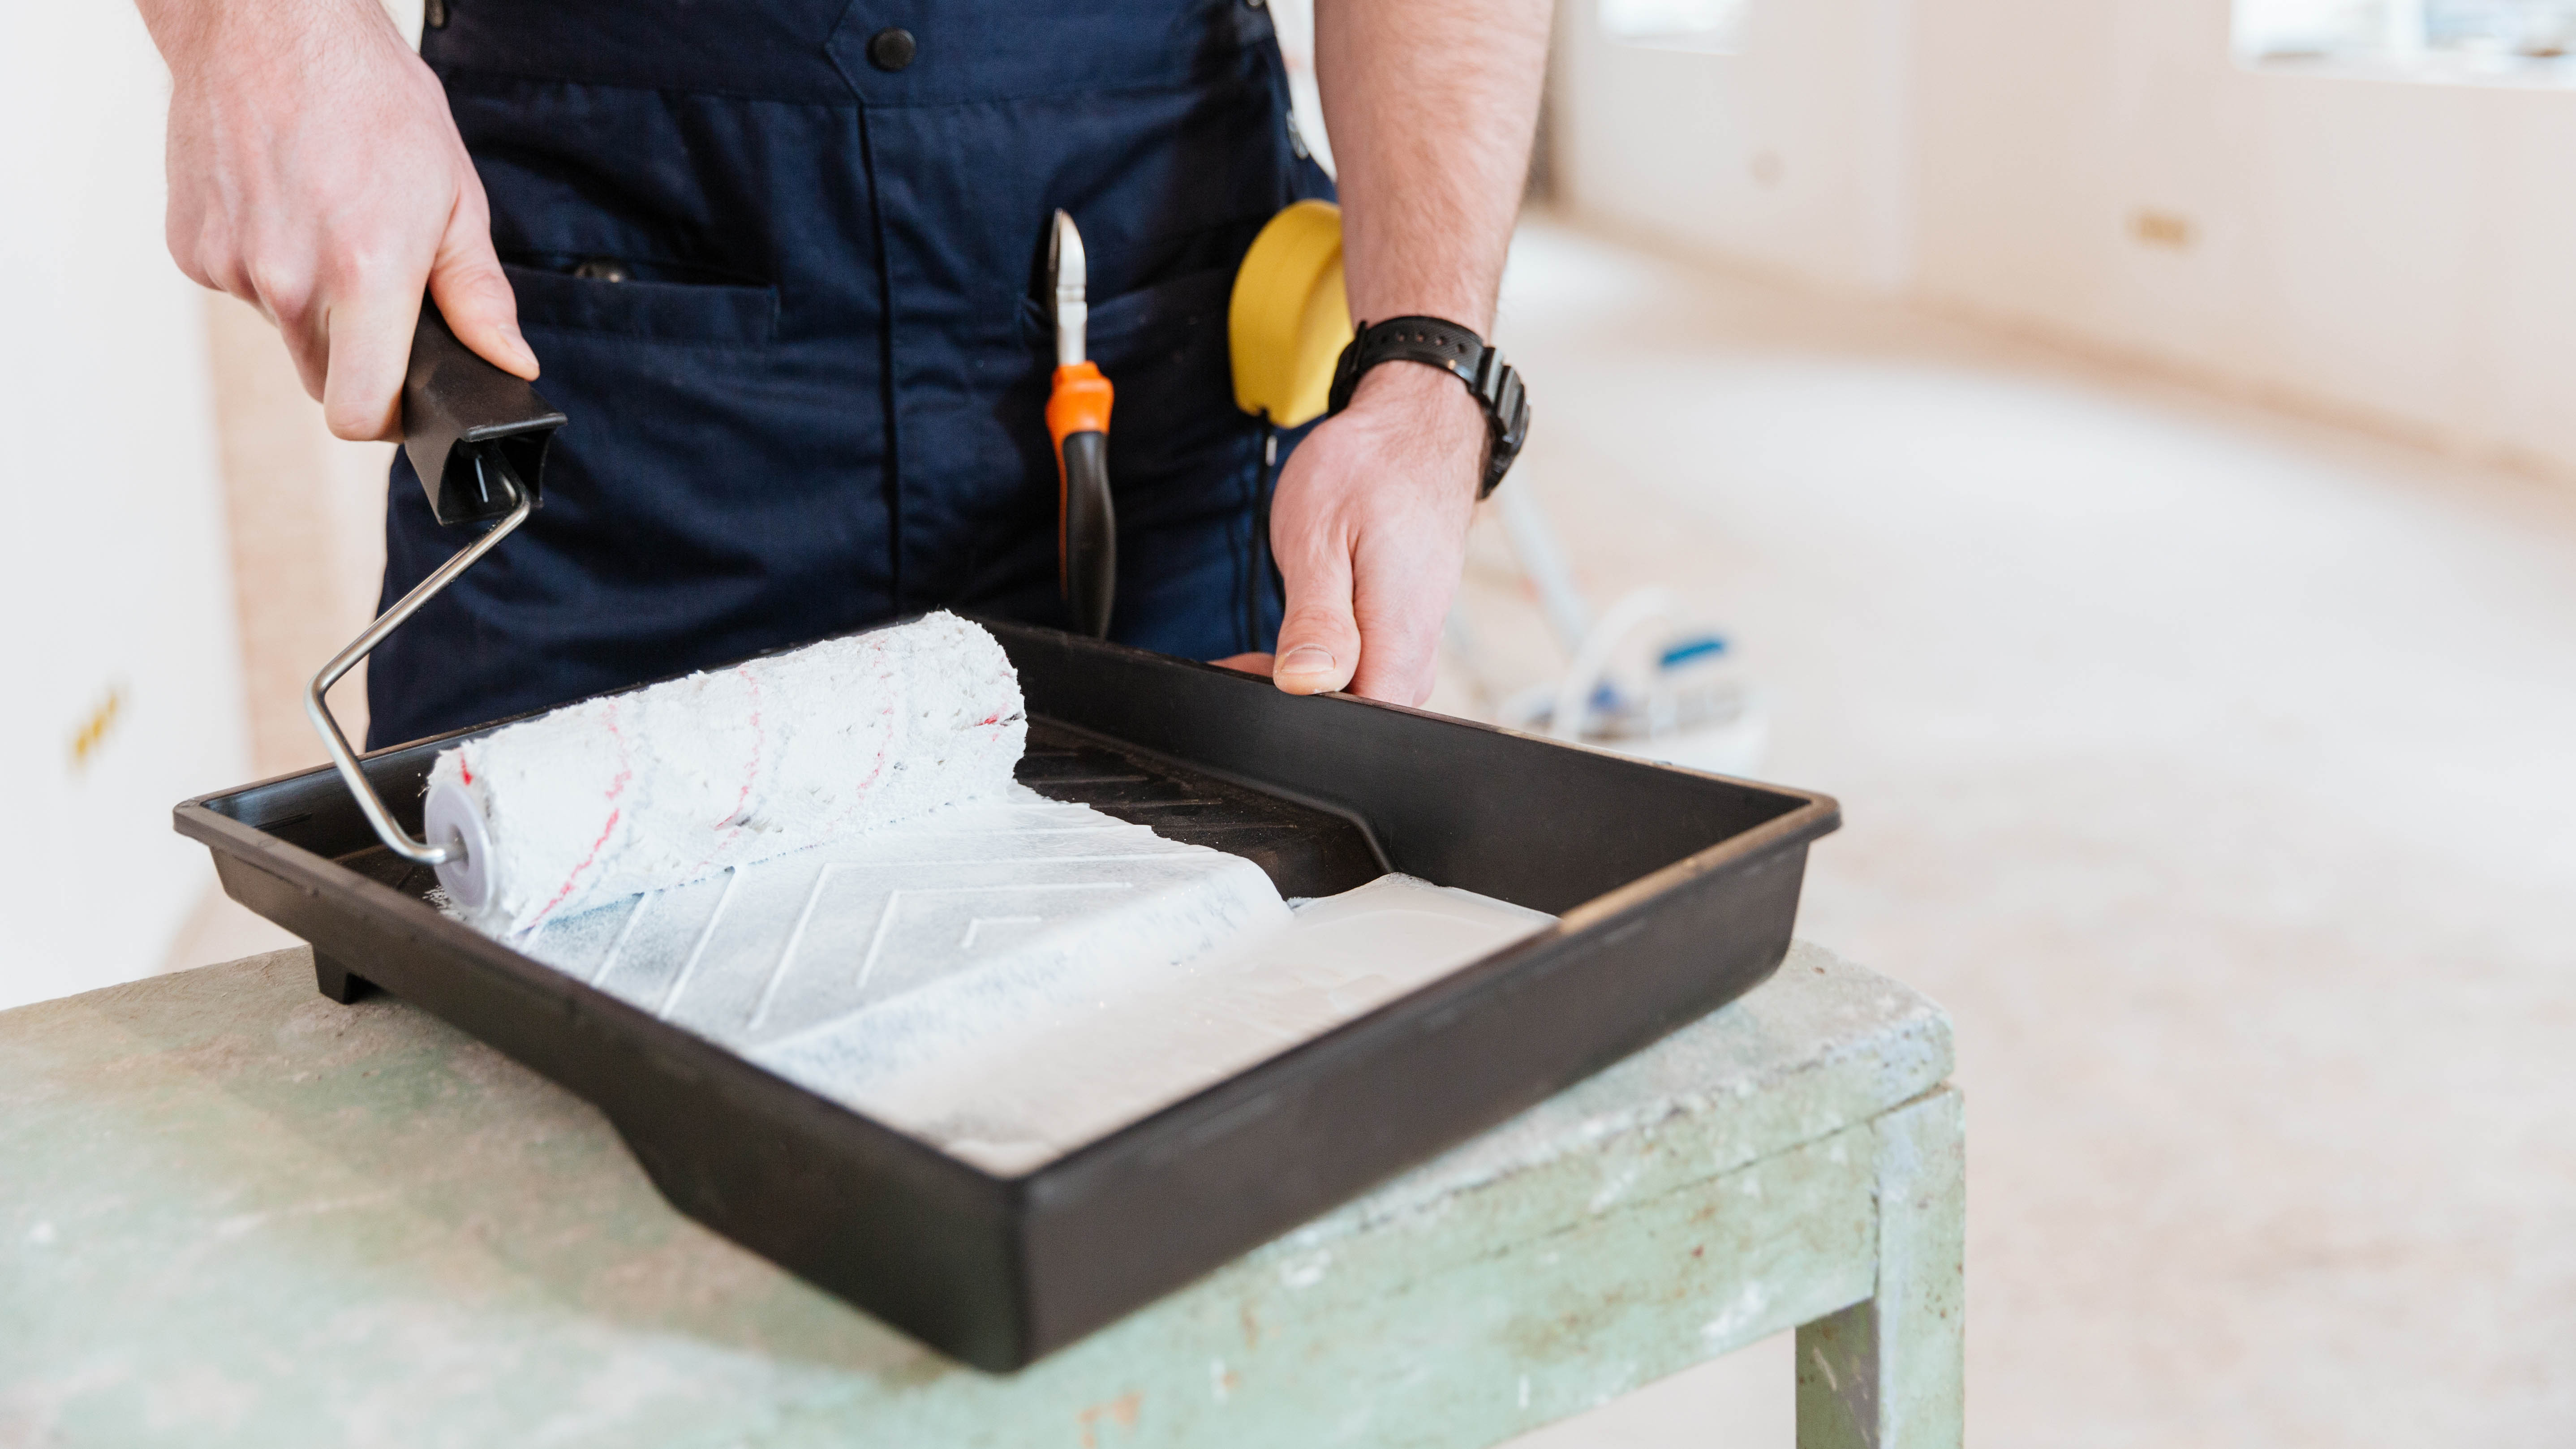
5. Prepare to paint — Once your primer is dry, now comes the main event. It’s best if you consider painting your ceiling in sections rather than trying to tackle it all at once. This can help you monitor your progress and promotes a more even coverage as well. Don your goggles and old clothes and have a roller and paint brush at the ready. Remember to open the windows and doors before you start painting.
If you’re painting a smooth ceiling, use a low-nap roller, whereas textured ceilings are best tackled using a ½ to ¾ -inch nap. You can also purchase an extension pole, such as the UMIEN Telescopic Extension Pole ($28.97, Amazon) if you struggle to reach or don’t want to use a ladder.
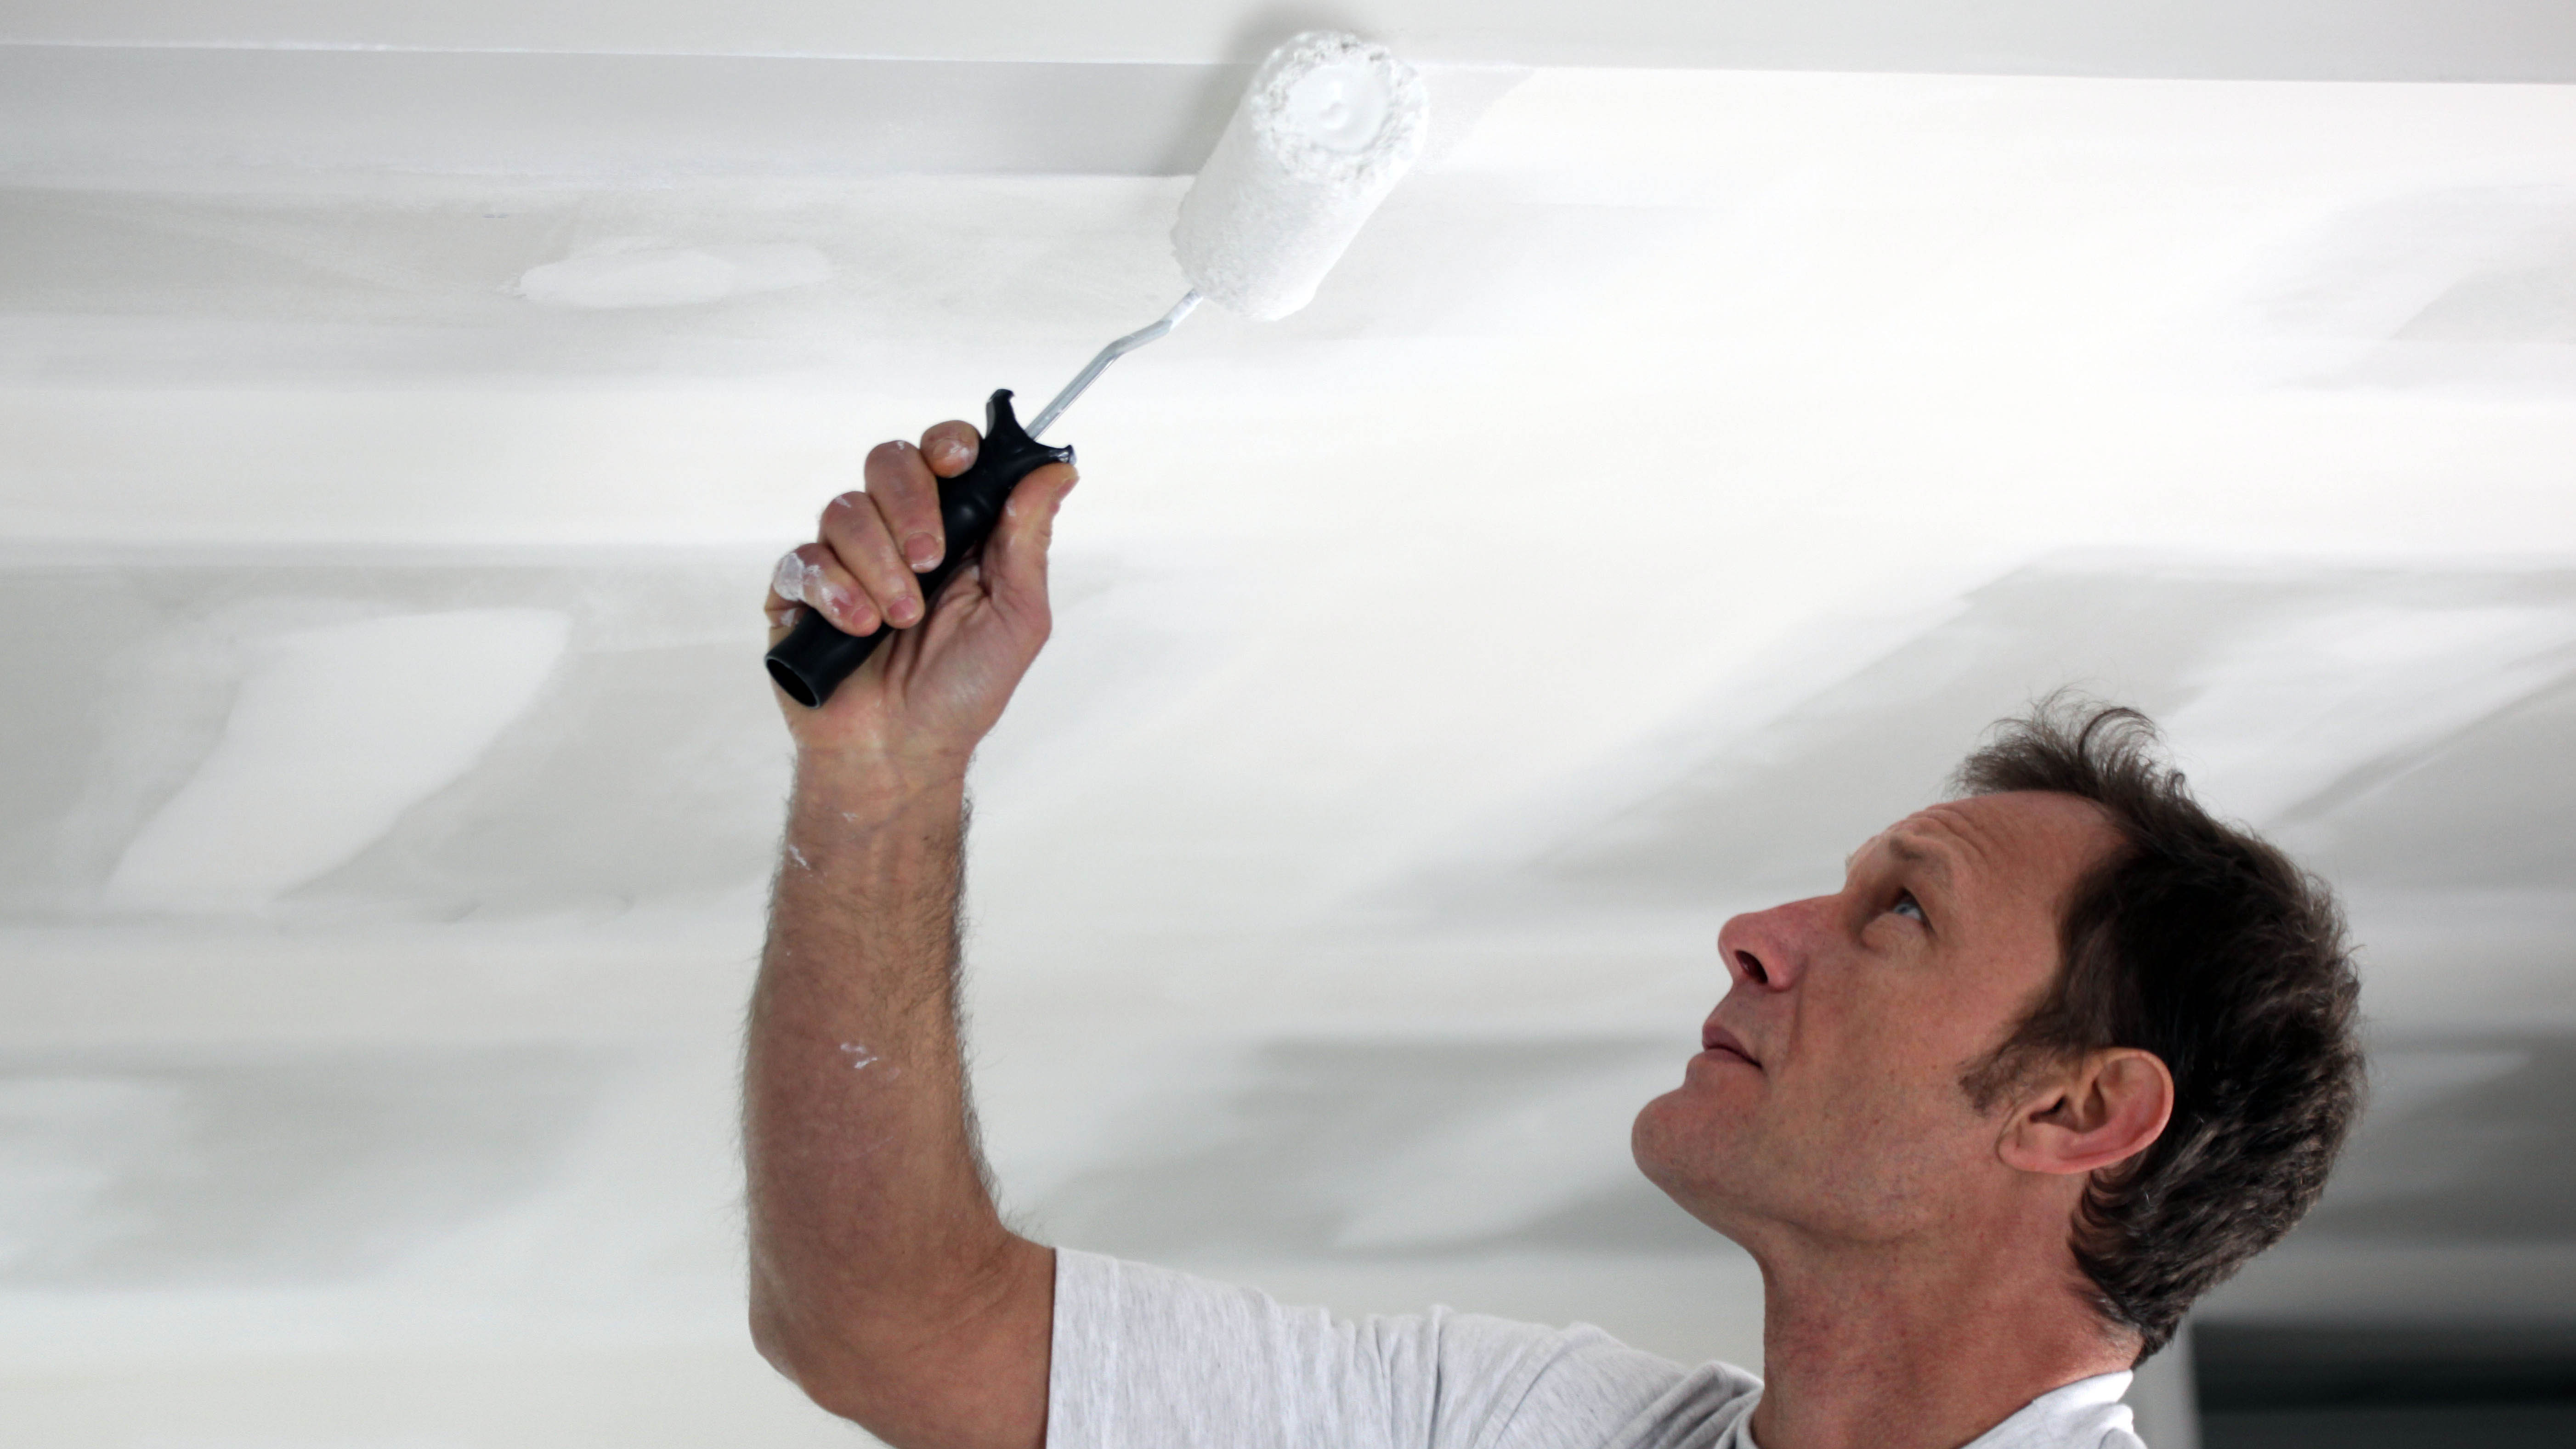
6. Paint your ceiling — Start in a corner by ‘cutting in’ at the edges once again with a paint brush. Continue to work your way around the room until all of the edges have about 2-3 inches of paint applied. While the edges are still wet, apply paint to the center of your first section using your roller.
Roll slowly in a similar, but varied direction as you apply, being sure to overlap yourself and work up to the wet edge. Then continue rolling seamlessly into your next section.
Be sure to top up your roller with fresh paint in your tray when required and try not to roll your brush directly overhead as you work; otherwise you end up more messy than planned. It’s also useful if you take a step back every so often to check your work and make sure you haven’t missed any sections. Once you’ve covered the whole ceiling, leave it to dry.
Be careful not to load the roller with too much paint. It's far better to apply several thin coats of paint; it will adhere better to your ceiling, and make less of a mess as you're painting.
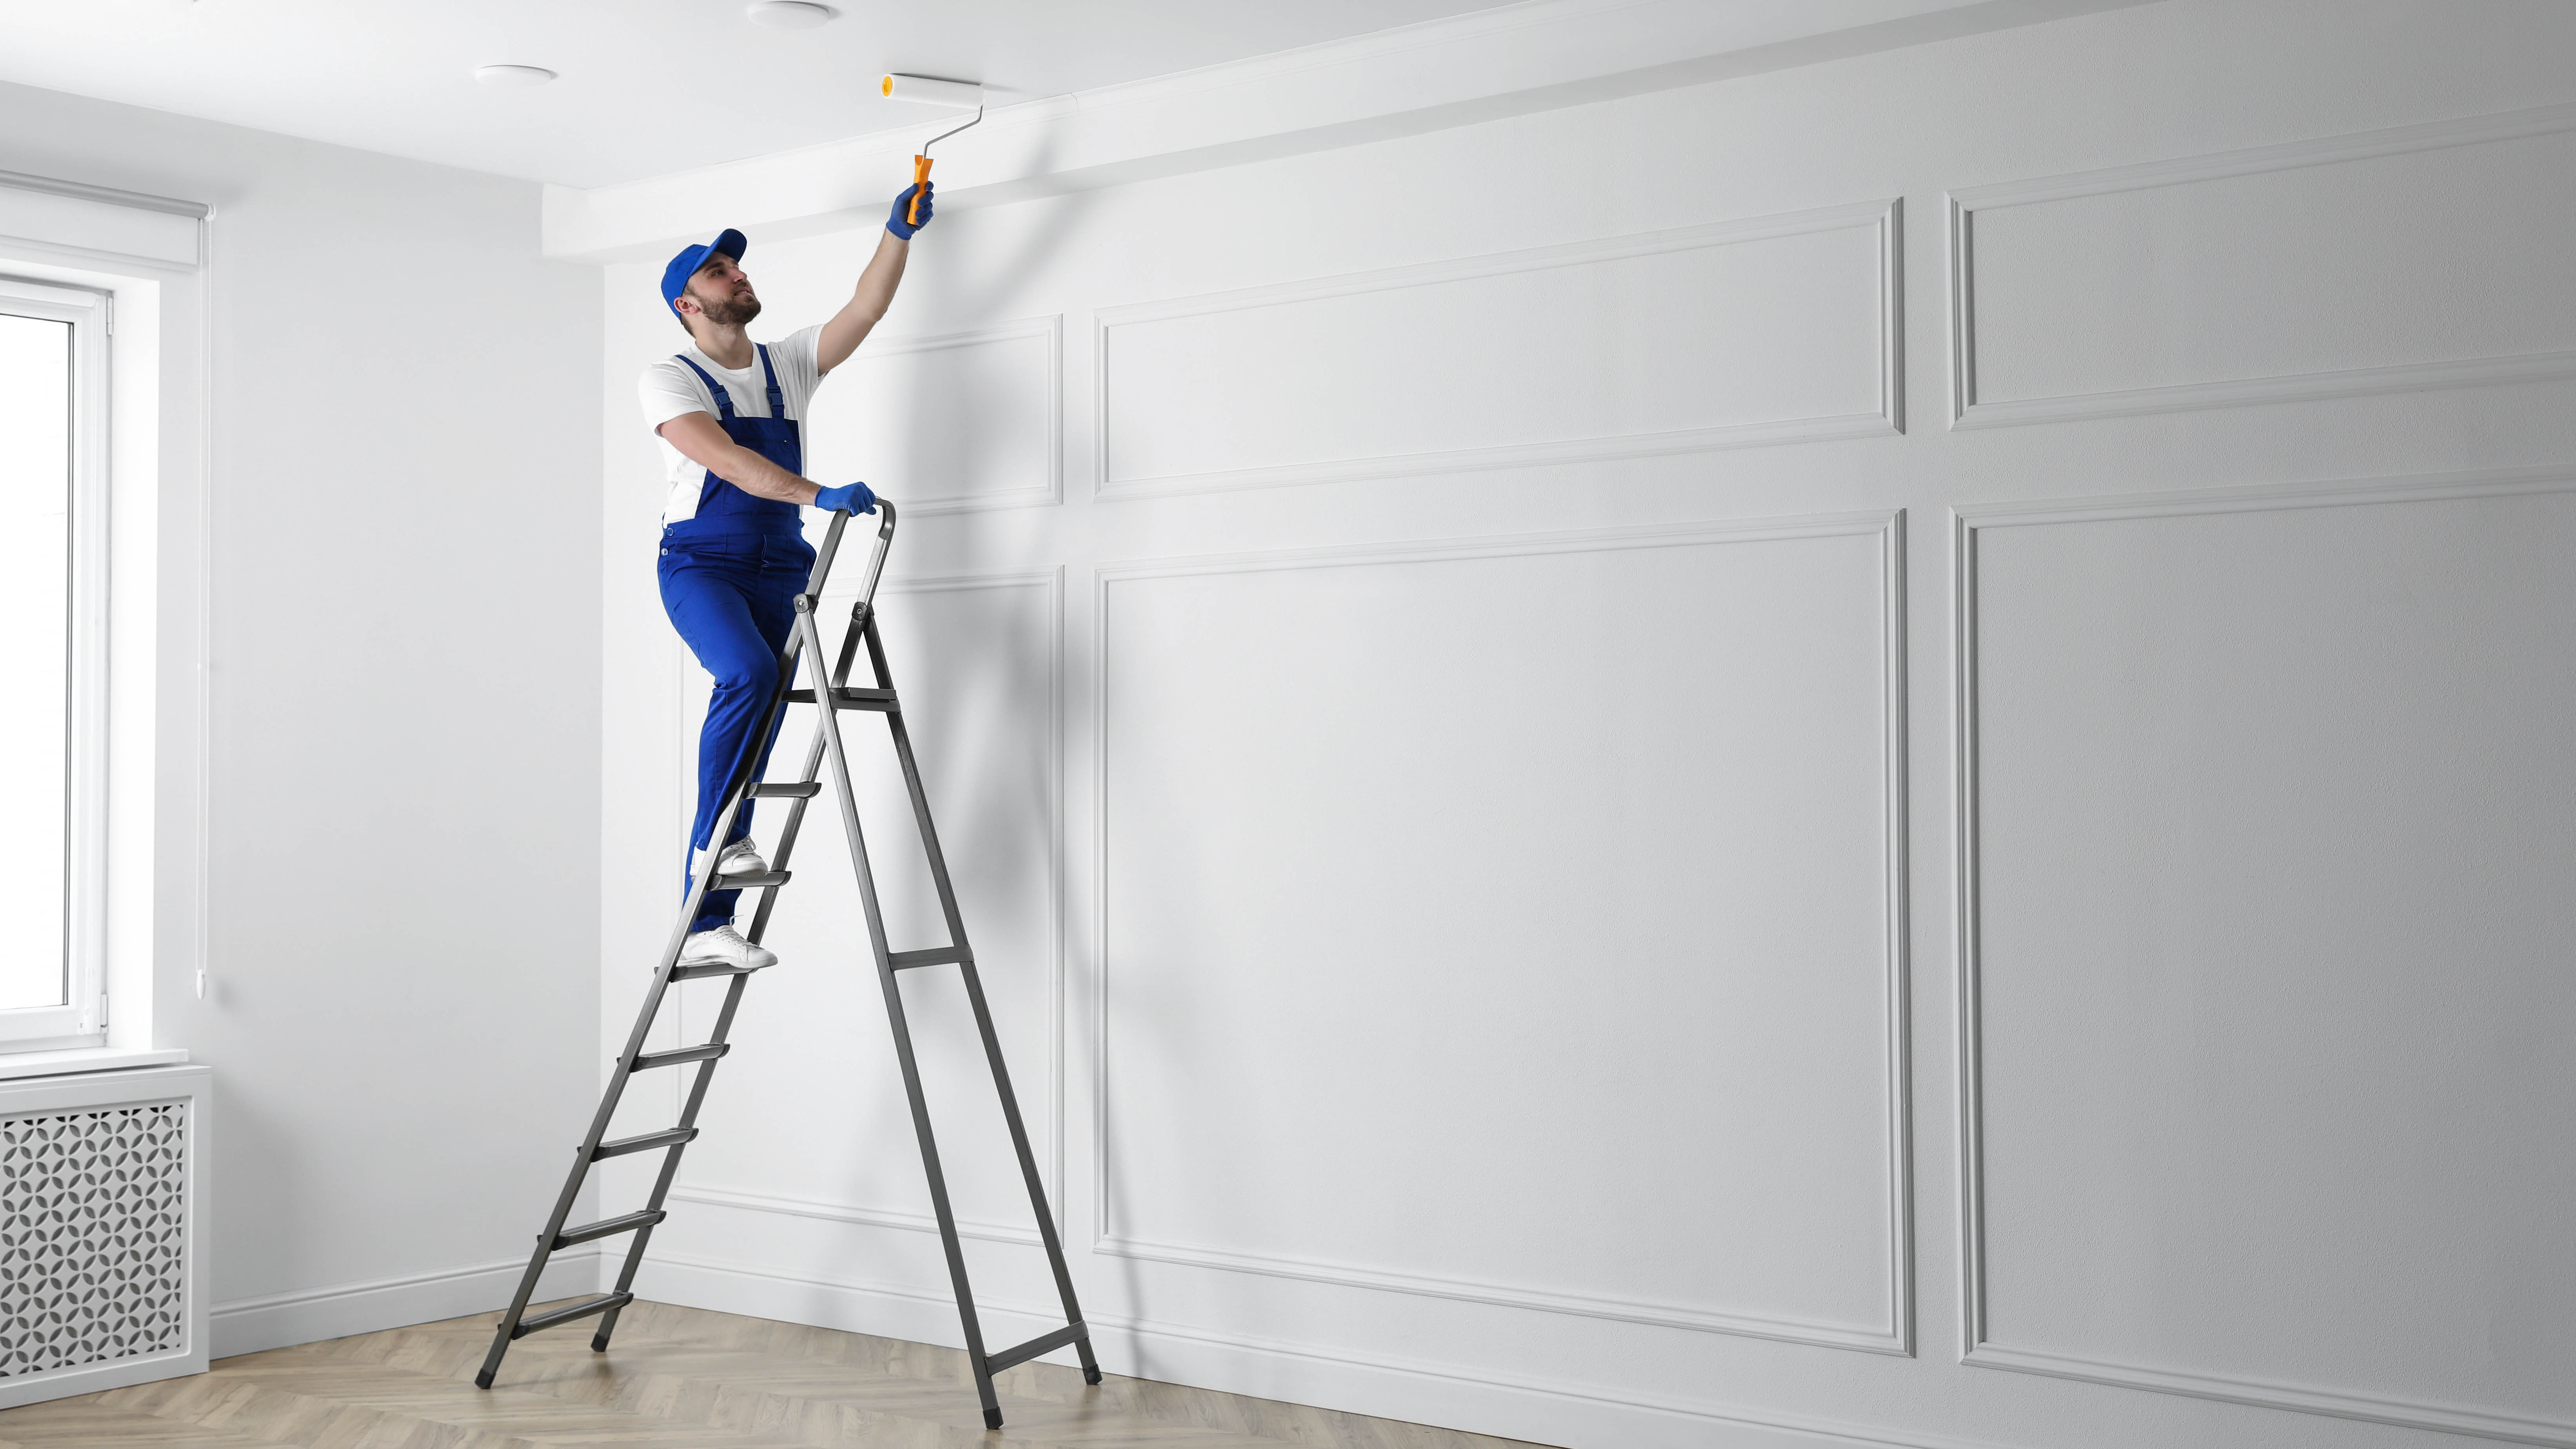
7. Apply a secondary coat — Your ceiling may require a secondary coat of paint if it was particularly stained or you’ve opted for a bright color. Follow the guidance on your chosen paint for how long to wait before applying another coat. Then follow the same directions as above, being sure to work your way across the surface as quickly as possible.
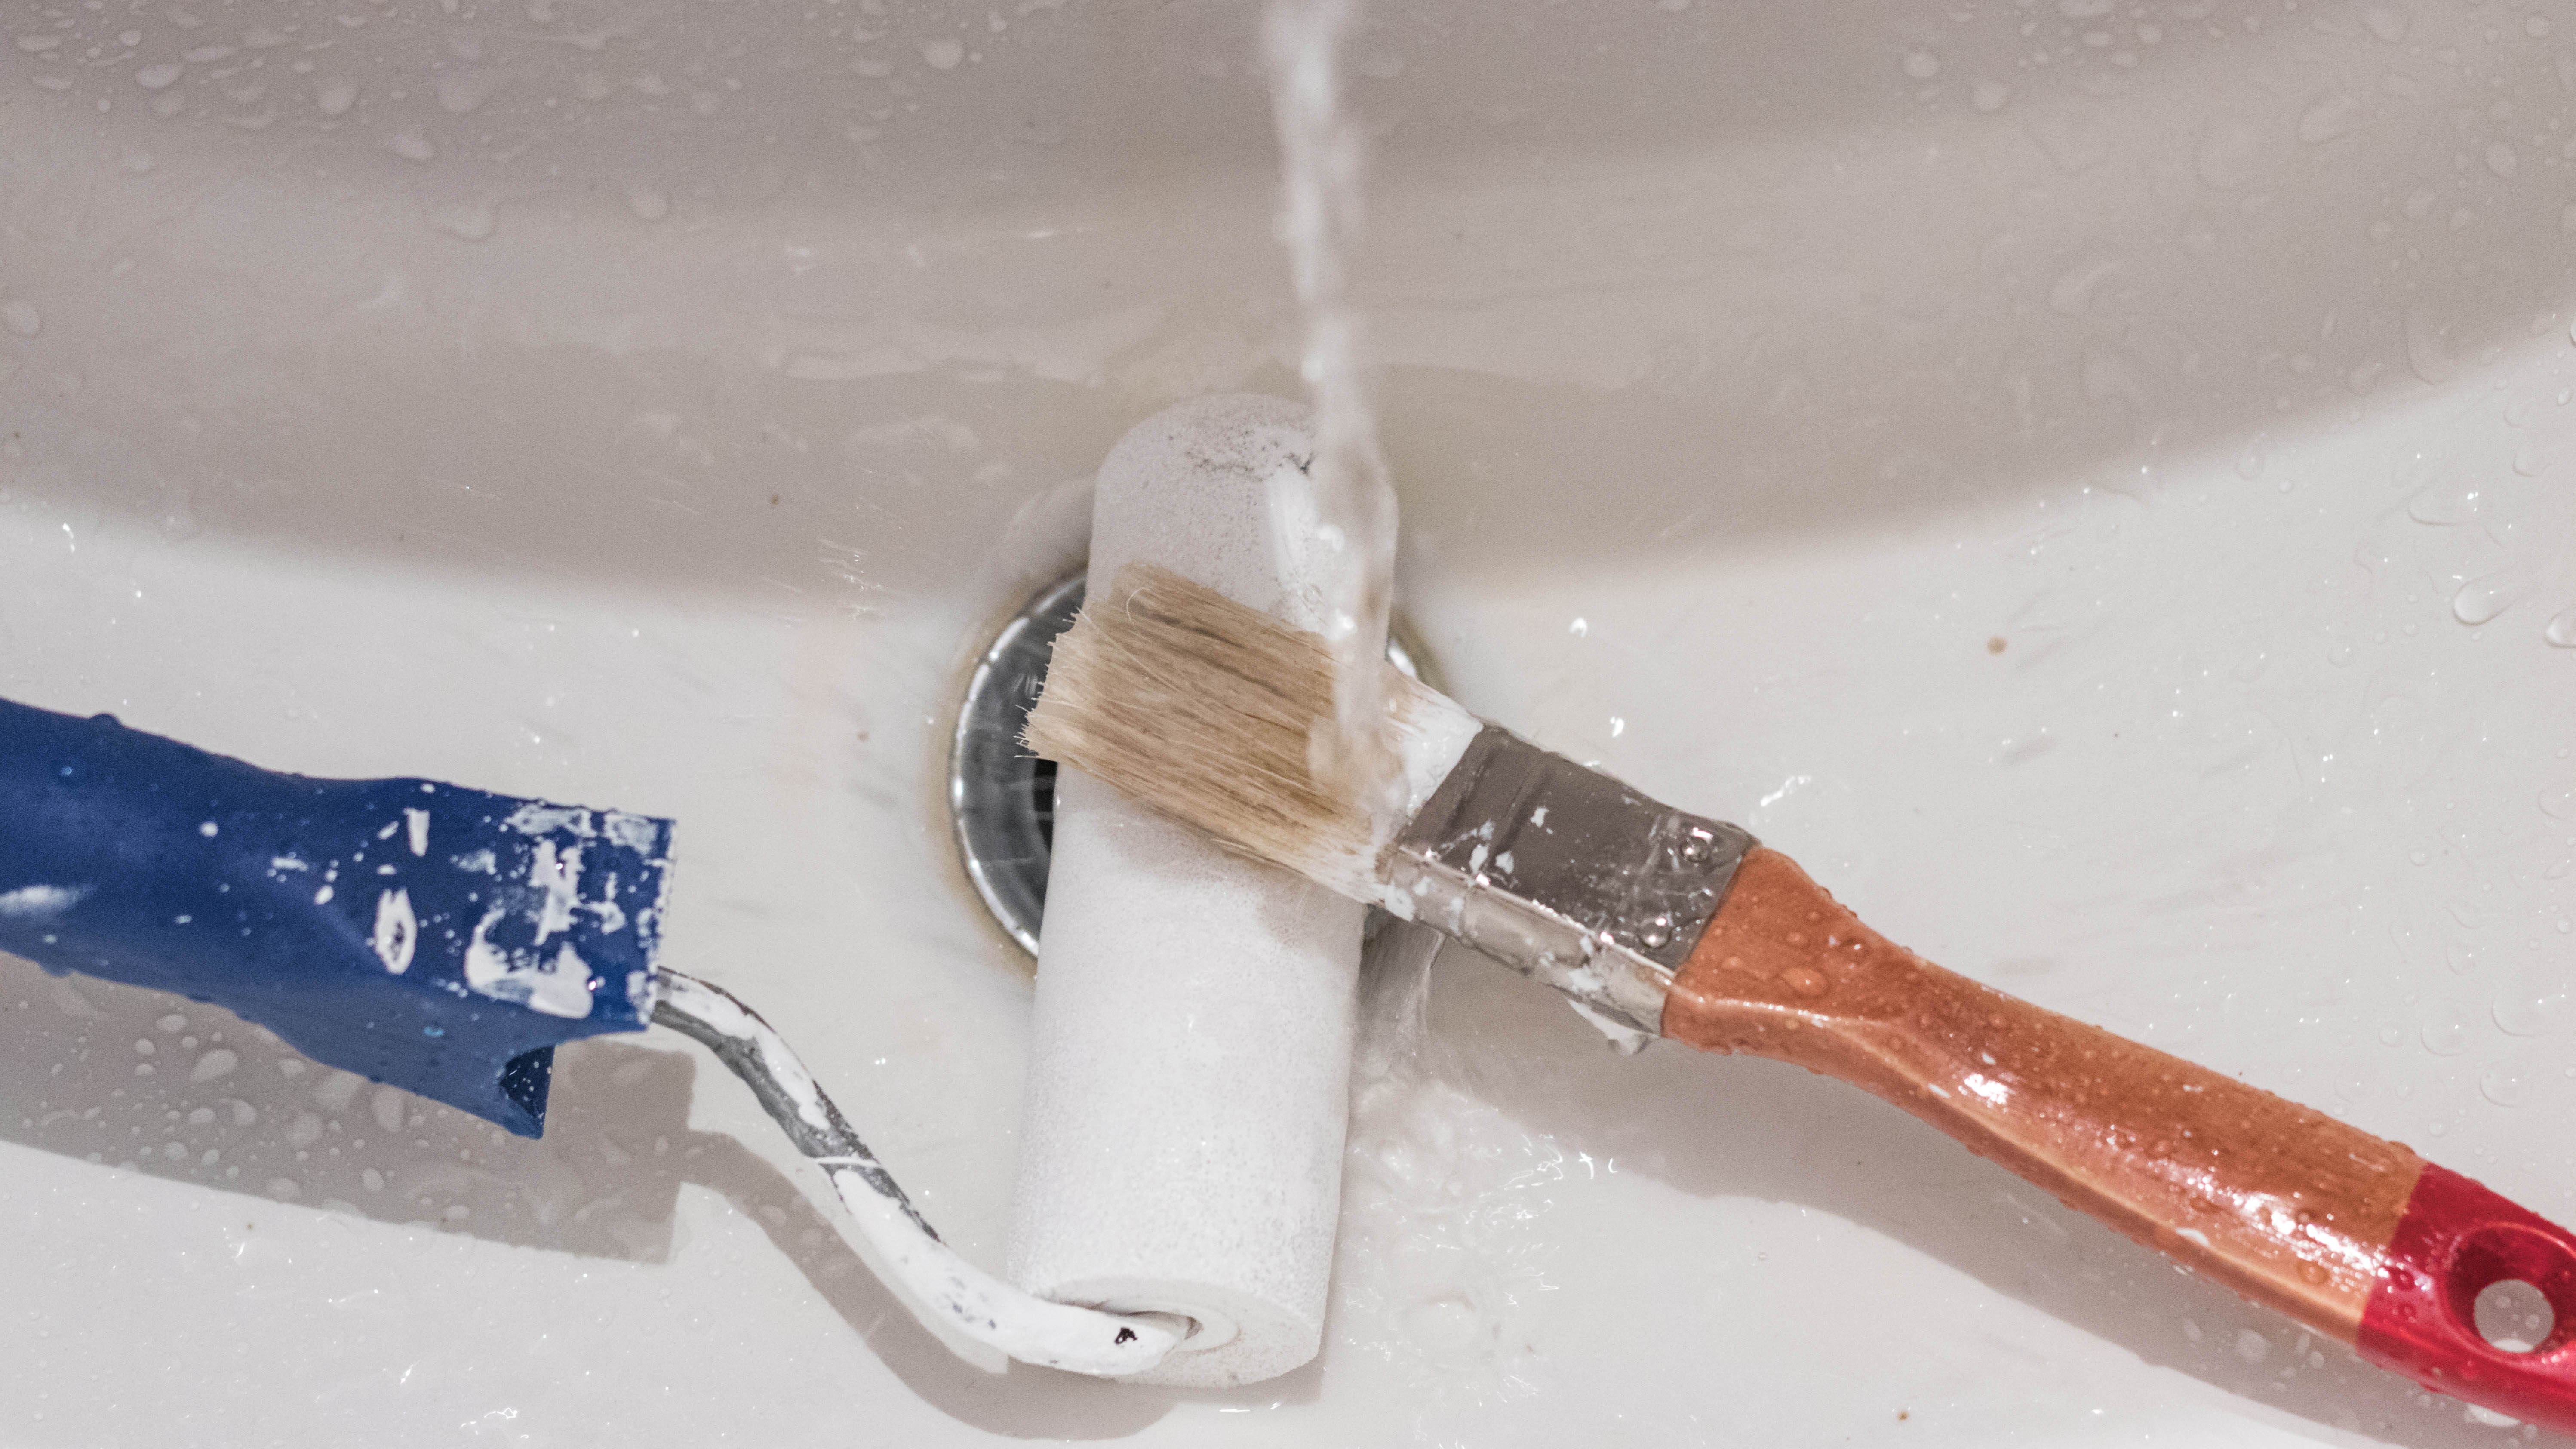
8. Leave to dry and clean up — Clean your tools as soon as you’ve finished painting with warm, soapy water. Then once the water runs clear, leave them out to dry in a well-ventilated space. Make sure any opened cans of paint are fully sealed before storing.
Do not remove the painter’s tape or drop cloths or plastic sheets until the paint is fully dry. As mentioned earlier, you should wait a minimum of two weeks before someone occupies the room — make sure it’s well-ventilated until then.
And that’s it, your ceiling should have a whole new lease of life! Check out our guide on how to paint a room if you want tips to paint the walls next.
Is the best way to paint a ceiling with a roller or a brush?
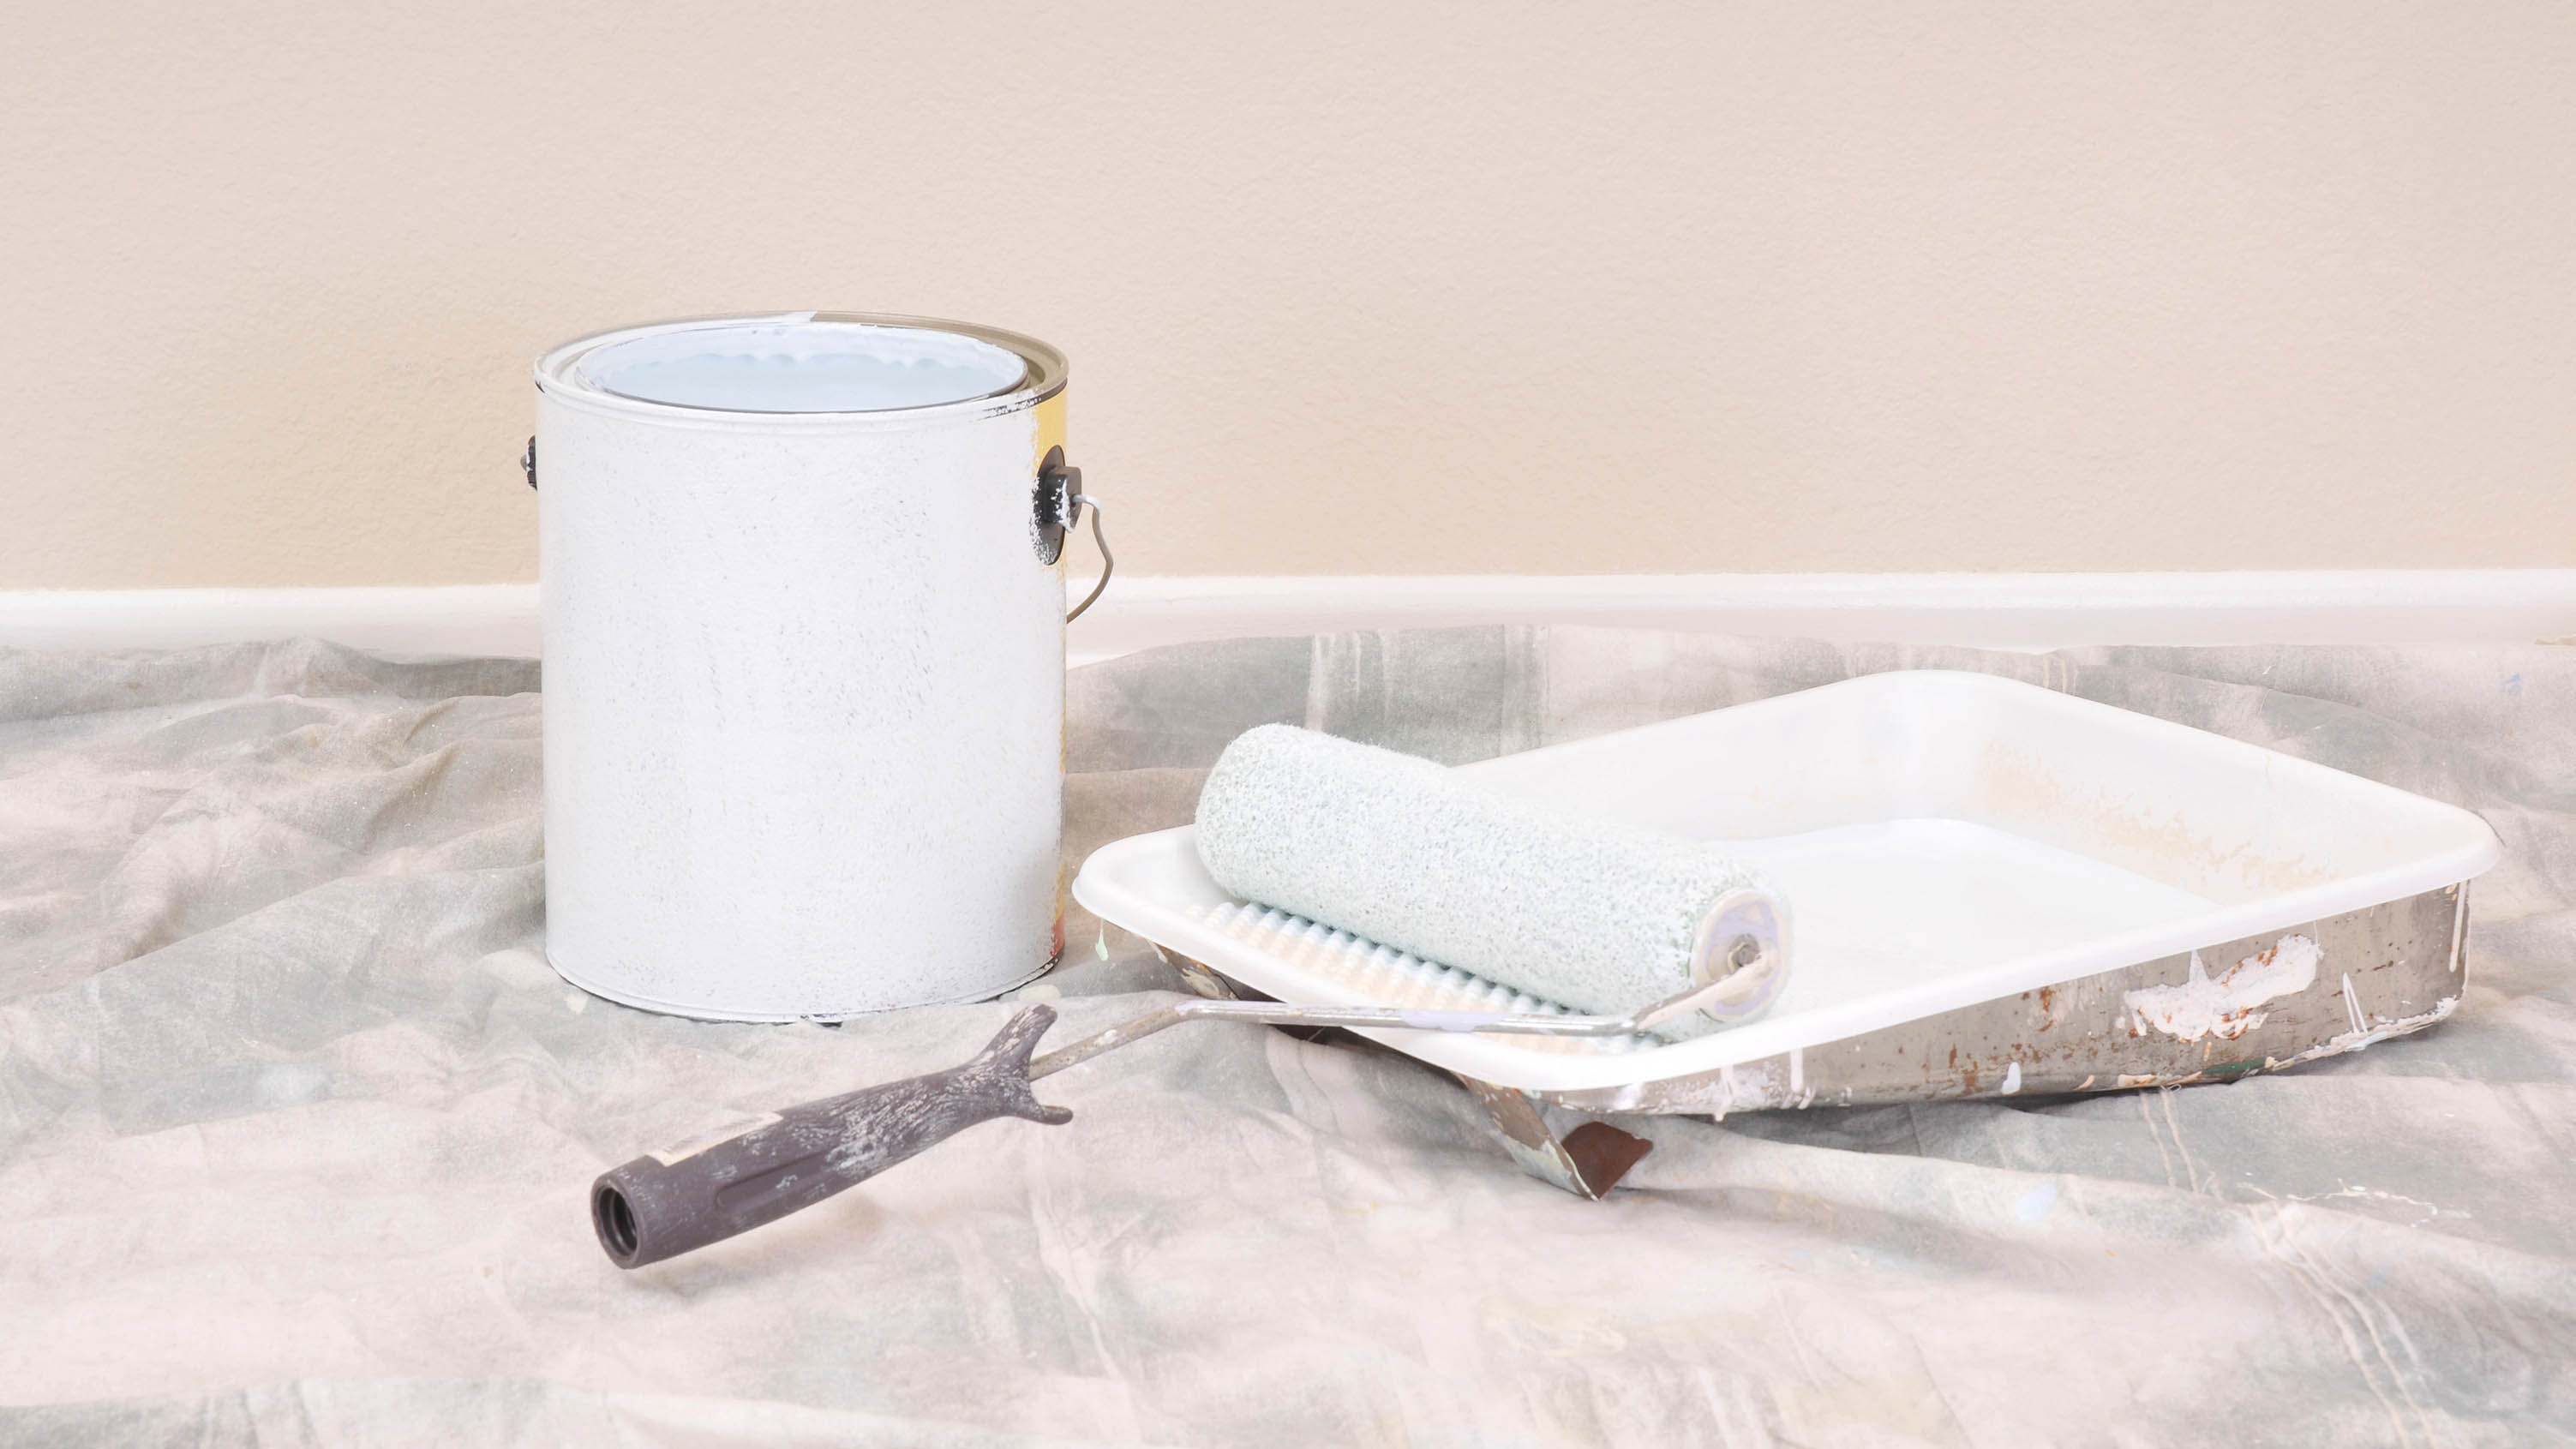
It’s actually best to use a combination of the two. A brush is best used for accuracy when ‘cutting in’ at the edges and around fixtures, and a roller is ideal for covering the bulk of the area. A roller is naturally faster to use than a paint brush, plus it covers much more area and doesn’t leave behind the obvious stroke marks you can get from paint brushes.
What kind of paint should I use on my ceiling?
There’s a couple of paint types you can use on your ceiling, but dedicated ceiling paint tends to work best for obvious reasons. It’s durable and won’t reflect the light because of its matte finish, plus it dries evenly. You can opt to use a color on your ceiling, but bear in mind that this can create the illusion of a smaller space, particularly if it’s dark.
After decorating, you’ll need to read how to remove stains from painted walls to make sure they stay stunning. If you want to use wallpaper rather than paint, check out how to wallpaper a room. For more cleaning tips check out how to clean a leather couch and how to remove red wine stains from carpet.
Want more tips? Also find out the 10 things you didn't know you could clean with baking soda and also Can I use malt vinegar for cleaning? — here is the best vinegar to clean with.

Katie Mortram used to be a Homes Editor for Tom's Guide, where she oversaw everything from kitchen appliances to gardening tools, as well as smart home tech. Specializing in providing expert advice for cleaning and home manintenance, she now works as Household Advice Editor for Good Housekeeping.
