How to mount a TV to the wall in 8 easy steps
Learn how to wall mount a TV without a lot of hassle.

Learning how to wall mount a TV gives you the power to make one of the biggest upgrades for your home theater (outside of buying a new TV or a fancy sound system). And we've already found the best TV mounts to help you get started.
Why do people want to wall-mount a TV? Wall-mounting a TV comes with a number of benefits, from a cleaner aesthetic design, to better ergonomics for more enjoyable watching. It also can prevent a TV from tipping over — which can be a safety hazard if you young kids and pets who like climb near the TV stand.
It's also super affordable, with plenty of excellent mounting options selling for $100 or less. Whether you have a simple tilting wall mount or a fully articulated, dual-arm mount that provides a full range of motion and positions, the basics for installing that hardware are pretty much the same.
From the prep work to the actual installation, here's how to wall mount a TV, step by step.
- See the best TVs we've reviewed
- Still shopping: Our TV buying guide tells you everything you need to know
- How to watch birds using a security camera and a smart display
What you'll need
Aside from having a TV and a wall, you'll need to have a few things on hand to properly mount your TV.
- Paper template (optional)
- Pencil or masking tape
- Tape measure
- Stud finder
- Level
- Power drill with drill bit
- Philips head or flathead screwdriver
- TV mount
- Included mounting hardware (screws, spacers, etc.)
You'll also want at least one other person to help. You'll need an extra pair of hands to help lift and position the TV, and perhaps a second person to assist in getting the position just right.
Some notes on handling TVs
Take it from a guy who has personally unboxed and set up dozens and dozens of TVs – you need someone else to help you out. While smaller TVs can be handled by a single person, anything over 50 inches should be moved and lifted by two people. Even if the weight is manageable for a single person to lift, the size and shape of the TV make it unwieldy, and care has to be taken to prevent damaging the display. Mounting a broken TV will take all the fun out of it.
Sign up to get the BEST of Tom's Guide direct to your inbox.
Get instant access to breaking news, the hottest reviews, great deals and helpful tips.
When handling a TV, you'll want to take extra care to protect the display panel. A large sheet of glass or plastic will naturally have some flex to it, but the underlying display technology usually doesn't. Even a little bit of unwanted flexing or pressure on a panel can damage a TV beyond repair. (Again, take it from a guy who has broken a few TVs over the years.)
To properly lift and carry a TV, you want to let the TV chassis do the work of supporting the display. Lift from the bottom of the set, supporting it at the side or top corners to keep the TV upright, in the same position it would be in normal use. This is the ideal position for the TV, because the chassis bears all of the weight and pressure. Try not to lean one way or the other, because the thinnest TVs can actually bend under their own weight enough to damage the display.
When laying a TV down flat, lay it screen-side down on a large flat surface that's covered with a clean, soft blanket or carpet. Any stray objects or debris can scratch the screen or bezel, so make sure it's really clean!
You want a surface that will evenly support the entire flat front of the TV, with no uneven portions that would place additional pressure on any one spot, or that would leave one side of the TV unsupported.
Very carefully set the TV down on its bottom edge and gently lean it forward, lowering it down onto the soft surface, holding both the top corner and the middle of the side so as to evenly support the TV, being careful not to introduce unnecessary twisting or pressure on the panel.
Get the right TV mount
The first thing you'll need to do is select the right wall mount for your TV. This comes down to two major factors: what size bracket your TV will accept, and what style of TV mount will work best for your set and the room it's in. Any of the selections from our best TV mounts list should work for most TVs, but be sure to confirm the details of your own TV and needs via its manufacturer or the manual it shipped with.
Bear in mind that wall mounting a TV may also put it at a different distance from the seating you already have. Make sure that you plan accordingly to put the TV at the appropriate distance for optimal viewing. (Check out our article What size TV should you buy? for more details about viewing distance.)
You'll also want to unbox the mount and familiarize yourself with the product before you start any sort of installation and mounting project. Make sure that you have the necessary screws (both for the wall and for attaching to the TV) and that you understand how the wall bracket and TV mounting plate attach to each other.
Find the perfect TV position
Once you've settled on the right mounting bracket for your TV, you'll need to choose the right location, and position it at the right height. Proper wall positioning is essential when wall-mounting a TV, because your ability to adjust the TV position afterwards will be quite limited, even with an articulated wall mount.
Start by finding the right wall. This will be located in a pretty central location, where the seating in your living room or home theater lets you sit comfortably while watching movies and shows. Be sure that the wall also has access to the necessary power outlets and any cable or satellite connections.
Center the TV at the right height, with the center of the screen more or less at eye level. (This is where it helps to have a second helper that can check the comfort and angle as you and another helper hold the actual TV.) You can note the desired position by marking the lower right or left corner with pencil or masking tape.
Finally, consider the position of the mount in relation to the TV. Some TVs attach mounting brackets in the center of the chassis, while others are offset toward the bottom, so plan accordingly to position your wall mount correctly.
For more helpful positioning tips, check out our helpful guide on mounting your TV: best viewing angle and height.
How to mount a TV to the wall
Once you've got everything you need and have planned out the basics, like where you want to put the TV and understanding how the TV mount is put together, you're ready to mount the TV. It's a pretty simple process, but doing it right will be the difference between an attractively mounted TV and one that may not sit right, or even damages the TV.
1. Find the studs
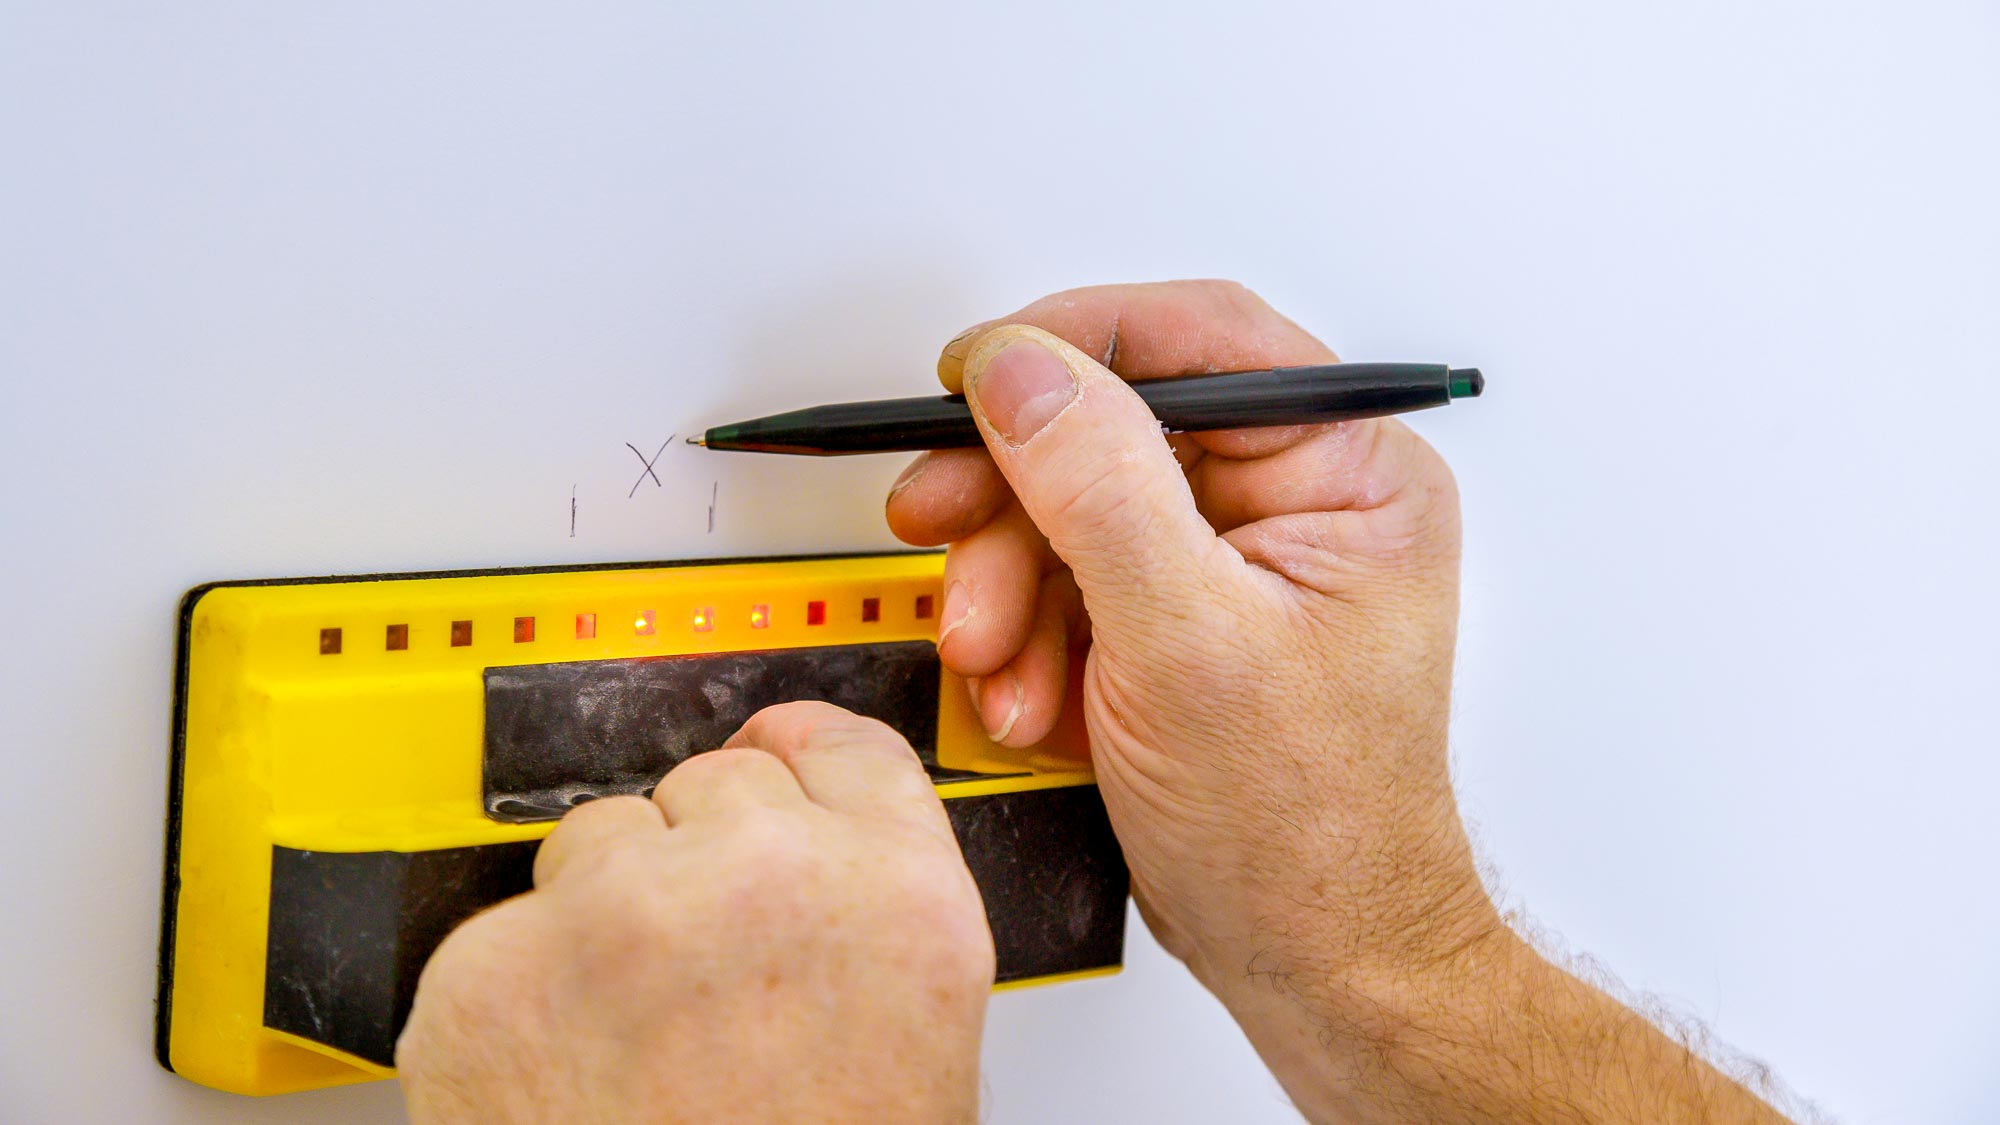
Once you've settled on the perfect spot on the wall, you'll need to find the studs to mount the bracket properly. Mounting your TV wall bracket to the studs provides the structural strength necessary to support a TV that could weigh anywhere between 30 and 100 pounds. Drywall alone will not support this sort of weight, so it's essential that you anchor the TV mount into the studs.
Finding the stud location is as simple as using a cheap stud finder, or using other means to find stud location. Measure the mounting points on the TV while bracket to determine how many studs you need to find. For most, it will be a span of two studs, one for the left and one for the right. Depending on the specifics of your walls and your chosen TV mount, it may need to be a span of three studs. You can mark the location of studs lightly on the wall with a pencil.
2. Mark the hole position
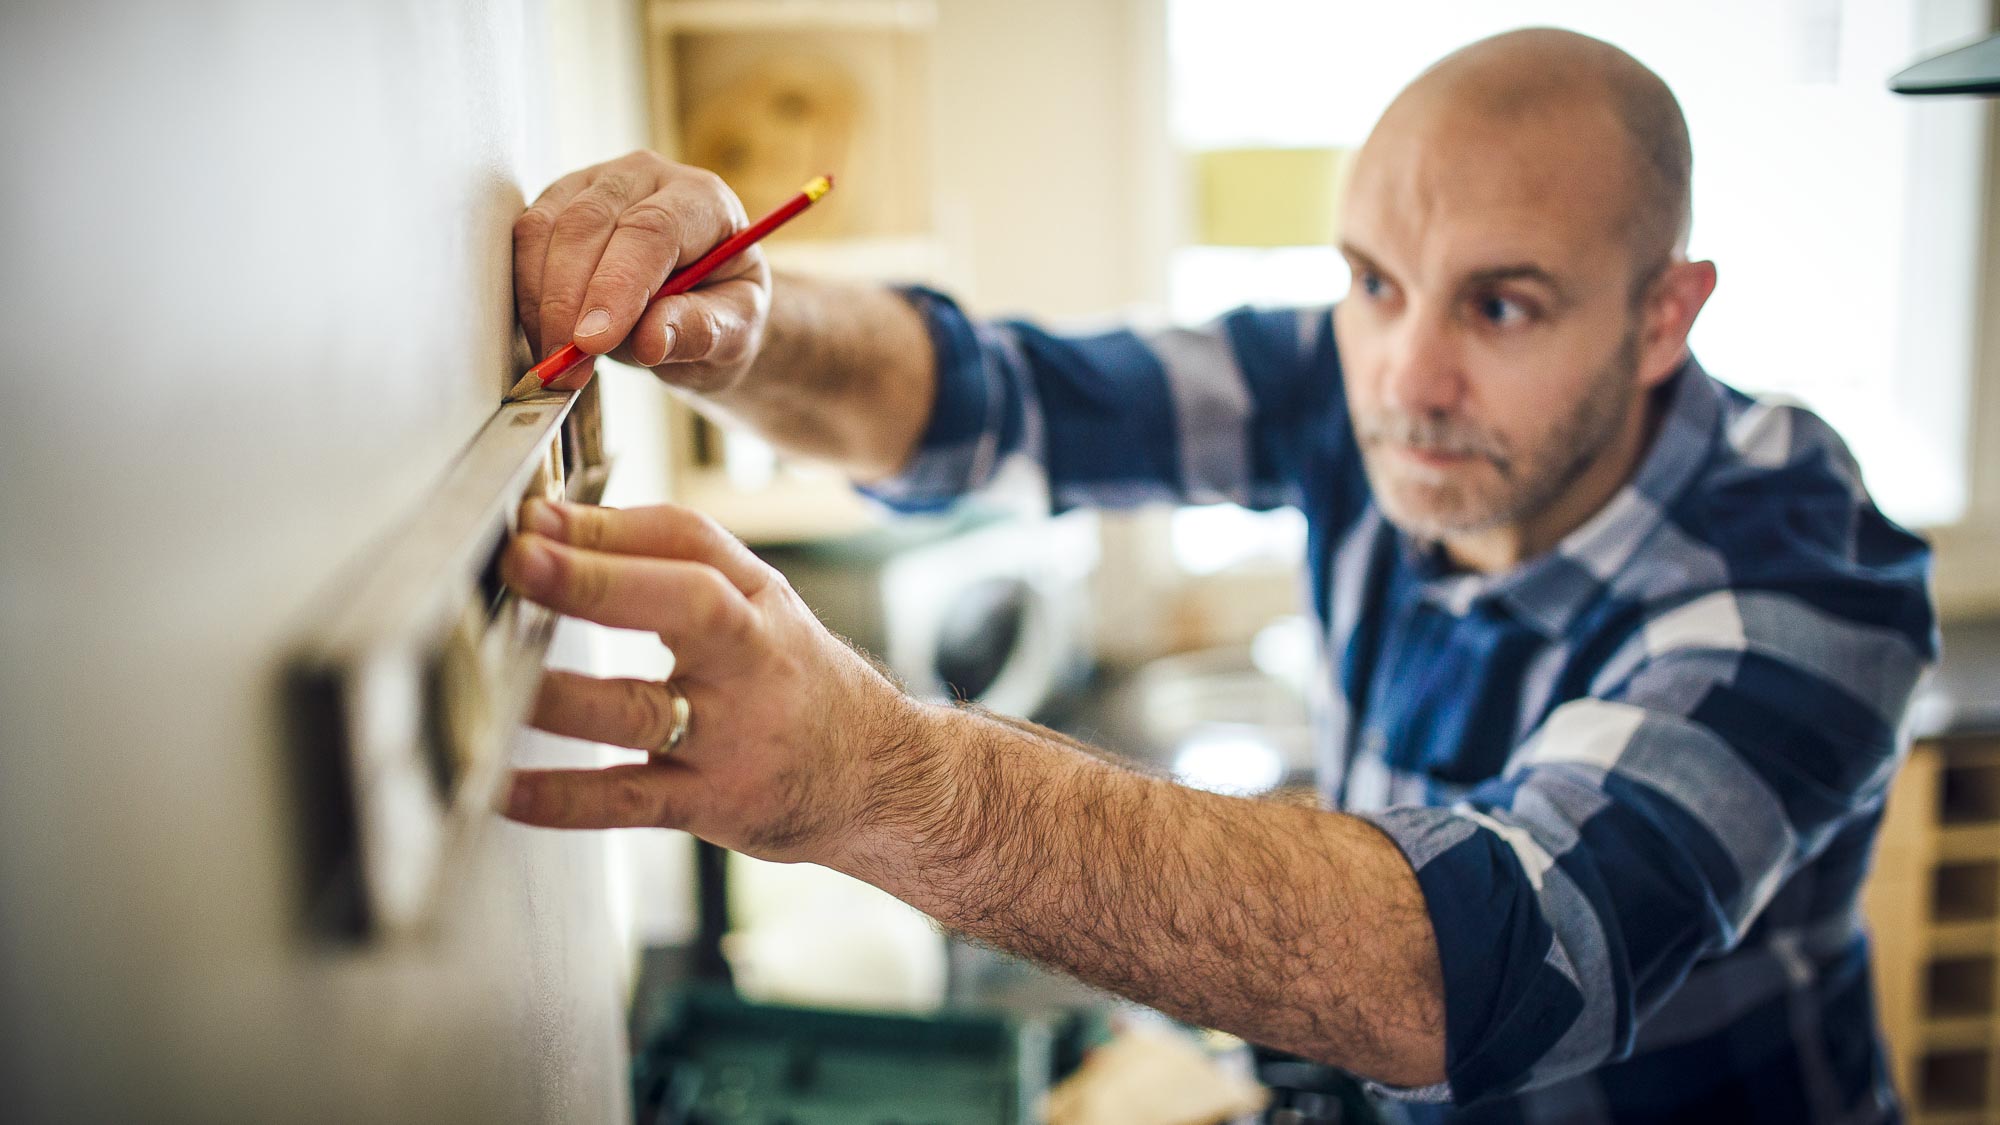
Next you'll need to mark specifically where you plan to screw into the wall. Ideally, you will use a level to ensure that these marks are not only even between the two studs, but also to make sure that the amount will not be slanted. You can mark specific locations for the pilot holes on the wall itself in pencil, or, you can tape paper over the intended mounting location, using either a pre-printed template or marking one up on your own.
3. Double check the bracket position
With your marks in place, it's time to position the mounting bracket on the wall. First, place the bracket flat against the wall, lining up one screw location with the first marked hole. Keeping that point firm, pivot the other side of the bracket as needed to line up with the second hole. Use a level to double check that the mount is level when it's aligned with your planned pilot holes.
4. Drill pilot holes
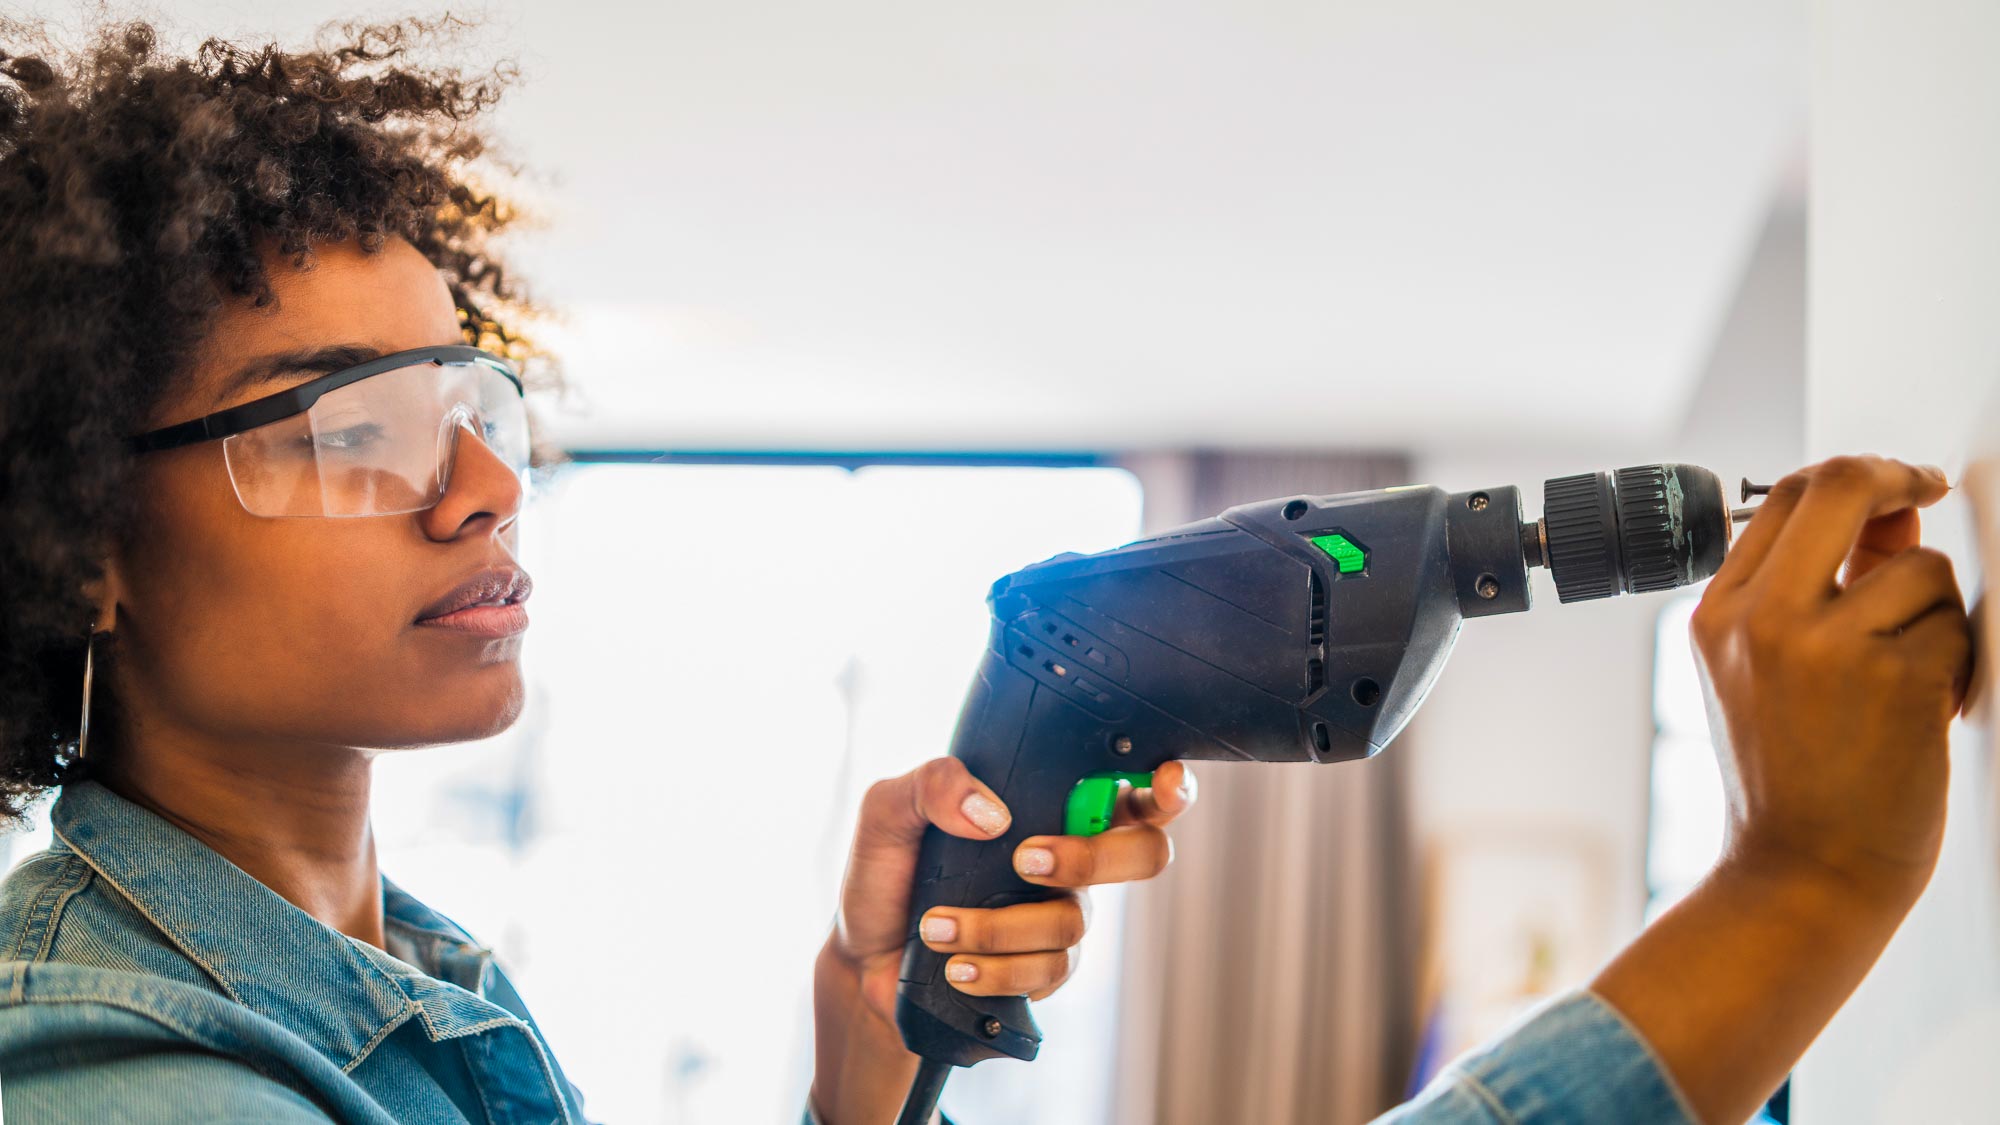
Using a drill, you'll need to drill pilot holes through the drywall and into the studs in the proper positions.
5. Mount the wall bracket
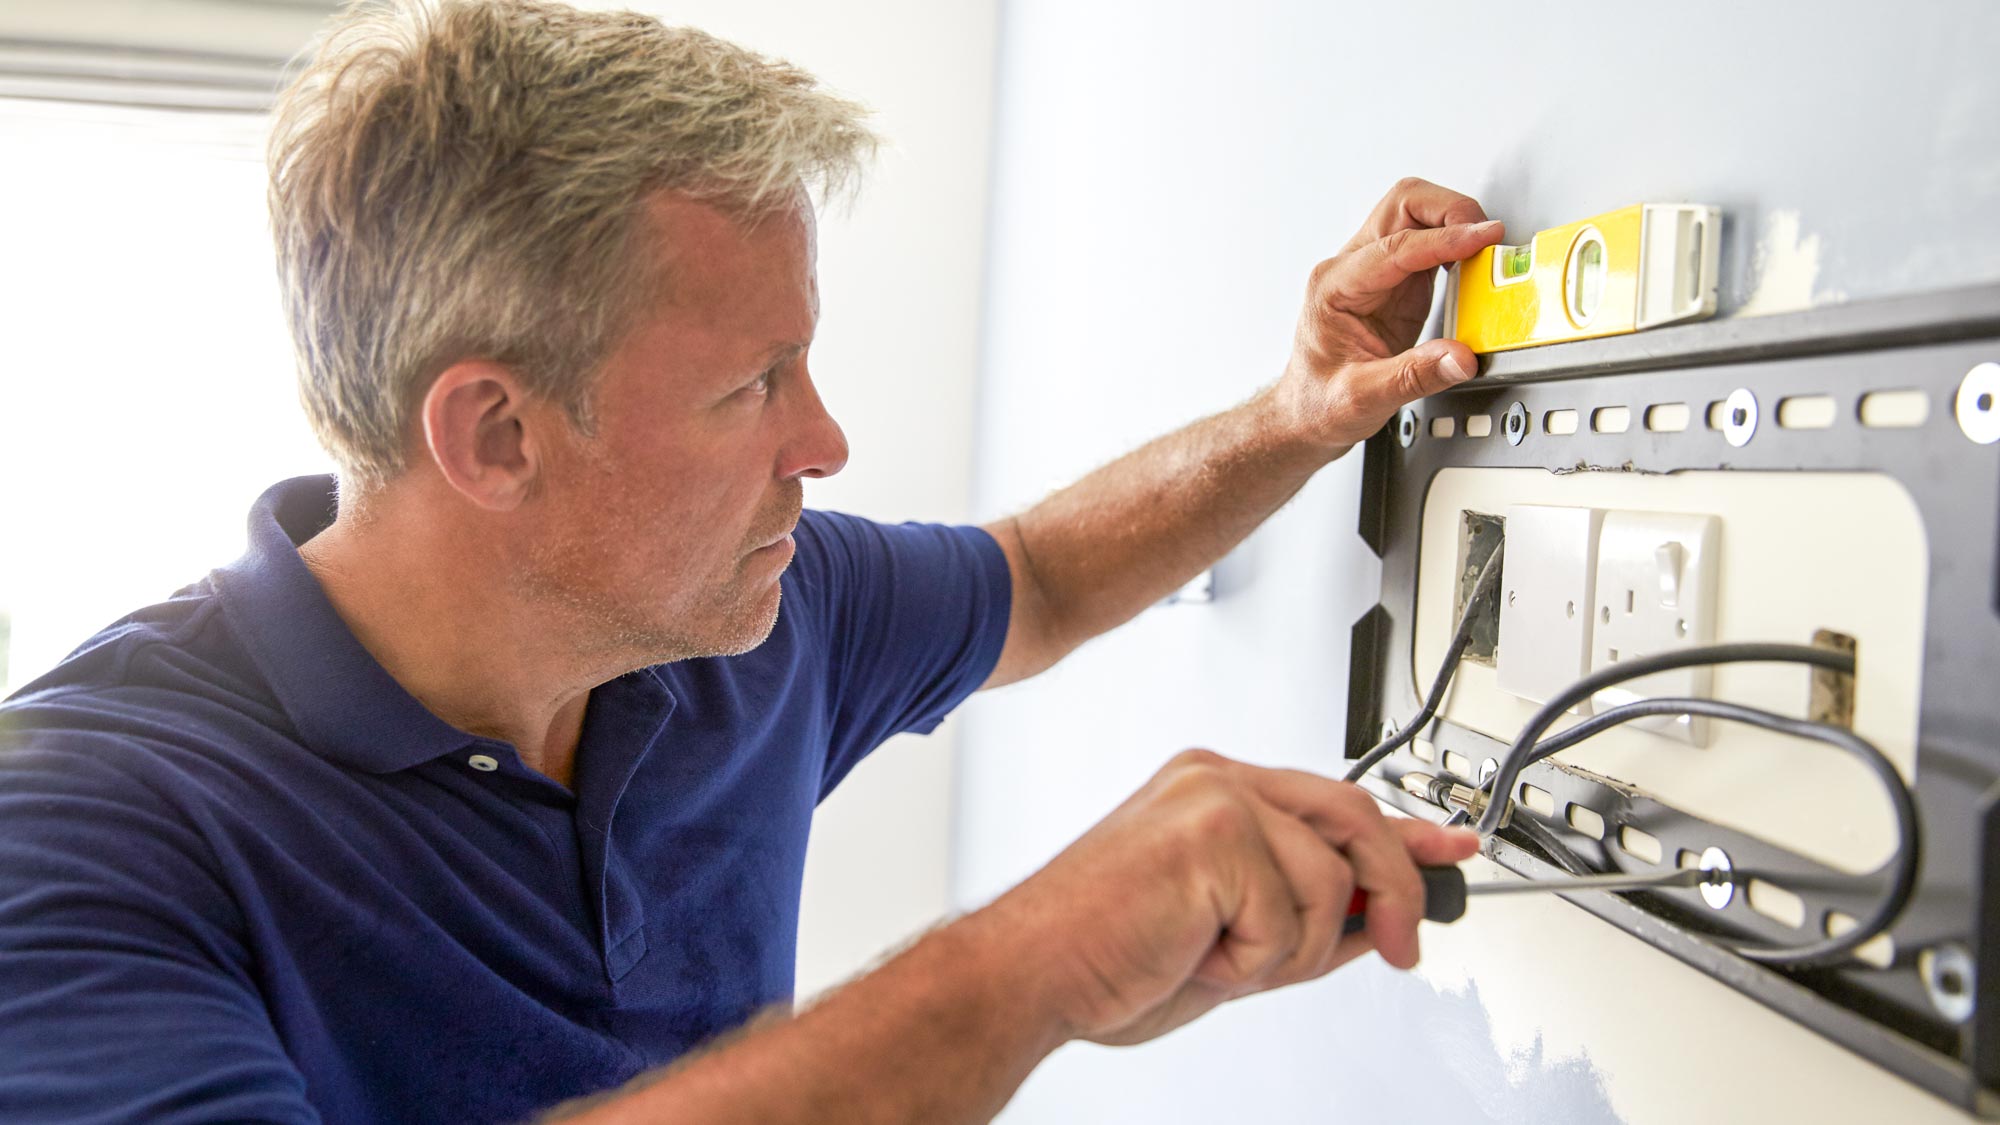
Once the pilot holes are drilled, you will use the included mounting screws to secure the wall bracket. Using a power drill, screwdriver or ratchet, put in the wall screws to firmly attach the bracket to the wall, with the screws going into the studs.
Generally speaking, you'll want the screws tight enough to hold the bracket snug against the drywall, with no wiggling or rattling of the mounting plate. If the screws are sinking into the drywall or the bracket is warping in any way, you have overtightened.
With the wall bracket properly placed, you are more than halfway done mounting your TV.
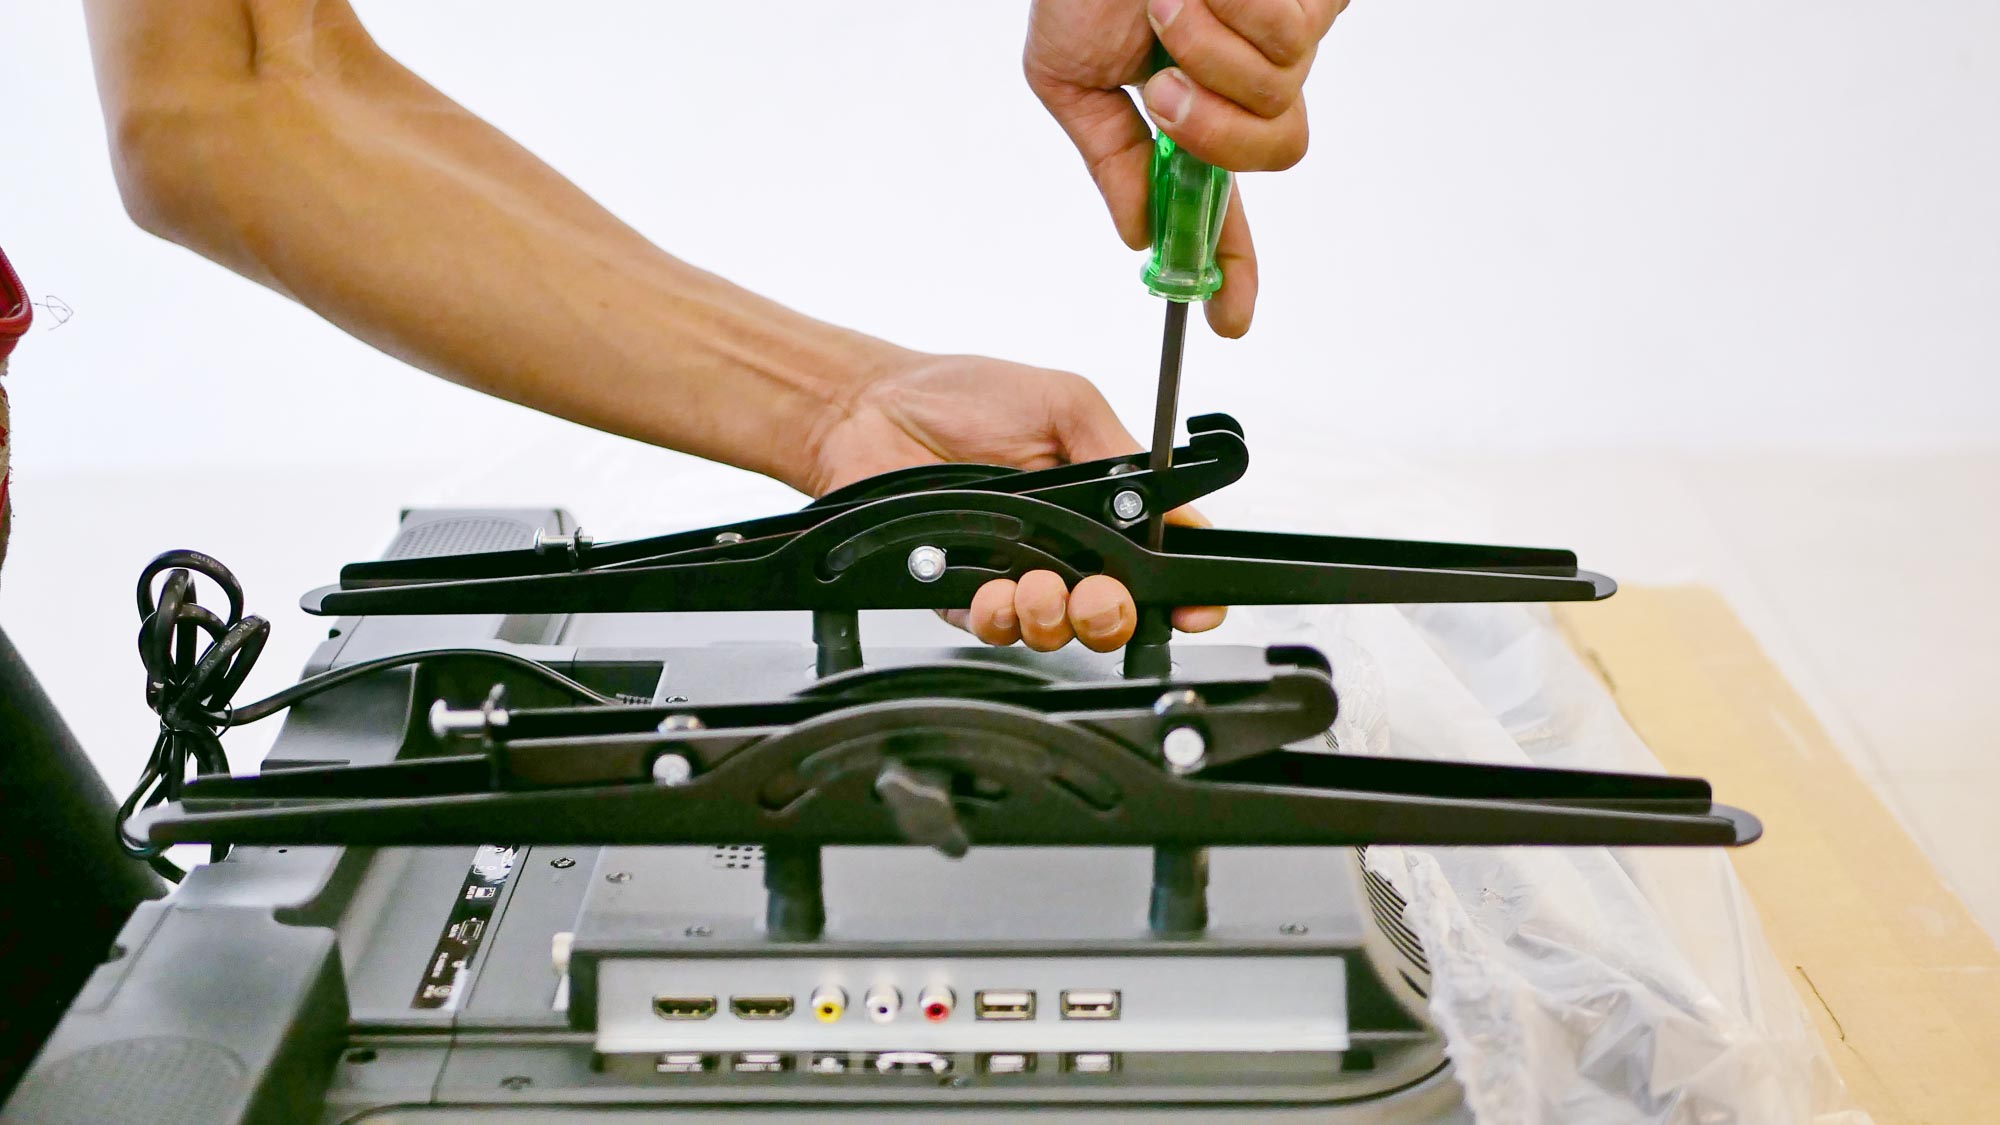
6. Attach the TV mounting plate
Next you'll attach the mounting plate to the TV. This is the second half of the TV mount, which will attach to the back of the TV, and then connect with the wall bracket to securely hang the TV on the wall. Depending upon the type of mount you are using, the two halves may be attached through a simple clip, a rail system, or even an extendable arm.
Line up the TV mounting plate with the VESA mounting holes on the back of the TV chassis. Using the included screws that should have come with your TV mount, attach the mounting plate to the TV using a screwdriver.
Be especially careful not to over tighten the screws, which can result in damage to the TV chassis or stripped screw heads, both of which can cause real issues mounting (or later unmounting) the TV. A good rule of thumb is to tighten the screw until it holds the bracket snug against the chassis, and then tighten a quarter turn.
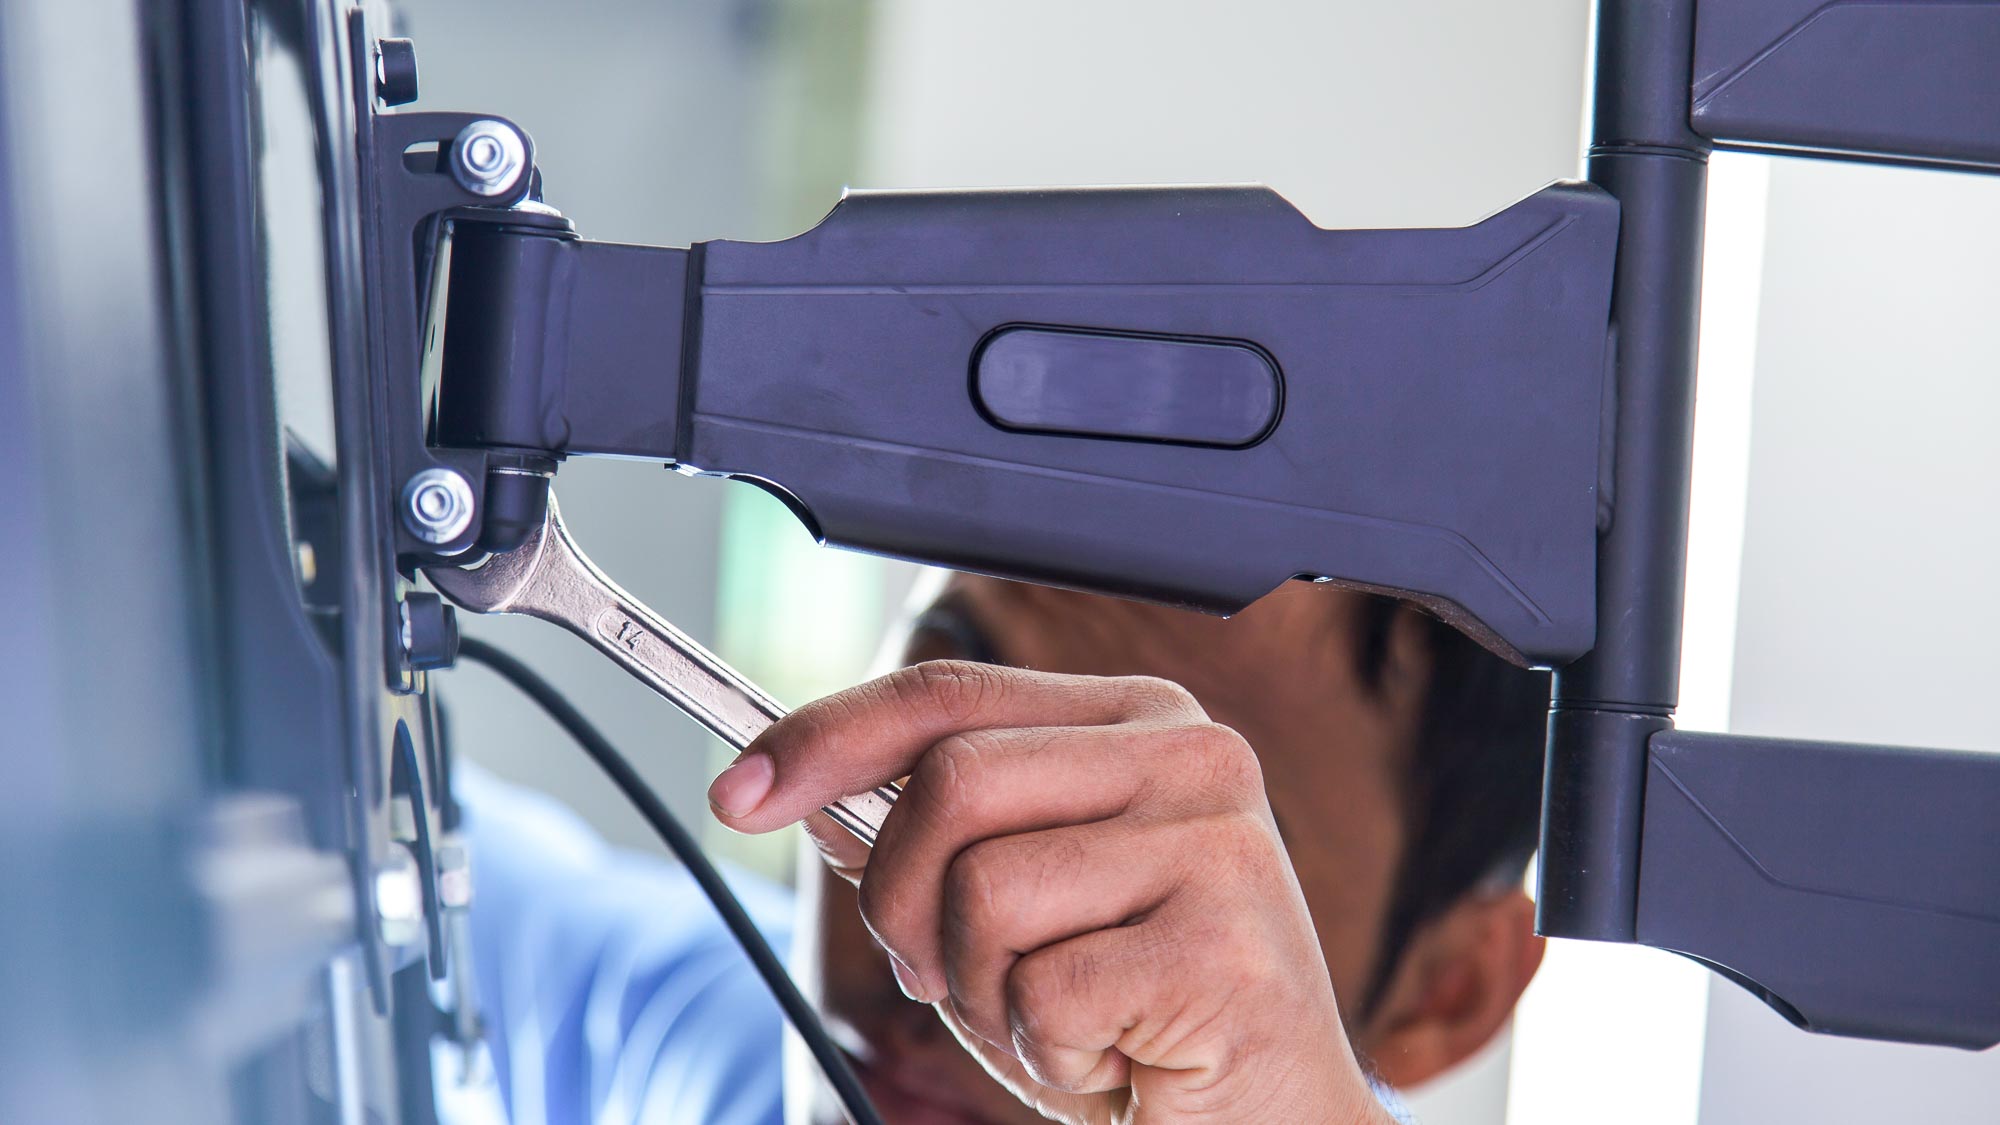
7. Attach the TV mounting plate to the wall bracket
With both the wall bracket and TV mounting plate securely in place, all that's left is to attach the two.
Start by lifting the TV to the proper height, or slightly higher than the intended position, so that the TV can be lowered to attach the bracket and plate.
In some instances, this will be a drop-in connector with safety screws that can be tightened after attaching, but others will use attachments that may clip or screw into place. Be sure to consult the instructions that came with the TV mount and use the included hardware to attach the plate to the bracket.
Take care when lifting the TV, with particular attention paid to holding the TV by the outside bezels, and not the glass. Be especially careful not to grab or press on the screen, which can damage the display very easily.
Once the amount is properly attached, you can allow the bracket to support the weight of the TV.
8. Reconnect the TV
All that's left at this point is to reconnect power to the TV and any other devices that might need to be plugged in. Once that's done, you can kick back and enjoy the newly-mounted TV.
- Want a bigger TV? Check out the best 75-inch TVs
- Try the best soundbars for bigger, better sound
Brian Westover is currently Lead Analyst, PCs and Hardware at PCMag. Until recently, however, he was Senior Editor at Tom's Guide, where he led the site's TV coverage for several years, reviewing scores of sets and writing about everything from 8K to HDR to HDMI 2.1. He also put his computing knowledge to good use by reviewing many PCs and Mac devices, and also led our router and home networking coverage. Prior to joining Tom's Guide, he wrote for TopTenReviews and PCMag.

