How to make pour over coffee
Learn how to make pour over coffee like a barista with this simple guide
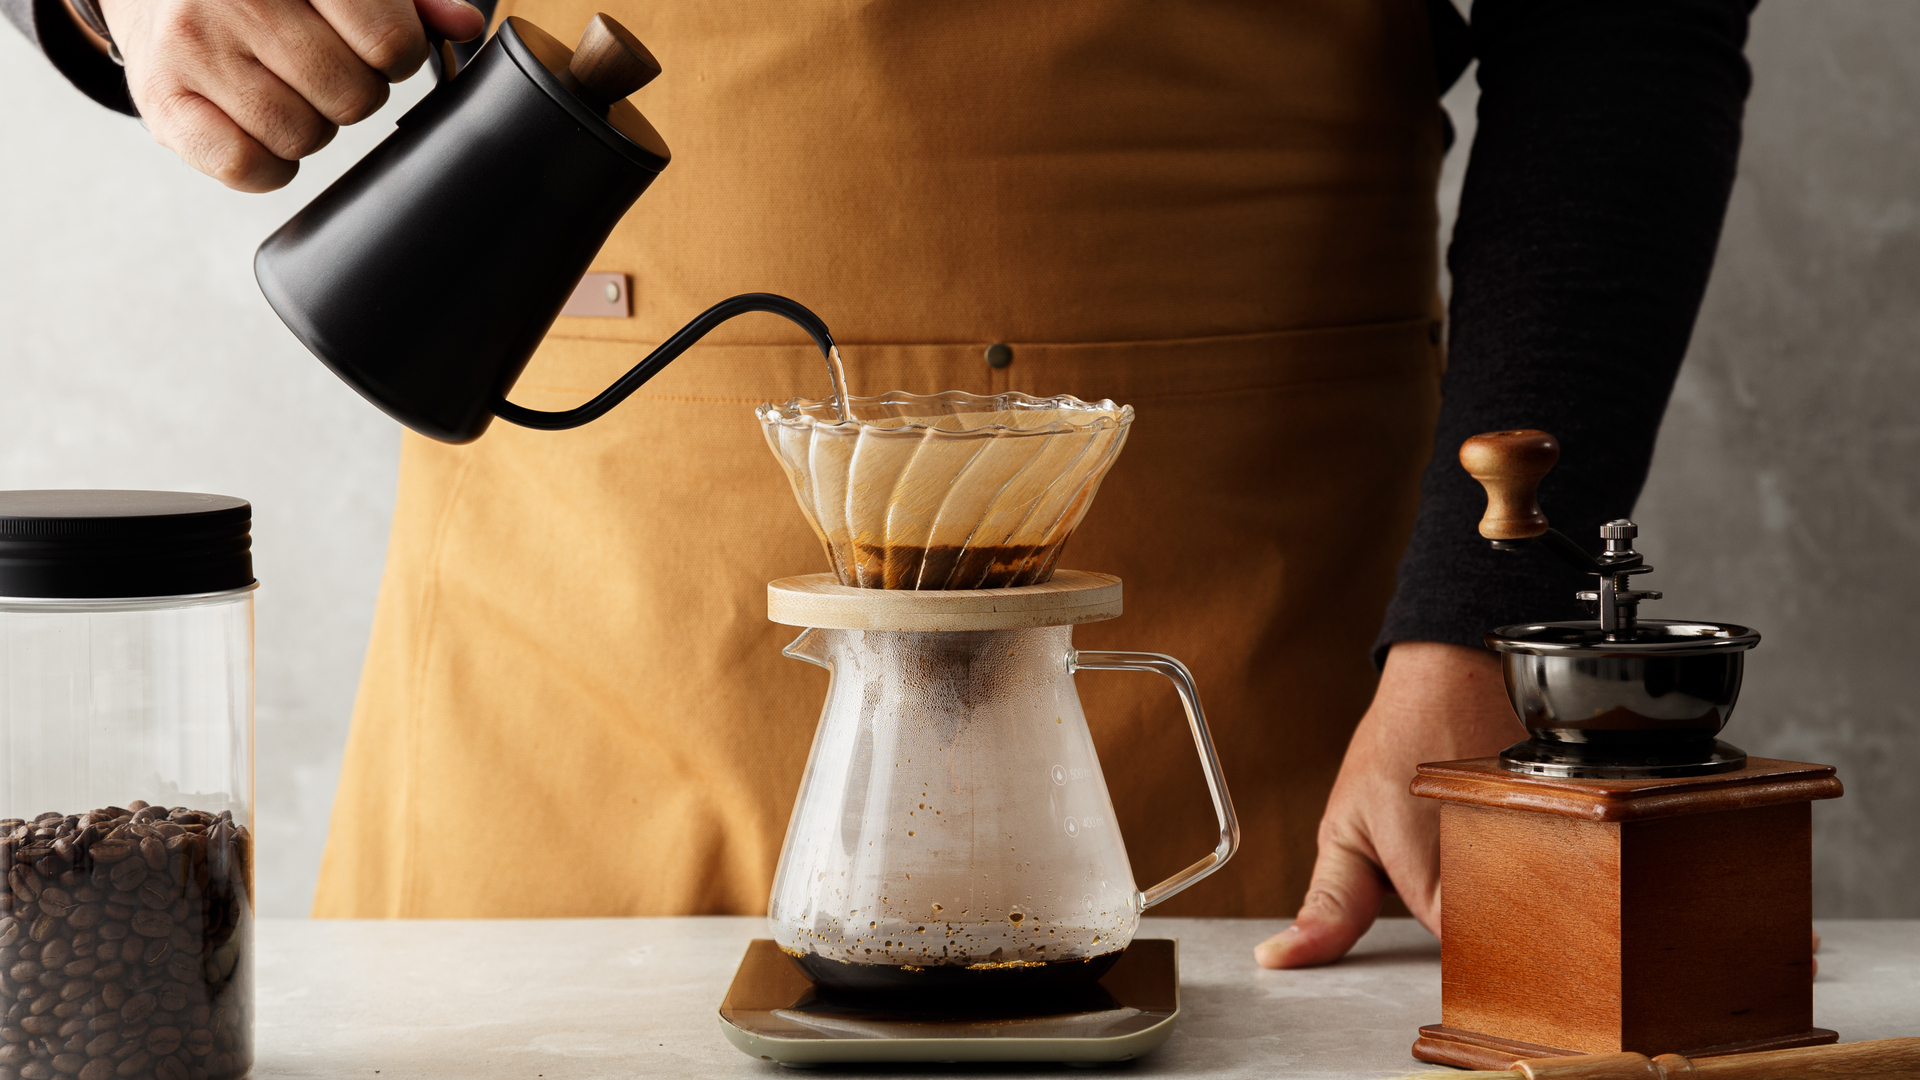
Looking to learn how to make pour over coffee? Perhaps you’re not ready to take the plunge just yet by buying one of the best espresso machines, or maybe you’ve simply invested in a new pour over set and want to learn how to use it?
Either way, we have you covered in this guide to making pour over coffee. (For the summer, you can also follow our tips on how to make iced coffee in 4 simple steps).
Pour over is a great way of preparing your morning brew. Similar in theory to traditional drip and filter methods, which also pour water over grounds suspended in a filter, the term ‘pour over’ typically refers to filter coffee prepared manually: hand-pouring water from a kettle over small batches of coffee, suspended using a filter nestled within a pour over funnel (also referred to as a cone or dripper).
It’s an incredibly simple way of making coffee, which subsequently allows precise control over all the preparation variables, delivering balanced, clean flavors when done right. The latter has given rise to pour over being considered the coffee connoisseur’s preparation method of choice, as even the most delicate of flavor profiles can be brought to the fore using it. This gives coffee geeks the chance to easily and accurately evaluate the different characteristics of coffees resulting from variations in bean strain, terroir and roast, without preparation factors getting in the way.
Really though, if you’re just starting out in coffee, what you need to know is that pour over is both easy and cheap, with drippers available at around $9 and £5. What you also need to know is how to make it, so read on.

How to make pour over coffee: kit and beans
Before you start, you’ll need to figure out what gear and beans to buy, and how much to grind. We'll cover all these things before showing you how to brew pour over coffee.
1. Choosing your system and filters
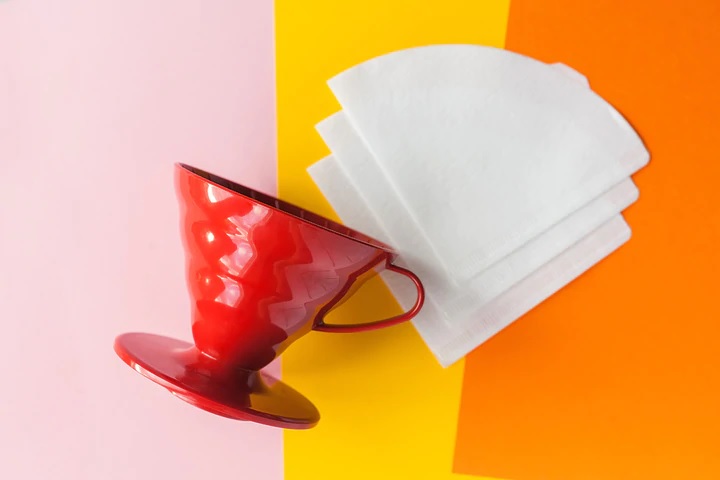
There are a range of pour over systems available, many of which are super affordable. I use the Hario V60 dripper, which start off incredibly cheap. Melitta cones are also a decent and inexpensive choice. You could try a Chemex system if you want to step things up: these are a little more expensive but feature a built-in jug to brew into. The price of filters that fit your system (and which size of dripper you bought within that system) may also affect your decision, so it's worth considering these at the outset.
Sign up to get the BEST of Tom's Guide direct to your inbox.
Get instant access to breaking news, the hottest reviews, great deals and helpful tips.
Filters are arguably more important than the system chosen to the result of your brew. The main choice you'll find between filters is whether they're unbleached (natural) or bleached. The former are the more environmentally friendly option, but can leave a papery taste in the coffee, which can be a problem if you're going for purity of flavor.
2. Choosing and grinding your beans
Buy the best beans you can afford, but don’t be suckered into thinking you have to buy very expensive beans in order to make good coffee. Read the back of the packet and look for beans that have been roasted for filter, then just pick flavor profiles you think you’ll like.
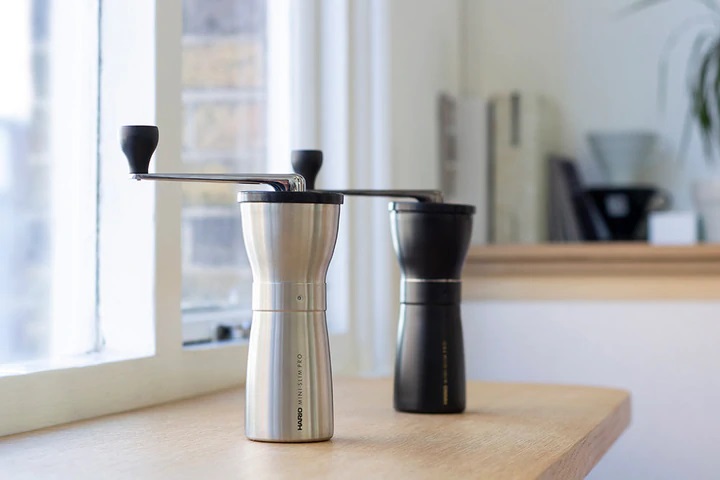
Buy whole beans if you have a grinder and aim for a medium-coarse grind, a little finer than you would for French press. If you don't have a grinder, consider buying your beans from a coffee shop, where you can ask them to freshly grind your beans for filter. Grocery store pre-ground beans are often ground to the right consistency for pour over, but should be avoided if possible as they have often been processed long before you buy them, massively affecting freshness and taste.
Longer-term, it’s definitely a good idea to invest in a grinder. You don’t need to buy one of the best coffee grinders to make great coffee from the outset — a simple hand grinder will suffice. If buying a new grinder, opt for a burr grinder if you can, as these produce the most consistent results.
3. Choosing your dose and brew ratio
After grinding your beans, you’ll need to choose how much of the ground coffee to use, known somewhat medicinally as the dosage.
The more ground coffee you use, the more intense the final brew will taste, but go too far and you may not extract all the flavor of the coffee. Lowering your dose similarly lessens the body of the final product, although too low a dose may result in over-extraction of the coffee, yielding a bitter taste.
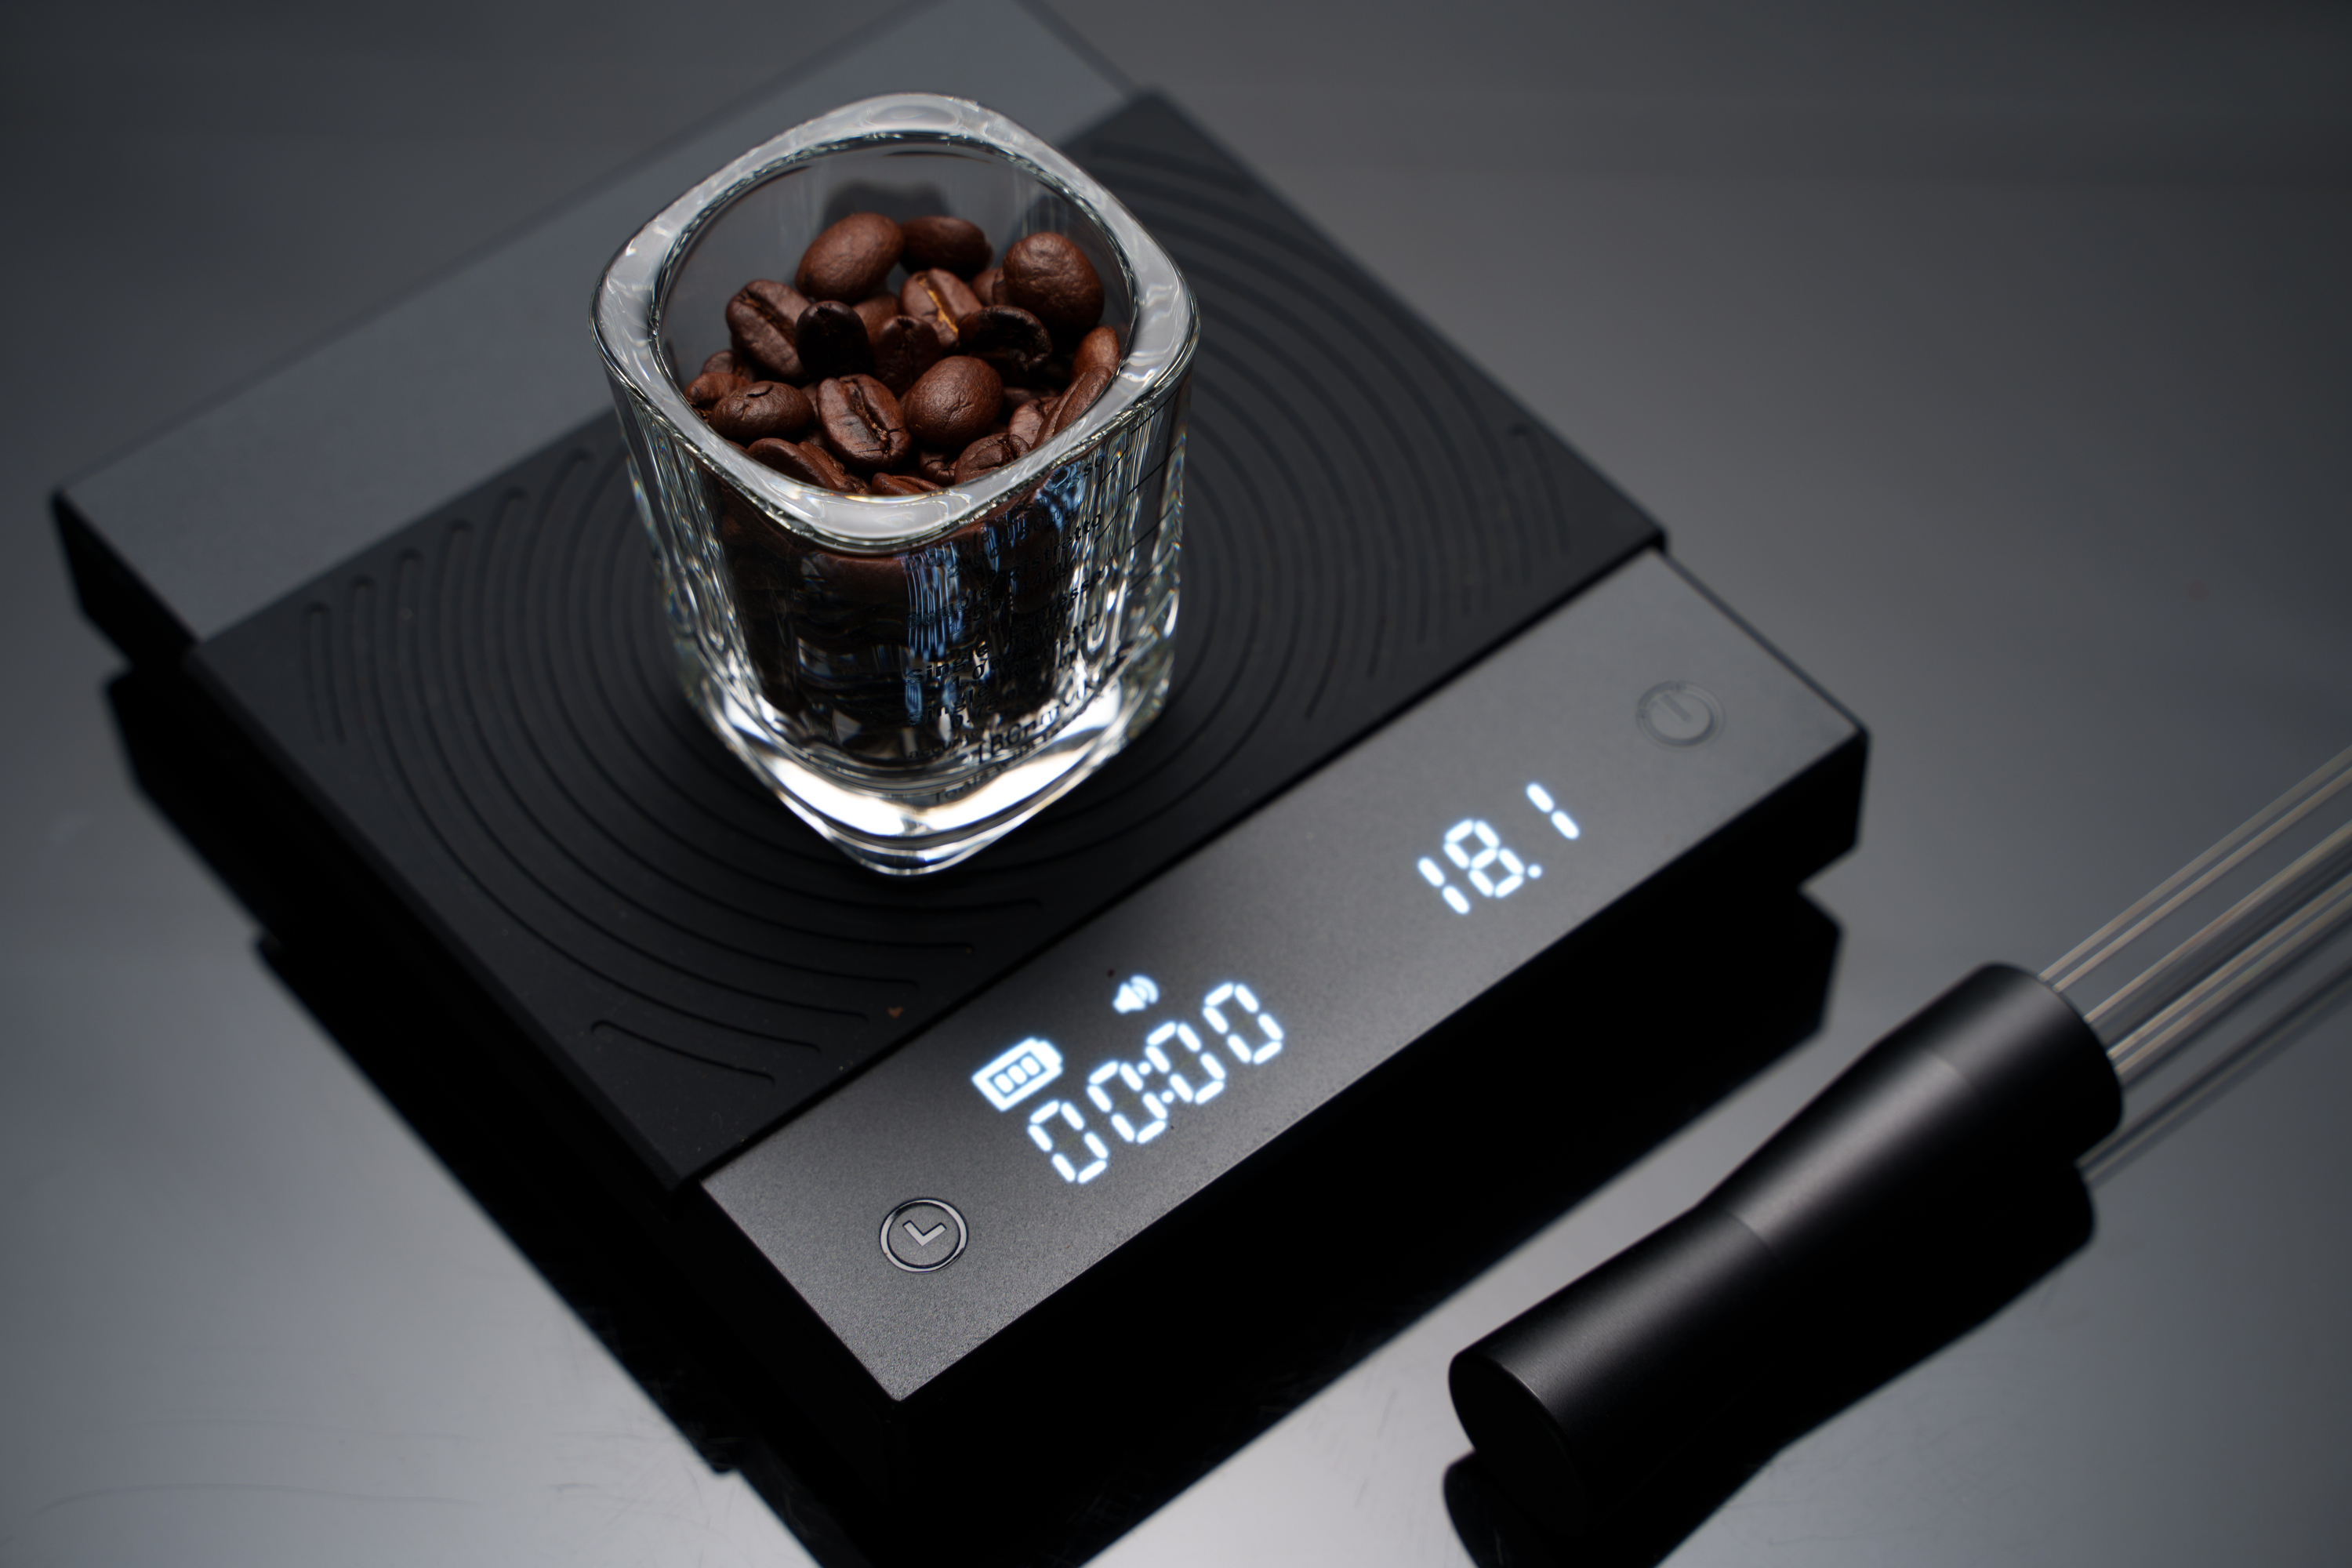
The dosage you use will depend on personal preference, and you can tweak it to figure out what you prefer later on. A good middle-ground to start with is 18g of ground coffee for one cup, using 300ml of water — this is your brew ratio.
You can dose before or after you grind. If dosing before, just make sure you factor in a few extra beans to account for some grounds being retained in the grinder.
How to make pour over coffee: brewing
Once you’ve got your gear and beans, it’s time for the fun stuff. Here’s how to make one cup of pour over coffee using 18g of ground beans to 300ml of water. Ensure you have a timer and scales to hand, and of course a mug or jug to brew into (a brewing vessel).
1. Boil your kettle. While it boils, place your paper filter into whatever cone you’re using and rest your cone on top of your brewing vessel.
2. Once boiled, pour some of the hot water into your dripper to wet the filter and heat up the cone and brew vessel. This stops the equipment cooling down your brew and results in a more even extraction. After 10-20 seconds, empty the hot water from the brew vessel, then put your grounds into the filter over the brew vessel. Place everything on the scales.
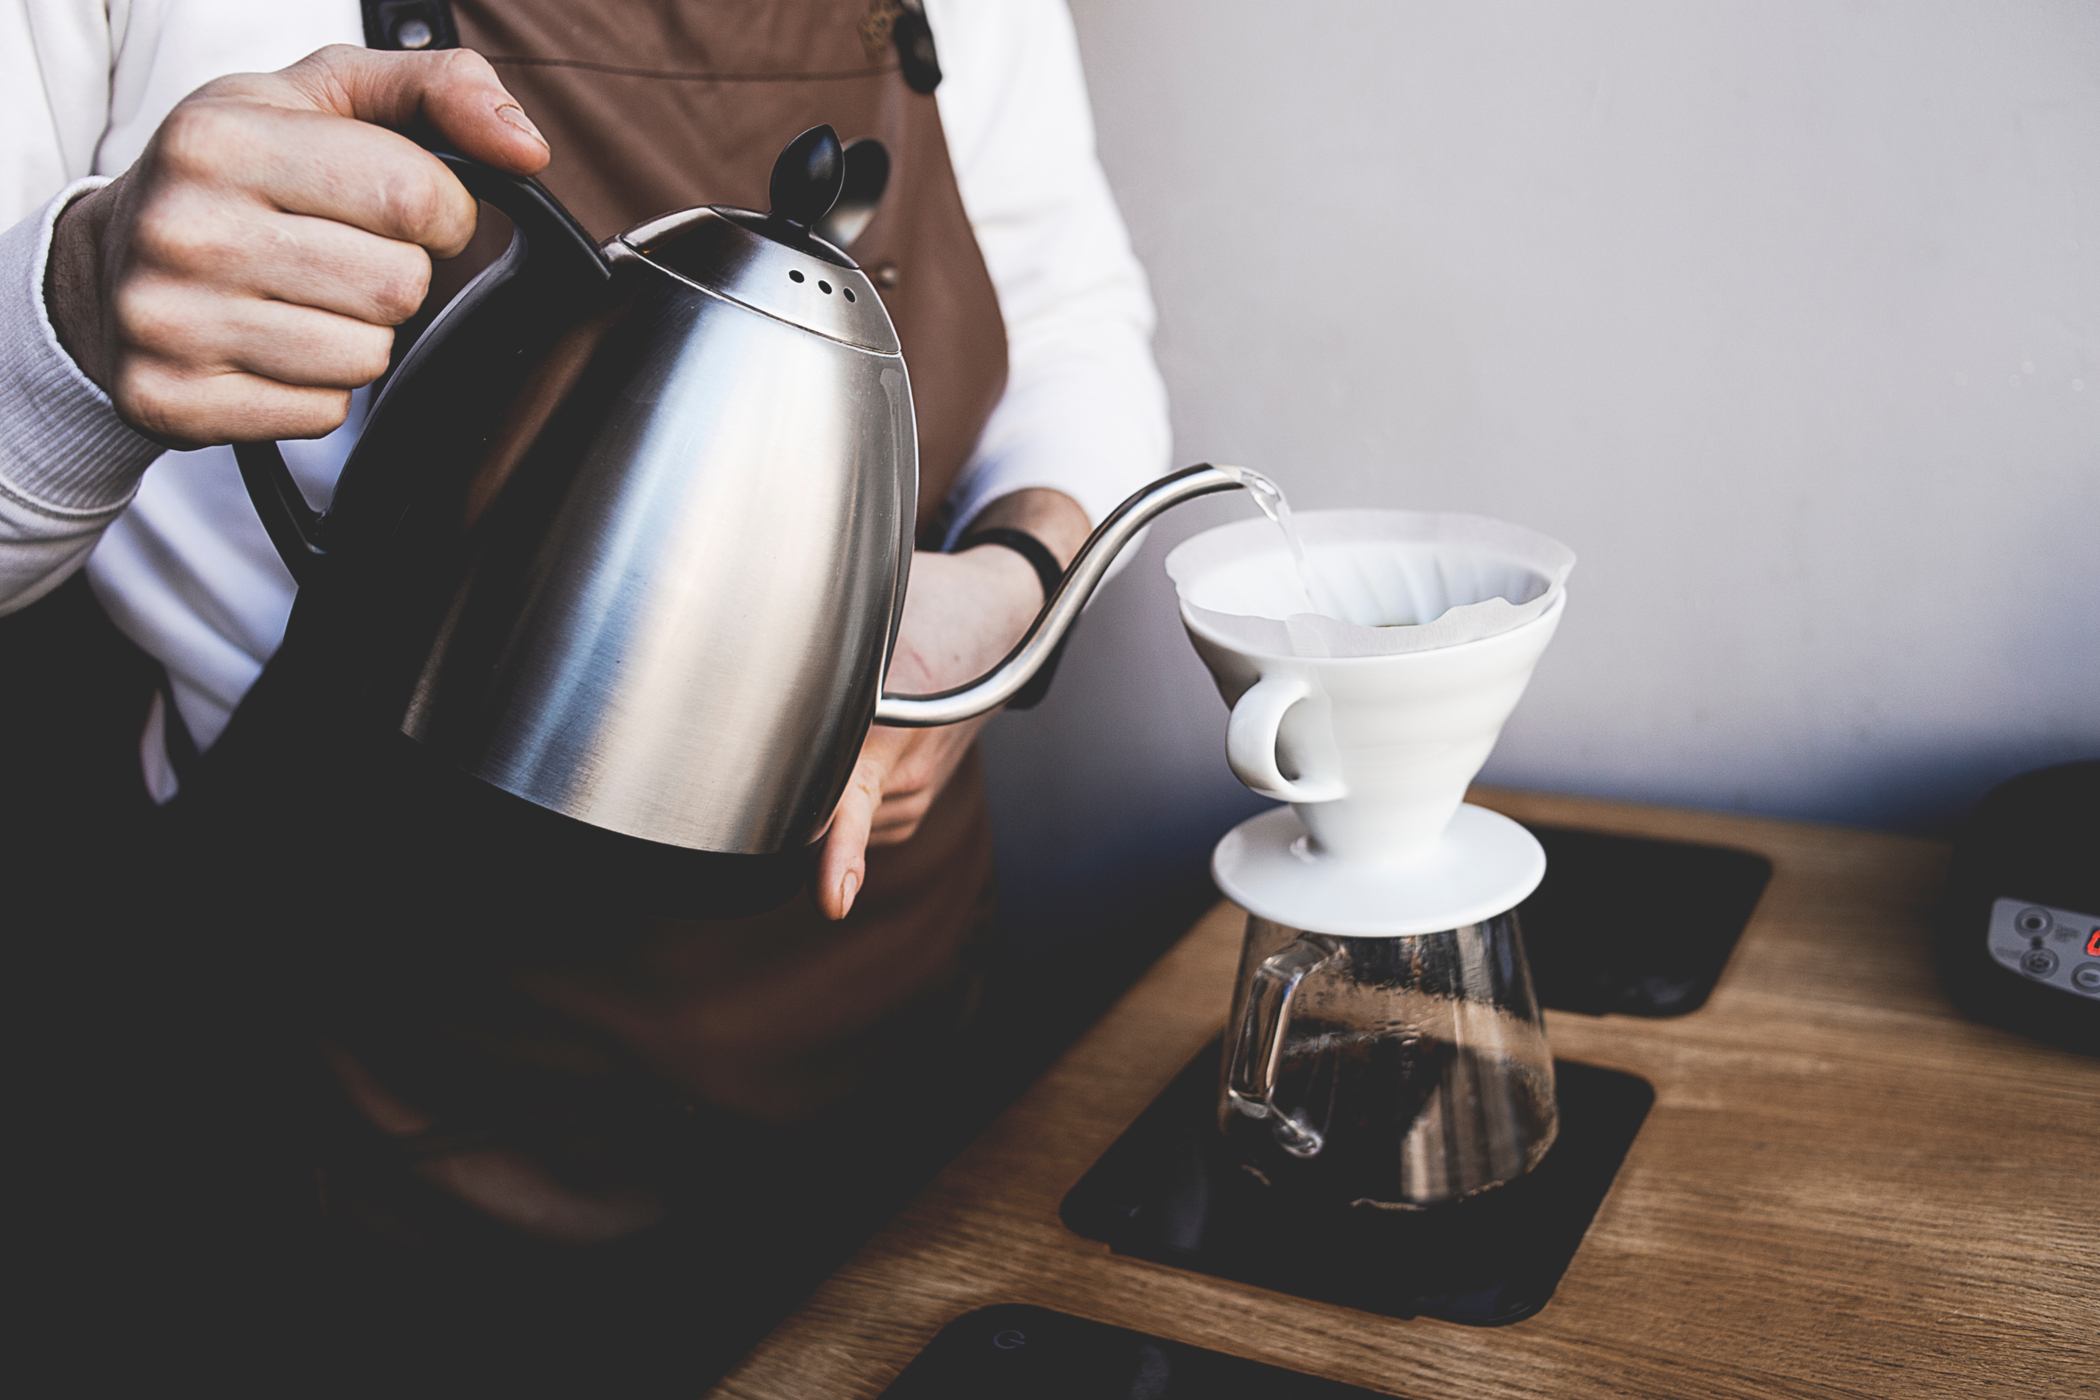
3. Start your timer, then slowly and evenly pour 60ml of water over the coffee grounds in a gentle circular motion. This pour should take around 45 seconds.
4. Leave the coffee for 45 seconds. You'll notice the coffee grounds bubbling up (blooming) into a dome. This is called the bloom phase and is crucial, as it allows unpleasantly flavored gases to escape from the coffee.
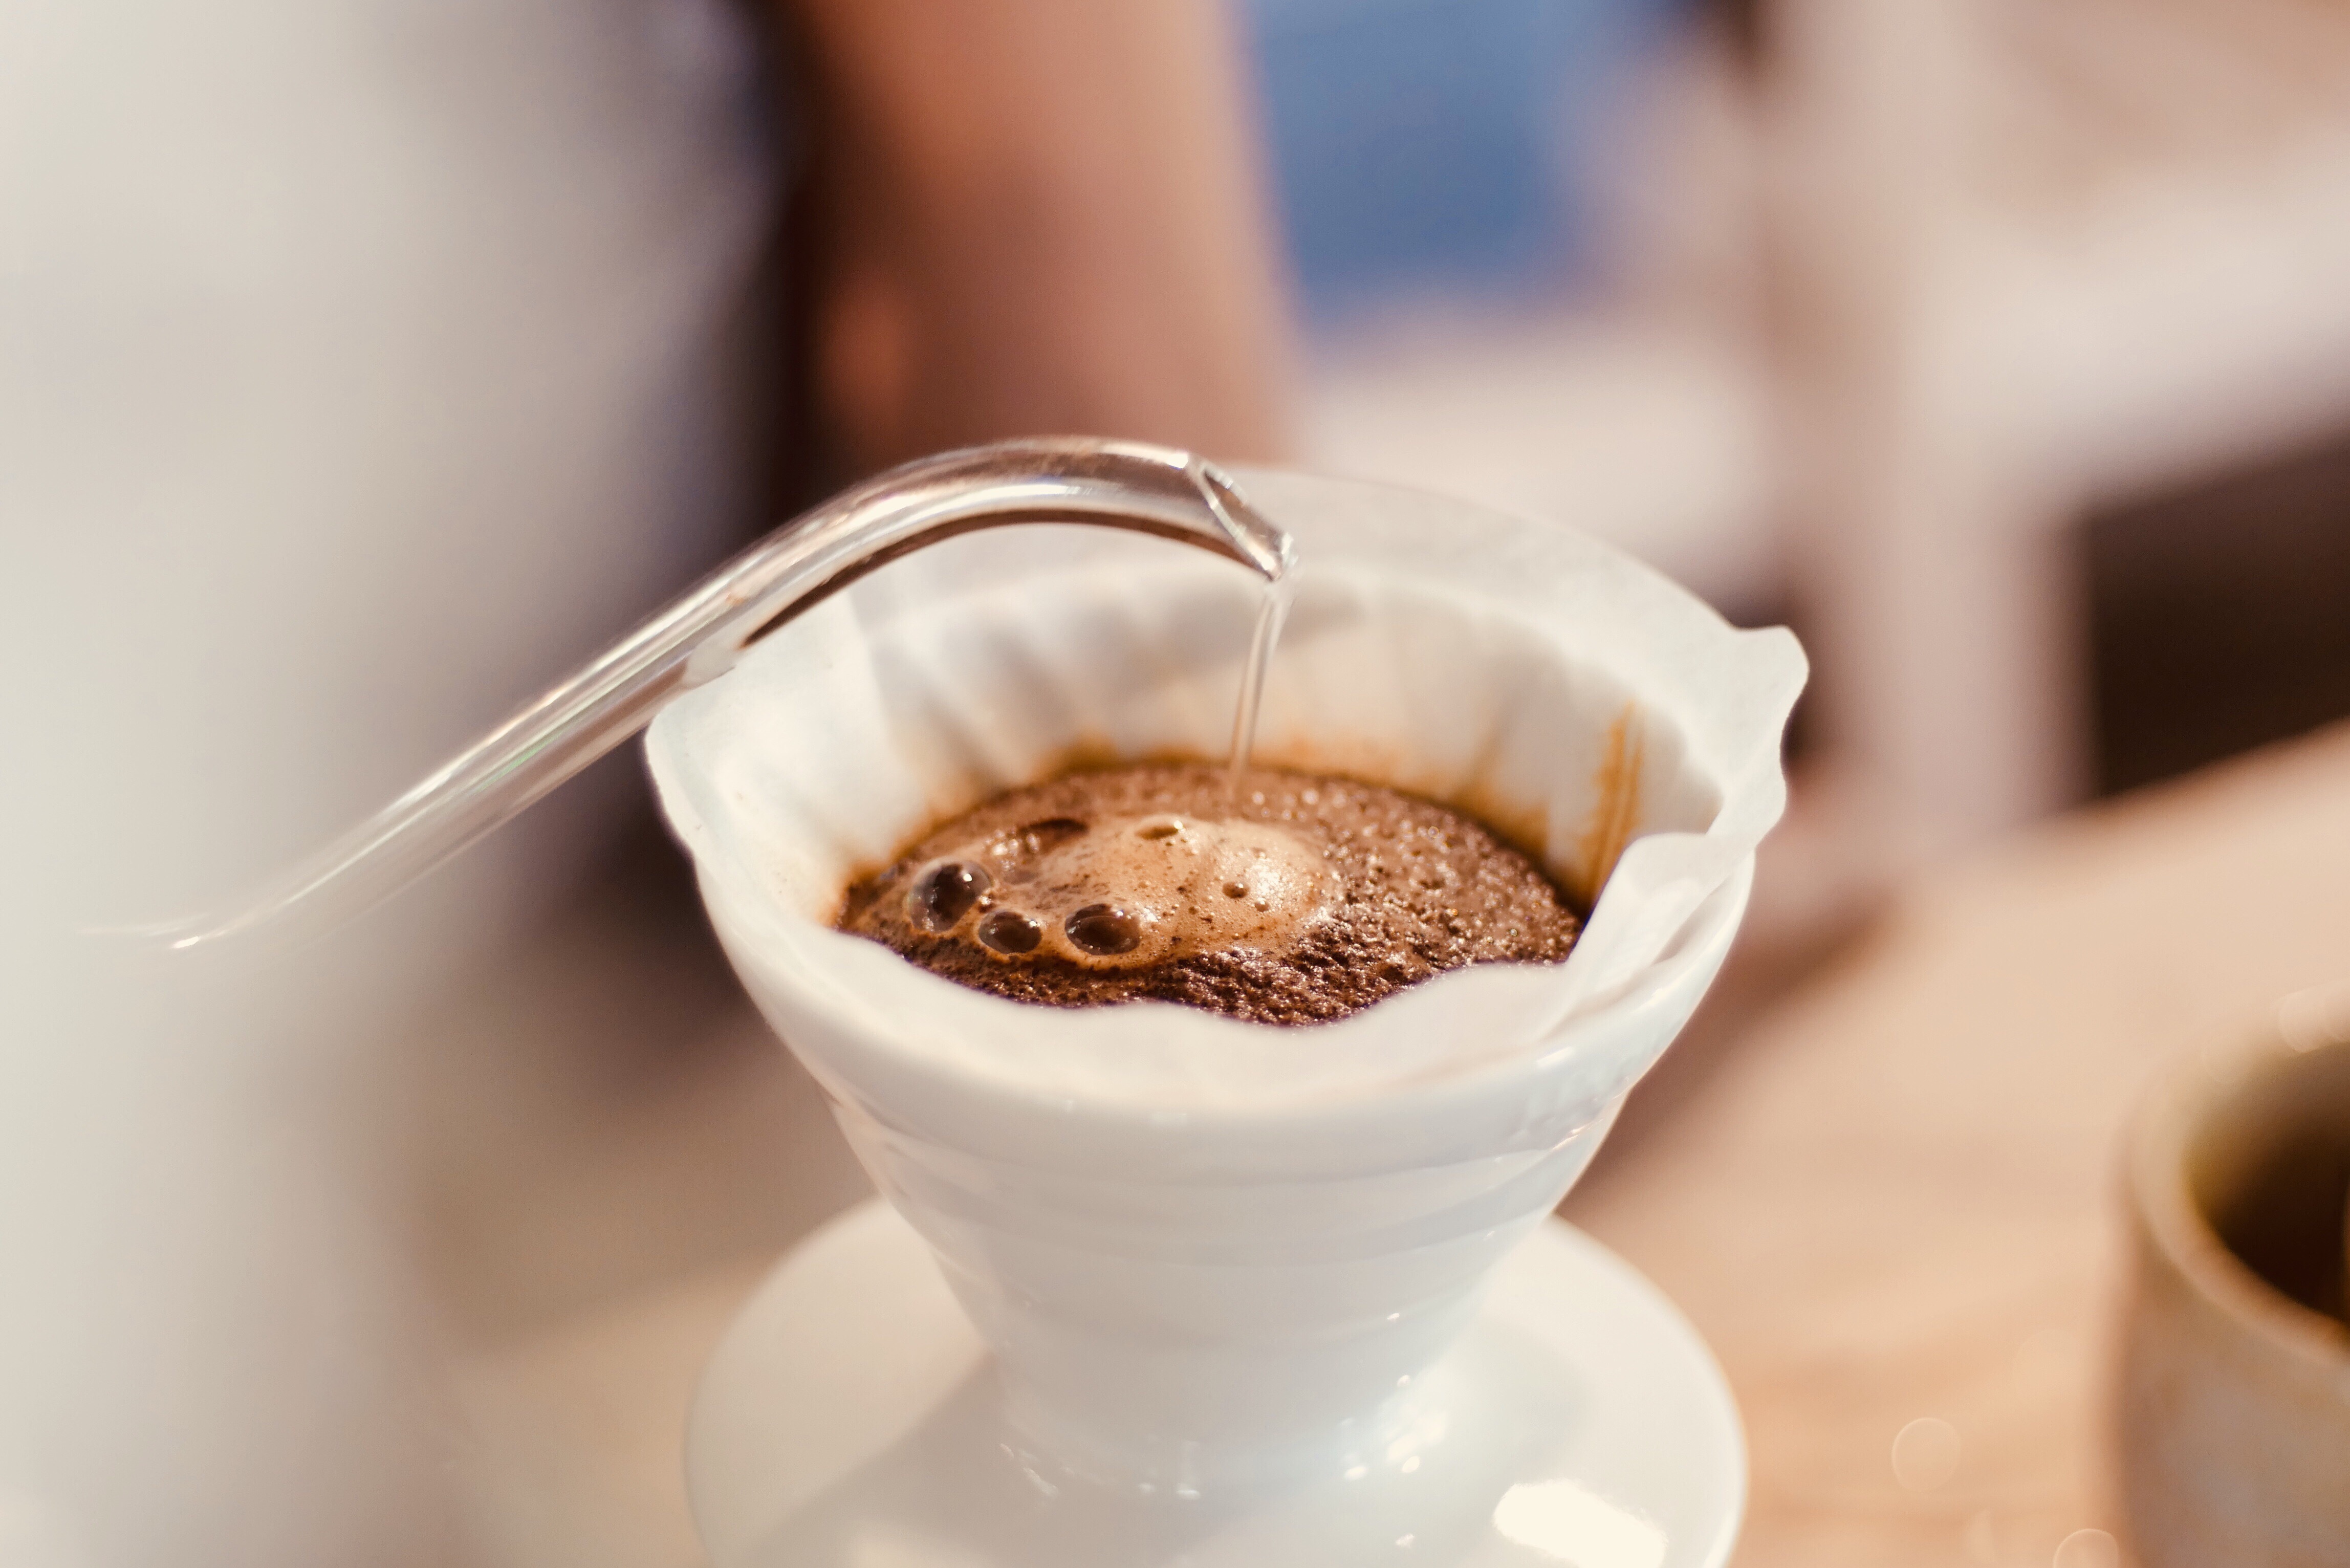
5. Pour another 60ml of water over the coffee using the same motion. Again, this pour should take around 45 seconds. When poured, give the cone a swirl or a light stir to remove any grounds from the side of the filter. Leave to drain.
6. Once drained, pour over 90ml of water using the gentle circular motion, aiming again for 45 seconds pour time. Give another gentle swirl or stir if needed, then leave to drain.
7. Finally, once drained, pour over 90ml of water using (you guessed it) the gentle circular motion and aiming for 45 seconds pour time. Leave to drain.
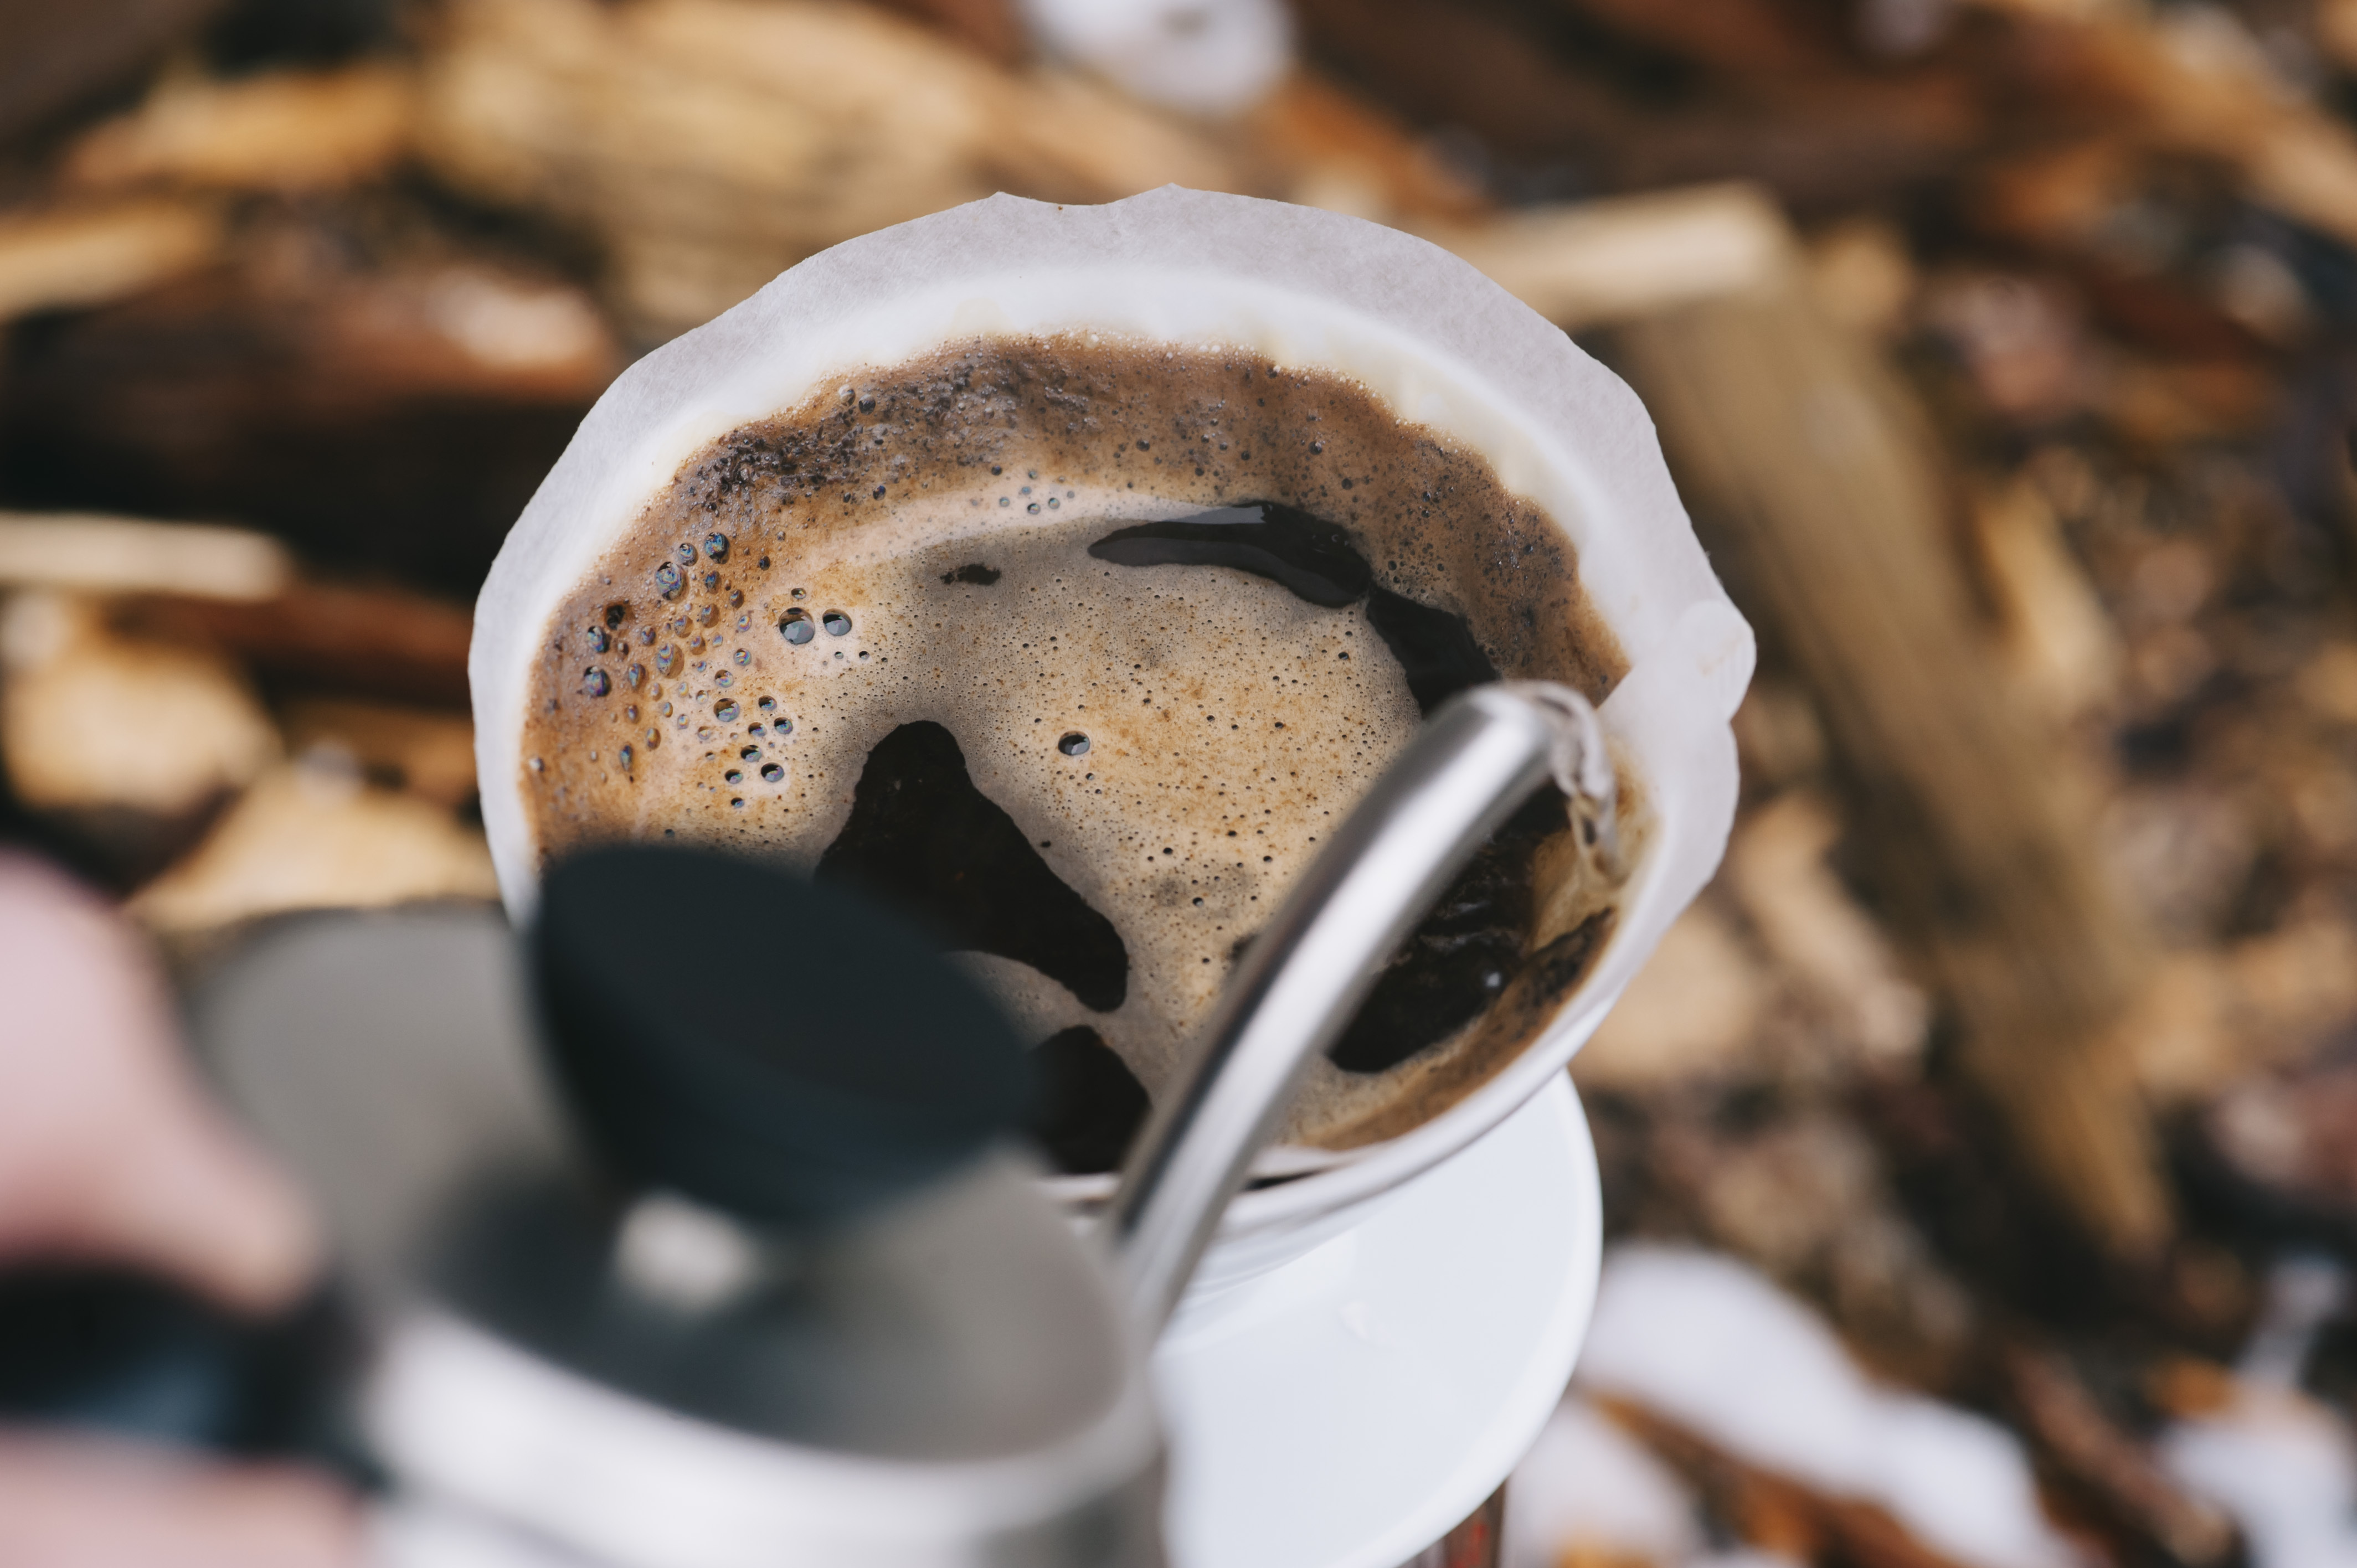
Once drained for the final time, you’ve made your first cup of pour over coffee — congratulations! Taste the drink once cool and marvel at the sweet, delicate smells and flavors you’ve produced. You can now try altering preparation variables as you like:
- Adjust the grind of your coffee if it was brewing too fast (too coarse) or slow (too fine), or if the taste of the drink is overwhelmingly bitter or sour (demonstrating over- or under-extraction).
- Adjust the dose of coffee to affect the body of the drink, or if you need to change the level of extraction due to bitterness or sourness.
- Adjust the two preliminary pour volumes from 60ml/60ml to other splits of 120ml. A longer bloom phase using 70ml will result in a sweeter drink.
- Adjust the timings, brew ratio and number of stages and pour volumes to see what happens to the final drink. Just remember to always include a bloom phase at the start to let those gases escape. Better out than in!
Now that you know how to make pour over coffee, why not learn about how to make espresso or how to make a cold brew coffee. We also have a range of other coffee-themed guides, including how to clean a coffee maker and how to descale a Nespresso machine.

Peter is Reviews Editor at Tom's Guide. As a writer, he covers topics including tech, photography, gaming, hardware, motoring and food & drink. Outside of work, he's an avid photographer, specialising in architectural and portrait photography. When he's not snapping away on his beloved Fujifilm camera, he can usually be found telling everyone about his greyhounds, riding his motorcycle, squeezing as many FPS as possible out of PC games, and perfecting his espresso shots.
