How to lay sod and upgrade your yard
Here’s how to lay sod to get a whole new lawn
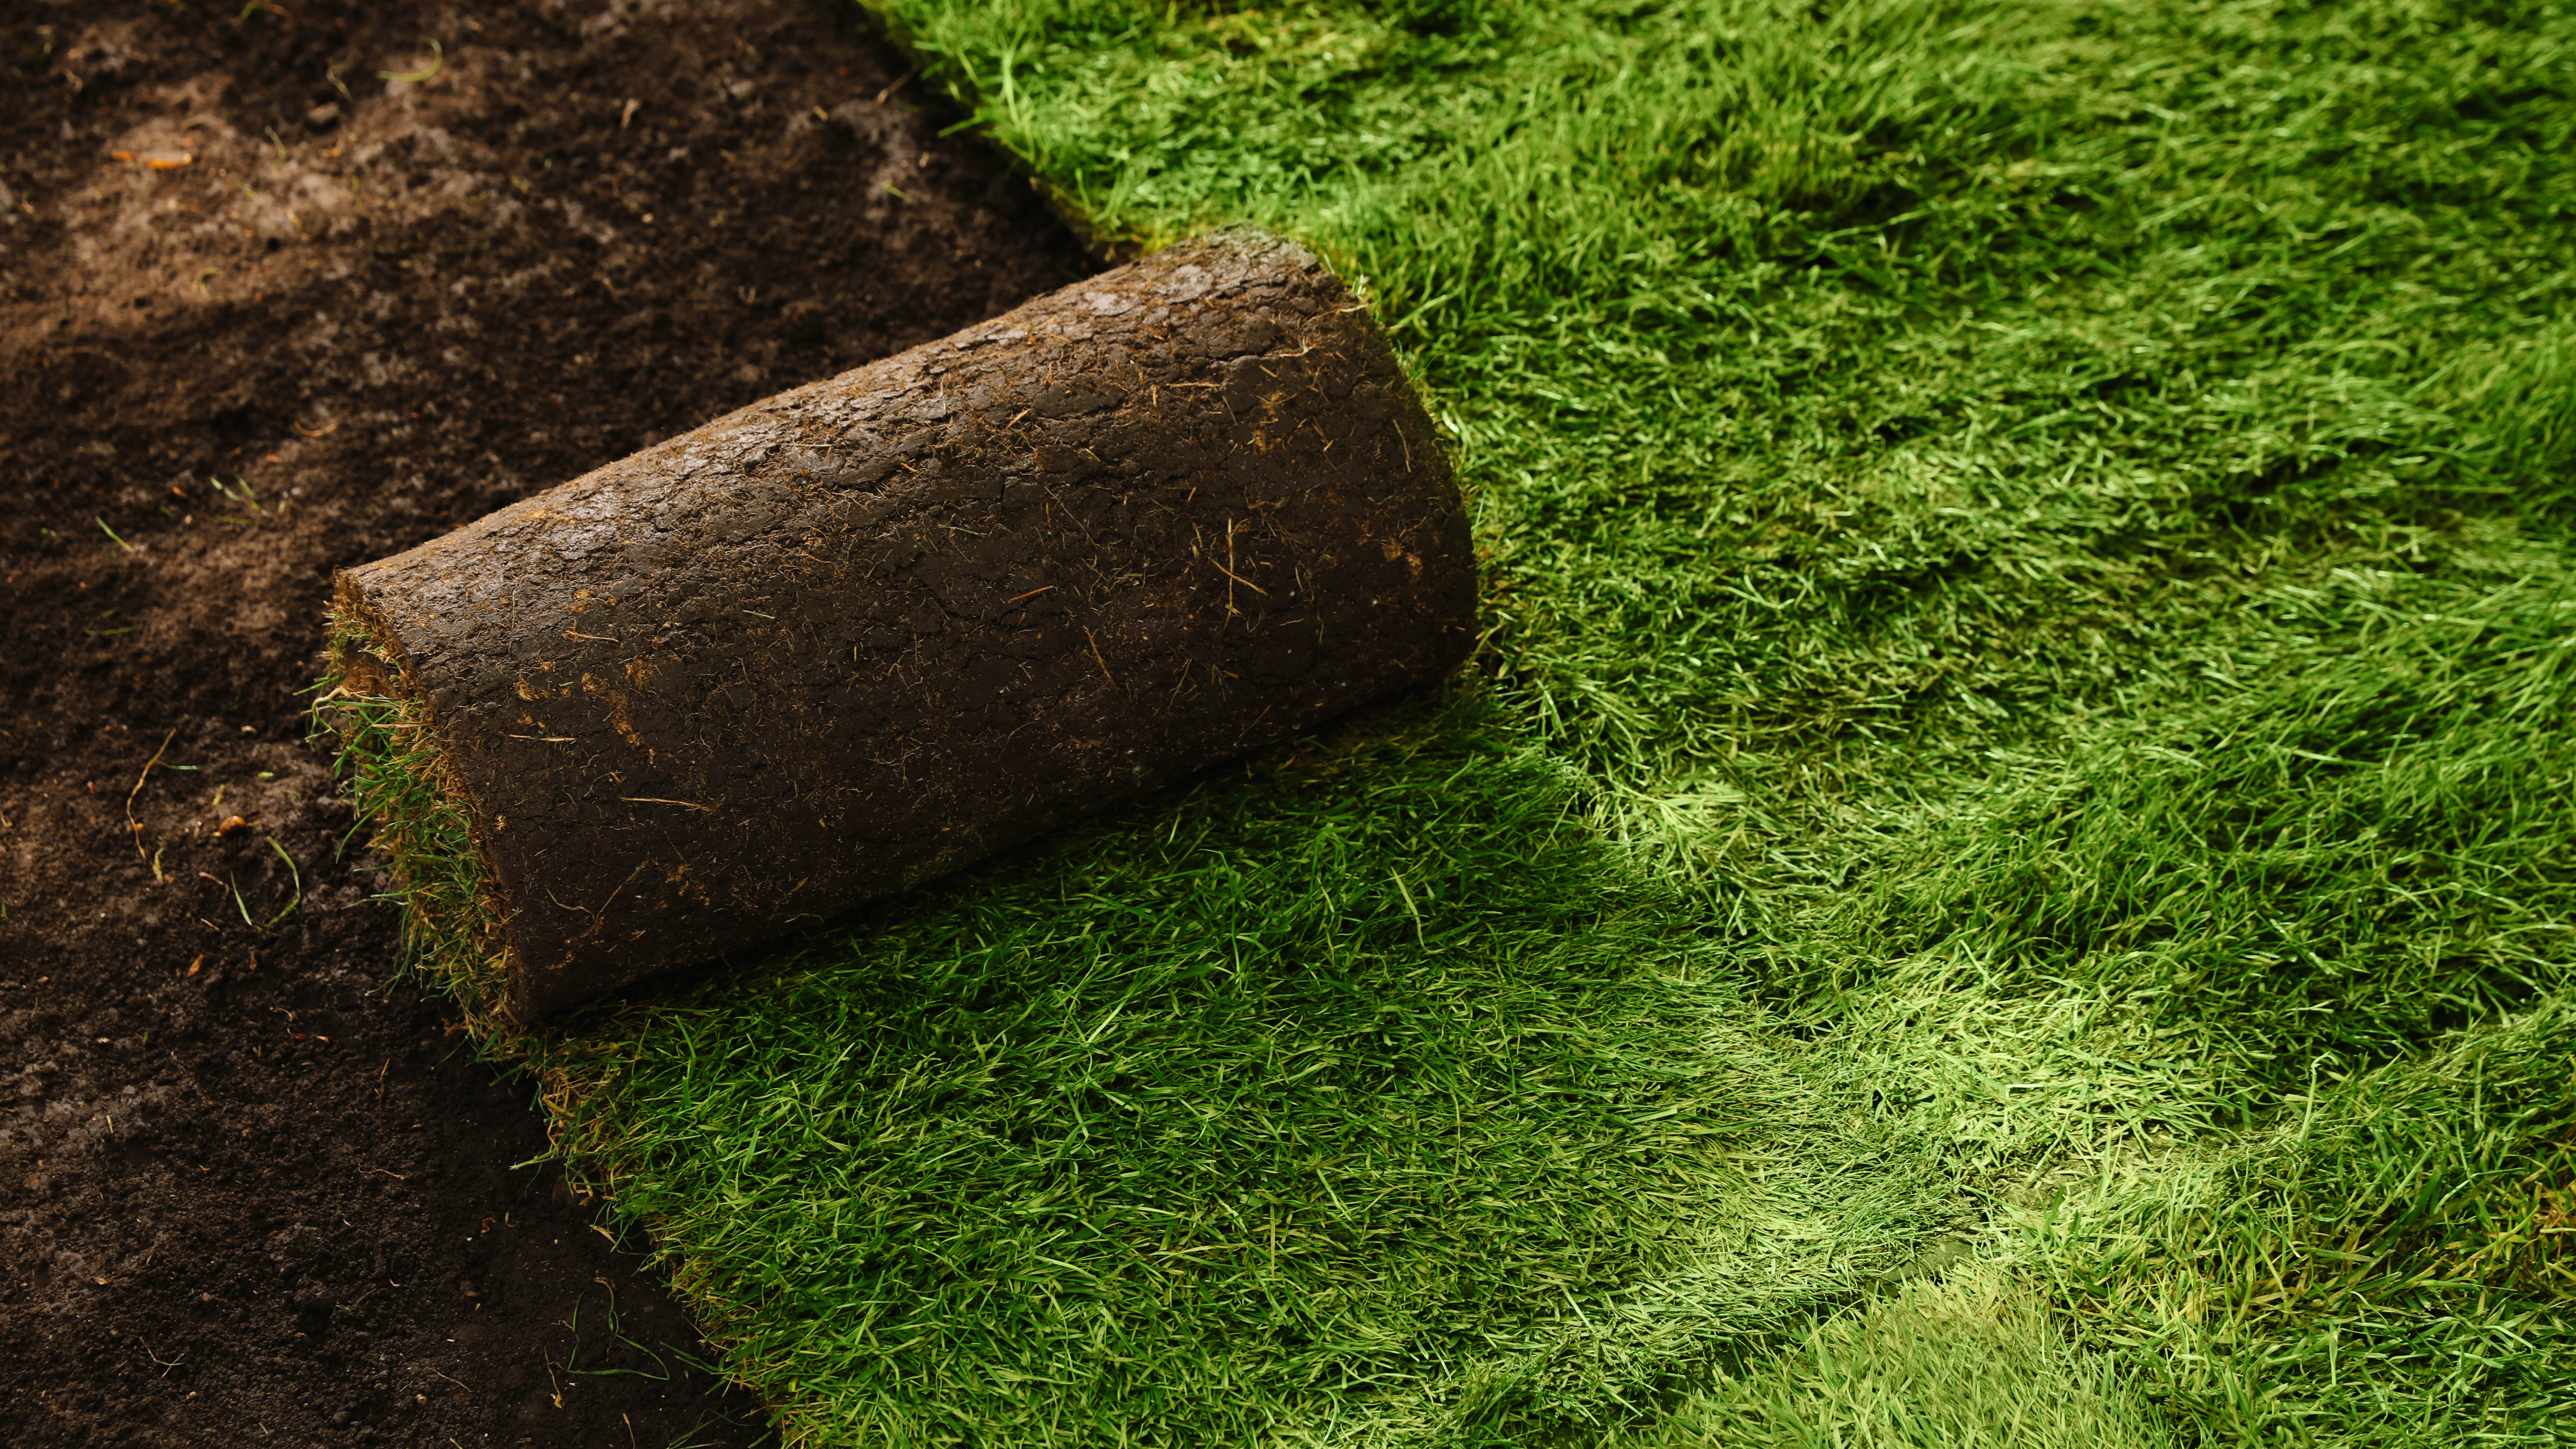
Knowing how to lay sod can transform your tired and downtrodden lawn into a lush and vibrant Garden of Eden once again. Sod is essentially a fresh layer of soil and grass which you can roll over your yard to create a new lawn. It sounds like a lot of effort, and it arguably is, but the good news is that it gives your yard an instant new look. There’s no having to learn how to plant grass seeds and wait around for the results. You can also learn how to stripe your lawn to make it look bigger.
There are many benefits to laying sod. If you’re struggling to get rid of dandelions, a new lawn gives you a fresh, weed-free start. While if you’re really struggling to make your grass greener, laying sod could be the solution you’ve been looking for — you could opt for a new type of grass better suited to your region. Interested, but not sure what to do? Here, we take you through how to lay sod step-by-step, so you can refresh your yard in time for summer.
It might also benefit from knowing how to put lime on your lawn for greener results. Also, here are 5 reasons to buy an electric lawn mower if you're thinking of upgrading.
How to lay sod
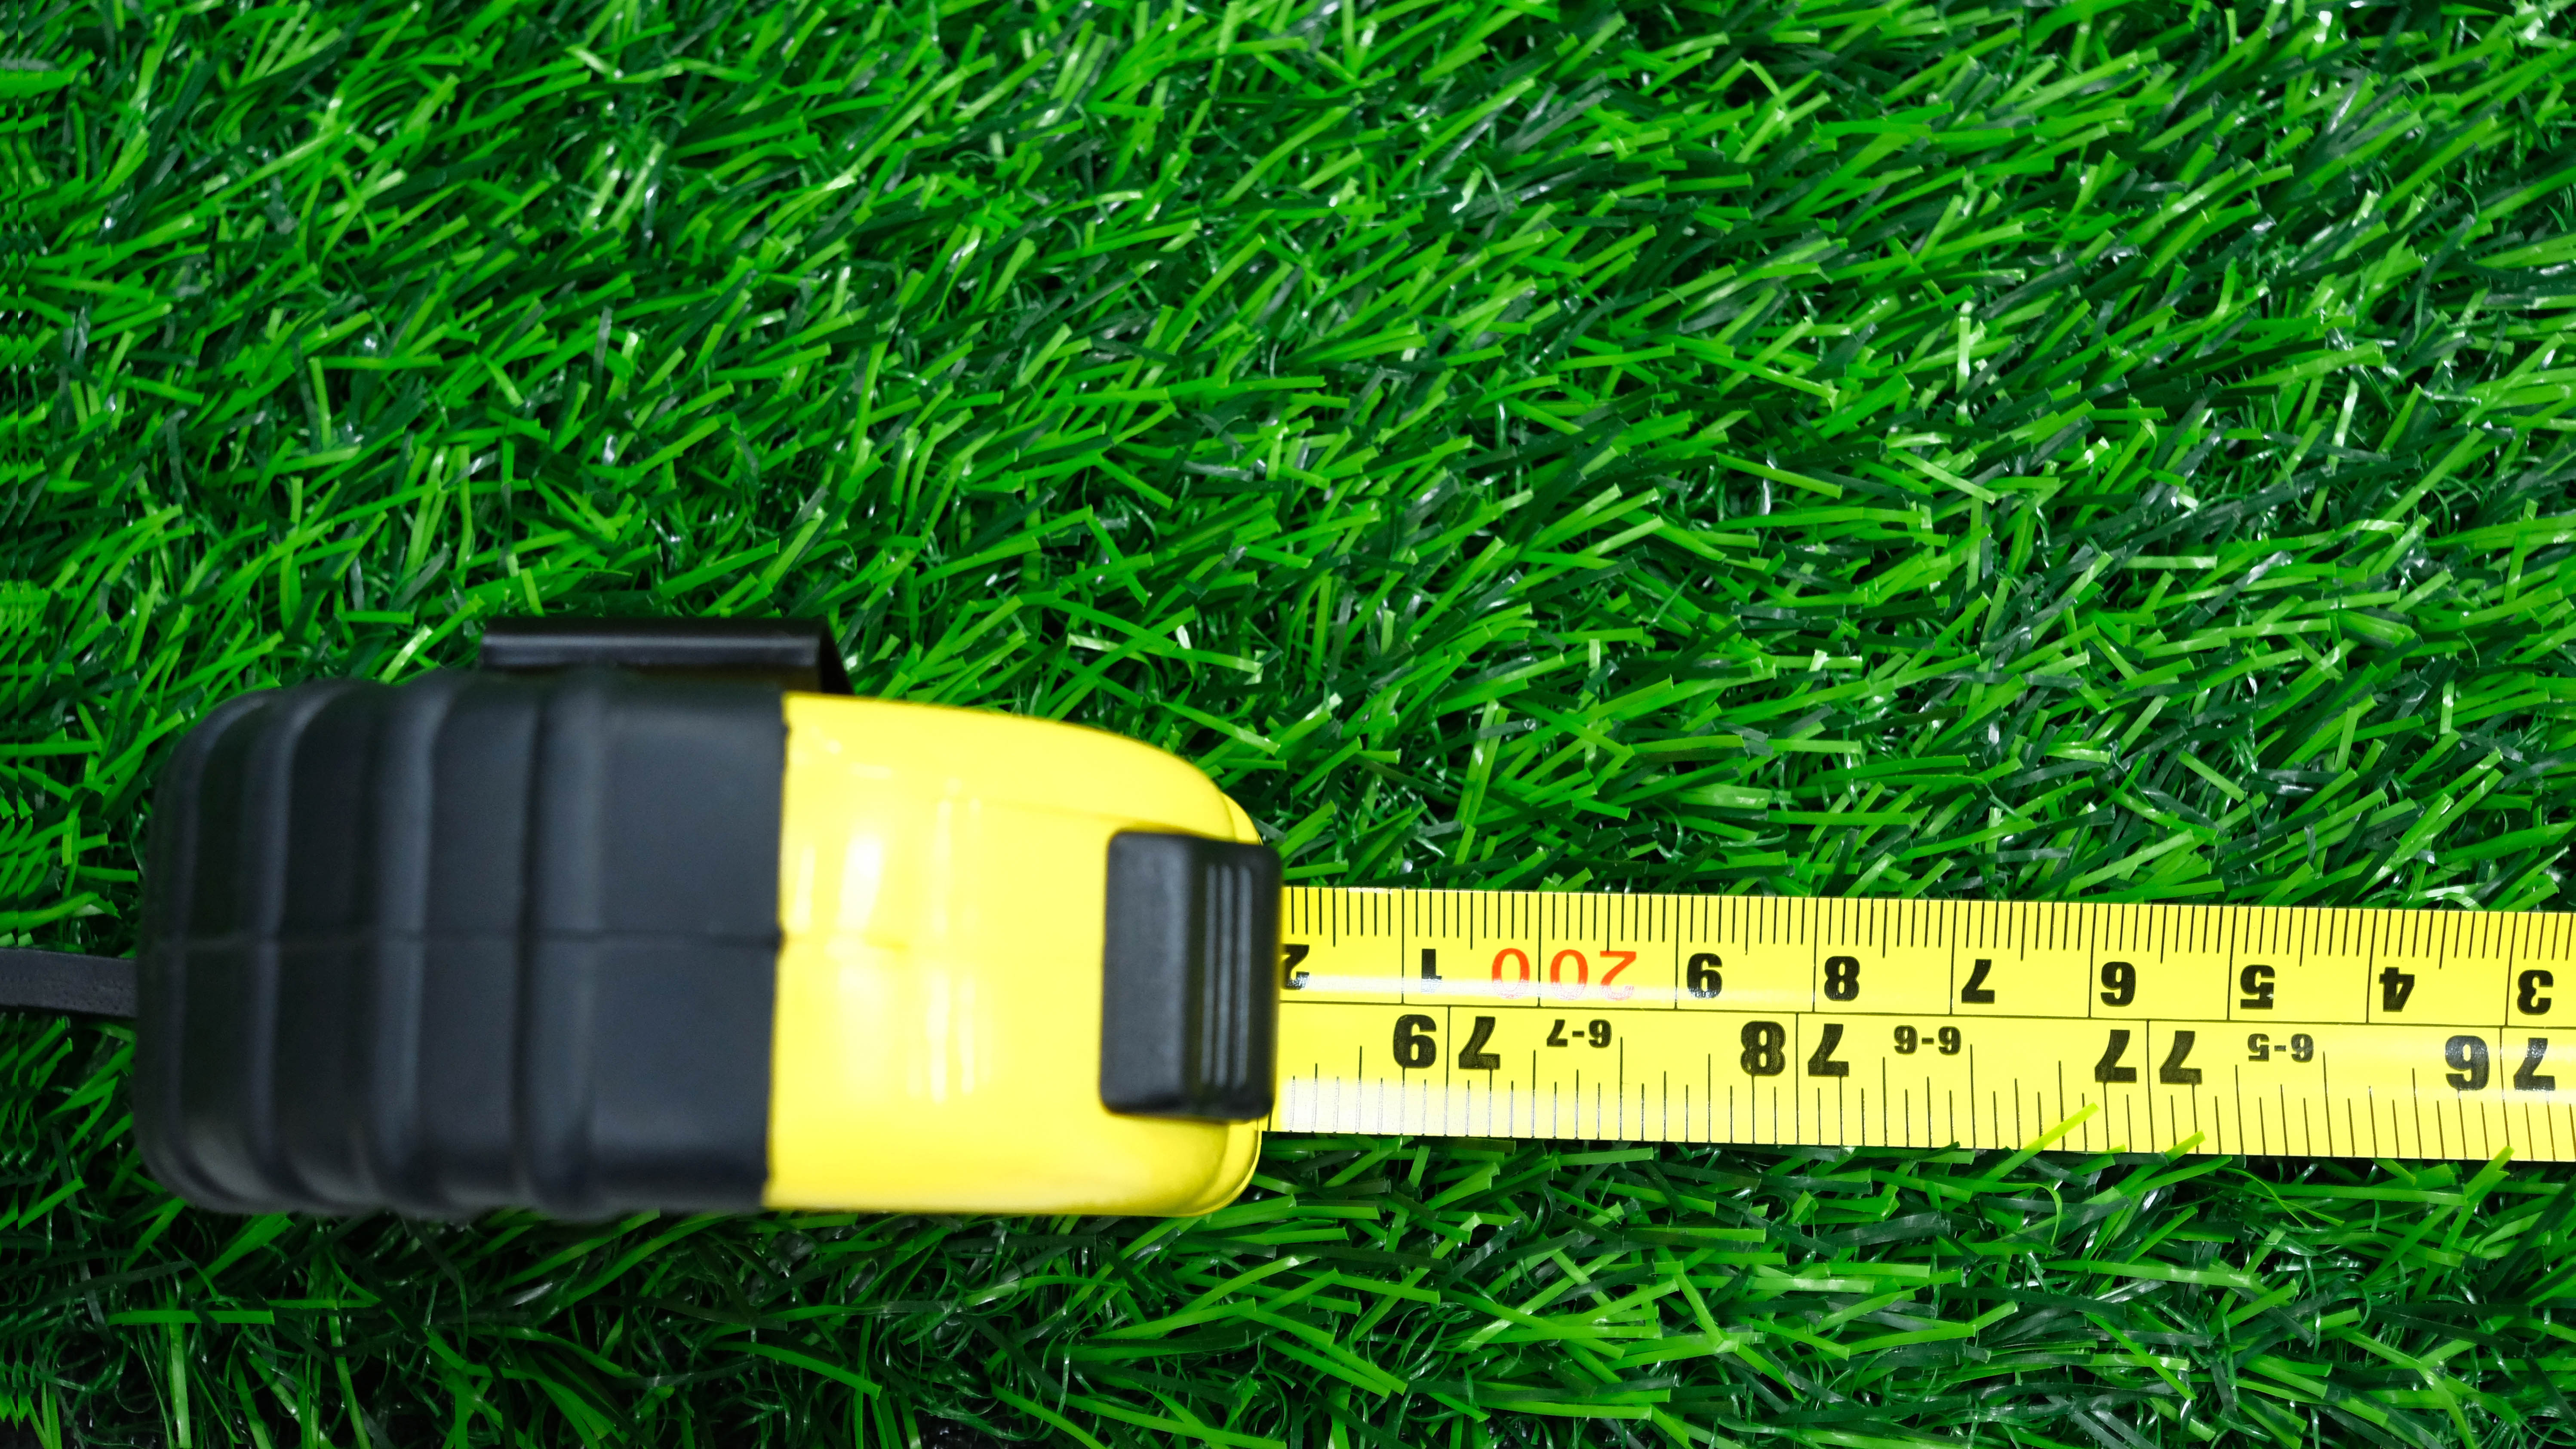
Measuring wheel (optional)
Sod
Rake and tiller
Herbicide and compost (optional)
Sod cutter
Soil test kit
Topsoil (optional)
Roller
1. Measure out your yard — First thing you want to do is measure out your yard to calculate how much sod you need. You can do this simply by counting the number of footsteps you take across your lawn. The average step is about three feet, so all you need to do is multiply the number of steps you take across the length of your yard by three, then do the same with the width, before multiplying the two together. This will give you a rough square footage.
Alternatively, if you want to be more accurate, you can use a measuring wheel for a more definite reading. These are widely available online; we recommend the Zozen Measuring Wheel ($39.99, Amazon). Whatever your final reading, add an extra 10% to this to make sure you have enough sod.
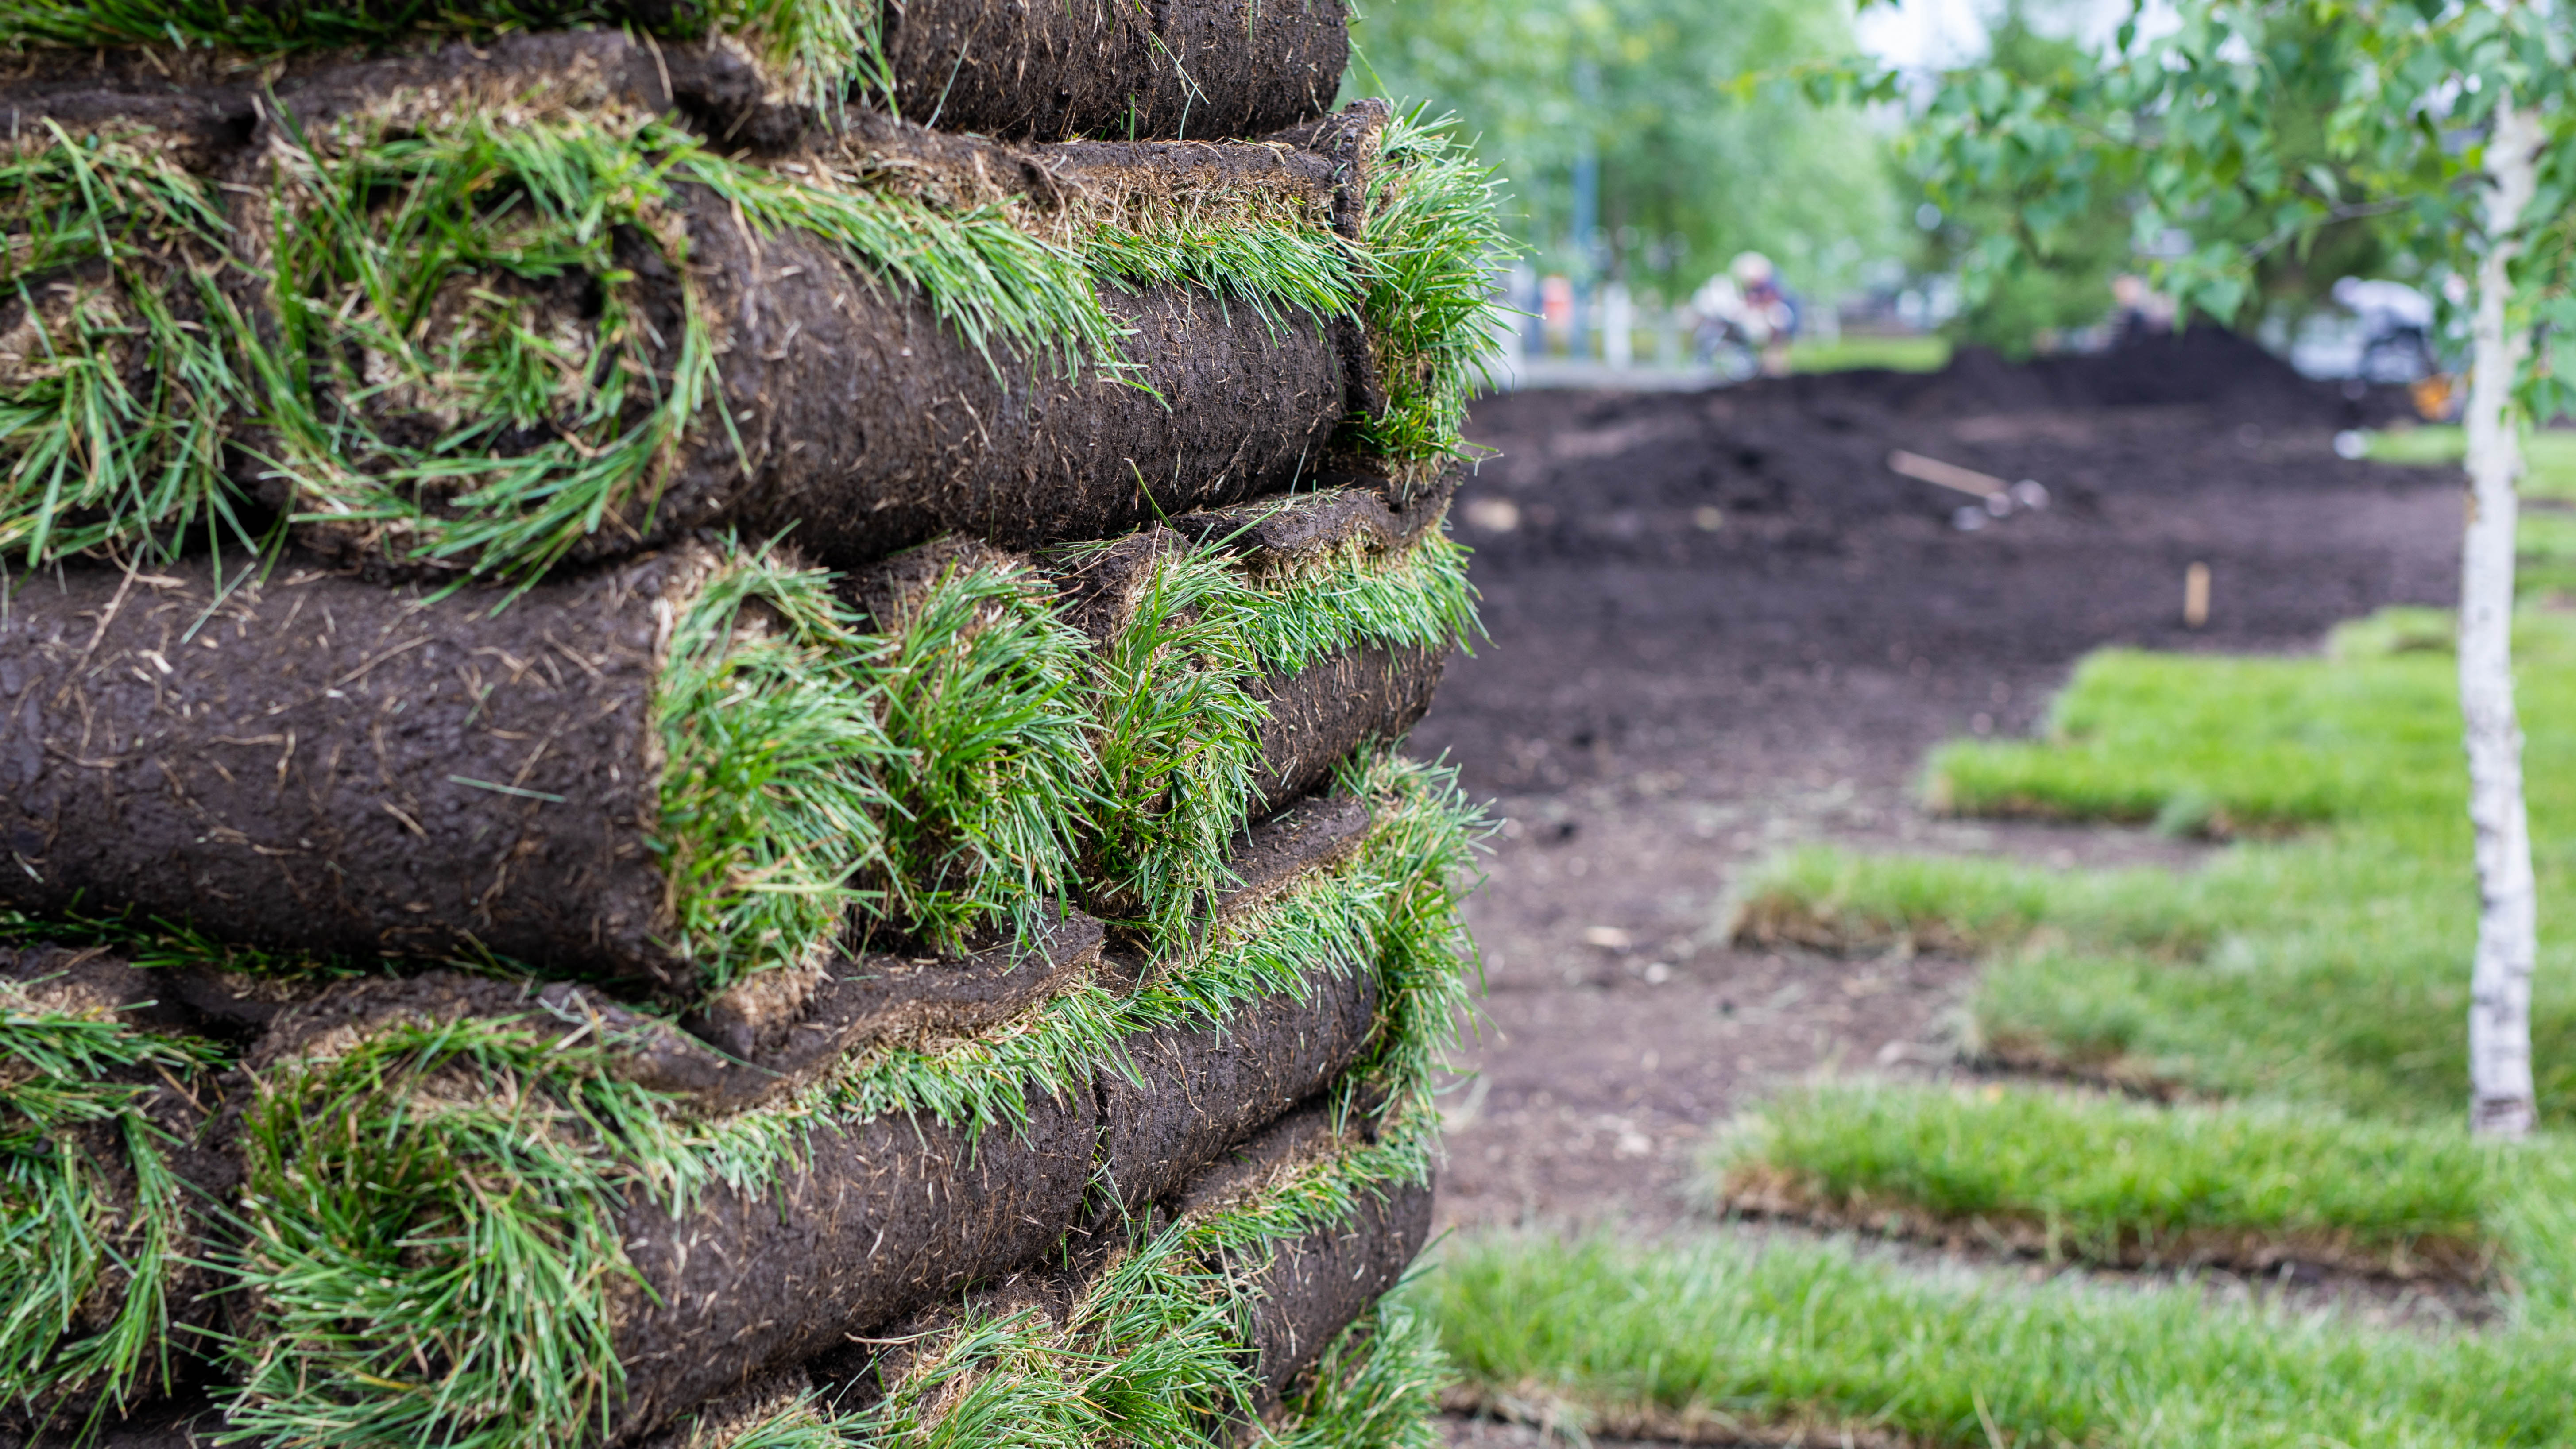
2. Choose and order your sod — Sod is generally available in strips or slabs in a variety of sizes to suit different spaces. 16" x 24" is most commonly purchased for home projects, but if you have a substantial yard, a larger size can be more economical.
You might also have a couple of grass types to choose from depending on your region. Those in the northern states will likely have cool-season grasses on offer, while those in the south will be looking at warm-season grasses. Take a look at the benefits of each type and choose one which best suits your location. Some types are better off in the shade, while others will grow better with slightly different soil pH levels.
Sign up to get the BEST of Tom's Guide direct to your inbox.
Get instant access to breaking news, the hottest reviews, great deals and helpful tips.
When you choose the date for delivery, be sure to give yourself ample time to prepare the existing soil in your yard, which can take a few weeks — we will go through this in a moment. Try to choose a date when the weather will be neutral and make sure you’re free to lay it on the day of arrival.
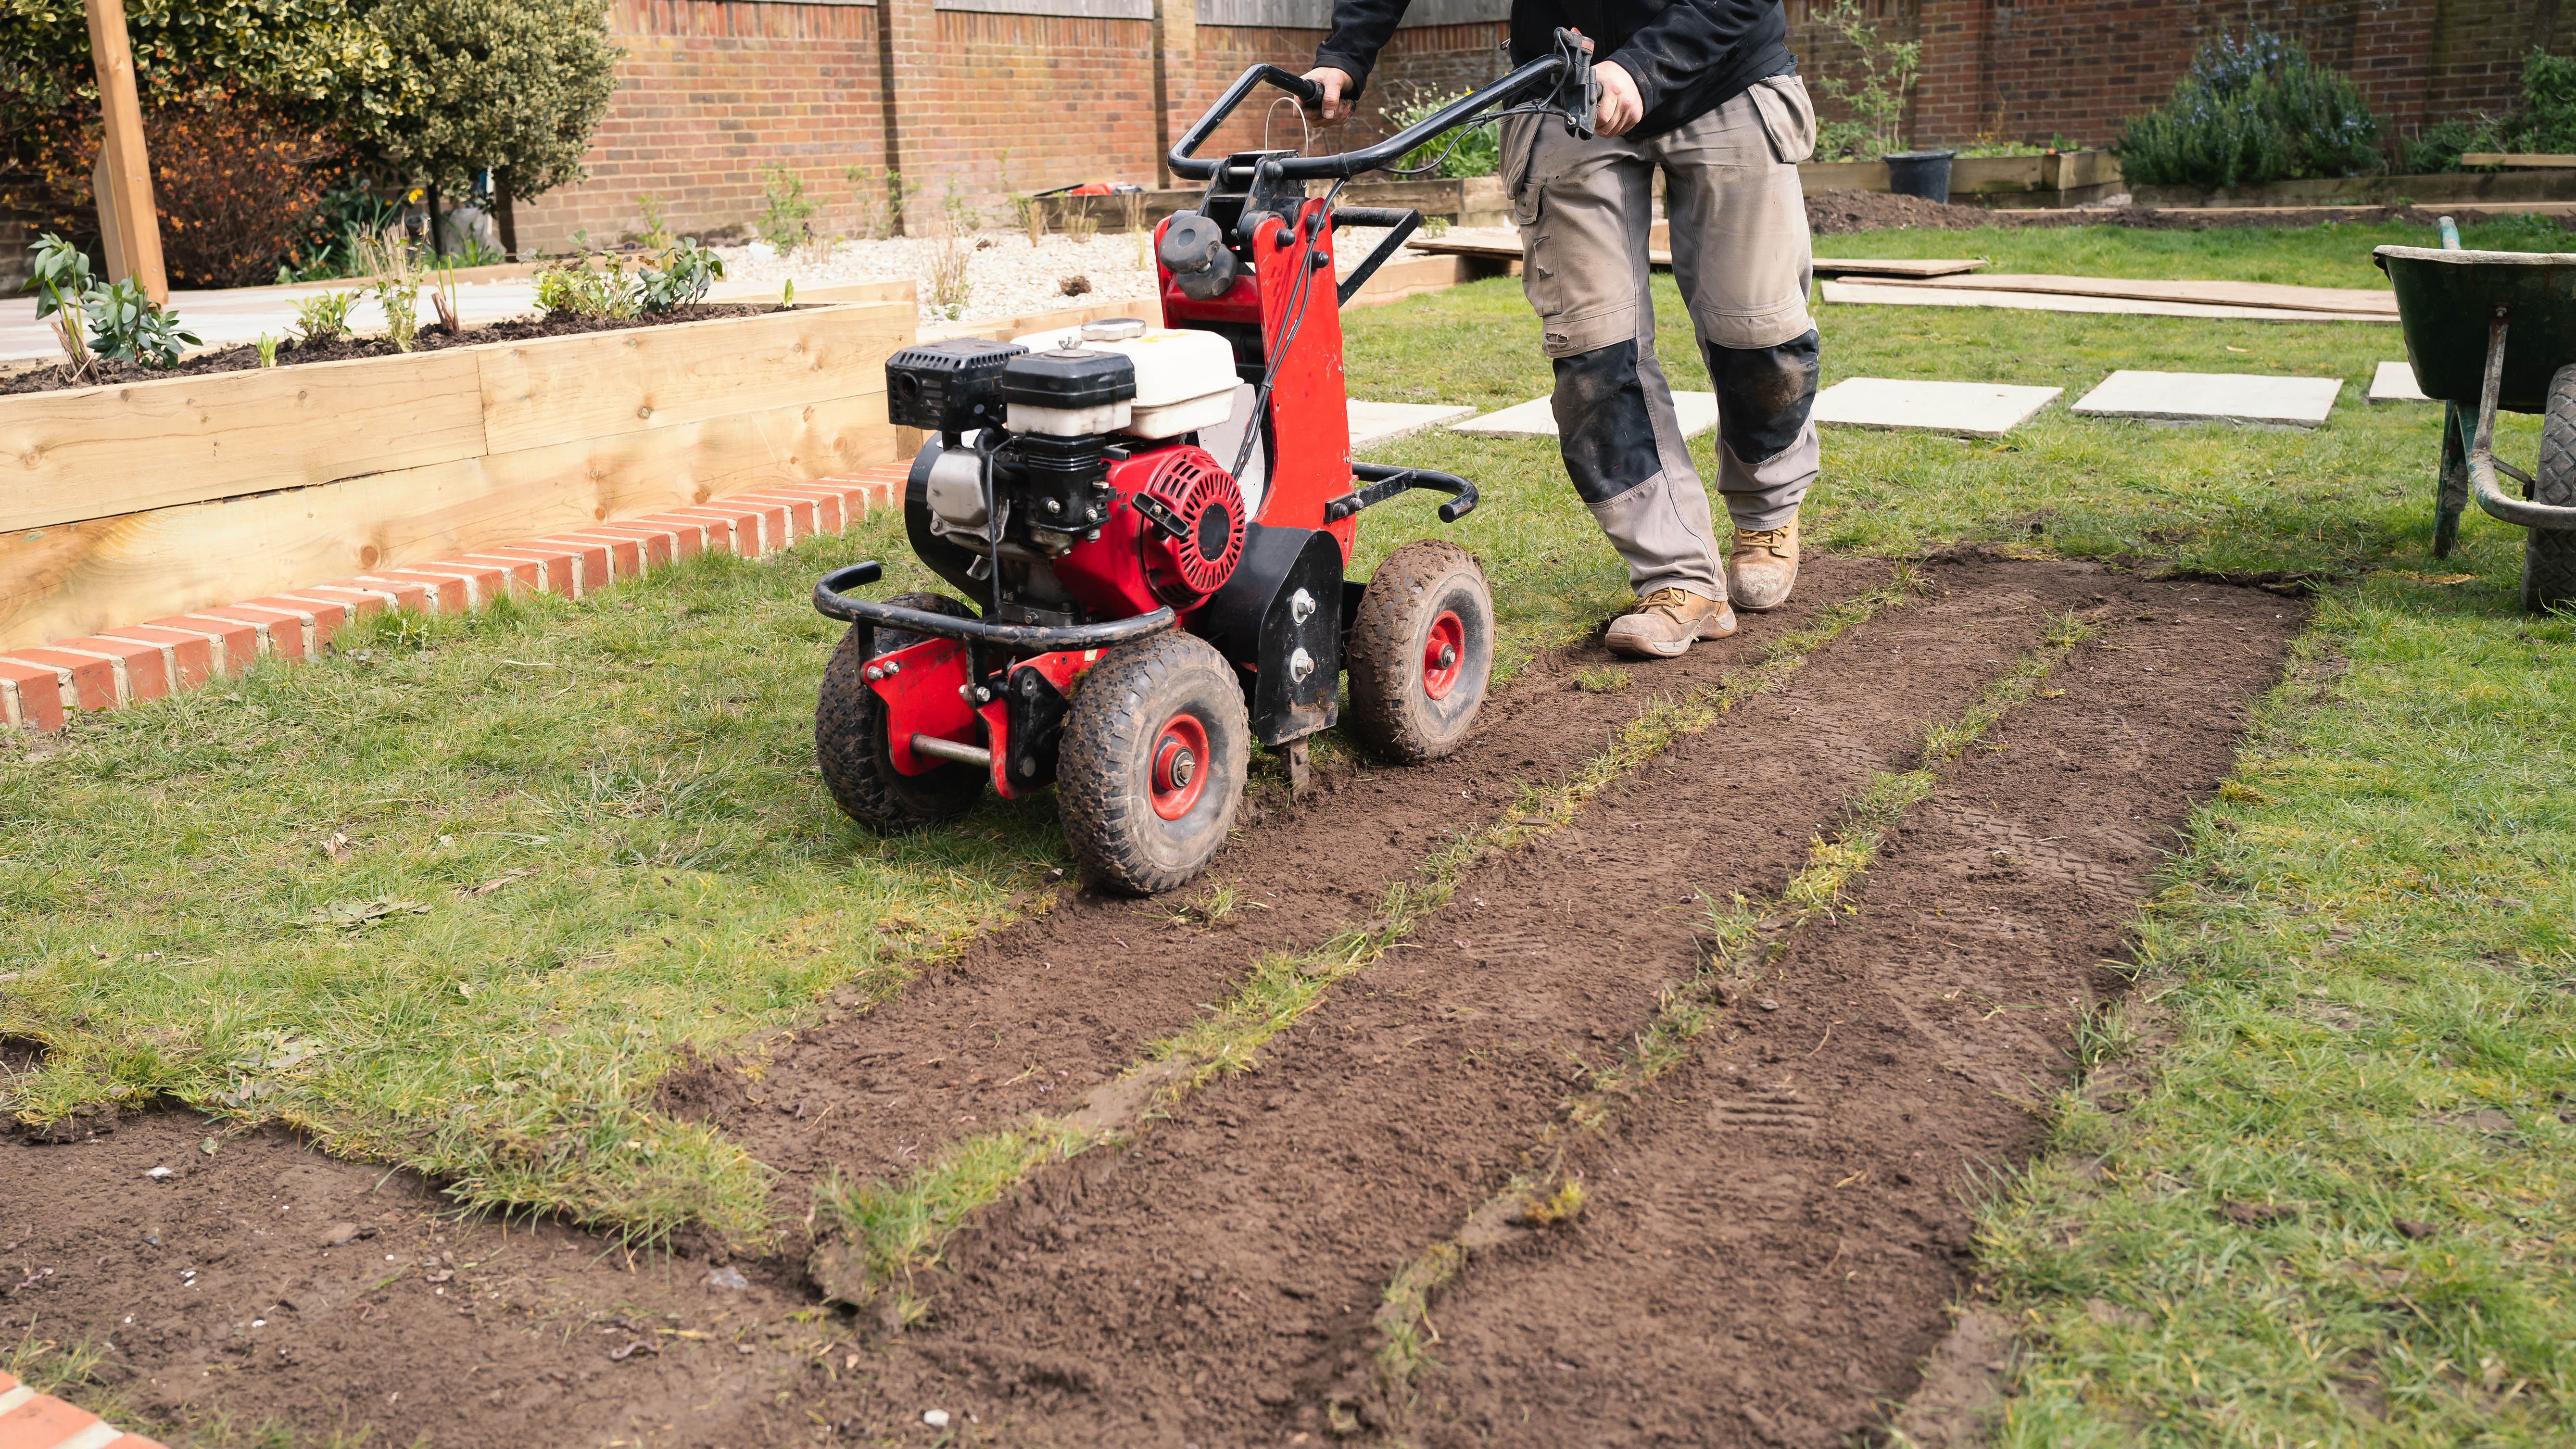
3. Remove your old lawn — Now your sod is on its way, we need to prepare your yard for it. If you’re laying down a new lawn on bare soil, you can skip this step, but otherwise you will need to kill or remove the existing grass and plant life.
The easiest method is to spray a natural herbicide over the grass, then cover it in compost and leave it for a couple of weeks to die. It may take a couple of applications so keep an eye on the progress. Once dead, you can work the ground with a tiller, such as the Sun Joe TJ604E 16-Inch Electric Garden Tiller ($156, Amazon).
Alternatively, you can just cut out the existing lawn with a sod cutter, such as Keyfit Tools SOD Knife Stainless Steel Blade Sod Cutter ($28.95, Amazon). While this is the quicker method, bear in mind it takes a lot more effort. There’s also the option to use a motorized turf cutter. Use a tiller after this method to break up the soil.
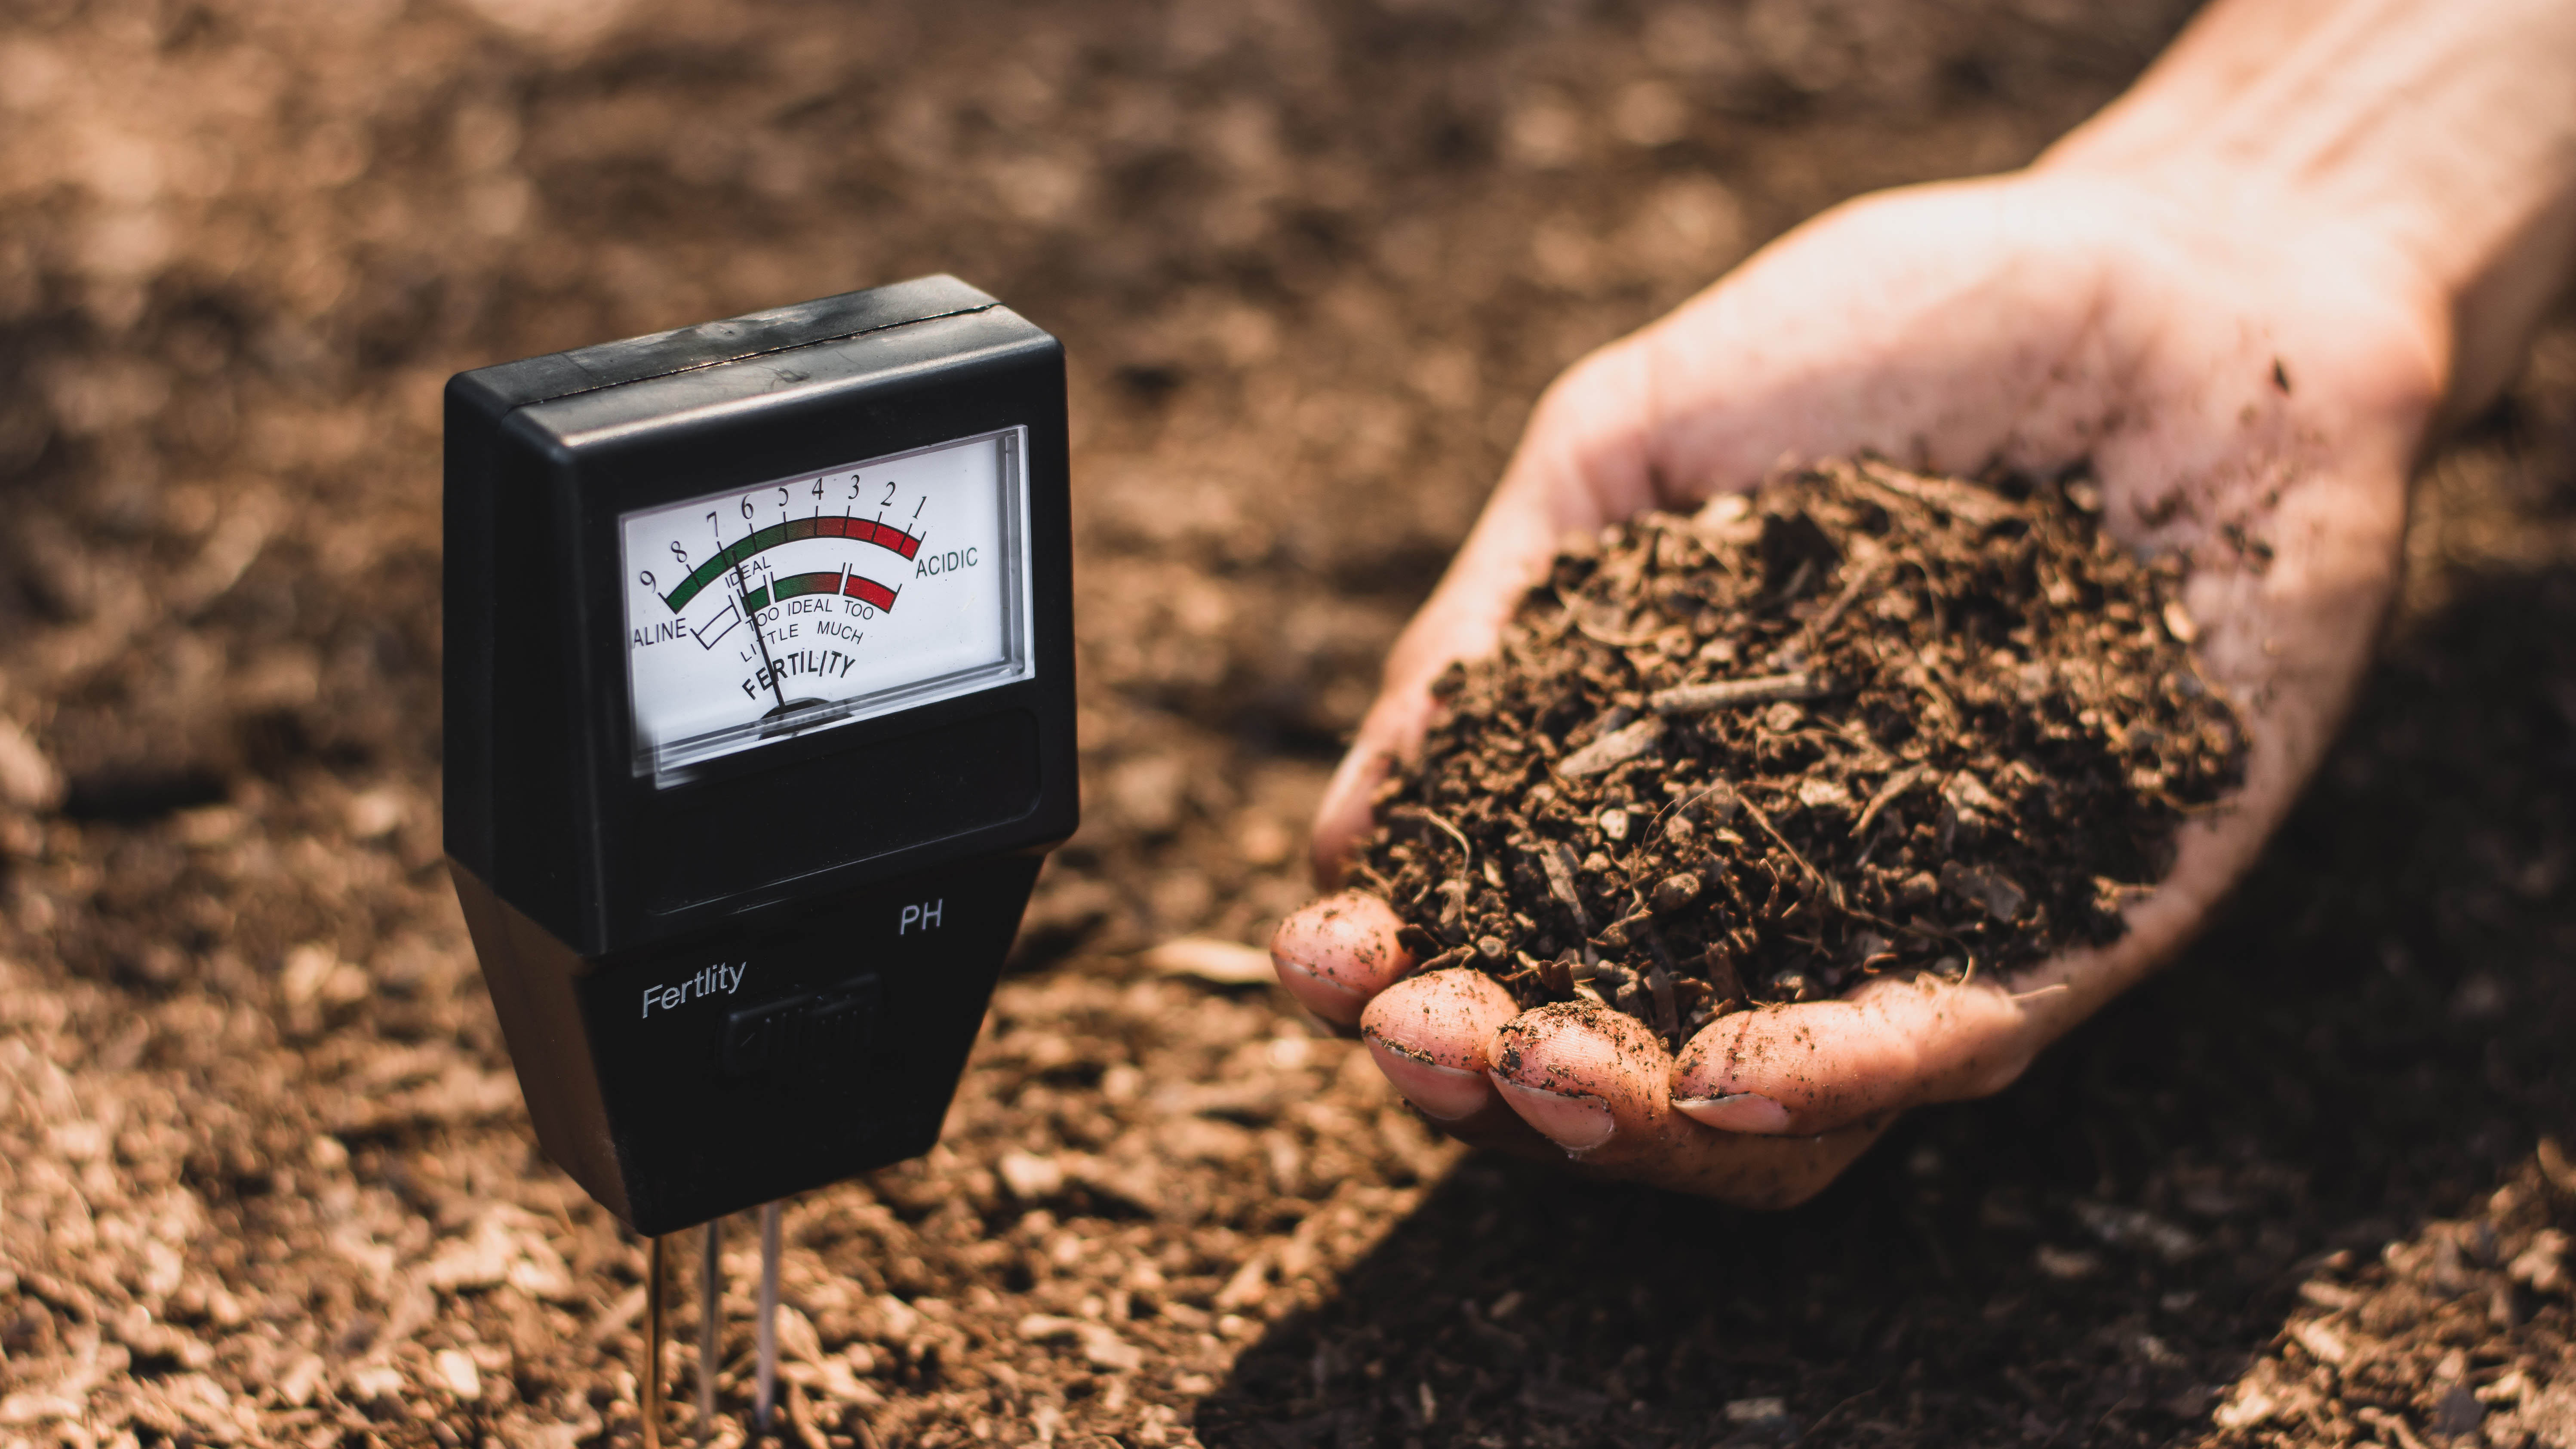
4. Test your soil — While your soil is exposed, it’s a good idea remove any immediate large debris and test it to see what properties it has. There are plenty of home kits available online which will reveal the pH and let you know which nutrients the soil is lacking. We recommend Luster Leaf 1602 Soil Test Kit ($15.99, Amazon). Be sure to test in a few spots around your yard, as results will vary by location.
If the results show your soil is lacking, you can add certain fertilizers to help increase specific nutrients. If the pH isn’t quite right, you can use lime to raise it or sulphur to lower it. You ideally want the pH to be slightly acidic (6-7 on the scale).

5. Add topsoil — You need the soil to be at least 6 inches deep for the sod to grow effectively, so check this first. You can then add topsoil as required to increase the depth and encourage growth.
Spread the topsoil over evenly and use your tiller to break it up. It’s also worth doing a soil test on the topsoil to make sure the properties will complement your existing soil.
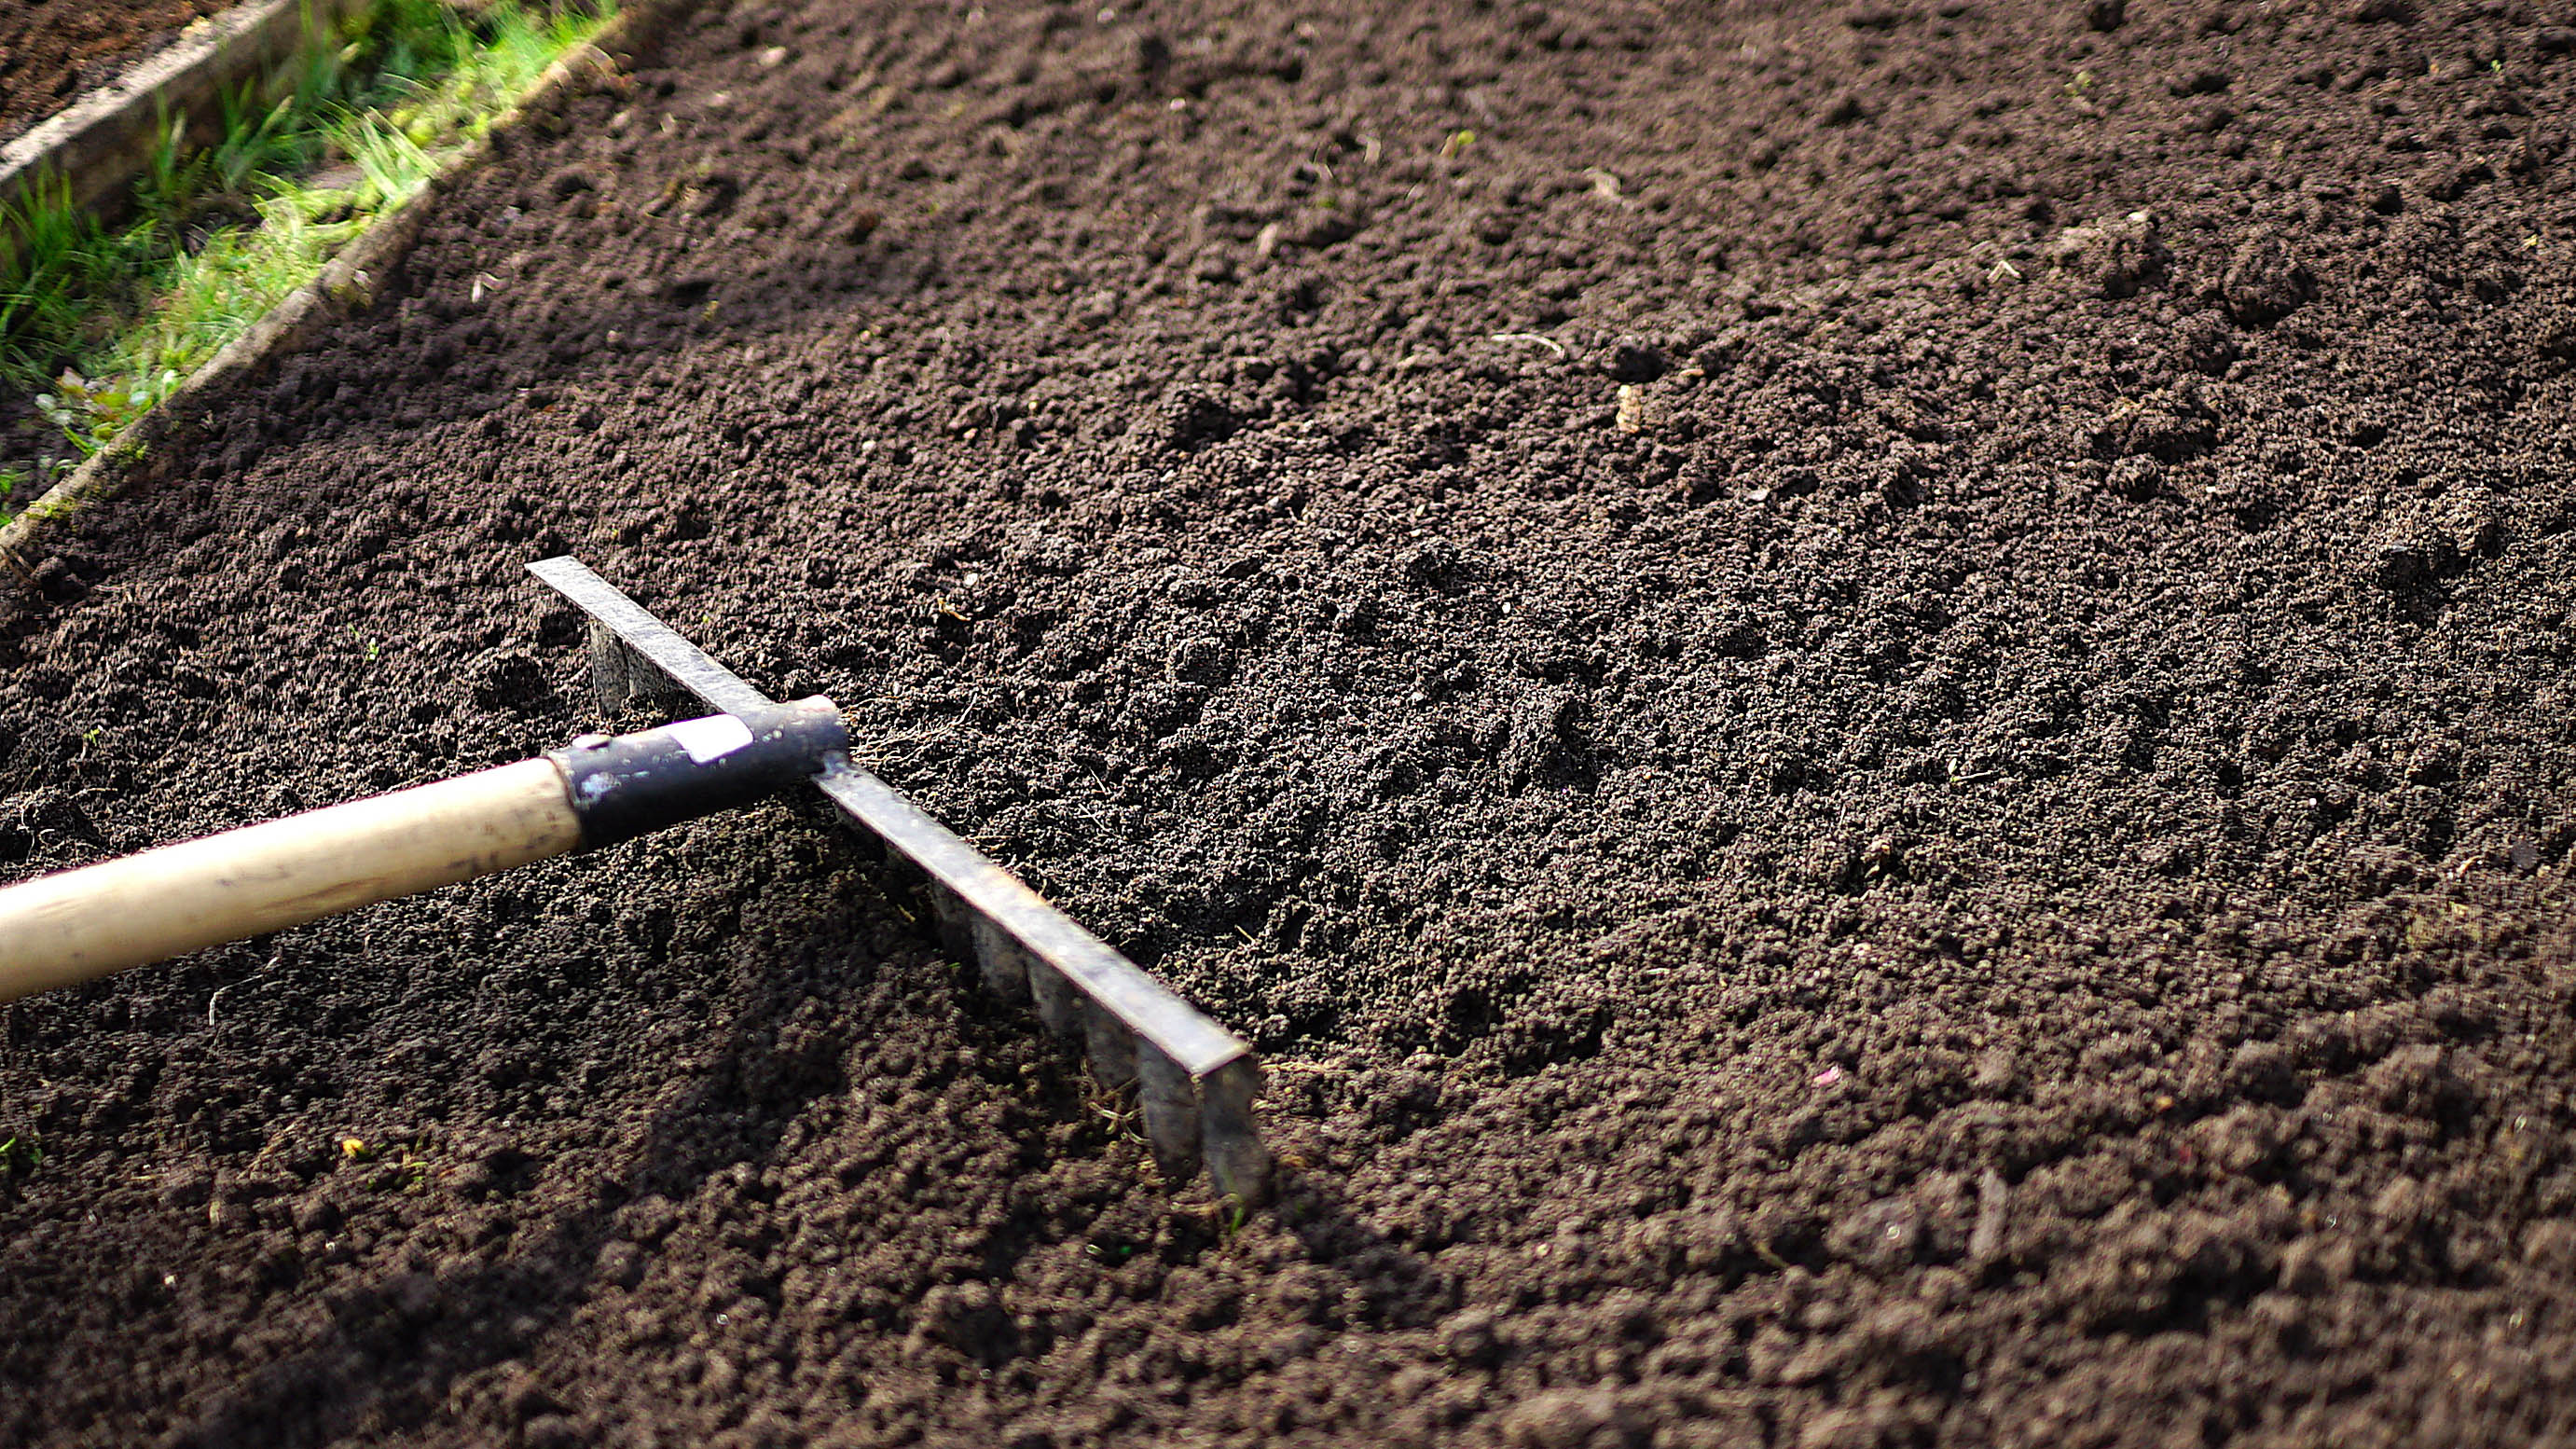
6. Smooth over — Now, make sure your soil looks even and tidy. Use a rake to remove any large stones or debris and add topsoil to any dips. Aim for the ground level to be about 1 inch below any pathways or patios. Otherwise, footfall could catch it and press down your grass at the edges.
You can go over the soil with a lawn roller for a more flat and stable surface, but do not overly compact it. You should be able to freely walk over it without sinking in too much.
If you’re moving straight onto laying the sod, then great. But, if you have to wait a few days, before laying remember to go over the soil first with a rake as it may have dried and hardened in the interim.
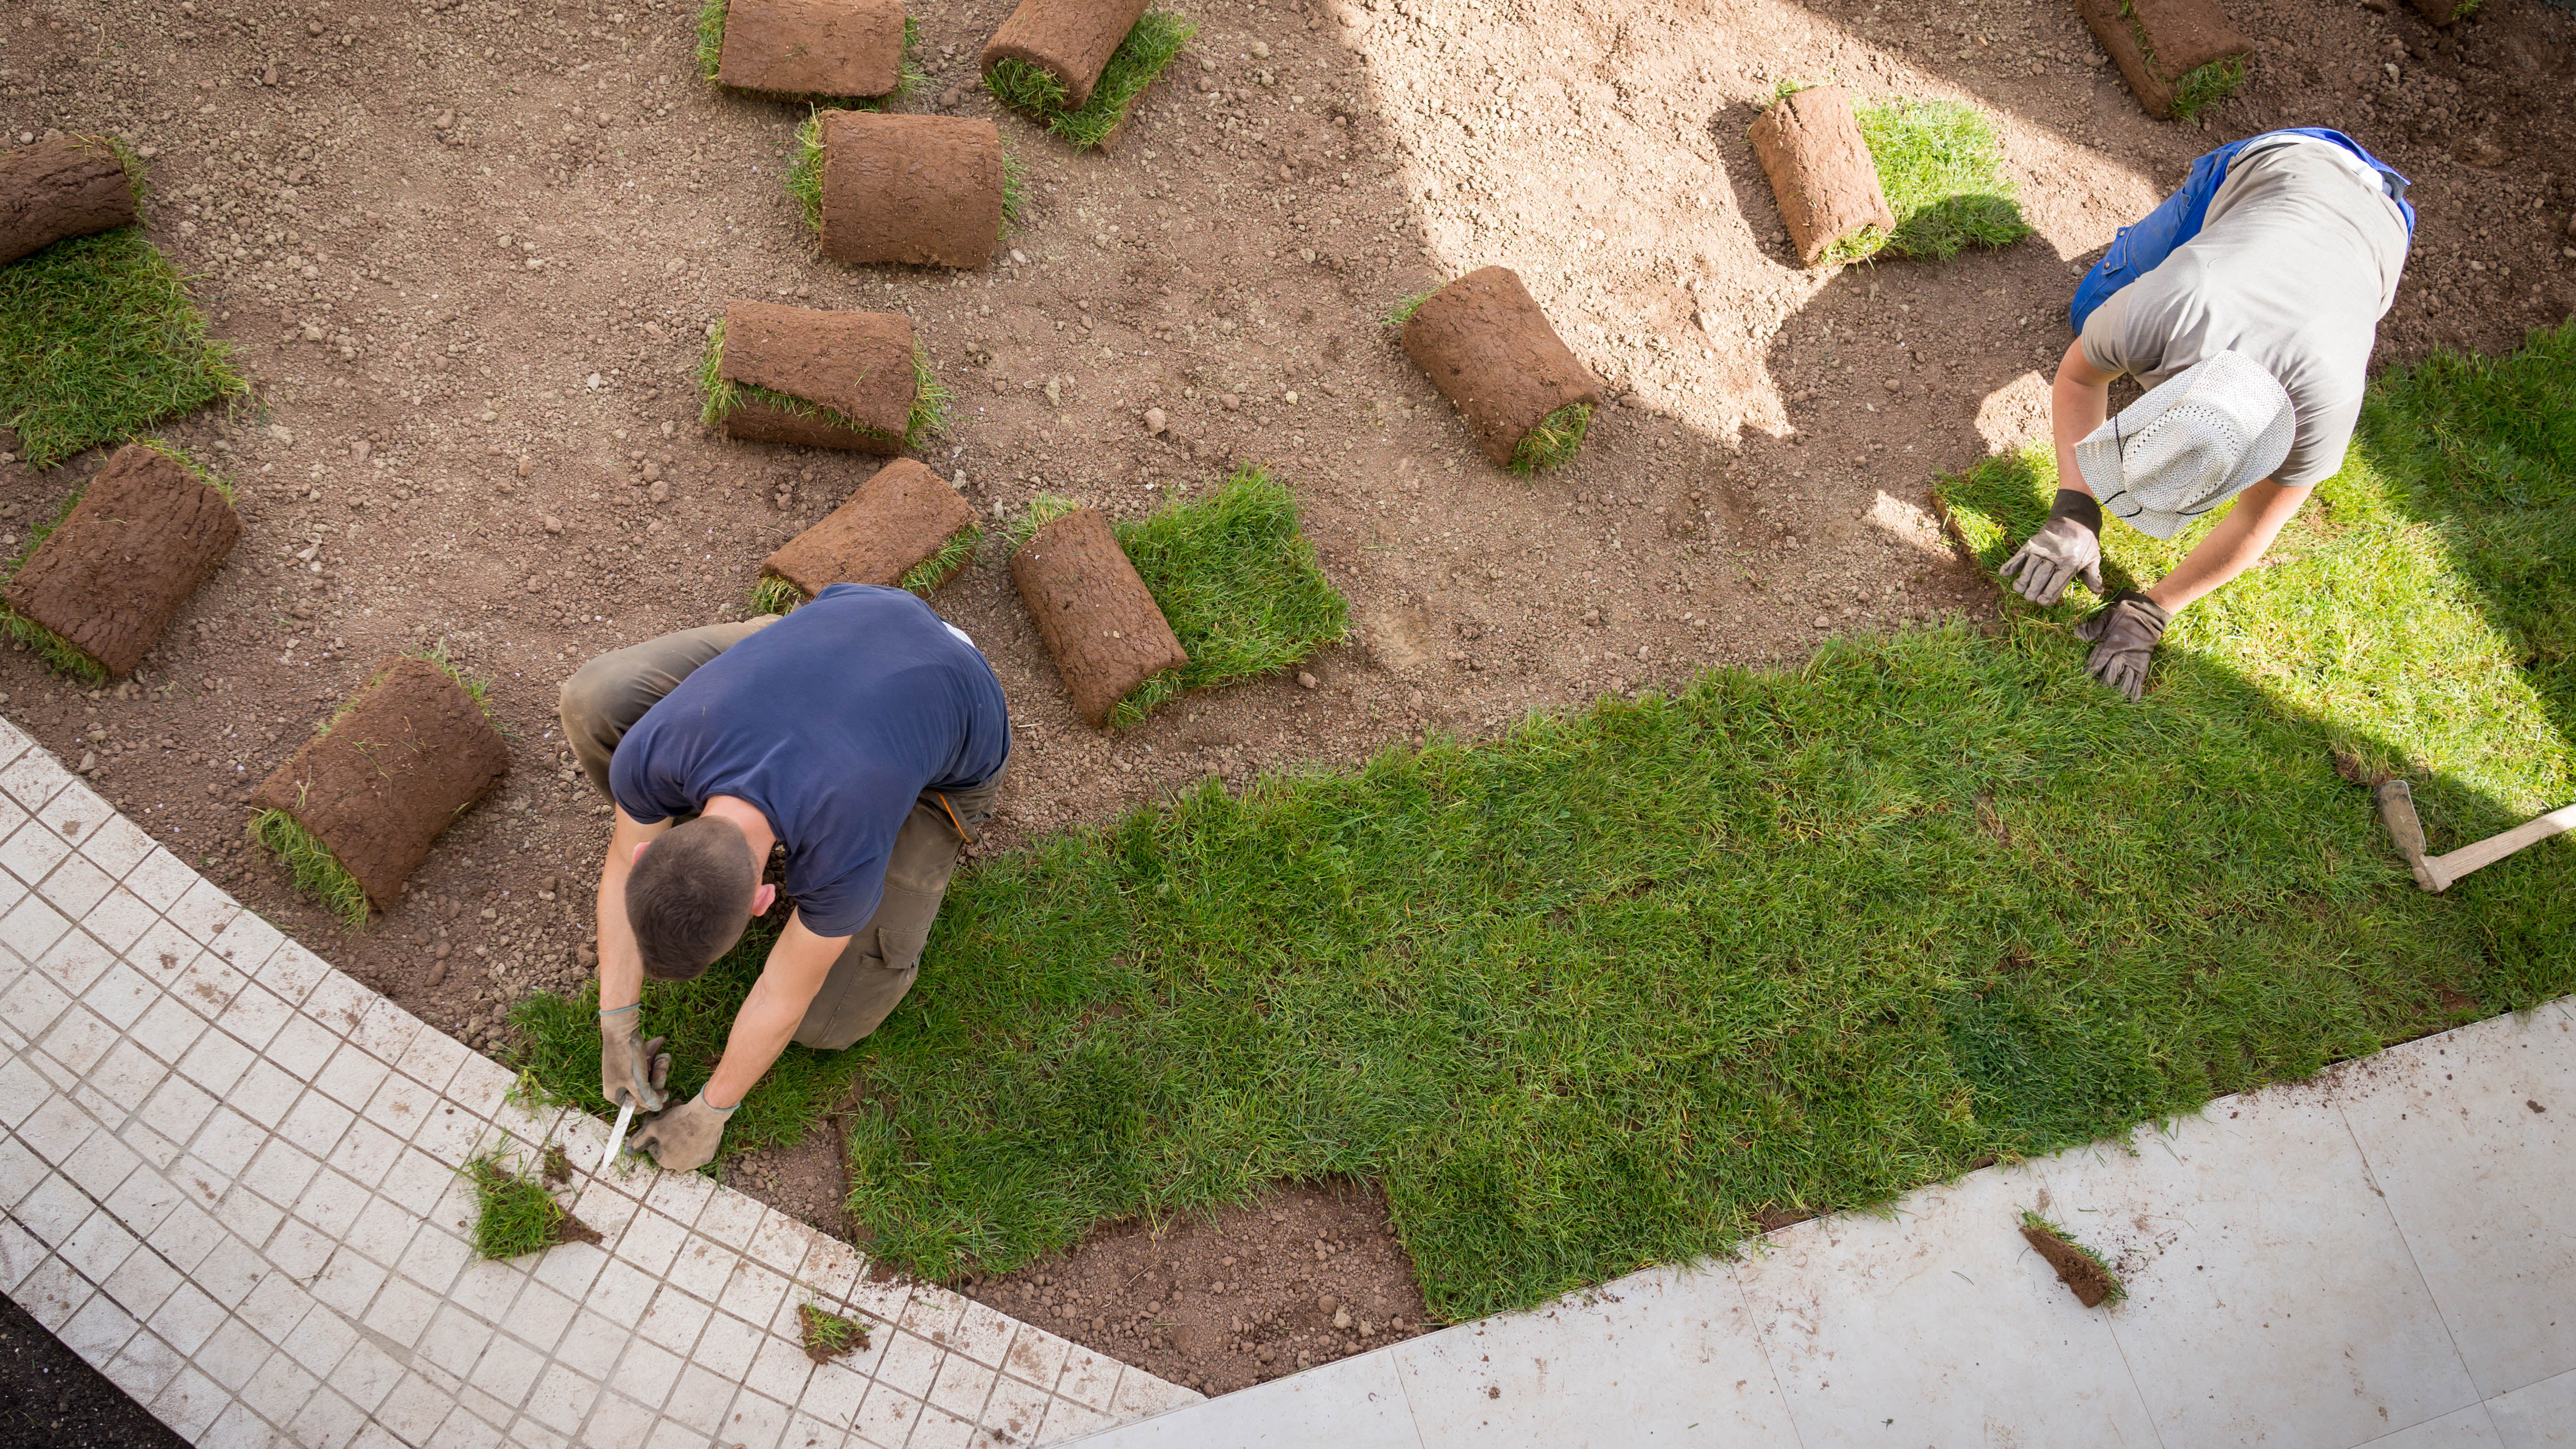
7. Prepare to lay the sod — As soon as your sod arrives, it’s imperative that you lay it right away because it dries up quickly. Ideally you want the weather to be cloudy and cool for this reason. Keep your sod in a cool, shaded place as you work and do your best to be finished by the end of the day.
Before you go grabbing your first roll, it’s worth considering the layout of your yard and what order is best for application. If you’ve got a fairly rectangular yard, you should apply full lengths of sod at the edges first. You can then work your way to meet in the center, where you may have to cut the final length of sod to fit. The reason for this order is that the edges of a freshly-laid sod lawn tend to dry up first, so they need to be full size for the best protection.
If your yard layout is a bit uneven, you need to start where you can find the longest straight section and work your way from there, but try to keep thicker sections of sod (non-trimmed) at the edges if possible.
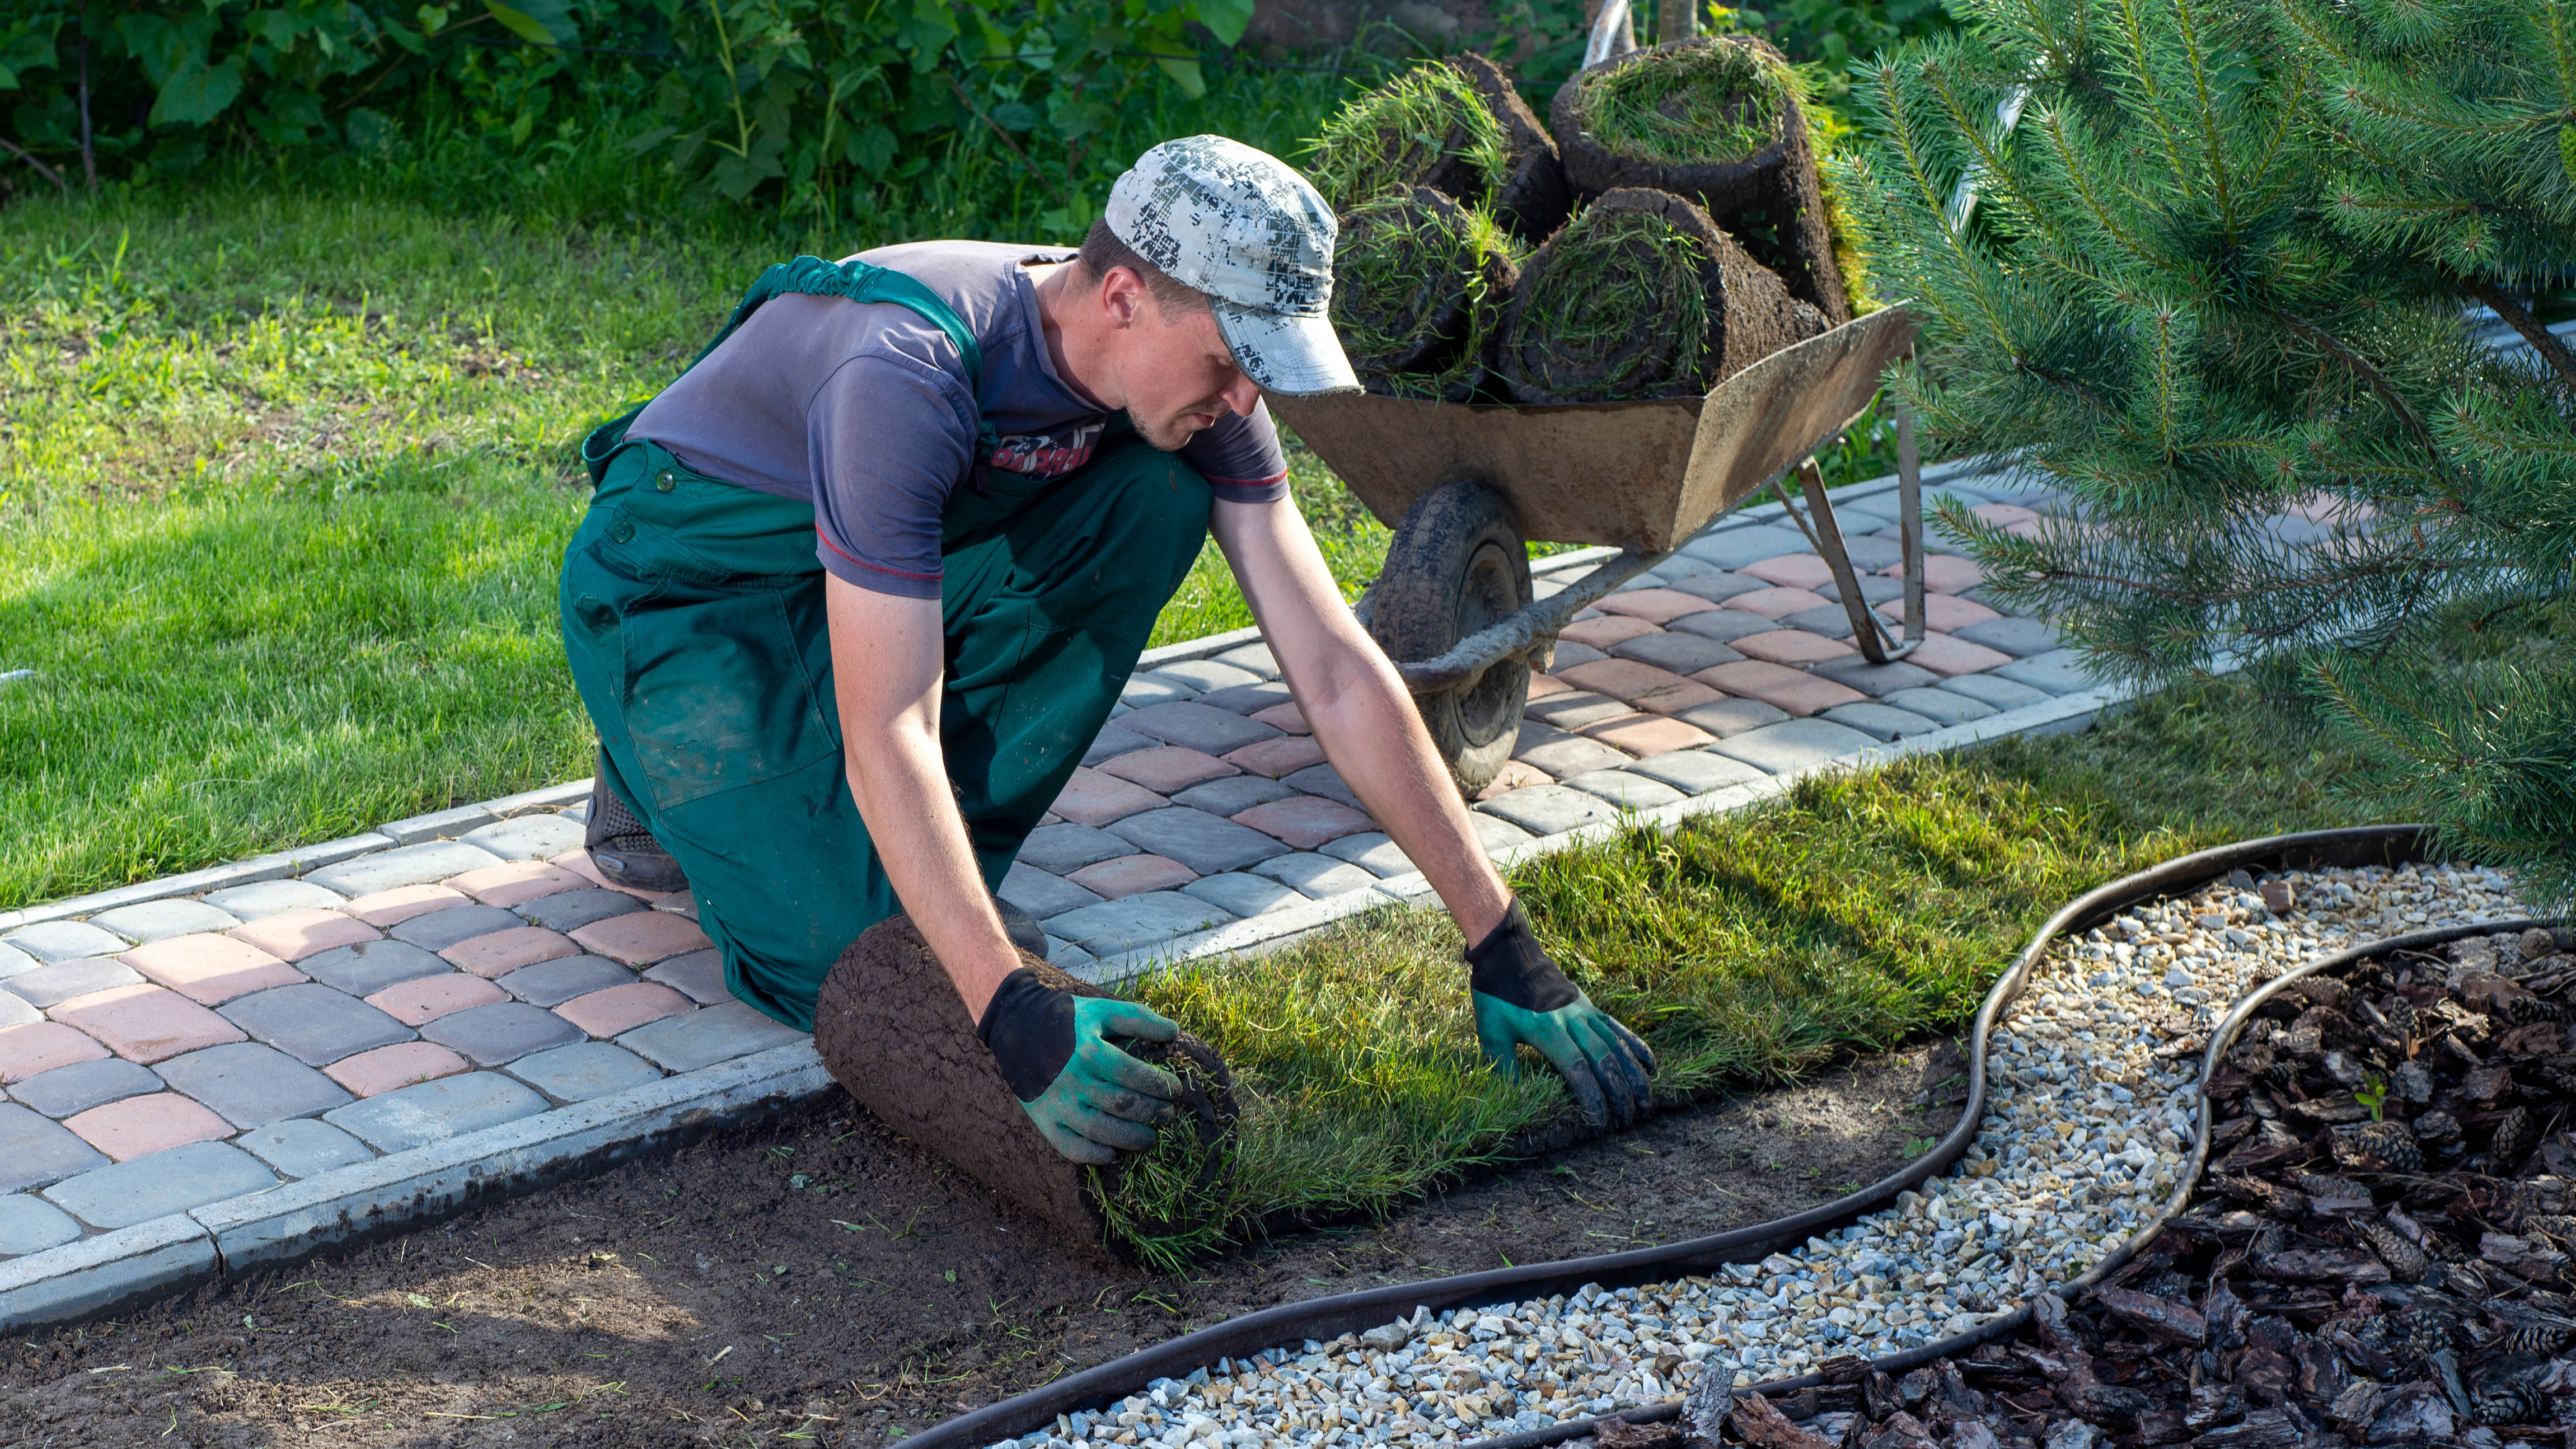
8. Lay the sod — Moisten the soil in your yard before you begin applying the sod and keep a rake to hand to level out any unevenness as you go. You can use your fence or patio as a guideline to keep your layout straight if necessary. Remember, you mustn't walk on freshly laid sod, but you can smooth it out by hand and use a shovel to gently pat it flat.
As soon as you’ve laid a line of sod, give it a thorough watering to stop it from drying out. You can then move onto the next line. Make sure the lengths sit flush together — you can use a sod cutter to fit any awkward spaces. If your garden is long enough that you need more than one roll for a single length, don’t let the adjacent seams line up as you go. Cut the roll at the halfway point on the next line to avoid this.
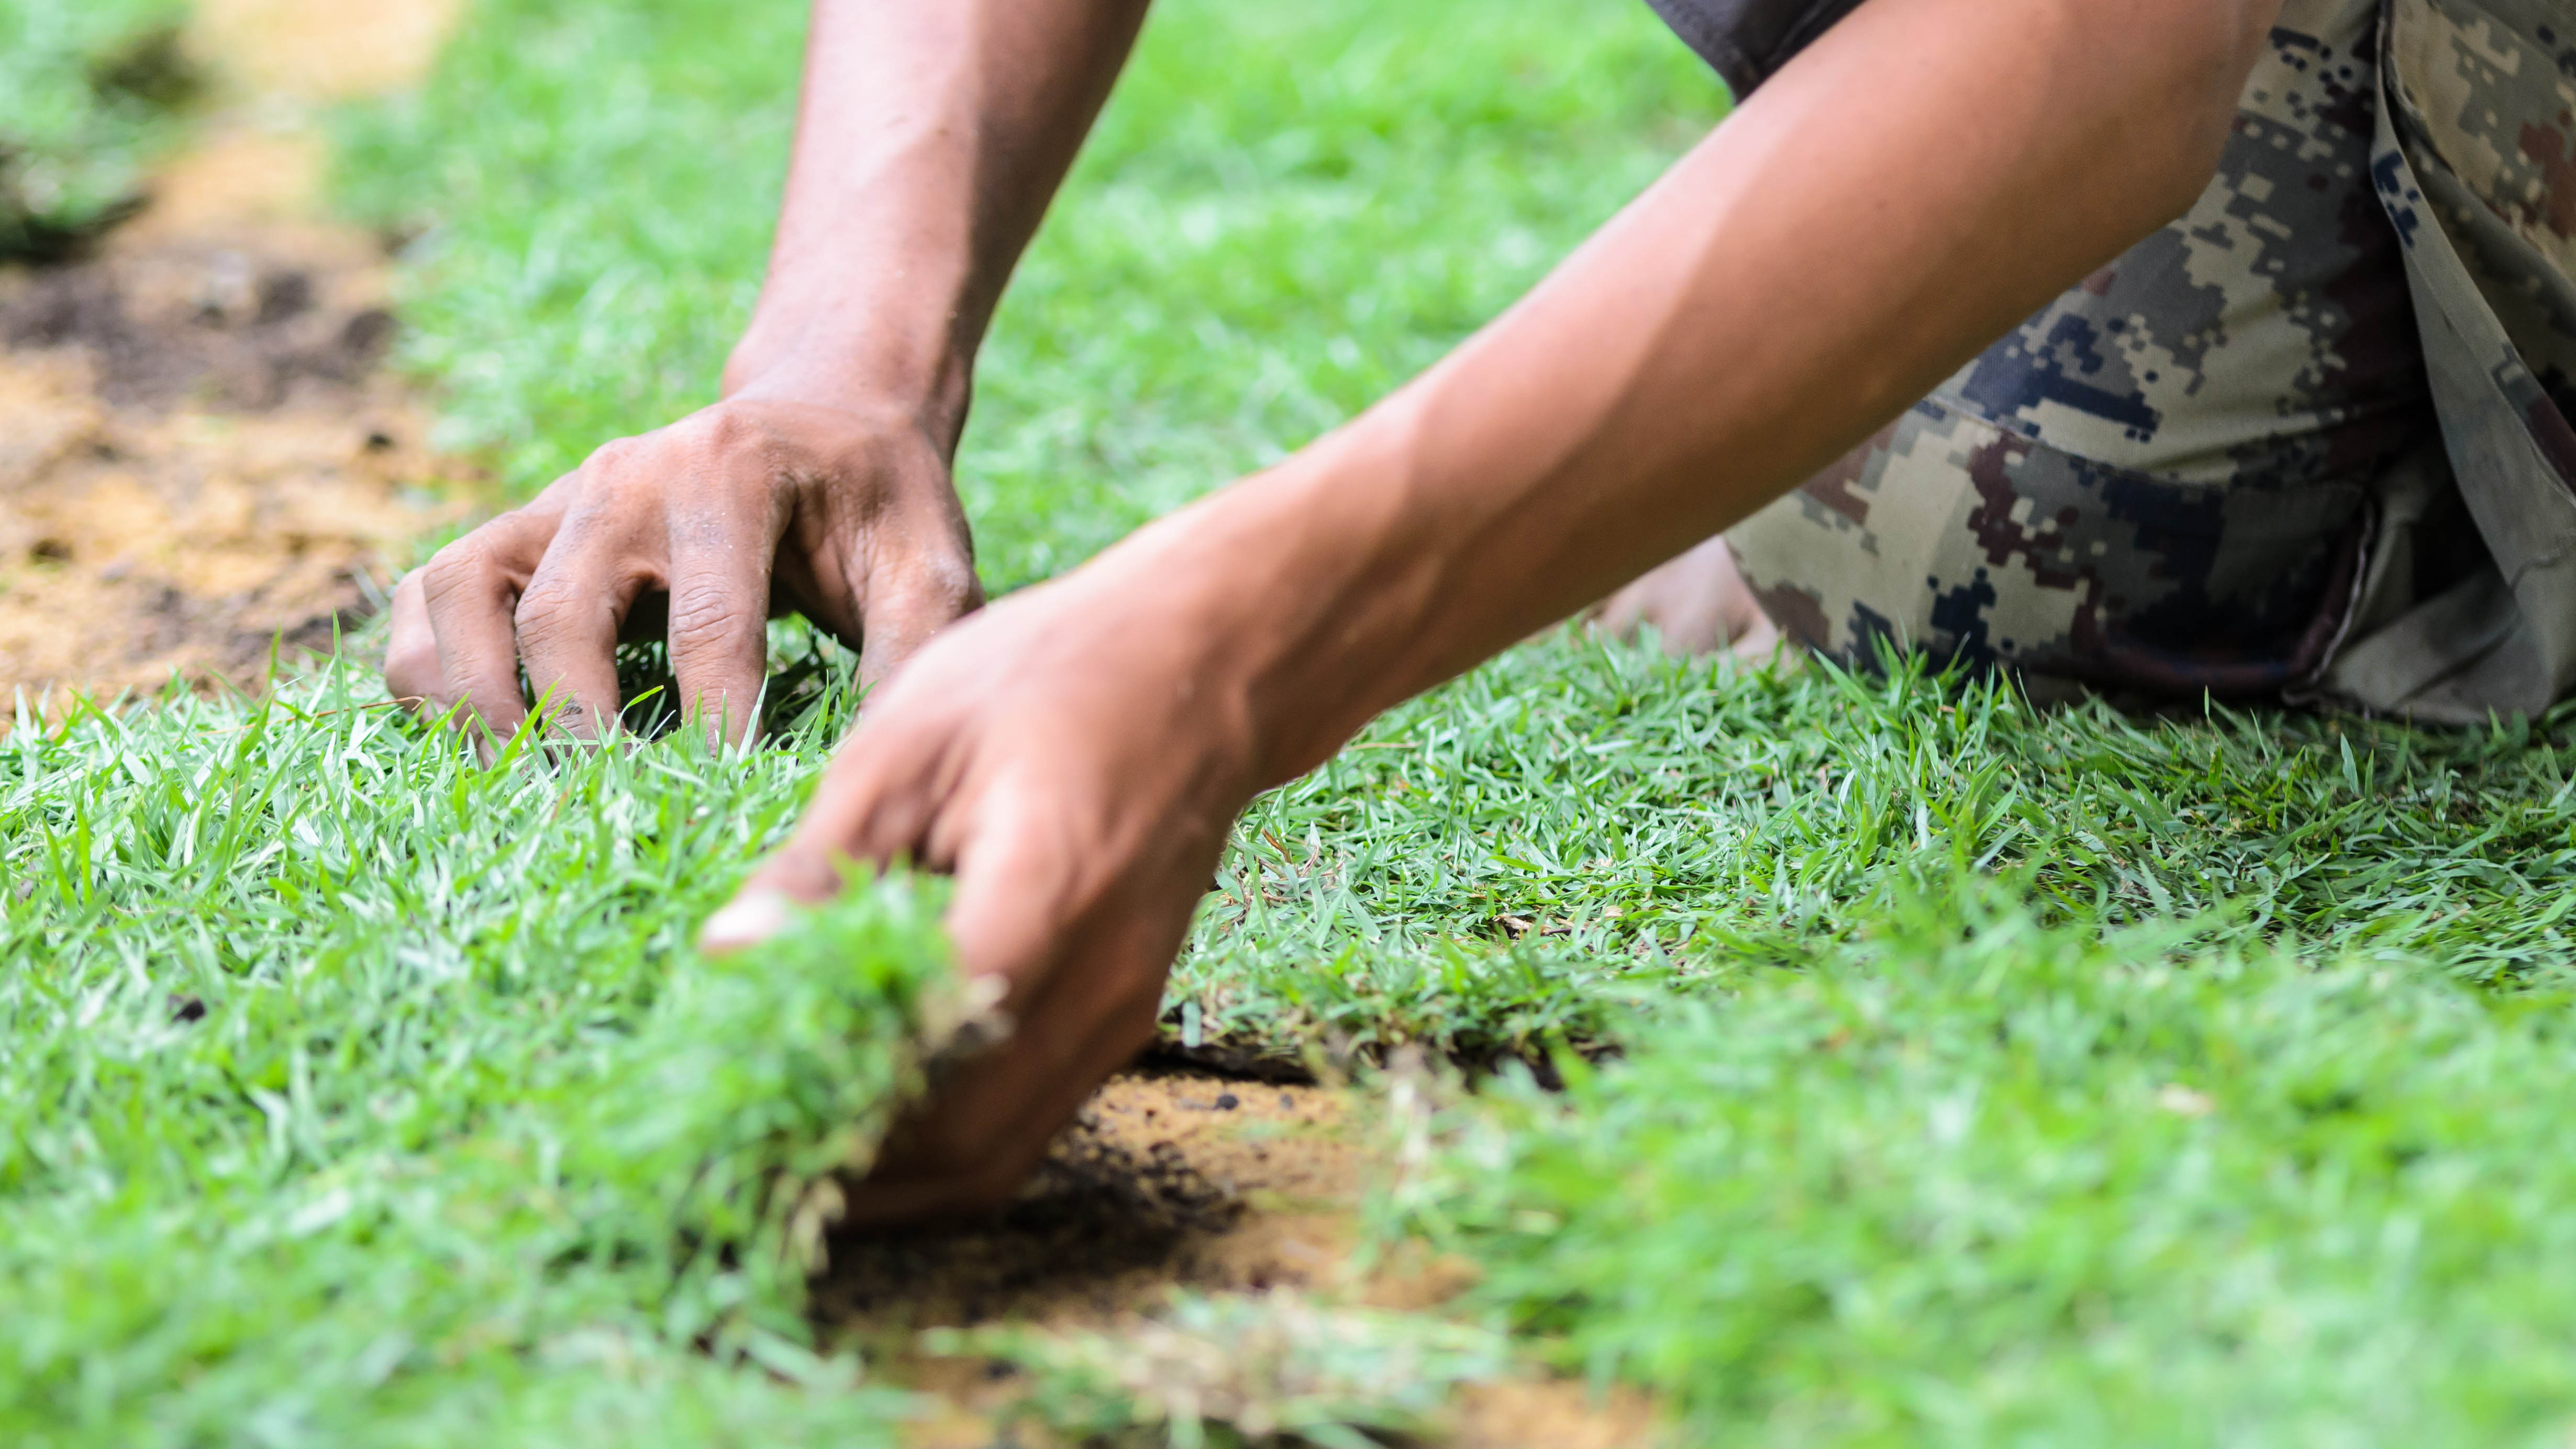
9. Fill in any gaps — Now that the sod is down, walk around and check for any missed spots. You can use previous cuttings to fill these in if necessary — a regular utility knife works well for cutting up smaller sections of sod. If you have receding sprinkler heads, remember you will need to cut holes in for these as well.
You can also assess the level of your yard as you do this. If any parts seem to dip, you can quickly add some more topsoil underneath.

10. Flatten it down — The next step is to flatten the sod down using a roller. This seals in the moisture and helps your new lawn take root. It will also get rid of any final air pockets. Push the roller vertically up and down the lawn, and then horizontally, going over yourself.
This step may not be necessary if there was excessive rainfall during installation. If that’s the case, your sod likely has what it needs already and rolling could just shift and damage the layout.
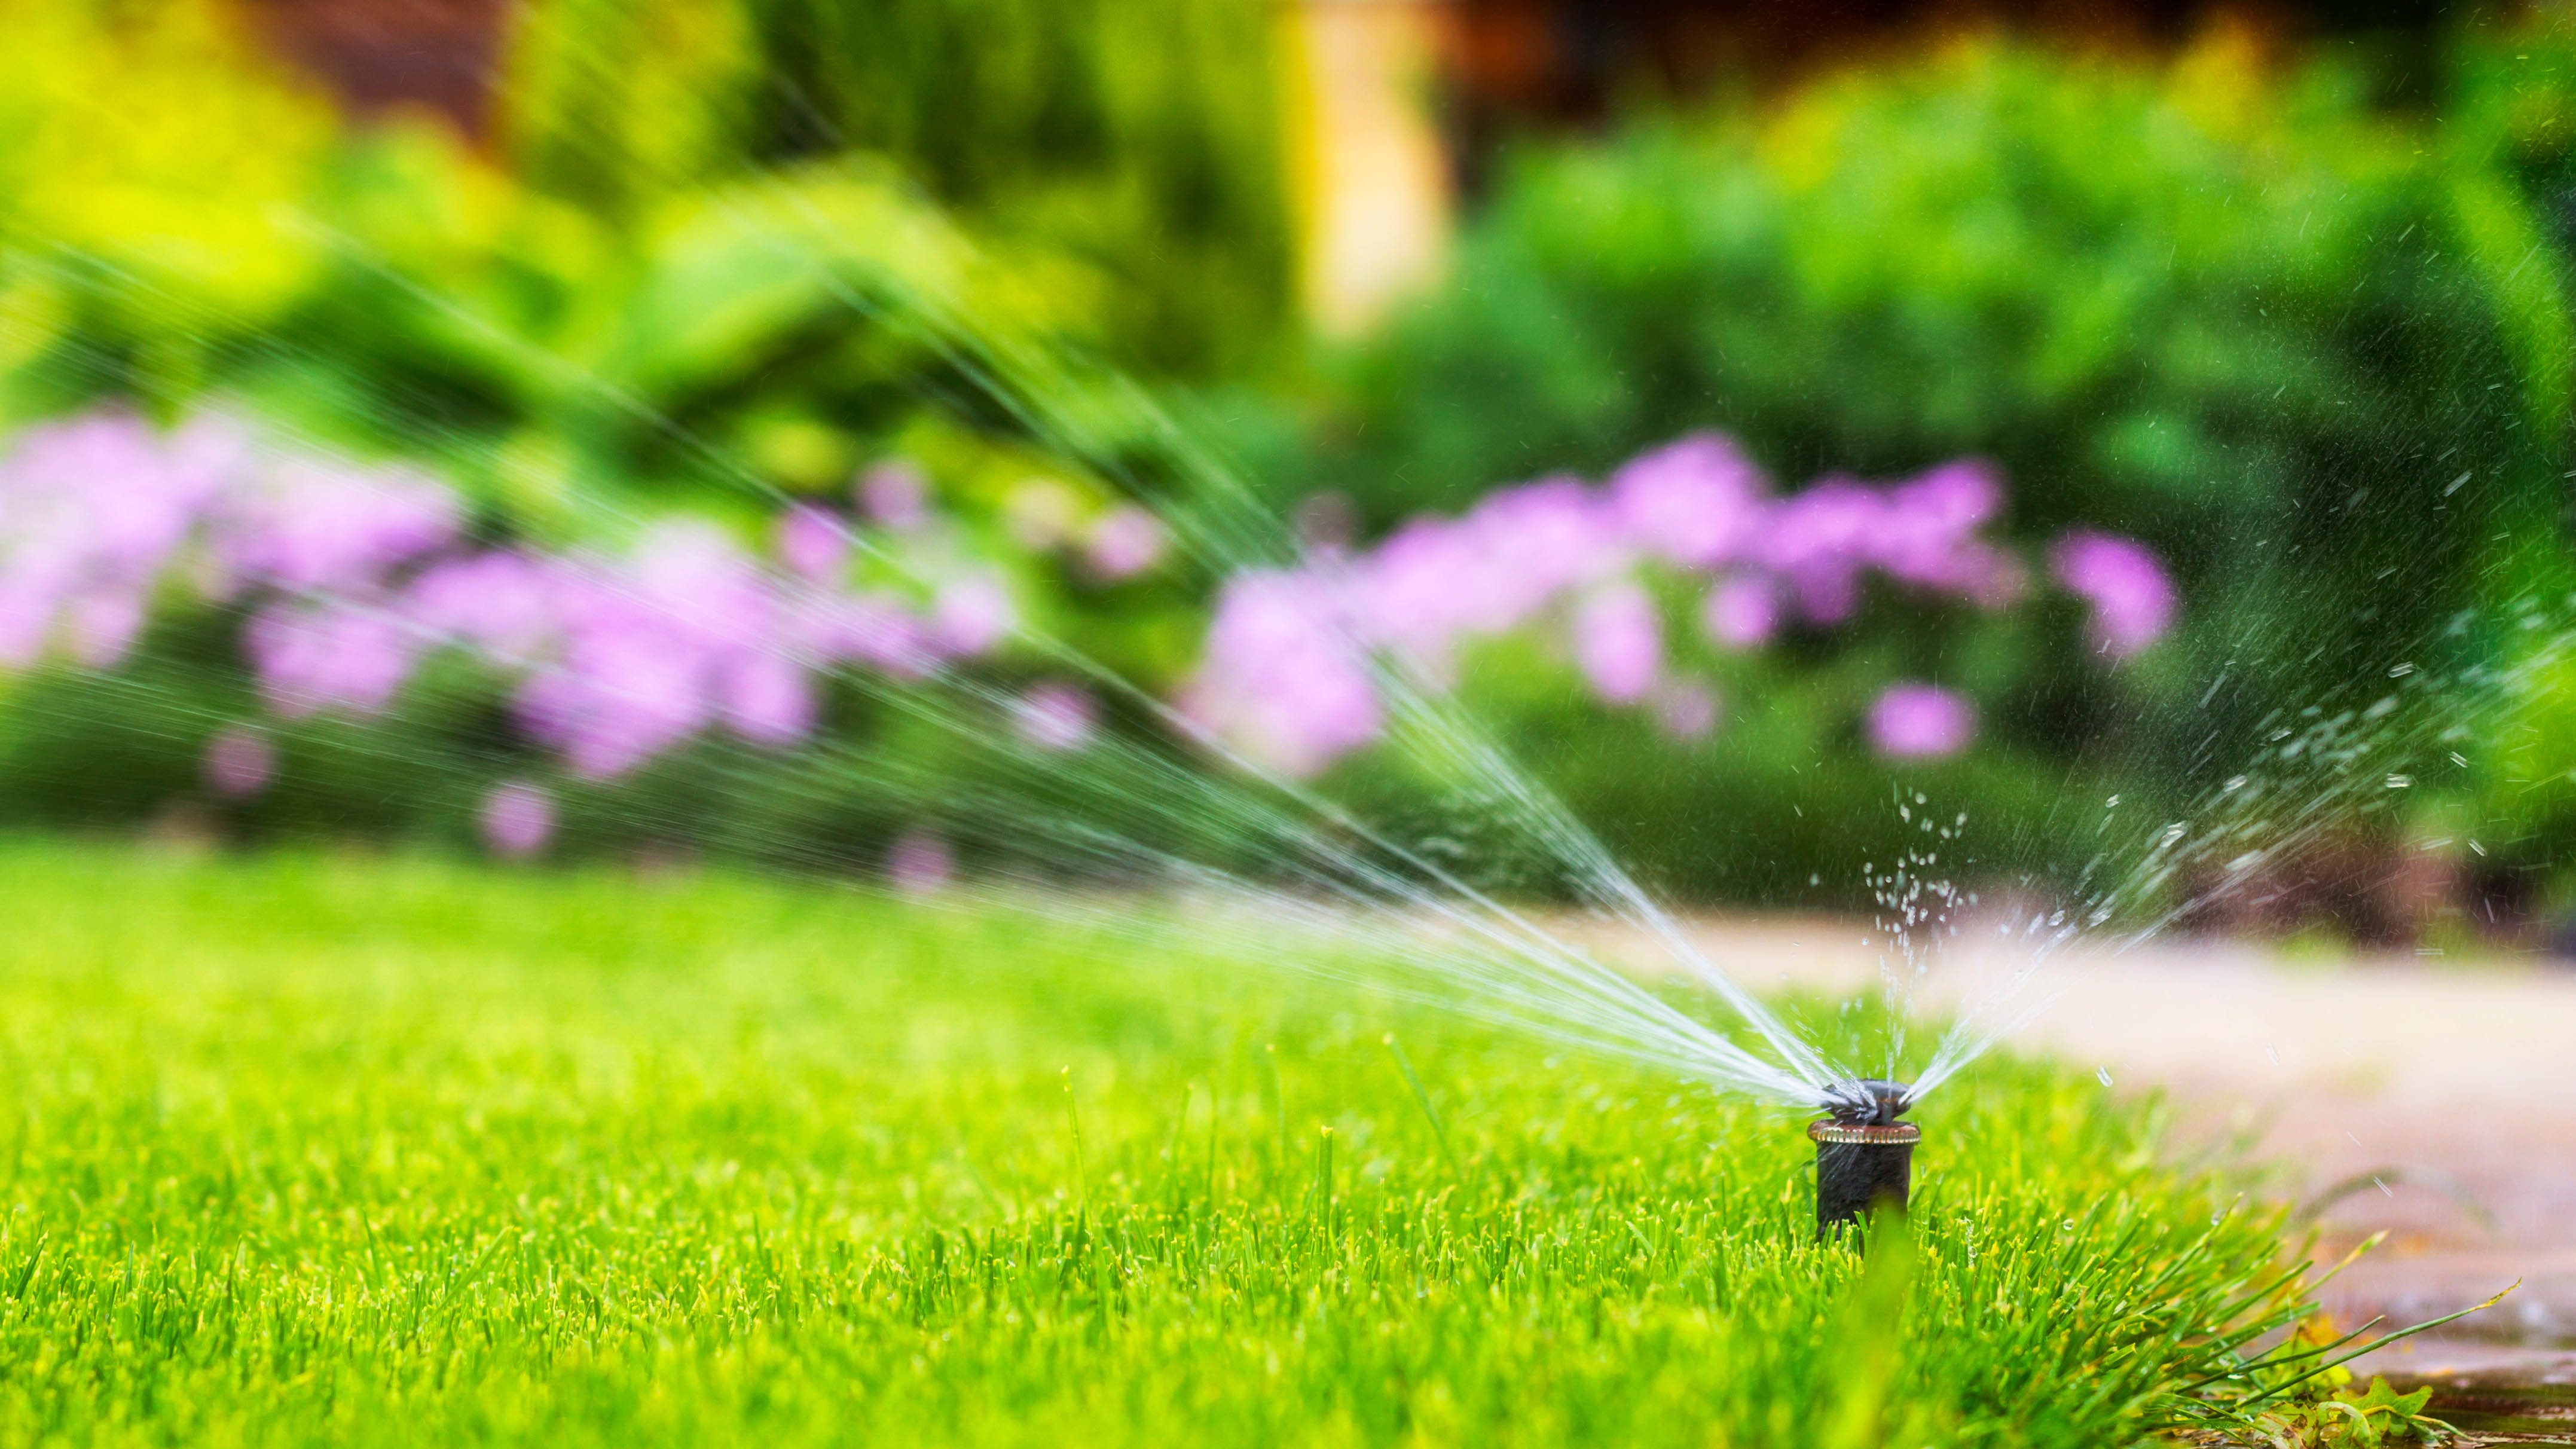
11. Keep it watered and healthy — Water your sod daily during the first few weeks. Make sure the edges get enough moisture in particular. You can always check it’s been watered sufficiently by lifting a corner piece — the ground underneath should be moist, not dry or muddy. Once it’s more established, you can reduce the watering to every other day.
Try not to walk on your fresh lawn while it’s still young; this could damage the layout. Be careful the first time you mow it as well — use a high cut setting to avoid catching uneven sections. Apply fertilizer after a month to encourage its growth.
And there you have it, a fresh new lawn. Be sure to keep it well-maintained for the best results.
When should you lay sod?
It’s best practice to lay sod in the late summer or early fall, but early spring is acceptable too. You essentially want to avoid the freezing temperatures of winter and the heat waves in the summer. That way the roots have the best chance of establishing themselves.
For more planting tips, tricks, and how-tos, check out our guides on how to prune lilacs and when to do it, how to plant sunflower seeds and when to do it, how to plant potatoes and how to grow tomatoes in pots. You'll also want to read how to prune hydrangeas, how to care for an orchid, how to care for air plants, and here’s the best time to water your lawn according to the experts.

Katie Mortram used to be a Homes Editor for Tom's Guide, where she oversaw everything from kitchen appliances to gardening tools, as well as smart home tech. Specializing in providing expert advice for cleaning and home manintenance, she now works as Household Advice Editor for Good Housekeeping.
