How to grout tiles in 5 simple steps
Here’s how to grout tiles properly without calling a professional
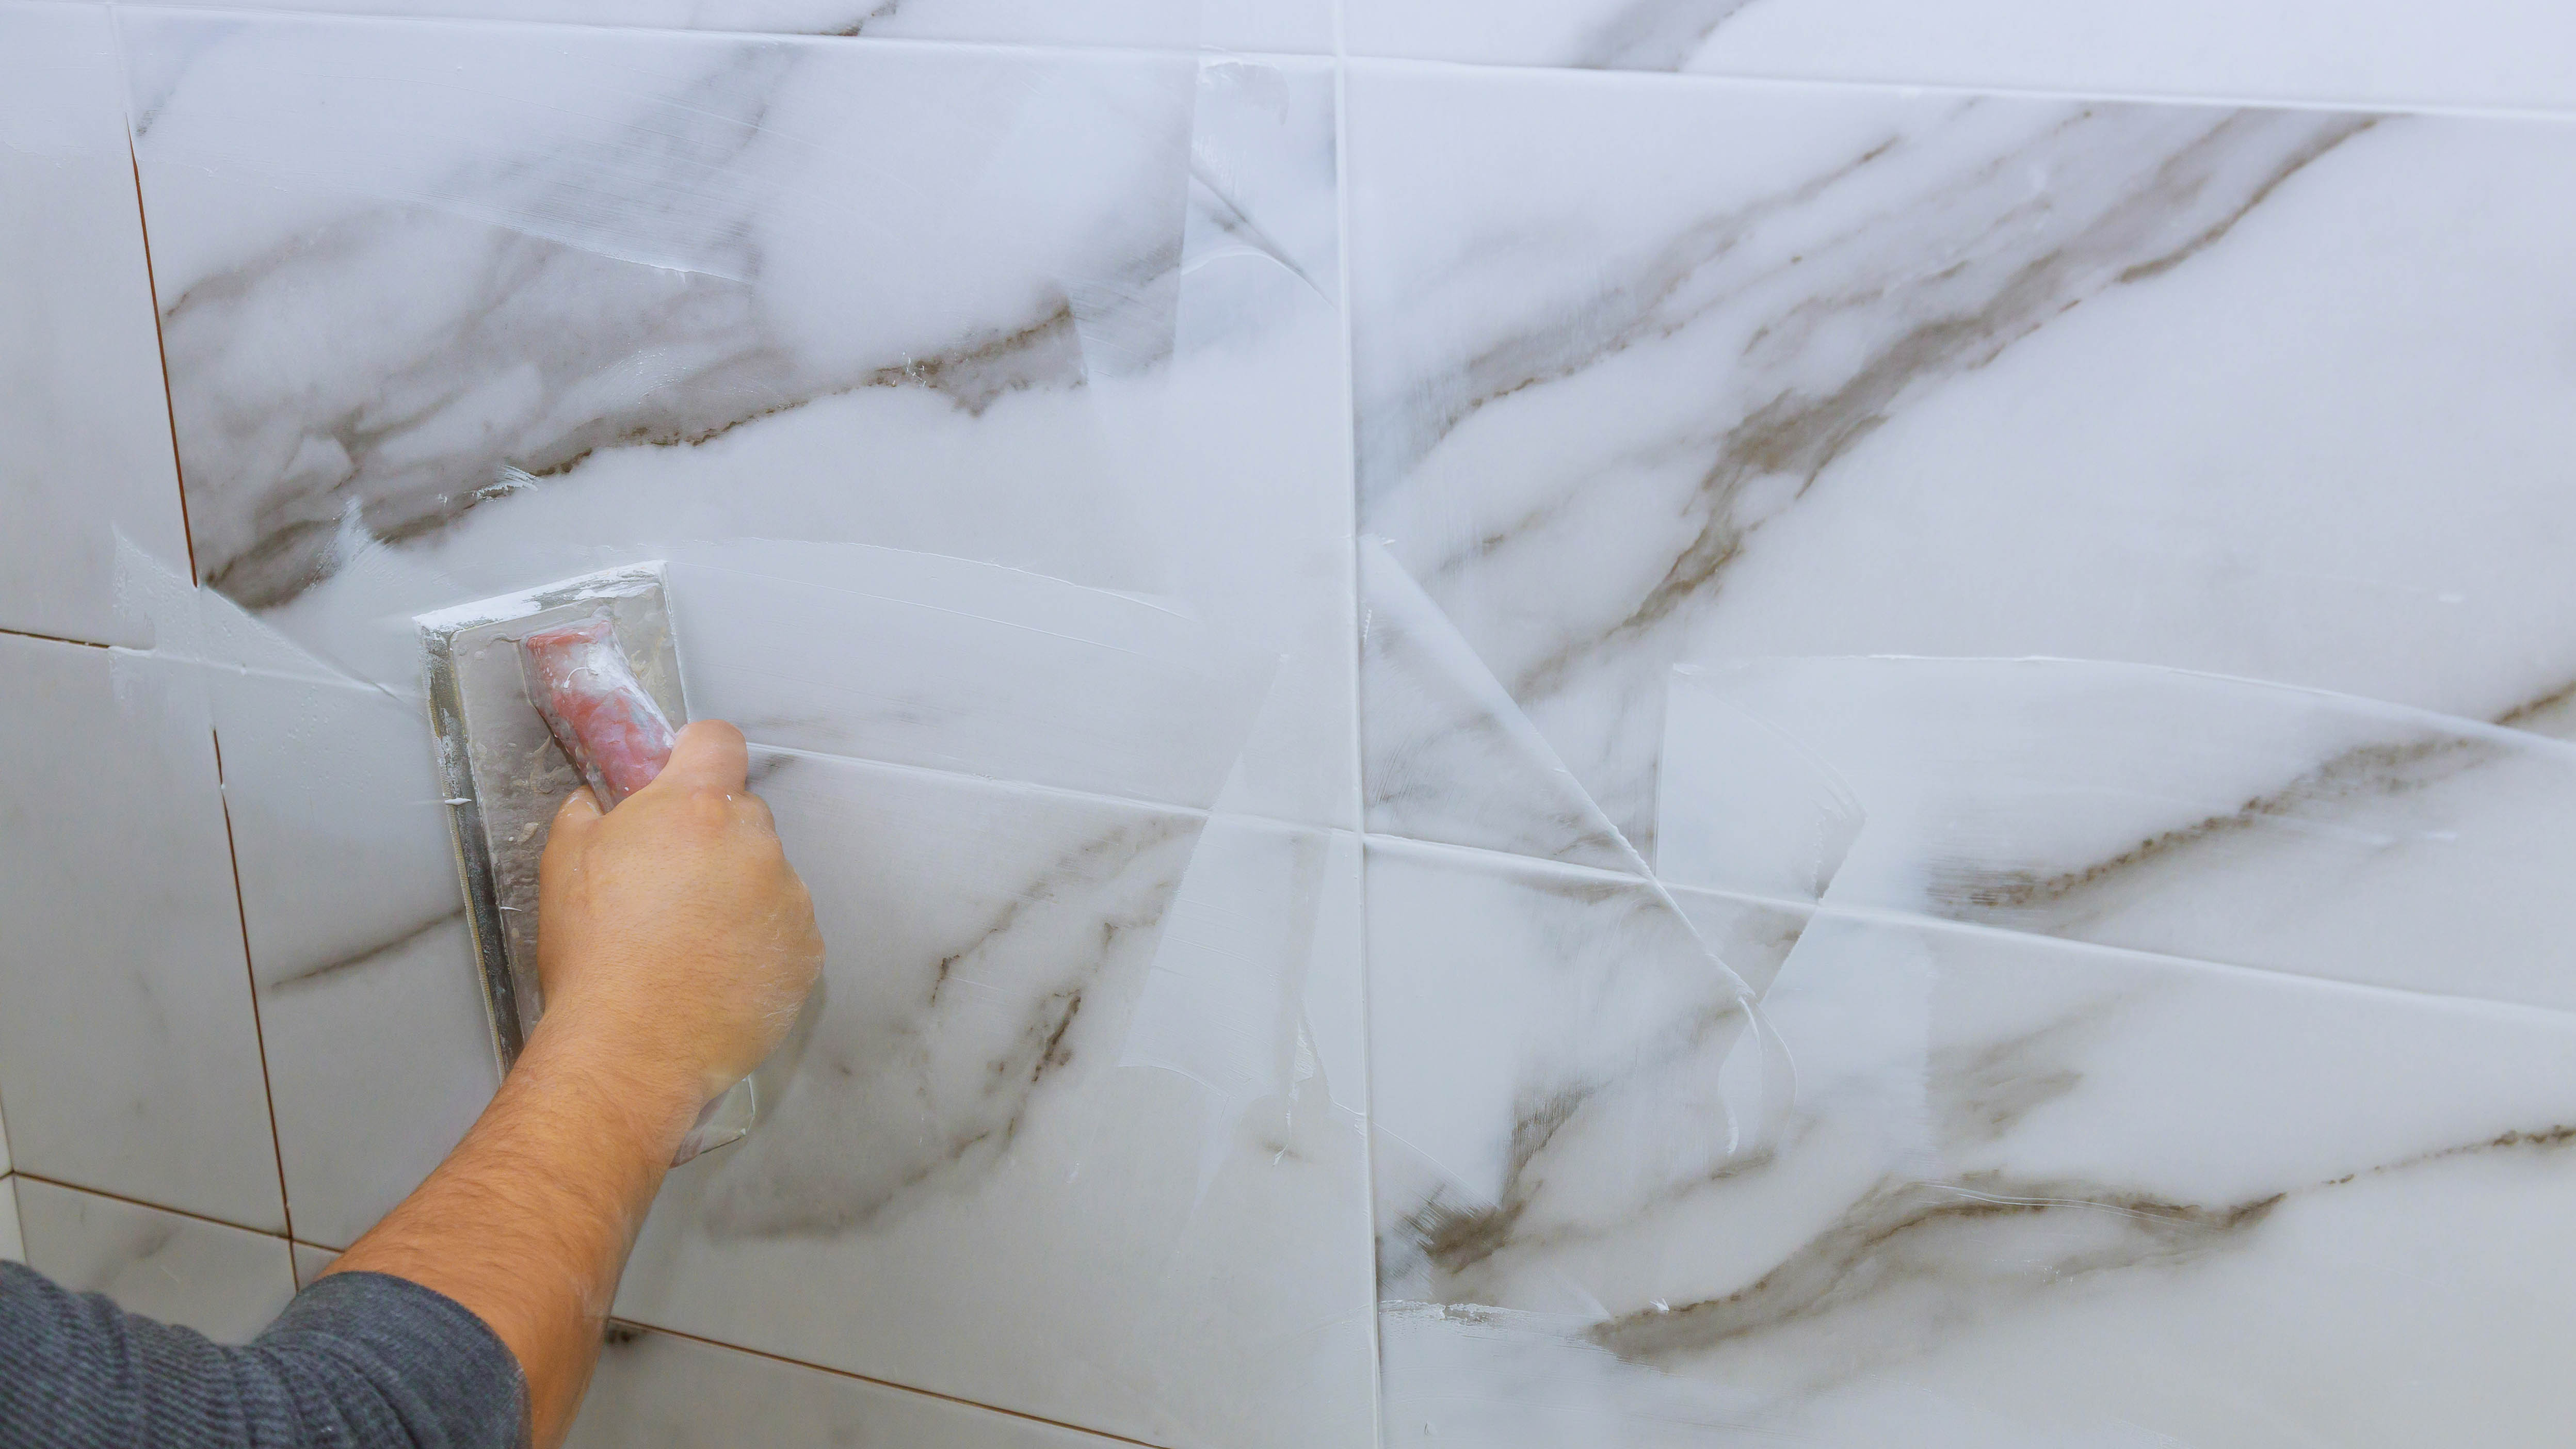
Whether you want to spruce up your bathroom or add a stylish, kitchen backsplash, you’ll need to know how to grout tiles the right way. Grout is essential for sealing tiles to the surface and protecting them from moisture and mold.
Best of all, knowing how to grout tiles properly will make your beautiful ceramic, glass or stone tiles stand out.
While it’s not the most exciting of tasks, learning how to grout tiles is not as challenging as it sounds. In fact, it’s quick and easy to do yourself with these five simple steps. What’s more, it will save you the trouble (and expense) of having to call in a professional tiler.
So, if you want your tile-style to shine, here’s how to grout tiles like a pro.
How to grout tiles
Small bucket
Grout powder
Mixing stick
Grout spreader/trowel
Grout sealer
Cloth/microfiber towel
Before you start, it’s always recommended to clean the tile joint, removing any dust, debris or adhesive. When grouting, the aim is to make it as smooth as possible for a neat look.
1. Choose your color and mix your grout
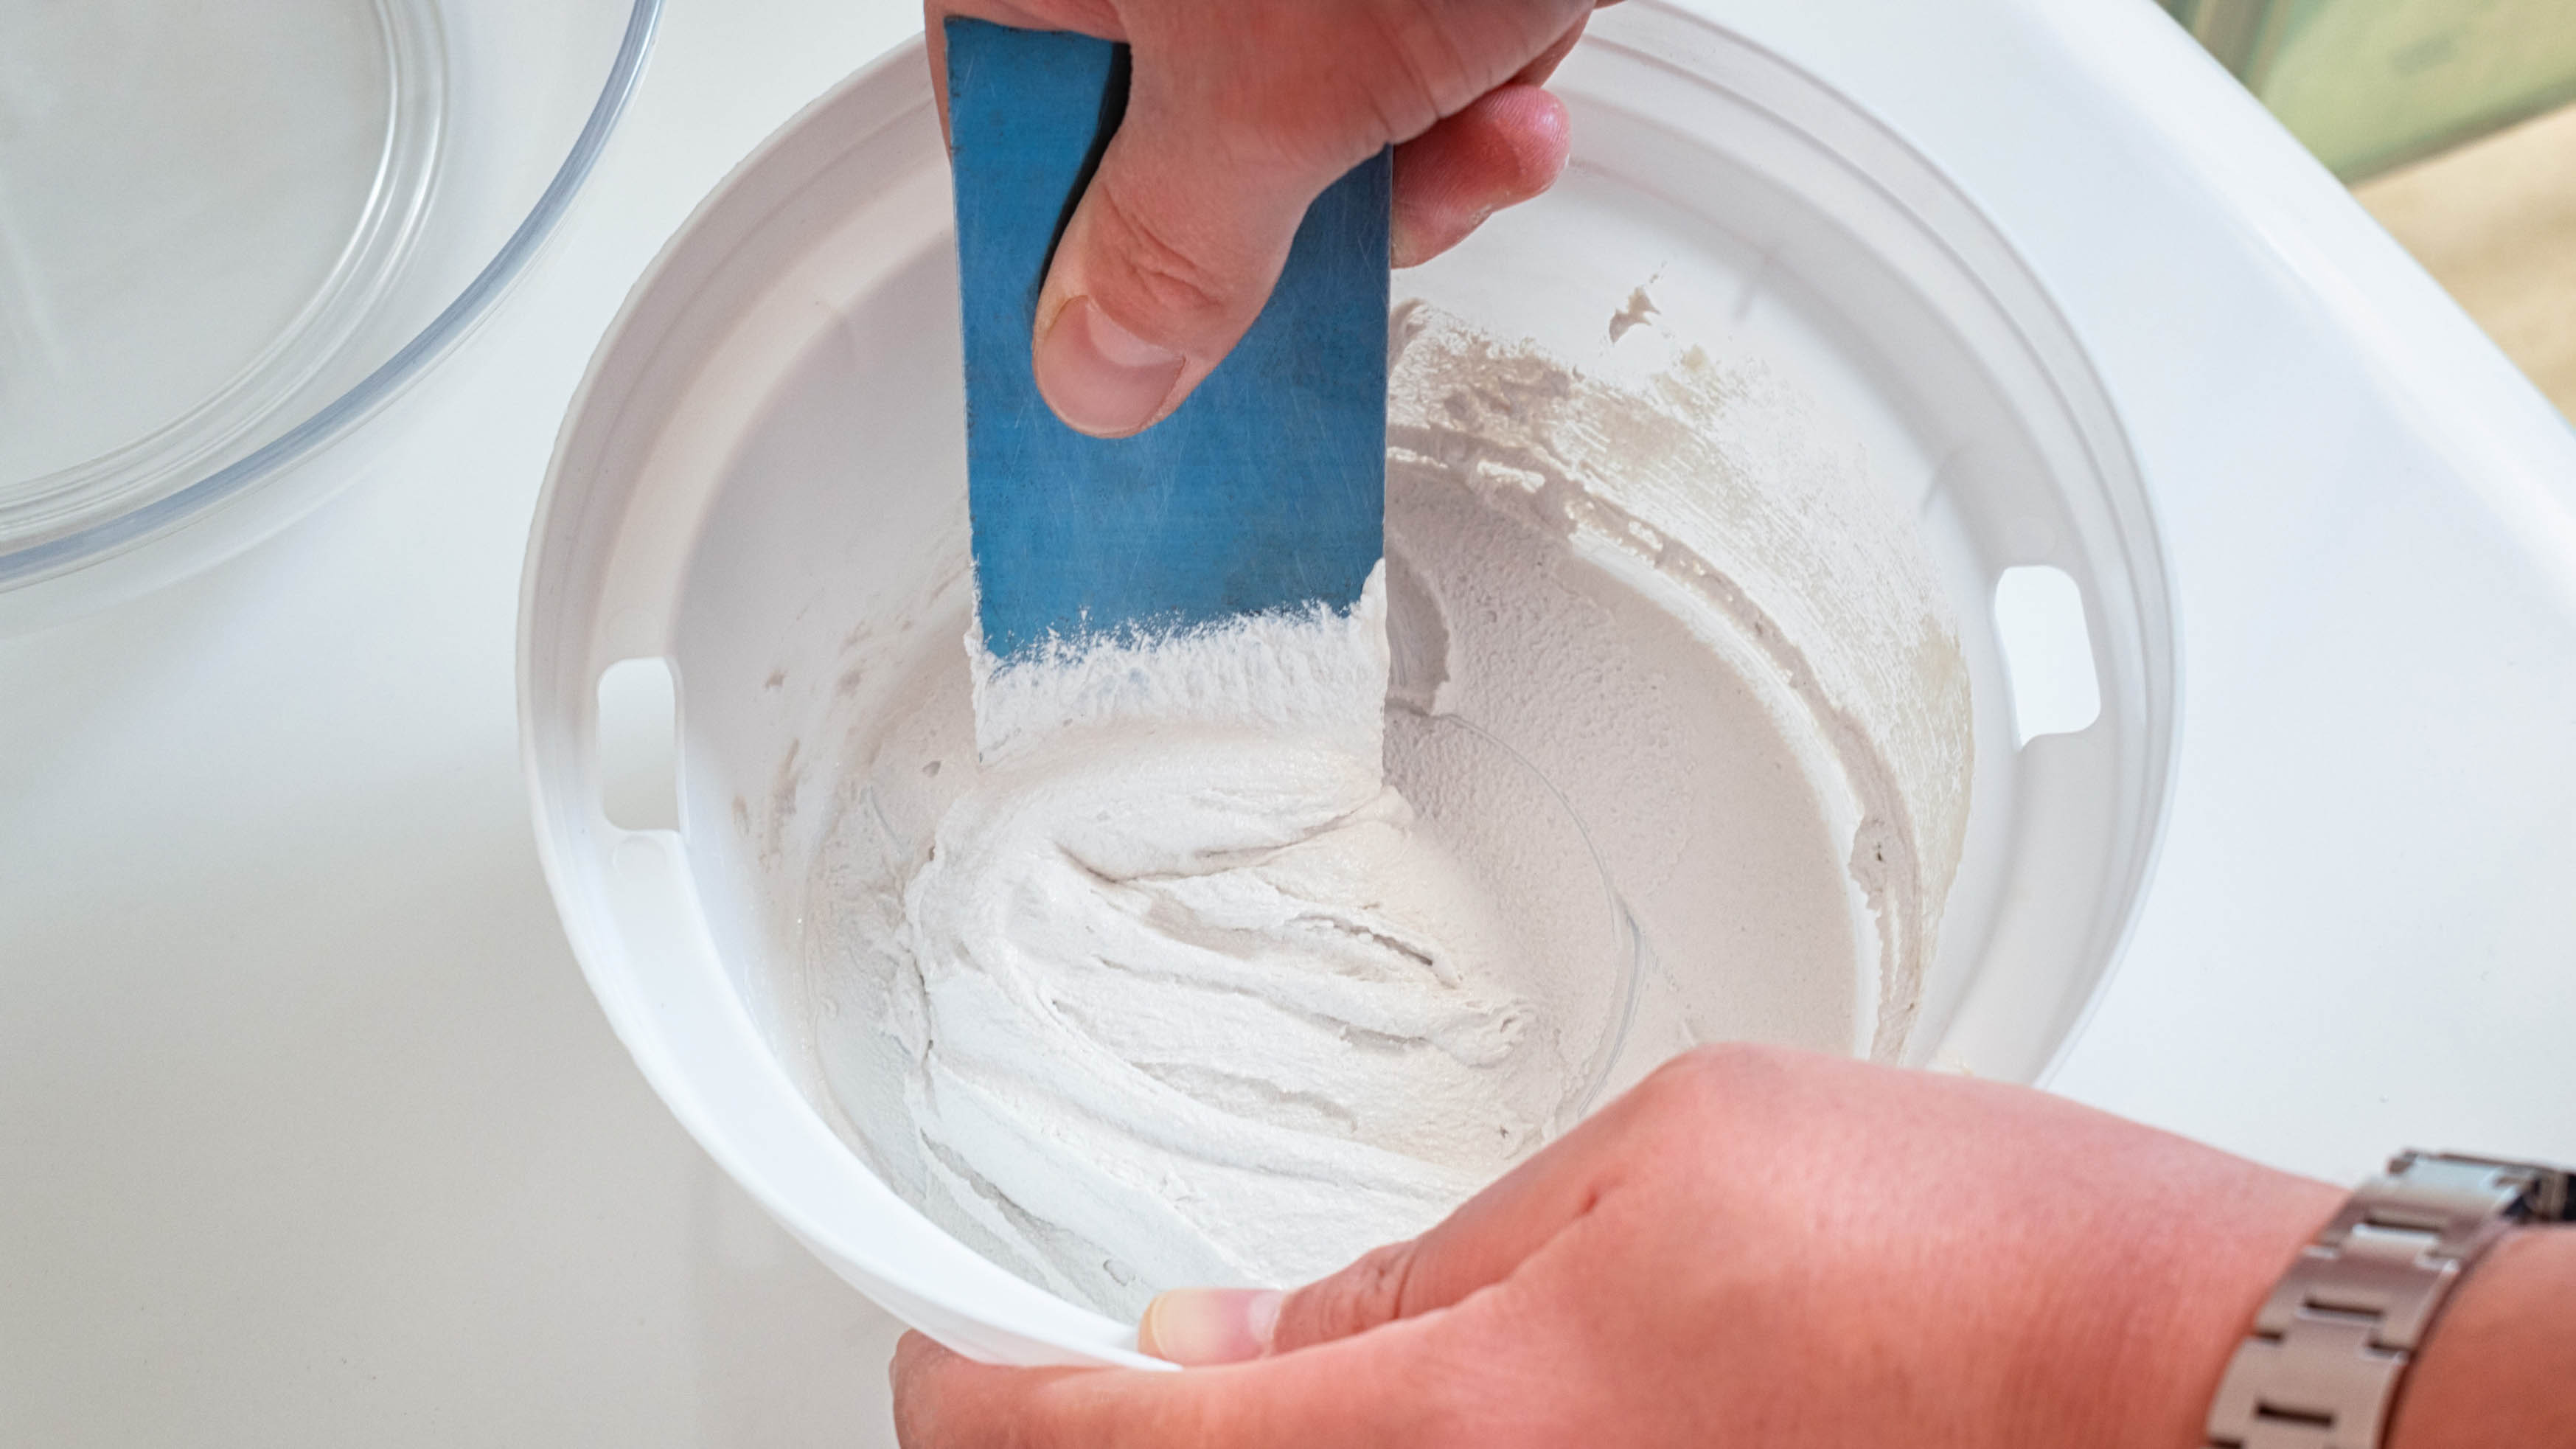
Once you’ve chosen the grout color to suit your space, pour a little water in a bucket before adding in the powdered grout. Start mixing the grout powder with a wooden stick, gradually adding more powder as you stir. Continue stirring until you have a whipped ice cream consistency. If you want to save yourself some time, you can buy pre-mixed grout, though it's more expensive than purchasing the powder alone.
TIP: Don’t add too much water. The less water you use, the better the grout consistency and strength.
Sign up to get the BEST of Tom's Guide direct to your inbox.
Get instant access to breaking news, the hottest reviews, great deals and helpful tips.
2. Apply the grout to the tiles
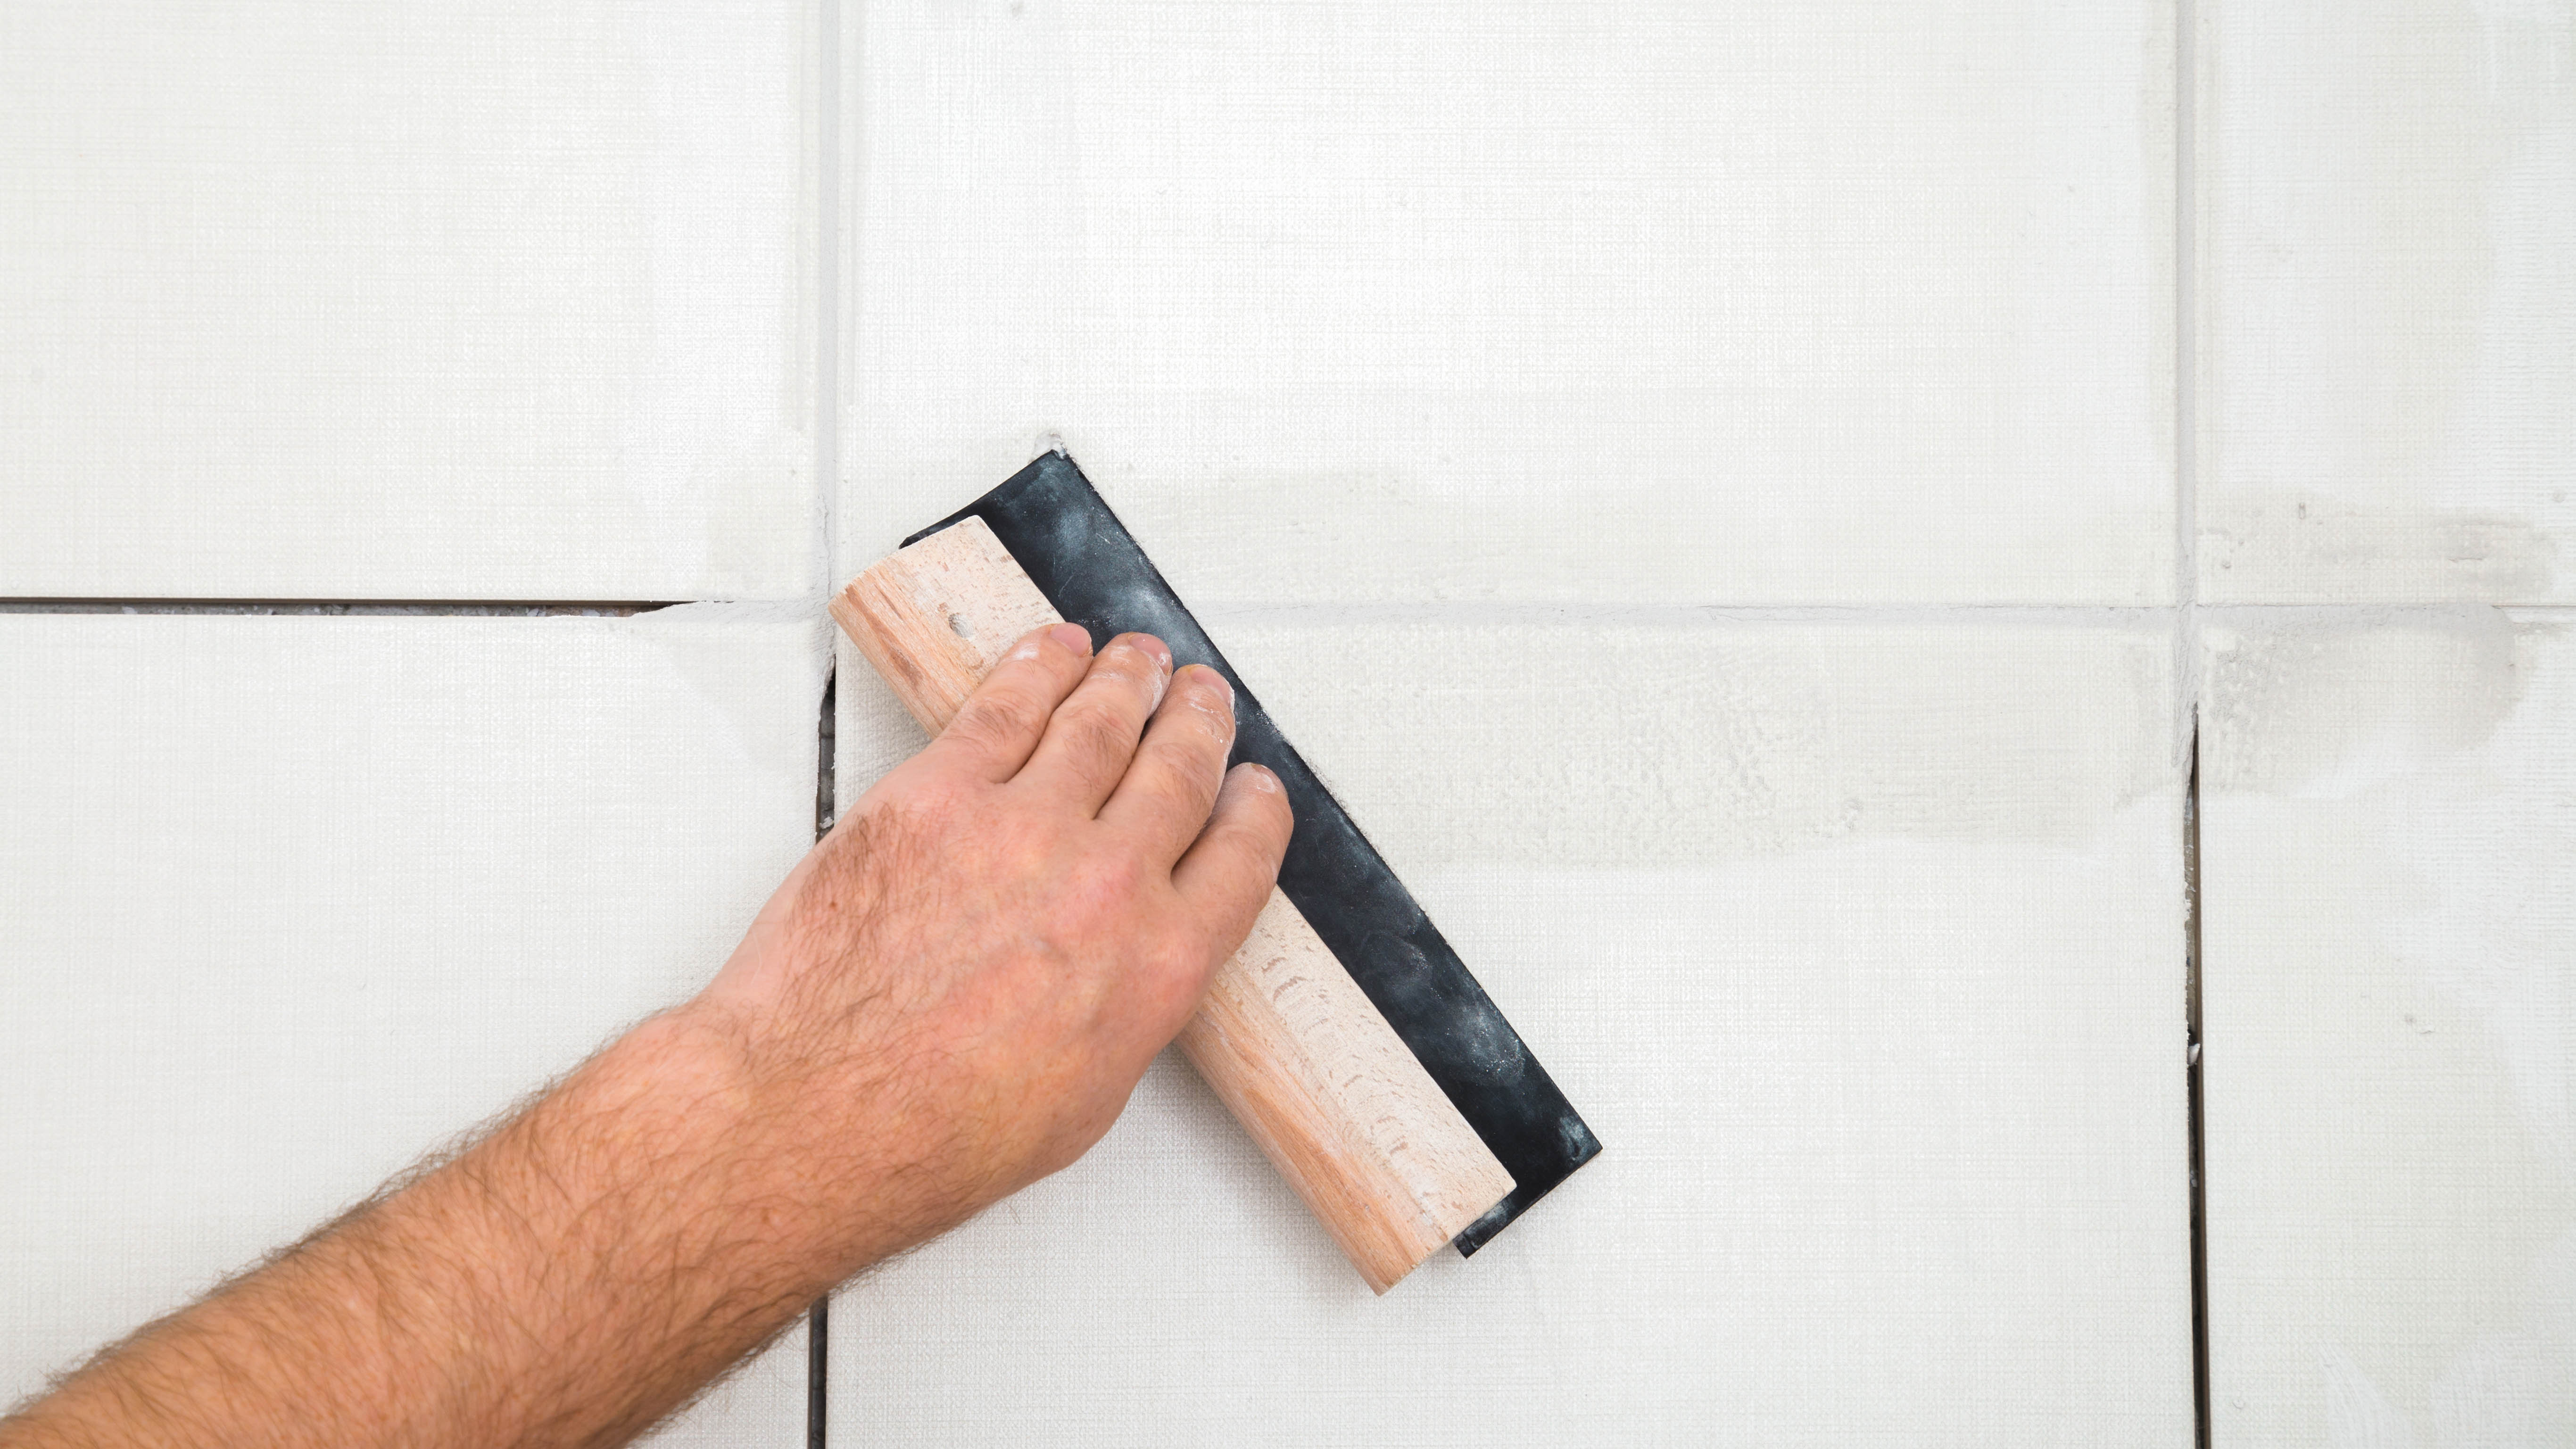
Next, apply the grout to your tiles using a grout spreader or rubber trowel. It’s recommended to work the grout into the gaps between the tiles at a 45-degree angle, and make sweeping arcs. Then, work the grout completely into all the joints between the tiles, applying additional grout where necessary. It’s best to apply the grout in small sections to avoid it quickly drying out before you’ve finished grouting properly. We can recommend the Kingkou Urethane Rubber Grout Float 4" x 10-1/2" with Soft Grip Handle ($15, Amazon) to handle your grouting tasks.
TIP: Before you start grouting your tiles, it’s best to do a practice run on a small area first to see how it will look.
3. Clean tiles
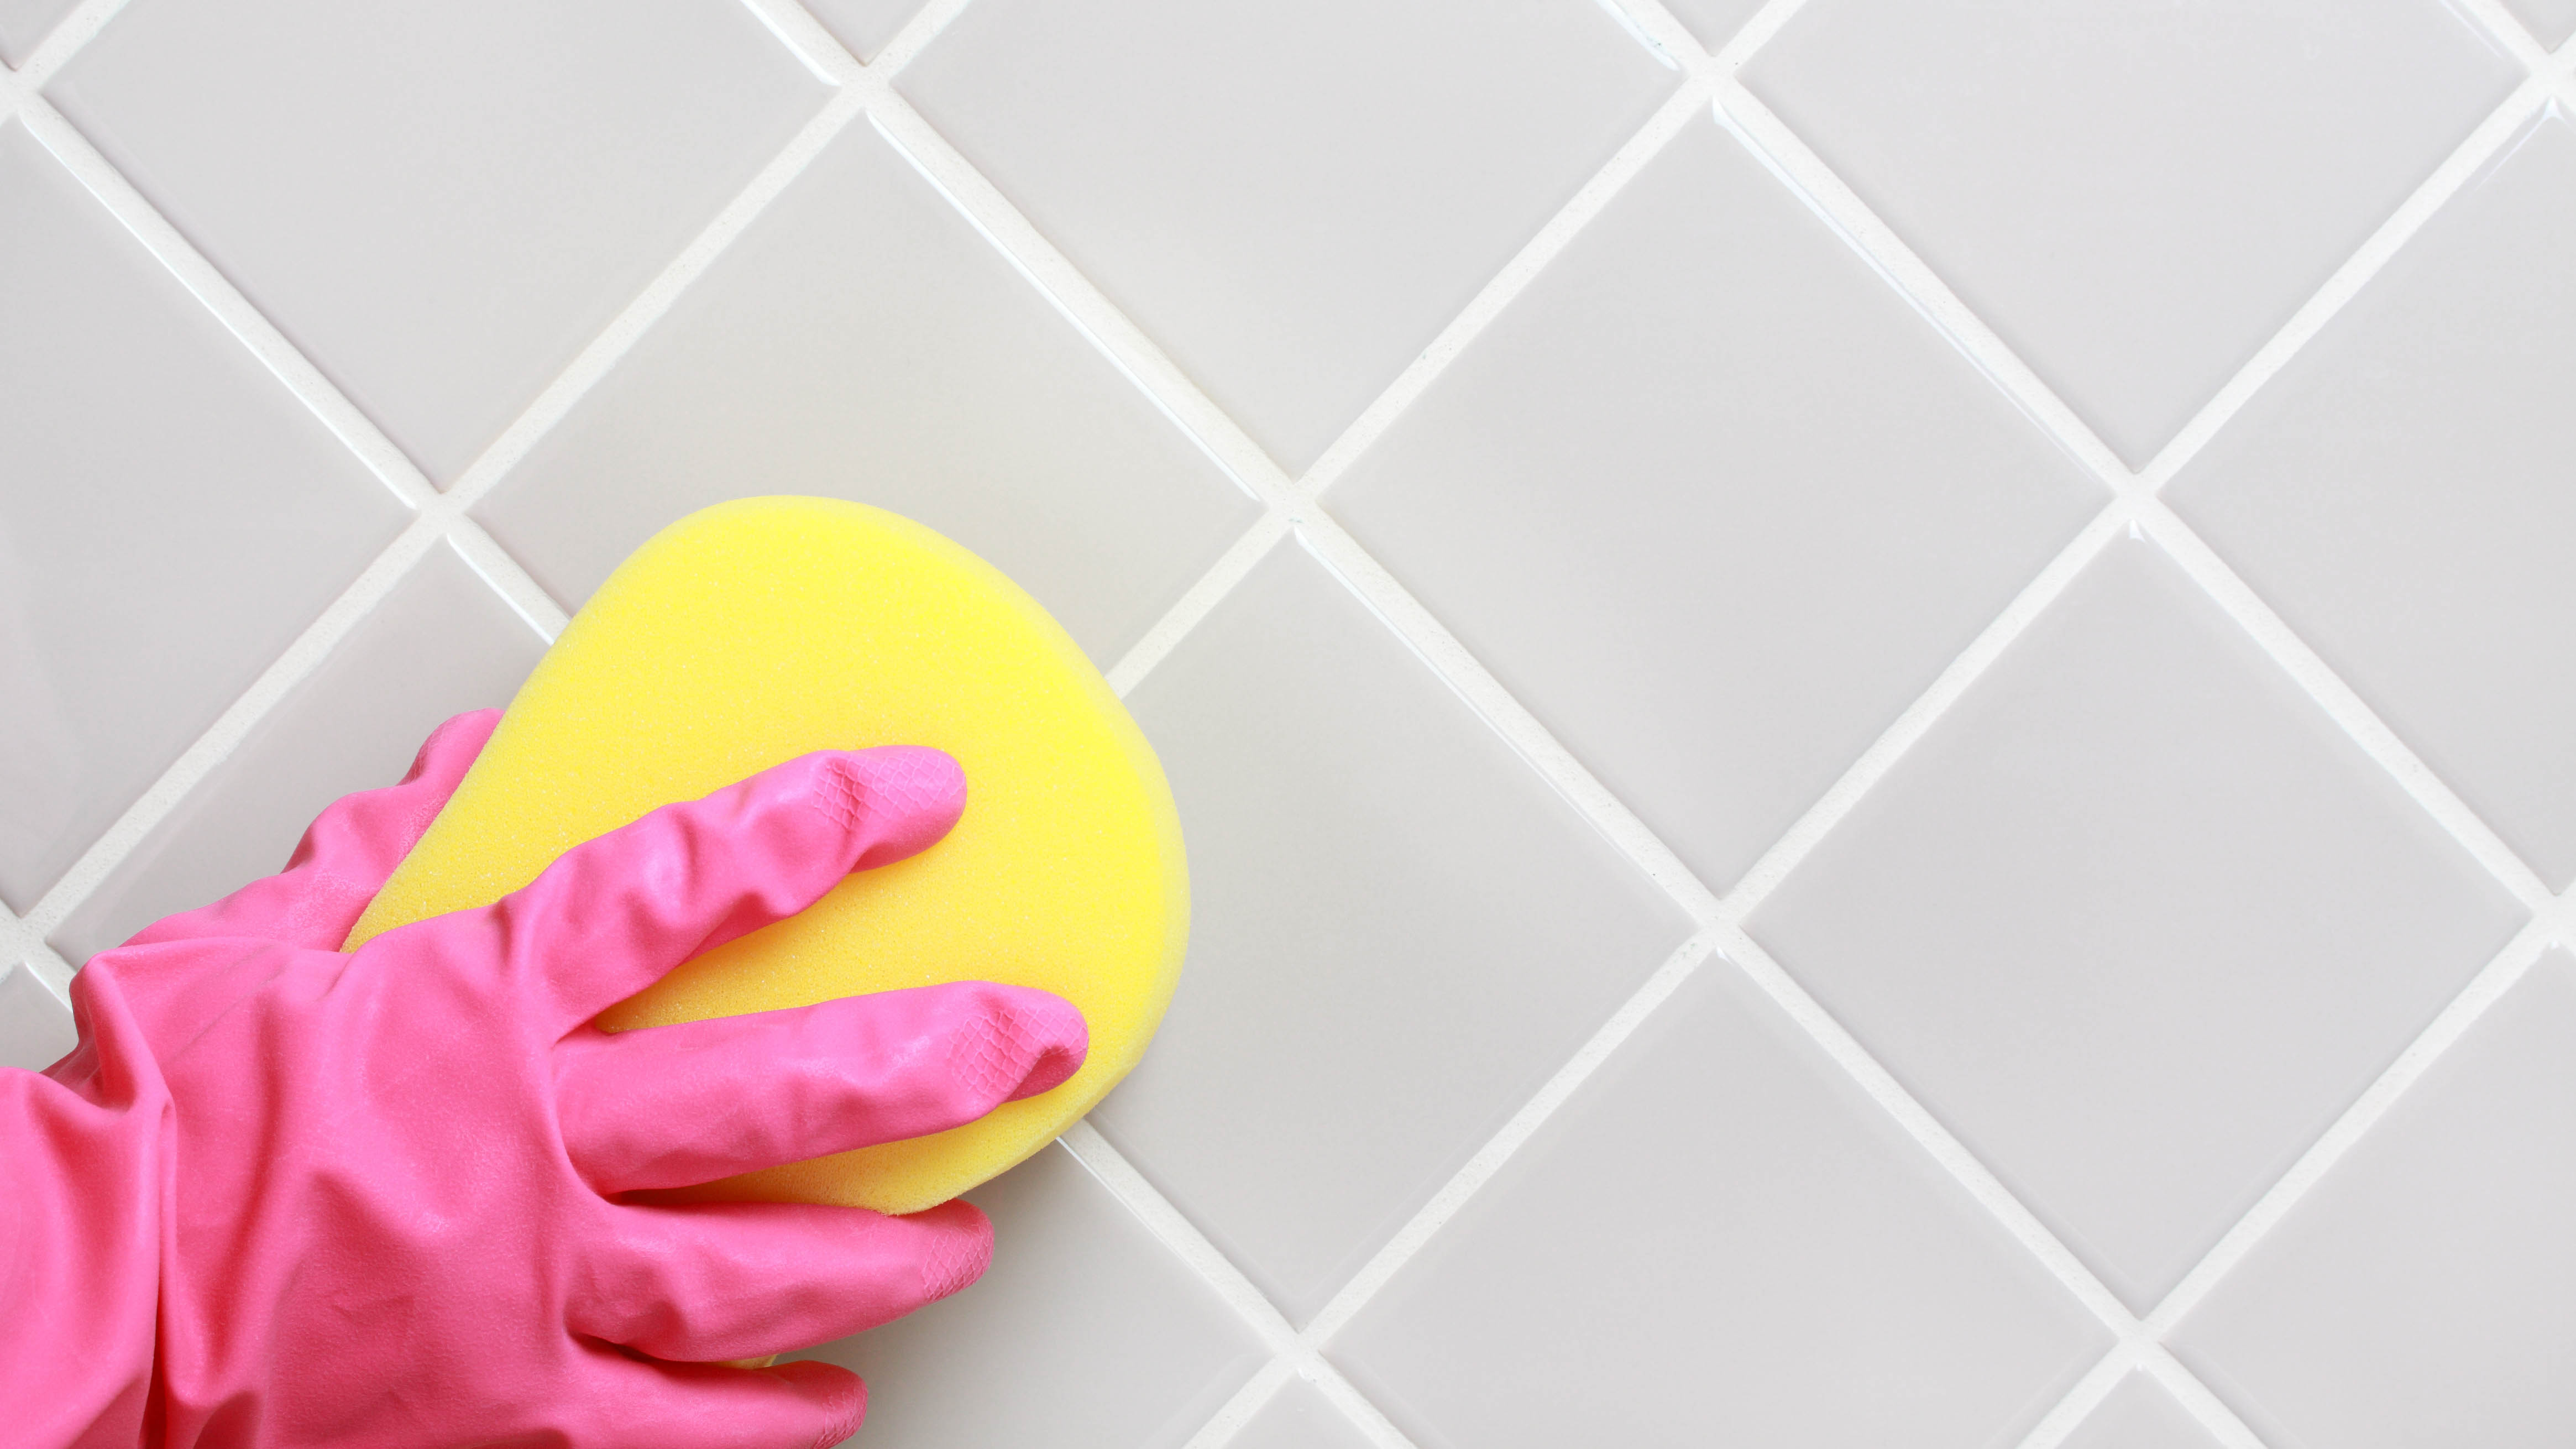
Once you’ve finished, allow the grout to dry for around 10 minutes or the recommended time on the package before cleaning the tiles. Then, use a damp sponge to gently wipe any excess grout off the surface of the tiles. For best results, wipe in a circular motion to clean the tiles thoroughly. You can also use a cloth or towel to do this.
TIP: Always refer to the instructions on the package for recommended drying times. Some grouts may require more or less time.
4. Seal the grout
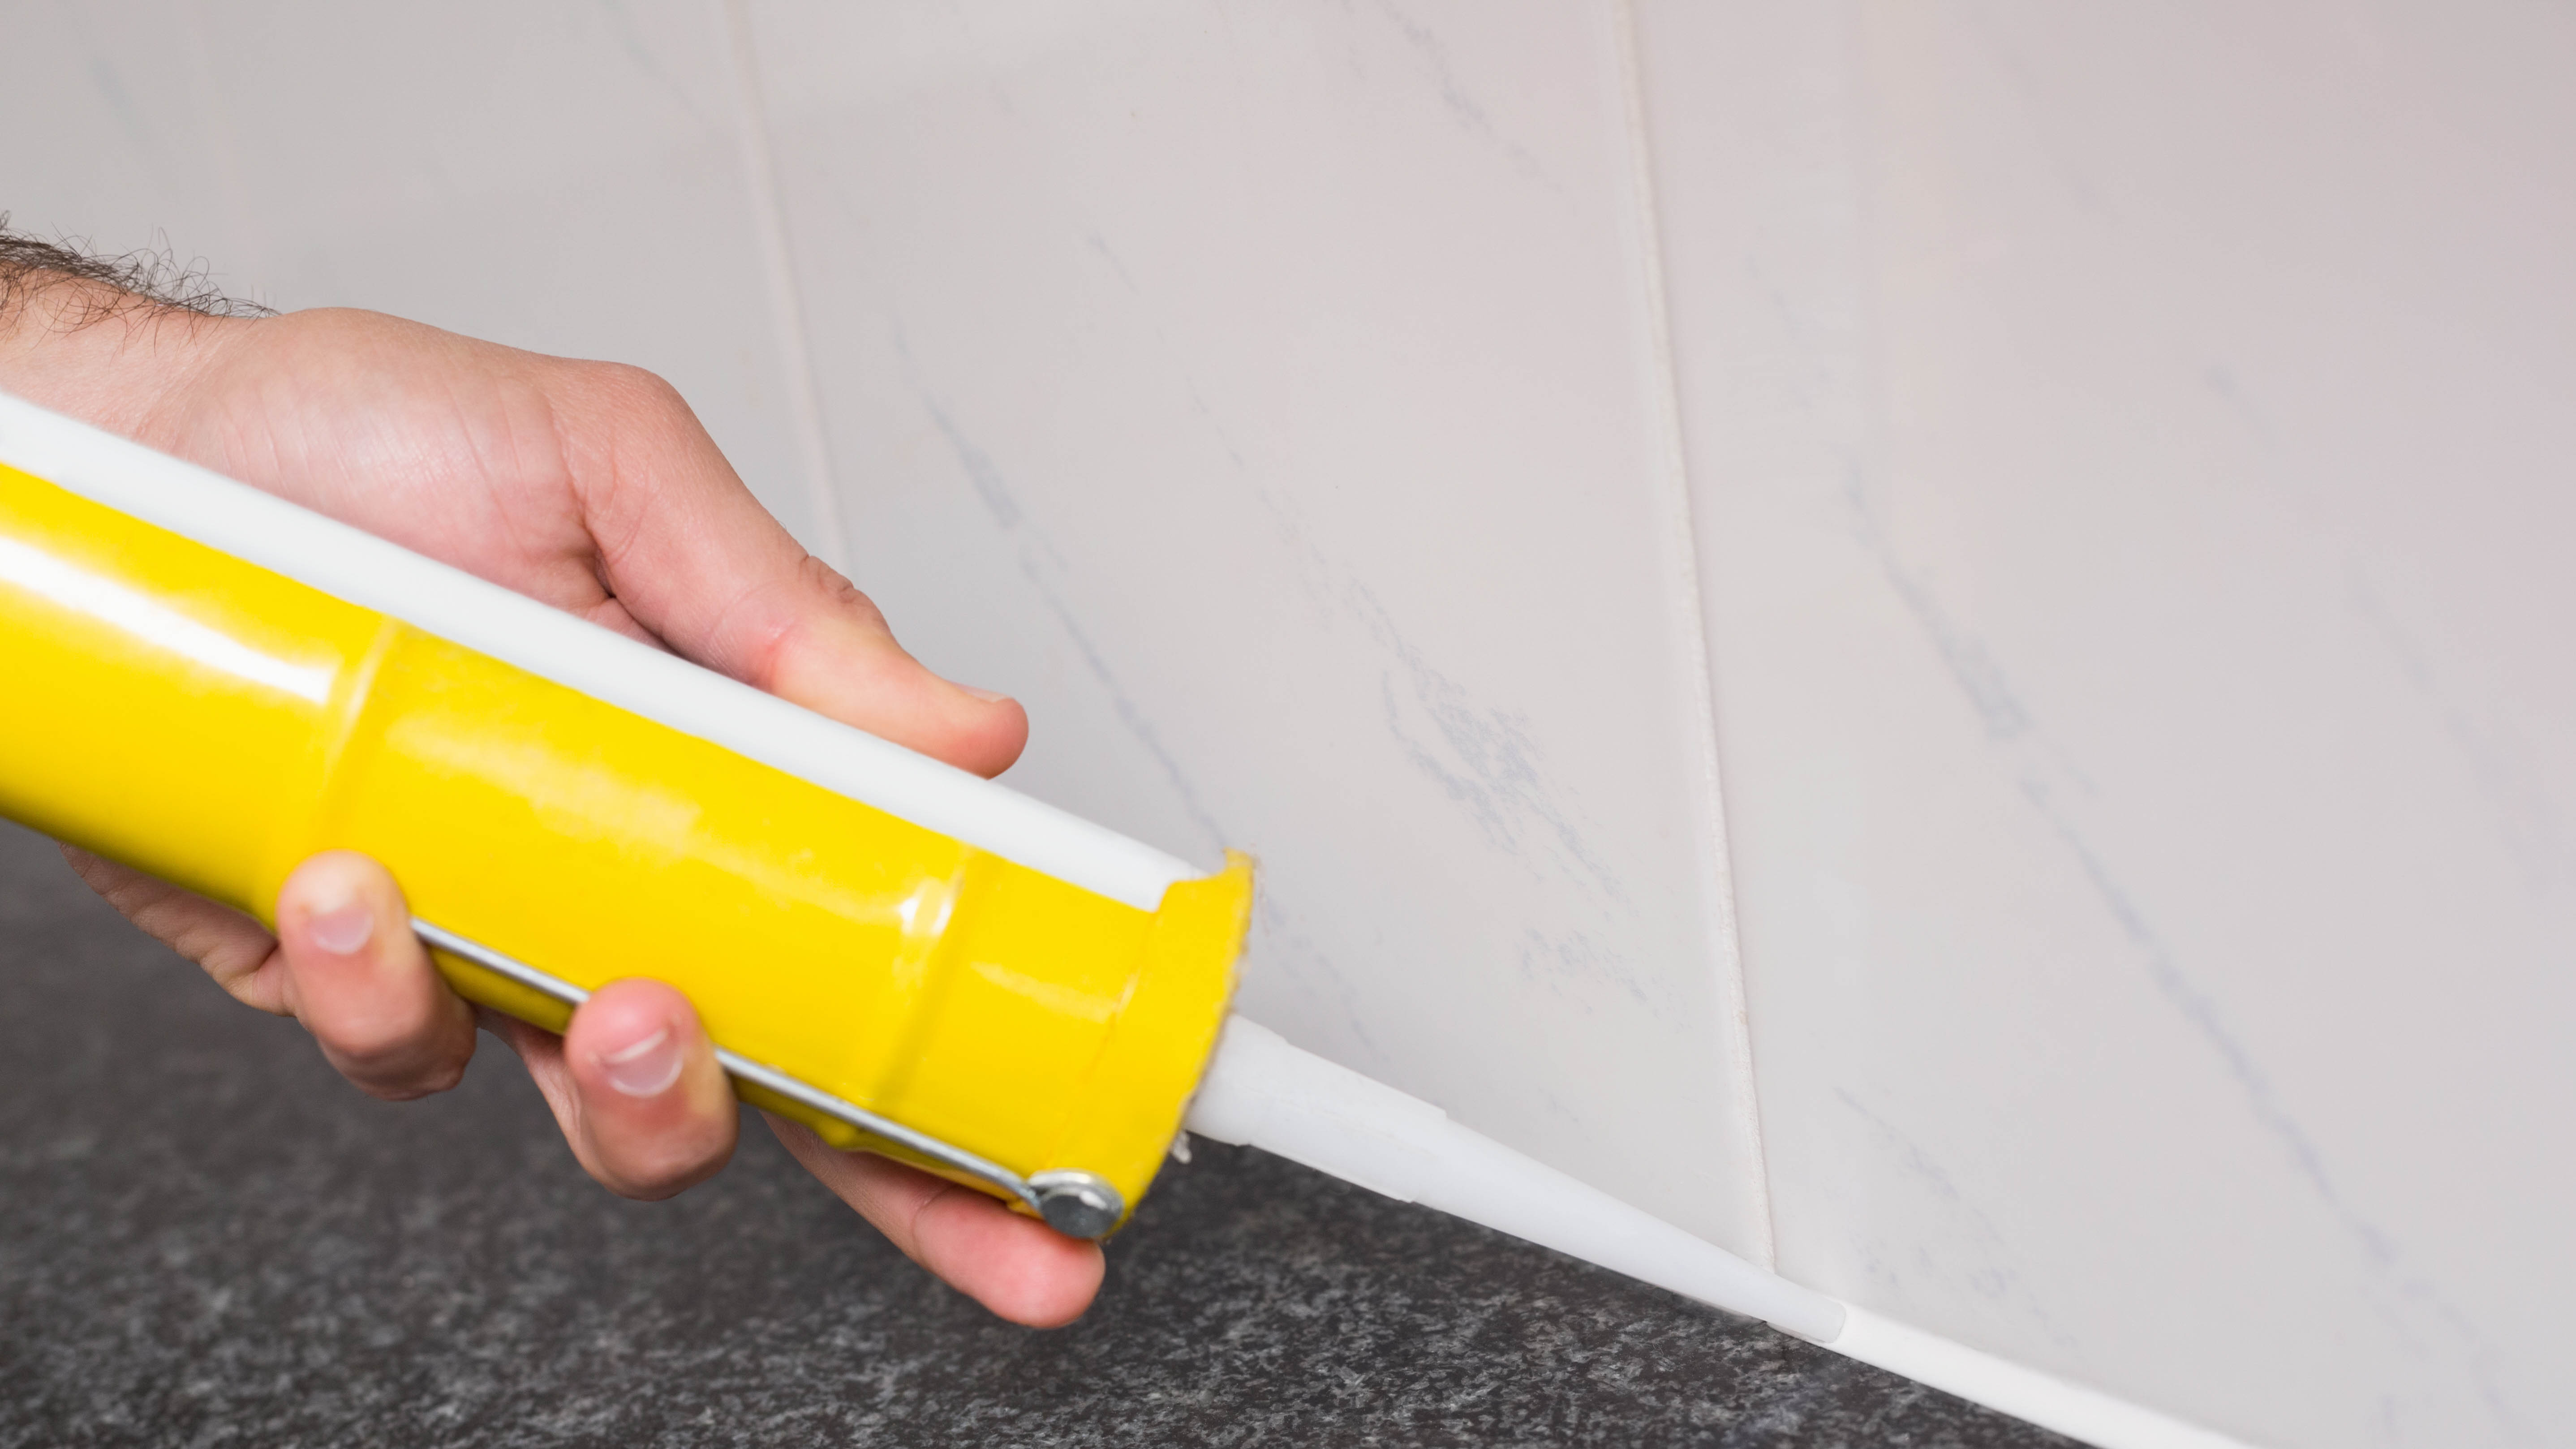
For bathroom or kitchens, you will need to seal the joints with grout sealer to make your tiles waterproof. Seal the joints with two applications for extra strength, and wipe away any drips off the tile with a clean towel or cloth.
TIP: Always read the instructions on the grout sealer before applying. We can recommend Homax 9324 22 oz. Silicone Grout Sealer ($15, Amazon) for added protection.
5. Leave to dry
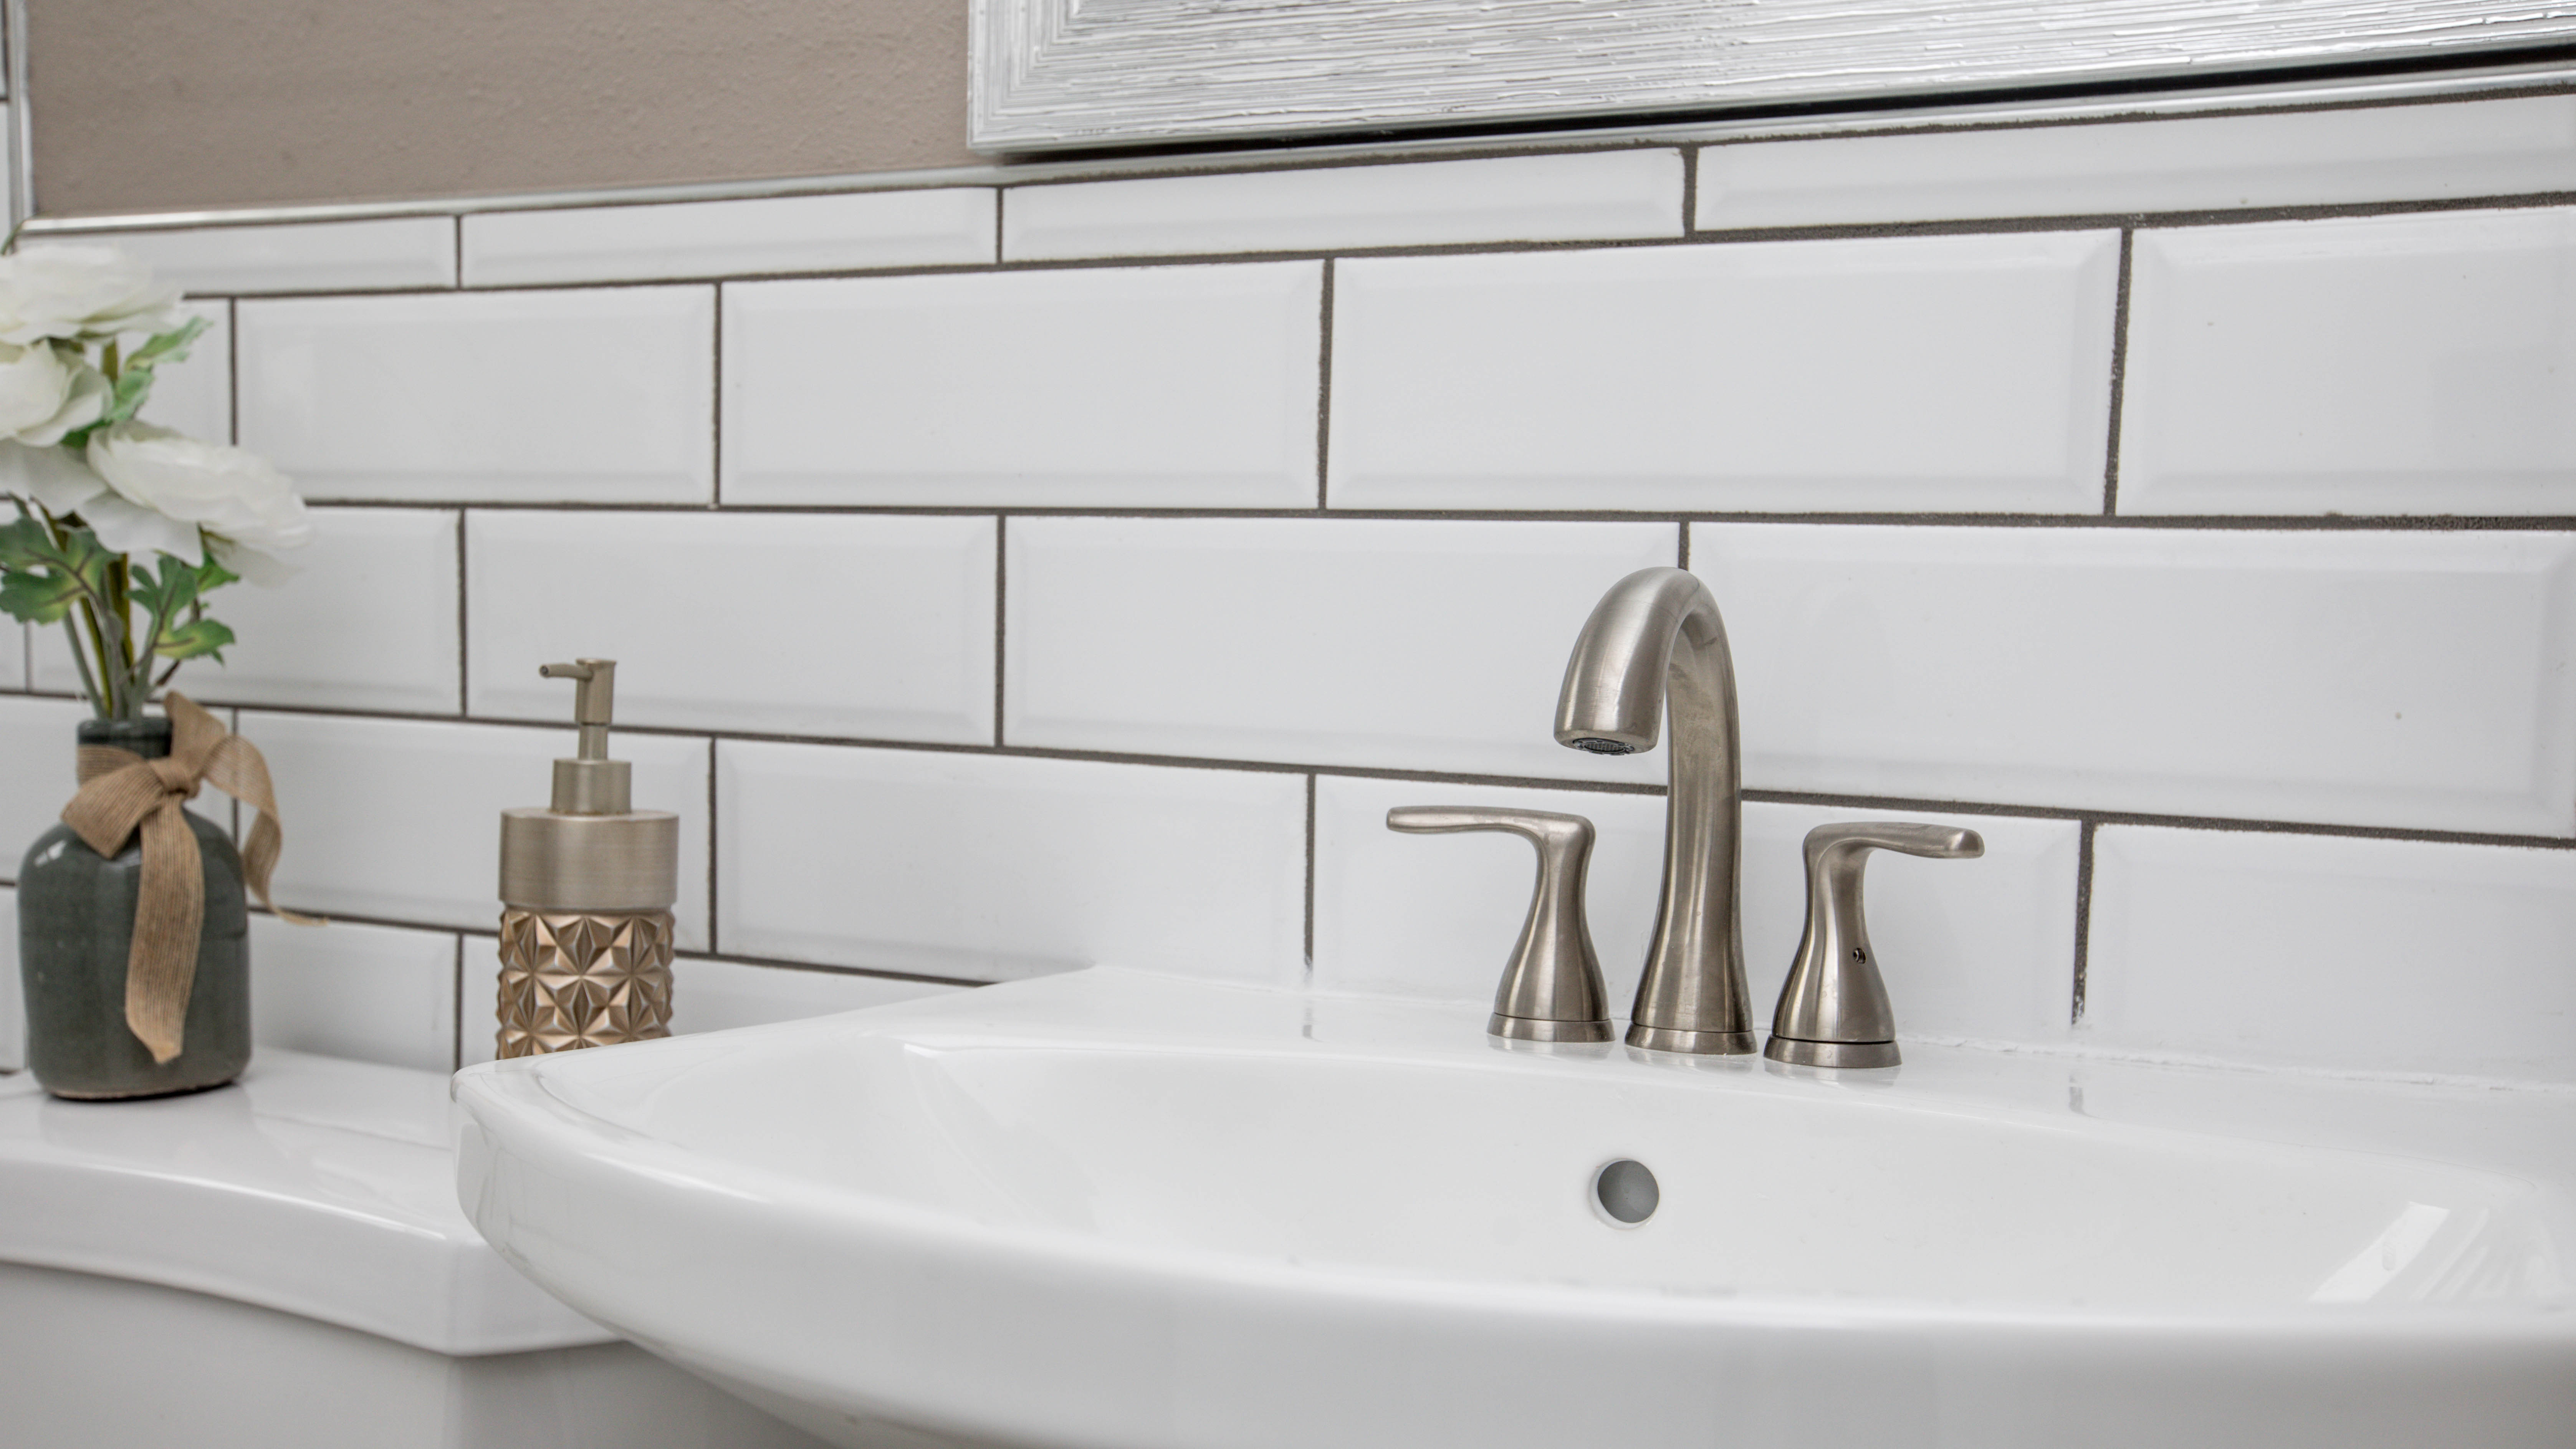
Leave to dry completely before polishing the tiles to make them gleam. Now that you’ve applied your fresh grout, you’ll need to make sure it doesn’t get dirty or stained. In which case, you’ll need to know how to clean grout on floor tiles to get rid of stains.
What types of grout can you get?
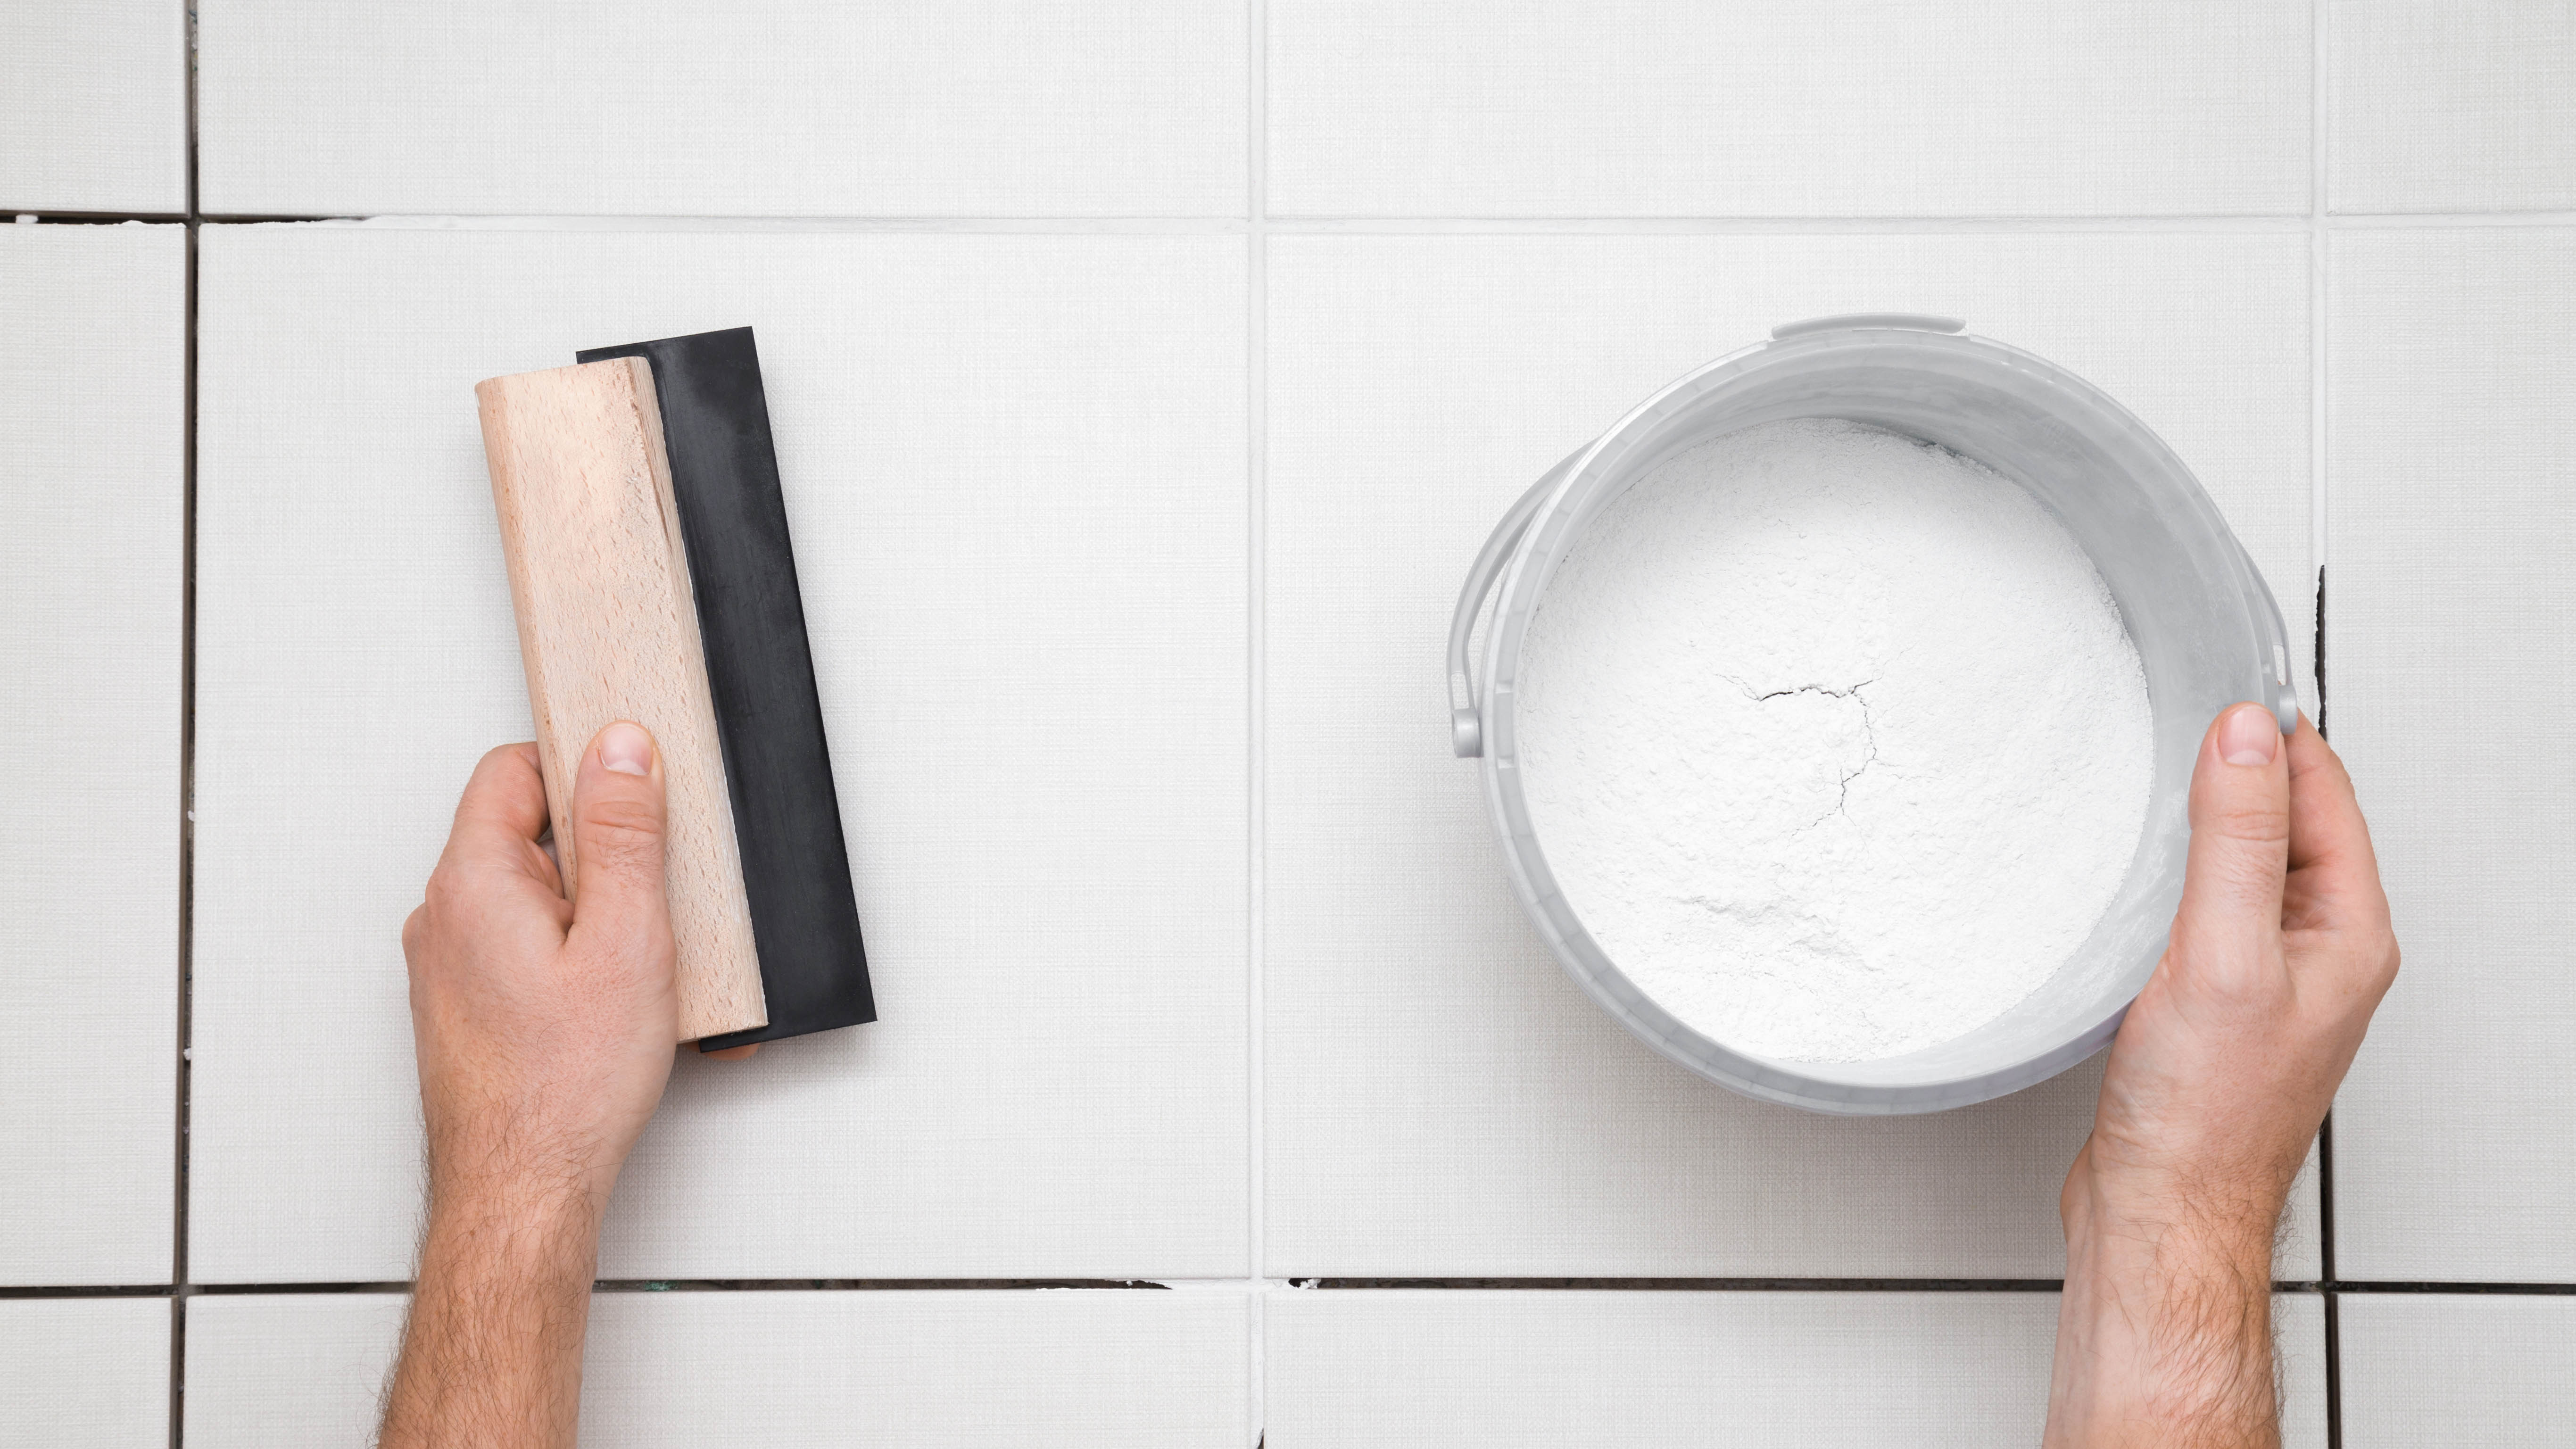
There are four main types of grout you can get, depending on what project you need it for. Most options come in powder form that you have to mix with water, but you can also find premixed tubs too.
Epoxy grout — This is more effective for bathroom tiles or areas that need a high level of water resistance. Epoxy grout is also more expensive than other types but more effective.
Cement-based grout — This is mainly used for DIY tile projects and easier to work with. It’s not as strong as epoxy grout, but more user-friendly.
Latex-modified sanded cement grout — Similar to cement grout, but with bonding properties which is great for countertops.
Caulking grout — Typically, this comes in a tube and squeezed by hand or from a caulking gun. This is ideal for grouting those awkward, hard-to-reach corners.
Sanded vs. nonsanded grout
Another big differentiator is sanded vs. nonsanded grout. Both are available whether you're using epoxy- or cement-based grout, but sanded grout will have sand in the mix, which helps prevent the joints from shrinking as they dry. However, sanded grout has a coarser consistency, so it's not as attractive for applications such as wall tiles. Unsanded grout also adheres better to vertical surfaces, and is also best used in joints that are 1/8th of an inch thick or less. In general, sanded grout should be used on floors, as it will better stand up to wear and tear.
How do I dispose of leftover grout?
Line a plastic trash can with a garbage bag and pour the grout water into it. Allow the grout to harden overnight and pour out any excess water. Then you can dispose of the hardened grout in the trash.

As the Homes Content Editor, Cynthia Lawrence covers all things homes, interior decorating, and garden-related. She has a wealth of editorial experience testing the latest, ‘must-have’ home appliances, writing buying guides and the handy ‘how to’ features.
Her work has been published in various titles including, T3, Top Ten Reviews, Ideal Home, Real Homes, Livingetc. and House Beautiful, amongst many.
With a rather unhealthy obsession for all things homes and interiors, she also has an interior design blog for style inspiration and savvy storage solutions (get rid of that clutter!). When she’s not testing cool products, she’ll be searching online for more decor ideas to spruce up her family home or looking for a great bargain!
