How to fix a leaky bathtub faucet without a professional
Need to know how to fix a leaky bathtub faucet? Follow these steps

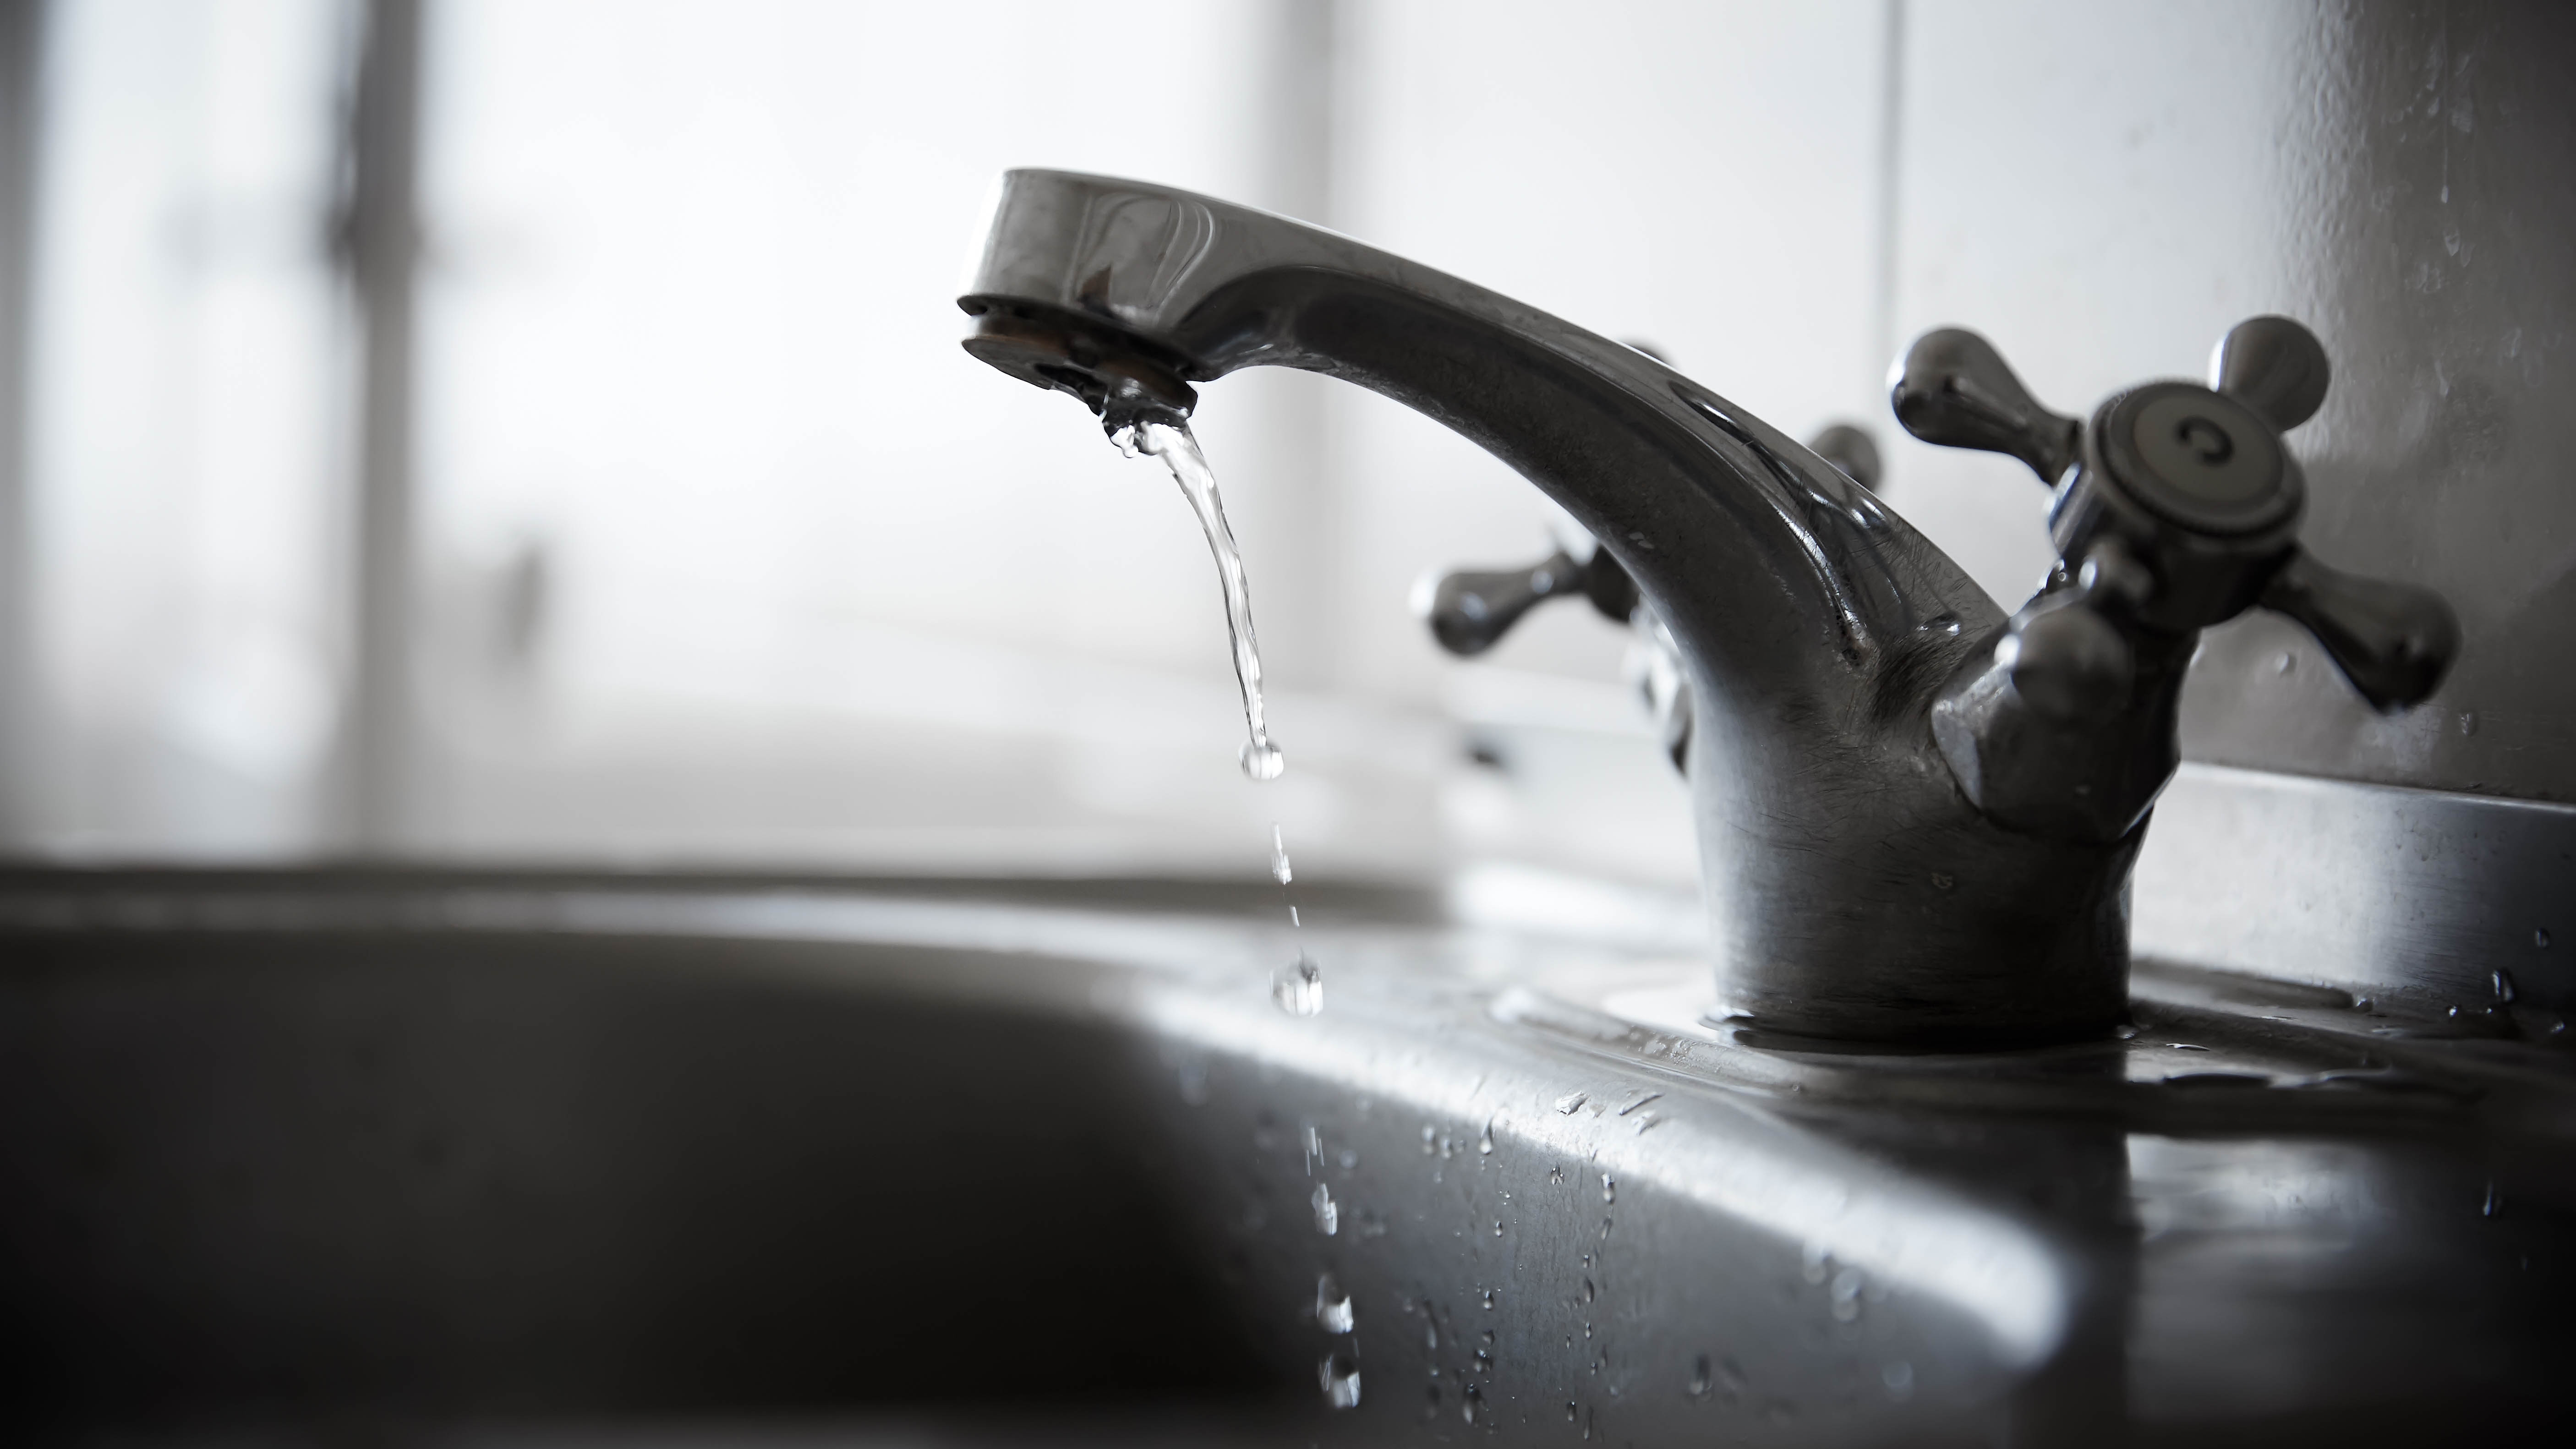
Ever wondered how to fix a leaky bathtub faucet? Not only is a leaky faucet annoying, it can add to your water bill if it goes ignored. It’s one of those problems we don’t think we’re capable of facing without a professional plumber, a bit like bleeding a radiator. But the truth is you can repair a leaky faucet yourself, quickly and easily.
You should repair a leaky faucet as soon as you can for sustainable reasons too — think about it, if you’ve got a faucet which regularly drips 24 hours a day, over a year it could waste hundreds of liters of water. Fixing takes a matter of minutes with a few household tools, so there’s no reason not to do it. Here’s how to fix a leaky faucet.
And here are 5 ways you're encouraging mold in your home this season.
How to fix a leaky bathtub faucet
Screwdriver
Adjustable wrench
New washer (potentially)
1. Before you start, it’s worth mentioning that most leaky faucets are caused by damaged washers, so you may want to have a replacement ready if this is the case.
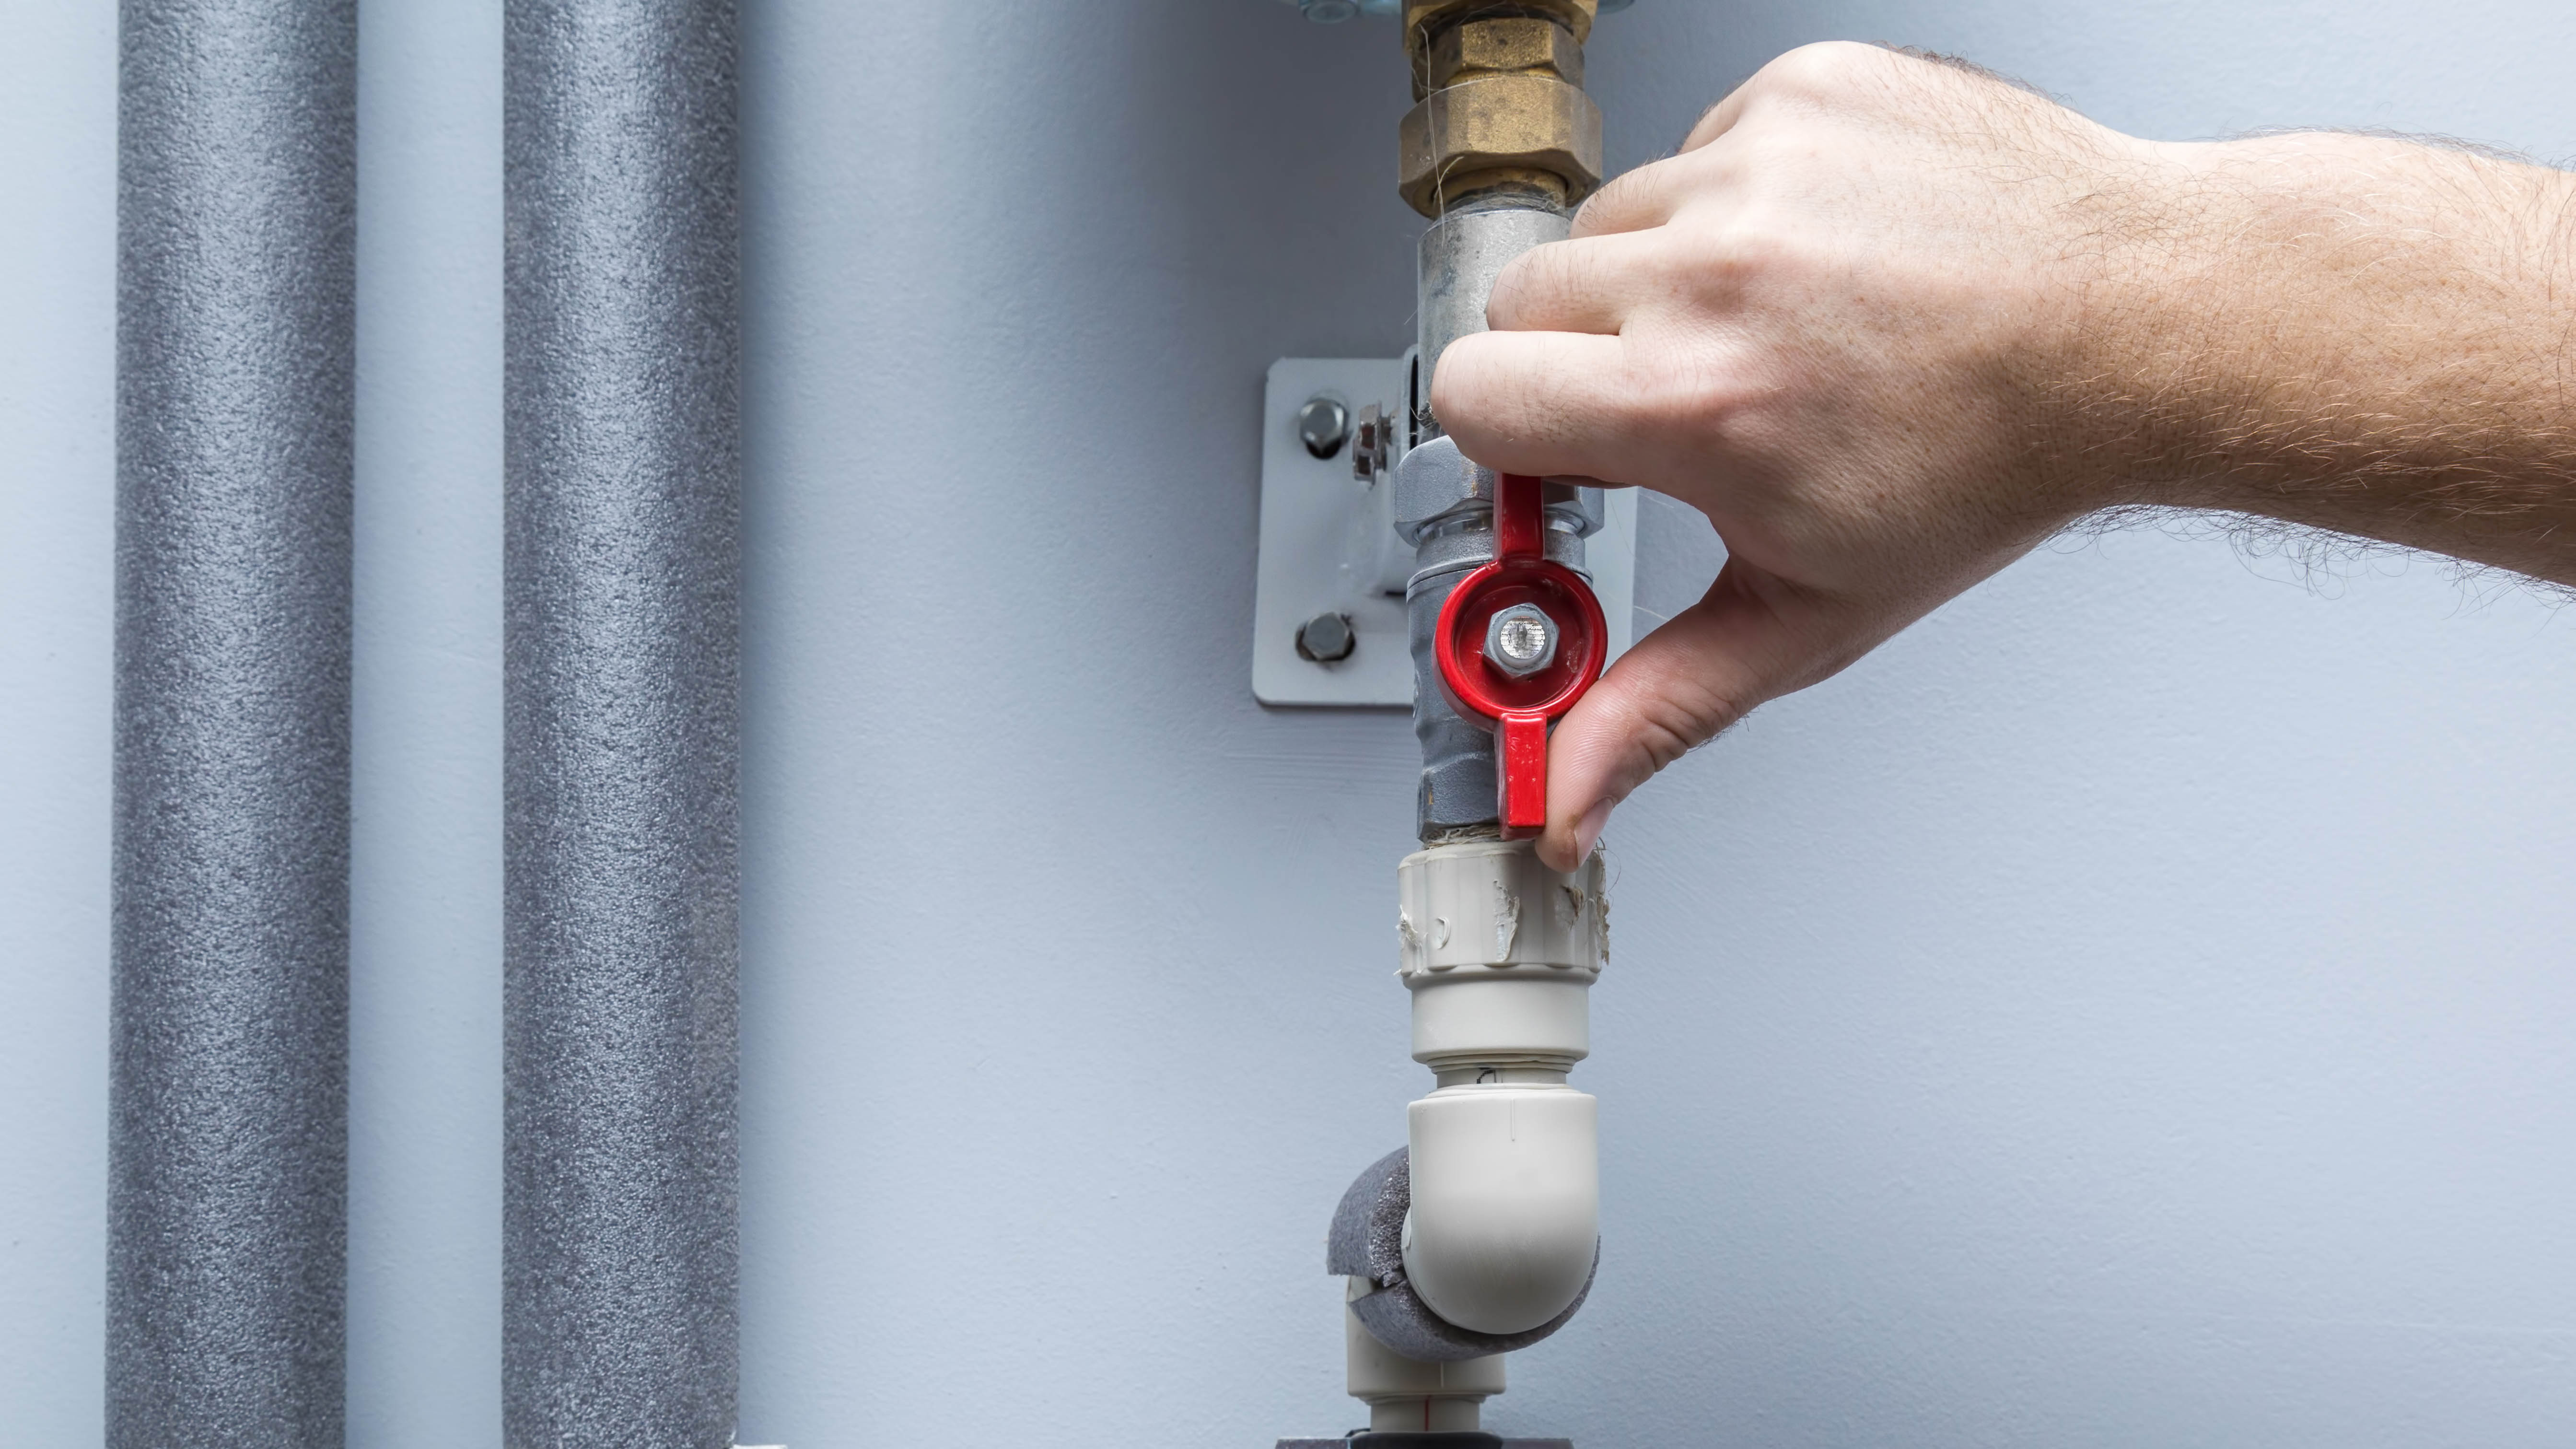
2. First, shut off your water supply. You’re going to be removing some components and the last thing you want is water damage. Your water supply valve can usually be found in the basement or crawl space of your house. Some will also be located outside.

3. Once that’s off, turn on your faucet to drain any residual water before you fix the leak.
4. Once you’ve done this, you’re going to want to reach the stem or cartridge, which will either be behind the faucet itself, or behind the handle plate on the wall, depending on your faucet type. Refer to your manual if you’re unsure.
Sign up to get the BEST of Tom's Guide direct to your inbox.
Get instant access to breaking news, the hottest reviews, great deals and helpful tips.
5. To reach the stem or cartridge, you’re going to need to remove your faucet handle. The best method to do this will depend on your type of faucet. If your handle is attached to the faucet, you may notice a small screw under the handle which holds it in place — you can use a screwdriver to remove the screw and release the handle. If your handle is attached to the wall with a cap, you should be able to remove the cap first by simply twisting it off.

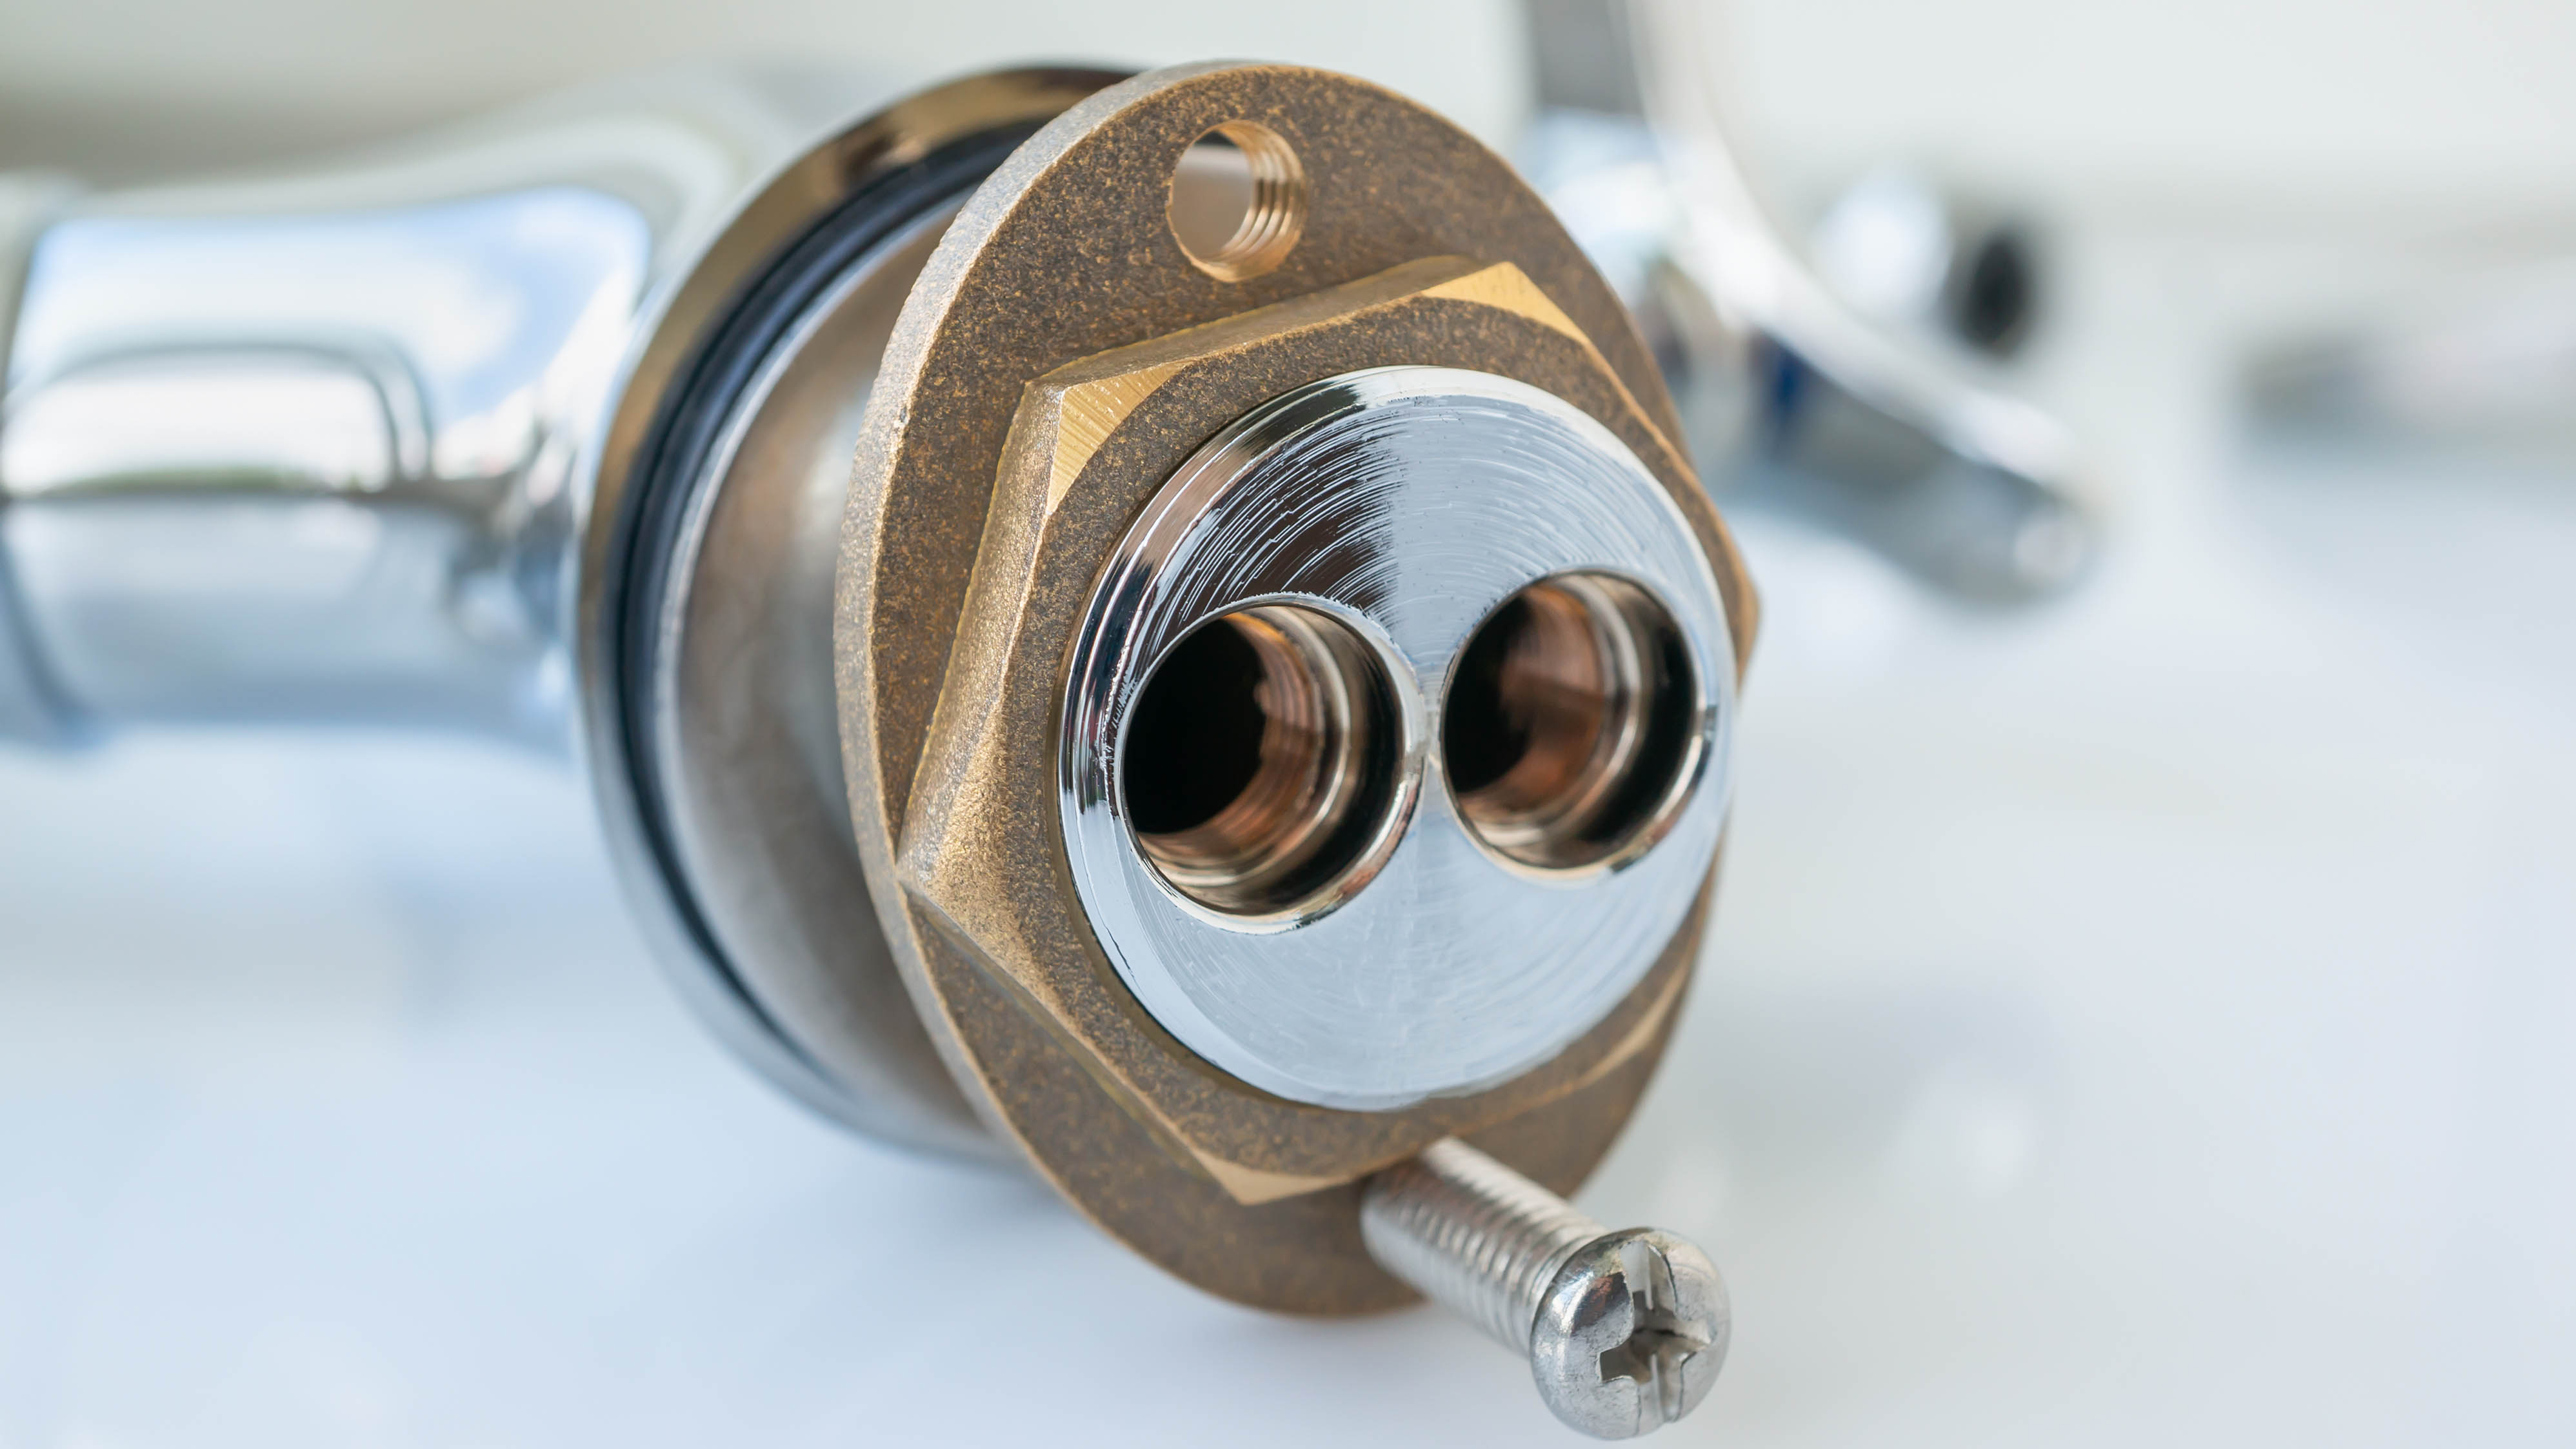
6. Next, you need to either take the faucet away from the wall, or remove the handle plate completely. Either should be possible by removing some additional screws which should now be visible using a screwdriver.
7. Once you’ve unscrewed these, be prepared for the faucet or handle plate to come away. Some might need a slight tug as the casing can fuse to the wall from limescale and corrosion. Don’t force it as this can break it. Instead, try warming it by running hot water over it first, then try again.
8. Keep the screws safe with the handle and faucet, so you don’t lose them.
9. If you have a escutcheon, which looks like a keyhole cover on your wall, that will need removing too. Some will need to be unscrewed, while others should twist off.
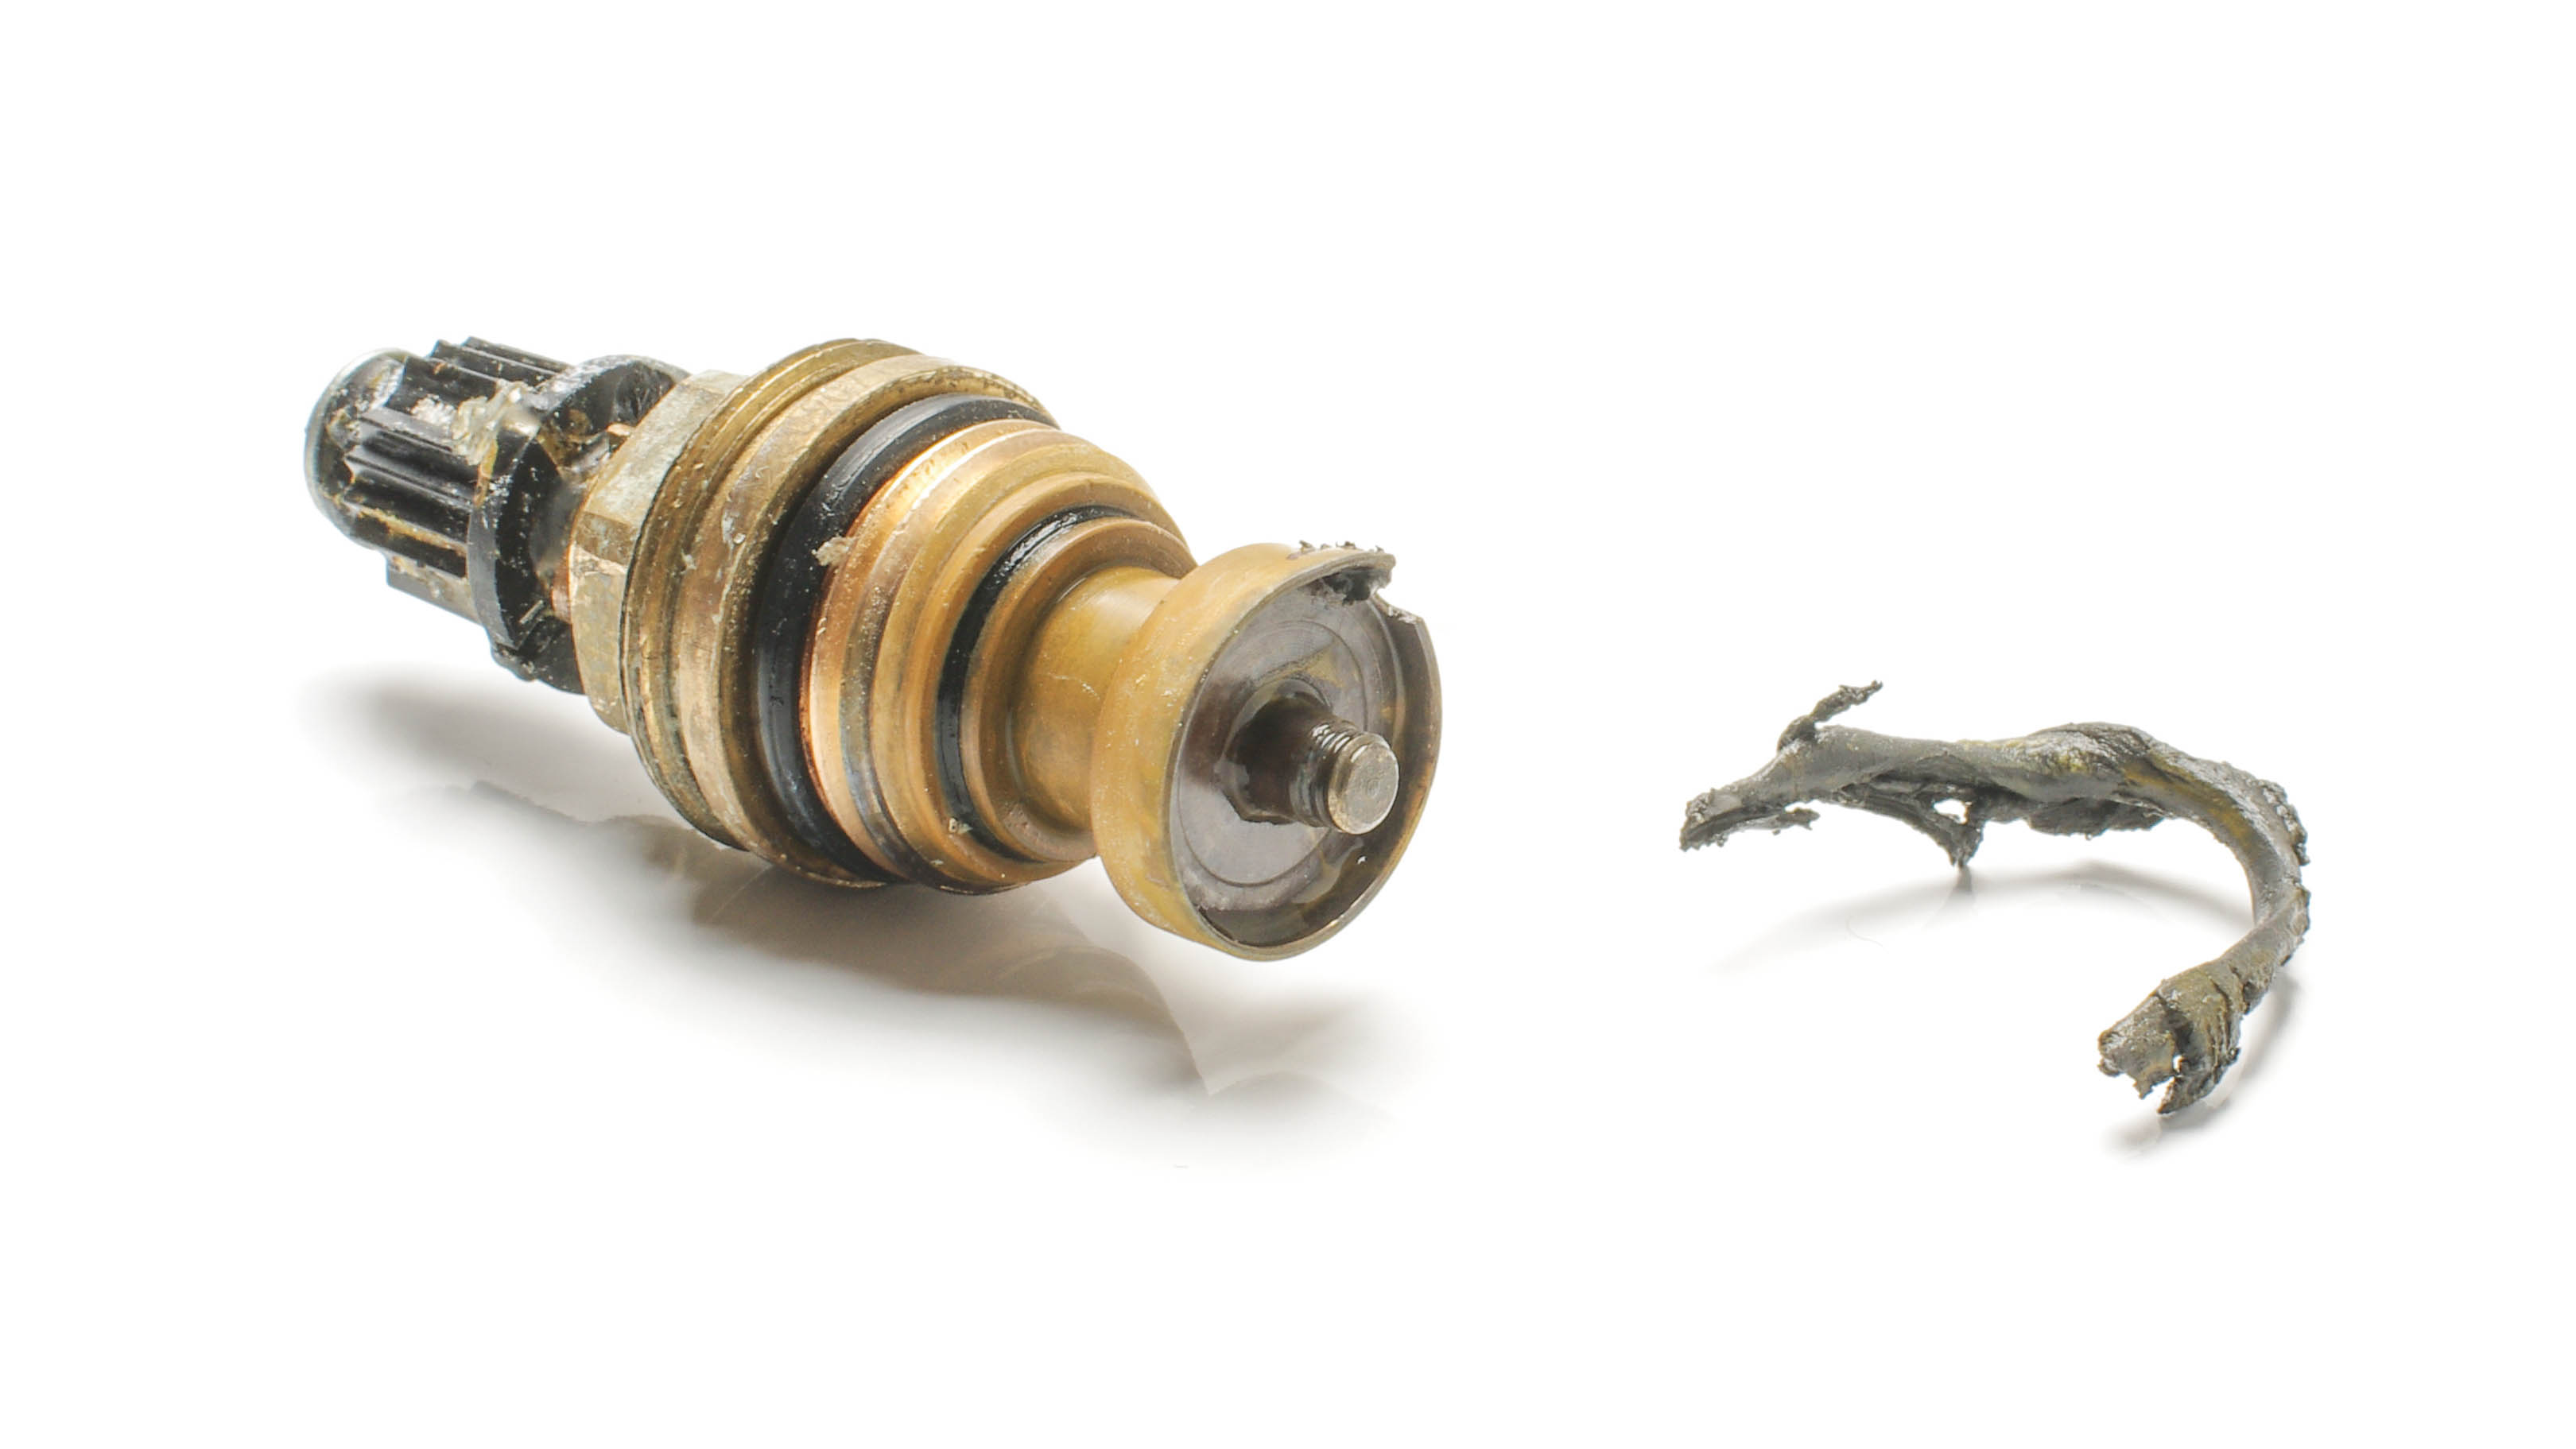
10. Now, you should be looking at the internal stem or cartridge. Remove this using an adjustable wrench and take a good look over it for wear or damage.

11. You should spot a small rubber band on the top of the stem, which is the washer. If this looks worn or cracked, it’s likely what’s causing the leak. Replace this with a new one after unscrewing the washer screw, then reassemble the faucet. If you can’t see a washer, then you need to replace the cartridge instead.
12. If this doesn’t stop the leak, your stem or handle could need replacing — check these too for damage and order a compatible part if necessary.
13. Once everything is back in place, switch your water back on.
If this doesn’t solve the problem, then it’s time to call in a professional. But, hopefully this has put a stop to your leaky faucet.
What causes a leaky faucet?
Most leaky faucets are caused by a worn washer. The washer is essentially pushed against the valve every time the water is turned on and off. This will slowly wear it down, until it hardens, cracks and causes a leak. However, leaks can also be caused by a faulty stem or cartridge, or by a rusty handle. Be prepared that at least one of these parts may need replacing.

Katie Mortram used to be a Homes Editor for Tom's Guide, where she oversaw everything from kitchen appliances to gardening tools, as well as smart home tech. Specializing in providing expert advice for cleaning and home manintenance, she now works as Household Advice Editor for Good Housekeeping.
