How to edit the Host file on macOS
Here's how power users can edit the Host file on macOS

Most people won't need to know how to edit the Host File on macOS. But if you're a power user then this skill becomes very useful.
It mainly comes into play if you are testing a development server. By editing the Host file, you can enter the IP address of the machine running the server and associate a domain name with it. Then, when you later make use of the domain name, your Mac will direct to the IP address you entered.
You can also use the Host file to block domain names. By inputting 0.0.0.0 as the IP address and entering the domain name, you are telling the Mac to route to a nonexistent target. This is usually done for ad blocking purposes.
Likewise you can force your Mac to route to a different website whenever you enter a domain name. For instance, if you know the IP address of one website, you could associate that IP with another site, perhaps, tomsguide.com. Using your Mac to access the first website would route you to tomsguide.com instead (we think that's a pretty good idea).
All of this relies on the method used to call upon websites. Each site and device connected to the internet has its own TCP/IP address. When you enter a domain name, something called the Domain Name System translates the letters contained in the domain name into machine-readable numbers. For example, TomsGuide.com is associated with the IP address 199.232.198.114.
All in, this is a fun thing to do if you're having a tinker about under your Mac's hood. However, as you can imagine, it's not for casual users so you should tread carefully if you're not sure what you're doing.
How to find and edit the Host file on Mac
For this tutorial, we're using the Terminal app and the Nano text editor, allowing changes to be made very quickly.
Sign up to get the BEST of Tom's Guide direct to your inbox.
Get instant access to breaking news, the hottest reviews, great deals and helpful tips.
1. Open the Terminal app

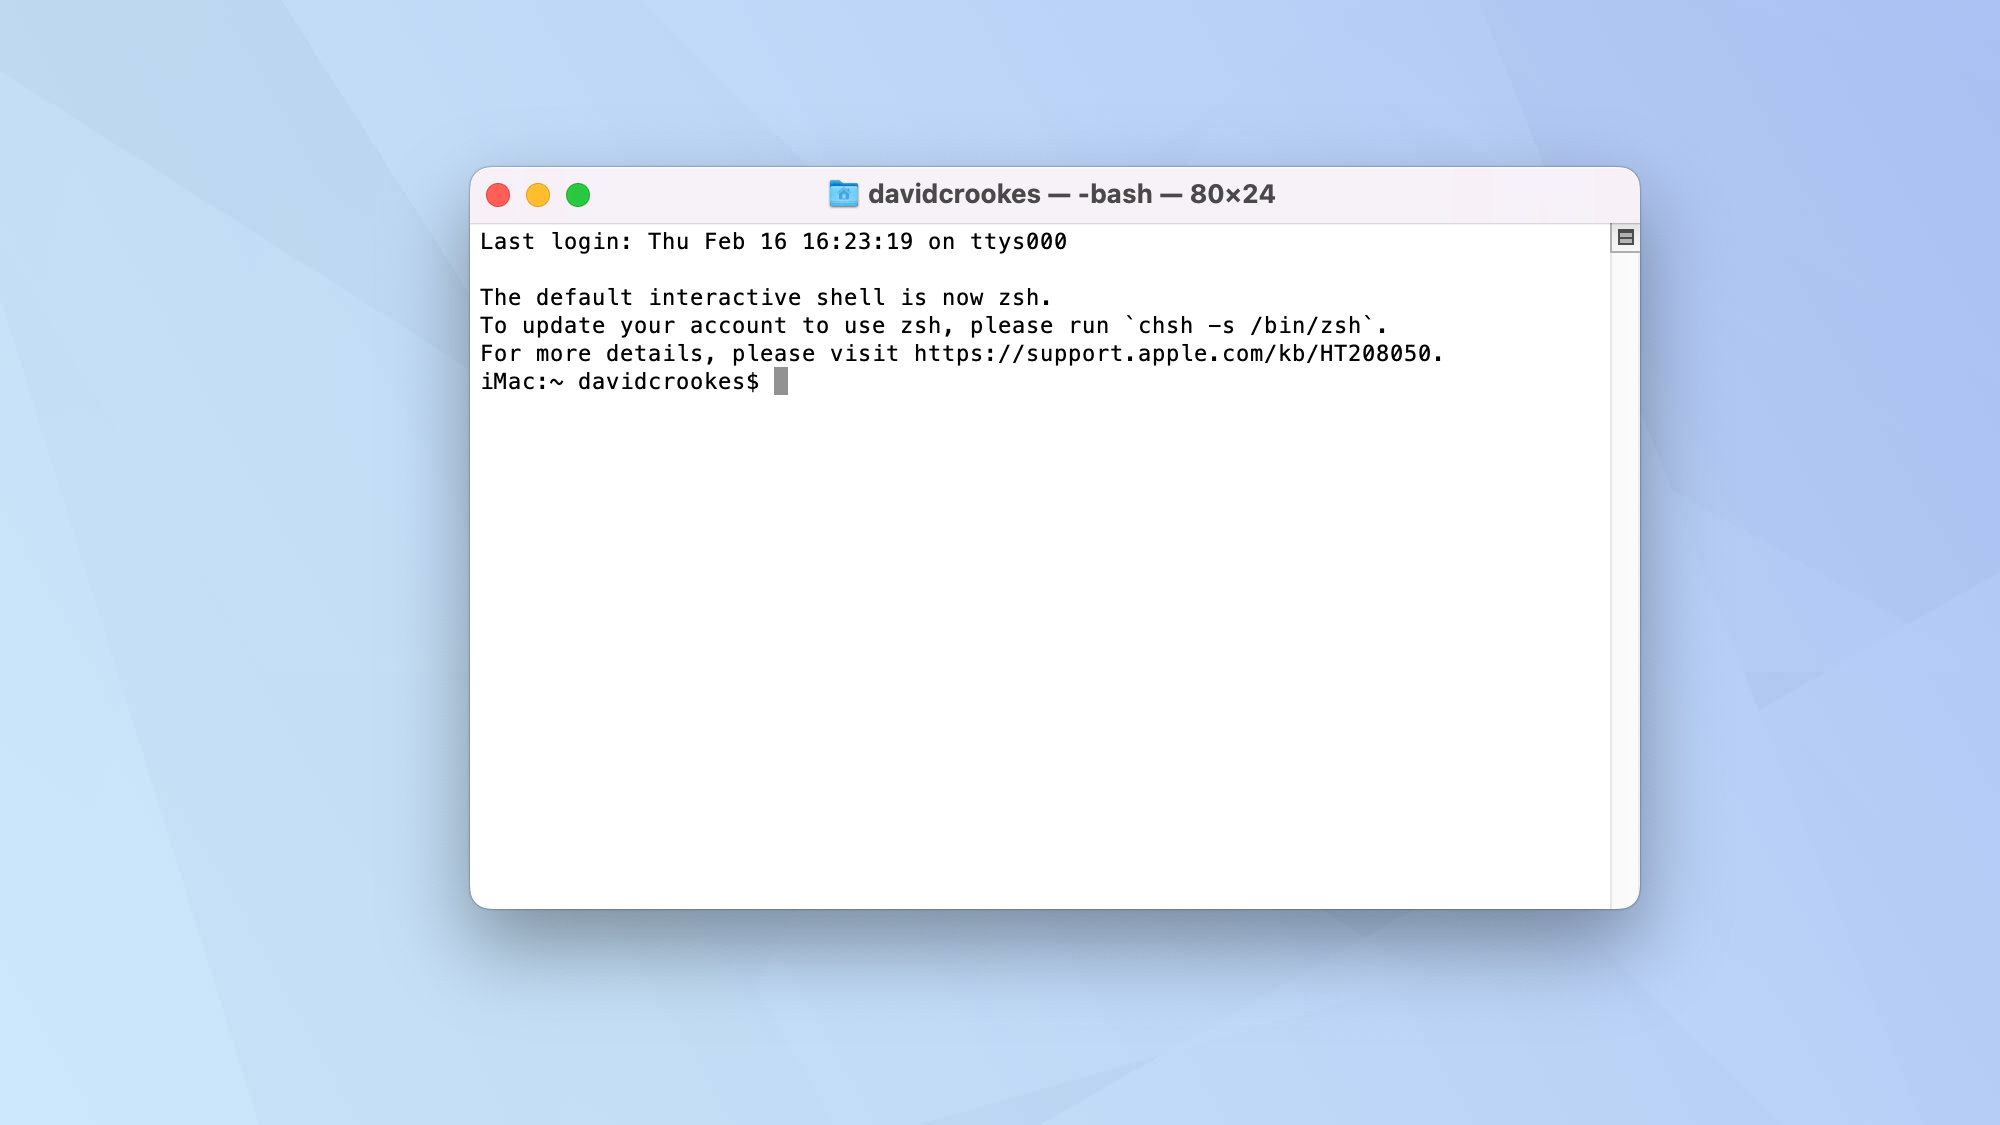
First of all, you need to launch the Terminal application. This app is built into macOS so learn how to open Terminal on Mac if you're not sure how to find it.
2. Launch the Nano text editor

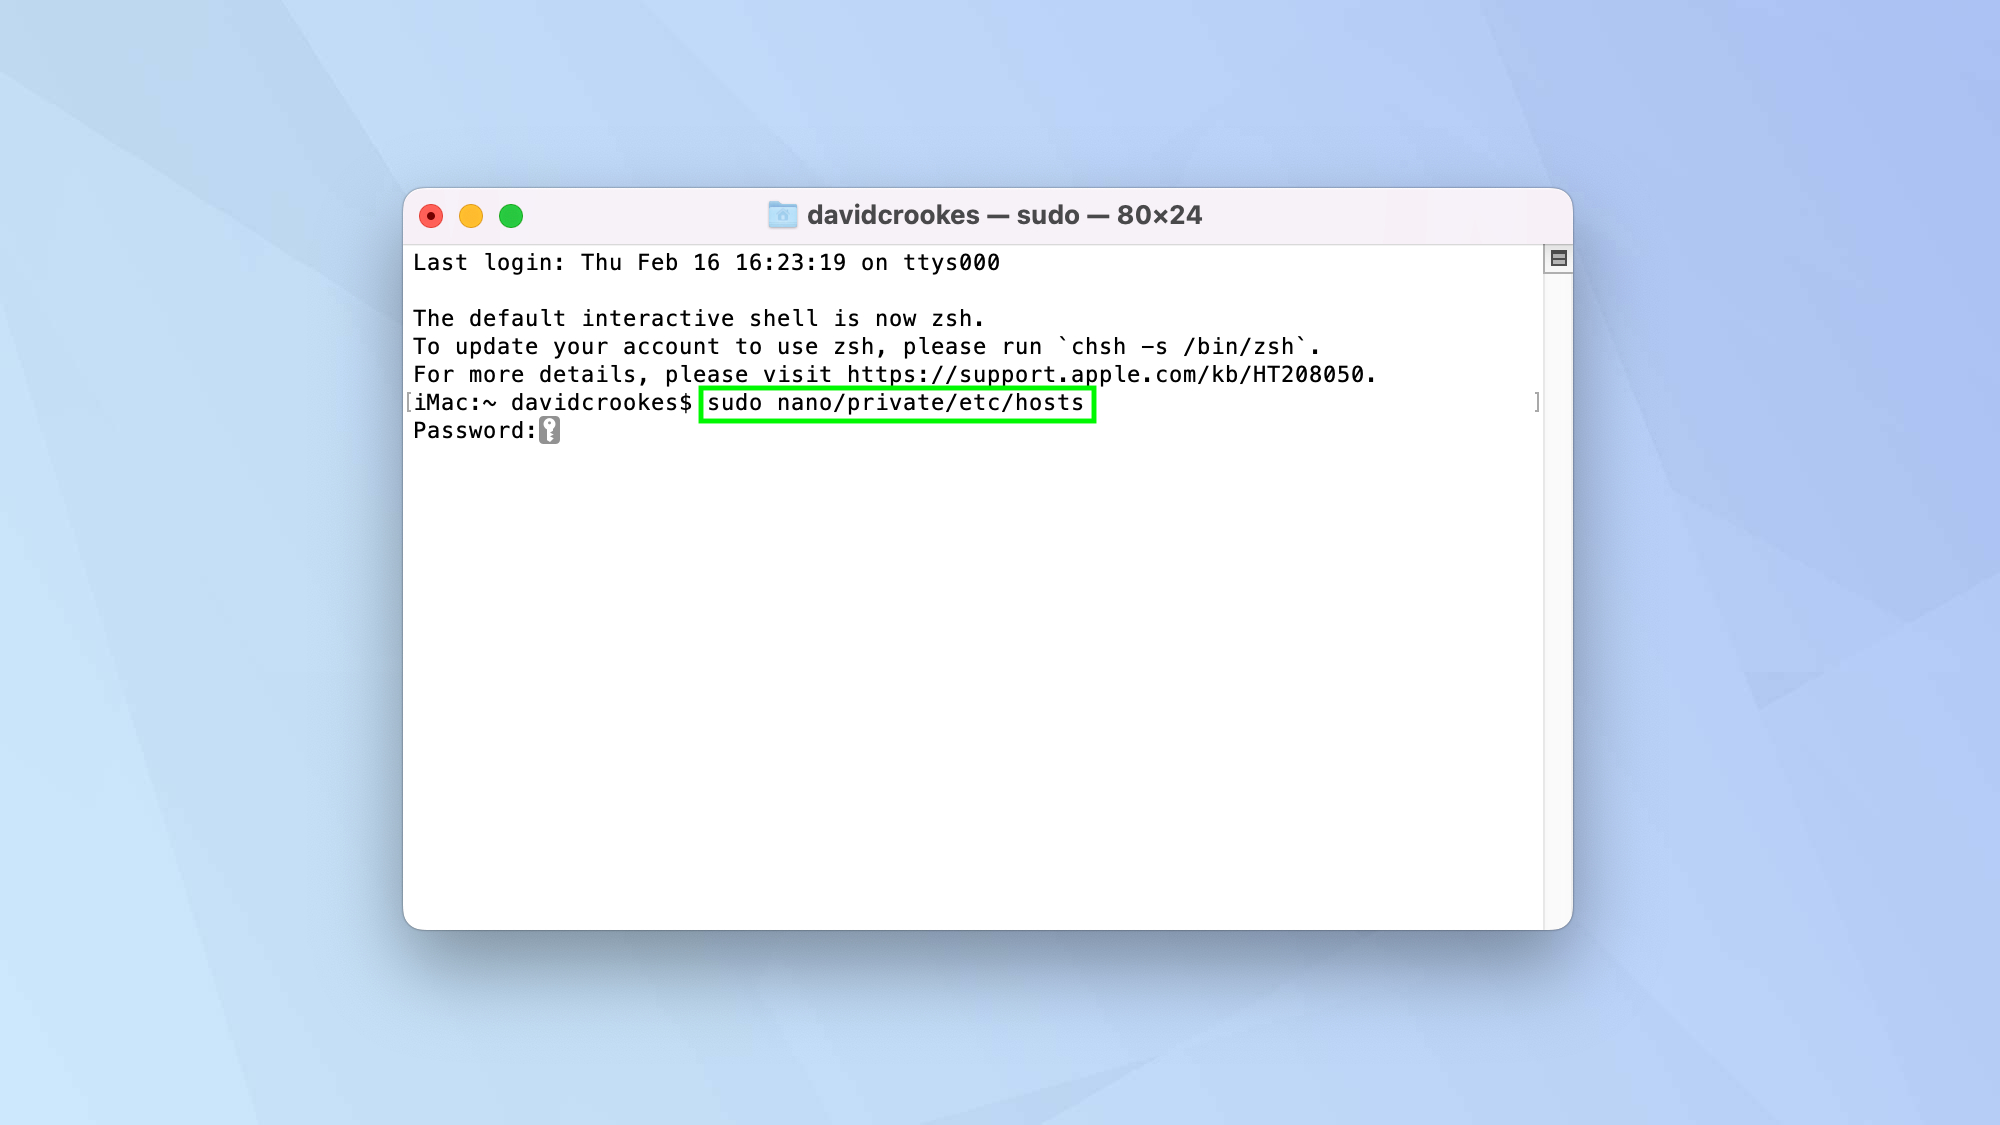
Now that you have the Terminal window open, you need to open the Nano text editor. This is also built into macOS so you don't need to hunt around for installation files. Simply type "sudo nano/private/etc/hosts" and press Enter on the keyboard. Enter your admin password when prompted.
3. Make your edits

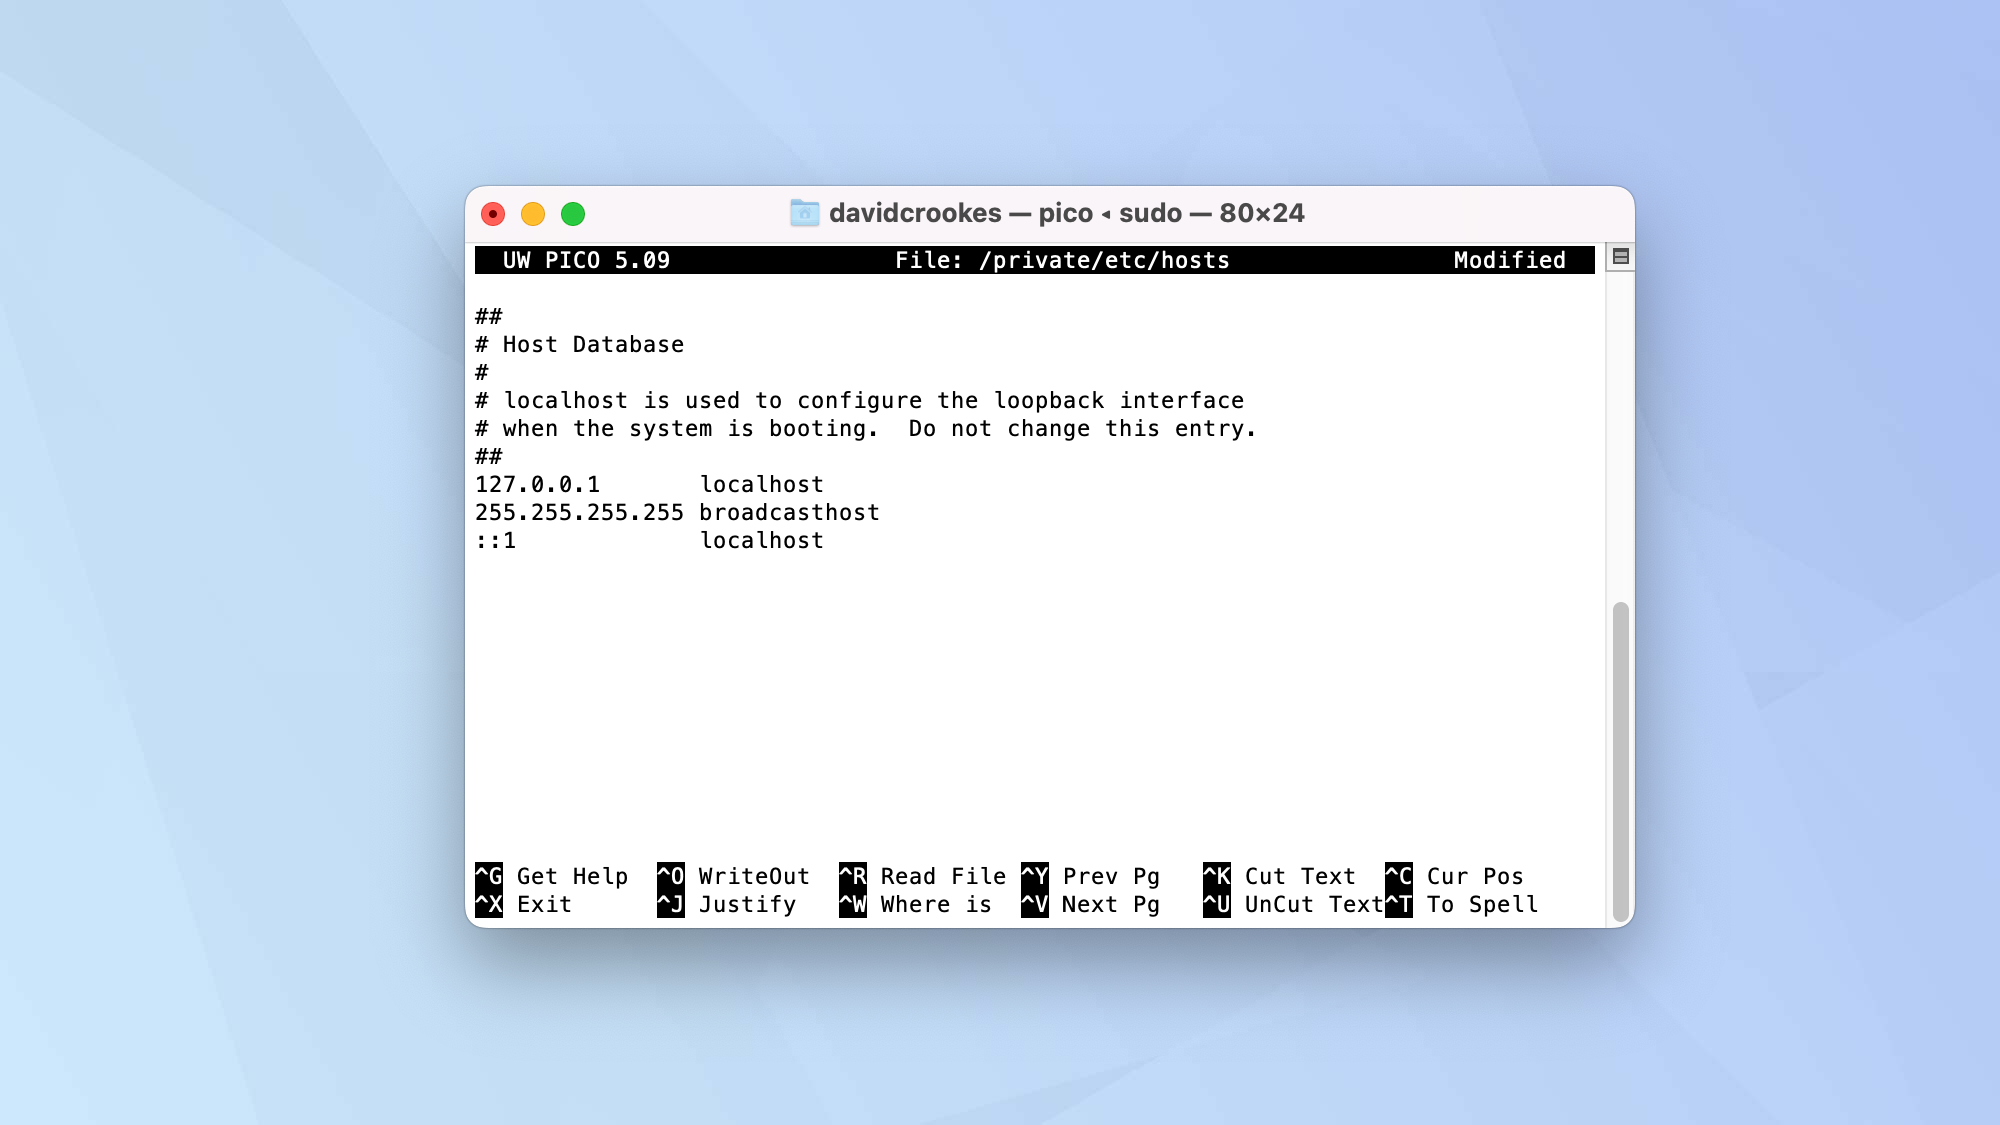
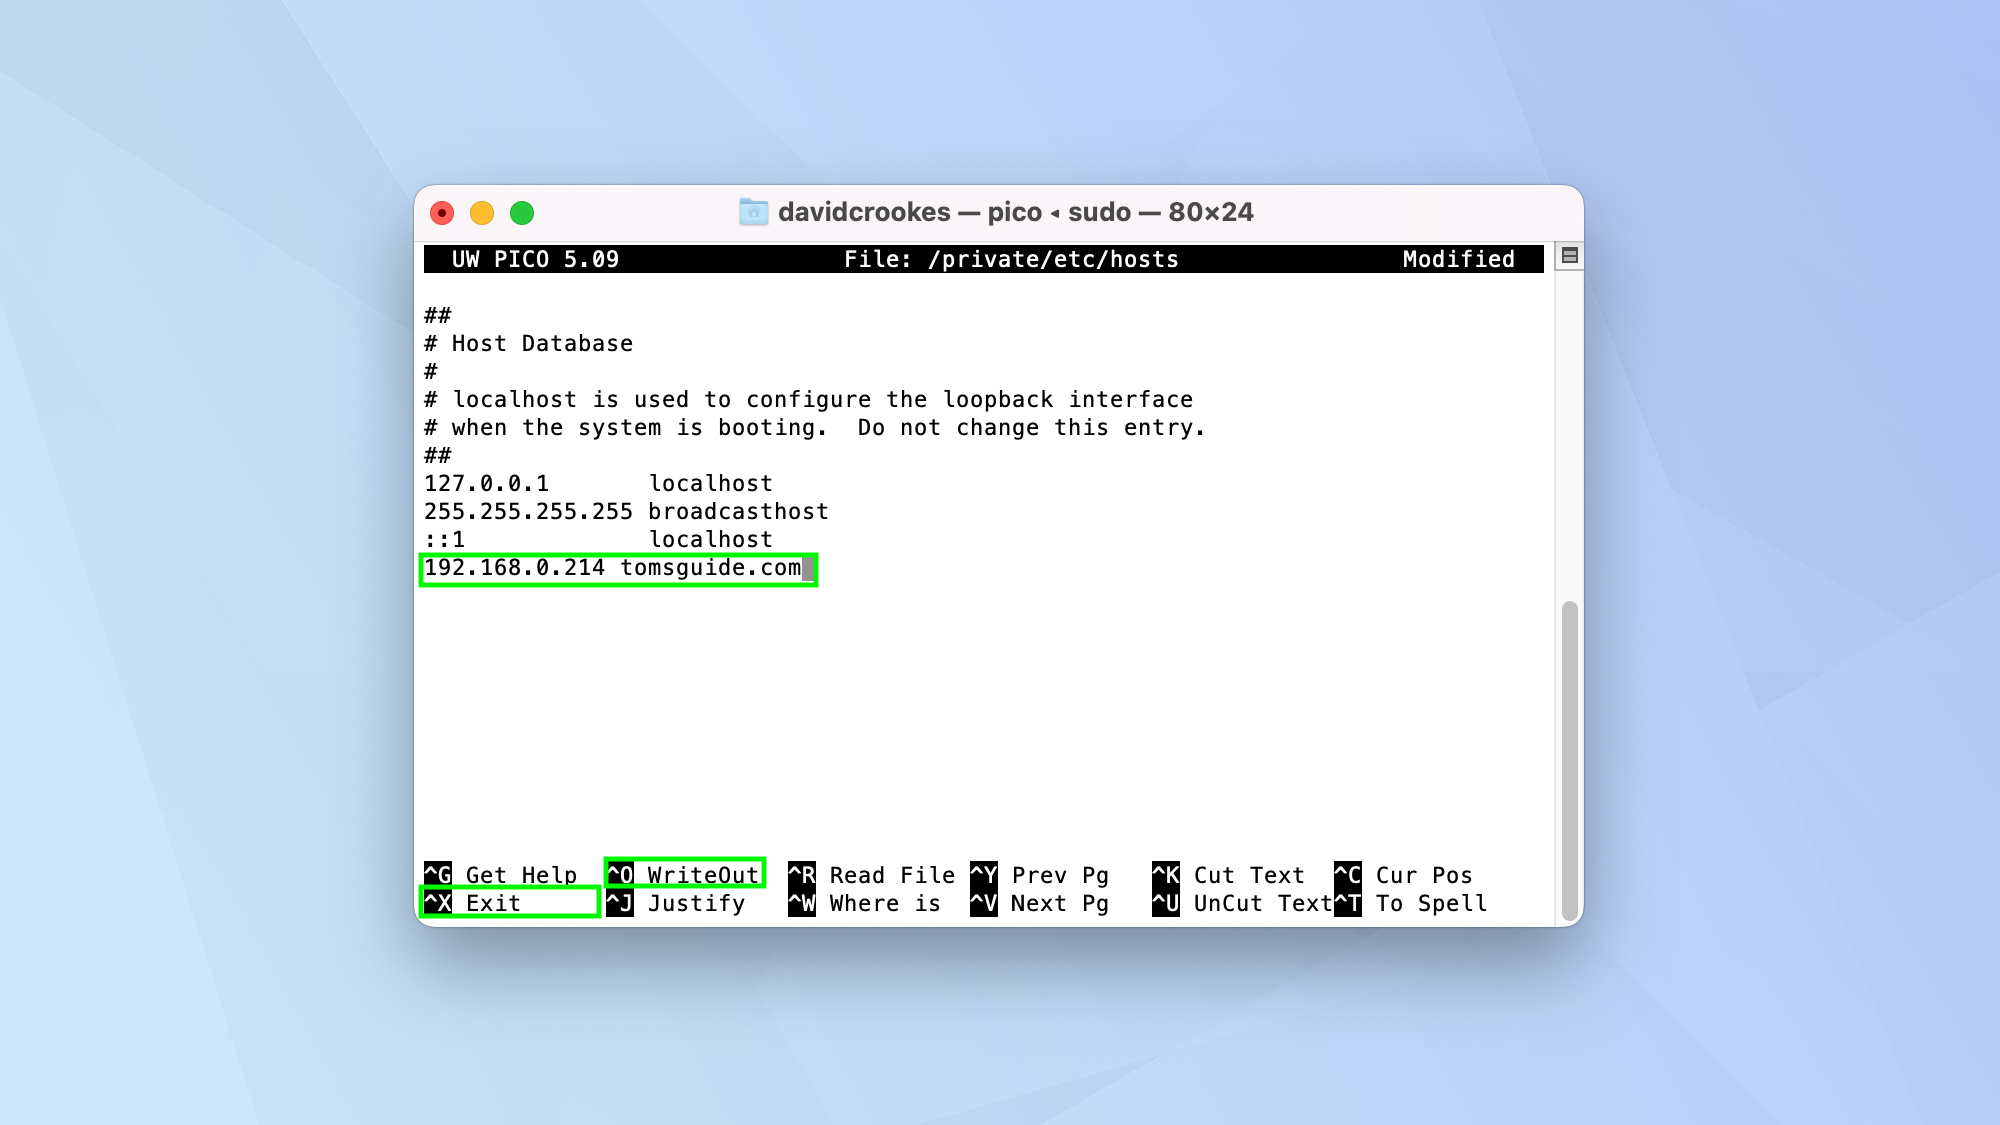
You are now able to make alterations to the host file. Use the arrow keys on your keyboard to move around the existing text. You can remove entries if you press delete on your keyboard or enter new entries. For example you can add a TCP/IP address and a domain name. Follow the same format as the entries that are already there.
4. Save and exit

Once you have made your edits, press Control + O on your keyboard to save the file. You can then exit the Nano text editor by pressing Control + X. You can then flush the DNS cache to ensure everything works well. To do this, just type "sudo killall -HUP mDNSResponder" and press Enter.
And there you go. You know now how to edit the Host file on macOS. But don't stop there. You can discover 18 macOS Terminal commands to turn you into a Mac power user or learn how to change the screenshot location on Mac using Terminal. Having trouble with Bluetooth? You can reset your Mac's Bluetooth module using Terminal too.

David Crookes is a freelance writer, reporter, editor and author. He has written for technology and gaming magazines including Retro Gamer, Web User, Micro Mart, MagPi, Android, iCreate, Total PC Gaming, T3 and Macworld. He has also covered crime, history, politics, education, health, sport, film, music and more, and been a producer for BBC Radio 5 Live.
-
marcuse7 In step 2 a space is missing after the nano command, i.e. use sudo nano /private/etc/hostsReply
