How to defrost a freezer
Here’s how to defrost a freezer if you’ve noticed a build-up of ice
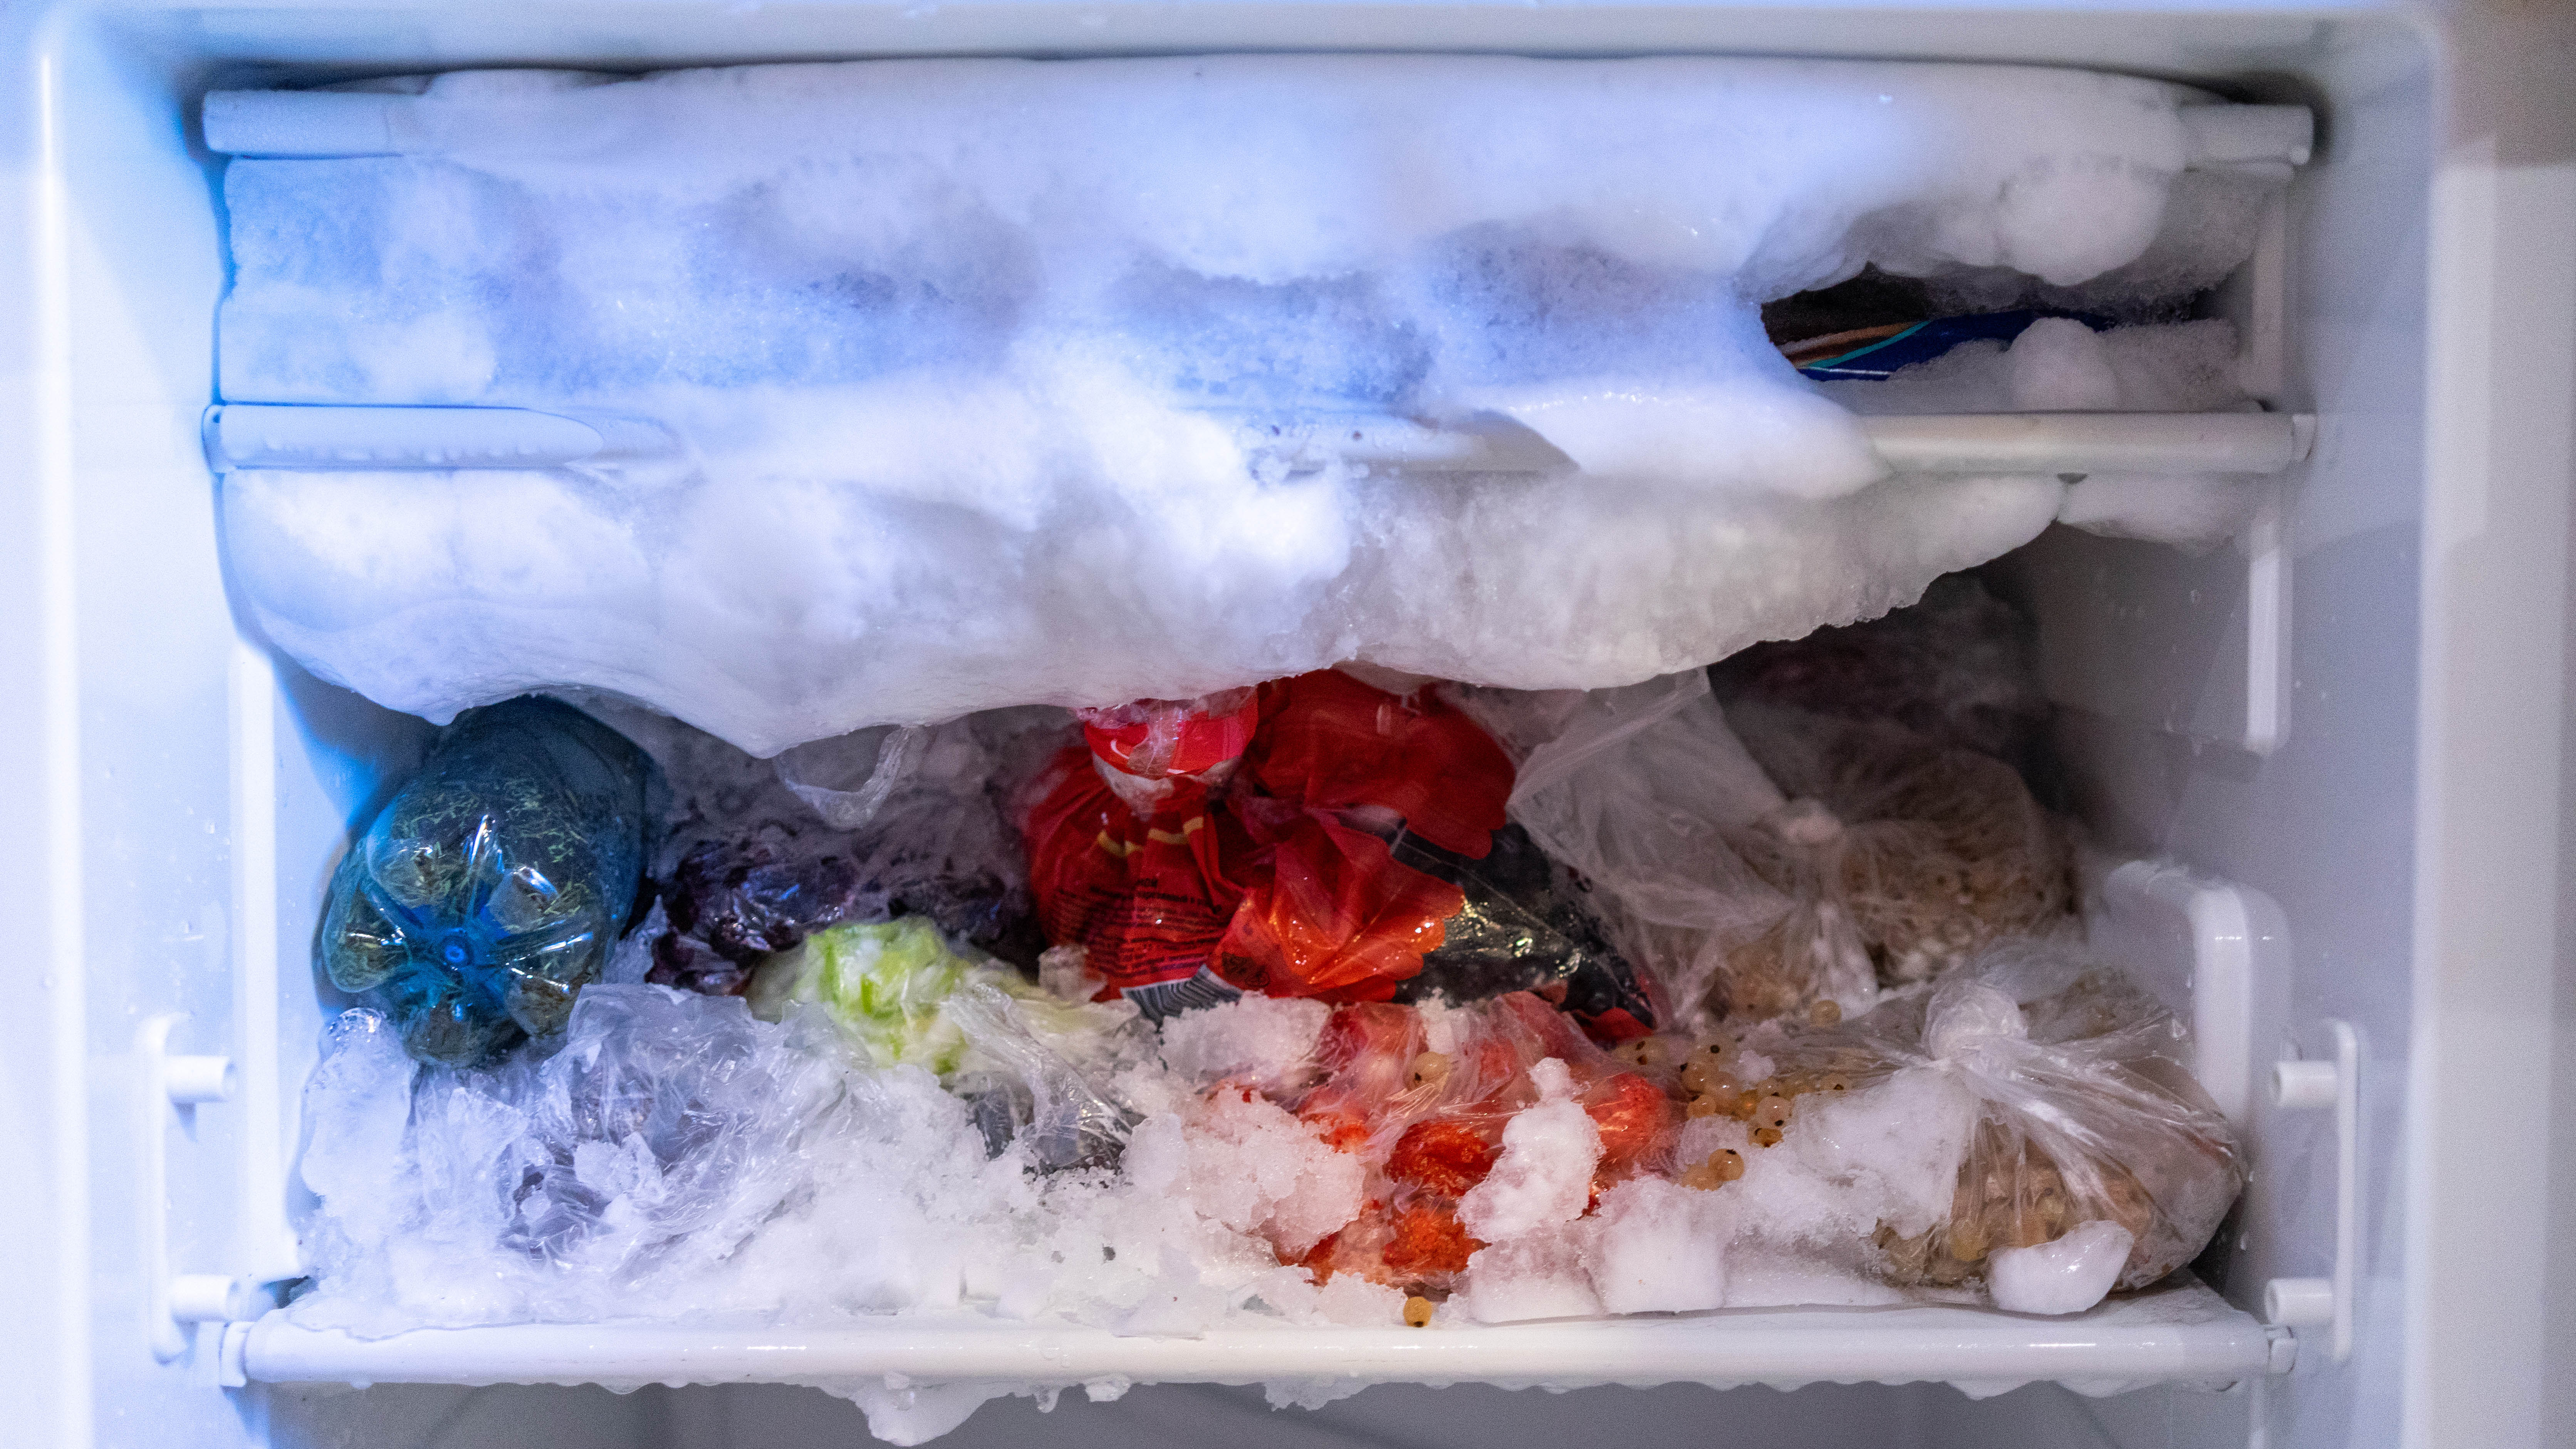
Defrosting a freezer may seem like an odd concept. After all, shouldn’t a freezer be frosty? However, if you leave a build-up of frost inside, this will affect the overall performance of your freezer. It can lead to a lack of storage space as well as freezer burn, which can ruin the quality of your delicious frozen goods.
Annoyingly, frost build-up can also cause freezer doors to get stuck, which can damage your appliance. What’s more, the more frosty your freezer is, the more energy it consumes, causing a spike in your household bills. While defrosting a freezer may seem like a huge chore, it’s actually really quick and easy, and if you have one of the best refrigerators with a freezer compartment, it can apply to it too. Just follow our 5 simple steps on how to defrost (and deep clean!) your freezer.
Also, be sure to check out 18 foods you should never store in the freezer and why is my refrigerator not cooling.
How often should you defrost a freezer?
- Towels
- Sponge or microfiber cloth
- Dishwashing liquid or multi-purpose cleaner
- Warm water
For manual defrost freezers, it’s best to defrost your freezer once or twice a year or as soon as there is a build-up of quarter of an inch thickness of ice. If you have a frost-free or automatic defrost freezer, these will still need deep cleaning every six months.
How to defrost your freezer in 5 easy steps
There's no need to get out your ice pick to defrost your freezer — sharp objects are one thing you should avoid using to break up the ice as they can puncture the walls and damage the appliance. Instead, follow these 5 simple steps to defrost your freezer the right way.
1. Get organized before you switch it off
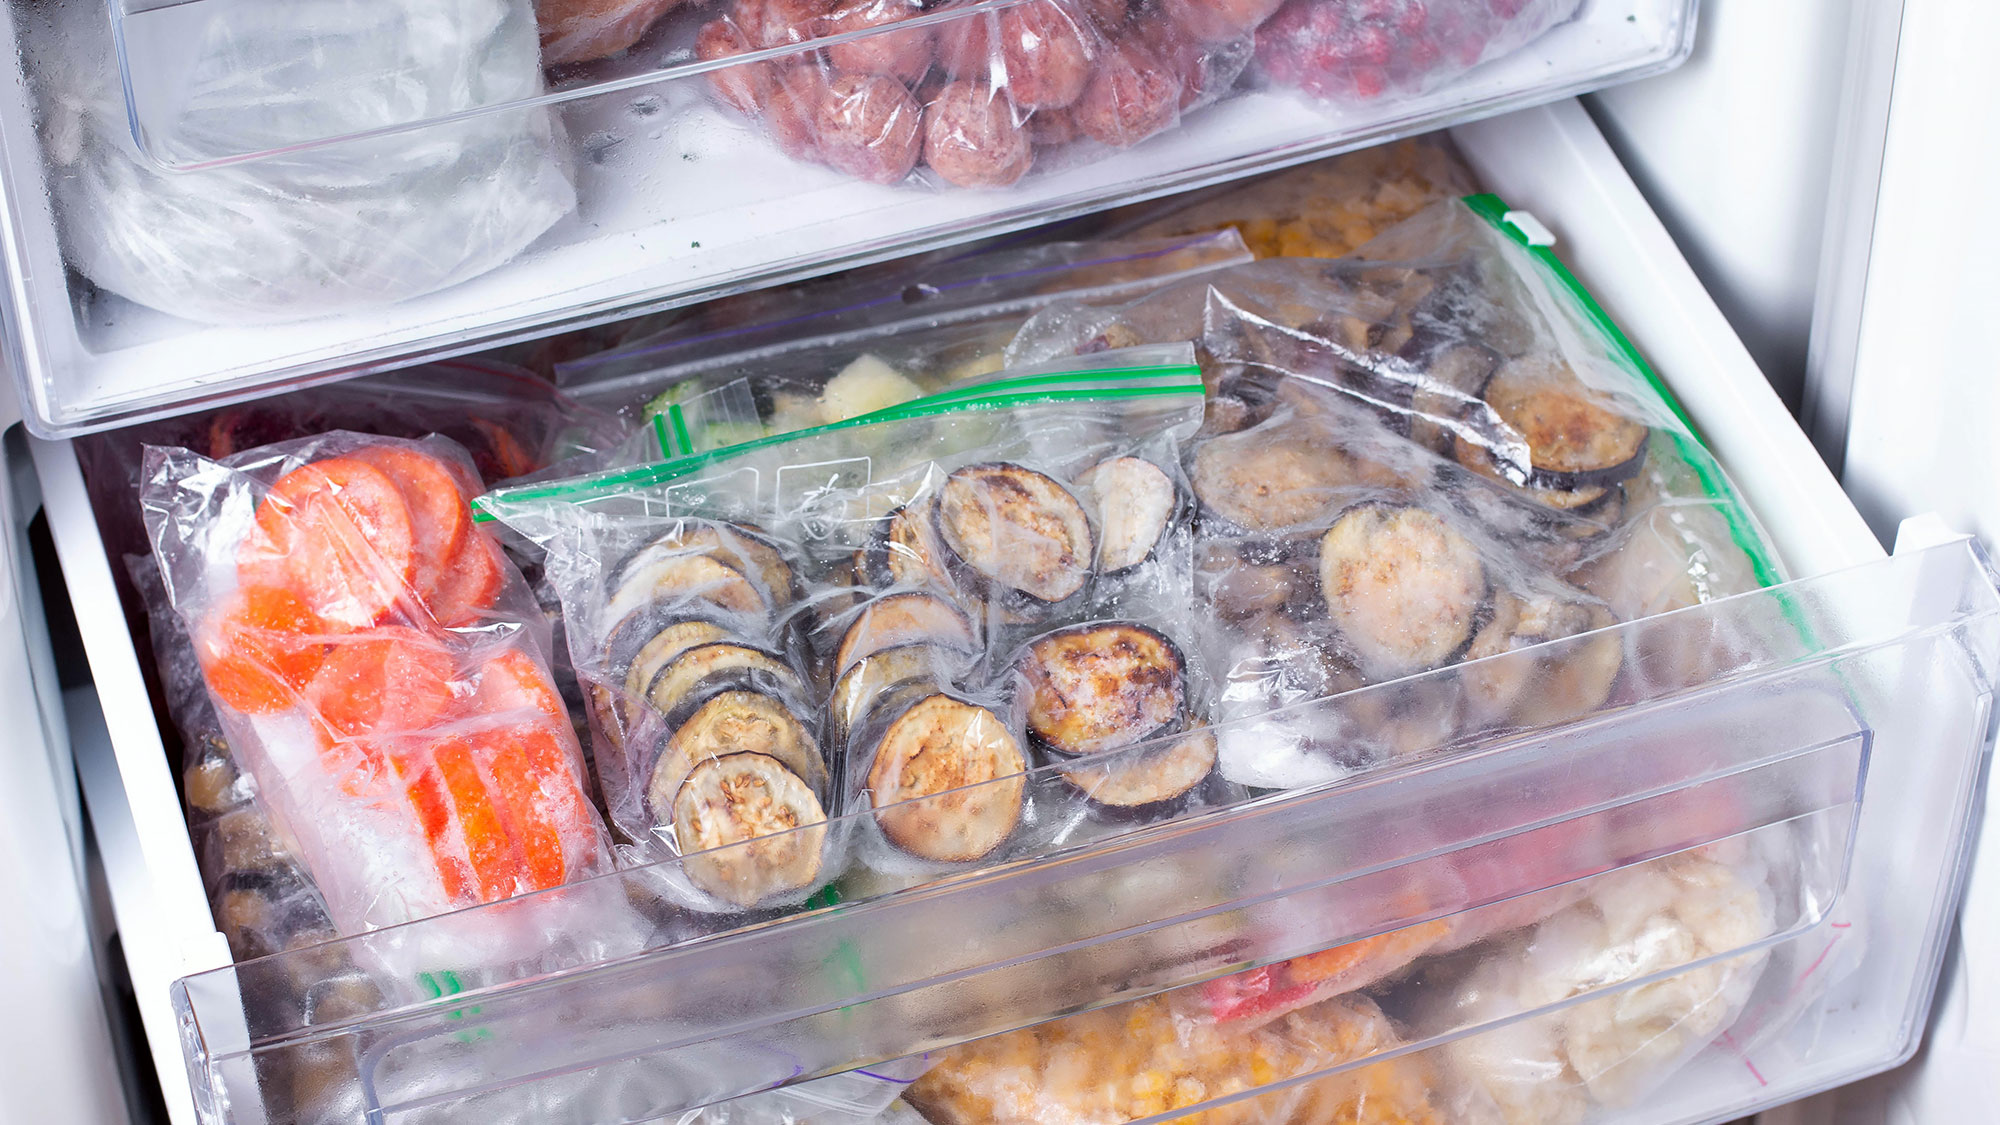
It's always worth planning ahead before you defrost a freezer. Rather than stocking up just before hand, think about eating through some of the food, so you won't have so much to store while it's defrosting. Also, work out where you can store the frozen food. If possible, store all your frozen items in a cool place or better still, an ice box. If you don’t have one, you can always invest in one of the best coolers to keep your goods fresh.
This is a great time to get rid of old items that you’re simply not going to consume. For instance, those 6-month leftovers you’ve forgotten about that were hidden in the back of the freezer! It's also worth knowing how long will food last in the freezer, as certain food has a shorter storage time than others. Certain foods will also only stay safe to consumer within a time frame. For instance, bacon shouldn't be frozen for more than one month.
Once you've got organized you can unplug your freezer and switch it off to start the defrosting process. Leaving the freezer on will waste energy and slow down the defrosting time. Remember to keep the door open to let in air.
Sign up to get the BEST of Tom's Guide direct to your inbox.
Get instant access to breaking news, the hottest reviews, great deals and helpful tips.
2. Protect your flooring
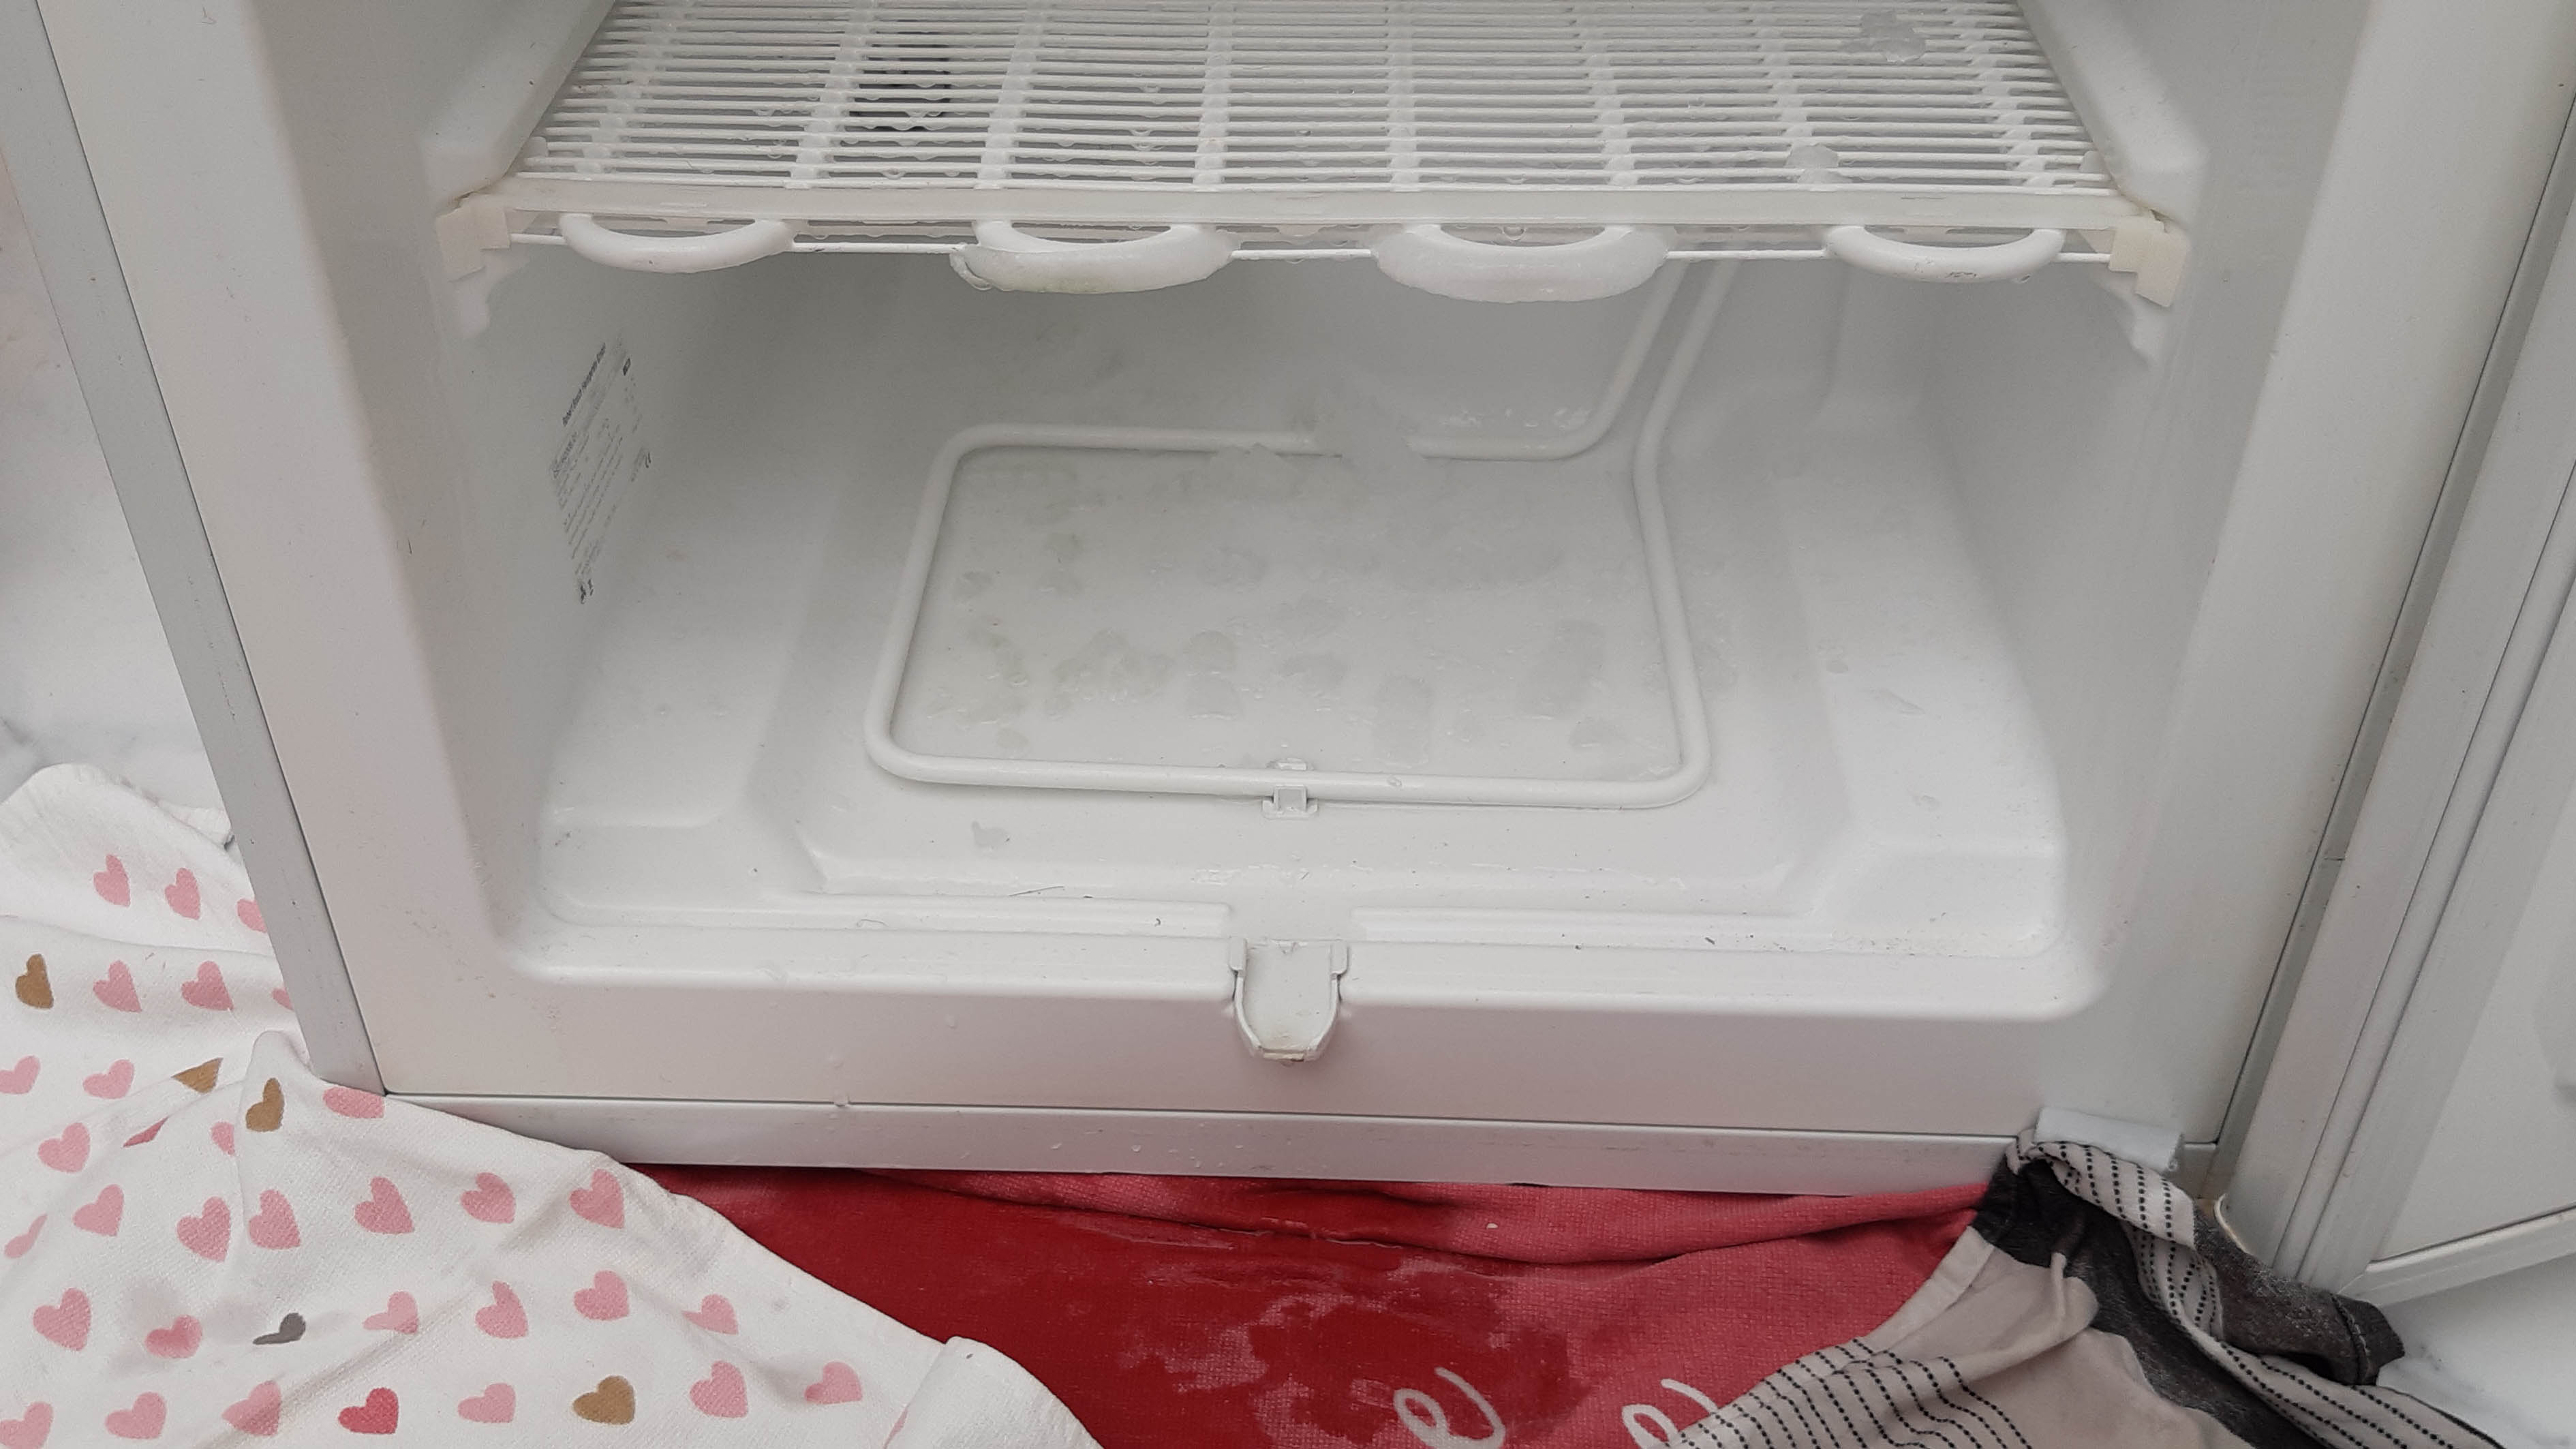
Lay down some old towels or cloths on the floor around the base of your freezer. You’ll be surprised at how much water you’ll be left to mop up, so the towels will absorb those messy puddles. If you have a drainage outlet, use a container to collect any water.
3. Leave the door open
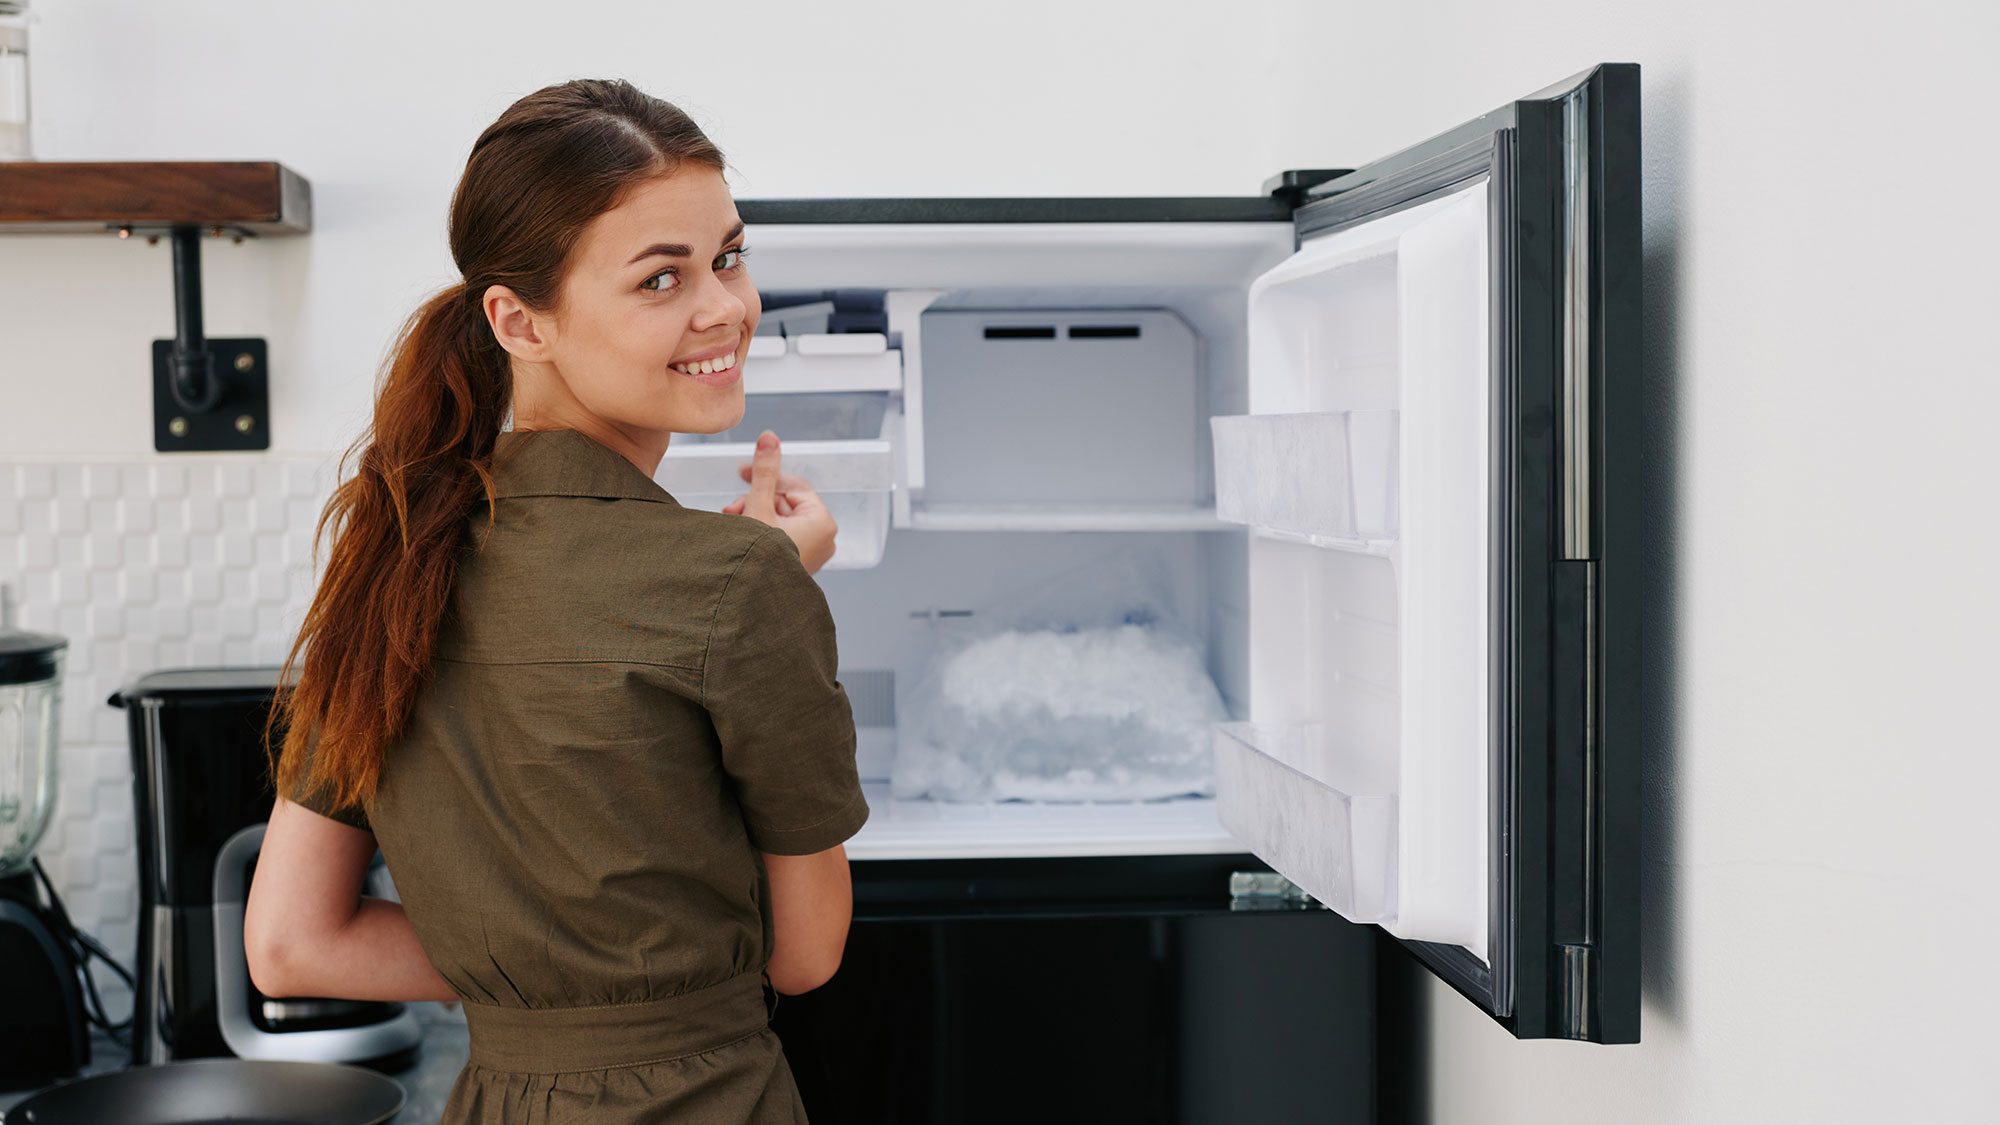
It’s best to keep the freezer door open for a few hours or until the ice completely melts. Keep an eye of it while it defrosts, and wring out any drenched towels while the freezer defrosts. A slim baking tin, placed partly underneath the freezer, can help to catch the melted ice.
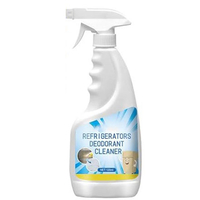
Kakasi Fridge and Freezer Cleaning Spray: $8 @ Amazon
Keep your refrigerator and freezer clean and fresh with this cleaning spray. Spray and leave for 5 minutes before wiping away with a towel to keep your appliance smelling fresh. It can also be used to clean stoves, sinks, bathrooms and litter boxes.
4. Give it a thorough clean
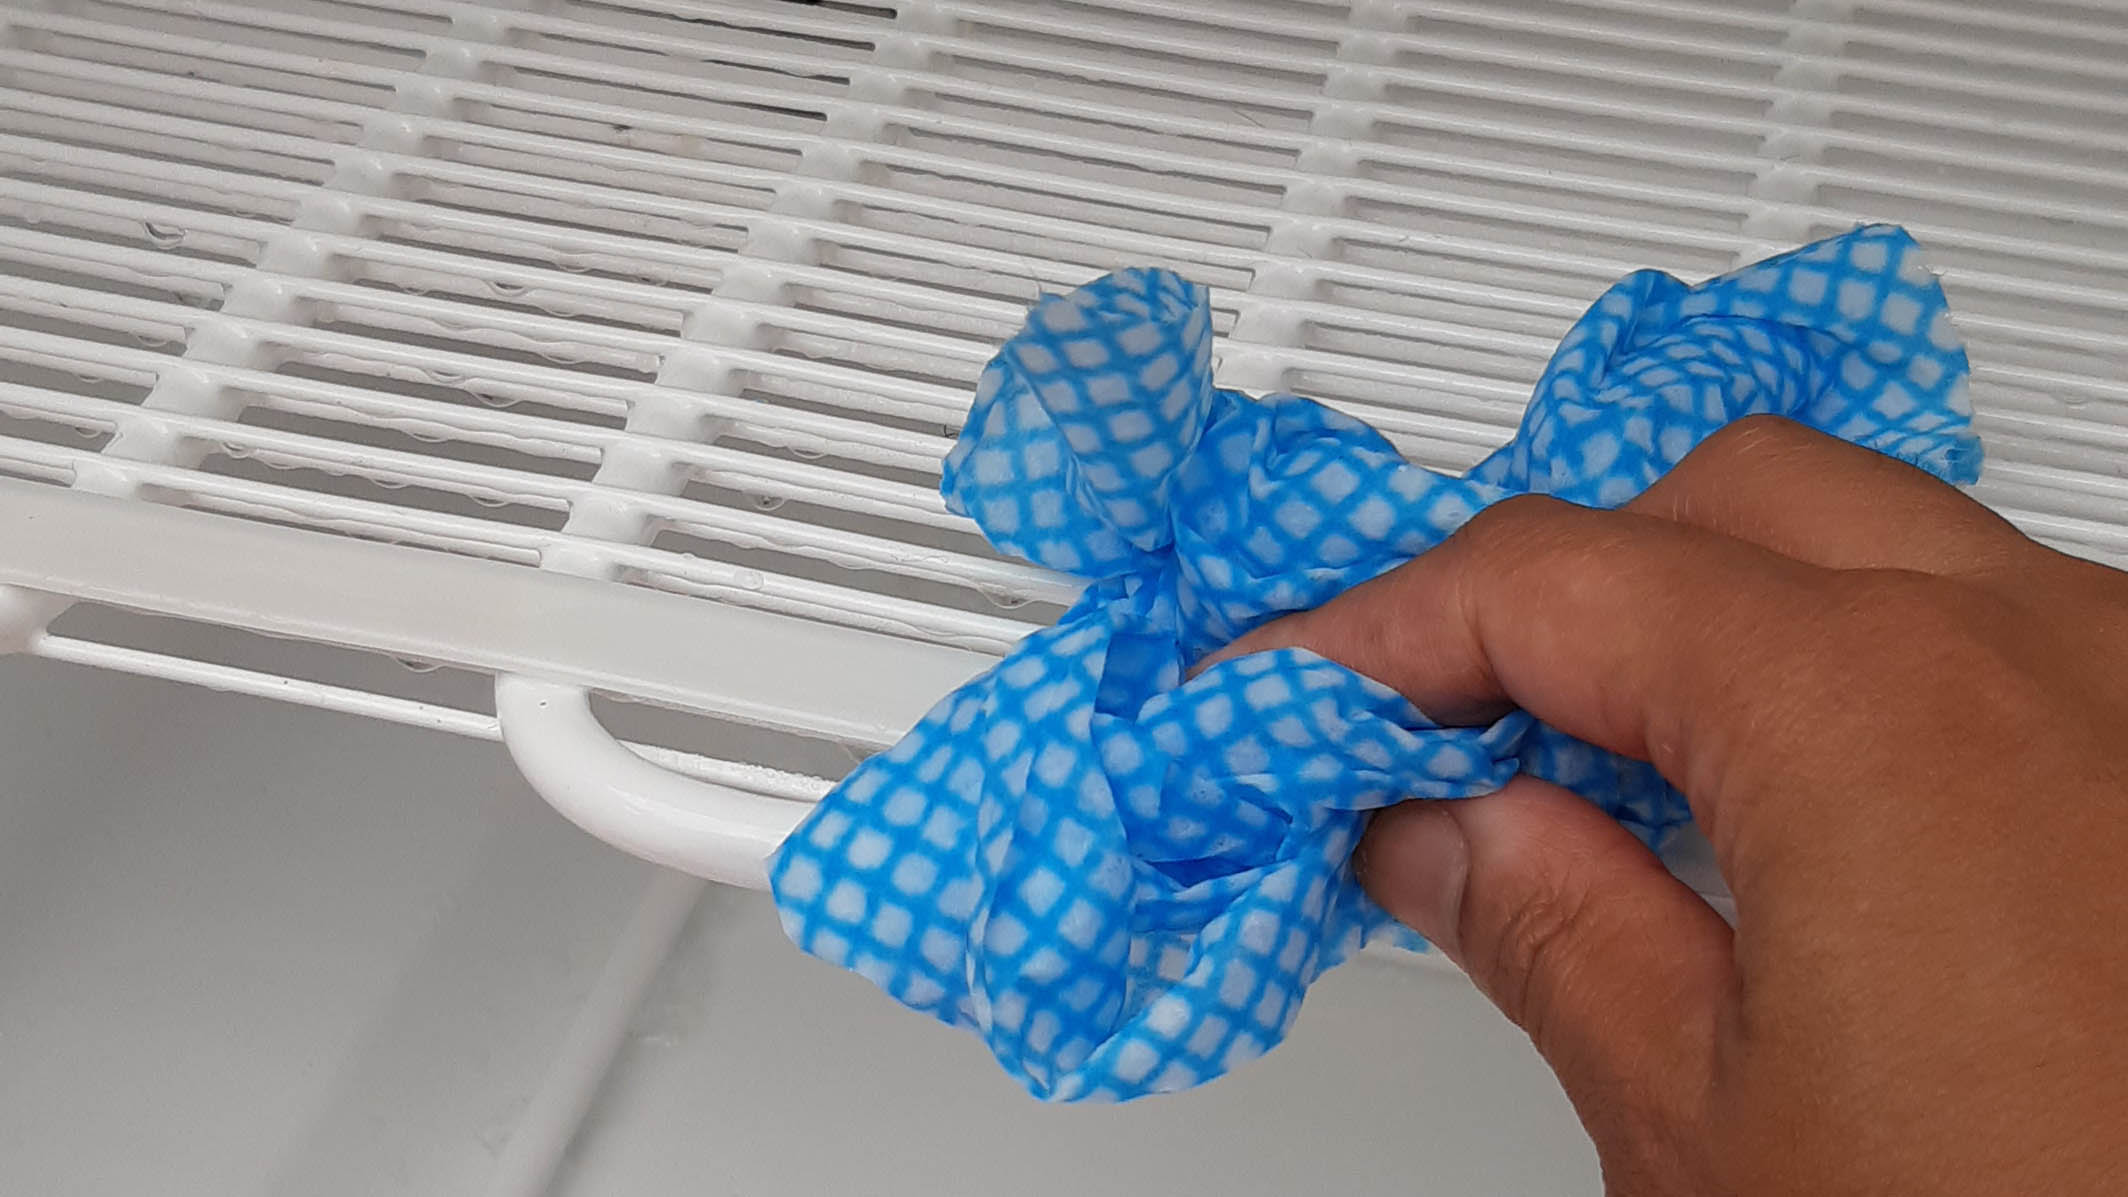
Next up, it’s time to thoroughly clean the freezer once it’s thawed out. For this, you can use warm, soapy water and a sponge or a multi-purpose cleaning spray. Clean the inside of your freezer and the racks, making sure you get into all those nooks and crannies. These hidden places are often where germs live from accidental spills or dirt, and don’t forget the gasket and handle!
Then clean the outside of your freezer, particularly the door where fingerprints or general grime lurks from regular use. In addition, thoroughly clean the drawers, or removable bottle holders before putting them back.
Top tip
Don't forget to clean around the seals on the freezer door, food can easily get trapped and it's also a breeding ground for mold.
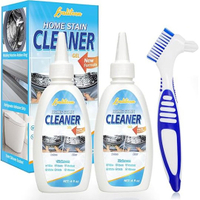
Galitoon Home Cleaner Gel: $13 @ Amazon
Ideal for removing mold around seals on freezers, this gel can be applied directly to the seal and left to work for between 5-8 hours. More severe stains may require repeat applications. The product can also be used around washing machine seals, and sealant in kitchens and bathrooms.
5. Dry it off
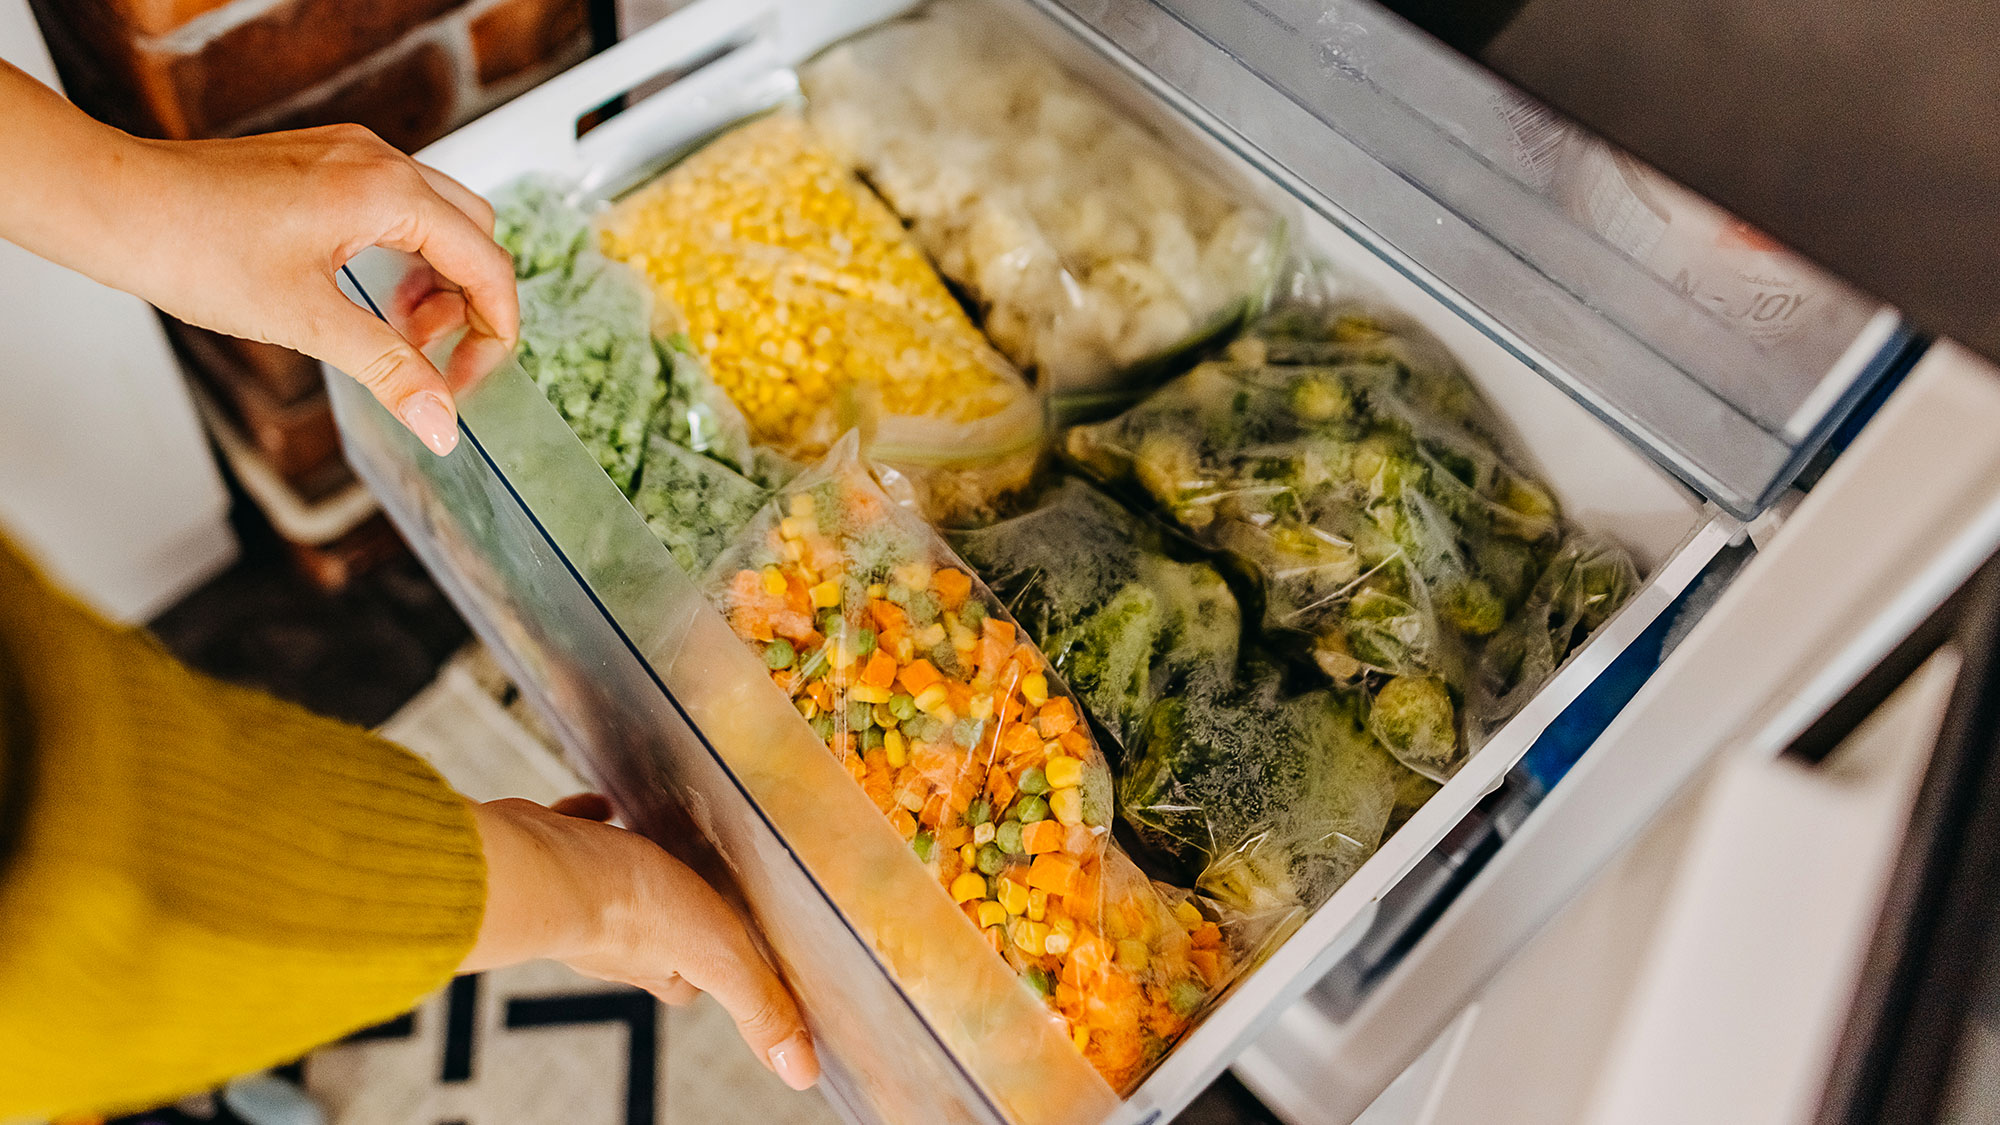
Now that your freezer is all cleaned up , ensure that it's perfectly dry before switching it back on. It’s always advisable to wait a few hours for the freezer to reach the ideal temperature, before you put your frozen goods back. Also, be careful not to put back any raw meat that has started to defrost or else you may risk food poisoning.
What’s more, this is a good time to reorganize your frozen foods. While it may be tempting to pack your frozen shopping into any drawer crevice, here are 3 reasons why you shouldn't overfill your freezer.
Tips on how to organize your freezer
- Organize foods from back to front — Place the new stuff at the back and the older foods that need to be consumed first towards the front.
- Freeze things in small portions — When you cook up a feast, always divide foods into smaller, usable portions before freezing them. This will avoid any wastage if you defrost more than you actually need.
- Freeze things flat — You can save so much space in your freezer when you lay things flat. If possible, take things out of big, cumbersome boxes to save room. If you do need any of the instructions/dates, just cut them out of the boxes and store in a drawer.
- Label and date your leftovers — It’s easy to make homemade foods, throw in a freezer bag or container and forget about them! But, it’s always best to label and date the day it was frozen, so you’ll know when it was made. As a general rule, it’s always best to consume leftovers between 1-3 months.
- Group things in their categories — Always group similar items so you can easily find what you’re looking for. Things such as meats, seafood or frozen veggies should be kept in their sections.

As the Homes Content Editor, Cynthia Lawrence covers all things homes, interior decorating, and garden-related. She has a wealth of editorial experience testing the latest, ‘must-have’ home appliances, writing buying guides and the handy ‘how to’ features.
Her work has been published in various titles including, T3, Top Ten Reviews, Ideal Home, Real Homes, Livingetc. and House Beautiful, amongst many.
With a rather unhealthy obsession for all things homes and interiors, she also has an interior design blog for style inspiration and savvy storage solutions (get rid of that clutter!). When she’s not testing cool products, she’ll be searching online for more decor ideas to spruce up her family home or looking for a great bargain!
