How to curl your hair with straighteners and save money at the salon
Here’s how to curl your hair with straighteners for fast and glamorous results

Knowing how to curl your hair with straighteners is essential if you want impressive results. Make one wrong move and, before you know it, a section of your hair just won’t cooperate and sticks out from the rest. Not all of us can afford a Dyson Airwrap or maybe you don’t want a curling wand taking up space in your drawers.
In either case, the good news is that curling your hair with straighteners isn’t just possible, it’s actually easy once you practice the method — easier than using a curling wand in my opinion too. Here, we will take you through exactly what to do to get the ideal curls.
Also, I traded my hair dryer for a hot air brush — and I’ve not looked back.
How to curl your hair with straighteners
Hair straighteners
Hair brush
Heat defense spray
Hair clips
Hairspray
1. First, part your hair into sections using hair clips. You want to pin up the majority and leave the hair closest to the nape of your neck exposed.
2. Then part this lowest layer of hair into sections to curl. You want to aim for roughly one-inch sections for guidance. But you can use thinner or thicker sections depending on how tight you want your curls — the thinner the section, the tighter the curl.
3. If this is your first time curling your hair, we recommend practicing the following steps with the straighteners switched off, just until you get the hang of the method. This is particularly important when it comes to reaching the back of your hair if you don’t have help.
4. Once you’re ready, liberally apply some heat defense spray to the strand you’re about to curl. We recommend HSI PROFESSIONAL Argan Oil Heat Protector ($17.95, Amazon).
Sign up to get the BEST of Tom's Guide direct to your inbox.
Get instant access to breaking news, the hottest reviews, great deals and helpful tips.
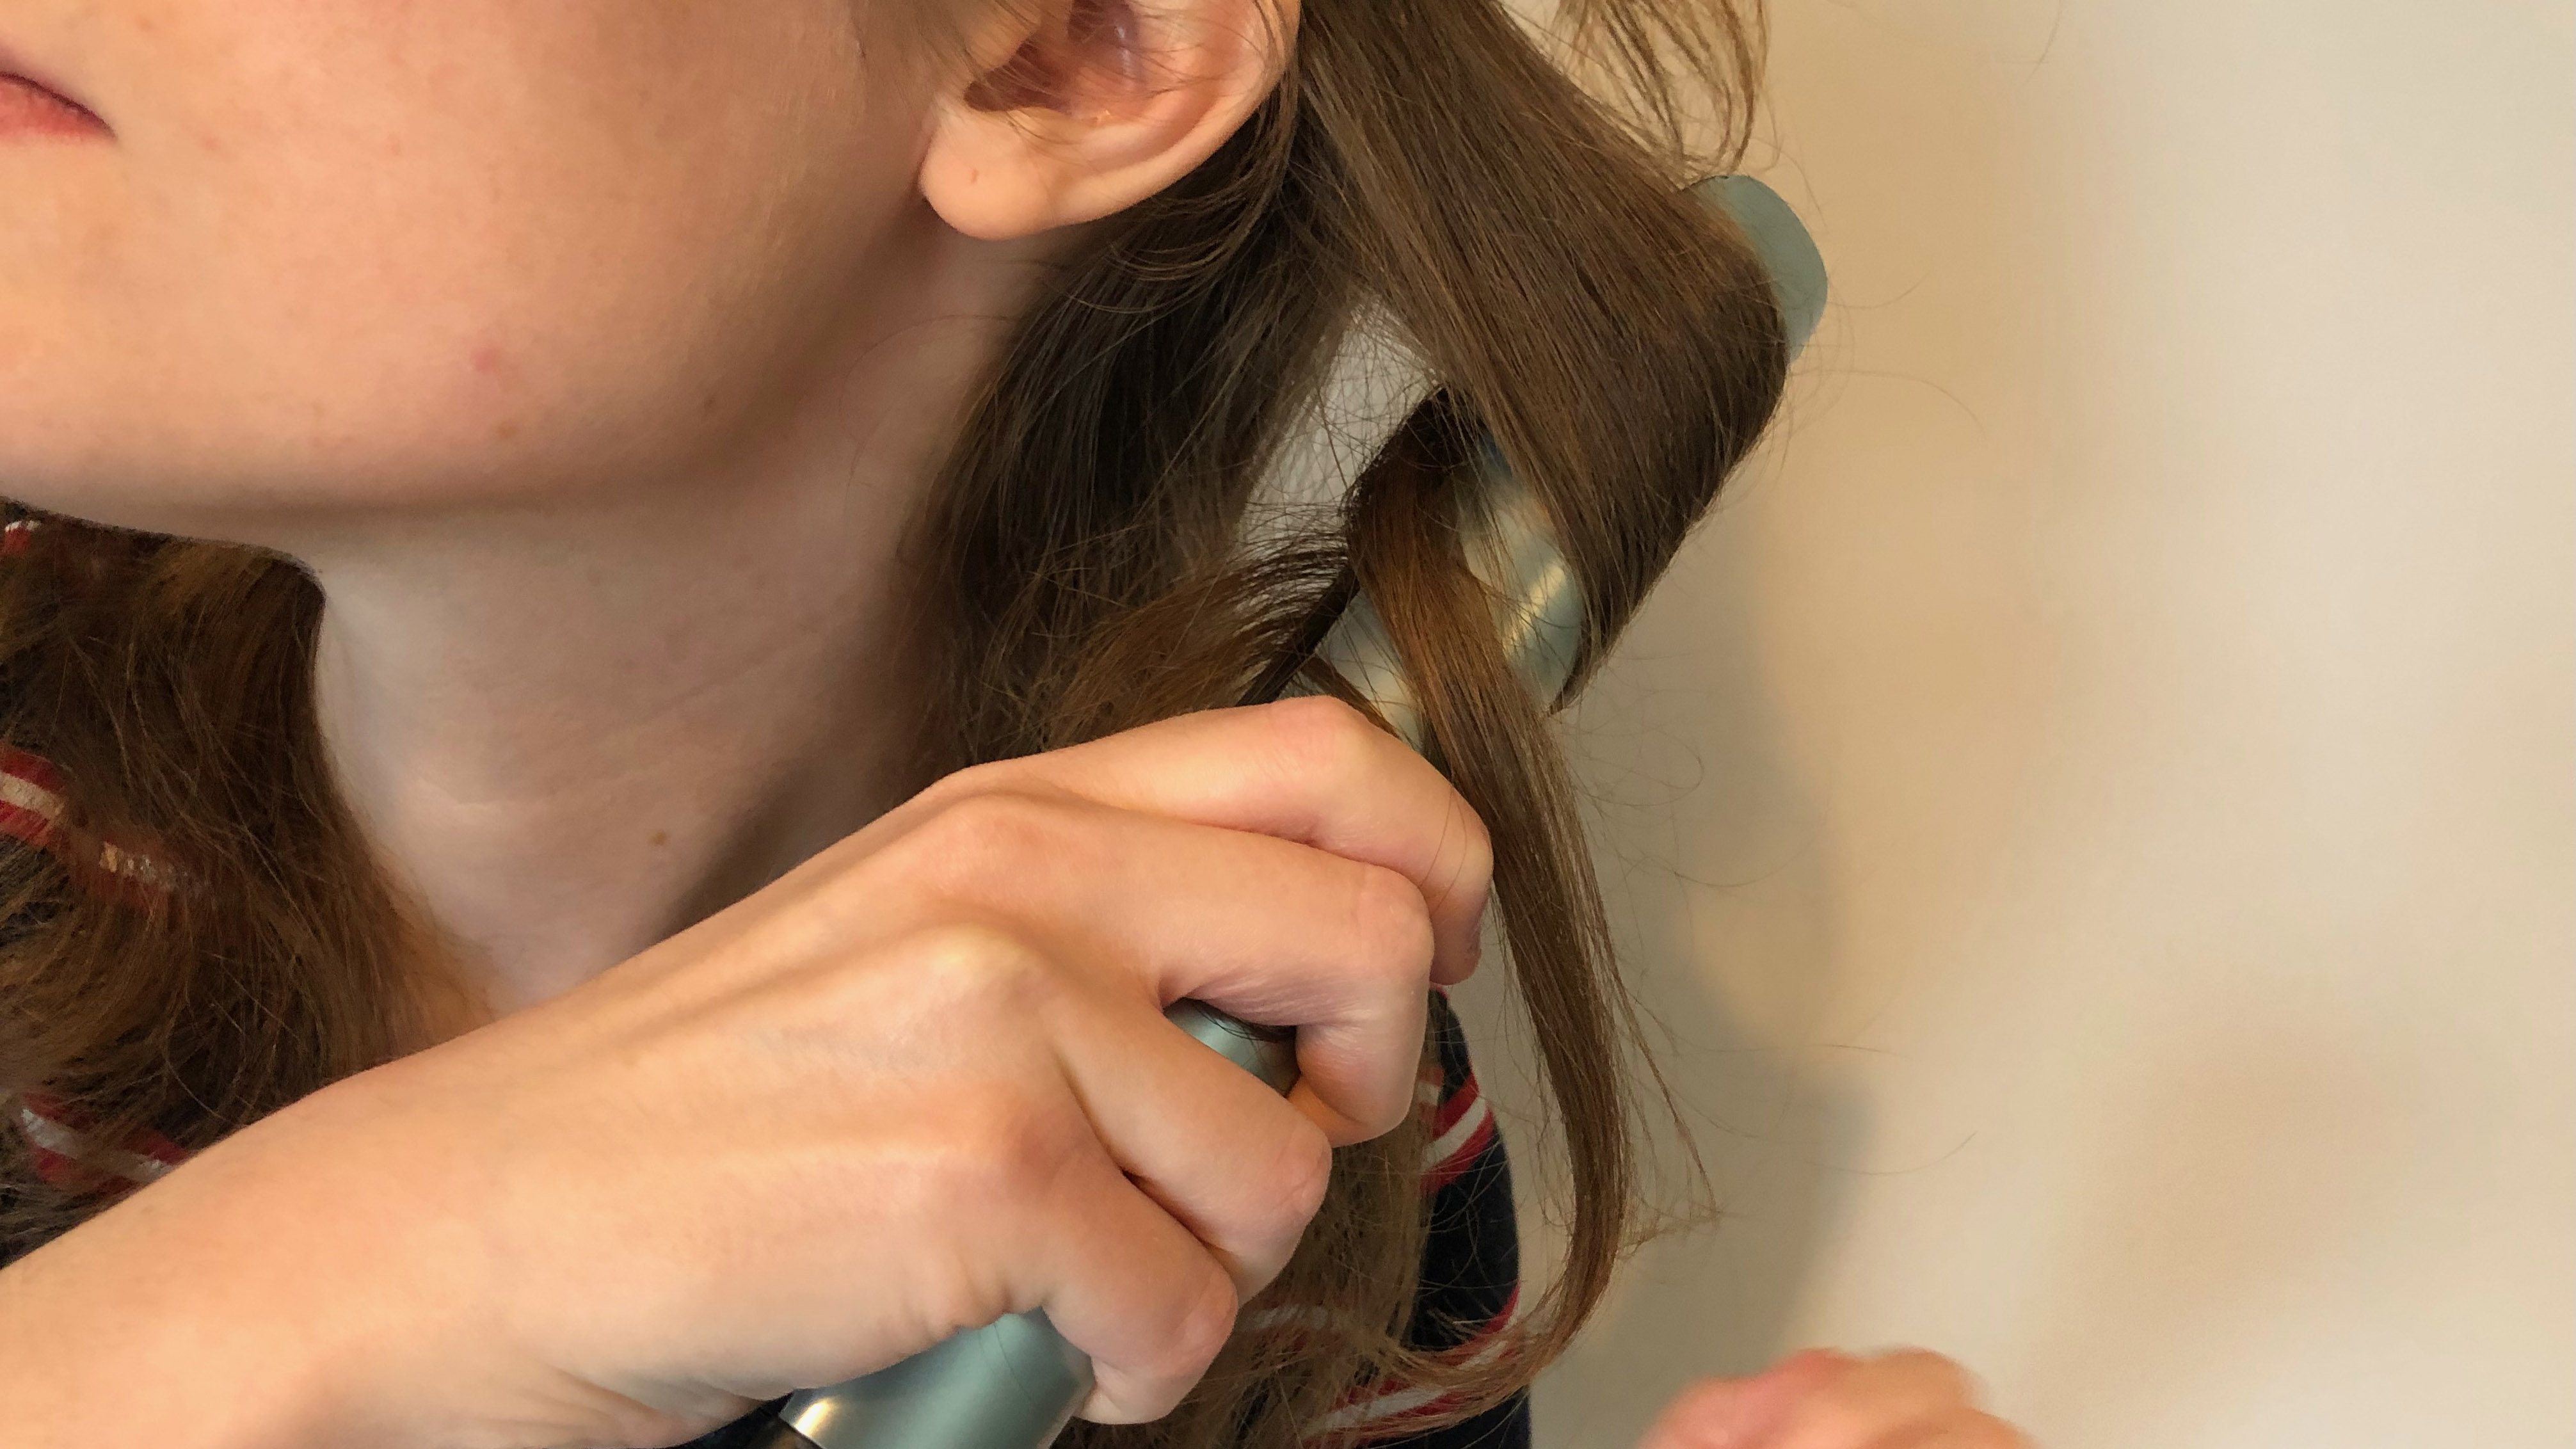
5. Clamp the straighteners at the top of the strand and begin moving down as you usually would to straighten.

6. Then, when you reach where you would like the curl to begin, turn the straighteners 180 degrees (a half-turn) away from your face. You can flick the end of the strand over the top of the straighteners to get it out of the way. You need to move from step five to six seamlessly without pausing, which is why this takes practice. Otherwise you end up with crimps in your hair.
7. Then proceed to move down to the end of your strand, pulling your hair through your rotated straighteners. The hair should be wrapped around the barrel of the straighteners as you move all the way to its end.
8. Repeat this process on each strand around the nape of your neck.

9. Once this section is done, you can proceed to the next layer towards your hairline and continue in this fashion. Remember, you will need to start the curls from a higher position than your nape section if you want more volume.
10. It’s also worth noting that you won’t need to spend as much time on your hairline as it’s thinner and will curl easily.
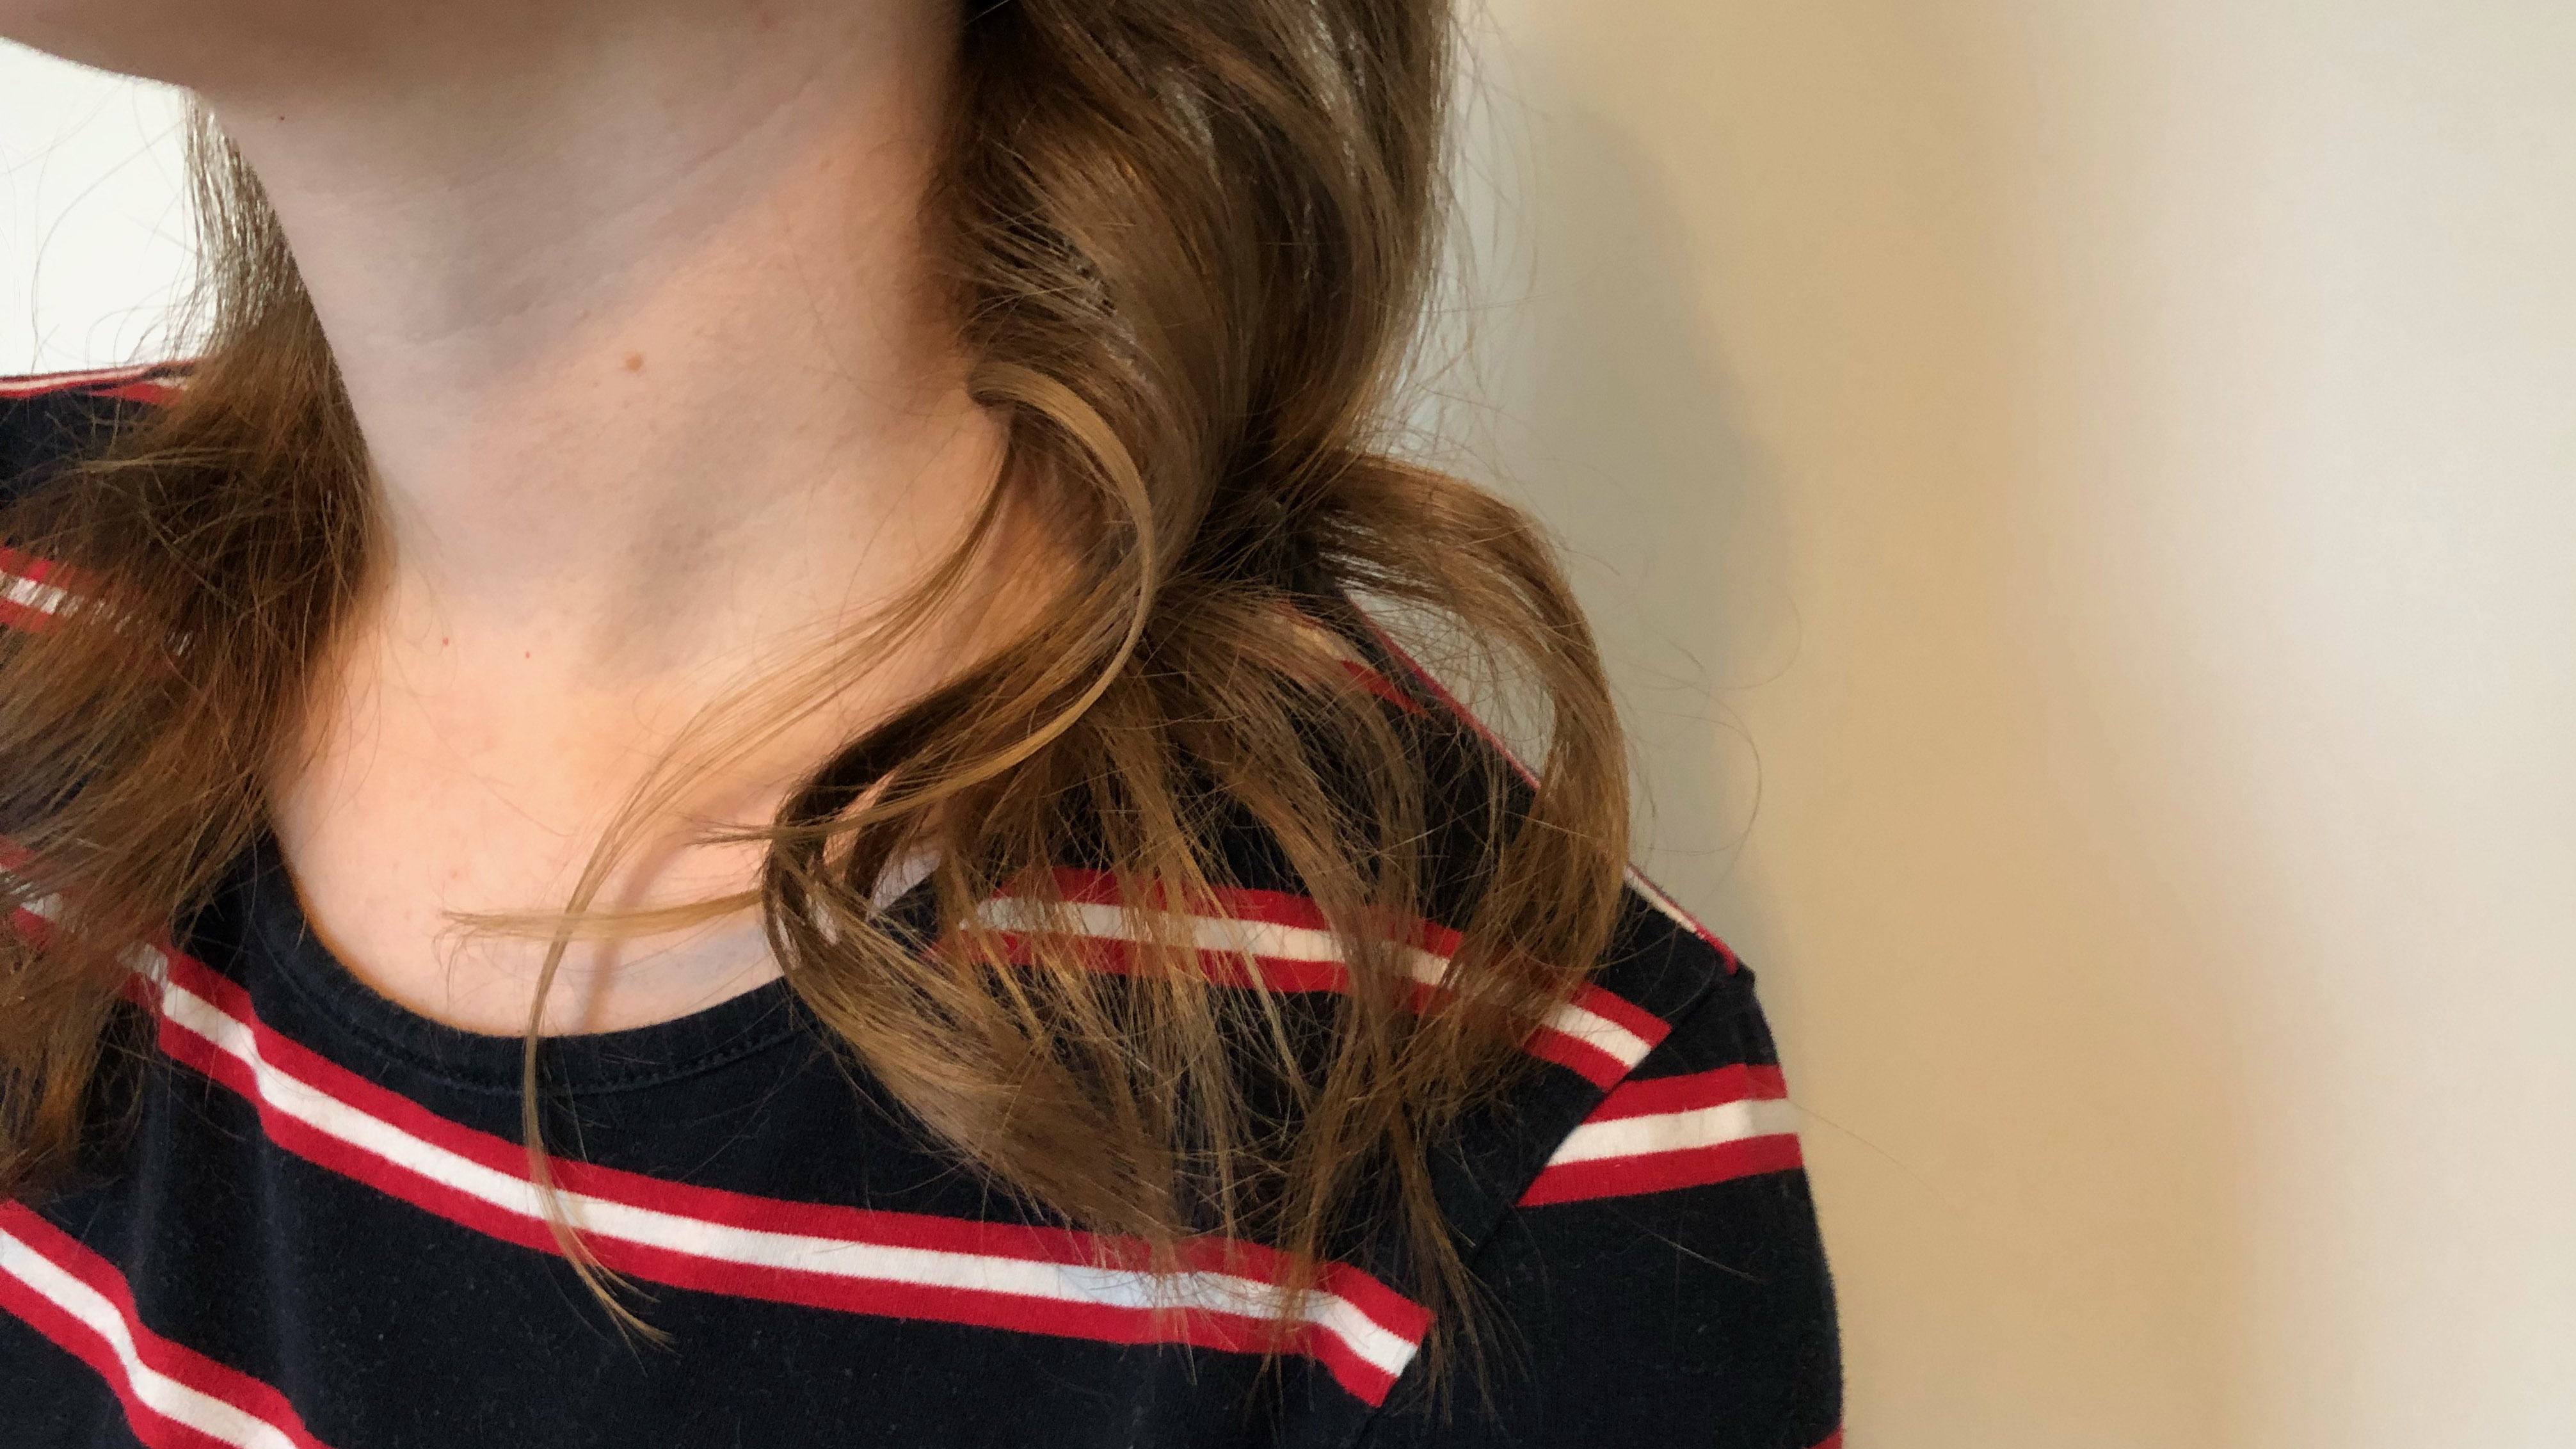
11. Once you’ve finished, run your fingers through the curls to break them up and apply hairspray to help them hold. Aussie Hairspray ($10.47, Amazon) is a good brand.
How to create loose waves with straighteners
Alternatively, if you don’t want tight curls, you can also create a continuous ‘s’ shape with each strand of hair and repeatedly clamp the straighteners over the shape from top to tip. This takes more time and effort, but the results look more wavy. You can make the ‘s’ tighter or looser depending on your desired effect.
Your hair will now be full of curls and ready to wow. If it’s your first time and the result doesn’t look as good as you expected, don’t give up. This method takes practice and practice makes perfect.

Katie Mortram used to be a Homes Editor for Tom's Guide, where she oversaw everything from kitchen appliances to gardening tools, as well as smart home tech. Specializing in providing expert advice for cleaning and home manintenance, she now works as Household Advice Editor for Good Housekeeping.
