How to clean vinyl records
Here’s how to clean vinyl records to get all your favorite LPs sounding pristine
This guide tells you all you need to know about how to clean vinyl records for pristine and crackle free sound. If you love buying music on vinyl but hate the pops and crackles that can often be heard when it's playing, read on.
Even new records can suffer from unpleasant clicks and crackles as they play. These extraneous sounds are often caused by a combination of surface noise from dirt trapped in the record's groove and static.
Generally speaking, the better the turntable and stylus the record's playing on, the more effective it will be at keeping clicks and pops to a minimum and at handling vinyl records that are in poor condition. It's a common problem and can even be an issue when playing records on one of our best turntables for any budget or our best budget turntables.
But with a just a few simple accessories and a bit of time to take care of the physical format, we'll help you keep your much-loved record collection sounding as good as new for years to come.
How to clean vinyl records
Some may like the crackly sound that seems to be an inherent part of the old-school format, but your favorite music on vinyl doesn't have to sound that way. Below we show you how to clean up vinyl records and take you through the process to help you minimize the crackle. Read on to find out how.
Manual wet cleaning options
As a record collector, I've found wet cleaning to be the best way to remove any release mold agent residue from new vinyl purchases (see how vinyl records are made), or any deep-seated dirt on secondhand vinyl acquisitions. It's often said that you can use warm tap water and household dish-washing detergent, but I don't recommend doing this as it can leave residues on the record's playing surface. Also, you need to be very careful not to let excess water leak on to the record label in the center. If it does, it will leave an unsightly watermark that you can't remove.
To achieve a good wet clean you'll need to invest in a few accessories to carry out the cleaning process. These needn't be expensive and are a good investment to help you keep your vinyl collection sounding great for years to come.
Sign up to get the BEST of Tom's Guide direct to your inbox.
Get instant access to breaking news, the hottest reviews, great deals and helpful tips.
Record cleaning solution
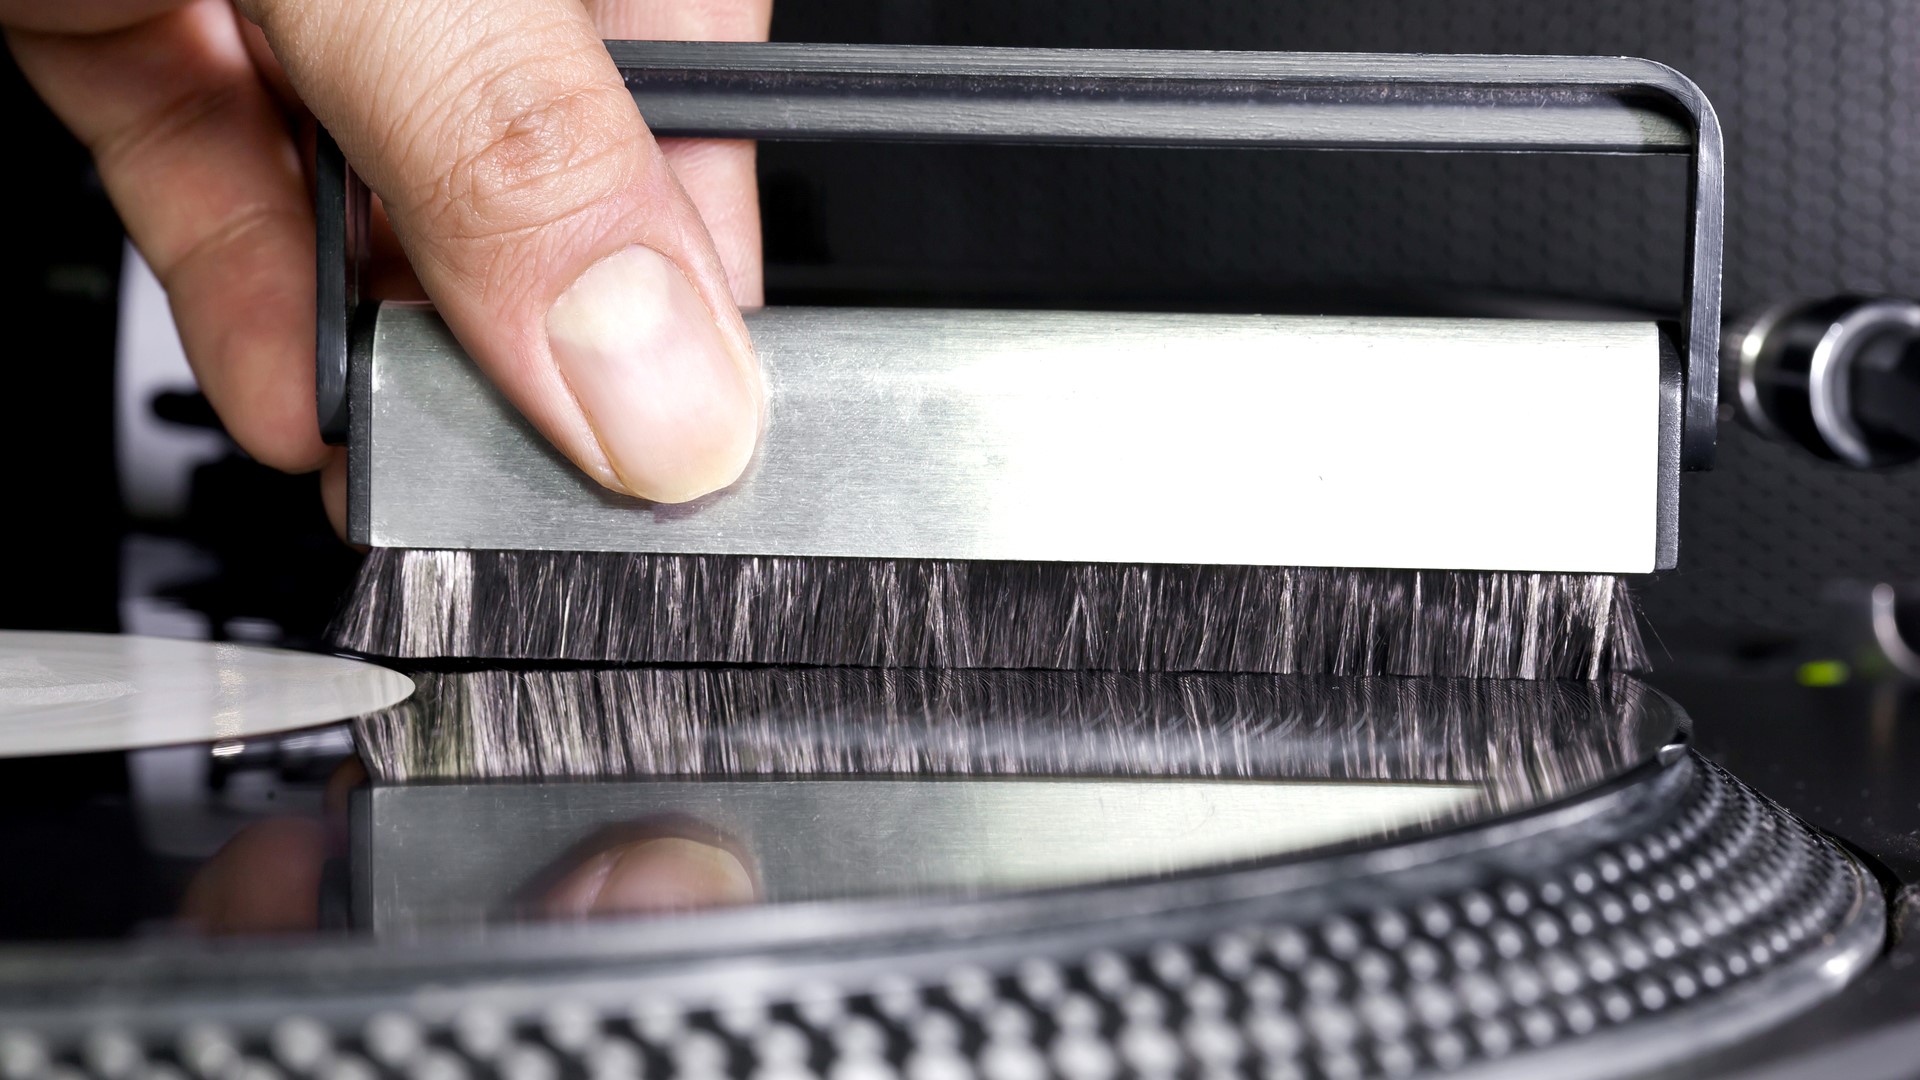
Cleaning brush/applicator
Microfiber cloth
Whether you opt for the manual or semi-automatic wet cleaning method, both use record cleaning solution, which is sometimes mixed with distilled water. We found an all-in-one record care solution, which receives 5 out of 5 stars from over 600 reviews on Amazon. You'll also need some form of applicator like this record cleaning brush from Best Buy or this velvet pad/brush that we found on Amazon.
Both applicators received positive reviews from fellow record collectors, and are ideal for use on a record's delicate playing surface. Once you've got all the tools, follow this step-by-step guide to carry out a manual wet clean:
1. Remove the record from its cover and inner sleeve.
2. Place the record on the turntable's platter and start the platter spinning at 33RPM.
3. Take your applicator and apply a small amount of the record care solution to its surface as directed by the guidance.
4. With the record spinning, gently apply the wet applicator to the playing surface. Hold it in place across the width of the playing surface for a couple of rotations and then remove the applicator from the record's surface.
5. Apply the applicator again, but this time gently drag it to the outside edge of the record to remove any dirt and debris from the record's groove. You can repeat this action several times, but make sure to remove anything that's been collected by the brush before placing the brush on the records surface once again.
6. Leave the record to dry naturally or wipe it over with a fresh microfibre lint-free cleaning cloth to dry off the solution.
7. Once the record is completely dry, flip it over and repeat the process to clean the other side.
Reservoir washing systems
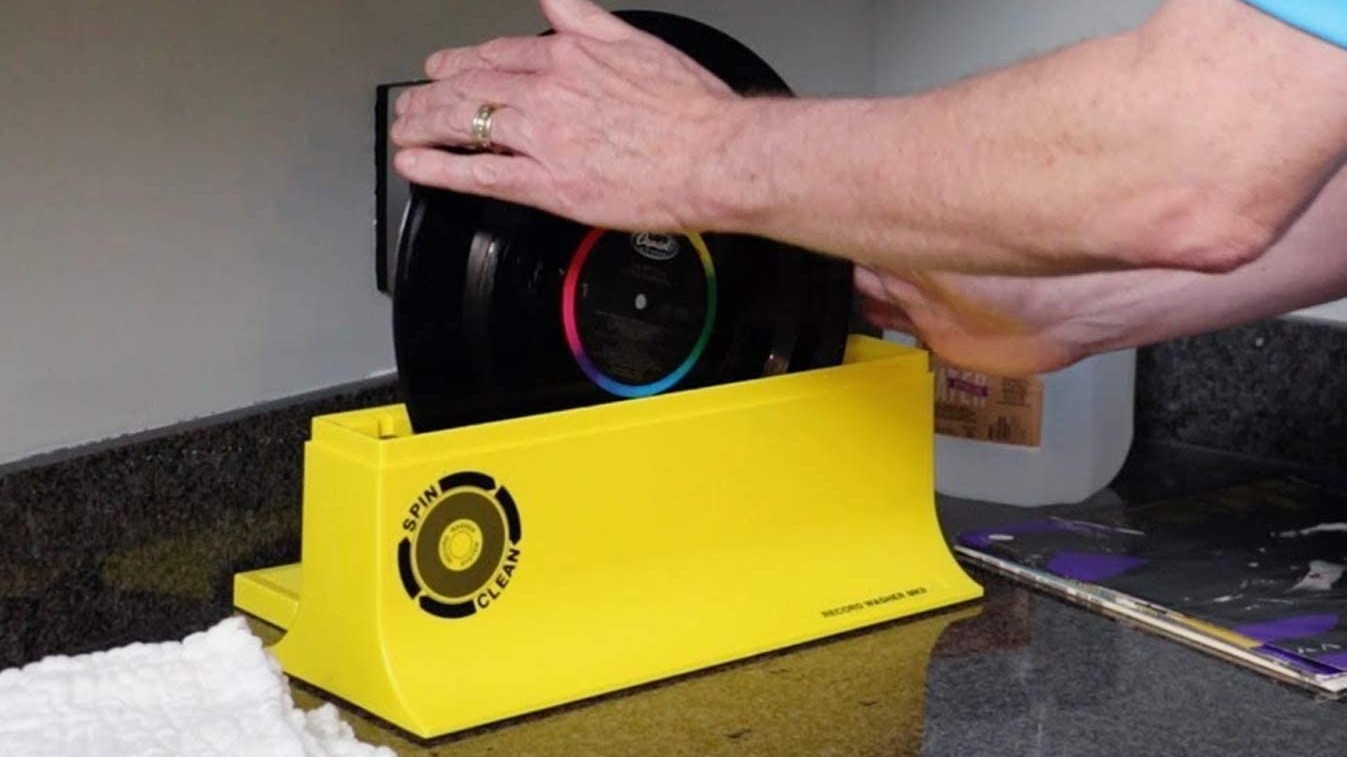
There are several products available that allow you to clean vinyl records without needing to use a turntable and can clean both sides of the record at a time. A good option is this Record Washer System by Spin completely-Clean available at Amazon for less than $80. Although, I've not used this specific product myself, I've used similar models that allow you to manually rotate records through a pair of brushes in a reservoir of distilled water (not supplied) mixed with record care solution, and they delivered great results.
Note: using distilled water is essential to ensure that the water is free of any minerals or impurities that could contaminate the record playing surface. You can usually pick up distilled water fairly cheaply from a grocery store or via online retailers such as Amazon and Walmart.
The process for each reservoir cleaning system is pretty similar. Although it's always wise to check the maker's instructions before your start cleaning, the steps through the process should look something like this:
1. Assemble the unit and fill the reservoir/bath as per the maker's instructions.
2. Remove the dirty record from its cover and inner sleeve.
3. Place the record in the bath sliding it between the two cleaning brushes until it rests on the rollers at either end of the reservoir.
4. With the palm of your hand placed on top of the outer edge of the record, gently rotate the disc clockwise and then anti-clockwise so that it completes several revolutions passing through the brushes and cleaning solution in each direction.
5. Carefully remove the disc and allow it to dry completely.
Semi-automated cleaning machines
There are a number of record cleaning machines on the market that offer semi-automated cleaning to restore your treasured vinyl to pristine condition. Although pricey for newbie record collectors, those with larger collections may be happy to make the investment in a machine that can apply the cleaning fluid, brush it into the groove and then vacuum it out. Dirt from the record is suspended in the cleaning solution in the reservoir and held in the machine until its emptied at the end of cleaning. These record cleaning machines are very efficient if you have large batches of records to restore, and I've had experience of several semi-automated models over the years.
Pro-Ject's VC-E record cleaning machine
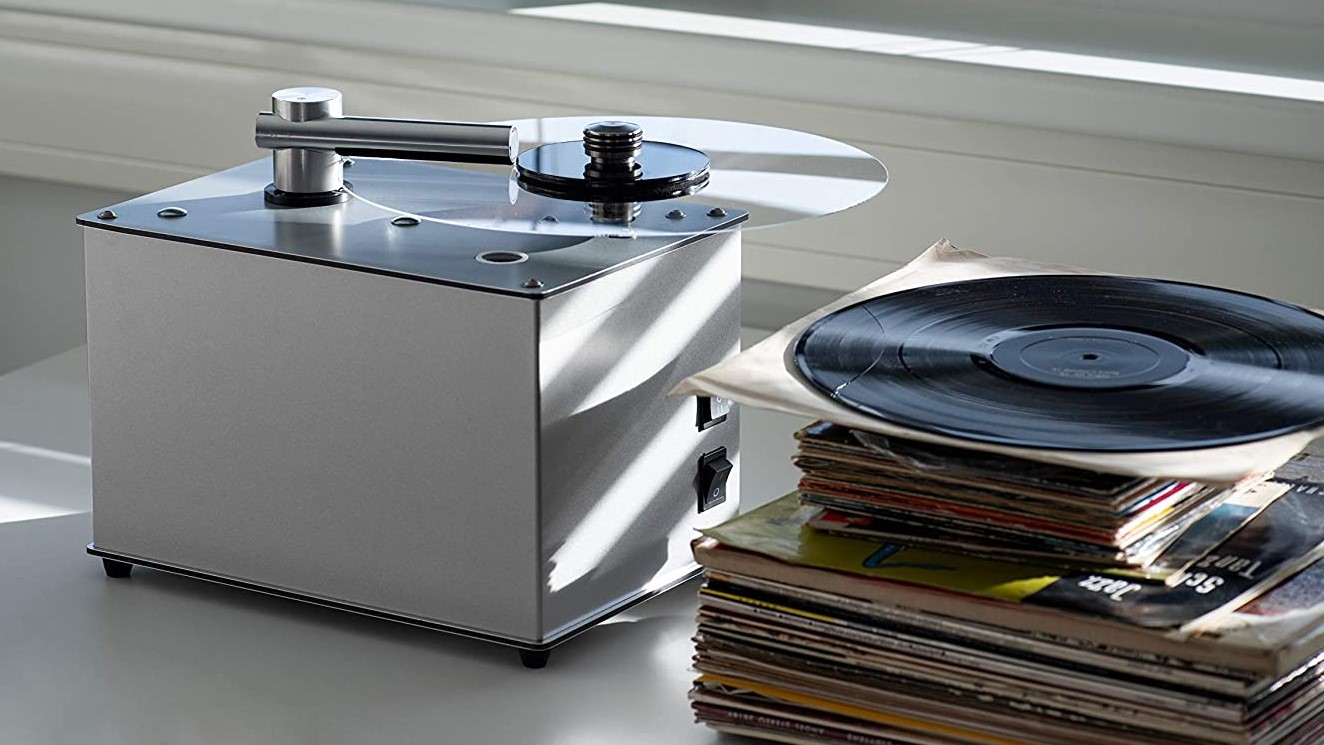
One of my favorites and more affordable semi-automated wet cleaners is Pro-Ject's VC-E record cleaning machine. It's priced at $449 on Amazon or available to buy directly from dedicated audio dealers through Pro-Ject's own website.
Measuring 8.2 x 12.2 x 10.5 inches and weighing in at 14.3 pounds, Pro-Ject's industrial-looking VC-E may look a bit out of place next to your turntable, but it's a very worthwhile addition should you be looking to clean up large batches of your record collection. I was lucky enough to try this model out a few years ago, and although the vacuum pump was a bit on the noisy side during my testing, the cleaning results were impressive at the price.
Records are clamped on to the platter that rotates the disc, while the metal arm applies the cleaning solution from an internal reservoir. Once applied, switching on the vacuum pump sucks up the residue along with any dirt in the grooves and also dries the vinyl record at the same time.
The only slight downside is that you'll need to invest in some kind of protective cover or perspex lid to keep the VC-E dust free. Either that, or box it up each time you've completed cleaning a batch of LPs.
Pro-Ject also has a larger and more powerful model available called the VC-S2 SAU. It costs $749 but is currently discounted to $499 at Amazon.
Fully-automated cleaning
If you have a very large record collection and money is no object, then you may want to consider a fully-automated record cleaning machine with ultrasonic cleaning technology.
Ultrasonic cleaning is more often associated with the semi-conductor industry, where surfaces need to be cleansed on a molecular level. The deep cleaning technique can be found in several upmarket record cleaning models, including those from Audio Desk, and use high-frequency pressure and powerful amplification to charge tiny bubbles and create a phenomenon called cavitation that release energy as heat and miniscule water jets to clean down to a microscopic level.
Degritter record cleaning machine
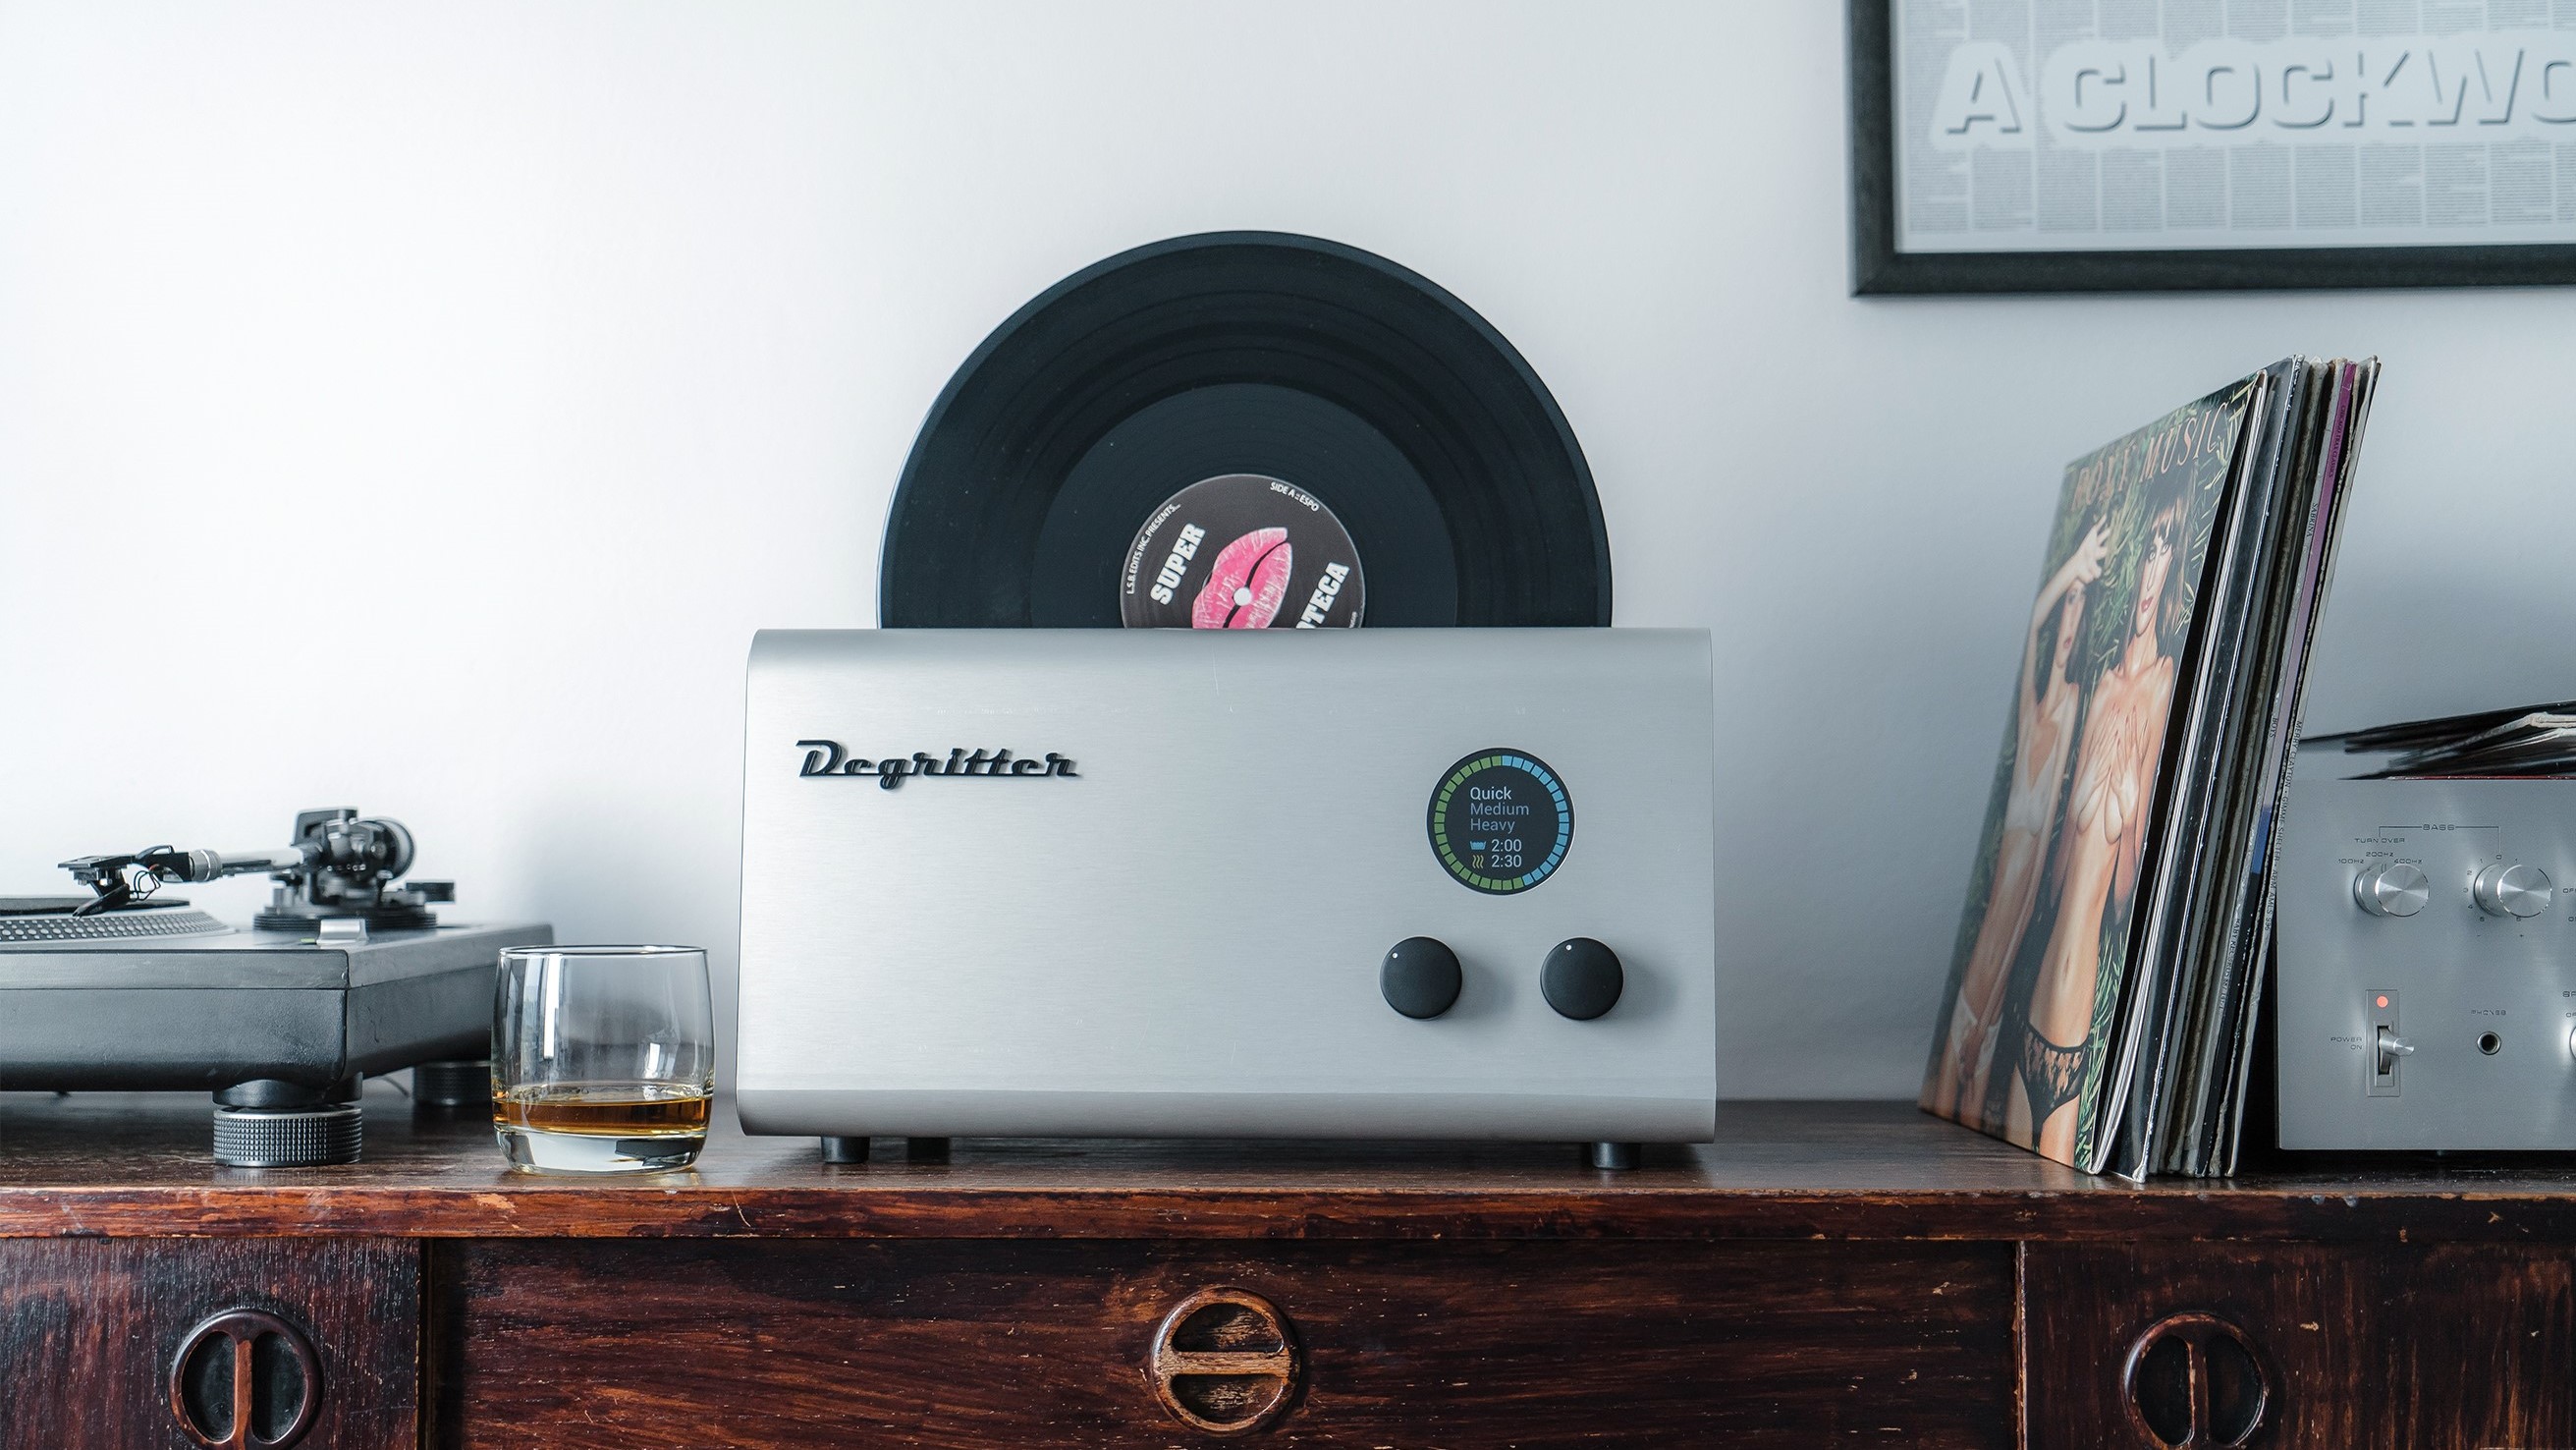
Although cheaper than some ultrasonic record cleaning models I've experienced, the Degritter is still very expensive at $3,000. Available through Digritter's own website or audio specialist dealers it comes in black or silver finishes and looks a bit like a super-sized toaster thanks to the slot in the top where you insert the vinyl record to be cleaned. I've used the Degitter many times, and it always delivers superb cleaning results no matter what condition your vinyl is in. There are a selection of fully automated cleaning and drying programs, and it cleans both sides of the disc at the same time. It's a pleasure to use and a mesmerizing experience to watch it in action as it runs through a cleaning program. It looks good enough to be left out on display beside your turntable too.
Keeping it clean
Whatever method you use to clean your records, I always recommend discarding the original inner sleeve once the clean is complete. After all, the sleeve may be contaminated with old dirt particles and hairs that would instantly be attracted to the record's clean surface the moment you insert the record back into the old sleeve. To avoid this, swap it for a polyethylene sleeve and insert that into the album cover. If old inner sleeve contains artwork and album info or lyrics, you can always slip it inside the album cover along with, but separately from, the polyethylene sleeve containing your pristine vinyl.
What is a vinyl record?
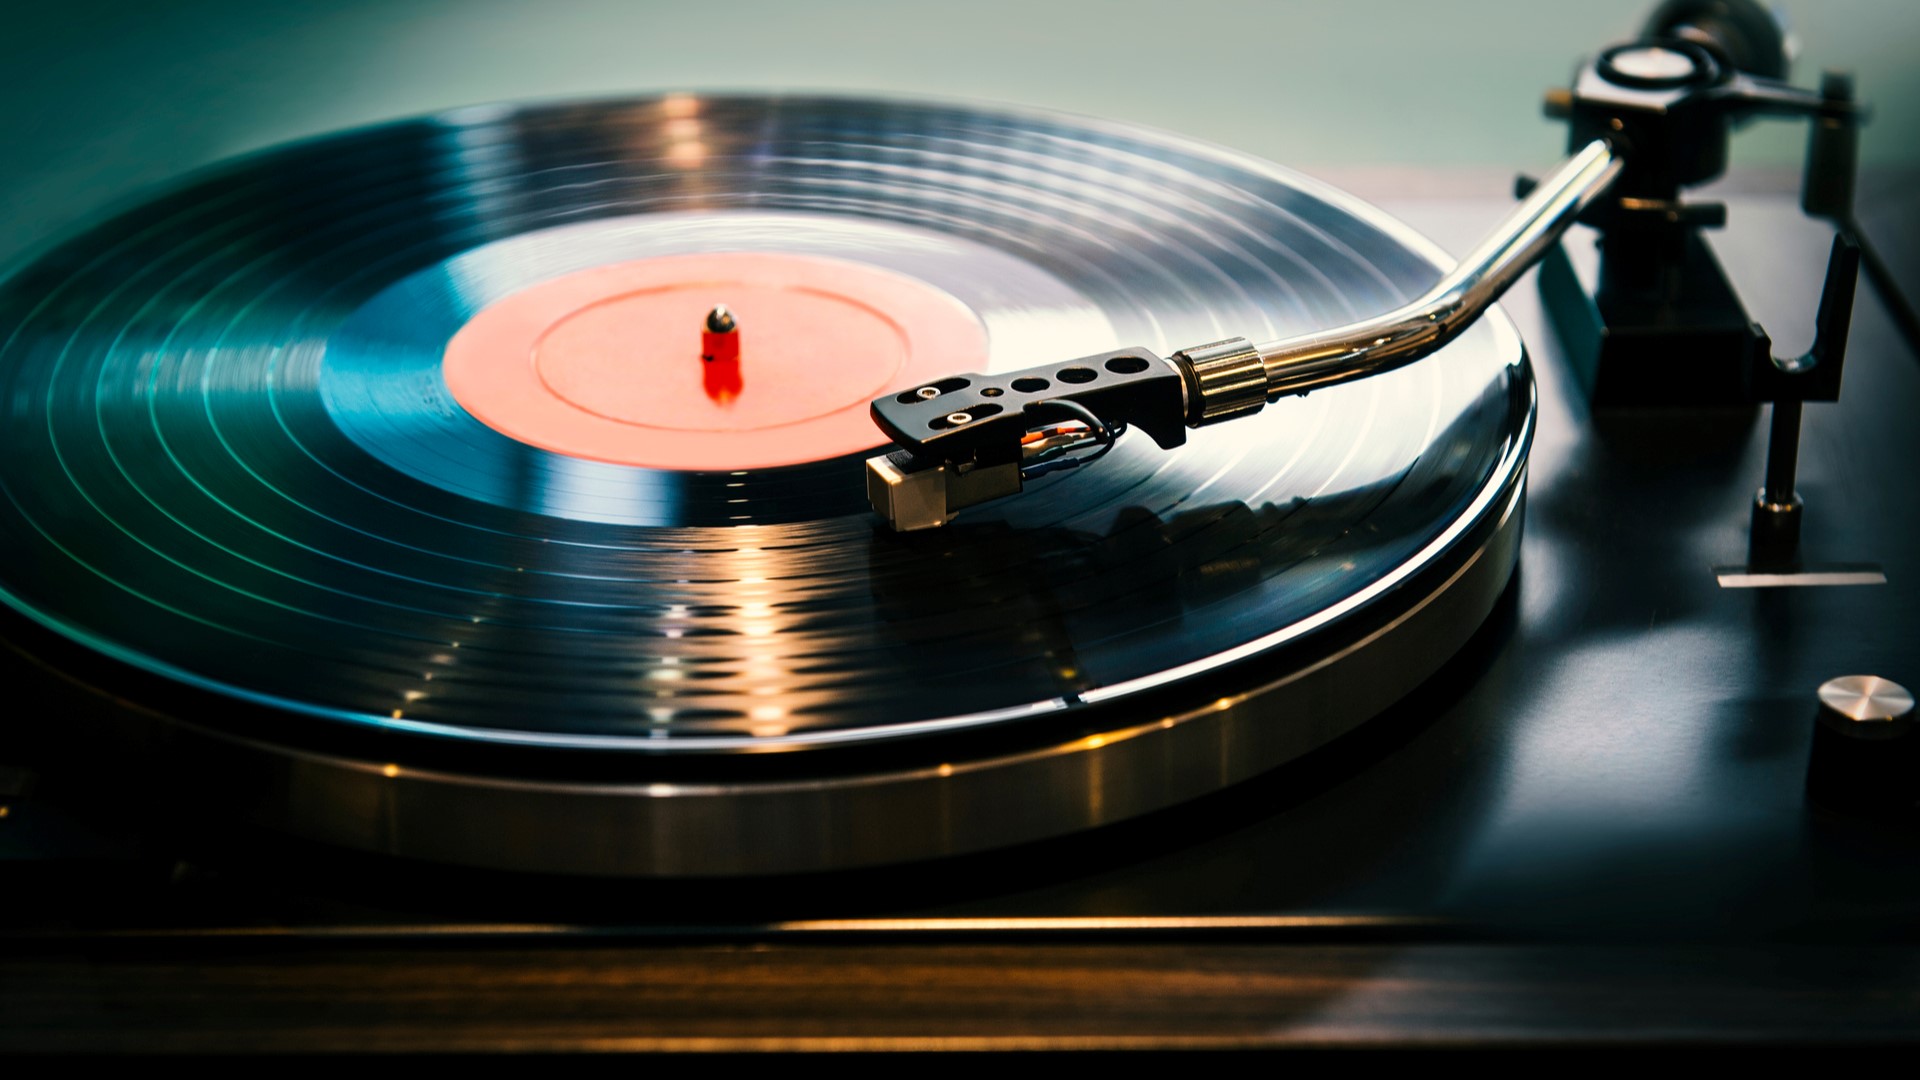
Vinyl is a type of plastic made from ethylene (found in crude oil) and chlorine (found in regular salt). The two substances combined form Polyvinyl Chloride (PVC) resin, or vinyl.
As any vinyl collector will know, records have two sides which contain a continuous groove that runs from the outside edge of one side of the disc to the label in the middle. A record can hold up to 40 minutes of music per side with the groove tracking tightly, although 20 minutes per side is more normal and doesn't sacrifice sound quality. Flip the record over to play the other side.
The groove contains a microscopic analog waveform of recorded music, which is read by a turntable's stylus placed in the groove to track the waveform. The stylus vibrates as the disc spins and tracks the undulating waveform. The vibrations generate a tiny audio signal that's boosted by a special phono stage amplifier, which in turn is boosted by a more power amplifier so that the soundtrack contained on the record can be heard through speakers.
A turntable is a delicate piece of audio equipment and the sensitive stylus can easily detect specks of dust, dirt, greasy fingerprints, or hair particles, which often contaminate the playing surface of a record. These foreign particles make the stylus exhibit a crackling sound when it comes into contact with them.
How vinyl records are made
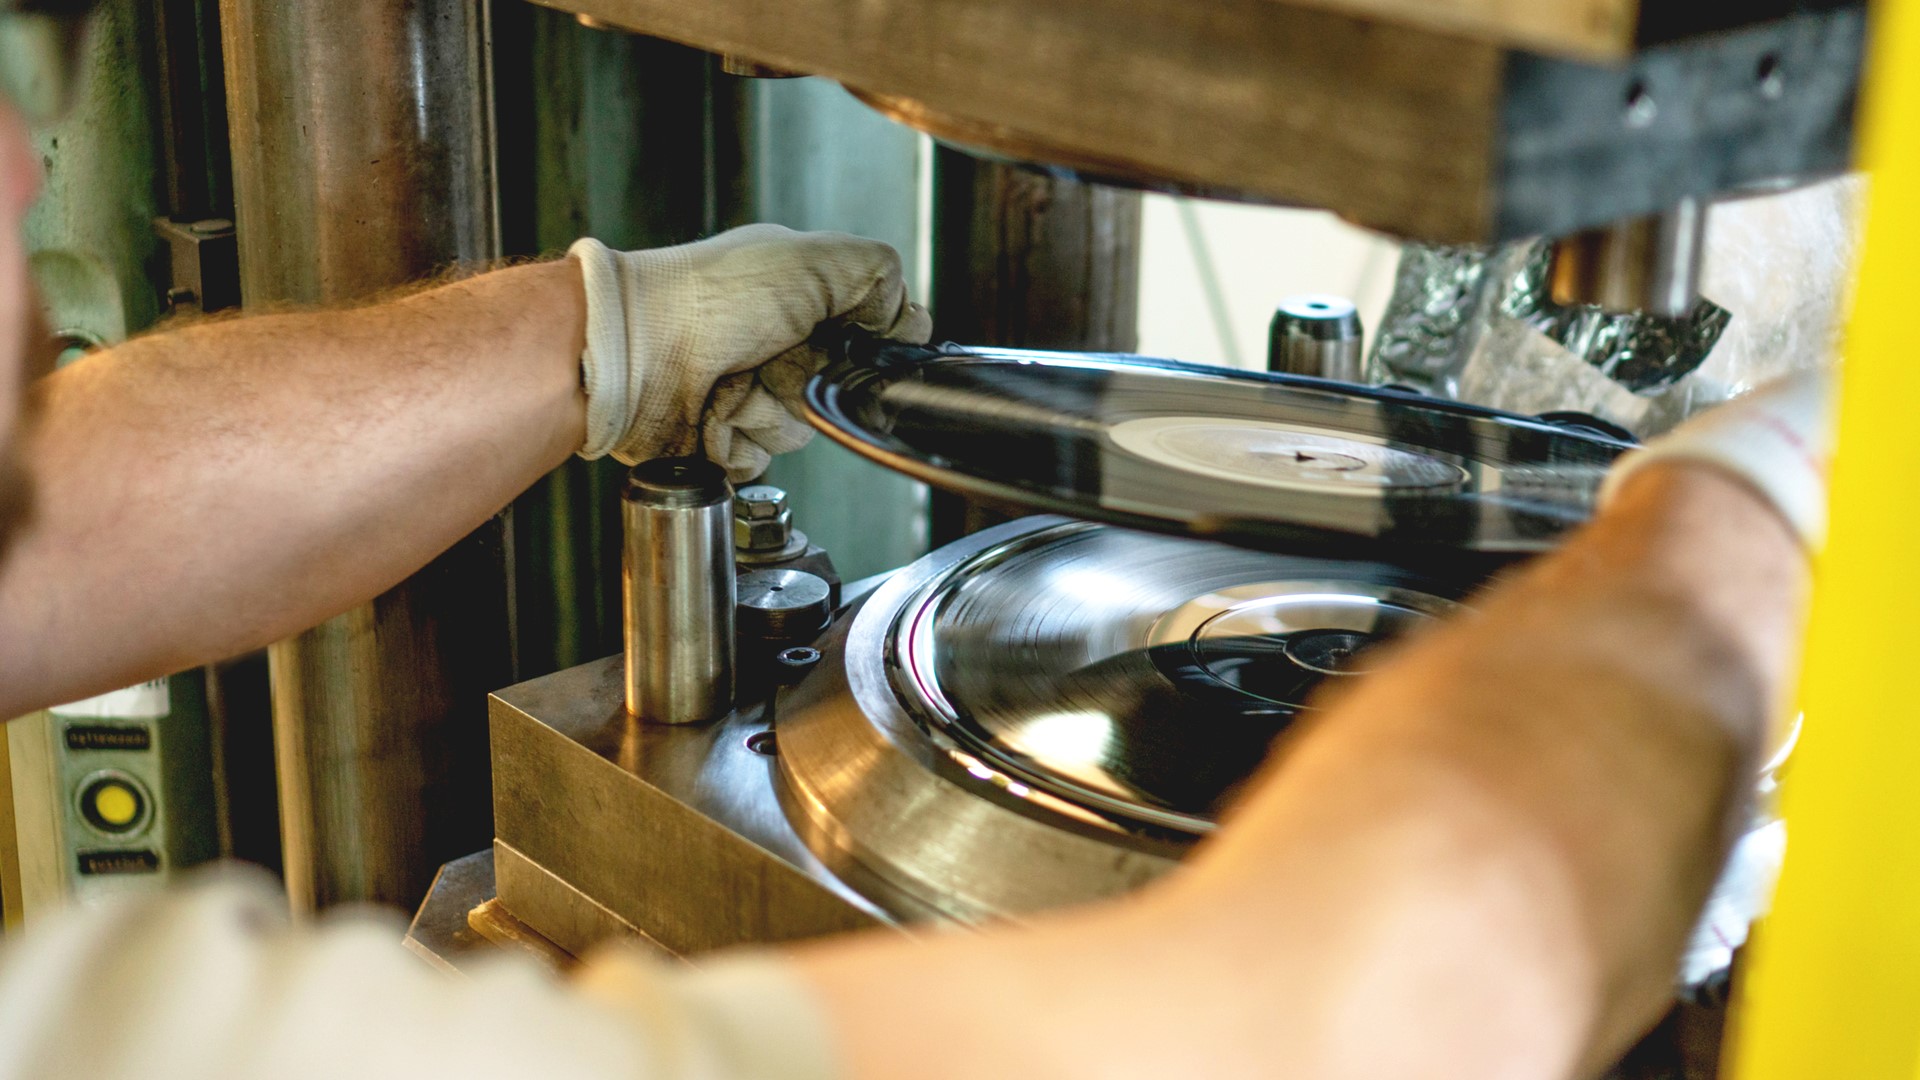
Records are mechanically pressed from raw vinyl squeezed into shape using temperature and hydraulic pressure. A stamper imprints the vinyl with the groove from the original master recording. This industrial process requires a chemical agent to release the vinyl from the stamper mold, and it's this residue that can too often be the cause of crackle when playing a record on a turntable.
More from Tom's Guide

After 2.5 years as Tom's Guide's audio editor, Lee has joined the passionate audio experts at audiograde.uk where he writes about luxury audio and Hi-Fi. As a former editor of the U.K.'s Hi-Fi Choice magazine, Lee is passionate about all kinds of audio tech and has been providing sound advice to enable consumers to make informed buying decisions since he joined Which? magazine as a product tester in the 1990s. Lee covers all things audio for Tom's Guide, including headphones, wireless speakers and soundbars and loves to connect and share the mindfulness benefits that listening to music in the very best quality can bring.
