How to check your PC’s CPU temperature
Here's how to check your PC's CPU temperature to ensure it doesn’t overheat
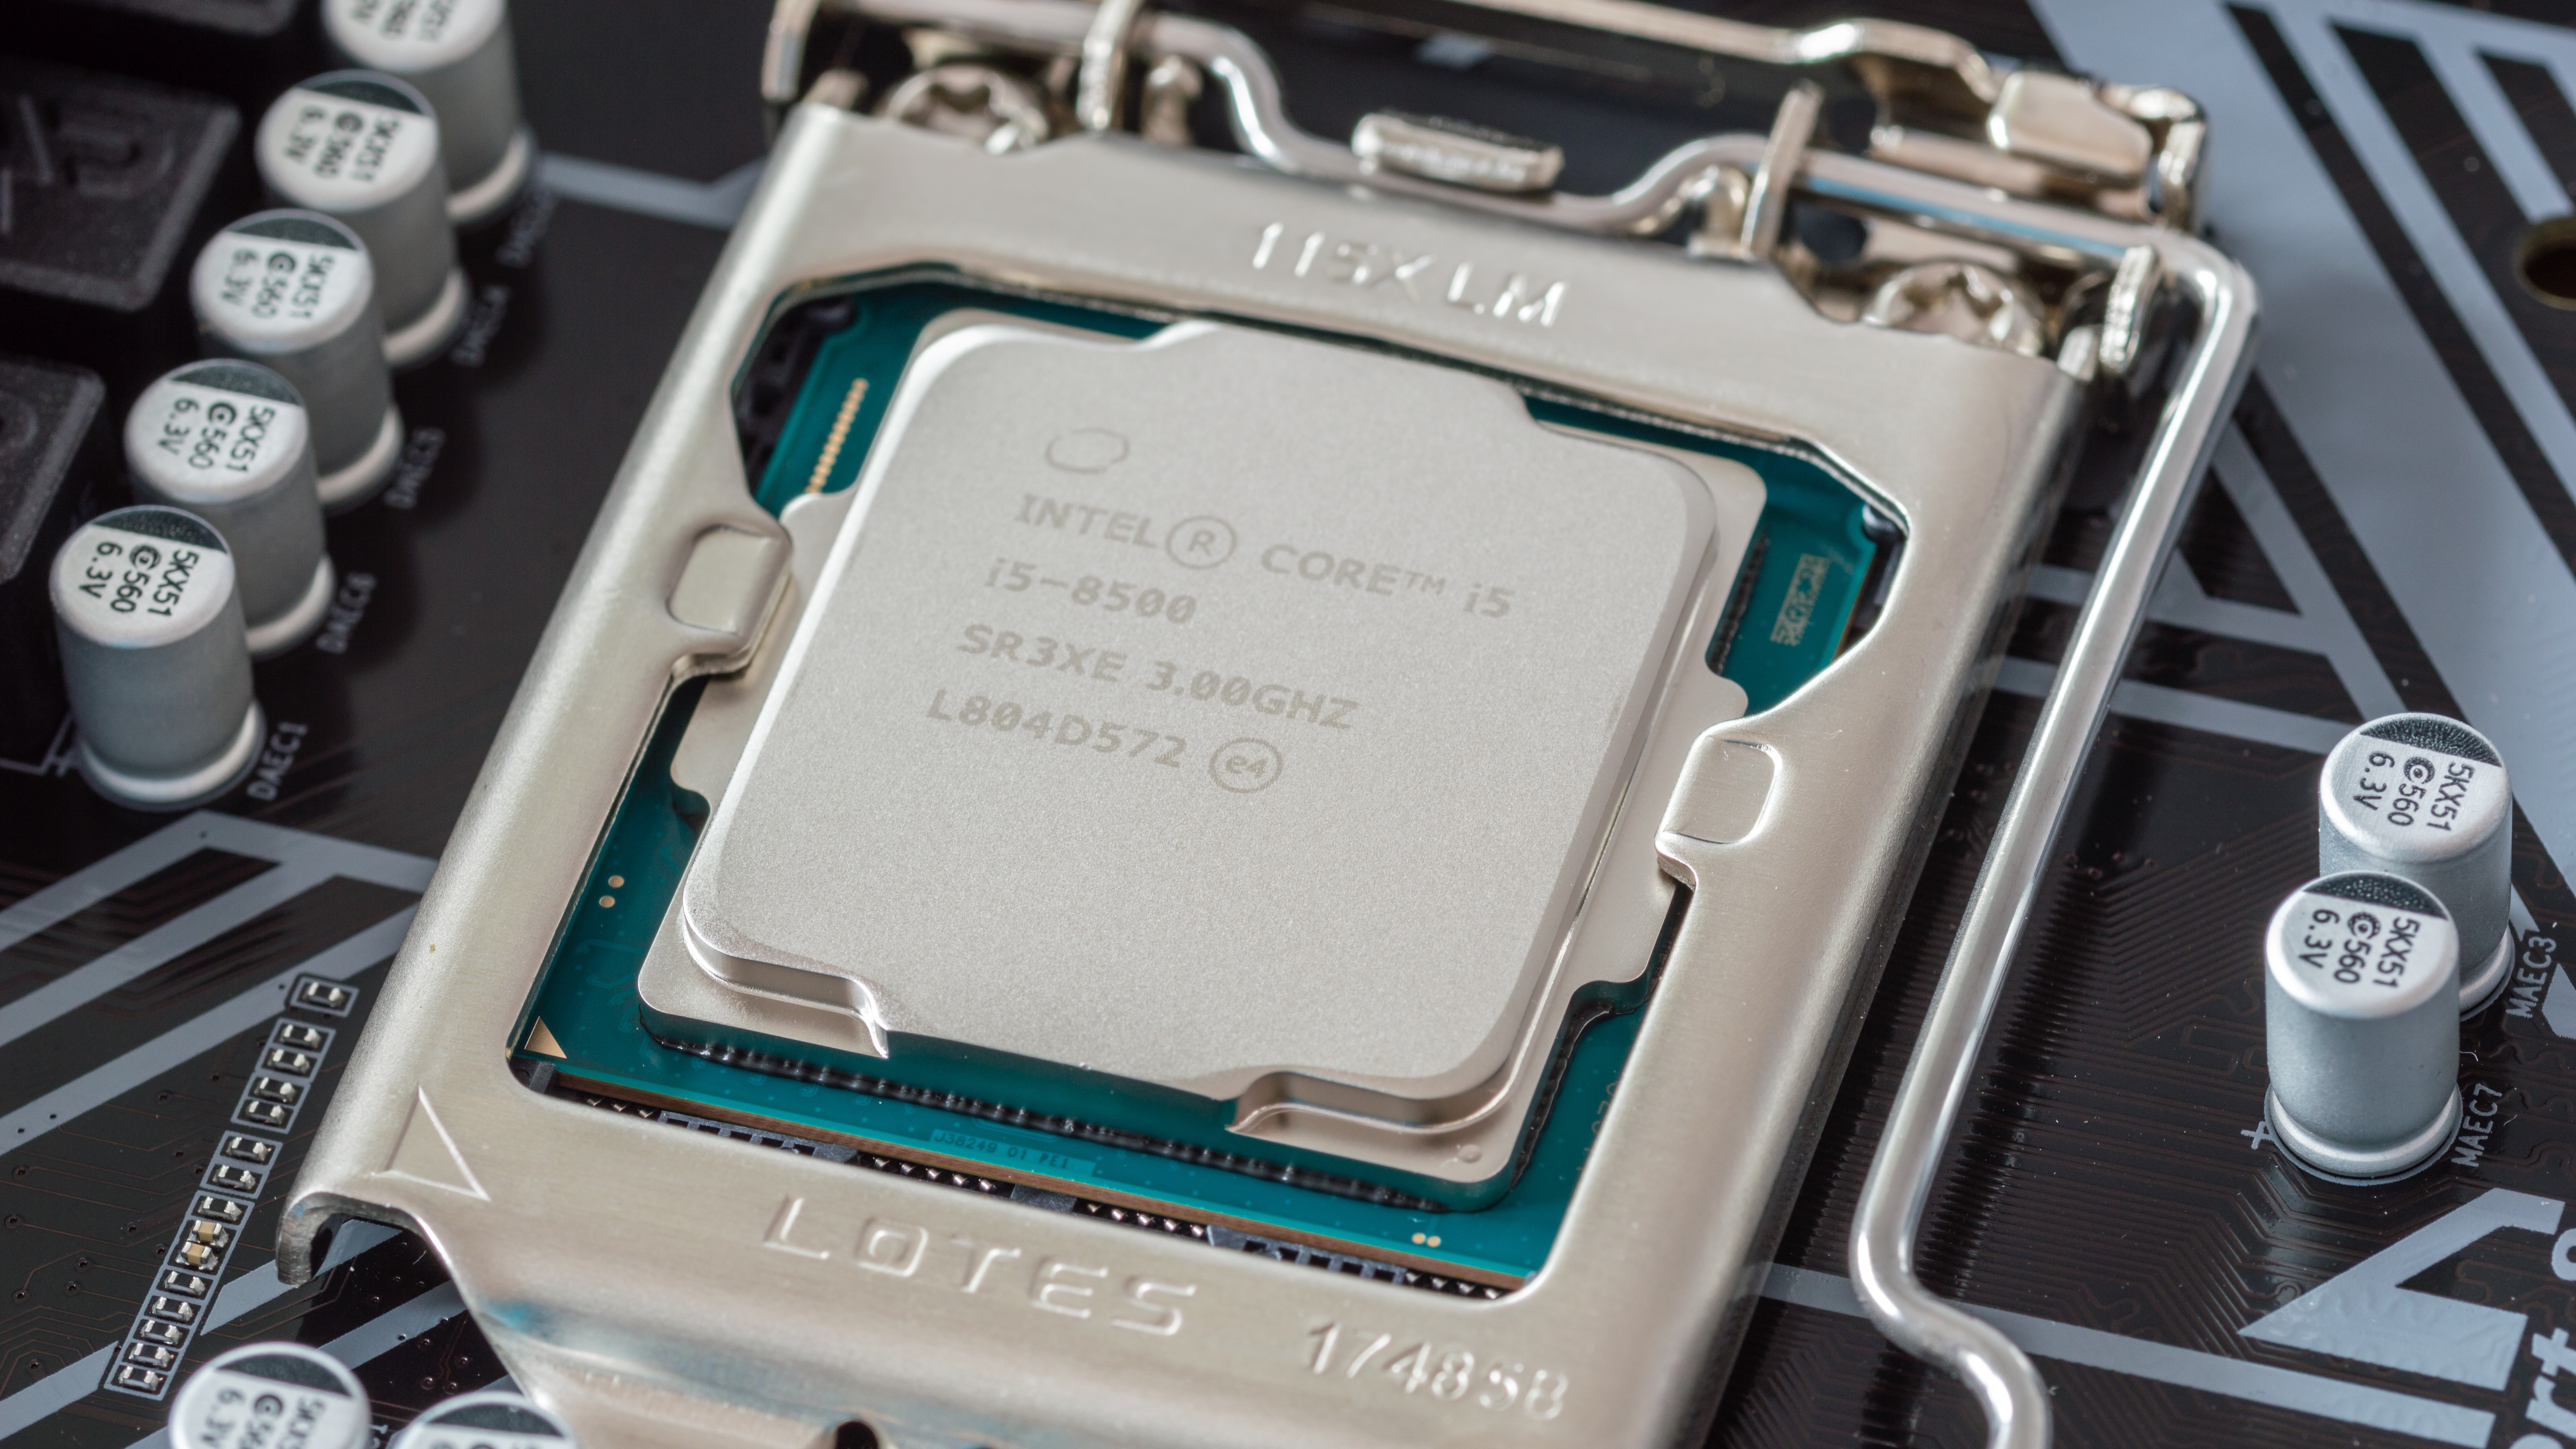
Knowing how to check your PC's CPU temperature is important if you regularly use a desktop or laptop computer for gaming, media editing or other hardware-intensive tasks.
While overheating isn’t a common problem on pre-built systems, checking that your processor is running at sustainable temperatures can help you identify potential build defects — or simply decide to invest in better, cooling. In this guide we’ll show you how to easily monitor CPU core temperatures using free software.
- Here’s how to benchmark your graphics card
- Find out how to rotate the screen in Windows 10
- Learn how to check your PC's specs in Windows 10
Windows has no CPU temperature monitoring tools of its own, so instead we’ll be turning to Core Temp. This is a nifty little free utility that can report various CPU metrics, including power usage and clock speeds.
What we’re more interested in, though, is its ability to monitor the temperature of all your CPU’s cores at once. This lets you know, at a glance, if they’re all running at safe temperatures.
Exactly what is a safe CPU temperature? When idling or only running basic software, your CPU cores ideally shouldn’t go above 50 degrees Celsius. Under heavy load, anything under 80 degrees Celsius is good, and anything below 95 degrees Celsius is tolerable.
Any higher than that, though, and your CPU may start throttling itself — resulting in slower performance — and your PC may even shut itself down to prevent damage from overheating.
How to check your PC's CPU temperature
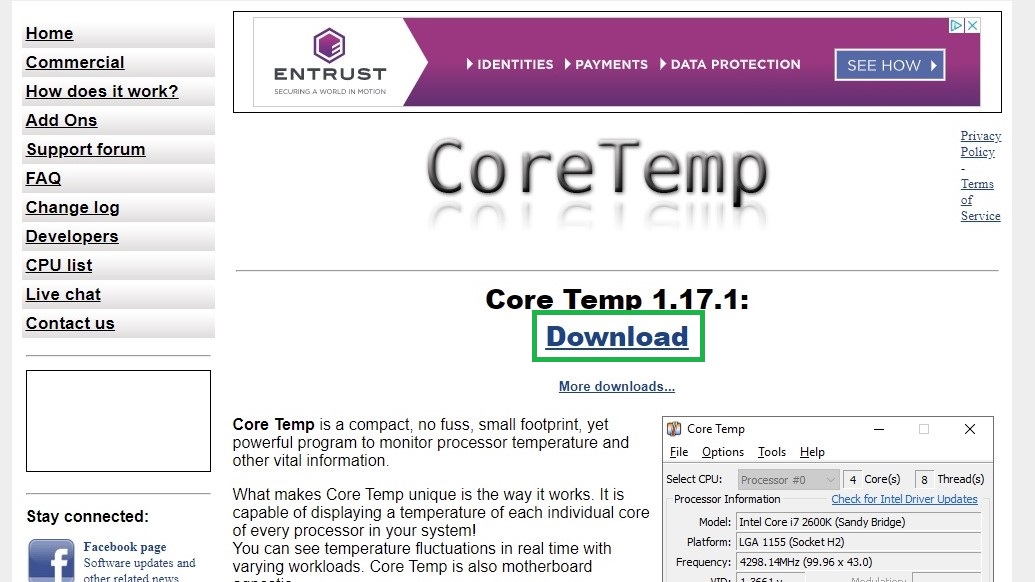
1. Head to the Core Temp website and click “Download.” The download should start after a few seconds; you don’t need to click anything else.
Sign up to get the BEST of Tom's Guide direct to your inbox.
Get instant access to breaking news, the hottest reviews, great deals and helpful tips.
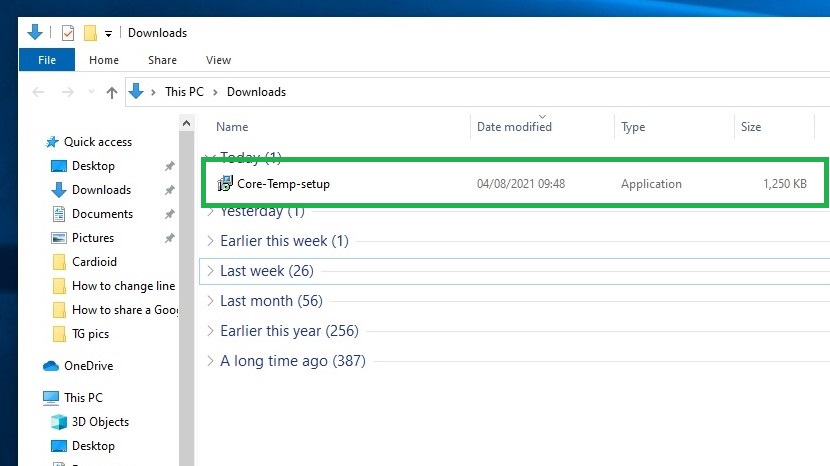
2. Open your Downloads folder and double-click the “Core-Temp-setup” executable file.
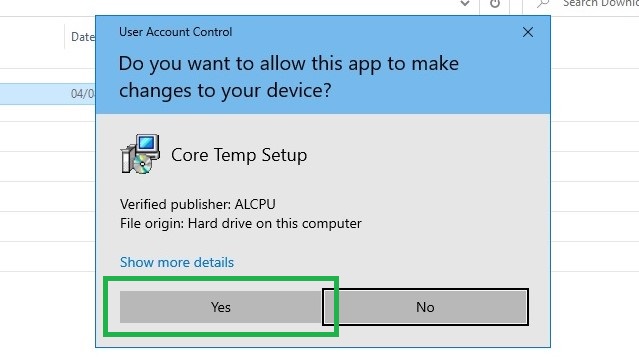
3. Click “Yes.”
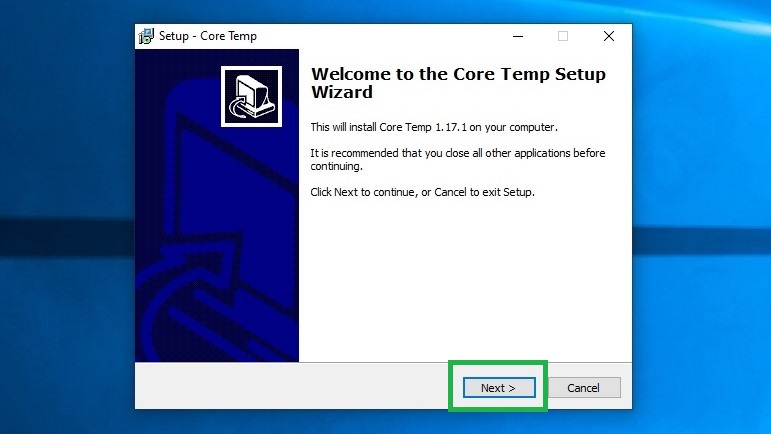
4. In the Core Temp Setup Wizard, click “Next” to start installing.
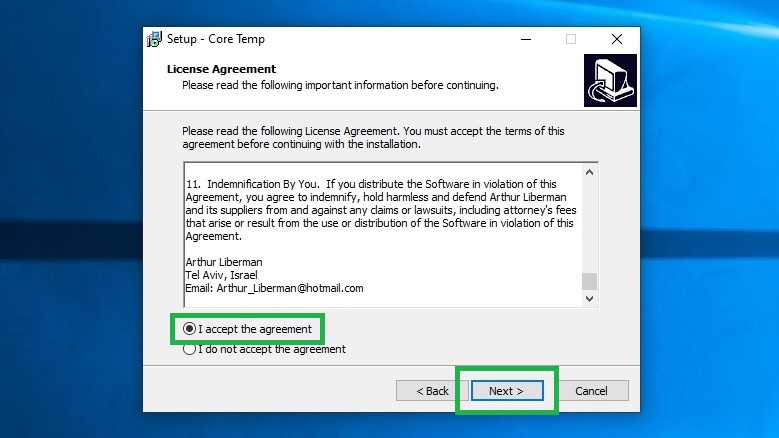
5. Read the license agreement — yes, all of it — then click “I accept the agreement” followed by “Next.”
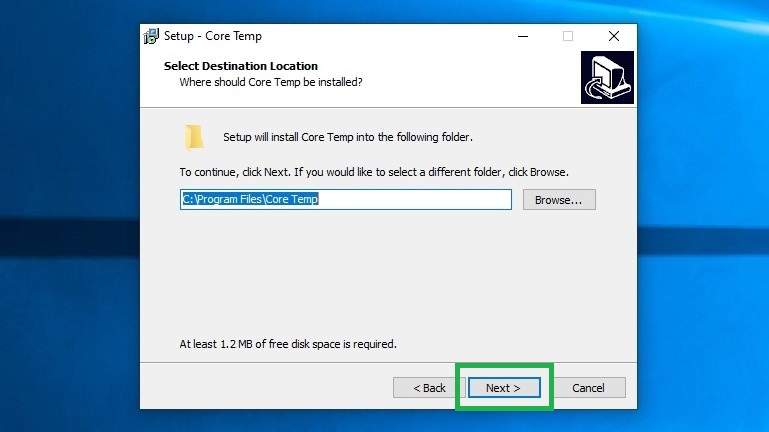
6. Click “Next” to continue, unless you want to change where on your PC's hard drive Core Temp will be installed. In which case, click "Browse" and choose or create a folder.
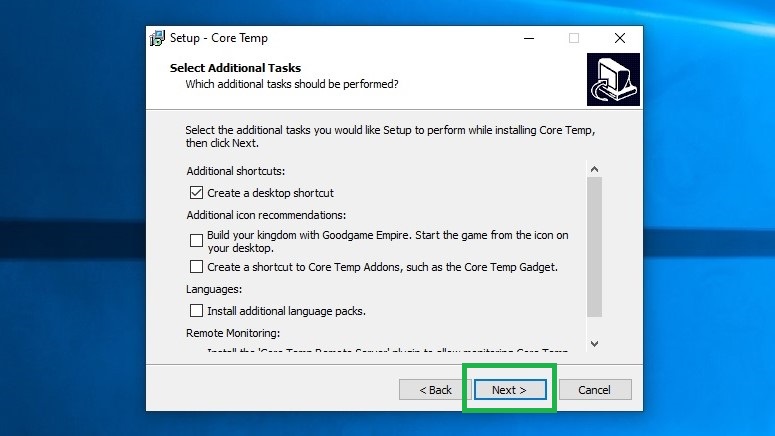
7. Core Temp will get a little cheeky here and ask if you want to install some bloatware, but thankfully you can decline. Make sure all the checkboxes are unchecked, unless you want the installer to create a shortcut, in which case leave “Create a desktop shortcut” checked. Click Next.
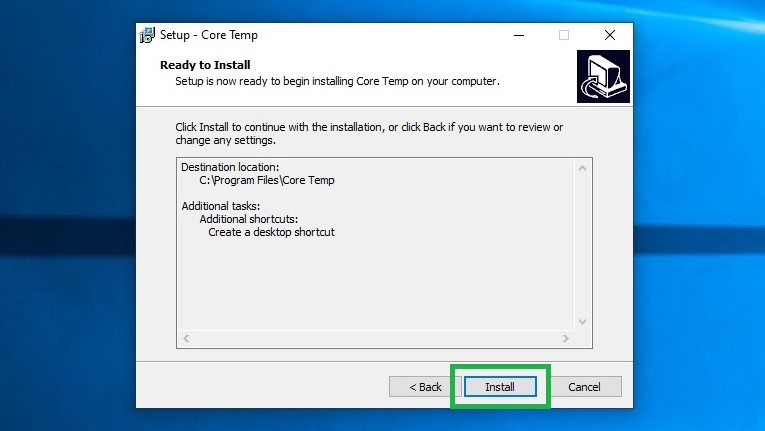
8. Click “Install,” then “Next.”
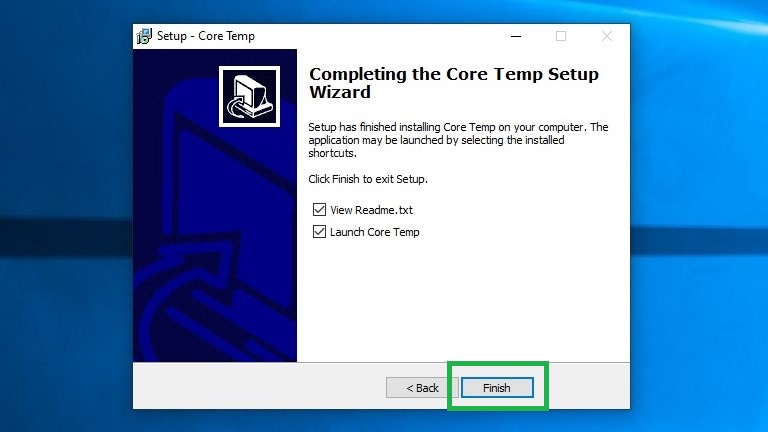
9. Click “Finish” to complete setup. Leave “Launch Core Temp” selected if you want to check your temperatures immediately; otherwise, you can always open Core Temp later.
10. In Core Temp, your CPU core temperatures are listed at the bottom; the more cores your processor has, the longer the list.
Check the left-most column for live readings, and check the “Min.” and “Max.” columns for the lowest and highest temperatures Core Temp has recorded while it’s been running.
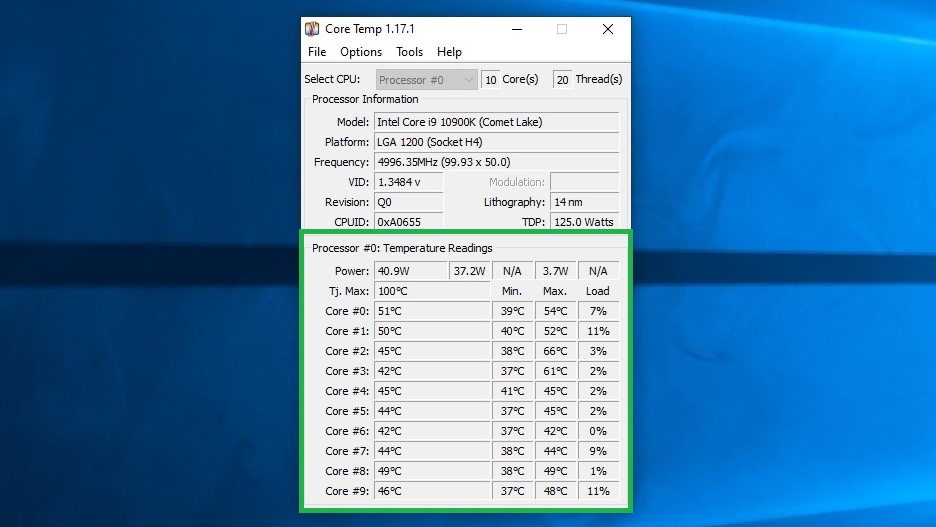
As you can see in the screenshot above, the temperature of our CPU has a minimum temperature of 37 degrees Celsius and a maximum of 66 degrees Celsius, so we're reassured that it's not overheating.
James is currently Hardware Editor at Rock Paper Shotgun, but before that was Audio Editor at Tom’s Guide, where he covered headphones, speakers, soundbars and anything else that intentionally makes noise. A PC enthusiast, he also wrote computing and gaming news for TG, usually relating to how hard it is to find graphics card stock.

