Google Photos update lets you add portrait blur to any image — here's how
Google Photos update lets you blur the background on pictures you’ve already taken
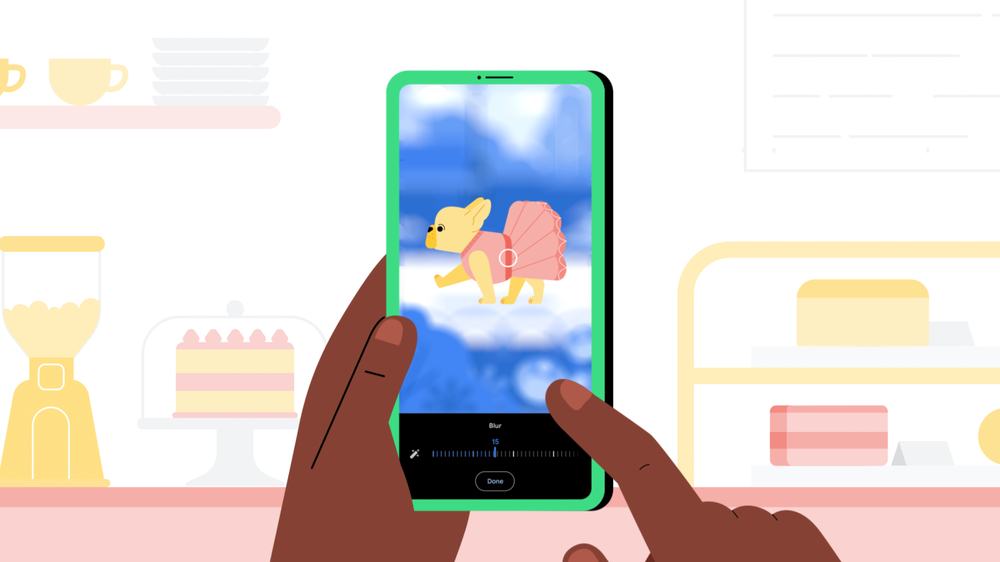
While plenty of the best smartphones offer a portrait mode, where the background is blurred pushing focus to the main subject, generally you have to enable it at the time you’re taking the photograph.
Google fixed that in its Google Photos app. The app’s built-in editor allows you to add a bokeh effect to any existing images of human subjects. And now Google is in the process of rolling out an update to allow anything to have its background blurred: your dog, your cat, your dinner — you name it.
“Whether it’s photos of your four-legged friends on vacation, an artistic shot of your prized houseplant or just what you had for lunch today, the only thing left to focus on is how you’re going to share them,” wrote Google’s Phil Ou on the company’s Keyword blog.
This isn’t an update for all, however. You’ll need to have either a Pixel phone or an active subscription to Google One linked to any Android handset with at least 3GB RAM, running Android 8.0 or later.
The update is rolling out to Android devices soon, so it may not be with you yet. Indeed, it’s not yet on my trusty Samsung Galaxy S10e, so I’ve had to demo with a traditional self-portrait. Nonetheless, here’s how to enable portrait blur to the image of your choice in Google Photos when the more versatile update lands on your phone.
How to add portrait blur on Google Photos
1. Load up the Google Photos app and find the picture you want to blur.
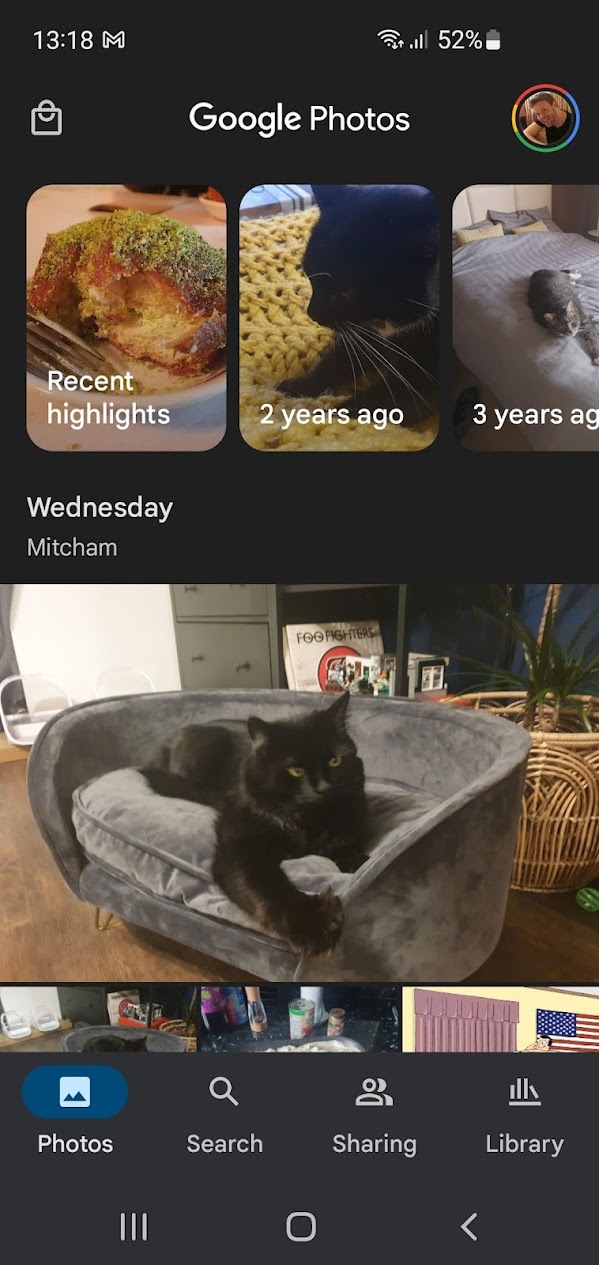
2. Tap the ‘Edit’ button below the picture.
Sign up to get the BEST of Tom's Guide direct to your inbox.
Get instant access to breaking news, the hottest reviews, great deals and helpful tips.
3. If the picture is acceptable for bokeh-fying, ‘Portrait’ will appear as an option underneath it. Tap it and Google will apply what it believes to be the right amount of blur.
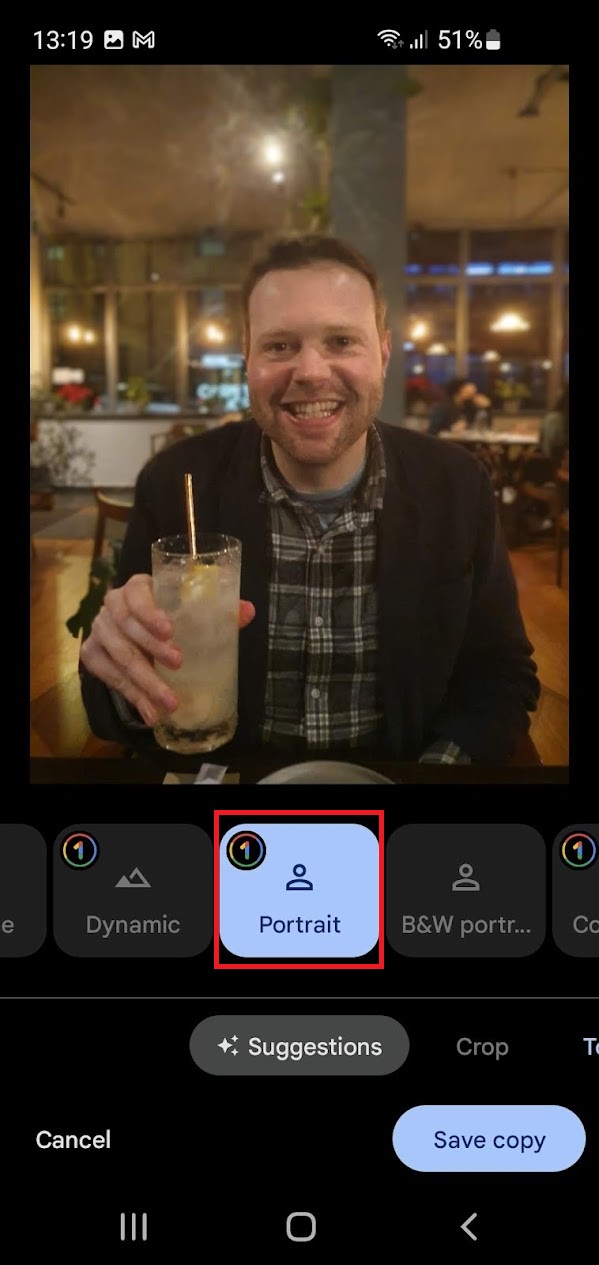
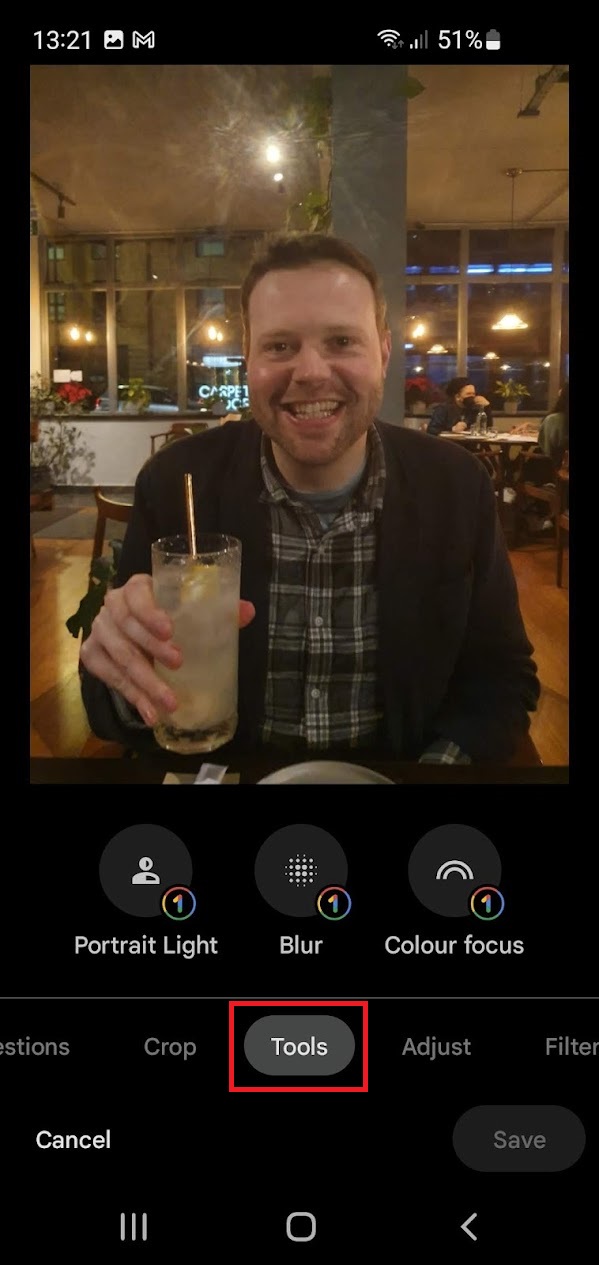
4. For more fine-tuned blurring, scroll left on the bar along the bottom until you come to ‘Tools.’ From there, select ‘Blur’.
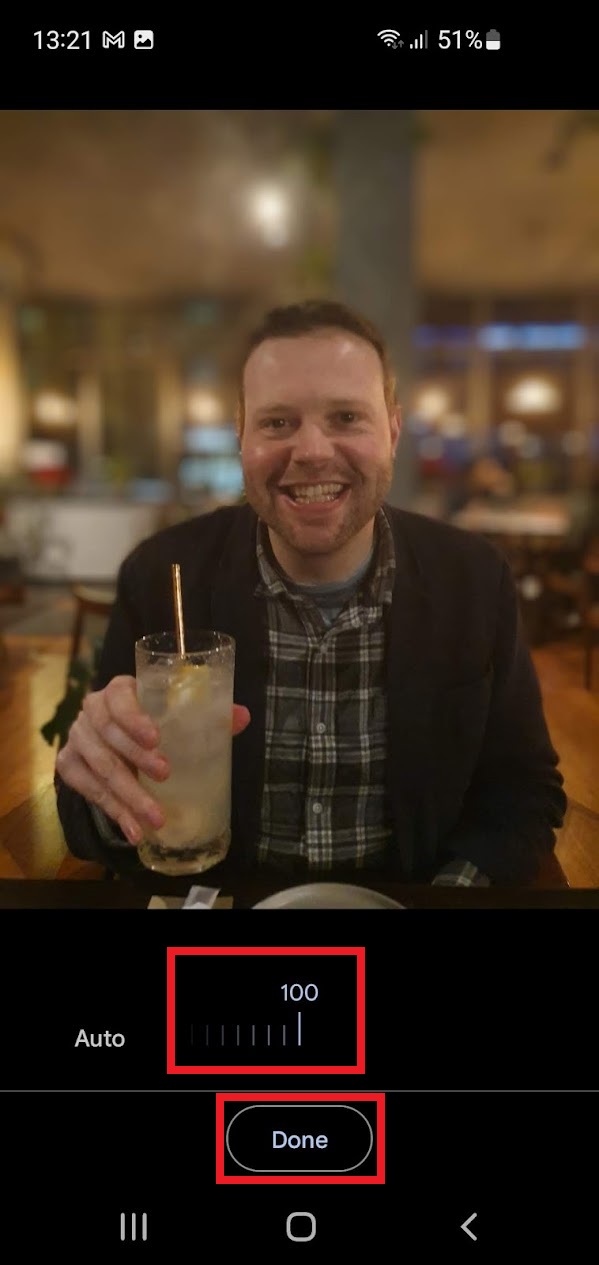
5. Slide the dial below the picture to impact the amount of blur, from zero to 100. As you can see, putting it up to 100 seems to have taken off some of my ears, so you may want to go easy here. When you’re satisfied, tap ‘Done’.
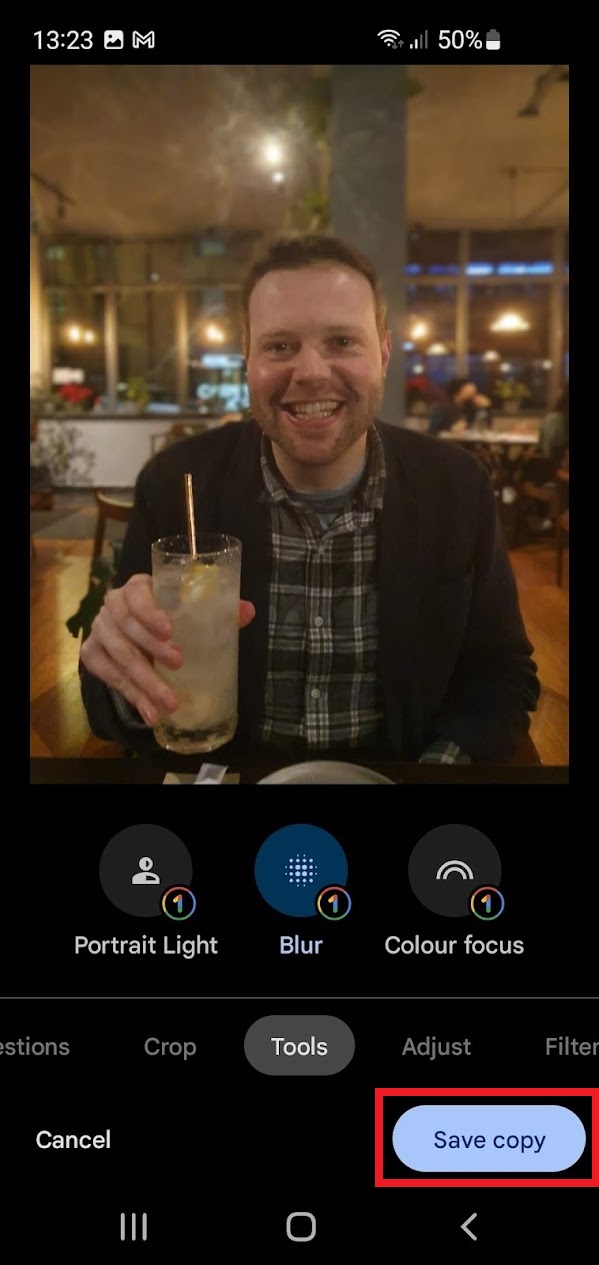
6. Press ‘Save copy’. This will ensure that both the original and modified versions are kept safe.
For more Google Photos tips and tricks cheek out our guides on how to hide photos and videos in Google Photos, how to upload to Google Photos and how to delete Google Photos permanently.
Freelance contributor Alan has been writing about tech for over a decade, covering phones, drones and everything in between. Previously Deputy Editor of tech site Alphr, his words are found all over the web and in the occasional magazine too. When not weighing up the pros and cons of the latest smartwatch, you'll probably find him tackling his ever-growing games backlog. Or, more likely, playing Spelunky for the millionth time.

