How to benchmark your GPU on Windows, macOS and Linux
Here's how to benchmark your GPU
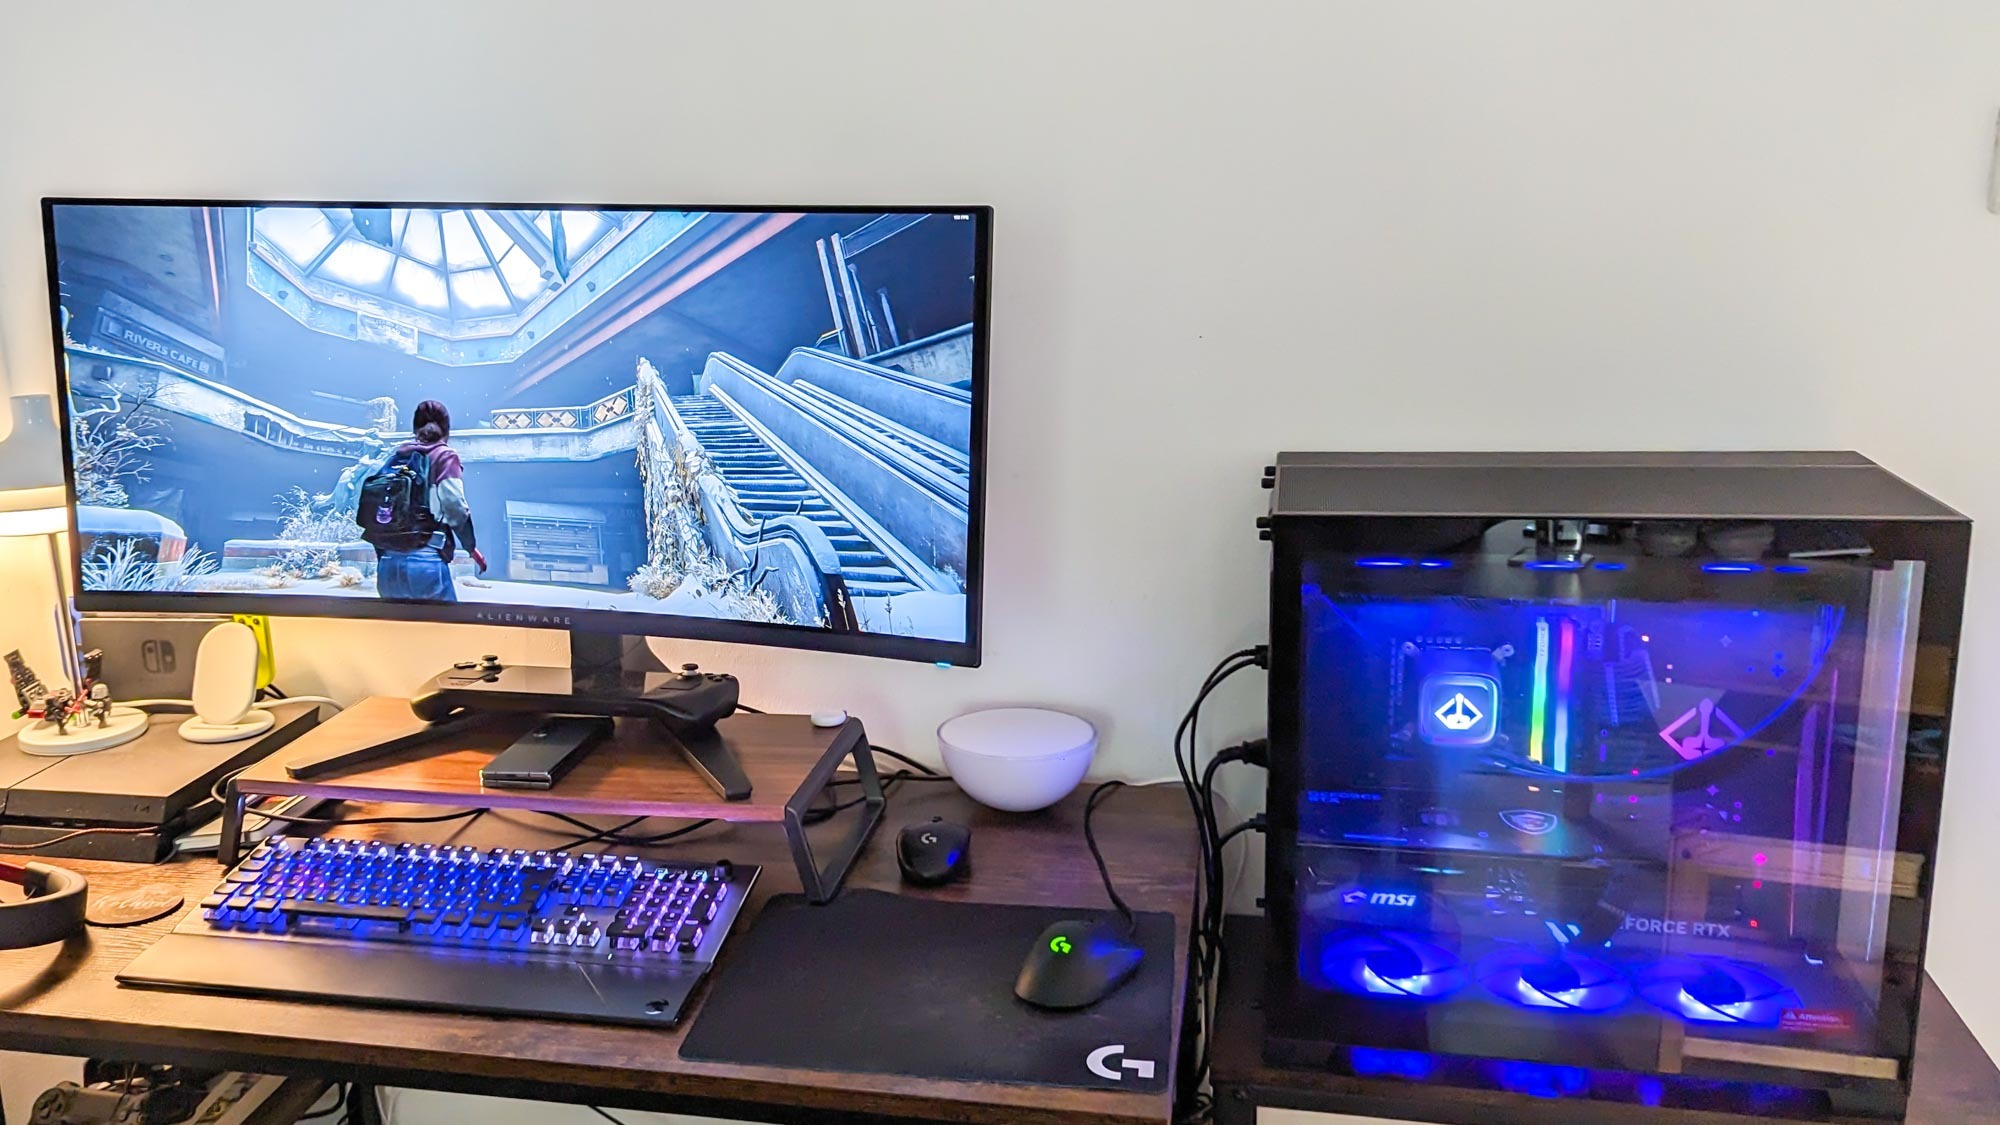
Knowing how to benchmark your GPU can help you gauge its capabilities, identify potential issues, and optimize settings for enhanced gaming and graphic-intensive tasks.
With the right tool in hand, GPU benchmarking is a breeze whether you're on Windows, macOS, or Linux, and we’ll show you the exact steps in this guide. And if you feel like your existing setup is nearing retirement, you won’t regret upgrading to one of the best gaming PCs or best gaming laptops.
How to benchmark your GPU
Note: For this guide, we’ve used an effective free tool (Geekbench 6), but you can choose from many other options in the market.
Although we’ve shown steps only on Windows, the process will be similar on macOS and Linux.
1. Install Geekbench 6
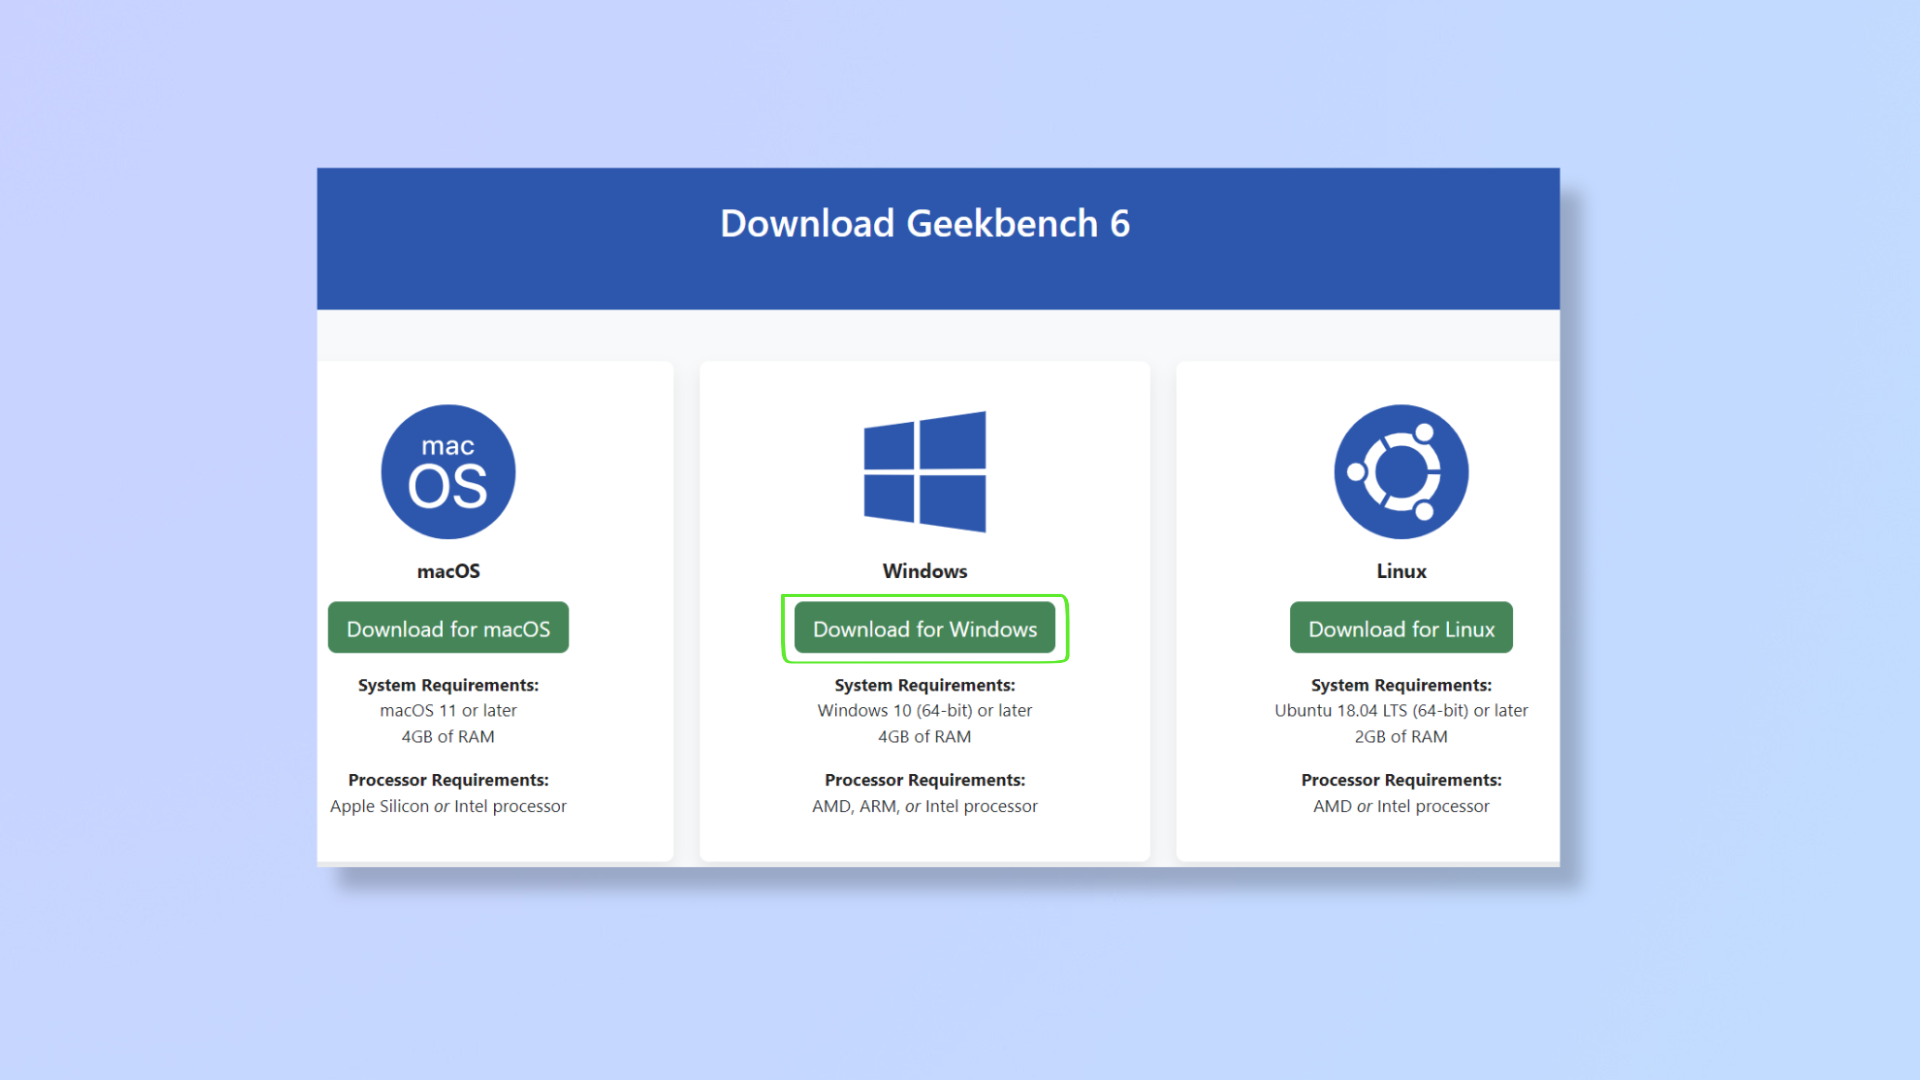
Geekbench 6, one of the most popular benchmarking tools, is free to use and can help you test your CPU and GPU.
Go to the Geekbench download page, then download and install the correct version for your OS.
2. Close other apps
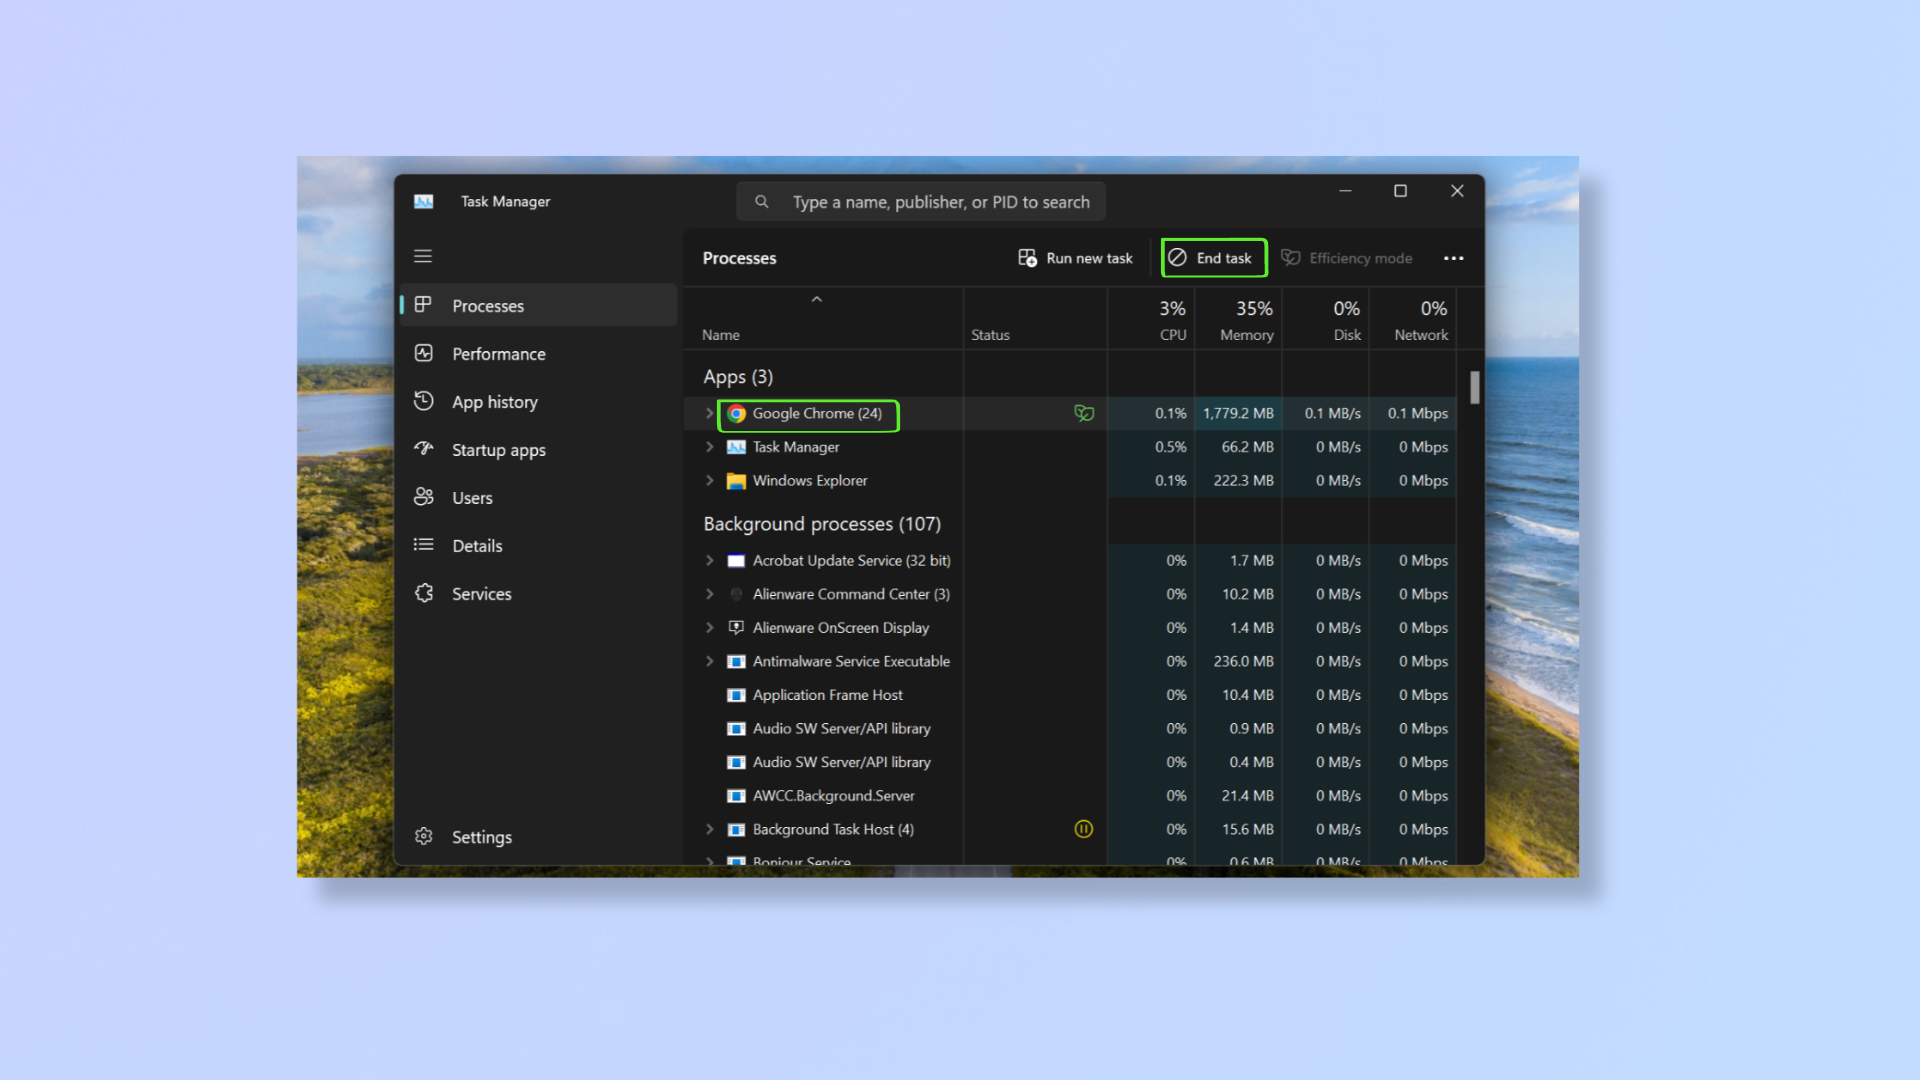
For accurate results during testing, ensure you close all unwanted apps and background processes. Press Ctrl + Shift + Escape to bring up the Task Manager, select apps and background processes you want to close, then click End task at the top. But don’t end important background processes that your computer needs to function.
3. Run Geekbench 6
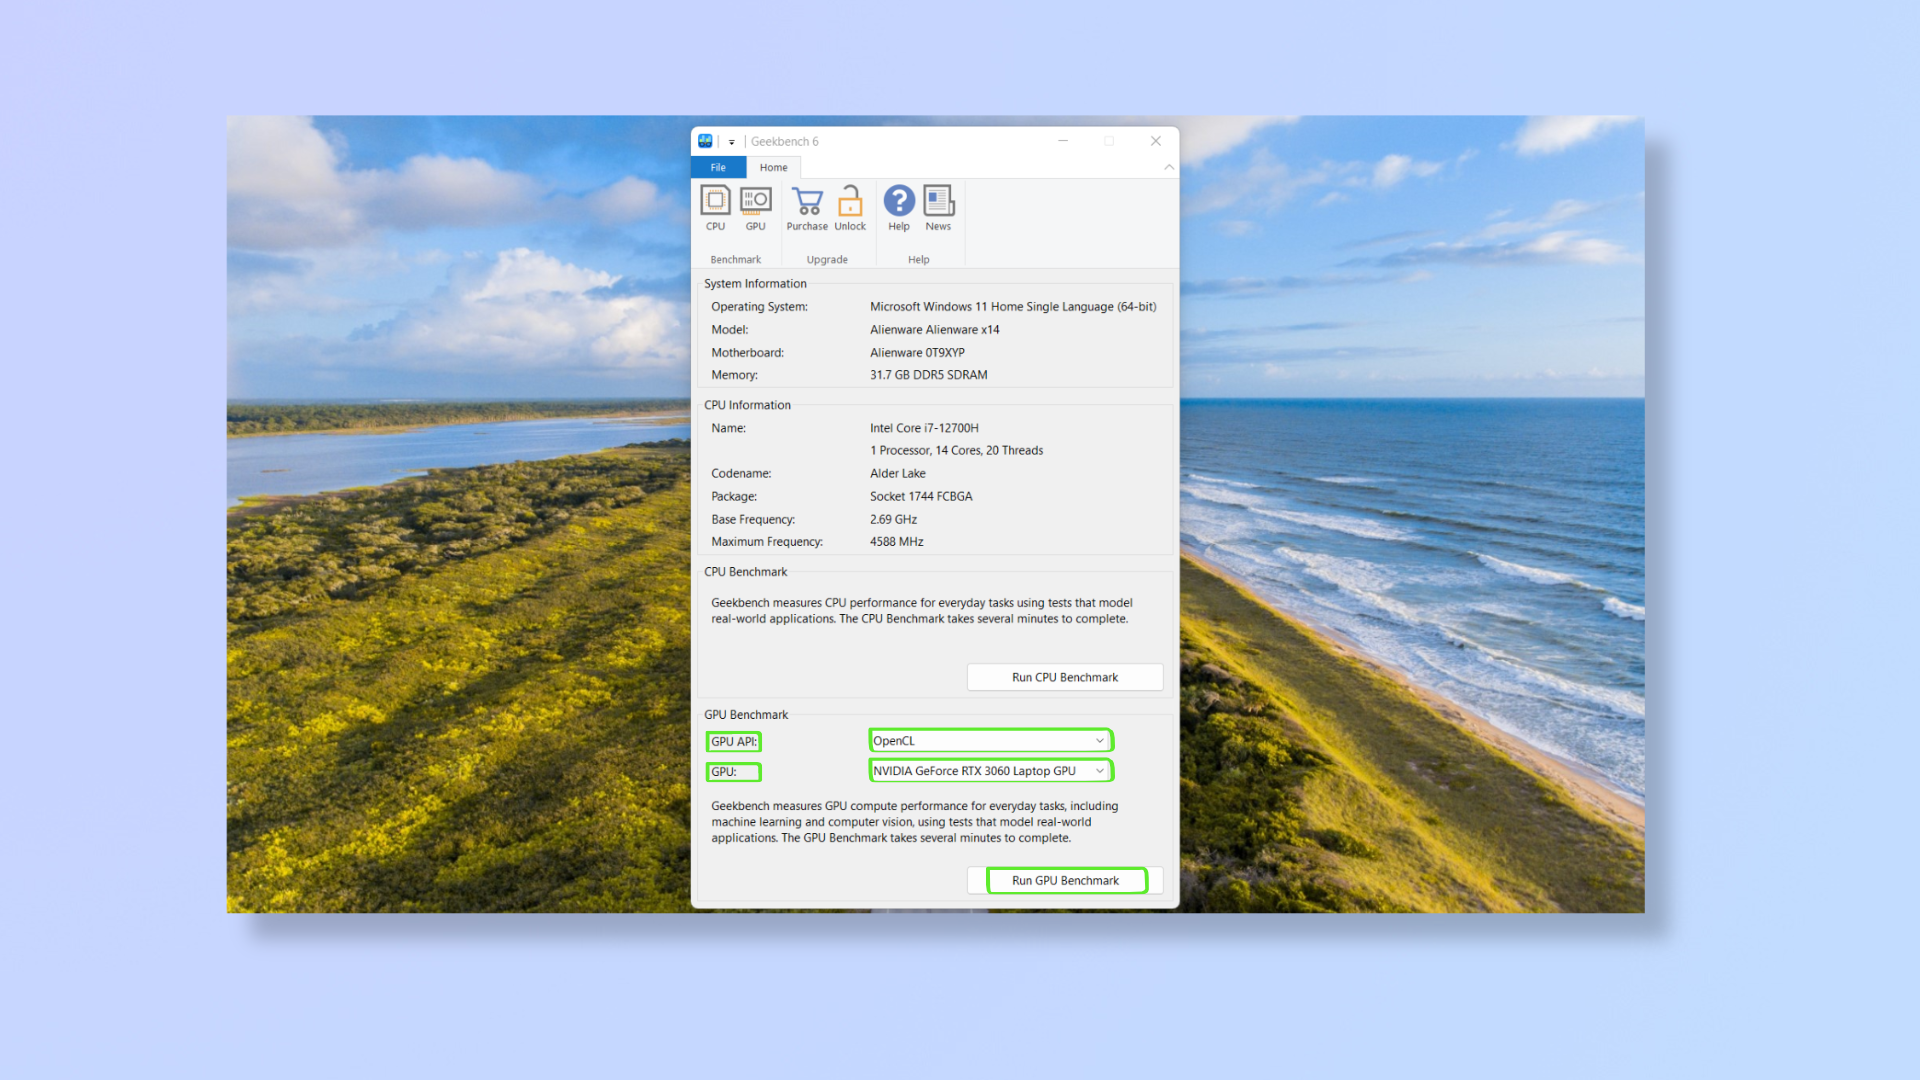
Launch the Geekbench 6 app and under GPU Benchmark, you’ll find GPU API and GPU.
GPU API lets you choose between OpenCL, Vulkan, and Metal, but the options displayed depend on the GPU you’re using. Metal is the API of choice for Apple devices, while non-Apple devices use OpenCL and Vulkan.
Select OpenCL to evaluate parallel computing and general-purpose computing tasks, including machine learning and cryptocurrency mining.
Choose Vulkan to benchmark graphics-intensive tasks like gaming and 3D rendering.
Click the drop-down next to GPU to pick the GPU you want to benchmark. Next, click Run GPU Benchmark.
4. Compare scores
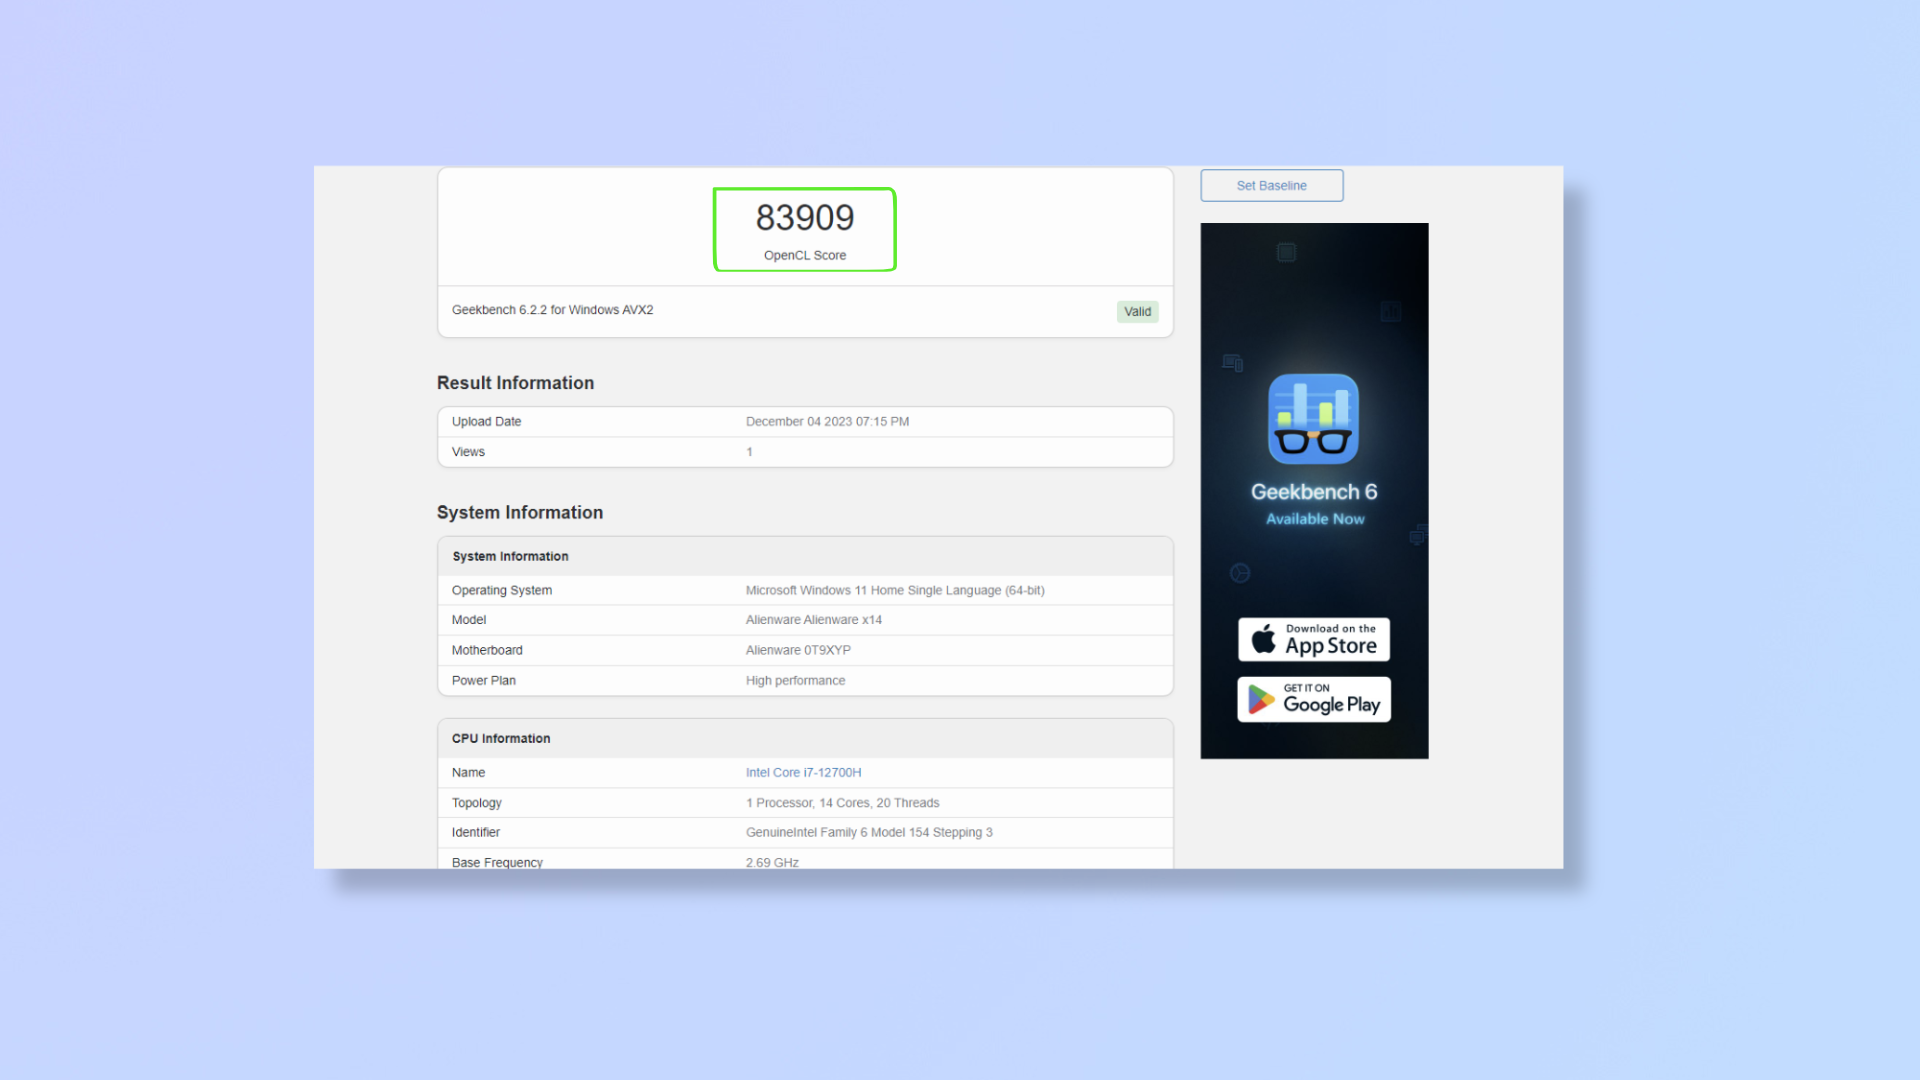
Once finished, the tool will open a webpage with a score for your GPU, which you’ll want to jot down. Now, scroll down the page to see a breakdown of the scores across aspects like edge detection, stereo matching, and particle physics.
You’ll then want to compare your total score against the results on the relevant Benchmark Charts: OpenCL Benchmarks, Vulkan Benchmarks, and Metal Benchmarks. Once on the right chart, input your GPU model to find its score on the chart.
Slight score differences between your test score and the Benchmark Chart score are normal, but if the score deviation is over a few thousand points, it may be a sign that something is limiting your GPU’s performance.
Also, note that the test scores will come out higher if your computer’s high-performance mode is active and it’s plugged in. In my testing, there was nearly a 10,000-point difference between the high-performance mode + plugged-in vs the normal-performance mode + on battery.
After benchmarking your GPU, you can better gauge your system’s potential and leverage insights to optimize or upgrade it. For more tips to enhance your computing experience, explore these guides on how to check what graphics card you have, essential tips for buying a new graphics card, and how to upgrade a CPU.
Sign up to get the BEST of Tom's Guide direct to your inbox.
Get instant access to breaking news, the hottest reviews, great deals and helpful tips.

Nikshep Myle is a freelance writer covering tech, health, and wellbeing. He has written for popular tech blogs like TechRadar, GadgetReview, SlashGear, and Creative Bloq, and has extensively reviewed consumer gadgets. When he’s not writing, you’ll find him meditating, gaming, discovering new music, and indulging in adventurous and creative pursuits.
