How to bake the perfect loaf of bread — 11 top tricks to try at home
All rise for the best homemade loaf
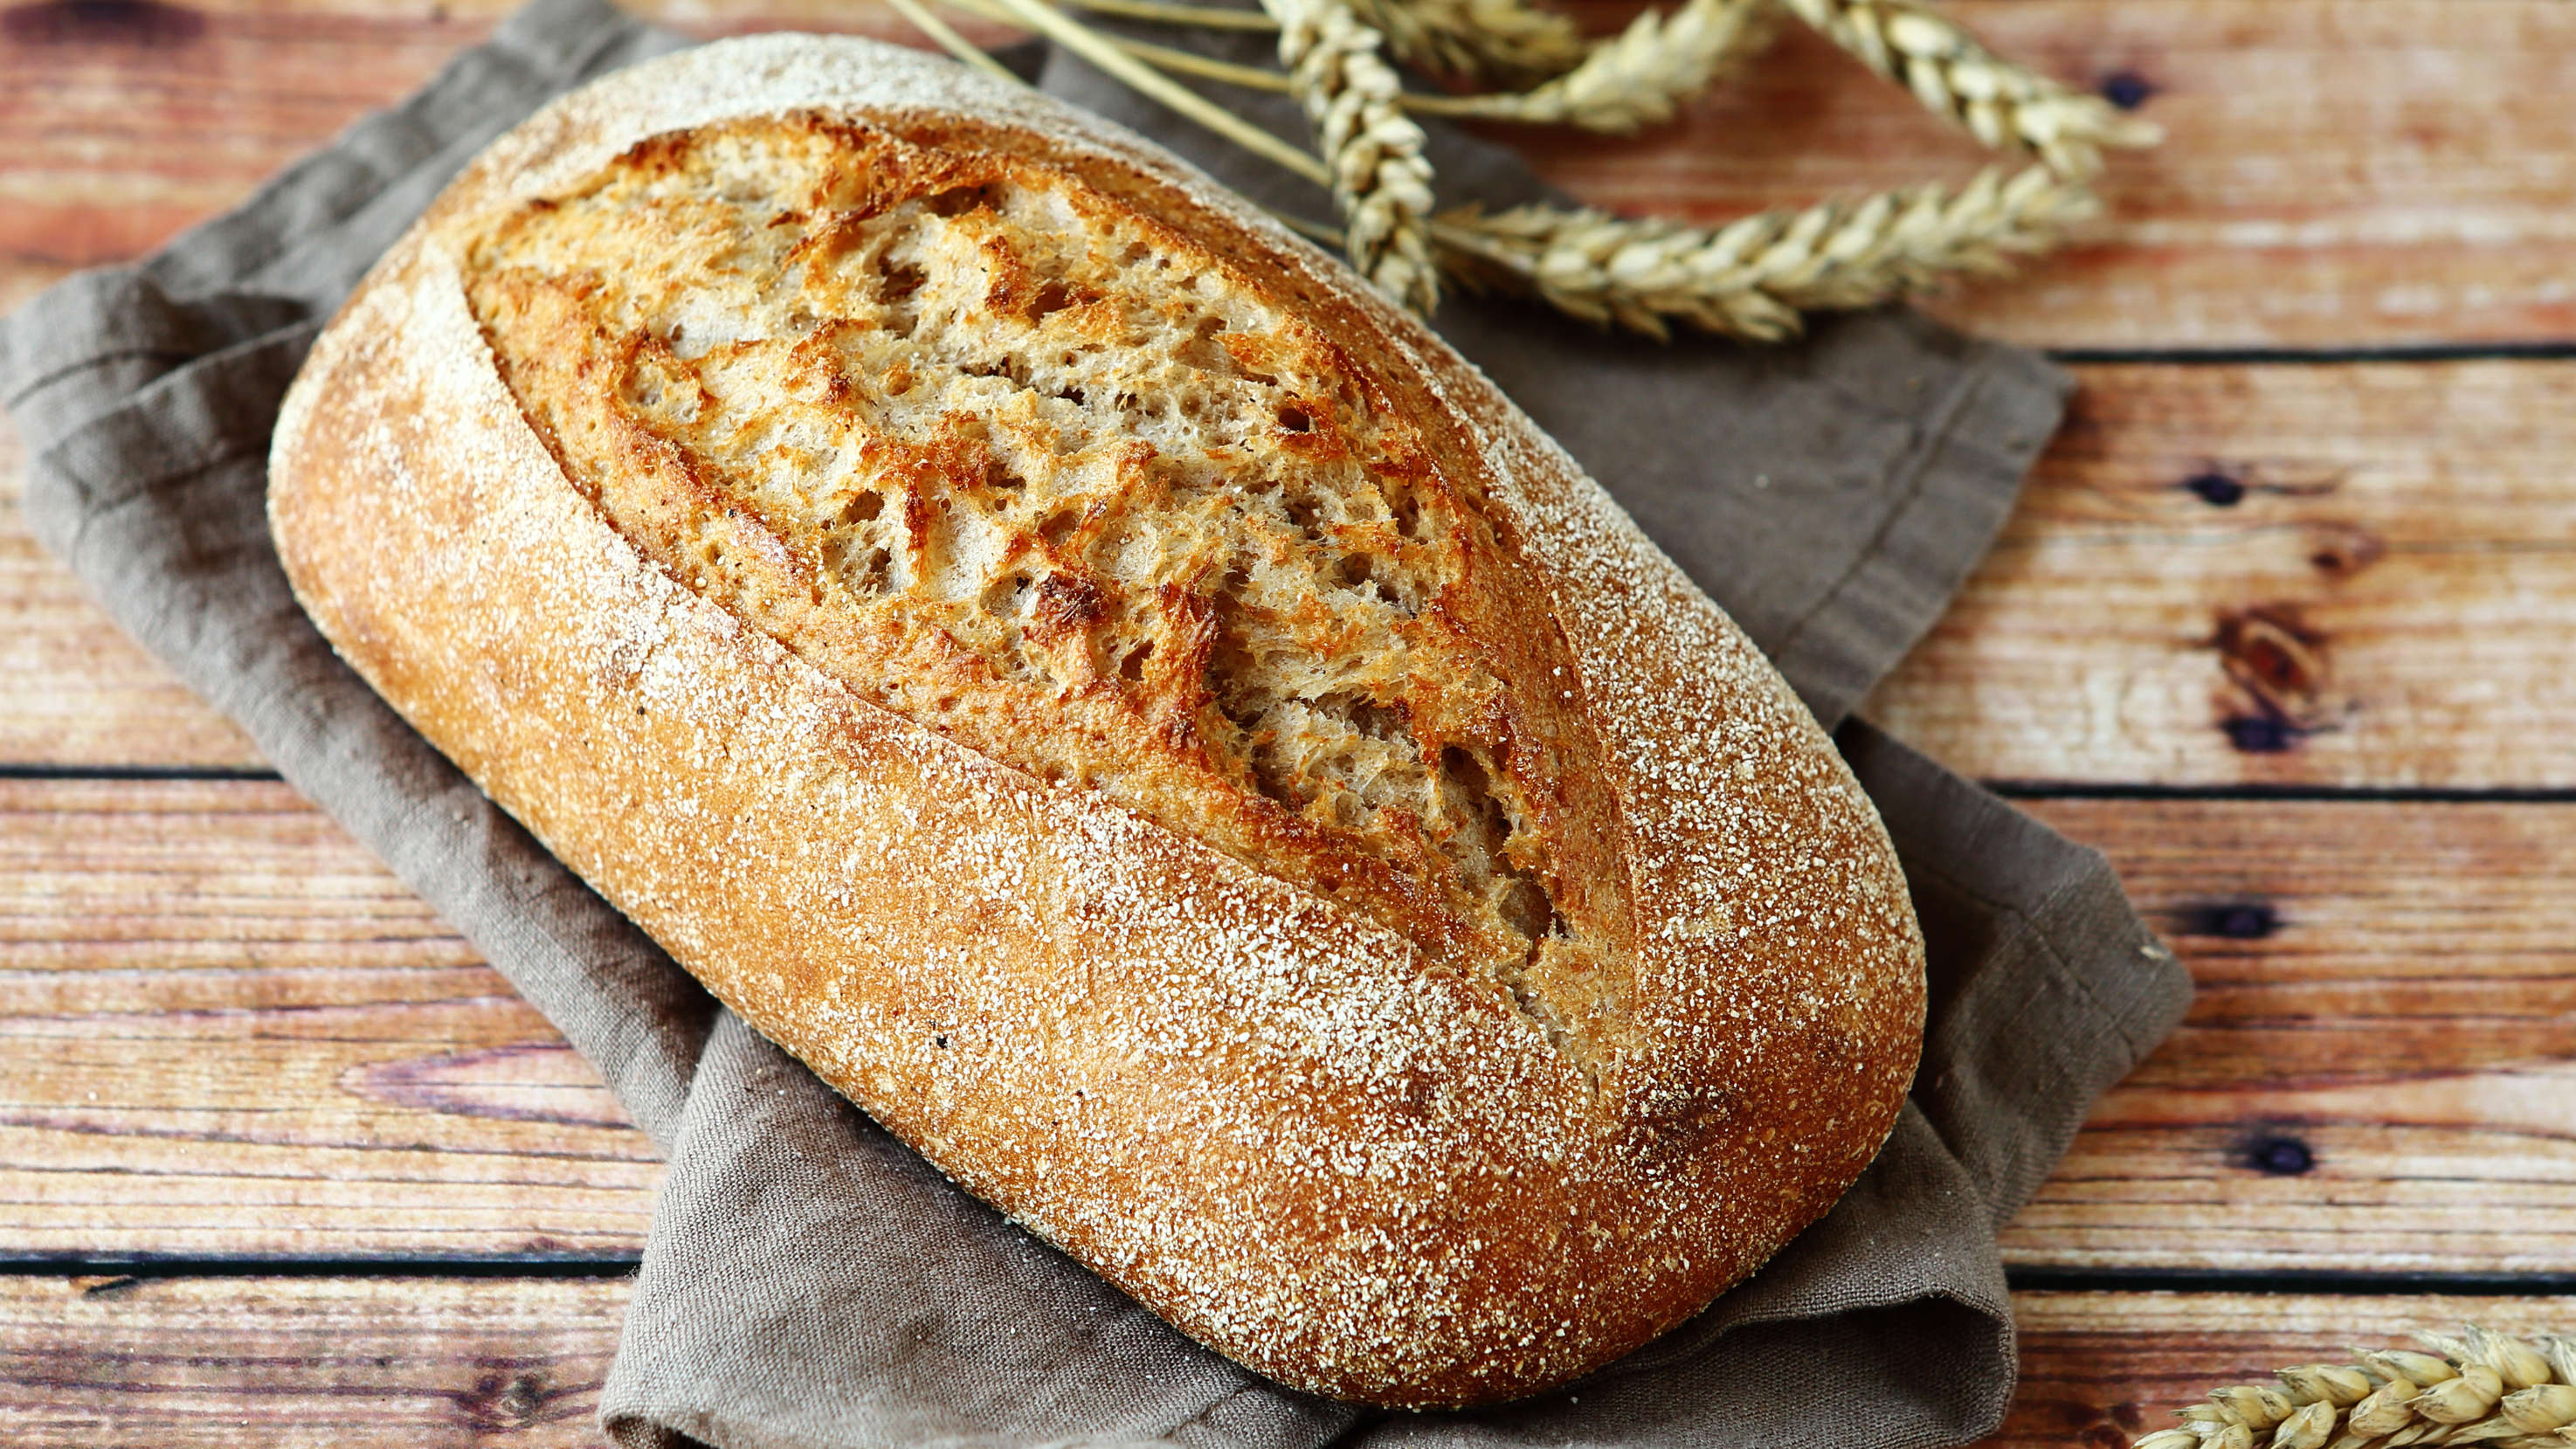
There’s nothing quite like the aroma of freshly baked bread — it smells so good wafting through your home. And it’s one reason that tempts even reluctant bakers into the kitchen. Apart from the fun of mixing, kneading and shaping the dough, the end result tastes so good. Well, that’s what you hope! So, to help you make a perfect loaf, we’ve gathered some top tips on how to make bread at home and you might also be interested in 5 things to know before buying a bread machine and I made this no-knead bread in a Dutch oven — and it tastes delicious. Are your ready to rise to the challenge?
1. Yeast — know your type
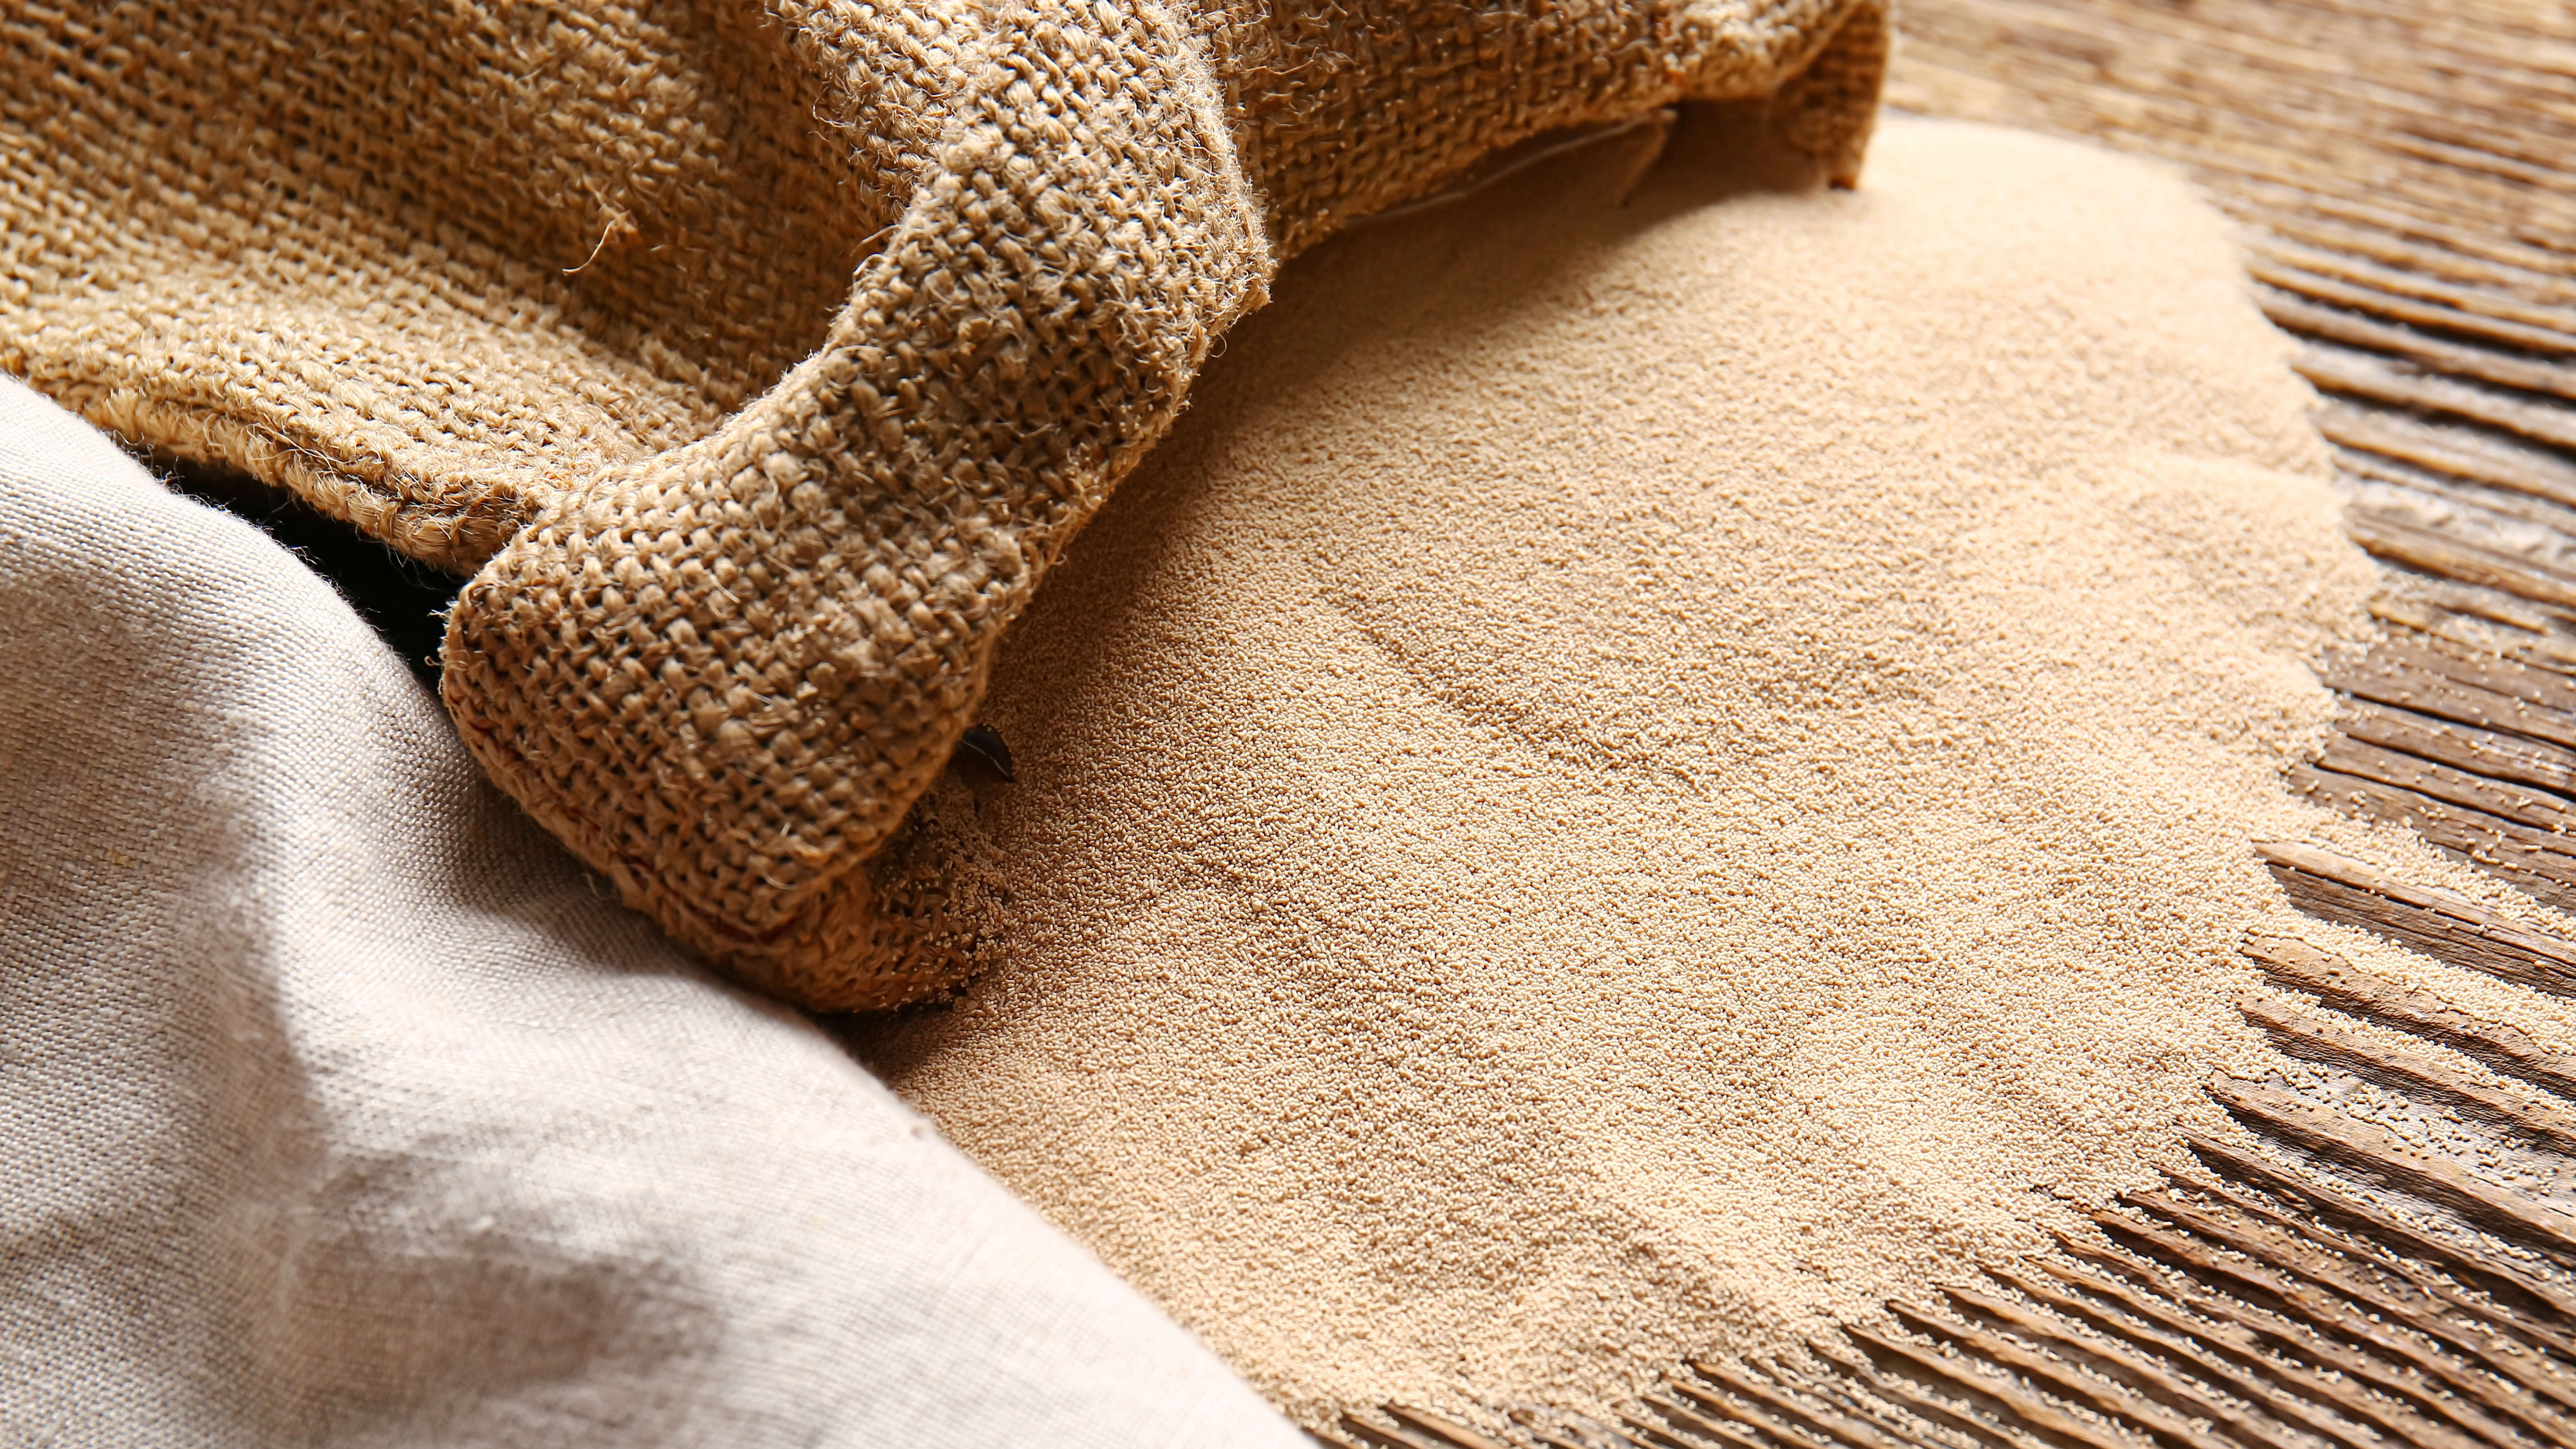
“Yeast is a beast”, according to celebrity master baker Paul Hollywood in this book Bread ($33, Amazon). And although you can choose from fresh and several versions of dried yeast, don’t let this confuse you before you start.
Hollywood and Serious Eats recommend using fast-action dried yeast, often known as instant yeast, as it contains ascorbic acid (Vitamin C to you and me), which helps the rising action. While there are other dried yeast options, he doesn’t recommend them as they need rehydrating in warm water before use and can be trickier to use. And the downside of using fresh yeast is that it doesn't last very long.
Yeast also needs to be treated right to give the best result. “This micro-organism needs feeding and looking after,” says Hollywood. “If you put it in the wrong environment, it won’t work so well. But treat it right and it’ll give you something you really want to eat.”
2. Store your yeast properly
Check the use by date of your yeast before adding it to your ingredients. If it’s past its best it won’t work and you’ll be left with a disappointing loaf. I’ve occasionally wondered why my loaf didn’t rise, only to realize that the yeast was past its expiration date.
How to tell if your yeast will work — try this test
Allrecipes says the proof is in the proving! You can test your yeast by combining it with ¼ cup of lukewarm water and 1 teaspoon of sugar, then allow it to sit for 10 minutes. If the mixture bubbles, it’s good to go. If there’s no reaction, it’s time to chuck it out.
I often end up with half empty packets of yeast that I fold over at the opening and secure with a clothes peg (I really do!) But, this is not good practice. It’s OK to store packets that you’ve opened, but they need to be placed in airtight containers in the fridge or freezer. And if you decide to use fresh yeast, it will keep in your fridge for two weeks, or can be frozen.
Sign up to get the BEST of Tom's Guide direct to your inbox.
Get instant access to breaking news, the hottest reviews, great deals and helpful tips.
3. How much salt?
Although we’re told to cut down on our salt intake, as too much salt in our diet contributes to high blood pressure. However, bread is one place where it shouldn’t be excluded.
If salt isn’t added, your loaf won’t look or taste as good. It may seem contrary when we want a loaf to rise, but salt slows down yeast growth, preventing the yeast from reproducing too quickly. A slower rise allows the gluten time to strengthen and develop, giving that desired crumb and a better crust.
When home baking, you get to see all of the ingredients that go into your food but do remember that although the quantity of salt in some bread recipes may seem high, it’s divided into several portions and not consumed in one sitting.
4. Slow and steady
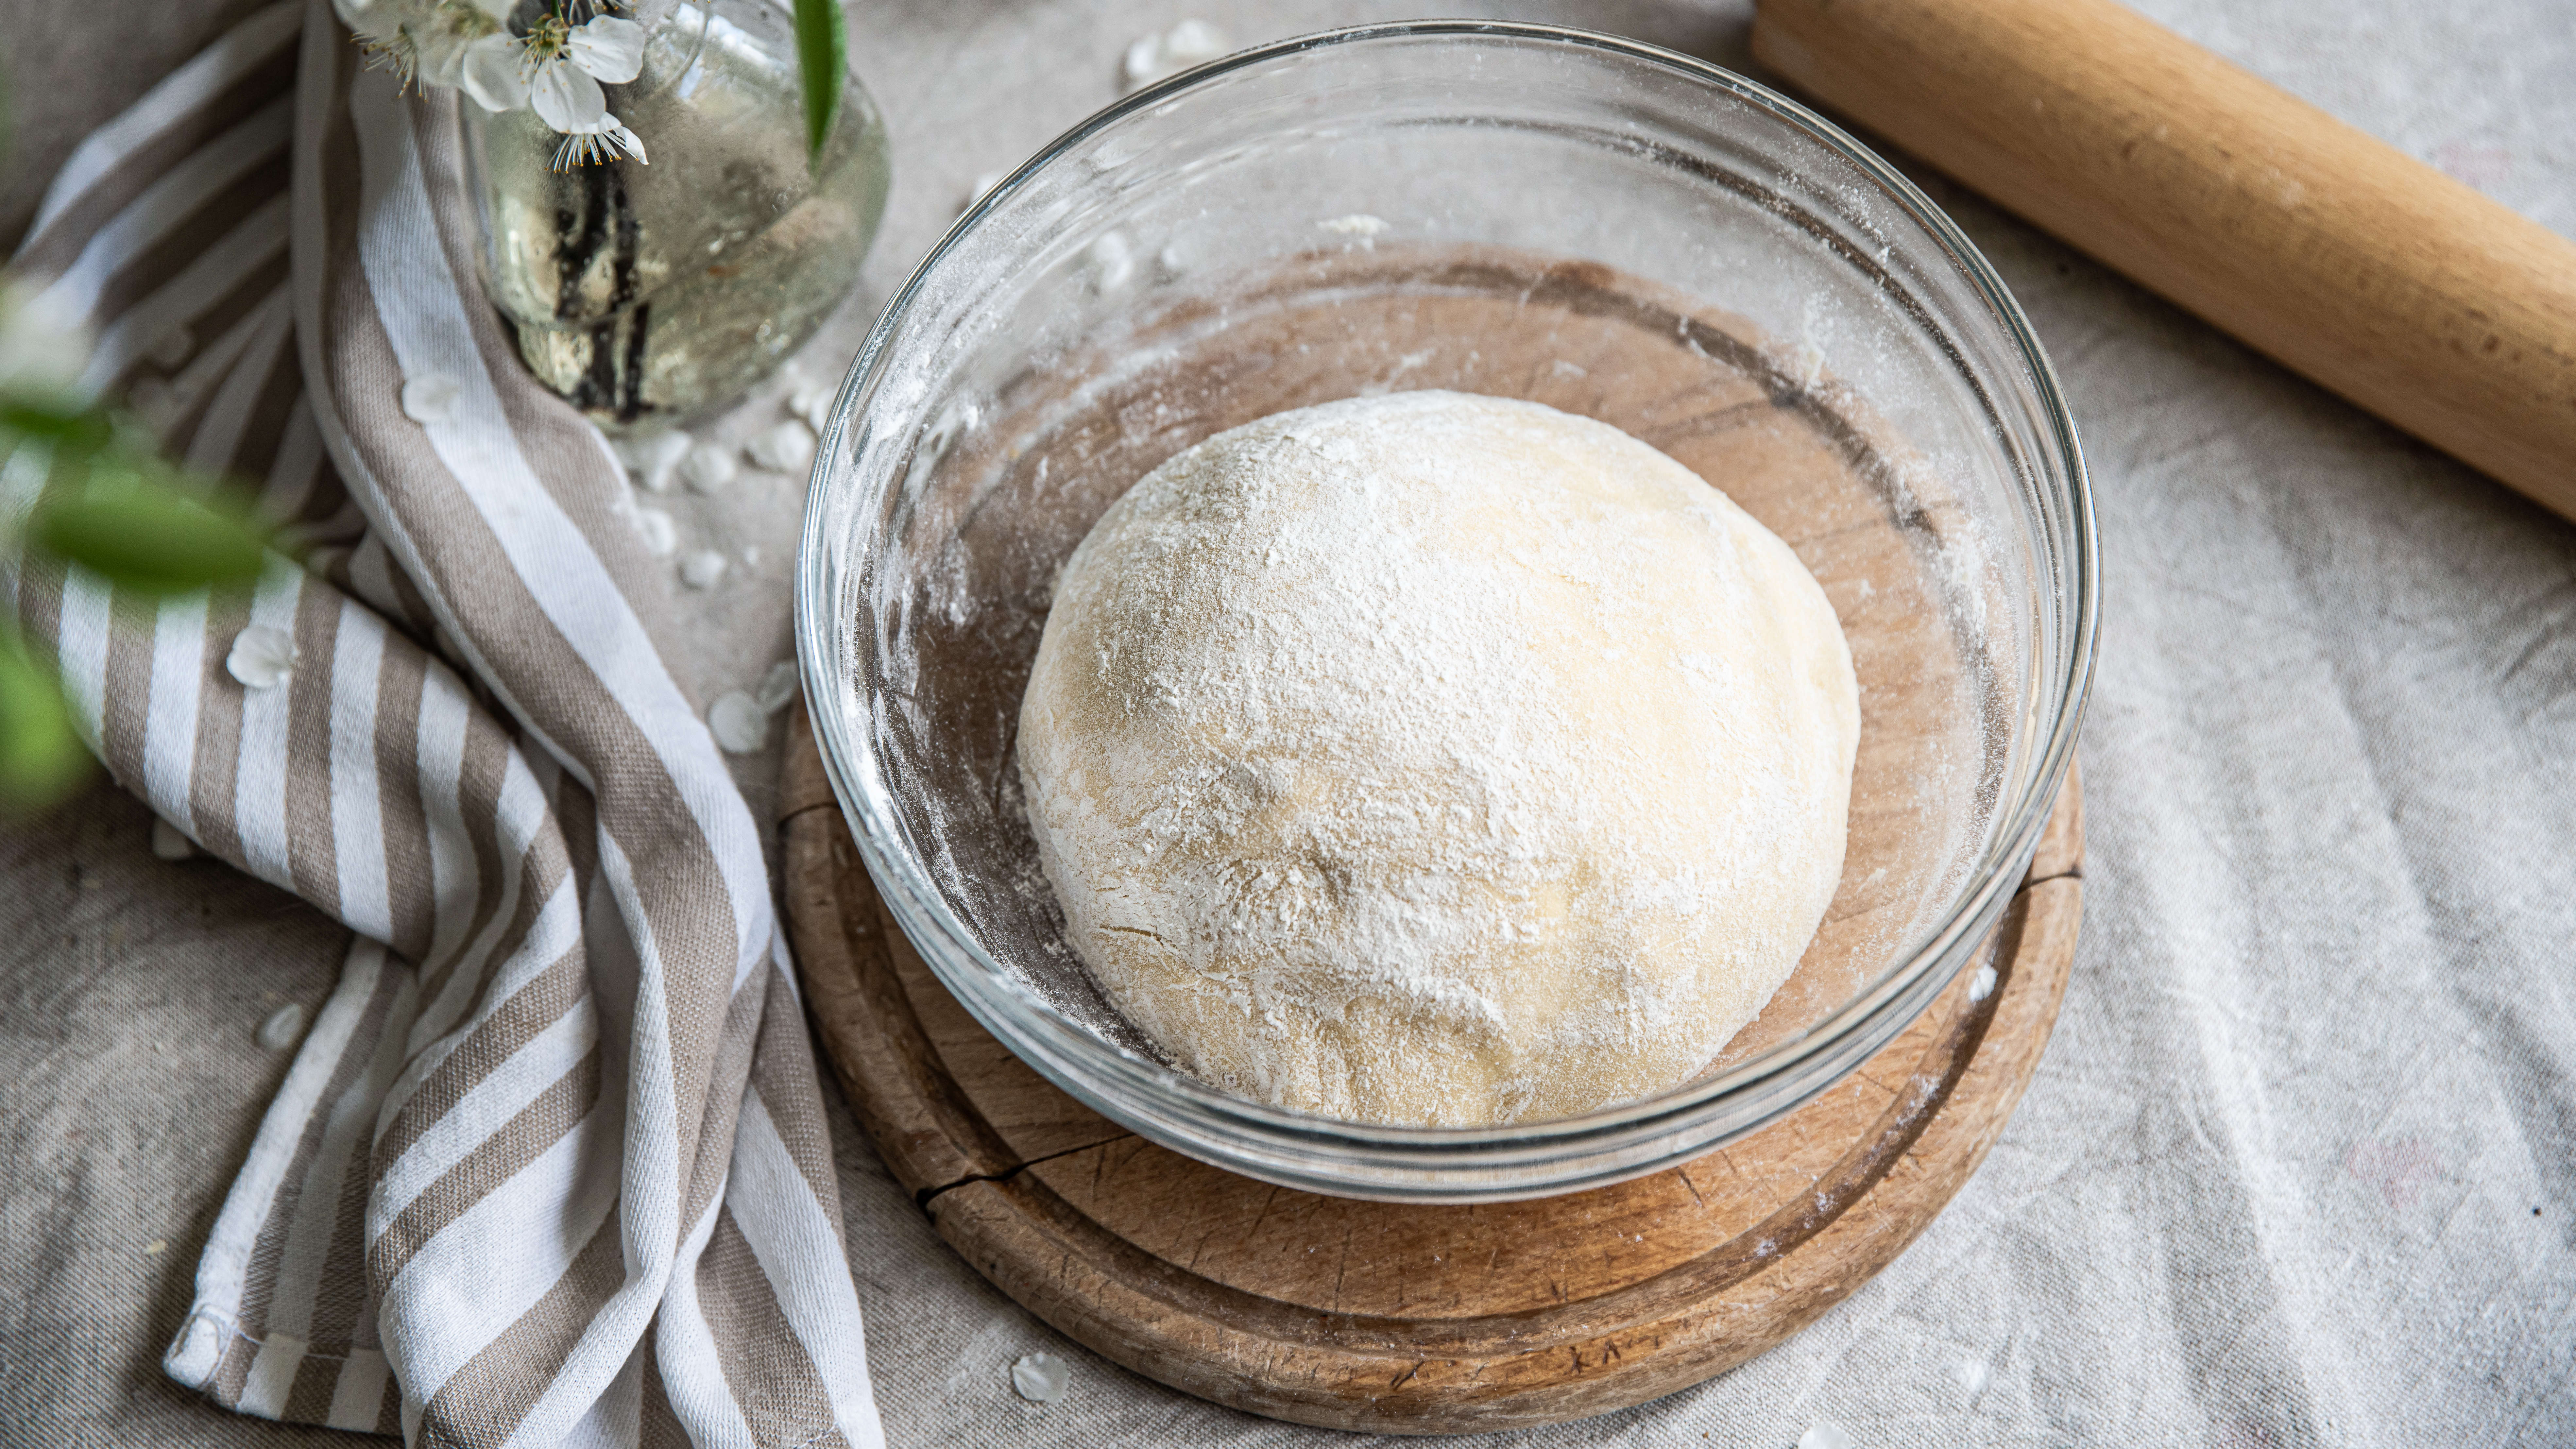
As mentioned above, a slow and steady rise results in a tastier loaf. I often place dough to rise in my linen cupboard, thinking that the extra heat will speed up the process, but a faster rise isn’t necessarily a good thing. Hollywood says a slower rise gives more flavor to the bread. So, it seems that patience is a virtue when making homemade bread.
The Perfect Loaf says a warm kitchen is the best place for the bacteria and yeast in the bread to ferment, suggesting that a spot between 75°F and 78°F is ideal. If the room is too warm, the dough will ferment too quickly and become sticky and hard to handle.
5. Measure carefully
Rather than using cup measurements for ingredients, it's advisable to use digital scales for greater accuracy, especially for the fine amounts of salt and yeast. This will ensure all your ingredients are spot on.
Temperature is important too. When adding water or milk to make your dough, ensure it's warm rather than hot. Culinary Hill recommends a temperature between 110°F-115°F, although it says anything between 75°F and 130°F will work. Yeast will die at temperatures of 138°F and above.
6. Use the right flour
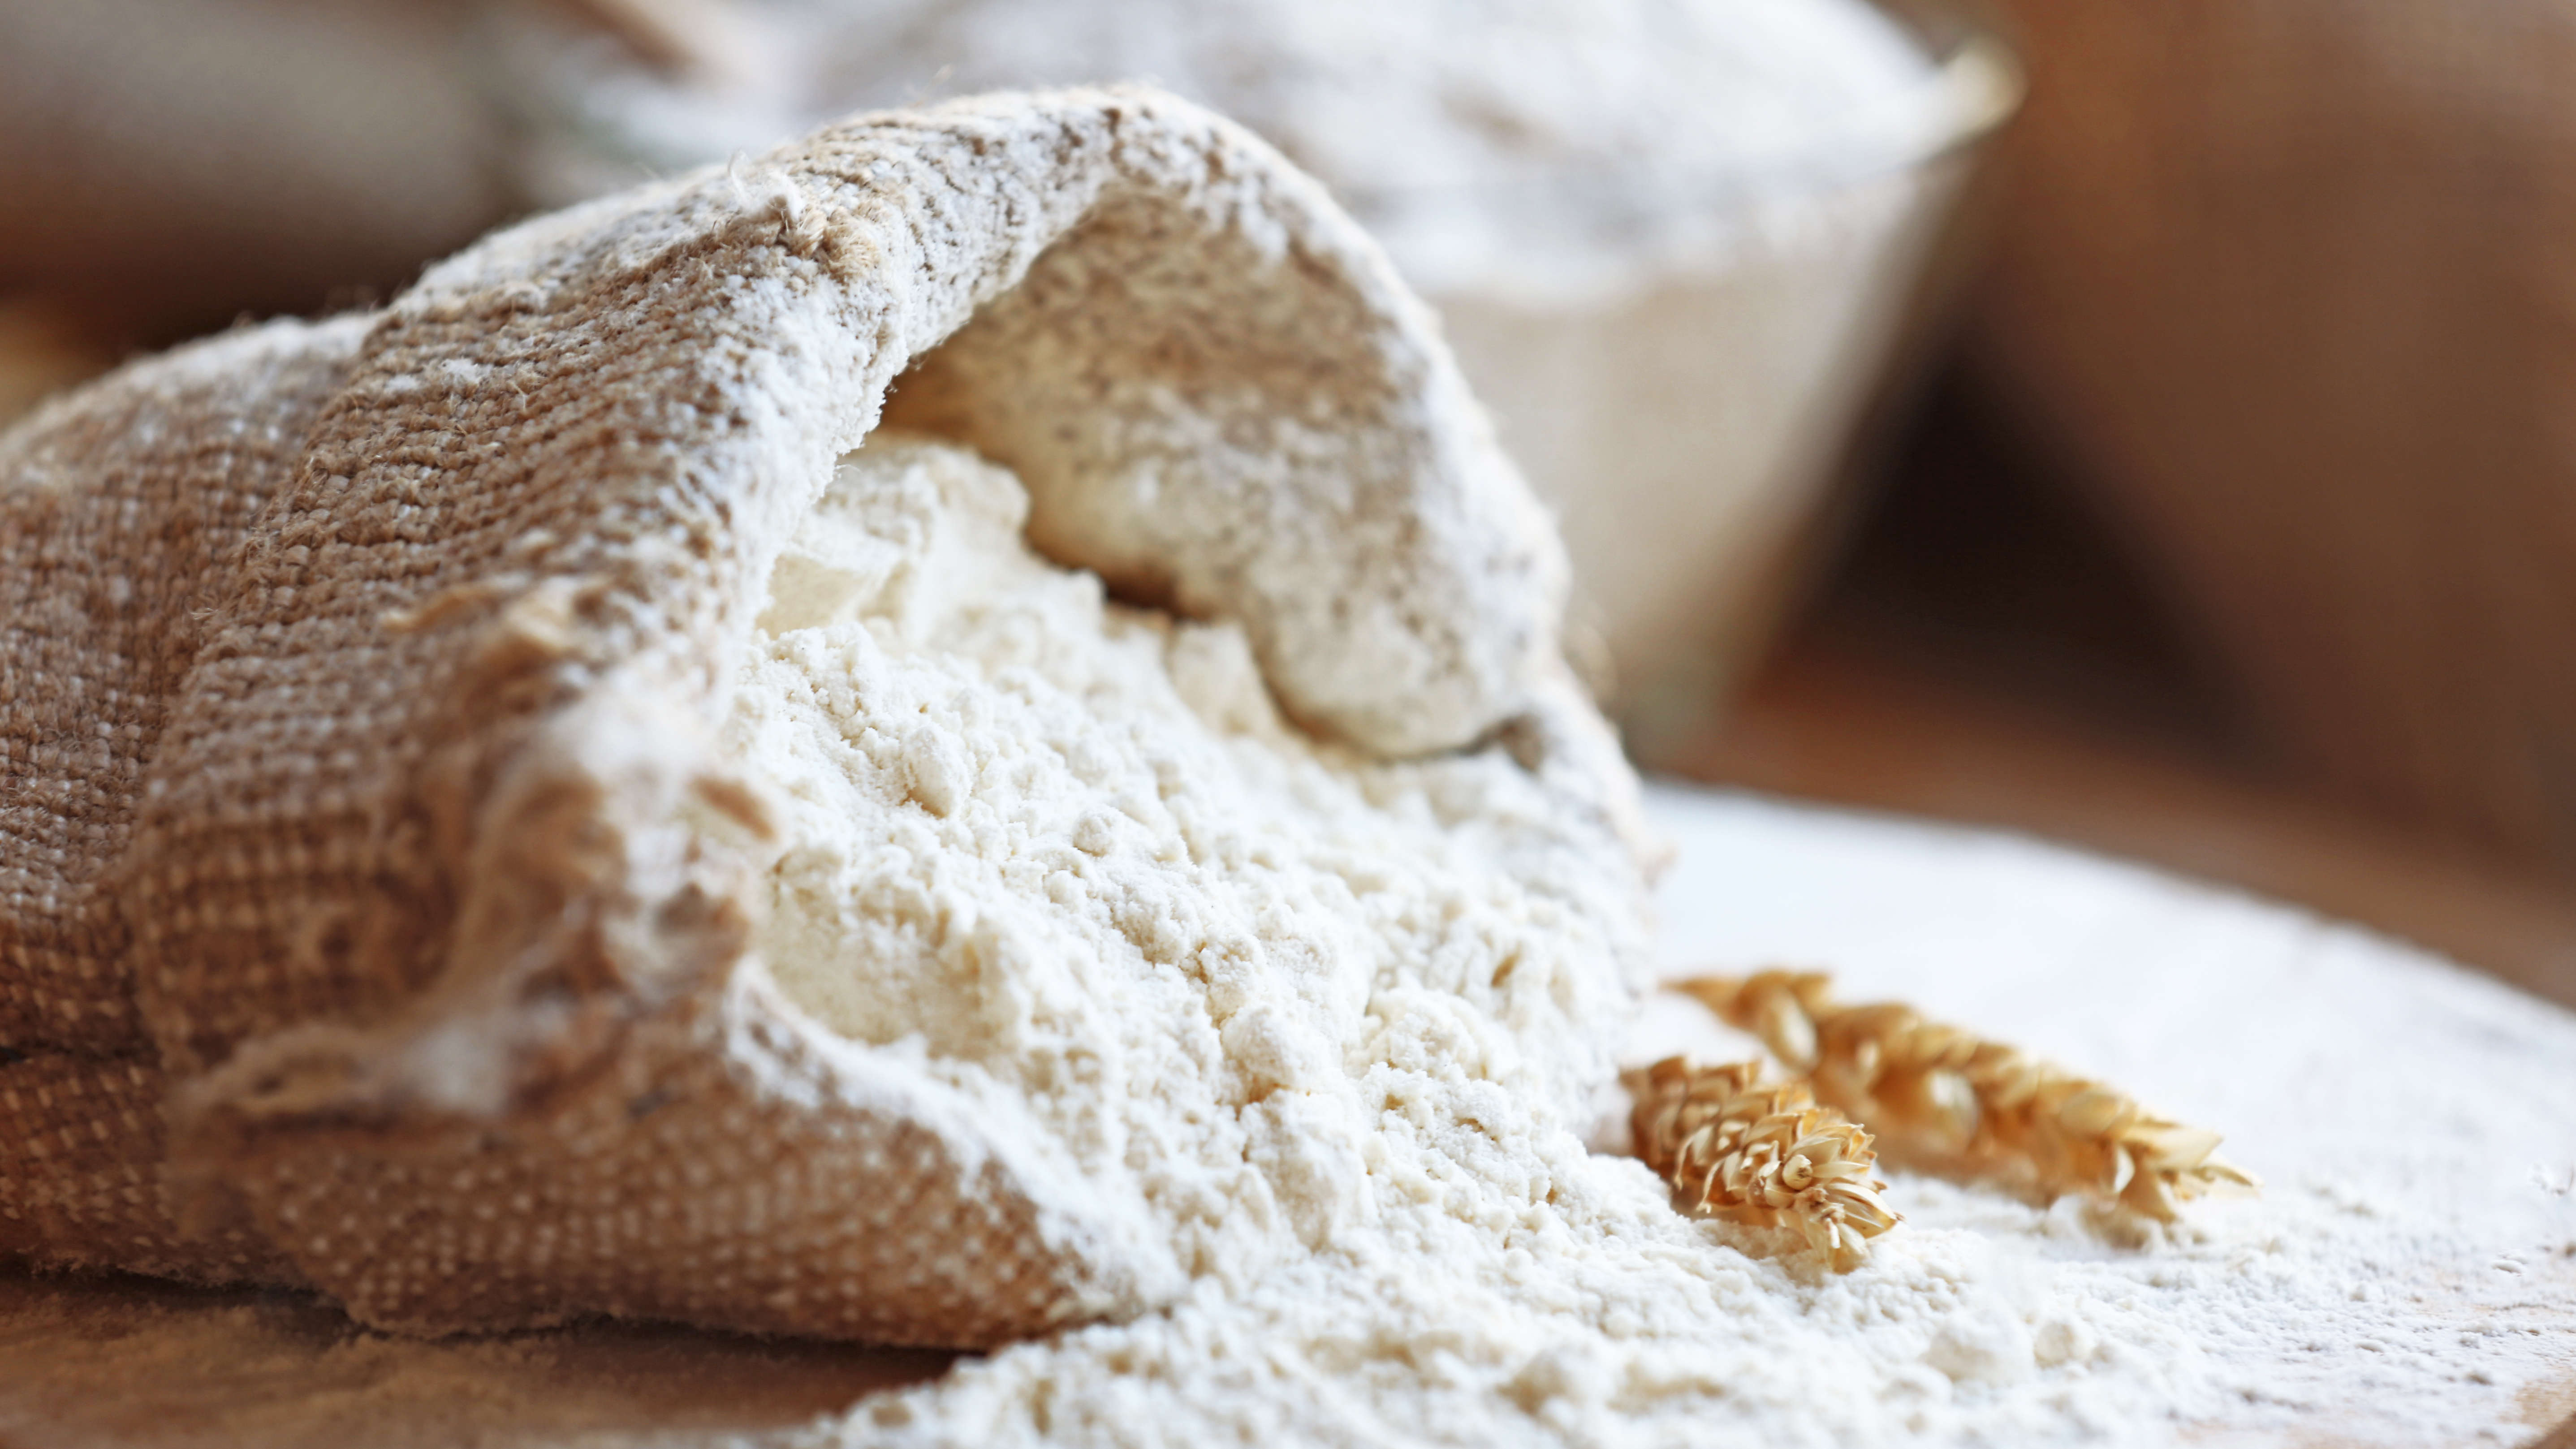
One of the main ingredients in bread is flour, so it makes sense to choose a flour that will give you the best loaf. We have an experienced baker on the team at Tom’s Guide who started a home bakery during lockdown. Lee Dunkley, audio editor, says: “Source a good quality flour. A high protein bread flour will give the best results.”
If you’re a novice baker, you'll probably want to start with making a white loaf. The good news, according to Hollywood, is that strong white flour has the highest amount of protein, at 12% and over, giving a good rise and a light bread.
7. What you need to know about kneading
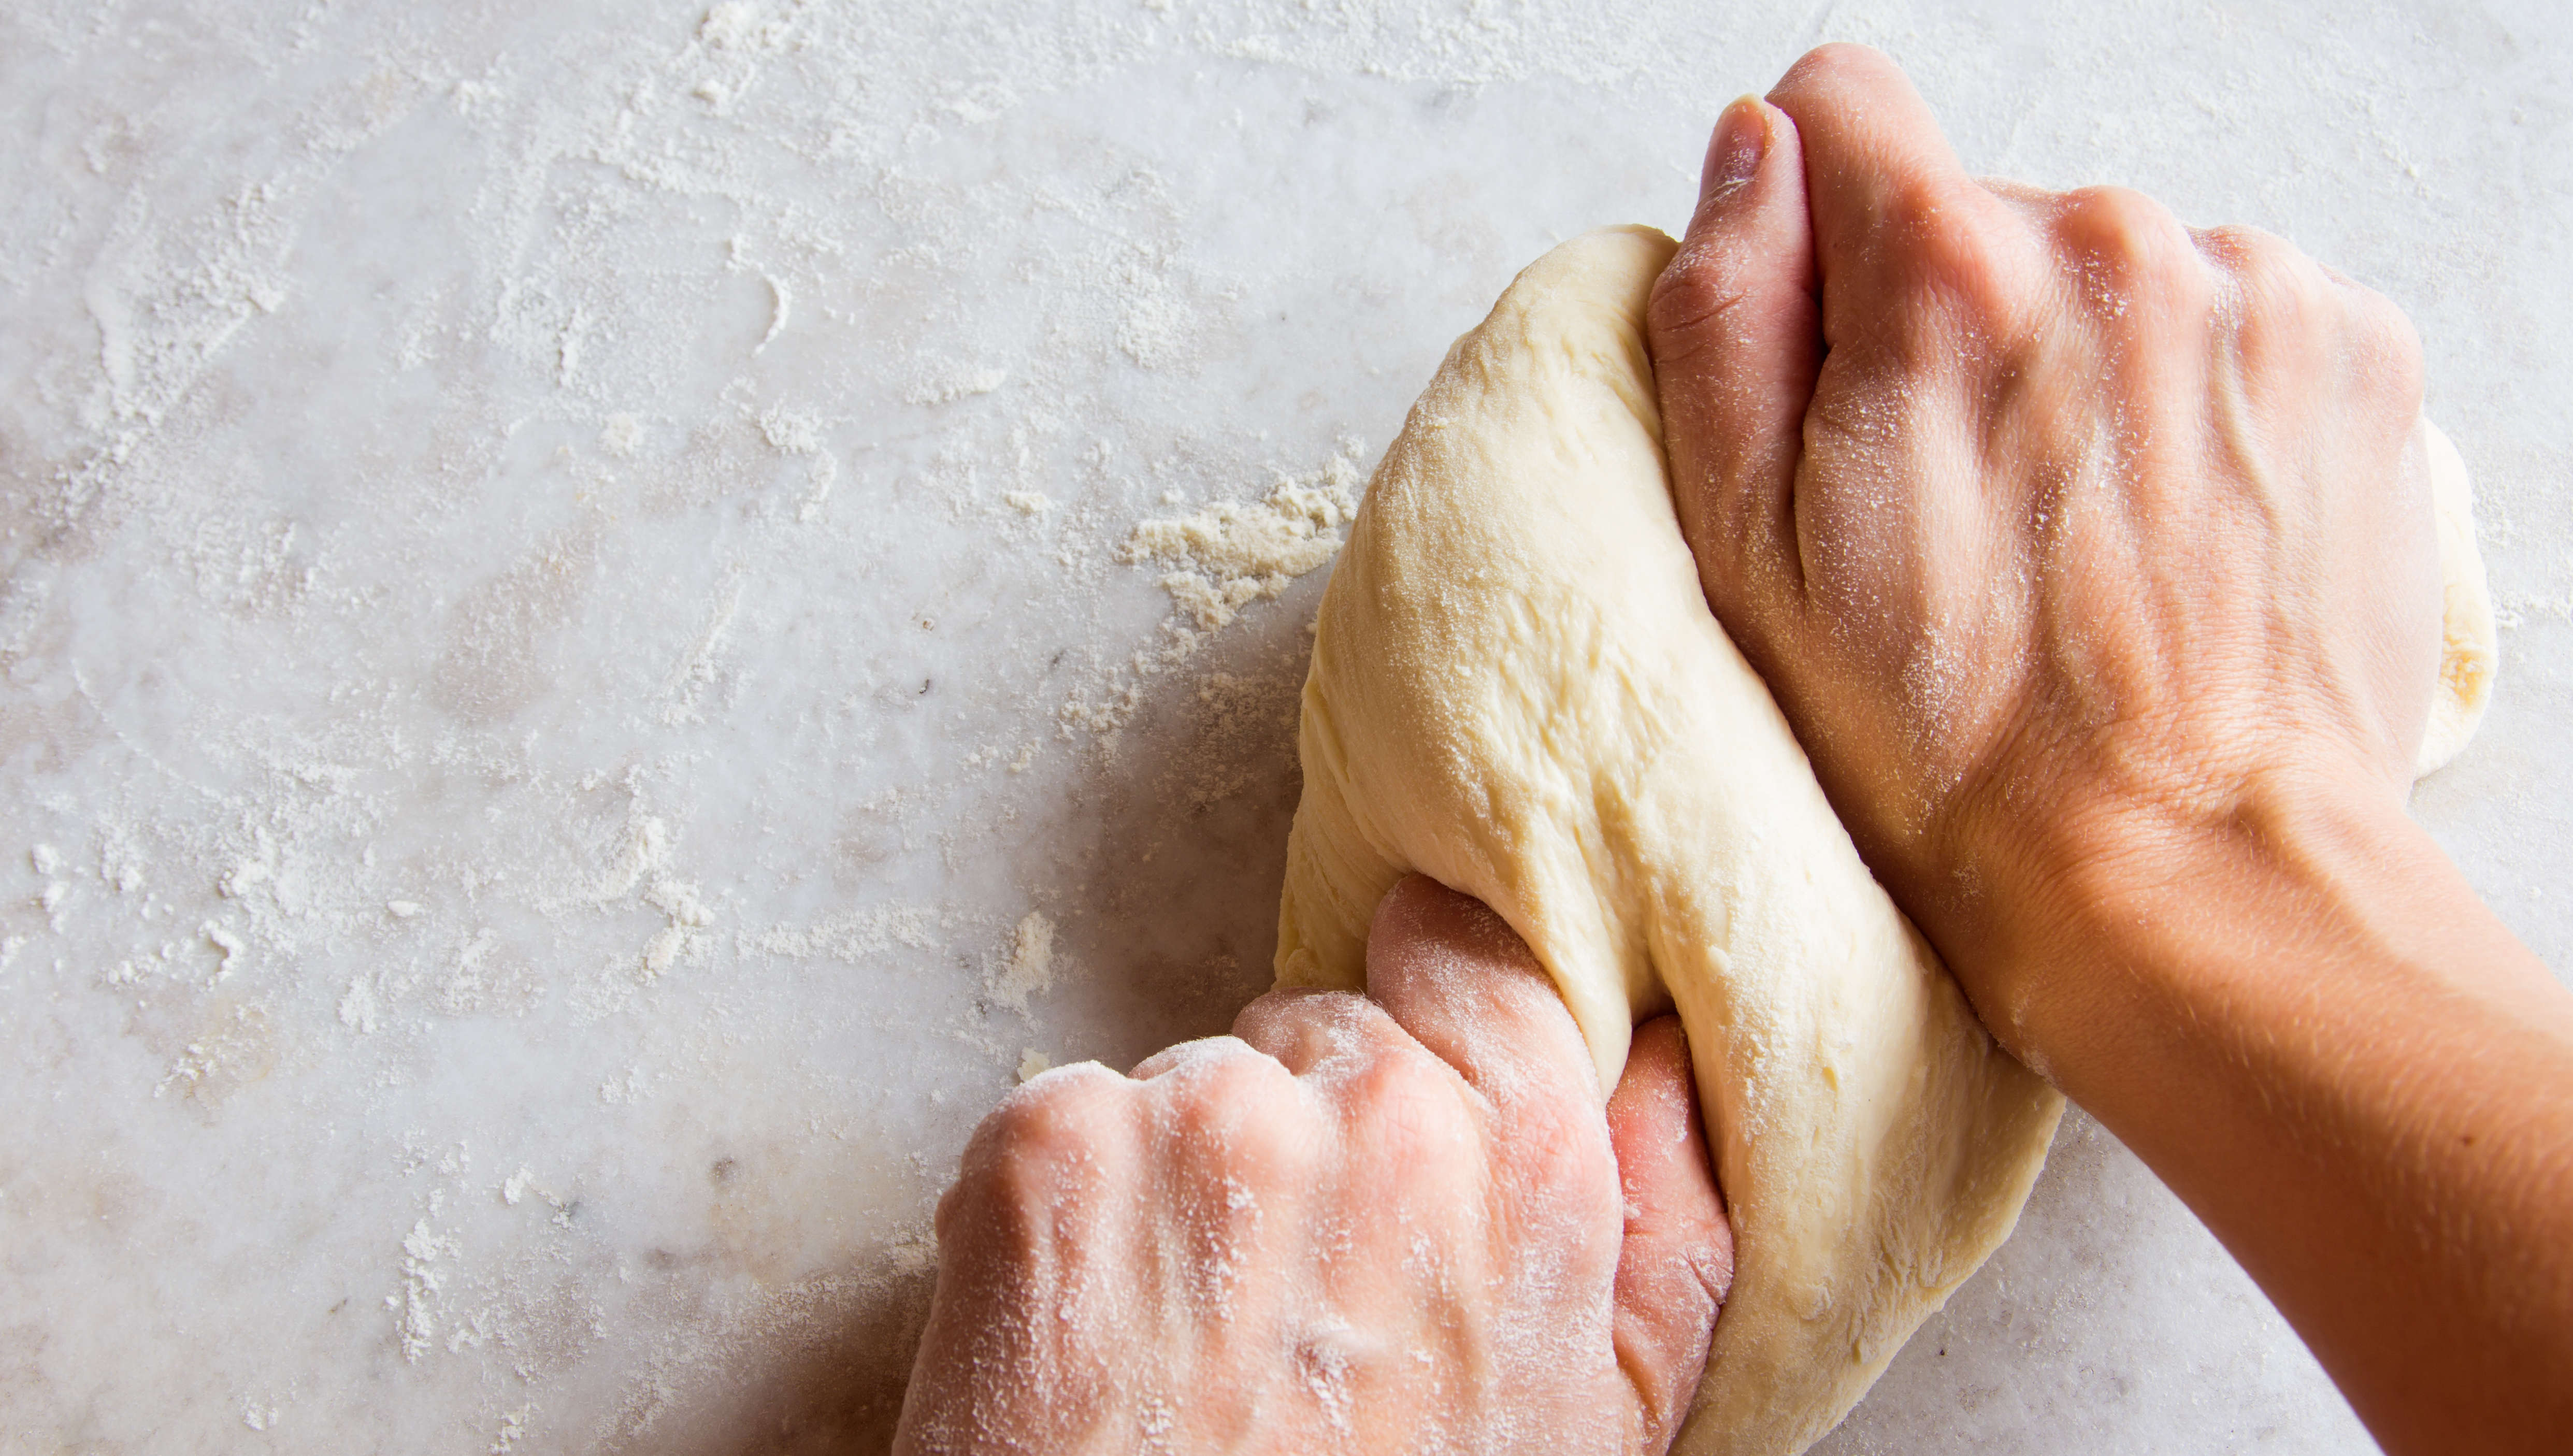
The purpose of kneading dough is to develop gluten in the dough to give it stretch and strength. The Bread Maiden explains that gluten is the long protein strands created when the two proteins present in flour — glutenin and gliadin — relax and expand when exposed to water. And it's the reason why your bread rises.
How to knead your dough
Leave the mixed dough to rest for 10 minutes before kneading. Then, if you have a stand mixer, add the dough hook attachment and leave it on a slow to medium speed for 10 minutes. I use my KitchenAid stand mixer for kneading dough and rarely knead it by hand.
Even if you have an appliance that can help, it's always fun to have a go at kneading dough by hand.
Hollywood recommends it will need at least 10 minutes before it’s ready. You can test the dough by pulling out a small piece and stretching it to about 8 inches (20cm). If it breaks, it needs more kneading.
8. How long should the dough rise?
Firstly, it’s important to understand the difference between rising and proofing. The rising stage happens after the dough has been kneaded while proofing occurs later.
The amount of time the dough should rise depends on your recipe, ingredients and the temperature at which it’s left. Around 1-1.5 hours is a good estimate, but it may be longer. And, as we’ve mentioned before, a slower rise will lead to a tastier loaf.
However, there is one pitfall to watch out for. Bread that is left for too long will over-ferment and taste bitter. So, if you’ve made your dough near the end of the day, leave it to rise overnight in the refrigerator. The cooler temperature will produce a slower rise without over-fermenting the dough. Hollywood says you’ll see when the dough has grown to its full extent when creases appear on the surface of the dough.
9. Shape and prove
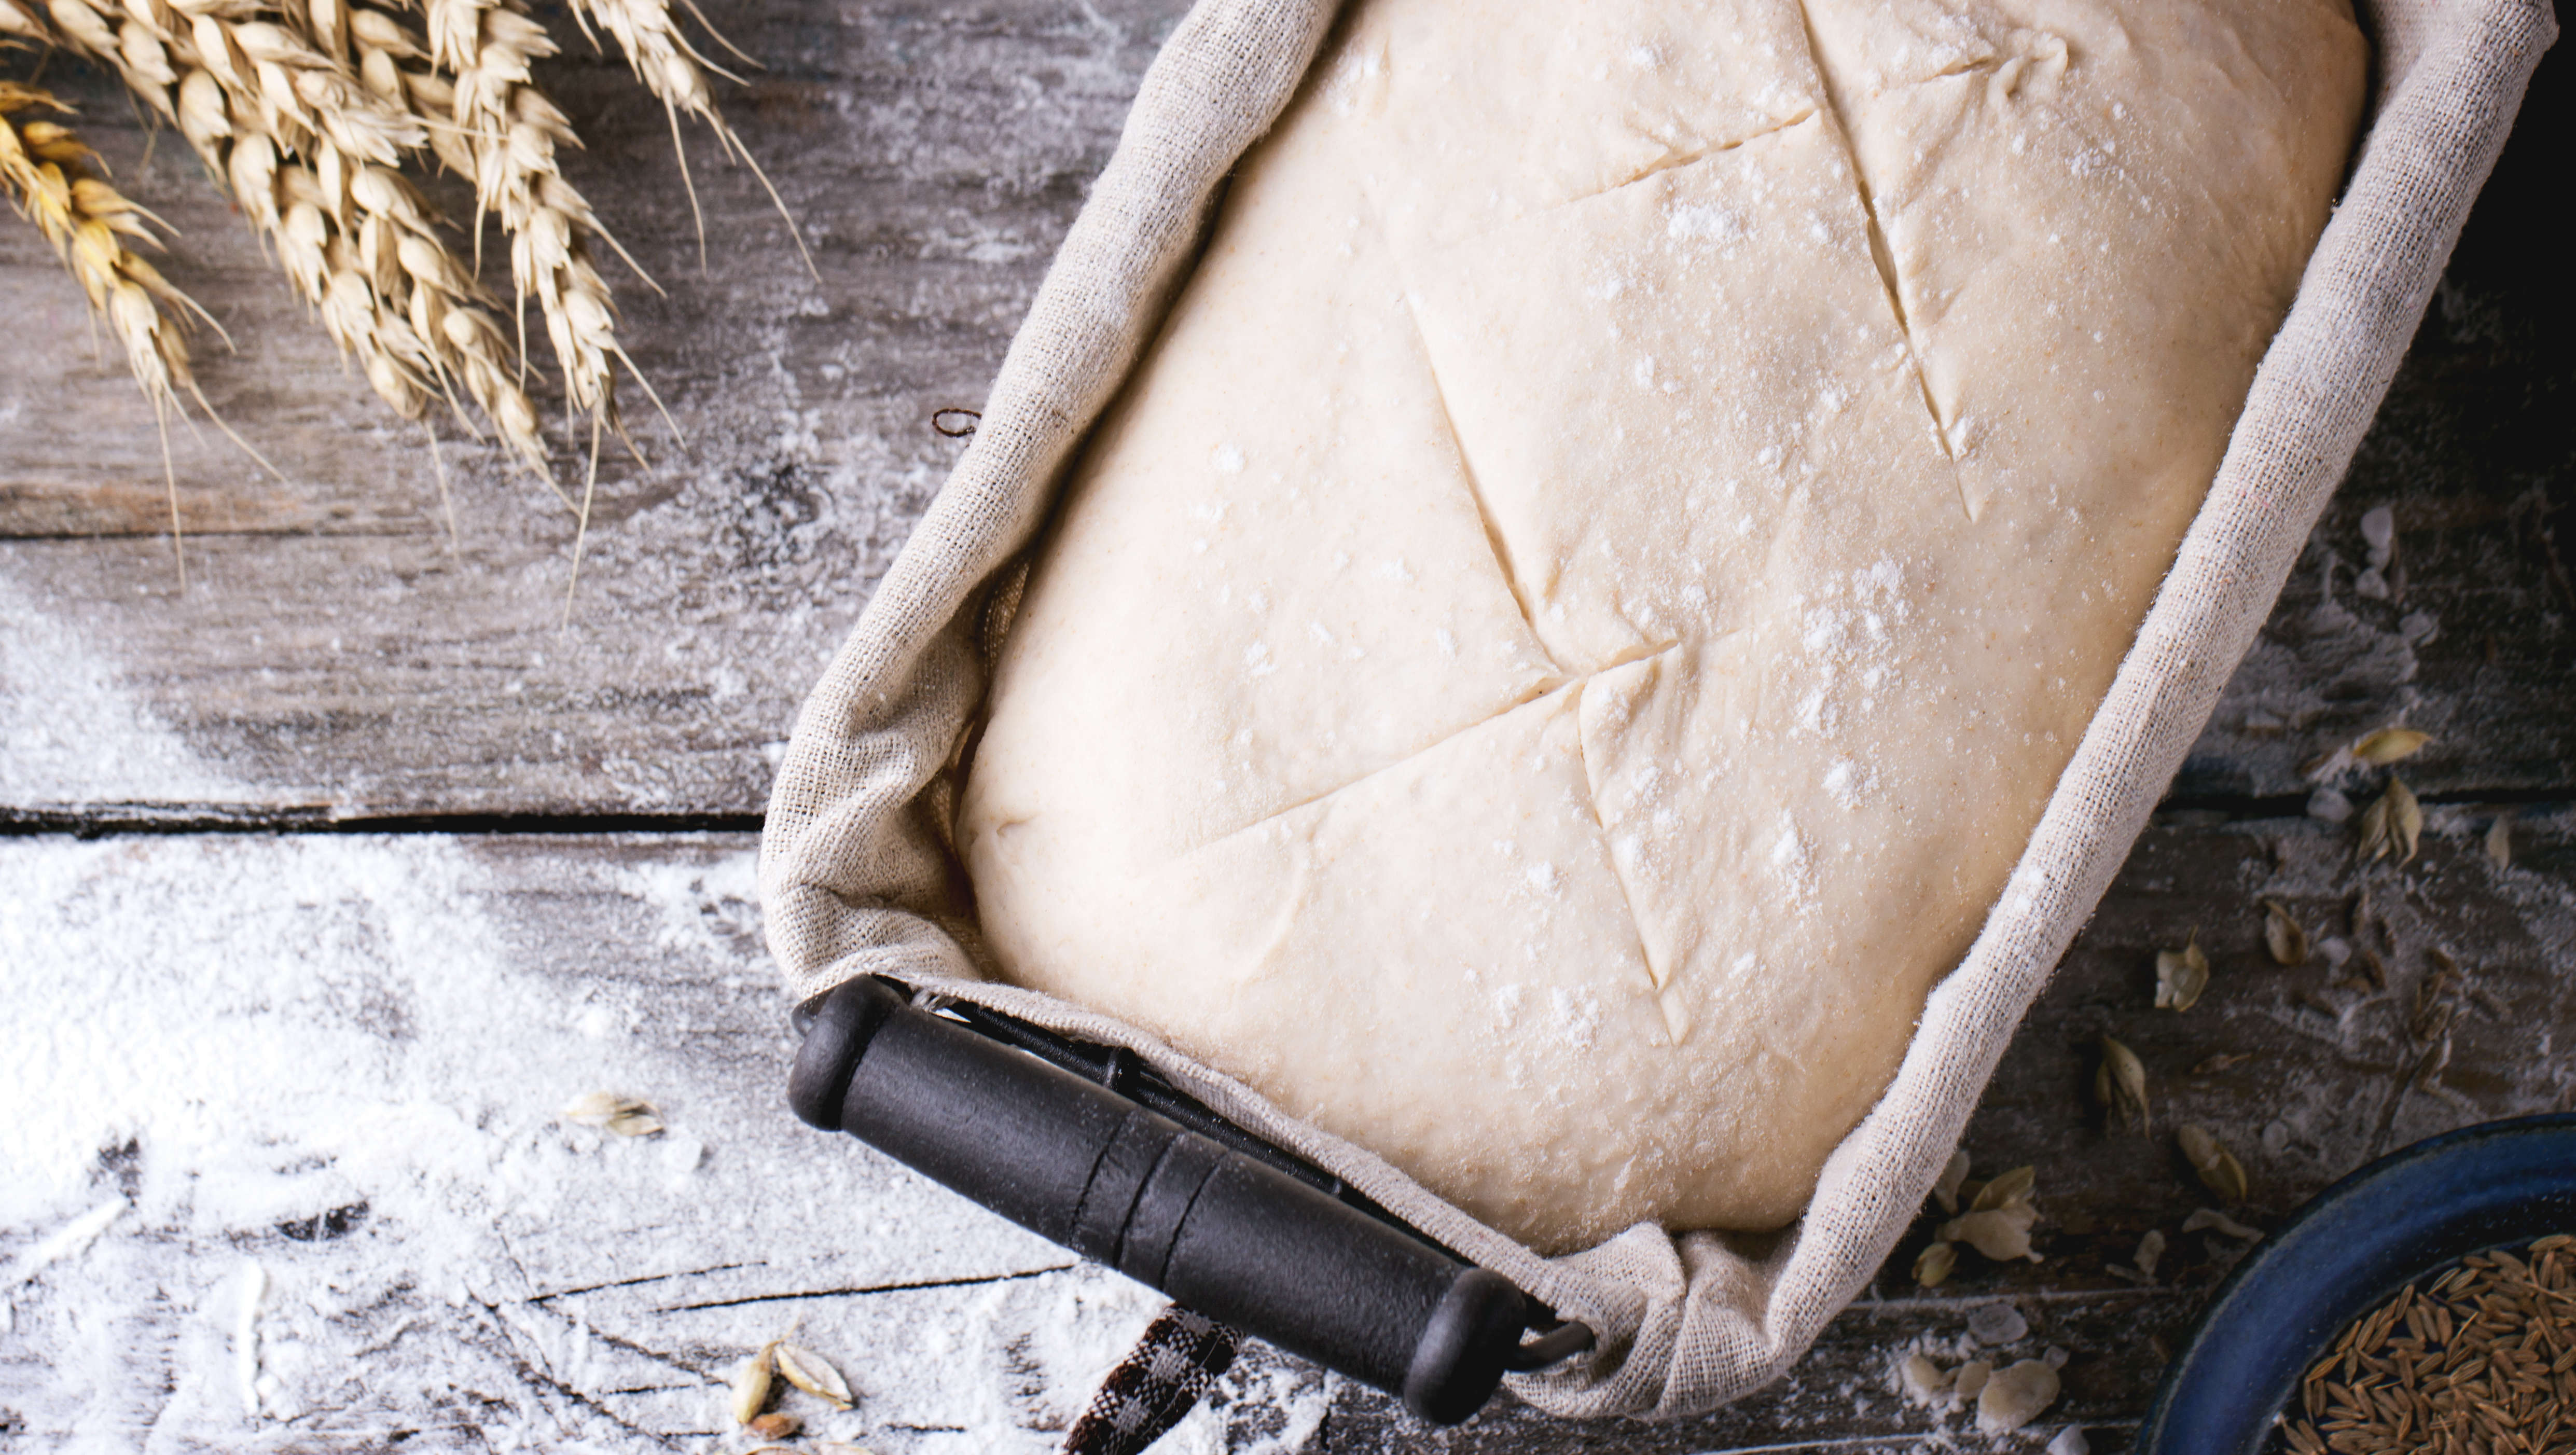
After the first rise the dough must be knocked back. This technique removes the air pockets, helps to form a uniform texture, and makes it easier to shape before the final proof.
You don’t need a standing mixer for this stage, you can knock the dough back with the heels, knuckles and fingertips by folding the dough back on itself to remove the air.
Once this stage is complete, the dough can be shaped so it’s ready for the final rise.
10. The only way is up
If you’re new to breadmaking, it’s a good idea to start by placing the dough in a tin for the final proving stage before baking. This will prevent the dough from spilling out, as there’s only one way to go, and that’s up! You’ll also see more clearly how much it has risen.
At this stage I get impatient, as the dough has already been left to rise earlier, but keep your faith, as it will rise in time.
The poke test
You can test the bread to see if it is ready. Dip a fingertip in flour, then poke the dough about 1 inch. If the indent remains, it’s ready to bake, but if it pops back out it needs more time.
11. Use a hot oven
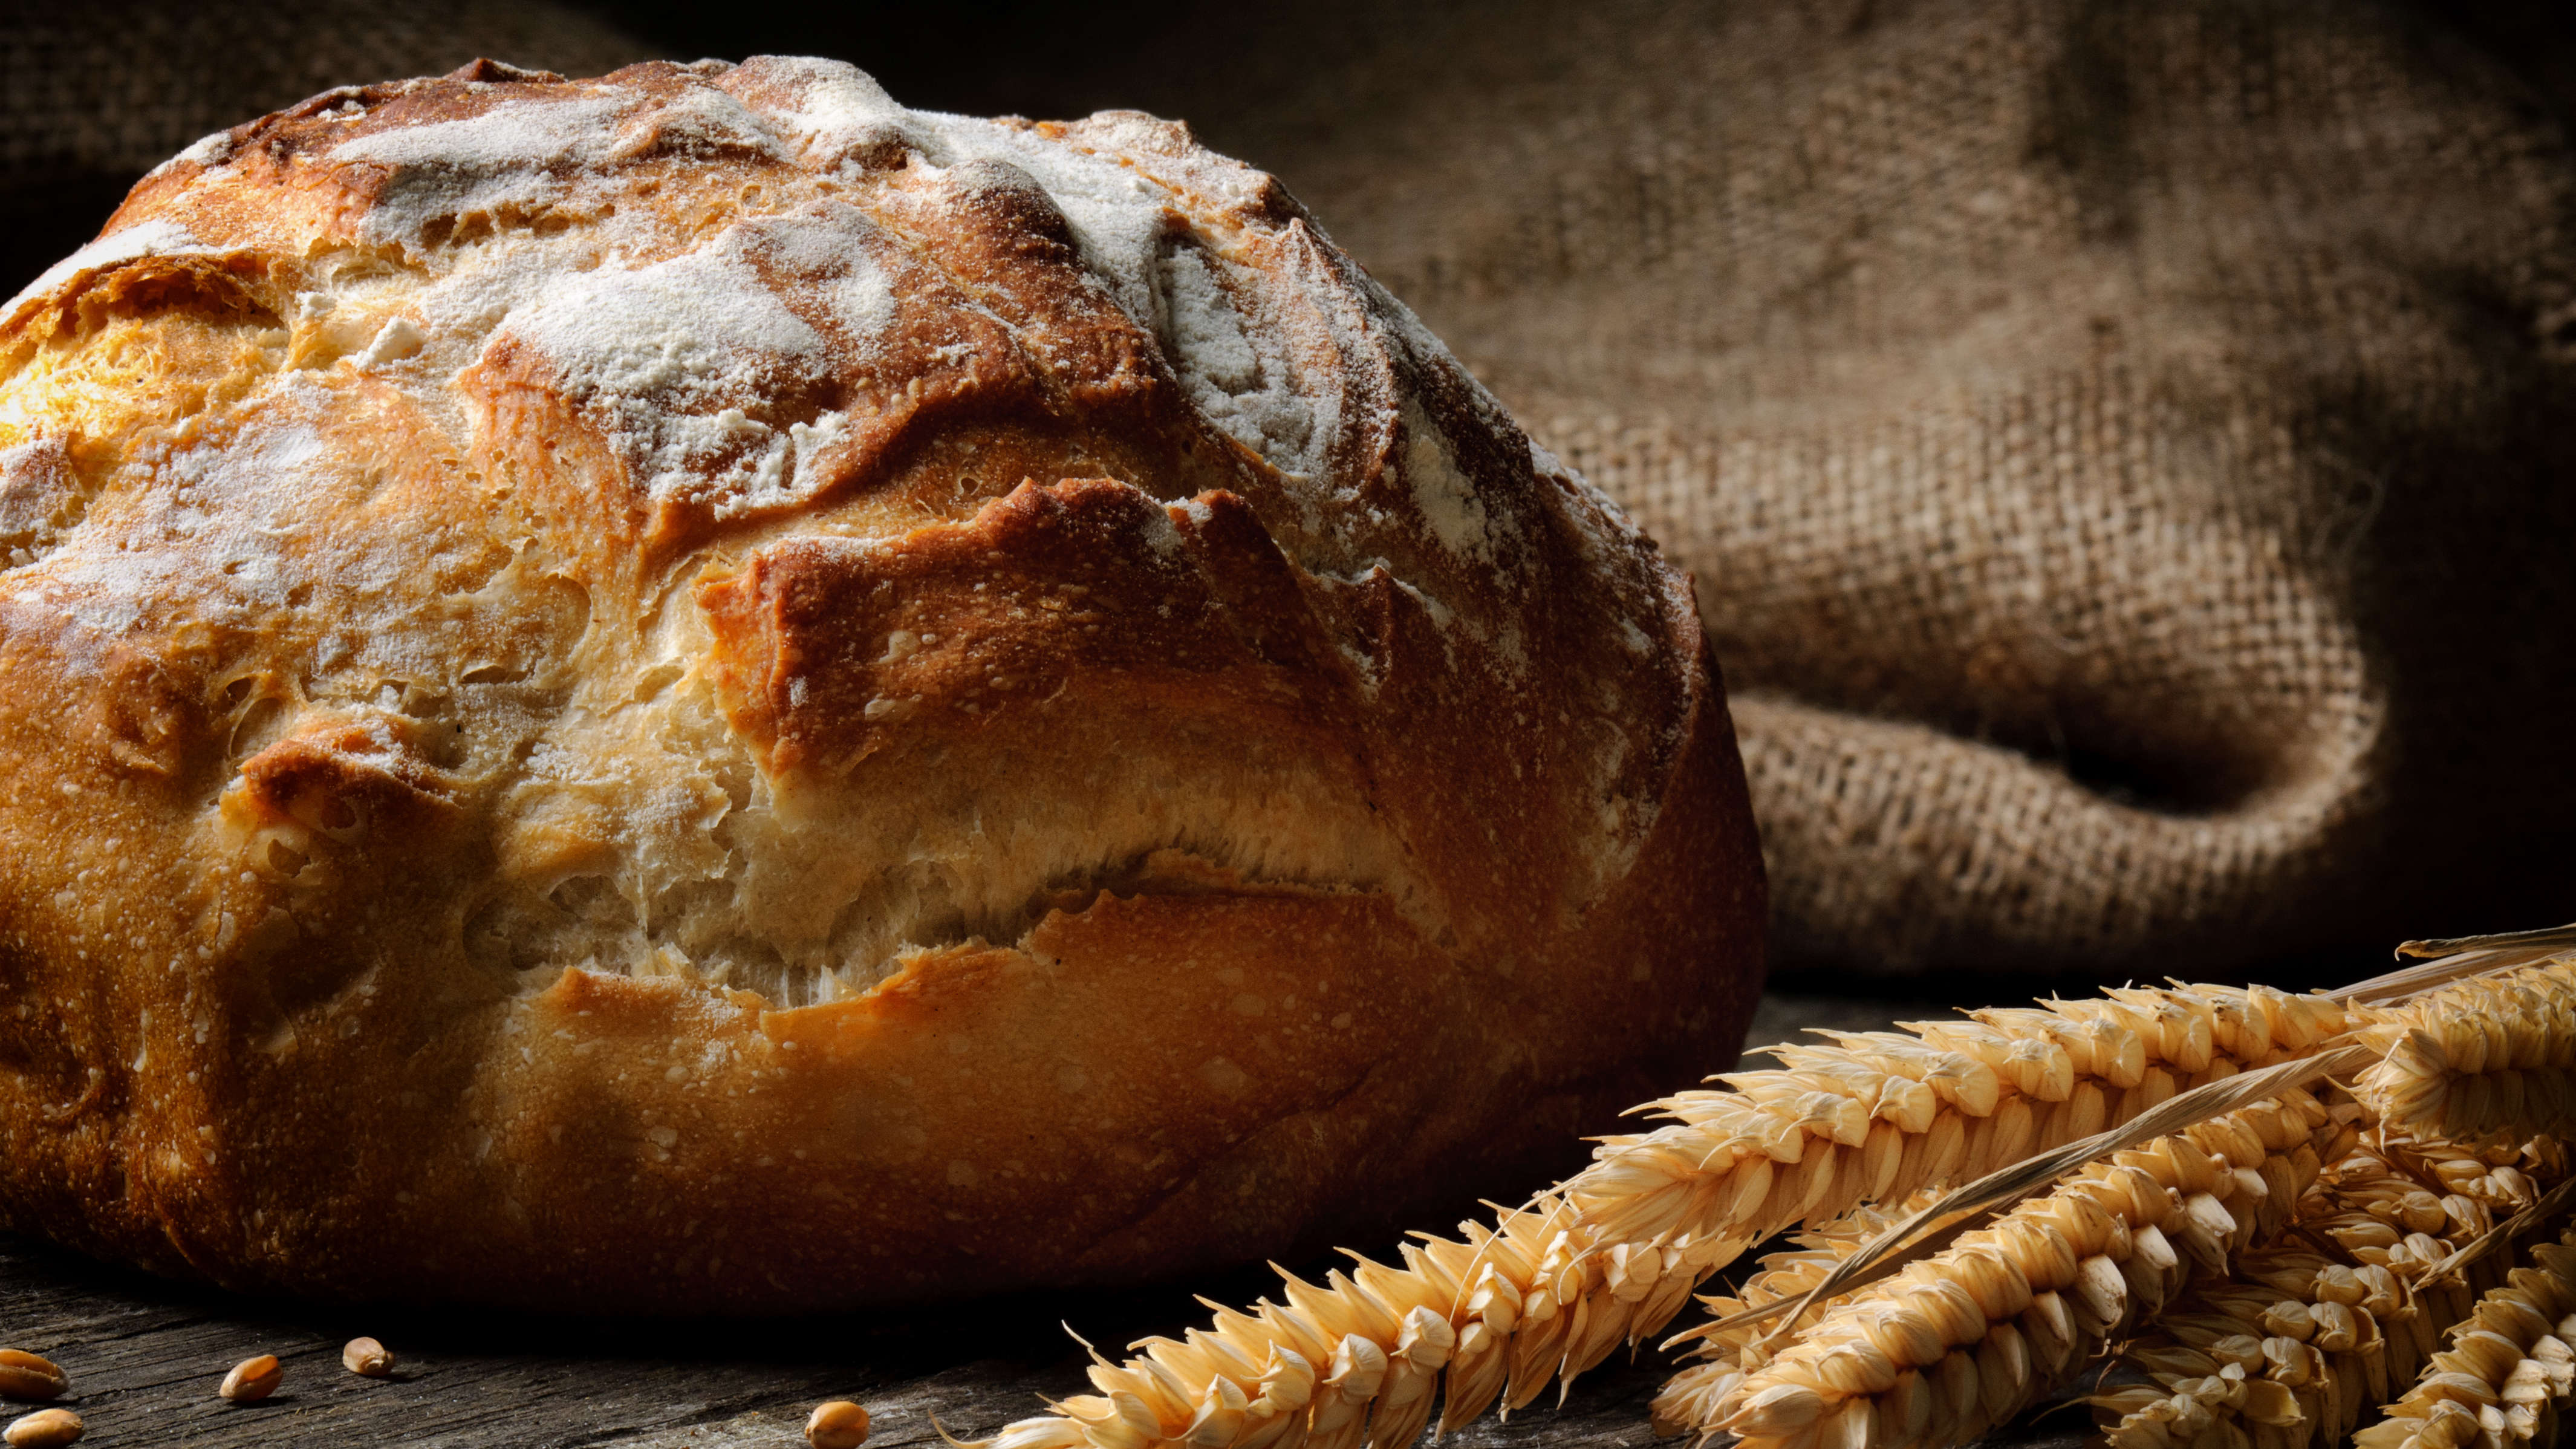
The oven needs to be at a high temperature to achieve a good bake, producing a decent crust and color. The Bread Guide explains that caramelization and the Maillard reaction both play a part and only happen at certain temperatures.
What is carmelization?
Carmelization occurs when sugar decomposes at high temperatures but the temperature of decomposition will depend on the type of sugar. In general, sugars start to break down at about 350°F.
What is the Maillard reaction?
In baking, the Maillard reaction plays a crucial role in browning the crust of bread and adds flavors and aromas to the final product. It’s a chemical reaction that occurs between the sugars and amino acids when exposed to heat of between 280°F-330°F.
Always follow the recipe guide when setting the oven temperature and allow the oven to reach the desired temperature before inserting the bread. Remember to decrease the suggested temperature, as needed, if you have a fan oven.
There are three ways to test if your bread is done:
- Kitchn suggests inserting an instant-read thermometer into the center of the loaf. You don’t need to do this from the top of the loaf, inserting it from the side will reduce any evidence. Most breads will be baked at around 375°F, with enriched breads ready when closer to 390°F.
- Remove the loaf from its tin and tap the bread on its bottom. If it sounds hollow it’s ready.
- Check the color and crust — the crust should be dry, firm and golden brown. If the crust is pale, it needs more time.
Don’t forget to share your hard work, although keeping it all to yourself is tempting! Now you've know what to do, how about baking some zucchini bread at home? You can also discover how I got on when I reviewed the Breville Custom Loaf bread maker.
More from Tom's Guide

Camilla Sharman has worked in publishing and marketing for over 30 years and has covered a wide range of sectors within the business and consumer industries both as a feature, content, and freelance writer.
As a business journalist, Camilla has researched articles for many different sectors from the jewellery industry to finance and tech, charities, and the arts. Whatever she’s covered, she enjoys delving deep and learning the ins and out of different topics, then conveying her research within engaging content that informs the reader. In her spare time, when she’s not in her kitchen experimenting with a new recipe, you’ll find her keeping fit at the gym. In the pool, stretching at a yoga class, or on a spin bike, exercise is her escape time. She also loves the great outdoors and if she’s not pottering about in her garden, she’ll be jumping on her bike for a gentle cycle ride.
