9 tips to make the best holiday cards this season
Get creative with our top holiday card ideas

Making your own holiday cards is a touching (and affordable) way to reach out to family and friends over the festive season, reminding them of how much you care. Receiving a personalised card made with love, is a unique gift that will raise a smile and good cheer.
Whatever the design, whether it includes a family photo, glued-on felted shapes, or a hand-crafted stencil pattern, there’s a whole range of designs that will delight each recipient. Whether you’re a novice crafter or have more expertise, you can create beautiful holiday cards to send to your loved ones.
For inspiration, follow our top tips on how to make the best holiday cards this season.
1. Think about the paper stock

Before you get carried away with designing your card, you first need to think about the card stock, which will form the base of what supports your design.
Card Making Collective suggests using a sturdy card for the card base, such as 80lb (215gsm), but says something lighter will be better for embellishments and layers, such as 65lb (175gsm).
Another option is 100lb (270gsm), which is good for embossing, although Card Making Collective warns it can be difficult to pass through a home printer. For an extra sturdy card, try 130lb (350gsm). It’s ideal for projects with 3D elements, like novelty cards or card boxes, but is perhaps best left for experienced crafters to handle.
Apart from the card weight, there are also different finishes to consider. Plain, glittered, pearlescent, metallic, textured, patterned. What do you choose? Watercolor paper is another option if you plan to use paints. Its special properties mean it can absorb water without warping the paper. There are also acetate sheets, which can create a see-through panel on a card.
Sign up to get the BEST of Tom's Guide direct to your inbox.
Get instant access to breaking news, the hottest reviews, great deals and helpful tips.
2. Consider who the card is for
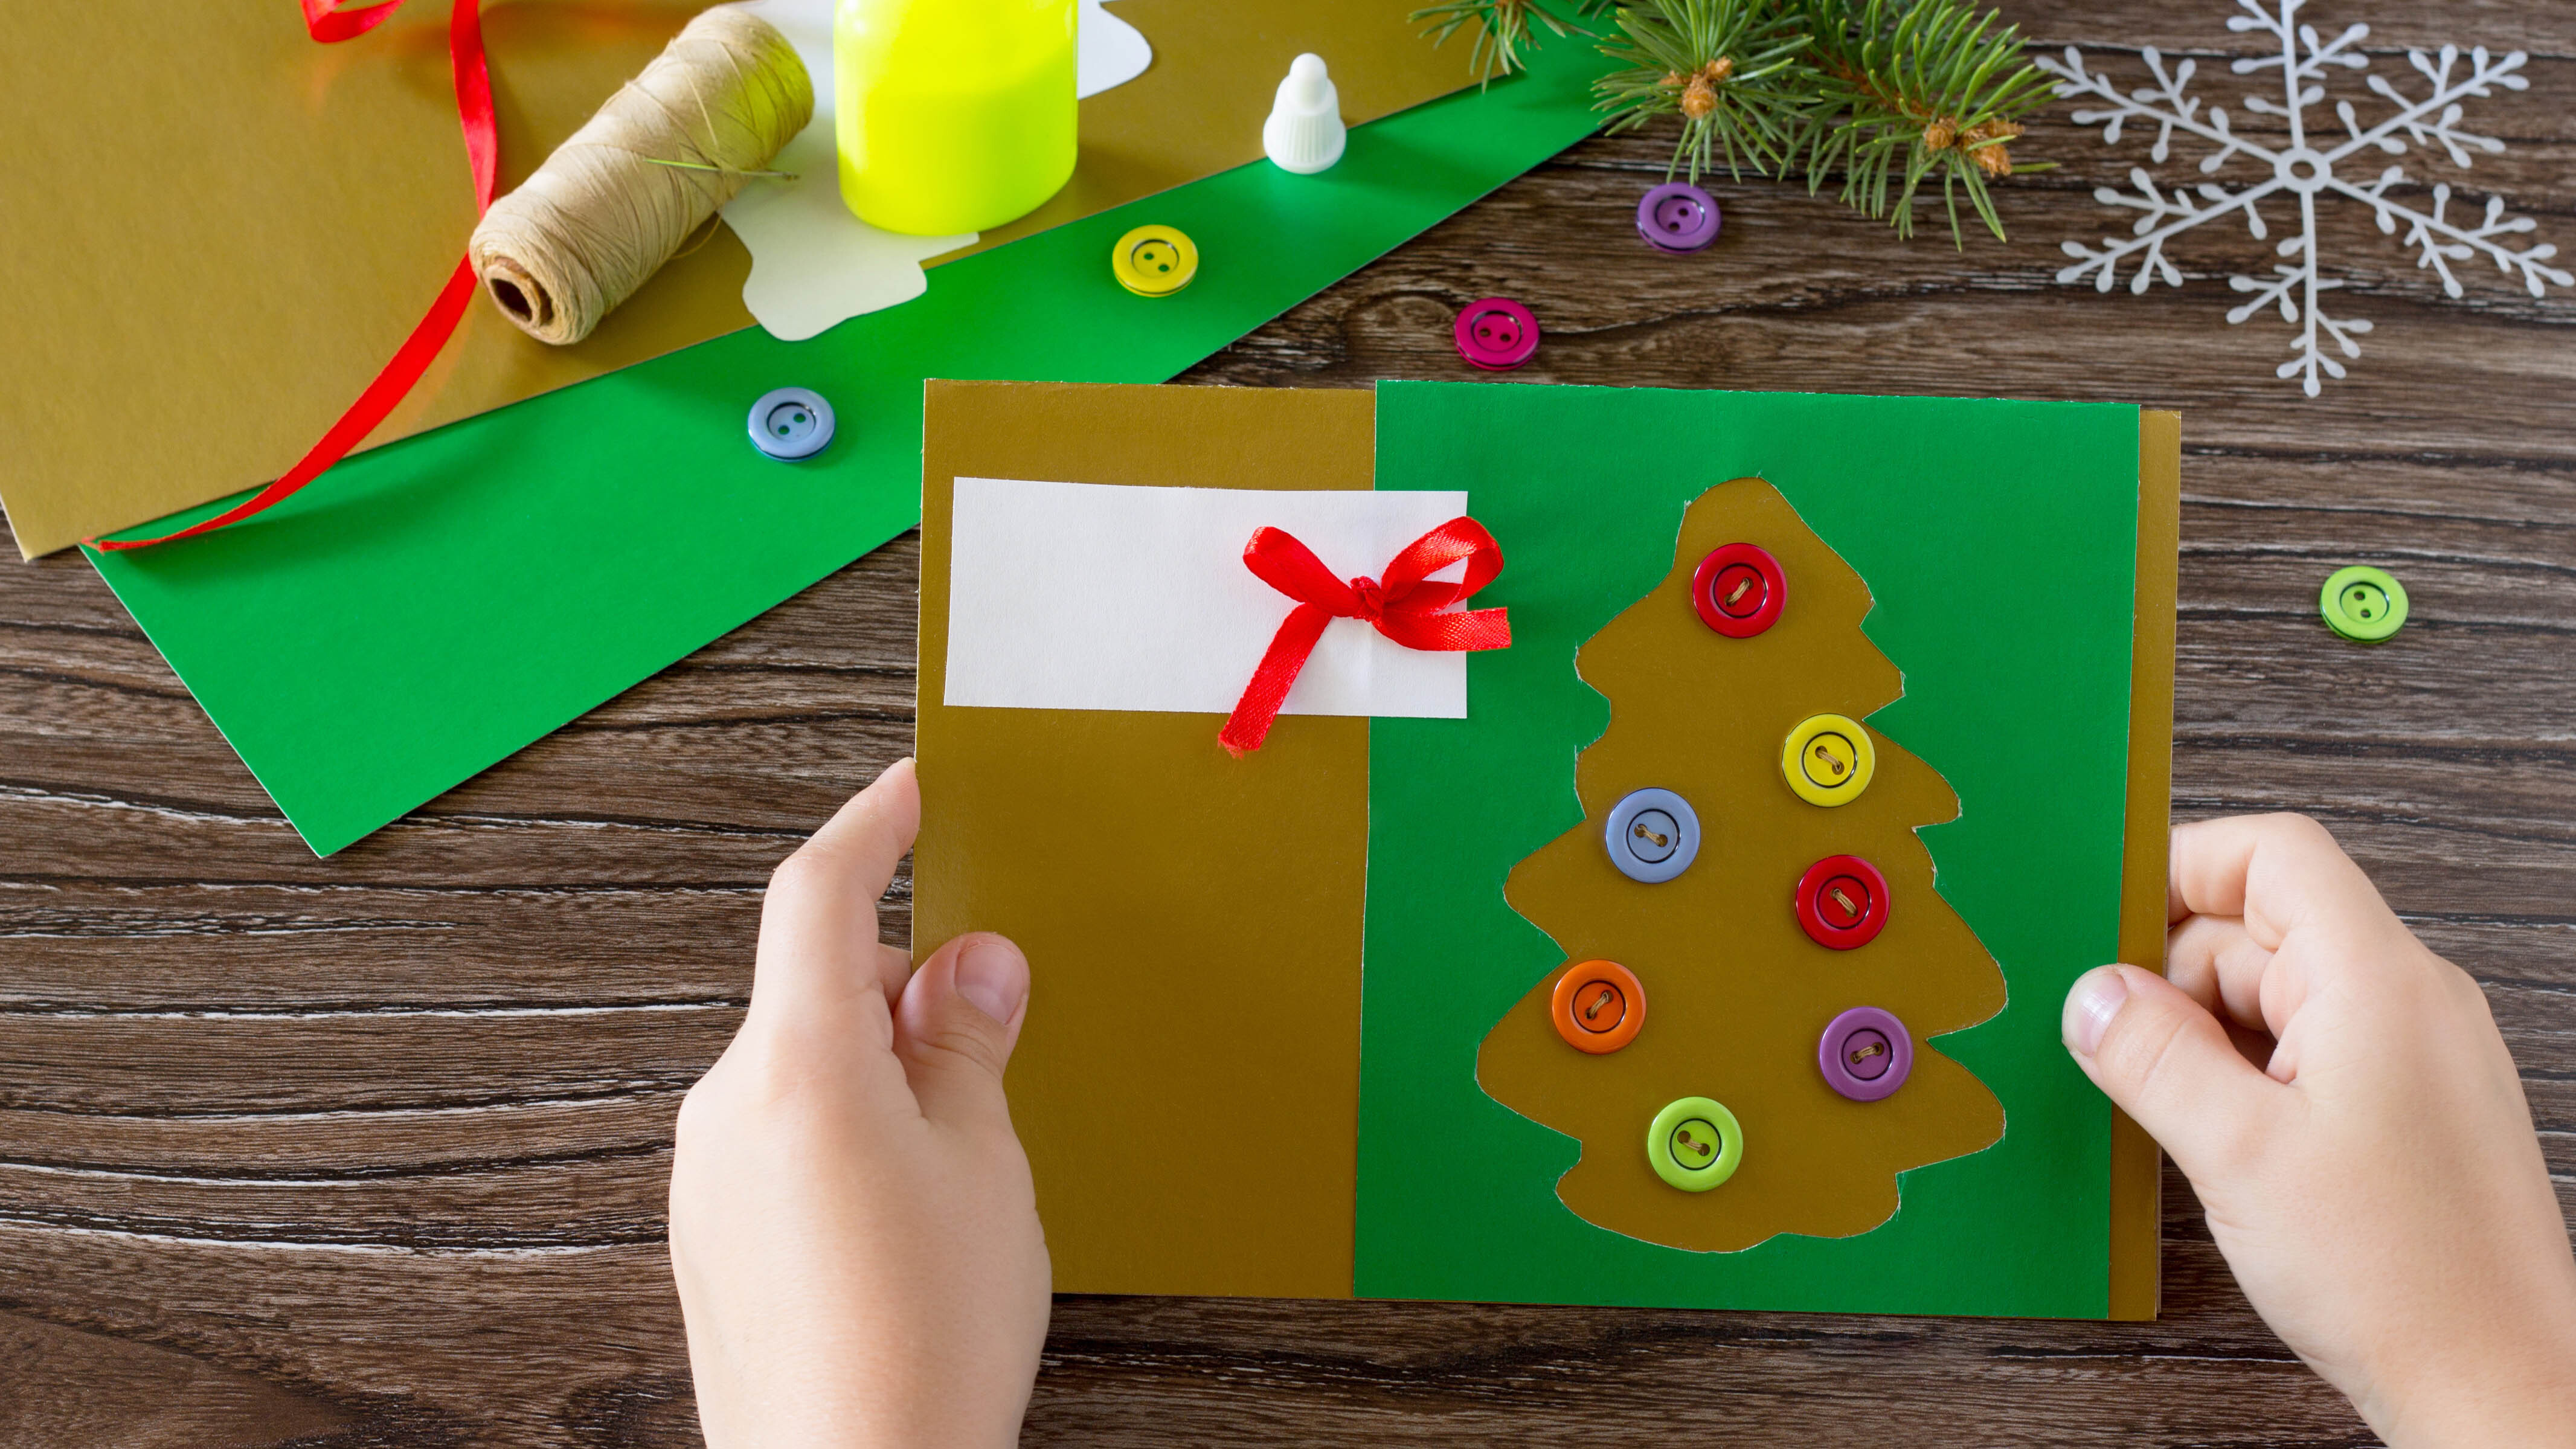
When designing the card, consider who you are sending it to. Do they like bright or subtle colours, and what’s their personality like? Would they prefer something traditional or fun?
Considering their likes and dislikes will allow you to create a customised card, with the recipient knowing you’ve put thought and feeling into the design.
3. Picture perfect

Grandparents love watching their grandchildren grow up, so if you have a young family, they’ll welcome receiving a photo card. You don’t need to take a special picture. A holiday snap or a photo that captures you all having fun will be perfect. Although, if you’re keen to make it more festive, go ahead and take a snap, it’s part of the fun.
If you’re using a picture of one child, rather than a family group, you could cut the image into a circle and form a bauble design, surround them in a garland or pop them on top of a Christmas tree.
4. Think outside the box
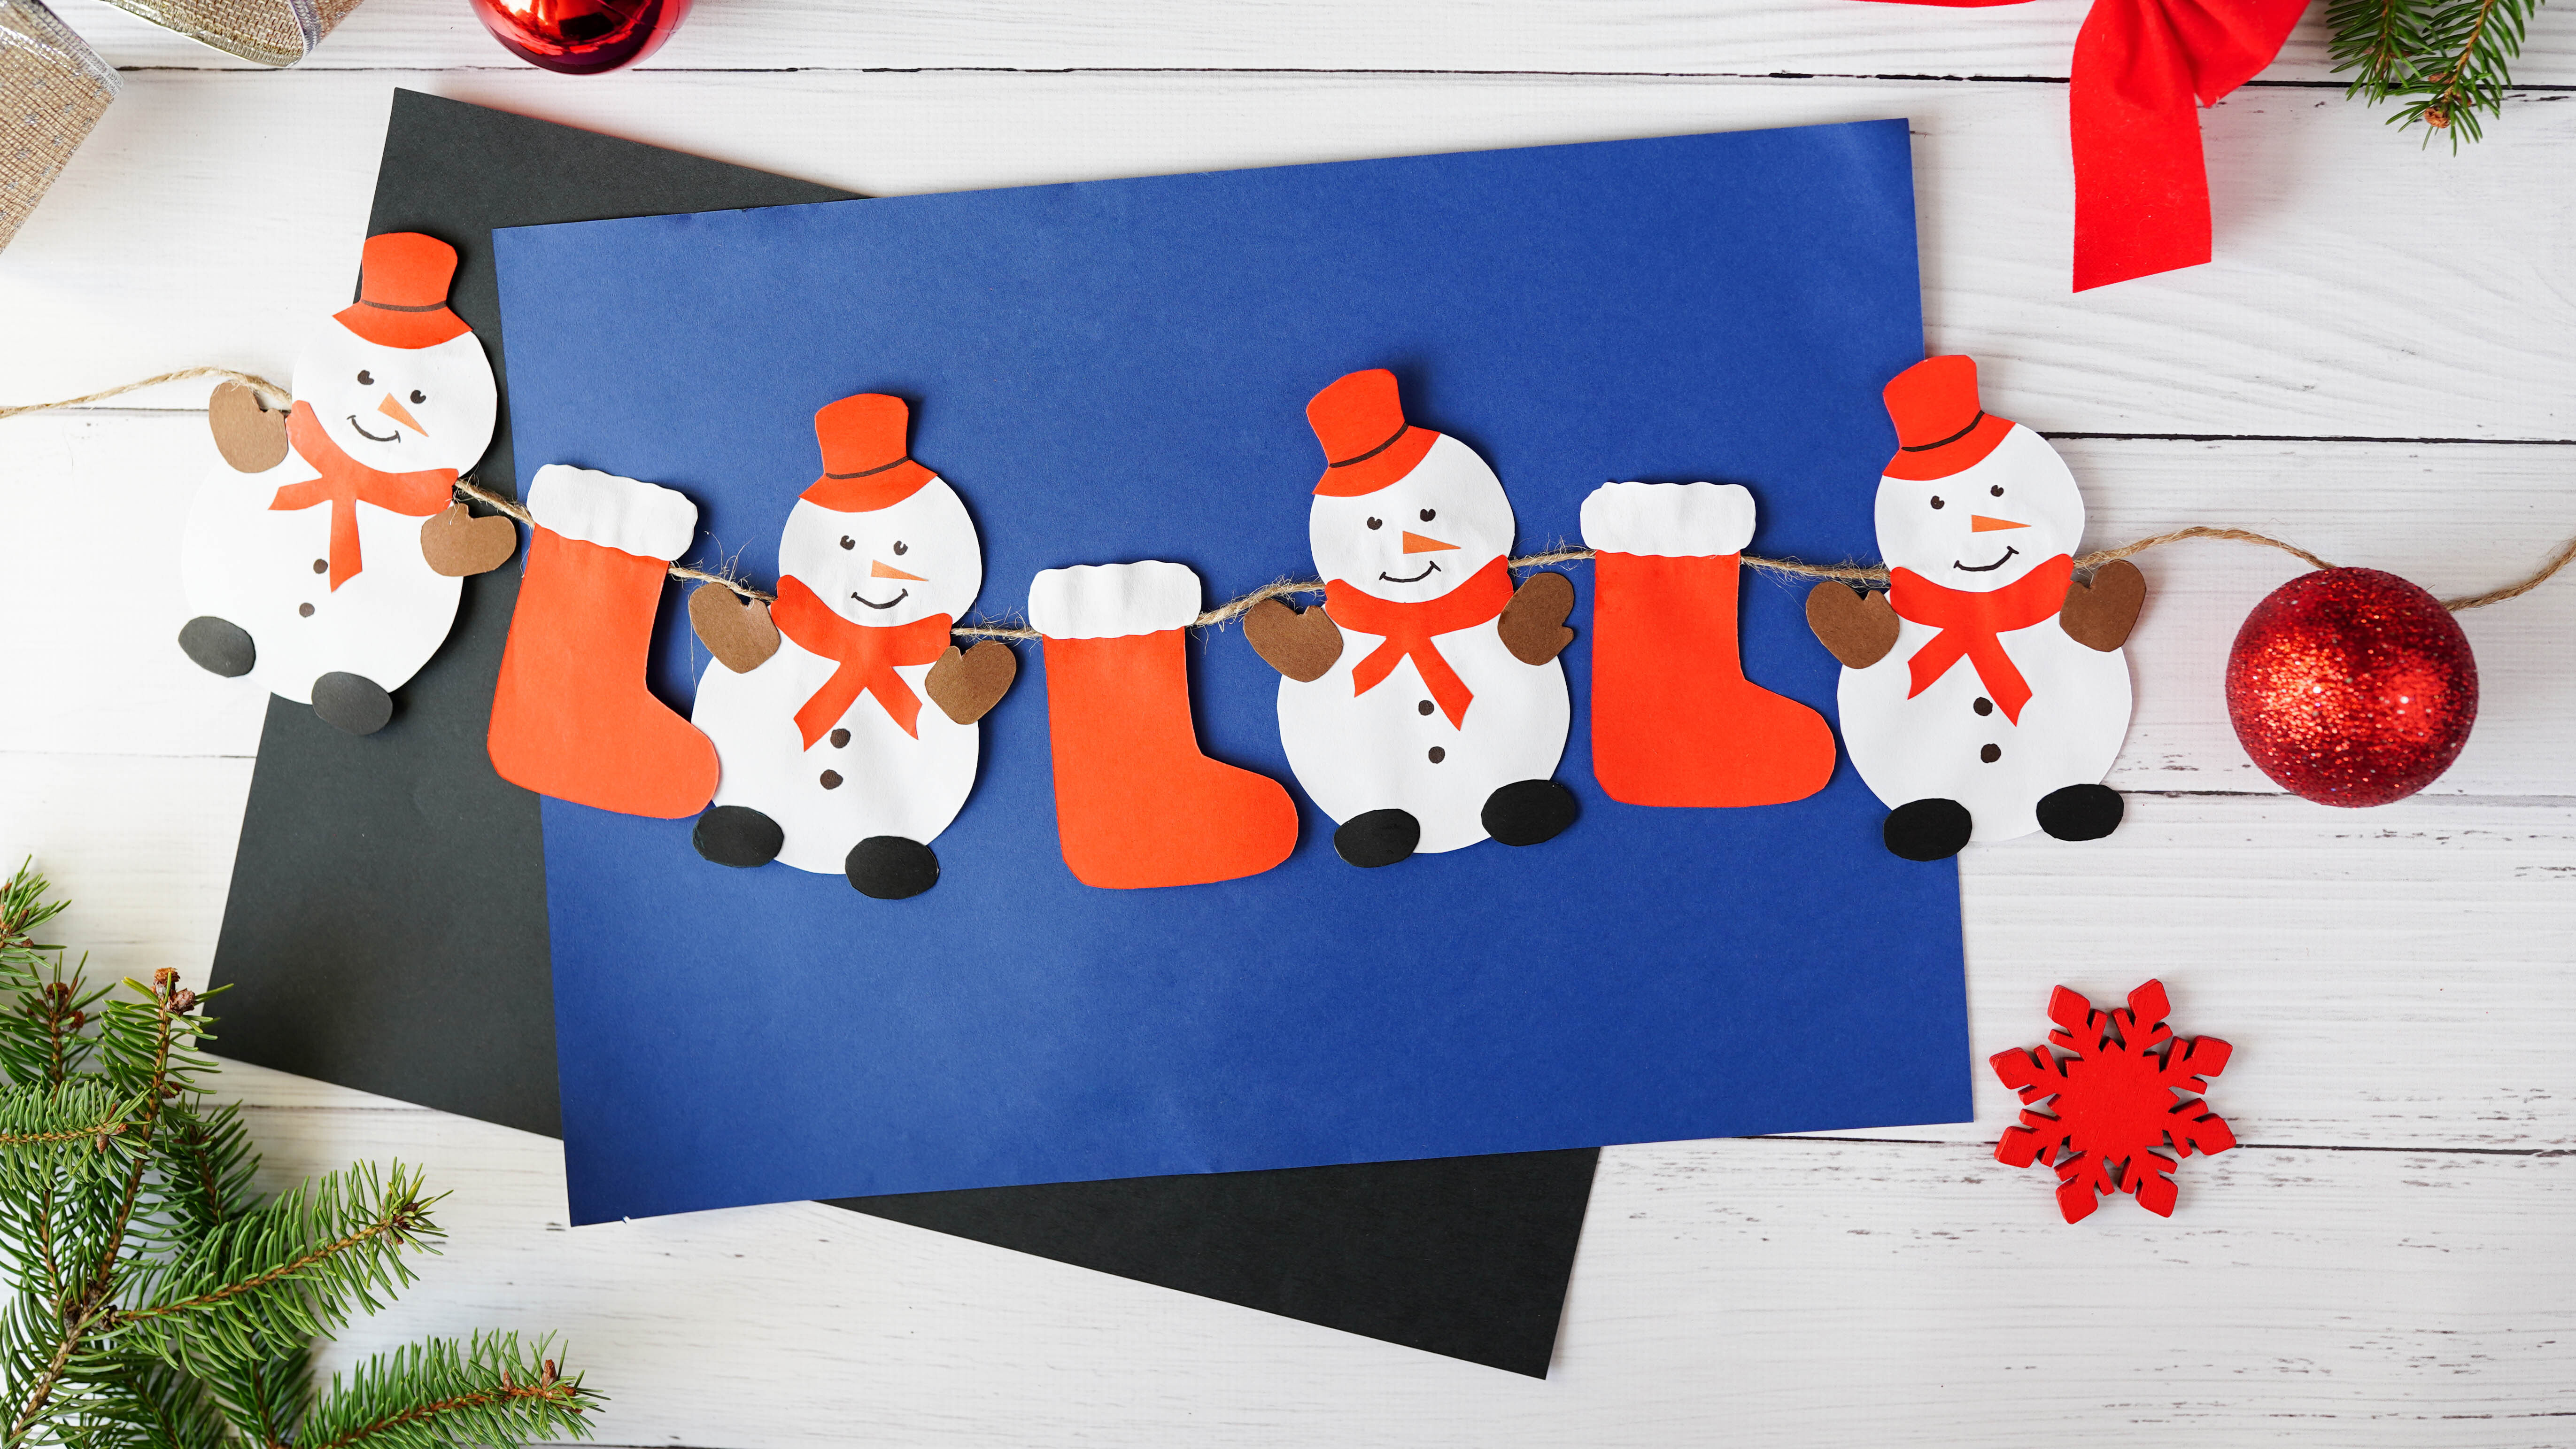
When is a card not a card? When it’s a string of bunting. Why not create the unexpected and insert some decorative bunting in the envelope? It can then be strung across a mantlepiece. And, if large enough, you can still add a holiday message on the reverse.
How about making a paper garland using stockings, Christmas puddings, gingerbread, angels, stars or candles? The recipient will certainly get a nice surprise when they open the envelope.
5. Play with paper
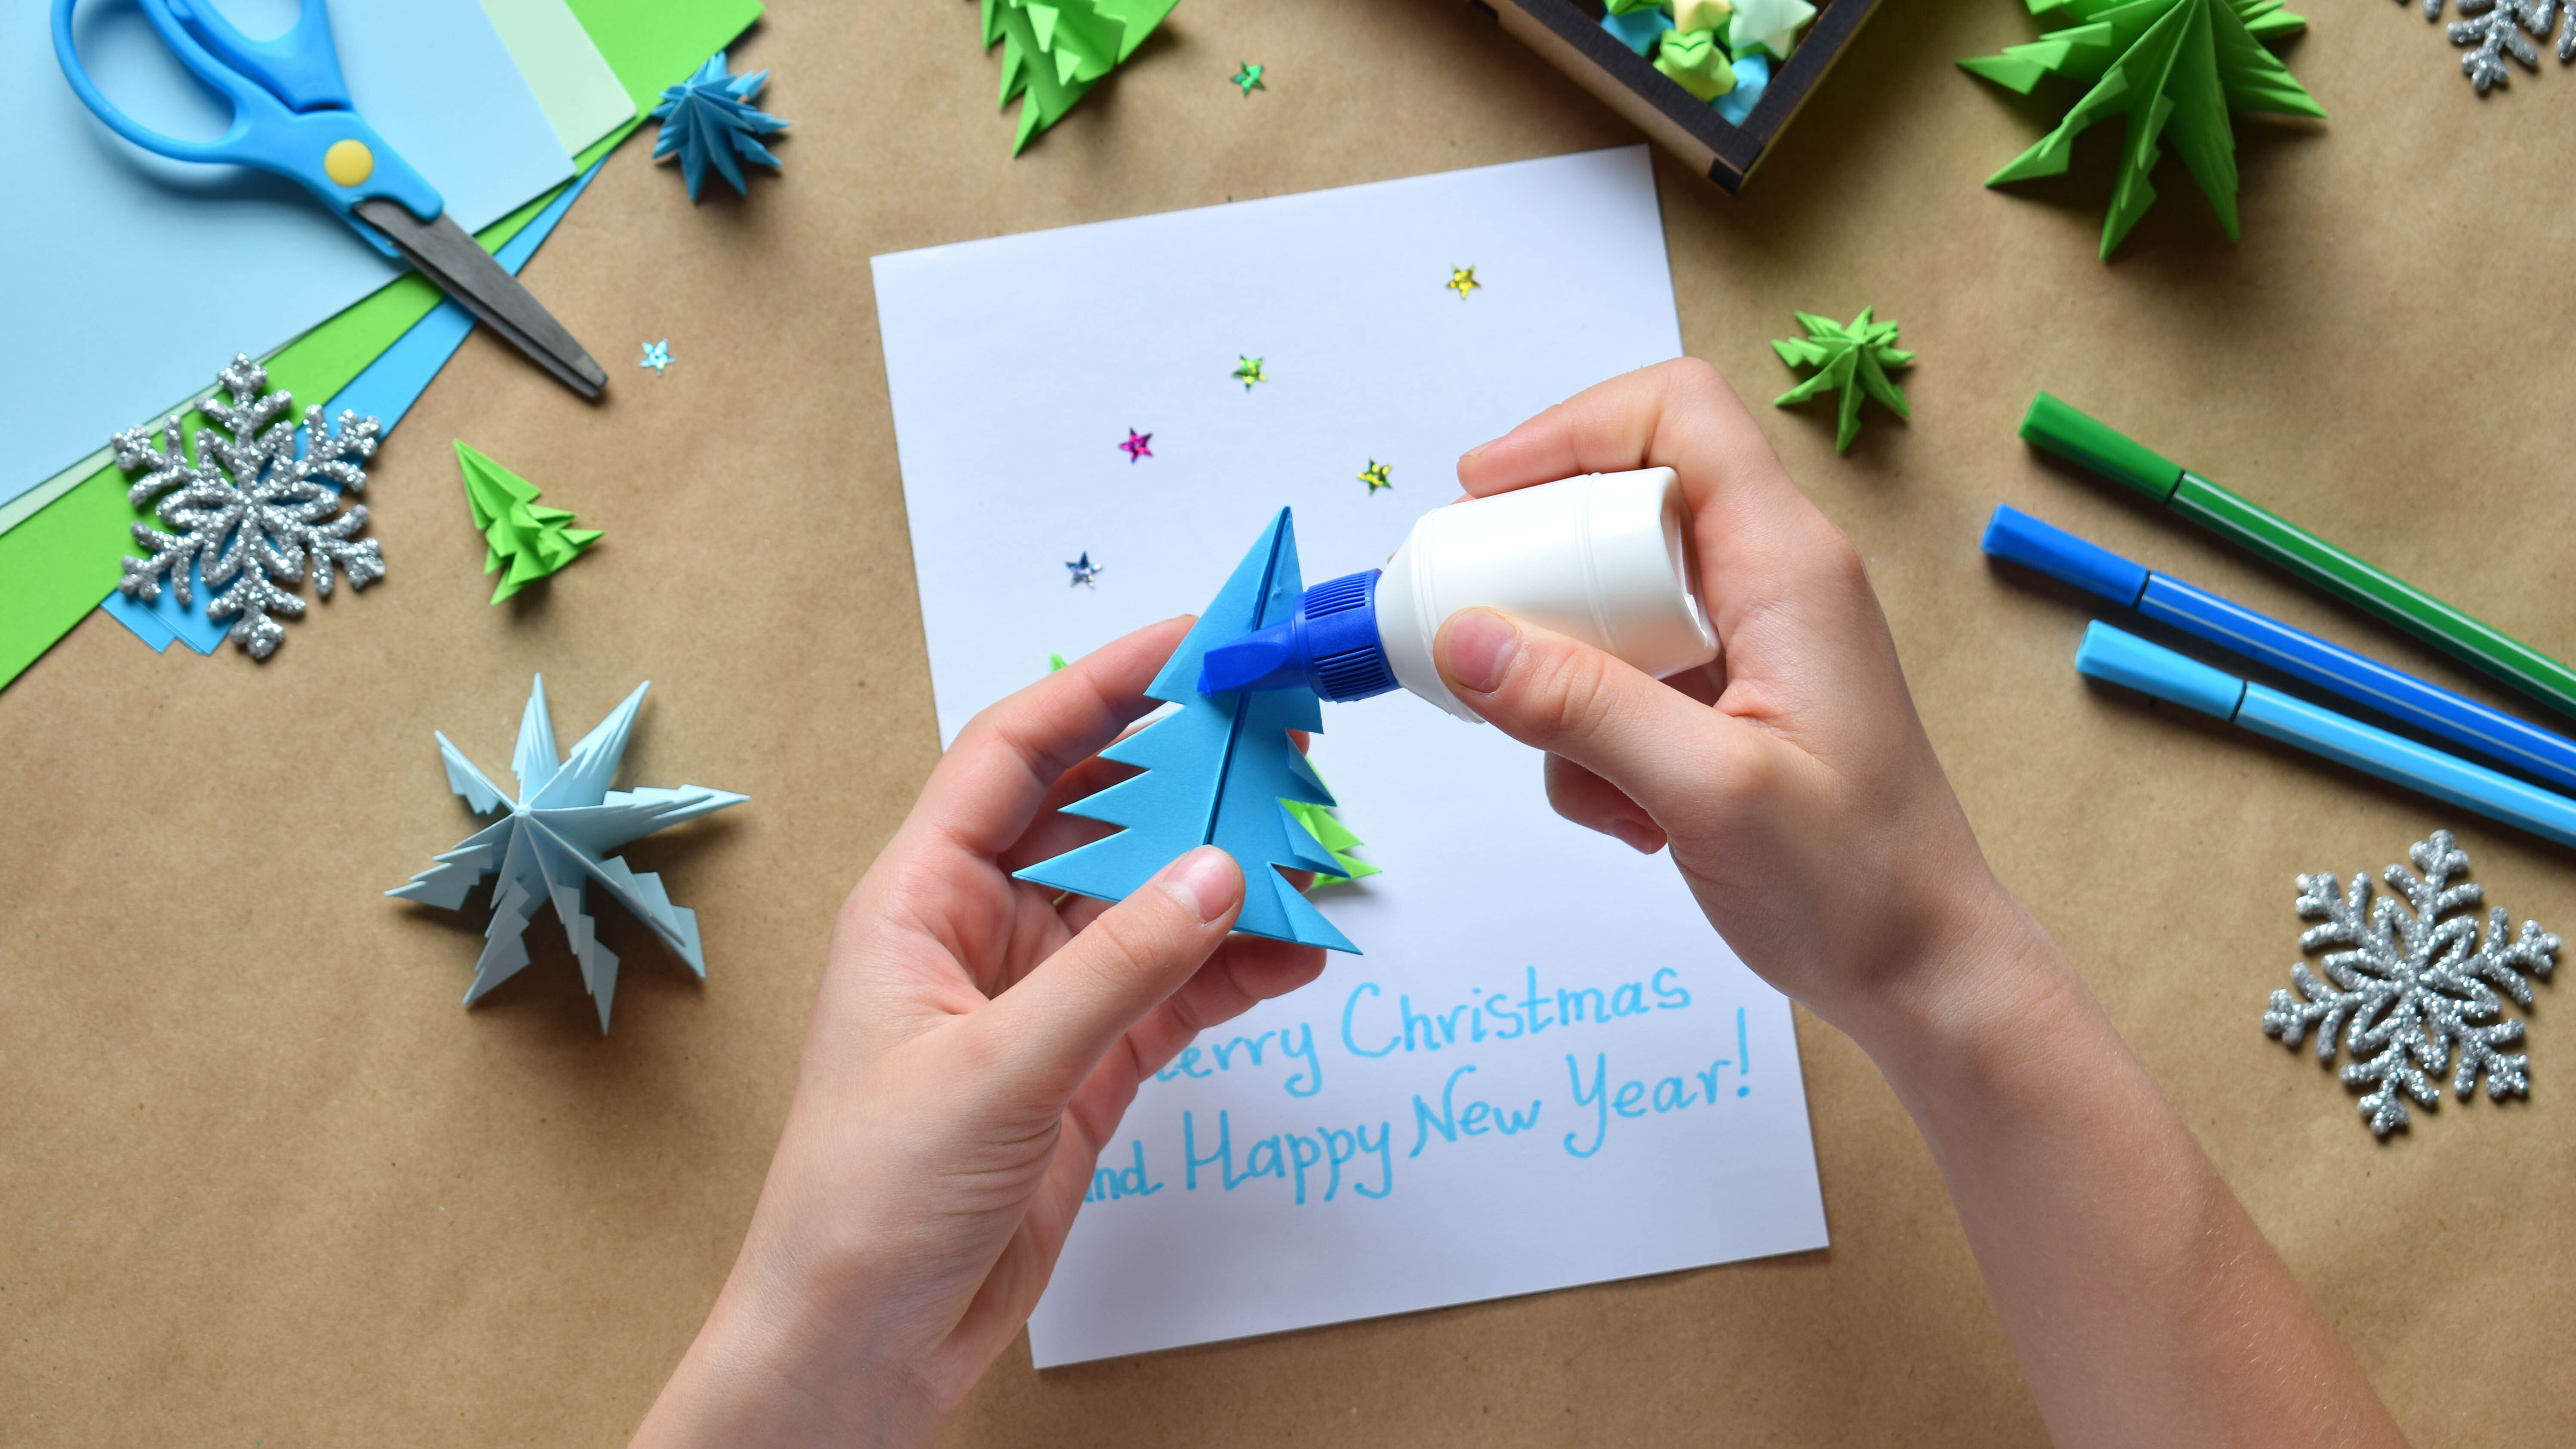
If drawing is not your forte, go for the fold. Creating 3D shapes with paper is one way to achieve a dramatic effect without needing much artistic flair. And to help, there’s plenty of online inspiration, including these Christmas tree cards by One Little Project, crafted using squares of paper. Red Ted Art has plenty of pop-up card ideas that will encourage any little ones to join in.
6. Reuse and recycle
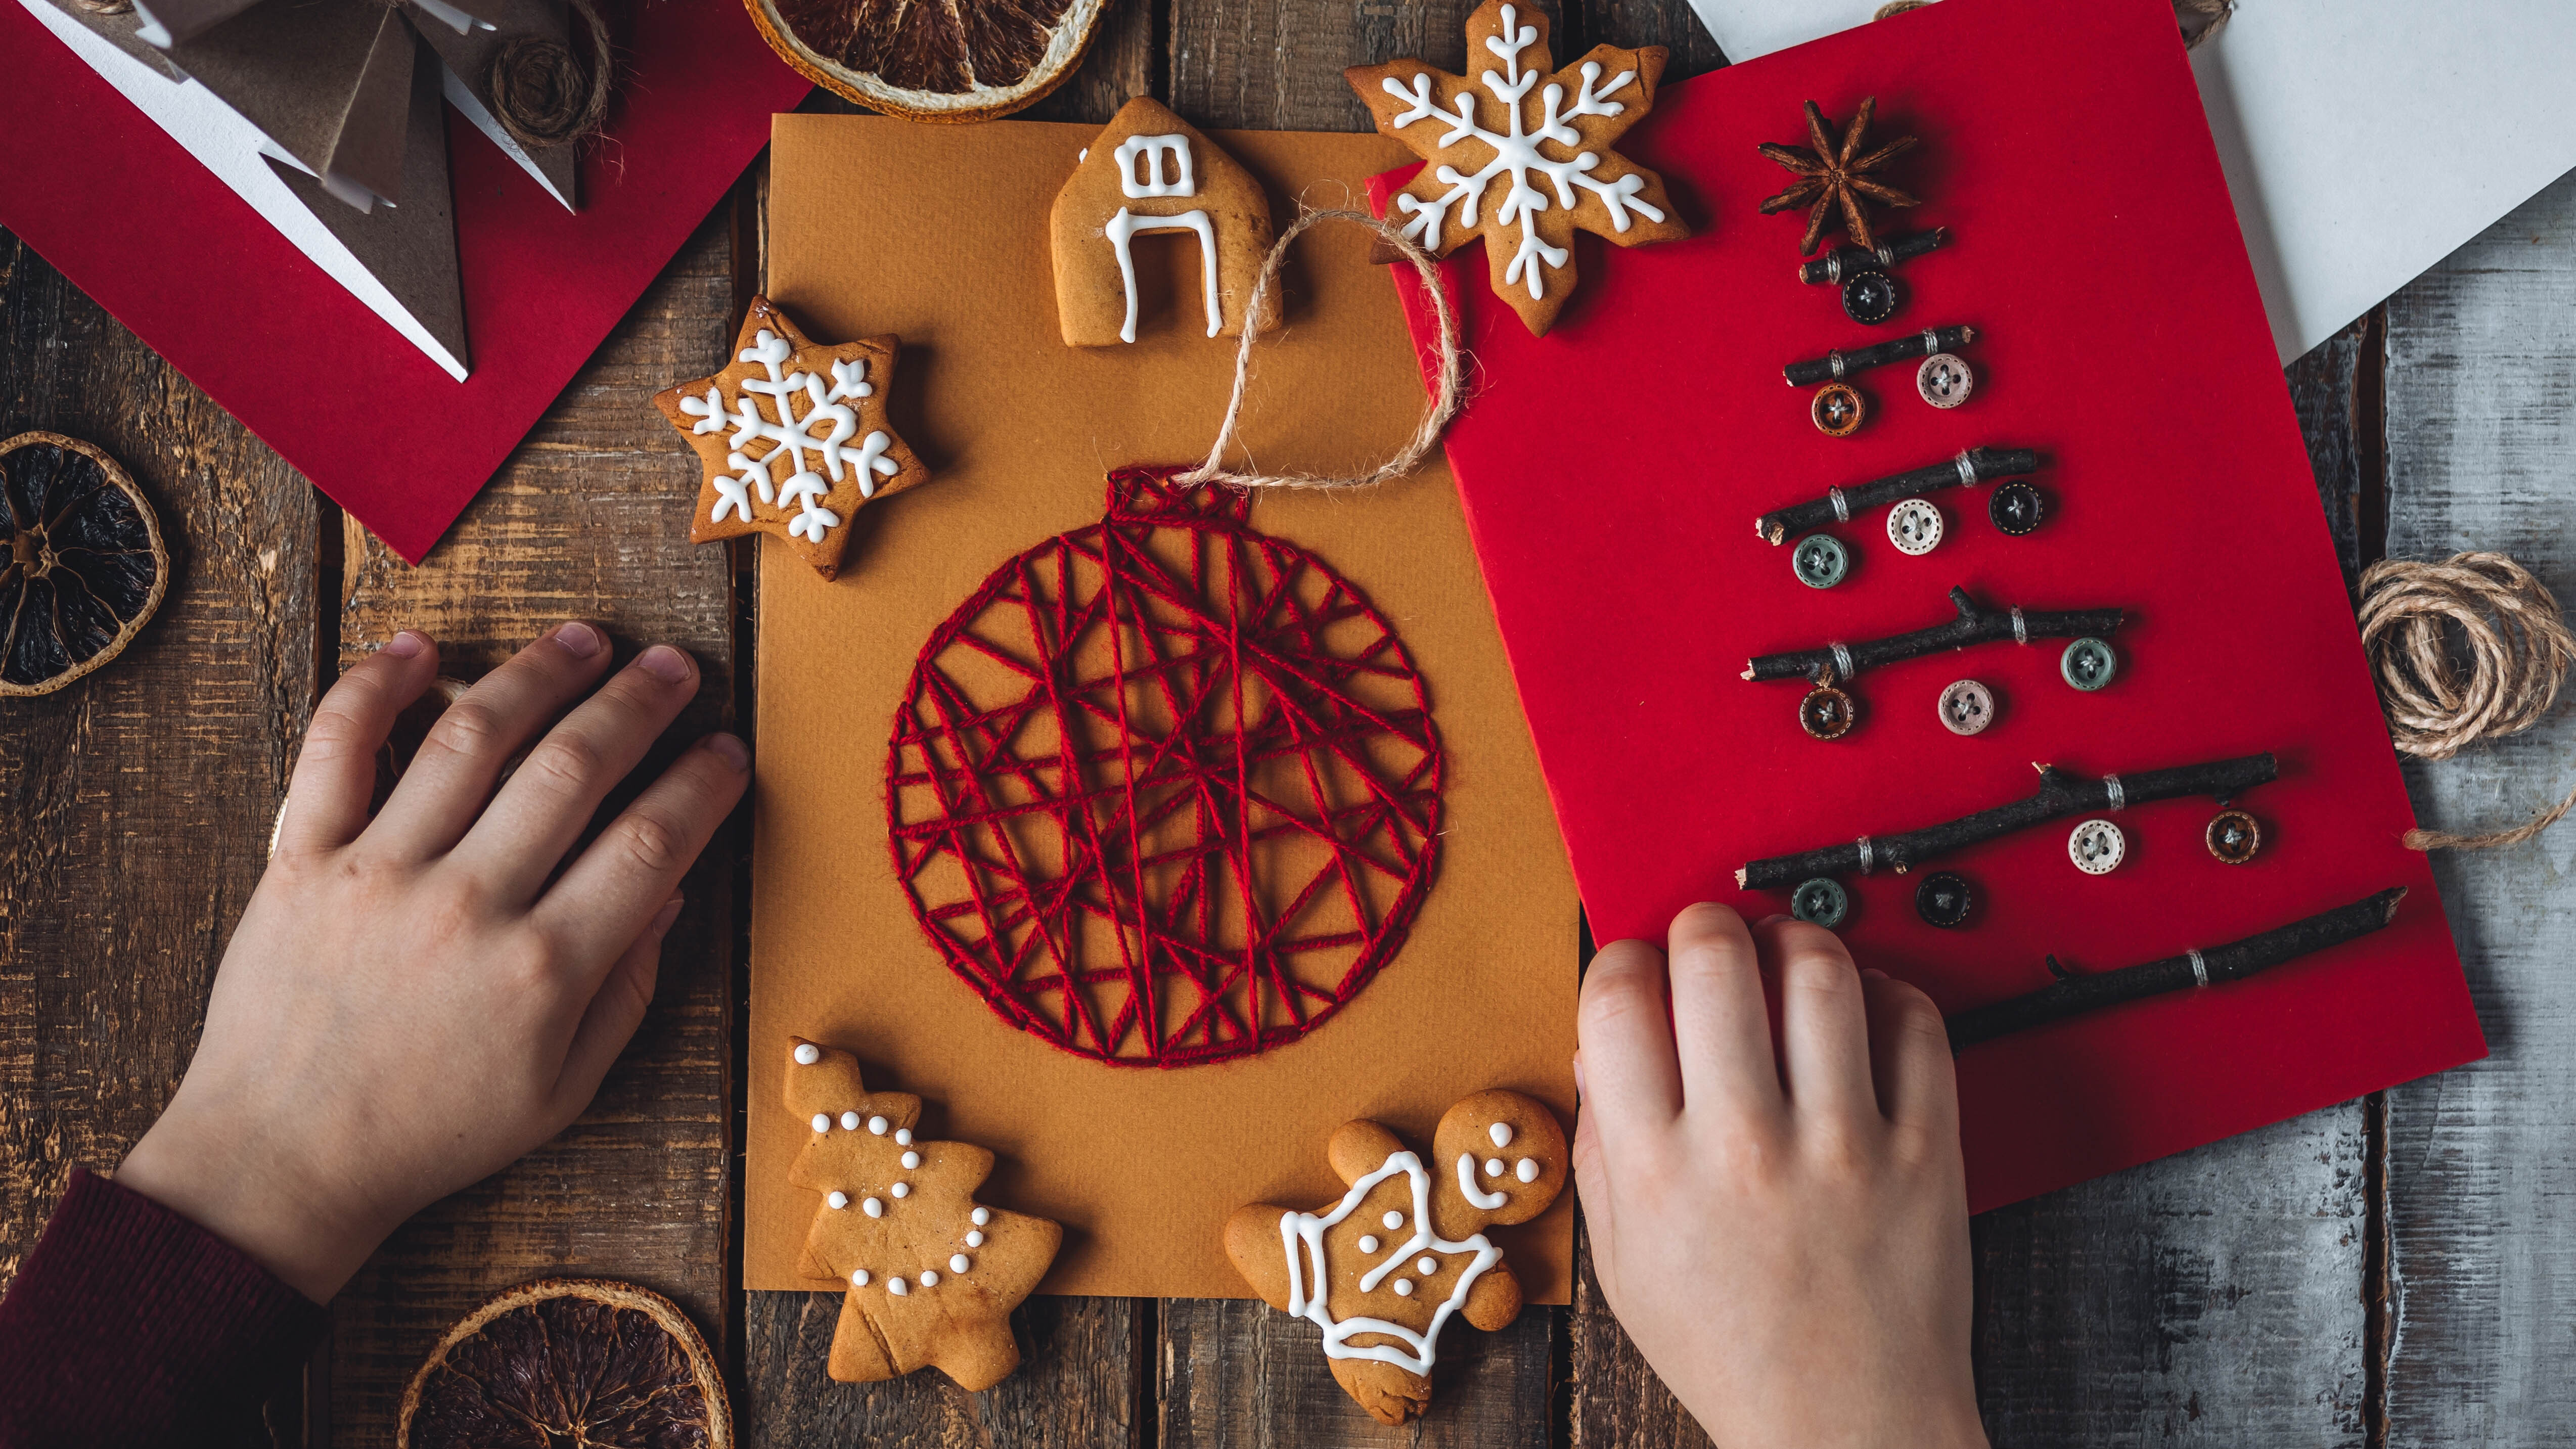
We accumulate lots of extra waste over the holiday , so one way to be a bit more eco-friendly is to use materials we already have at home. Pull out that old bag of buttons and turn them into baubles, stitch a Christmas tree onto a card with wool, make a snowman out of cotton wool, or cut stars out of aluminium foil. There’s plenty of bits and pieces that we already have to hand without buying lots of materials that you won’t use up. You can also wrap your gifts more sustainably too.
7. Go minimal, keep it easy
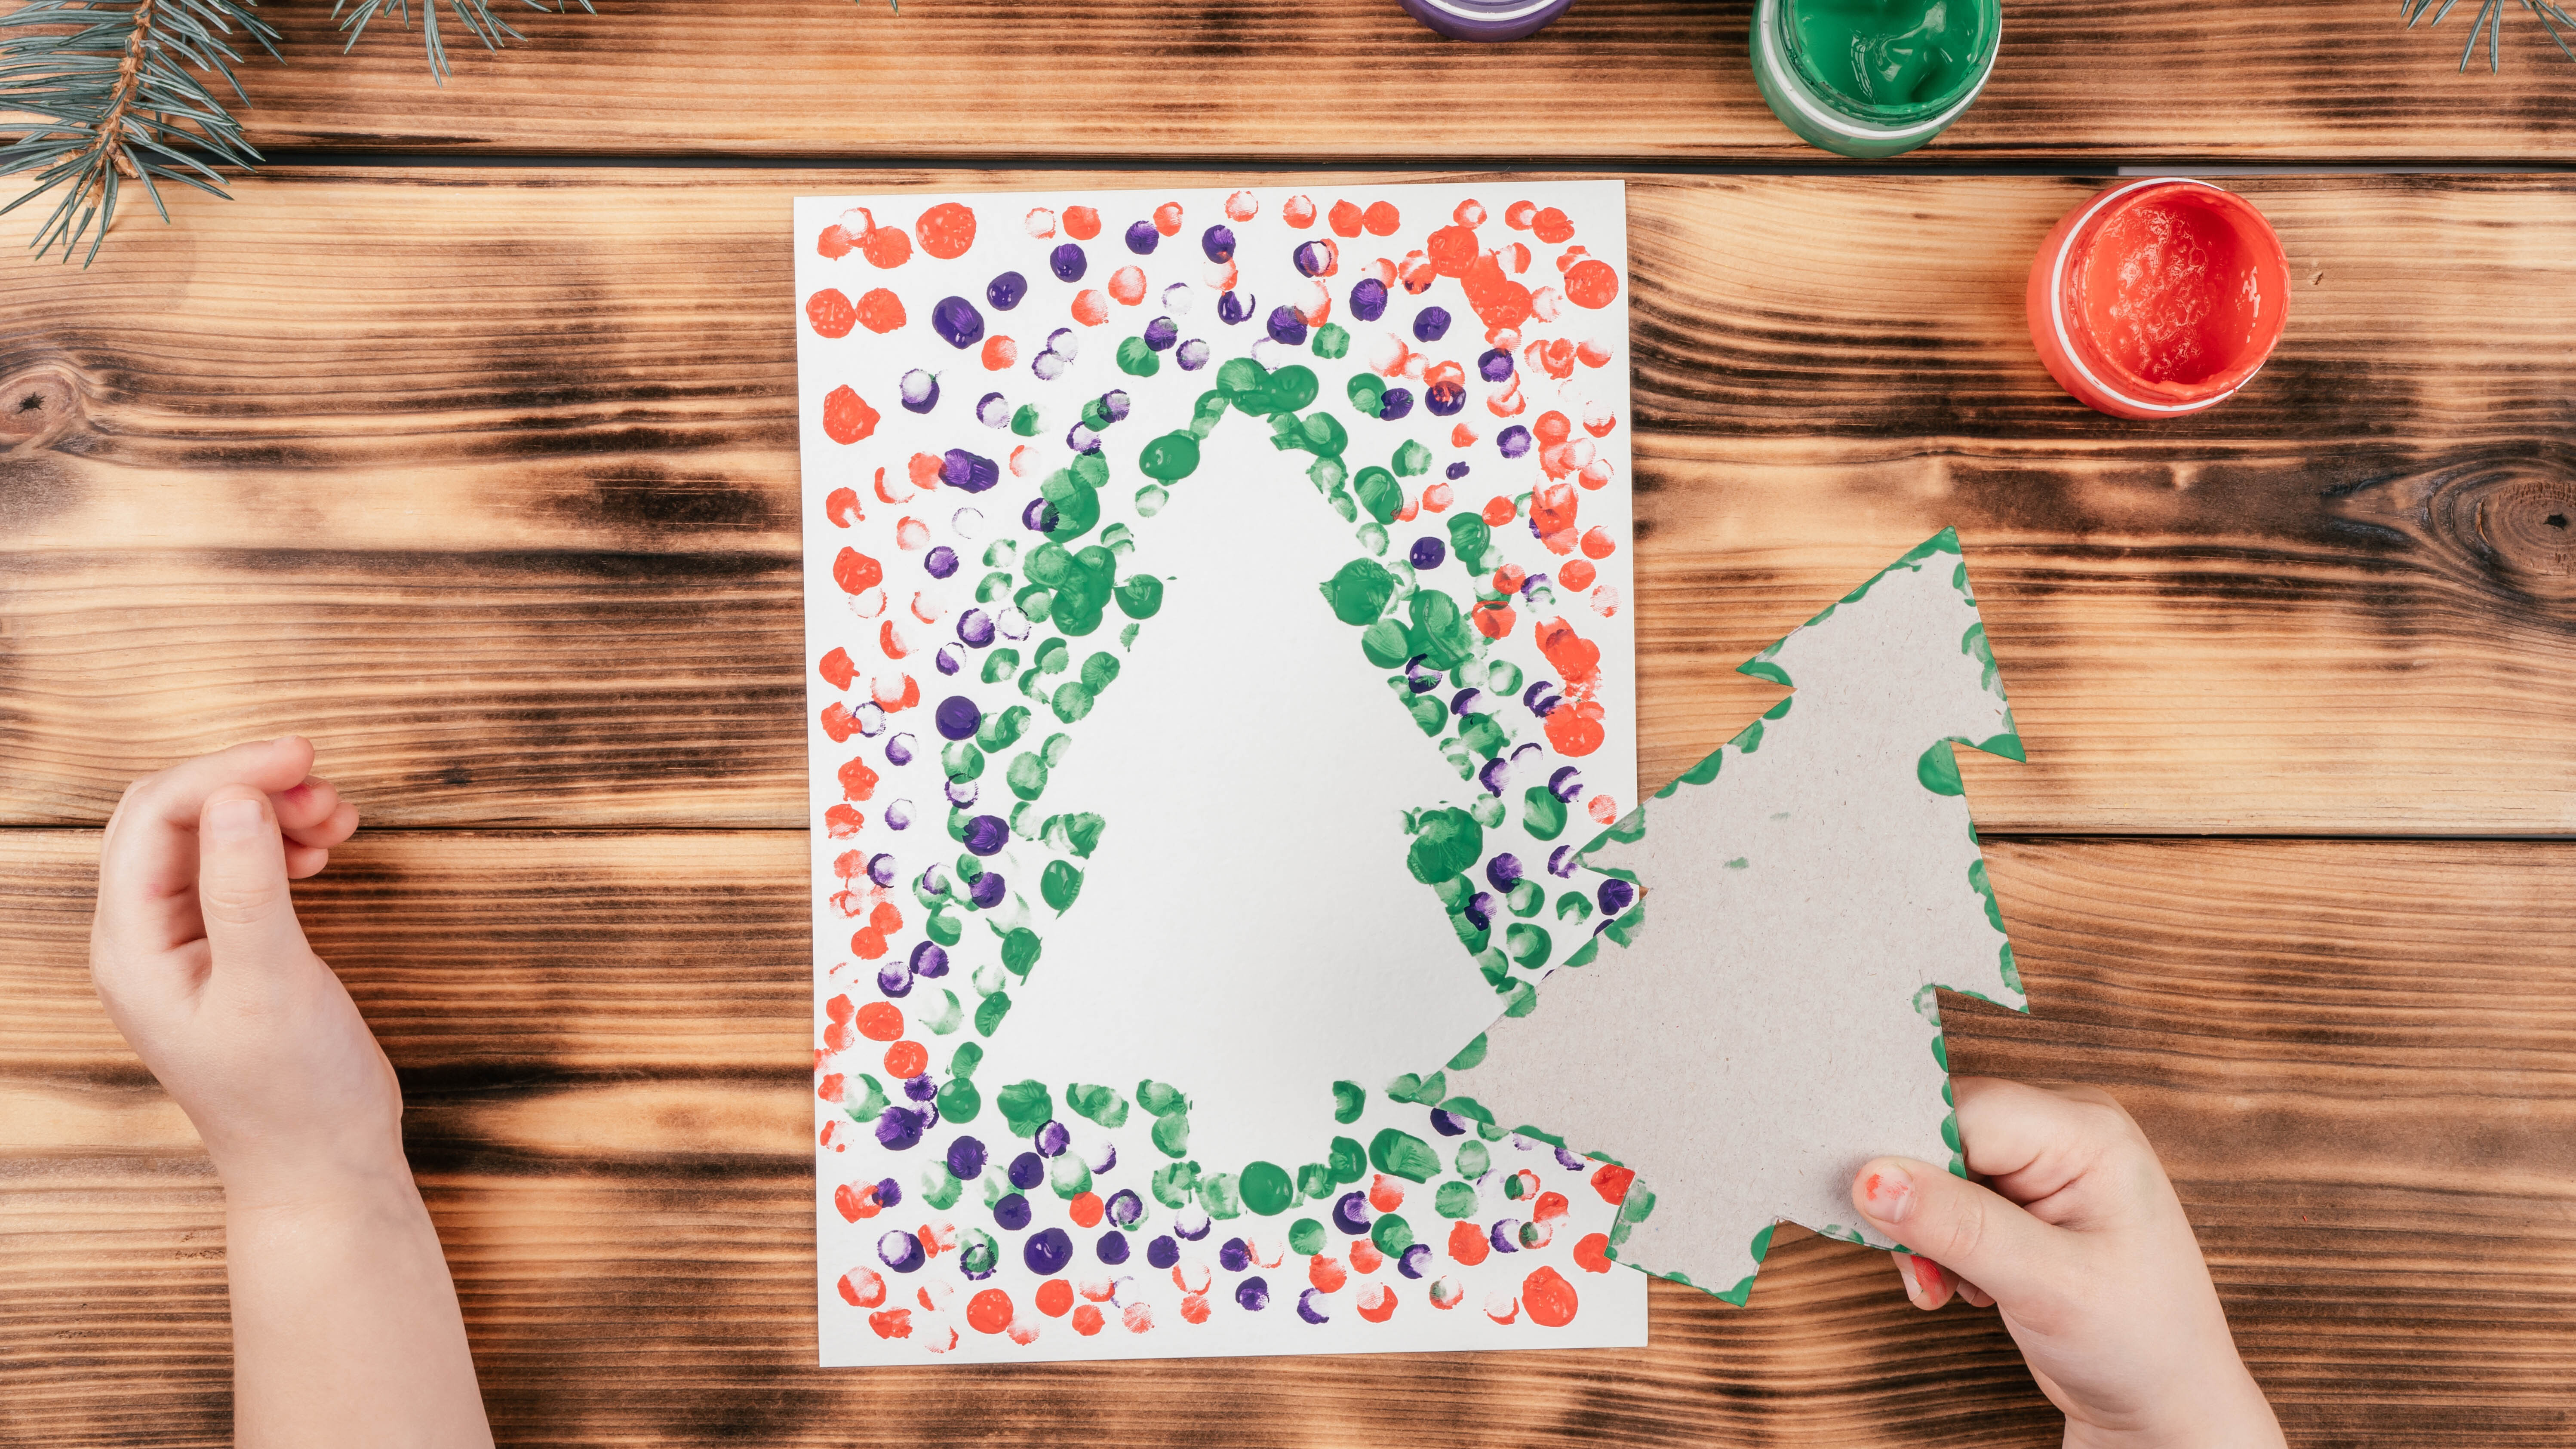
Rather than pulling out all the frills, sometimes simple is best. You can create a stylish card with impact without much effort with a stencil.
Stencilling is one of my favorite effects on cards, and I particularly like the monochrome look of white paint on black card. And it’s good to know there are plenty of stencils available to buy, so you don’t need to make your own. Try this Coogam 8-piece Christmas Stencils Template ($11, Amazon), or if you’re looking for patterns, try these Geometric Pattern Stencils ($11, Amazon).
Not sure how to use a stencil or what equipment you’ll need? Cutting Edge Stencils has some easy-to-follow instructions on how to stencil holiday cards, and says you’ll need a blank card, a stencil, a stencil brush, some acrylic paint, low tack tape and a paper towel.
8. Don’t forget about the message inside

Crafting the card can take priority, but don’t forget to think about the message inside. This is where you can use personal insight to make the message extra special, rather than filling in a generic message that could be sent to anyone.
They won’t necessarily appreciate an essay, so keep it simple but be sincere. Perhaps thank them for their friendship over the years, share a treasured memory, or express one of their qualities you particularly love. And, of course, wish them a happy holiday season.
9. Finish on a flourish
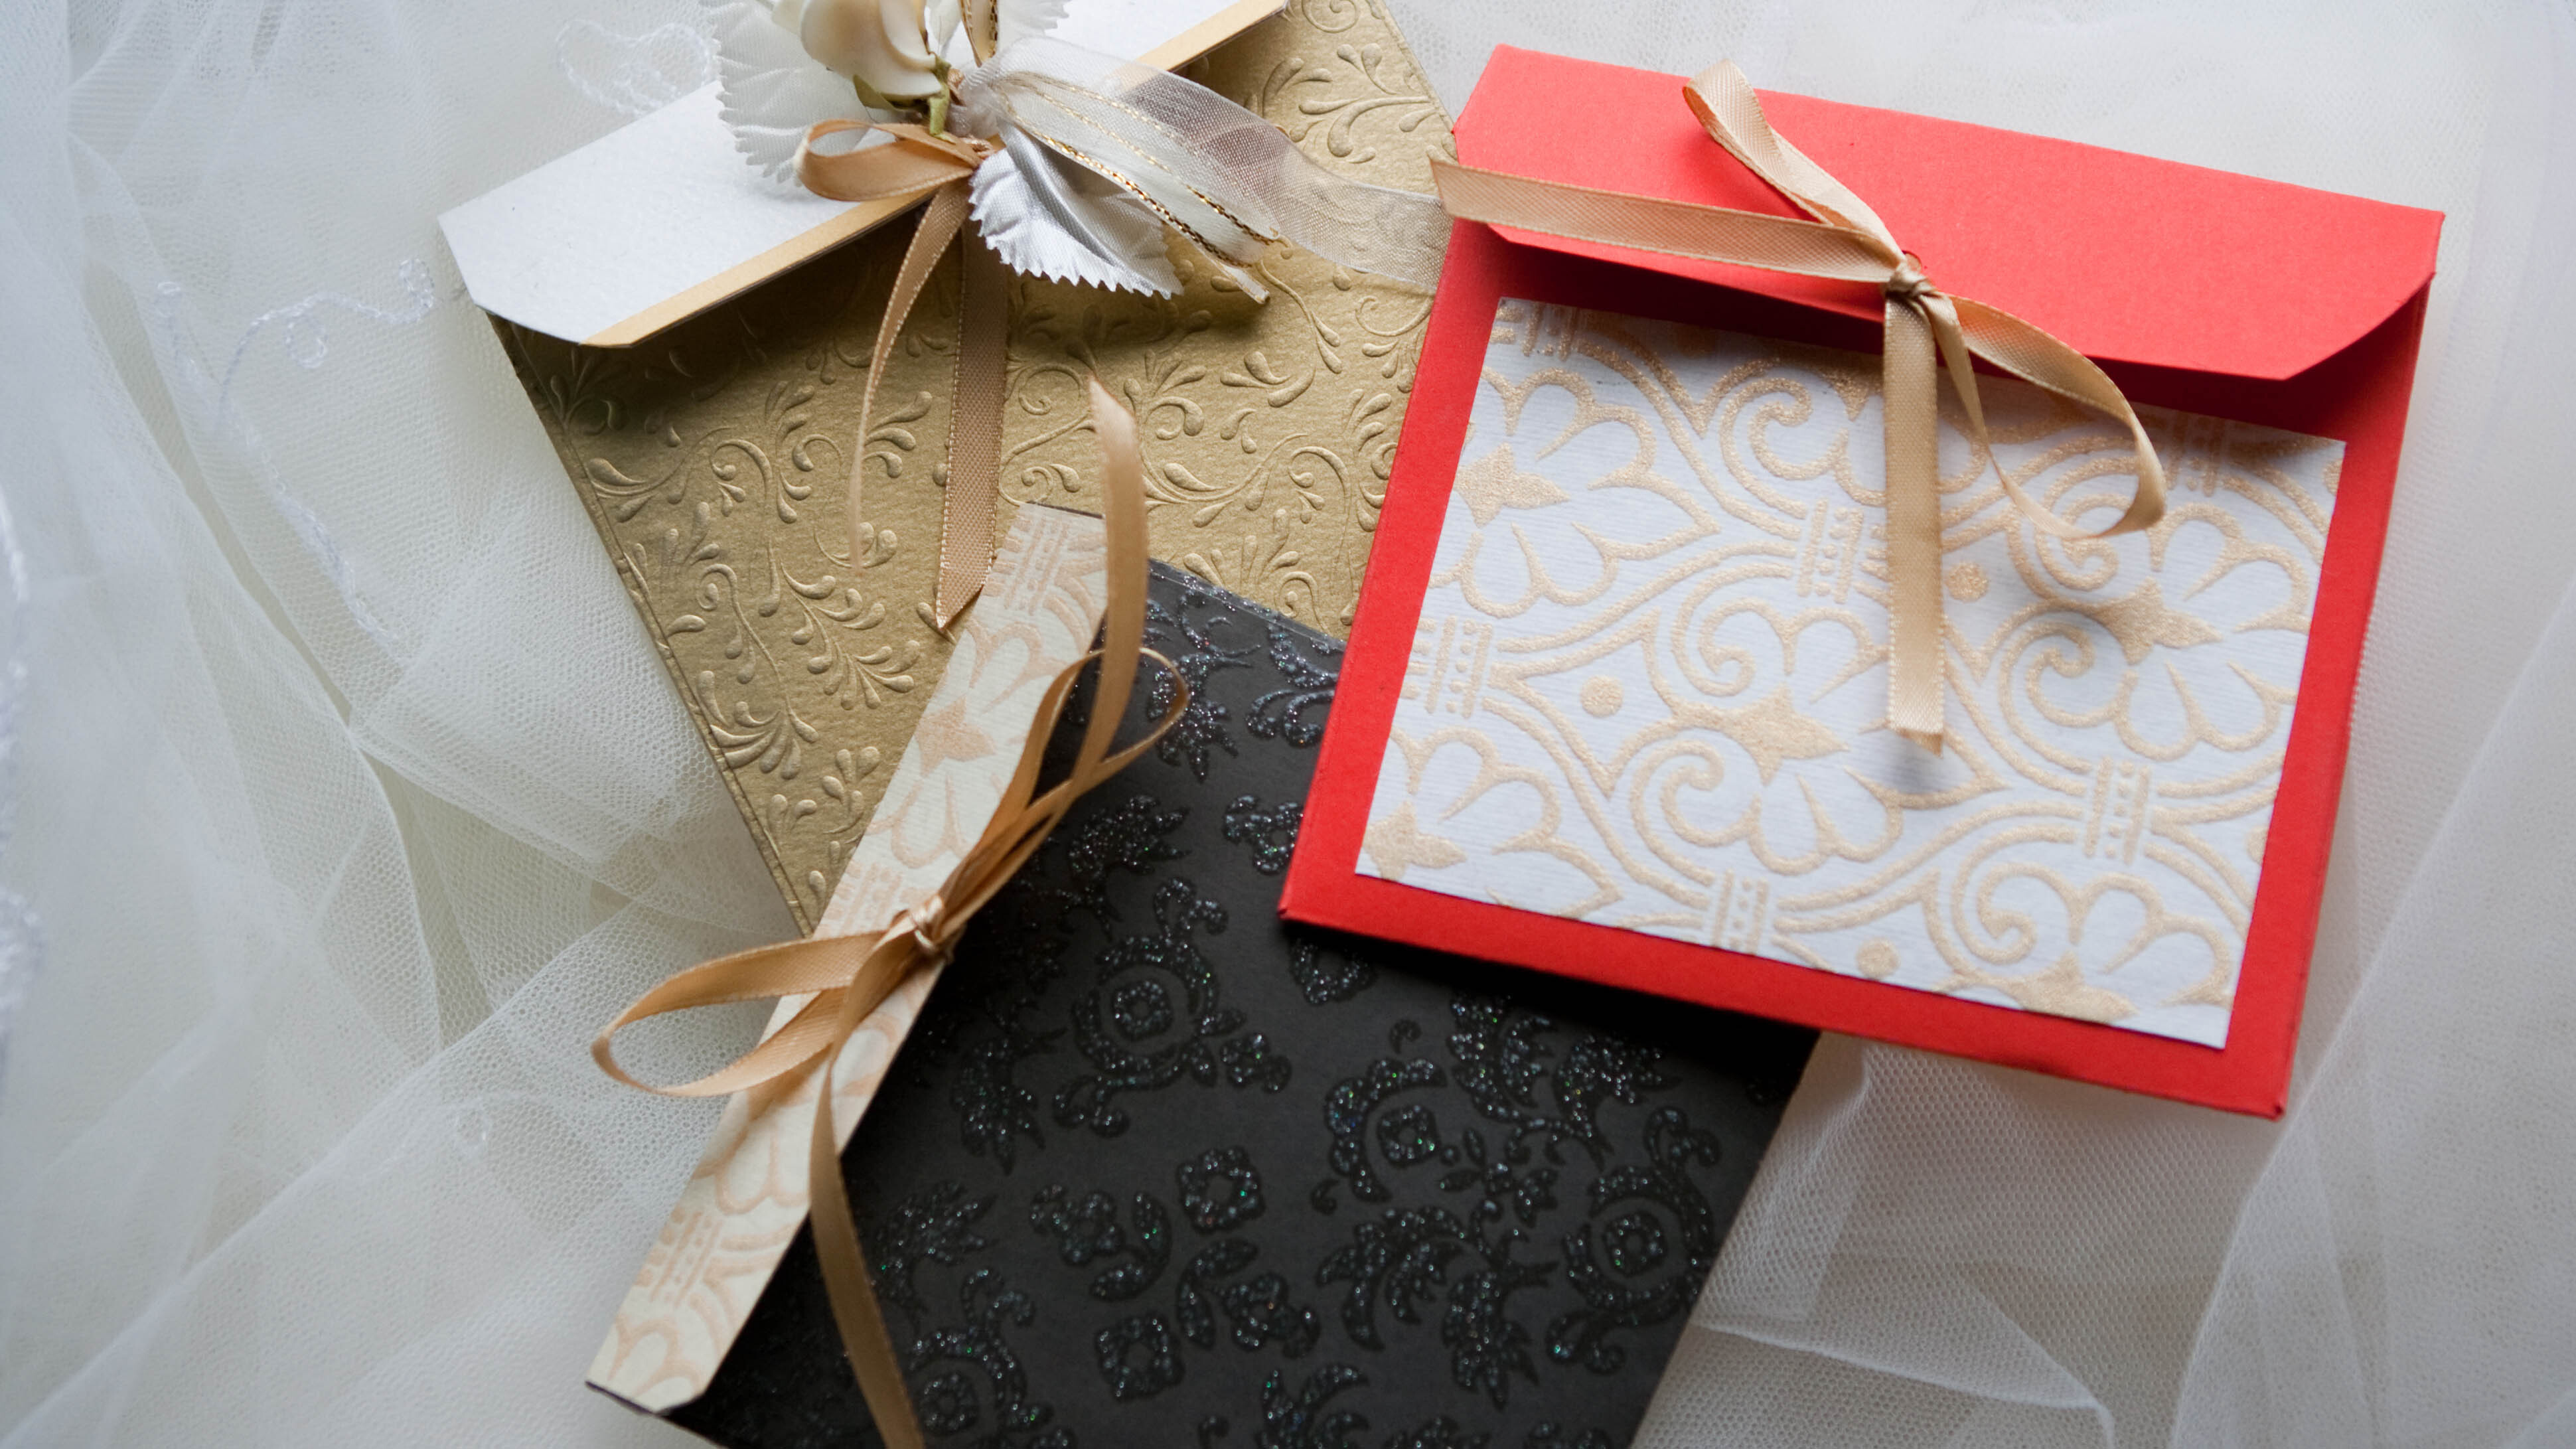
Since you’ve put great care and attention into making your holiday cards, it would be a shame to waste that effort by putting them into flimsy, lacklustre envelopes left over from last year. After all, the envelope will give the first impression of what’s inside.
There’s nothing wrong with using a brown craft paper envelope, and some have flecks that add a pretty effect. Etsy has a large range, including handmade, recycled envelopes. But if you haven’t run out of steam after creating your cards, you could make your envelopes. Spruce Crafts has some detailed instructions on how to make your own.
You could also add an extra special finish with a seal – the real thing or a sticker. Investing in a wax seal kit will ensure you have all the equipment you need. You could try the Lanstics Christmas wax seal kit ($19, Amazon).
Now you've got your card and envelope sorted, all you need to do it make sure your holiday card arrives on time.
More from Tom's Guide
- Need some extra help? 7 Common gift wrapping mistakes to avoid
- Learn how to wrap a gift the right way
- And, how to tie a bow ribbon for the perfect gift

Camilla Sharman has worked in publishing and marketing for over 30 years and has covered a wide range of sectors within the business and consumer industries both as a feature, content, and freelance writer.
As a business journalist, Camilla has researched articles for many different sectors from the jewellery industry to finance and tech, charities, and the arts. Whatever she’s covered, she enjoys delving deep and learning the ins and out of different topics, then conveying her research within engaging content that informs the reader. In her spare time, when she’s not in her kitchen experimenting with a new recipe, you’ll find her keeping fit at the gym. In the pool, stretching at a yoga class, or on a spin bike, exercise is her escape time. She also loves the great outdoors and if she’s not pottering about in her garden, she’ll be jumping on her bike for a gentle cycle ride.
