7 top tips when growing mint
Here’s everything you need to know when it comes to growing mint
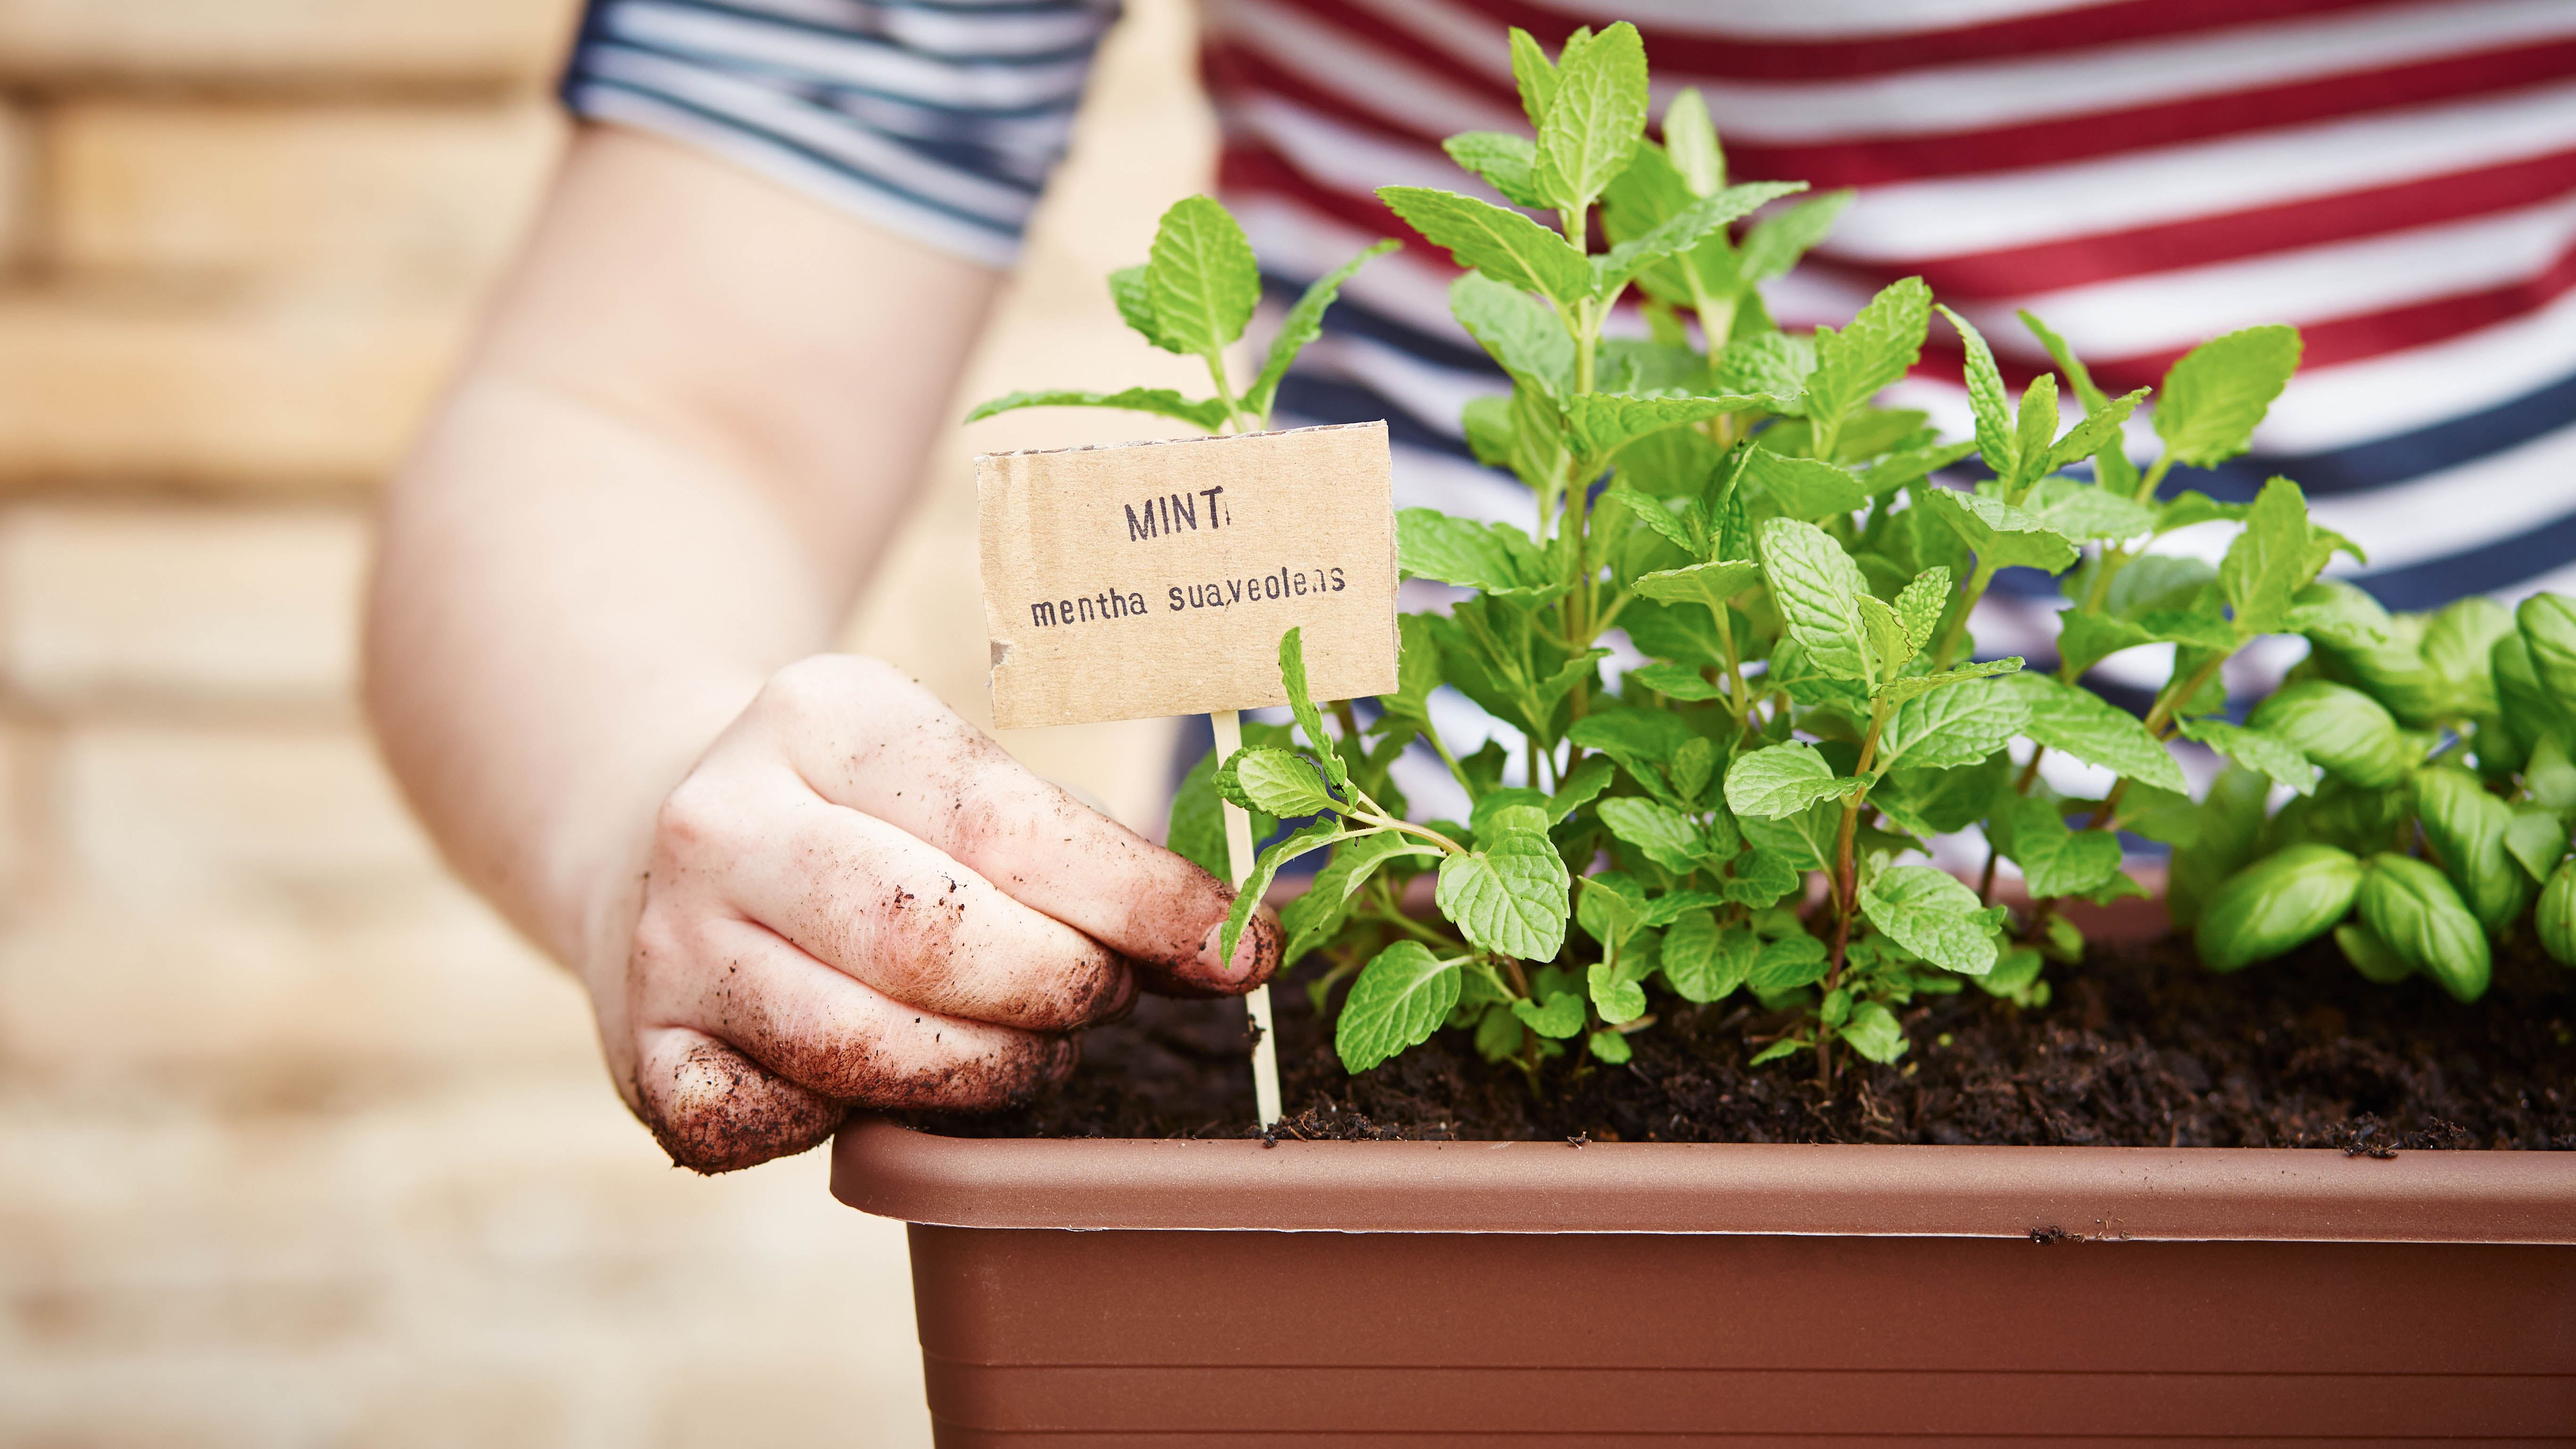
Knowing how to grow mint can be rewarding in more ways than one. Mint is fun and simple to care for — it can be grown indoors or outside with relative ease. On top of this, once the leaves are ready, they can be harvested to provide flavor to your favorite meals and drinks. Mint is a popular addition to many dishes, not limited to pesto, ice cream and cocktails. Once you have an ongoing supply of leaves, you’ll be surprised how often they come in handy.
However, before you can take advantage, you need to make sure your plant has everything it needs. While mint is indeed easy to care for, mistakes can still be made which can impair its growth. It requires the ideal temperature, light and water conditions to fully thrive. If you want to make sure your mint is getting the best care possible, we’ve pulled together 7 top tips when growing mint, so you can get the best harvest for your meals.
Want to give your herbs the best care? Watch out for these 7 mistakes it’s all too easy to make when growing herbs.
1. Soil
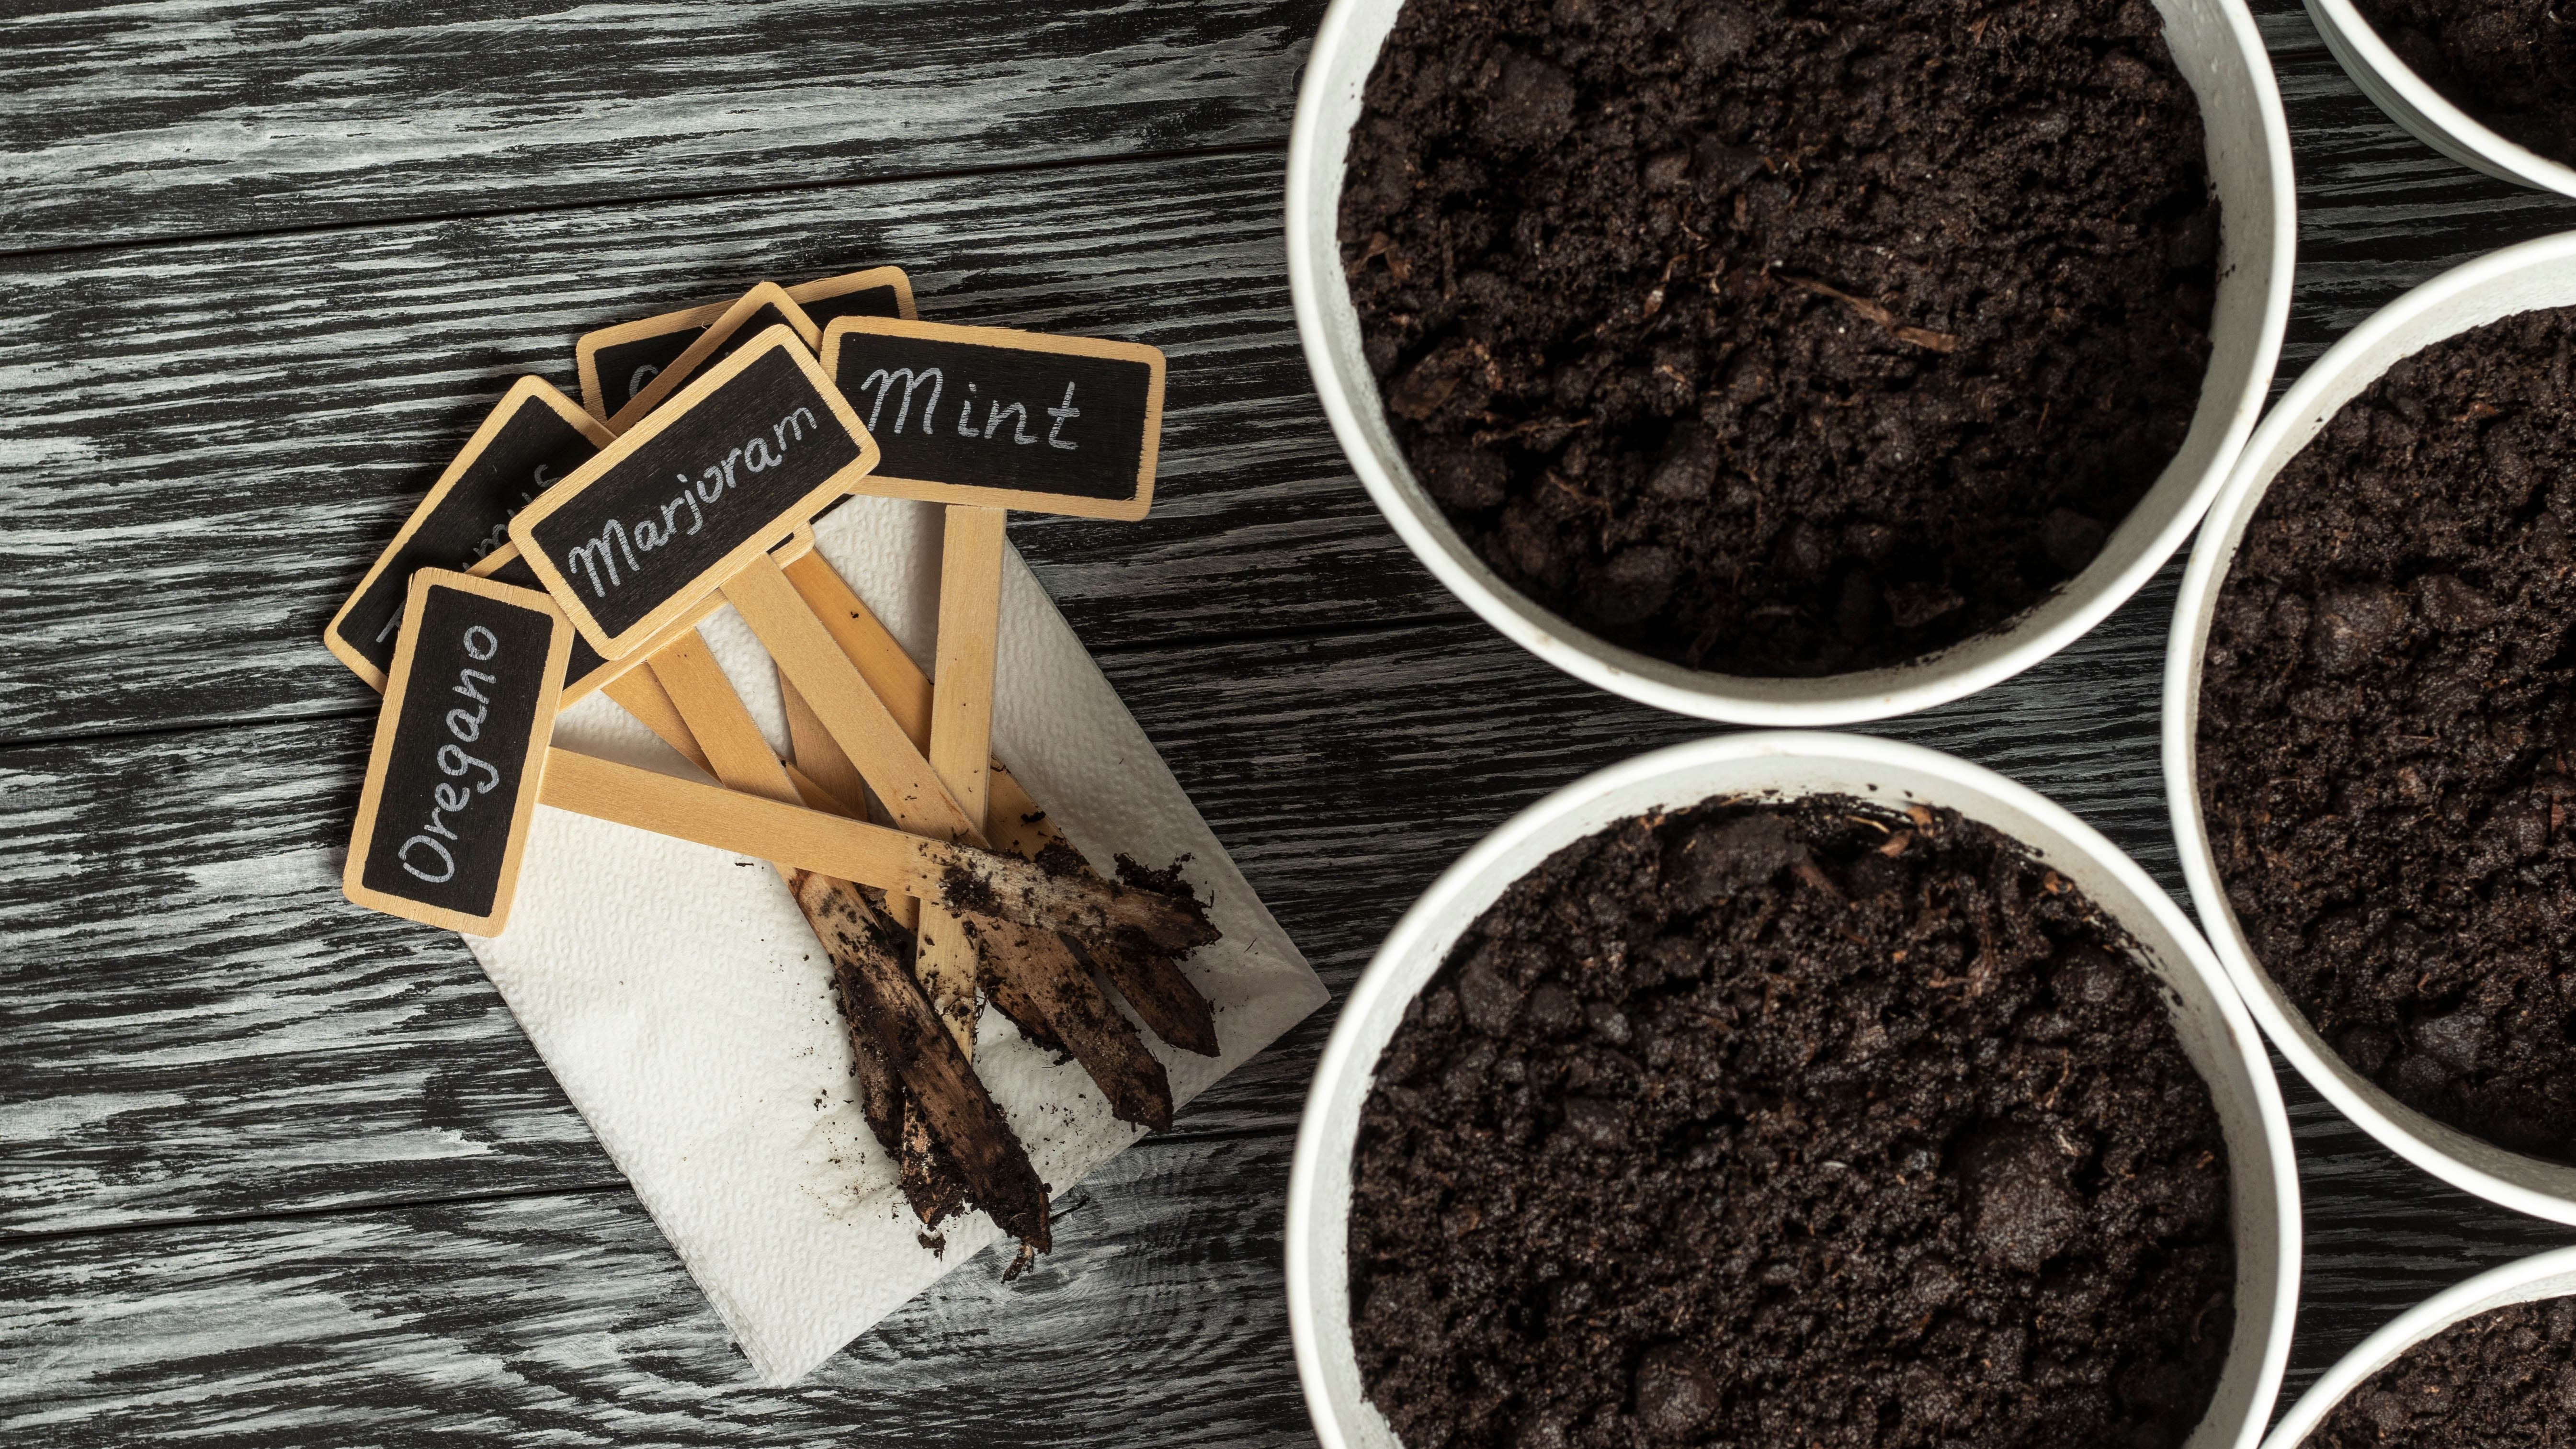
First, you should check your mint is in the best soil possible for growth. While mint is pretty hardy and will adapt in some conditions, it ultimately prefers a well-drained soil which has a neutral to slightly acidic pH level (6-7). It should be rich with organic matter to provide adequate nutrients too.
You can buy dedicated indoor herb soils to make sure these preferences are met, such as this Professional Indoor Herb Plant Soil ($13.99, Amazon). If your mint is already placed, you can also check the current conditions using a soil test kit, such as MySoil Soil Test Kit ($29.99, Amazon). If your mint is grown outside in the open, take care when making any soil amendments though, as this may affect neighboring plants.
2. Water
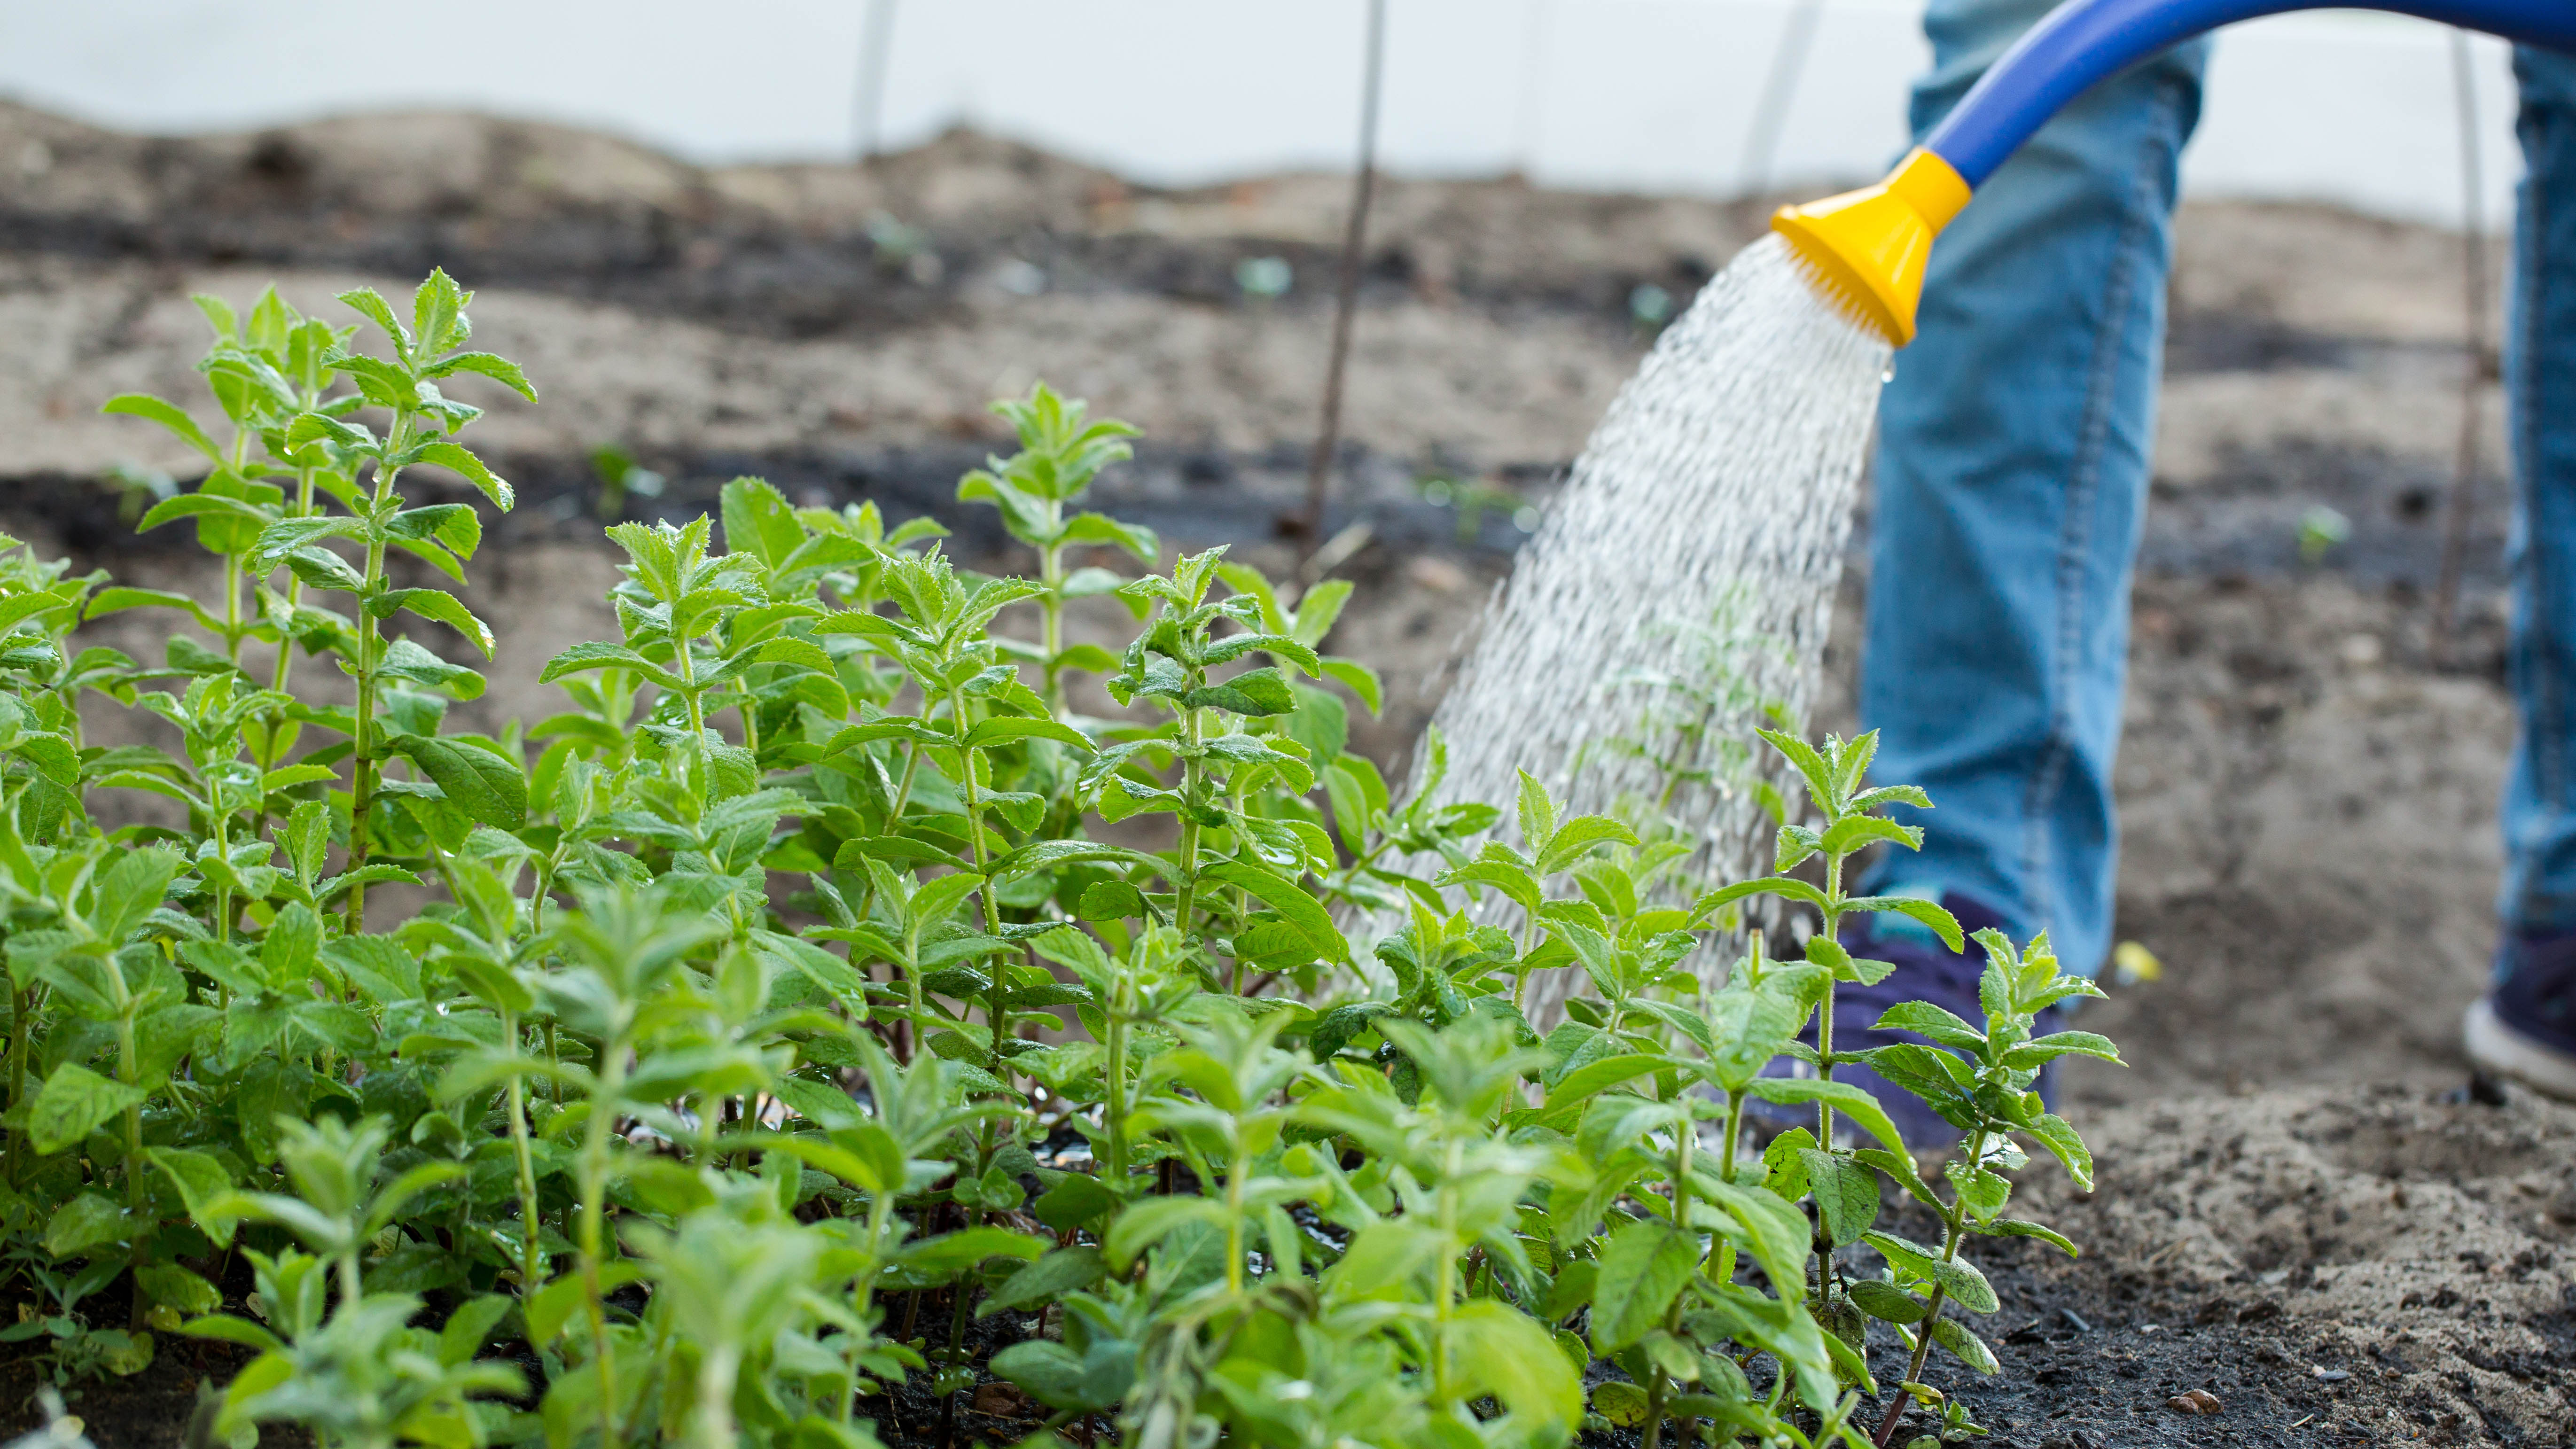
Once you’re happy with the soil, you need to consider your watering habits. Mint likes a ready supply of moisture, so it's often under-watered if anything. It needs about 1-2 inches of water per week, which you can spread across two applications. Be sure to water the roots thoroughly and deeply, leaving the soil moist, but not overly saturated.
If temperatures are hot, or you grow your mint in containers, be sure to check the moisture levels with your finger regularly, as it may require more water. If the top inch is dry, your mint is thirsty. Do keep an eye on this — you’d be surprised how quickly the soil in containers can dry out.
Sign up to get the BEST of Tom's Guide direct to your inbox.
Get instant access to breaking news, the hottest reviews, great deals and helpful tips.
If you’re growing mint seedlings, water will be required on a daily basis or every other day. Again, feel the soil and make sure it doesn’t get bone dry. Moist soil is best for mint. Take the weather into account if you’re growing mint outdoors as well.
3. Light
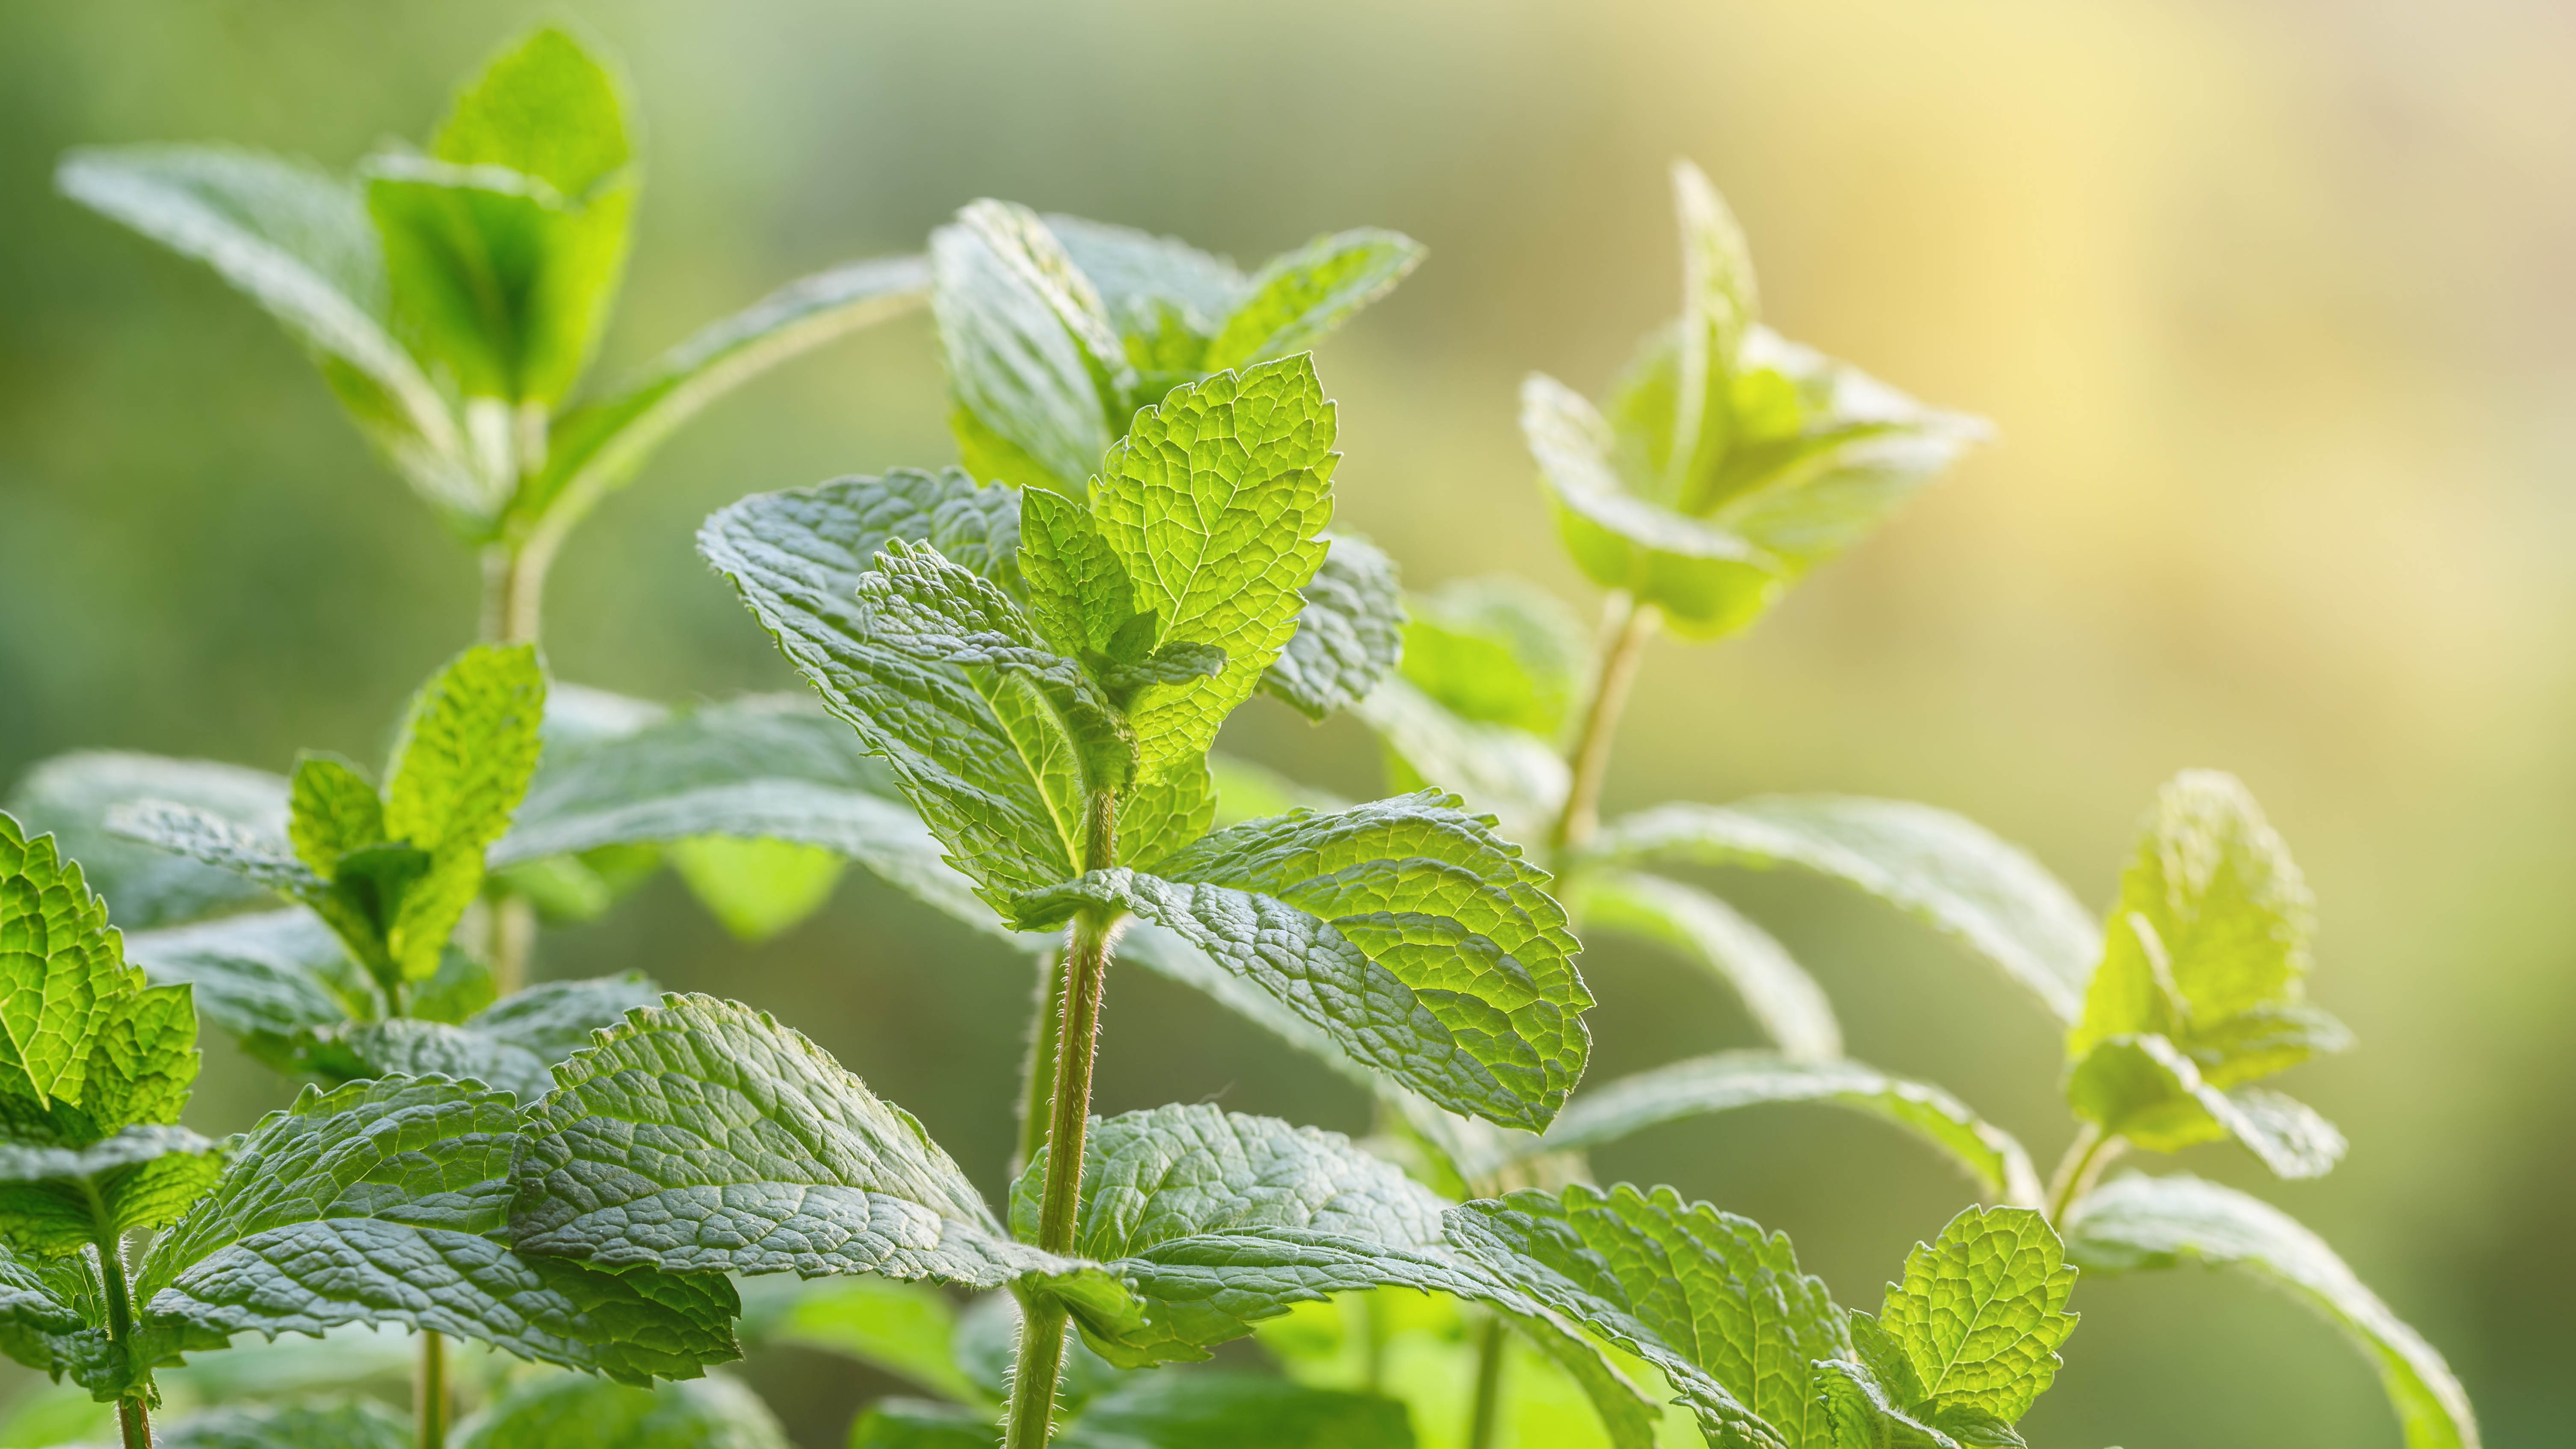
Light is essential for most plants to survive (with the exception of these 7 plants that can survive without sunlight). Mint thrives in the sun, but it does well in partial shade too. And considering extended sunlight risks scorching the leaves as well as the soil drying out more quickly, morning sun followed by afternoon shade will likely provide the best balance in hot regions.
For this reason, an east-facing sunny windowsill may prove ideal for placement if you’re growing mint indoors. Keep it in your kitchen if you want ready access to the leaves while you prep your meals. Should you need to move your mint plant to a better location, do so gradually so as not to send it into shock or cause stress.
4. Temperature
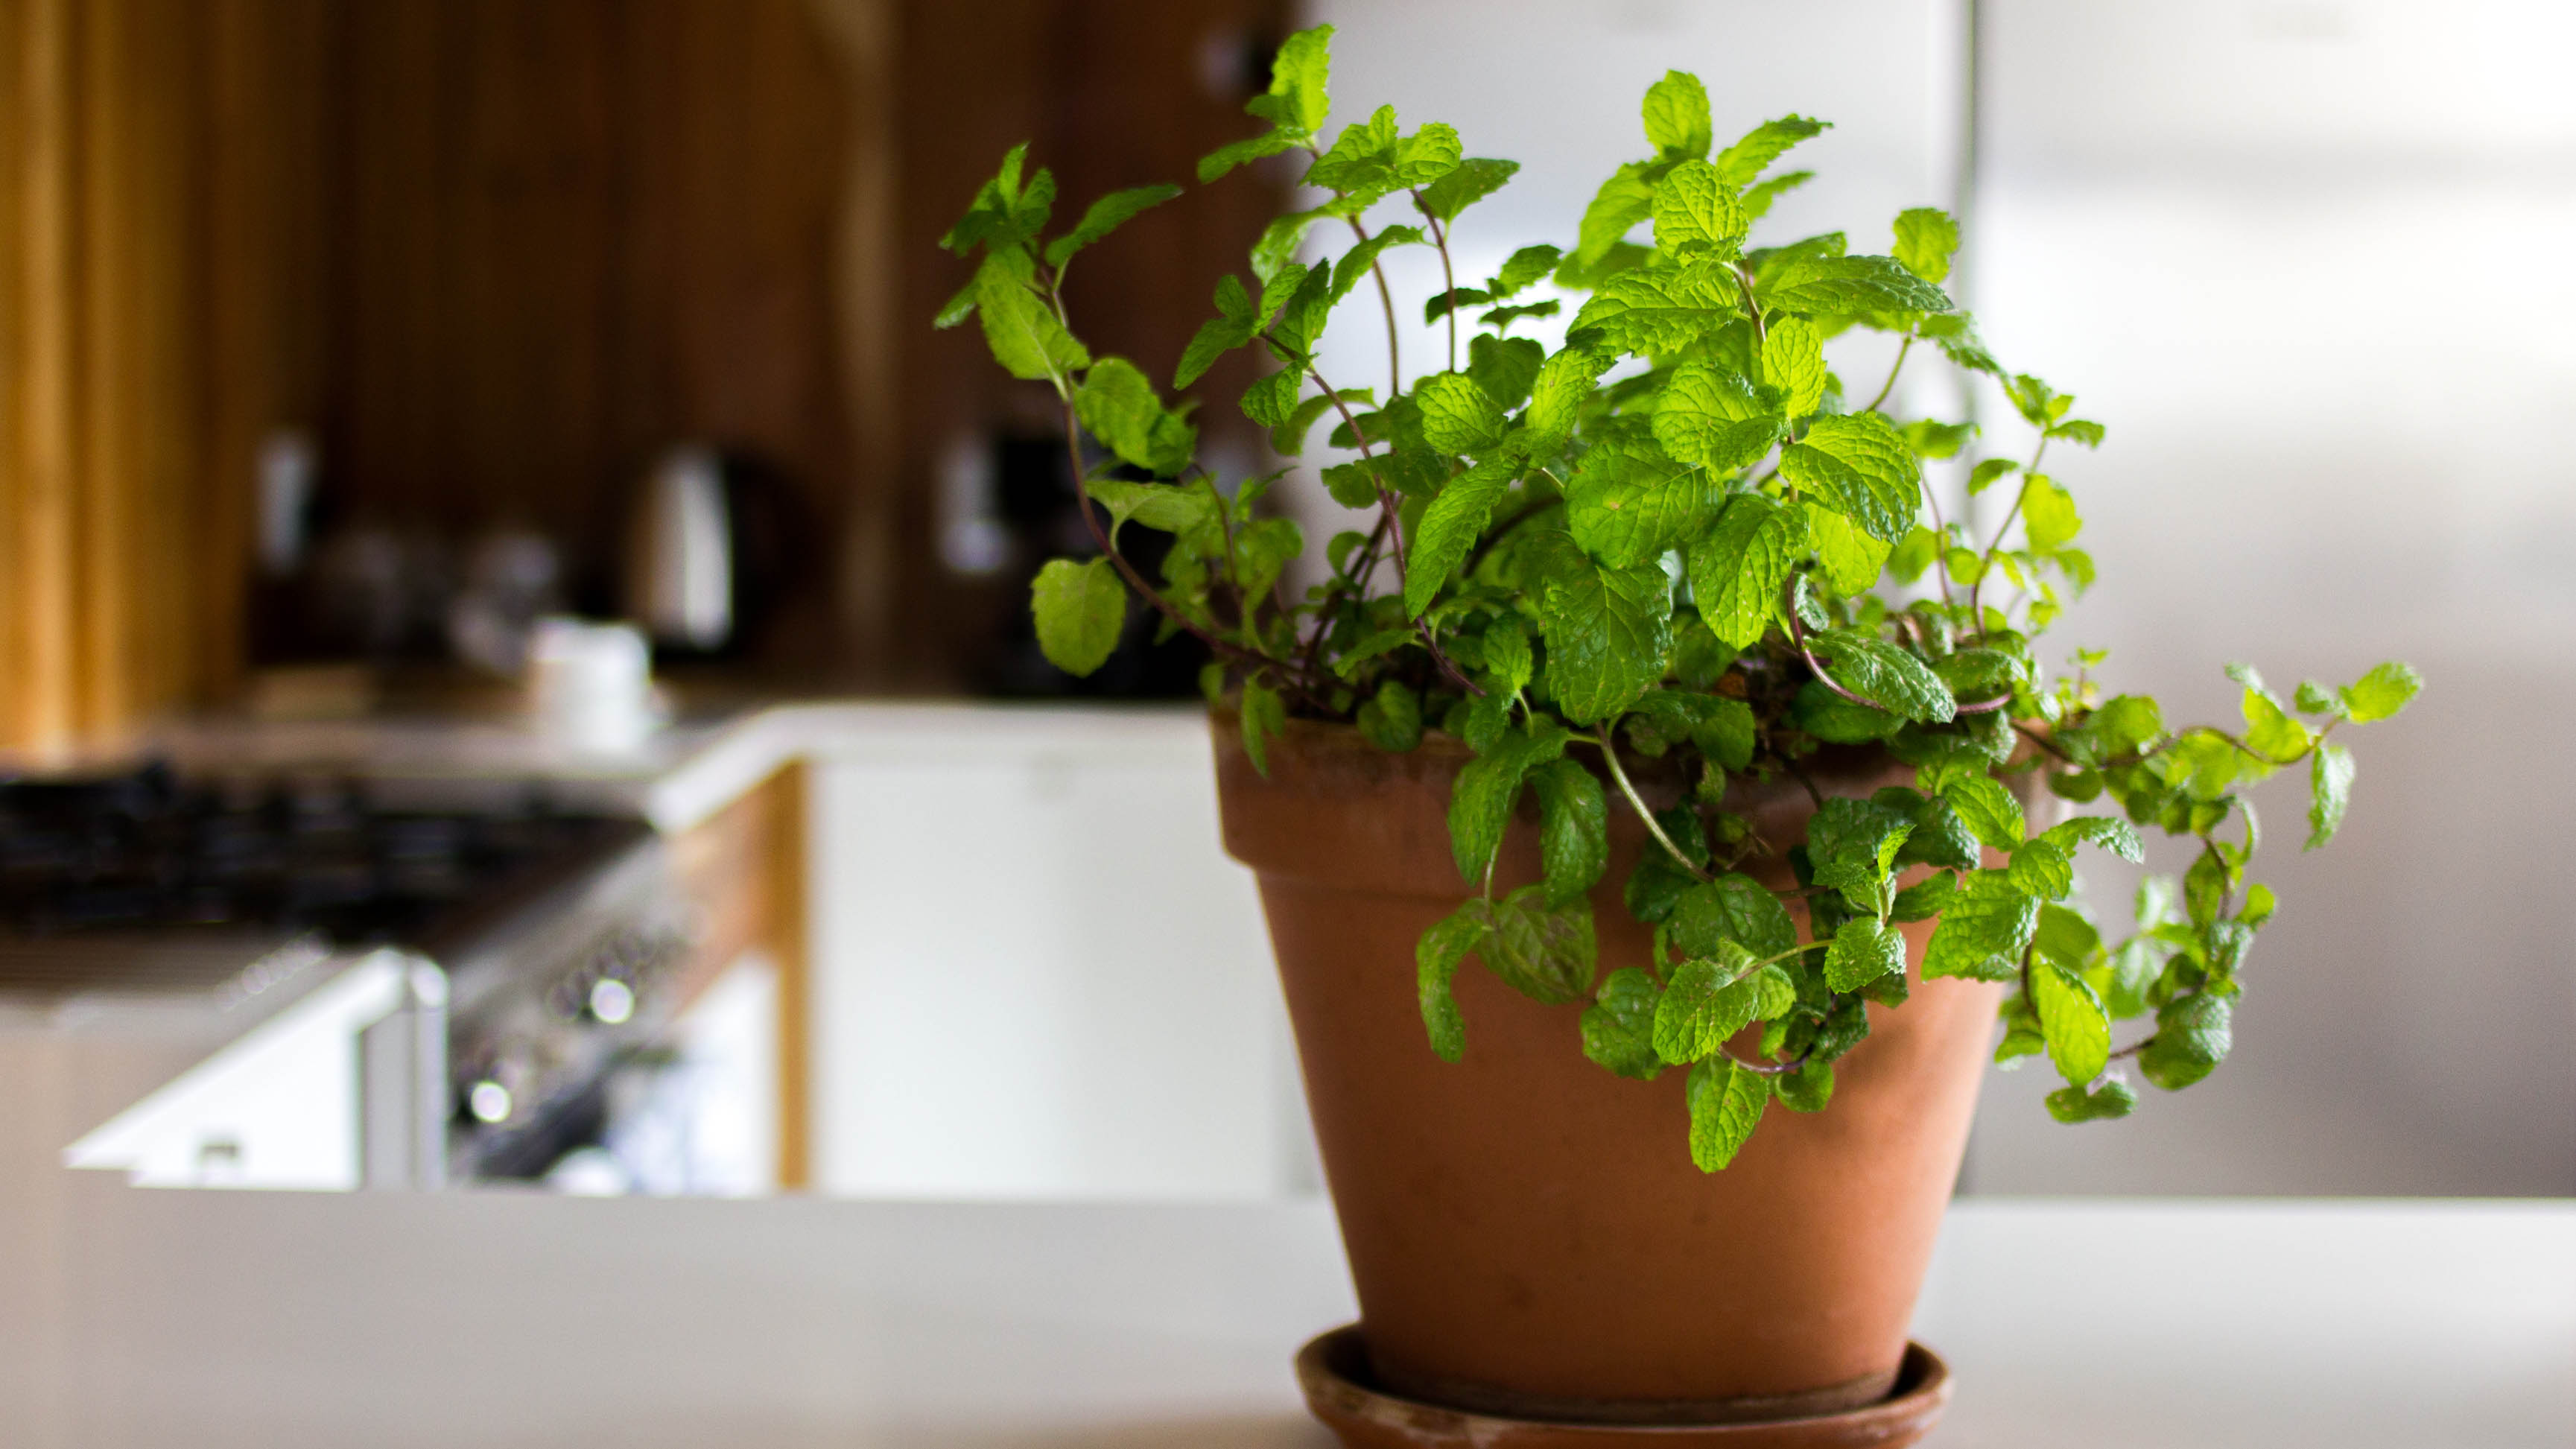
The good news is that mint is a hardy plant, and as such it can survive a wide range of temperatures, all the way down to -20°F — meaning it can even pull through a light frost. However, for best growth, temperatures should be between 55-70°F (13-21°C).
You want to keep the temperature constant, ideally not fluctuating too much. So, make sure your mint plant isn’t situated too close to an open heat source, such as a radiator, or in the case of your kitchen, the oven. If temperatures do increase, remember to account for that in your watering schedule.
5. When to harvest
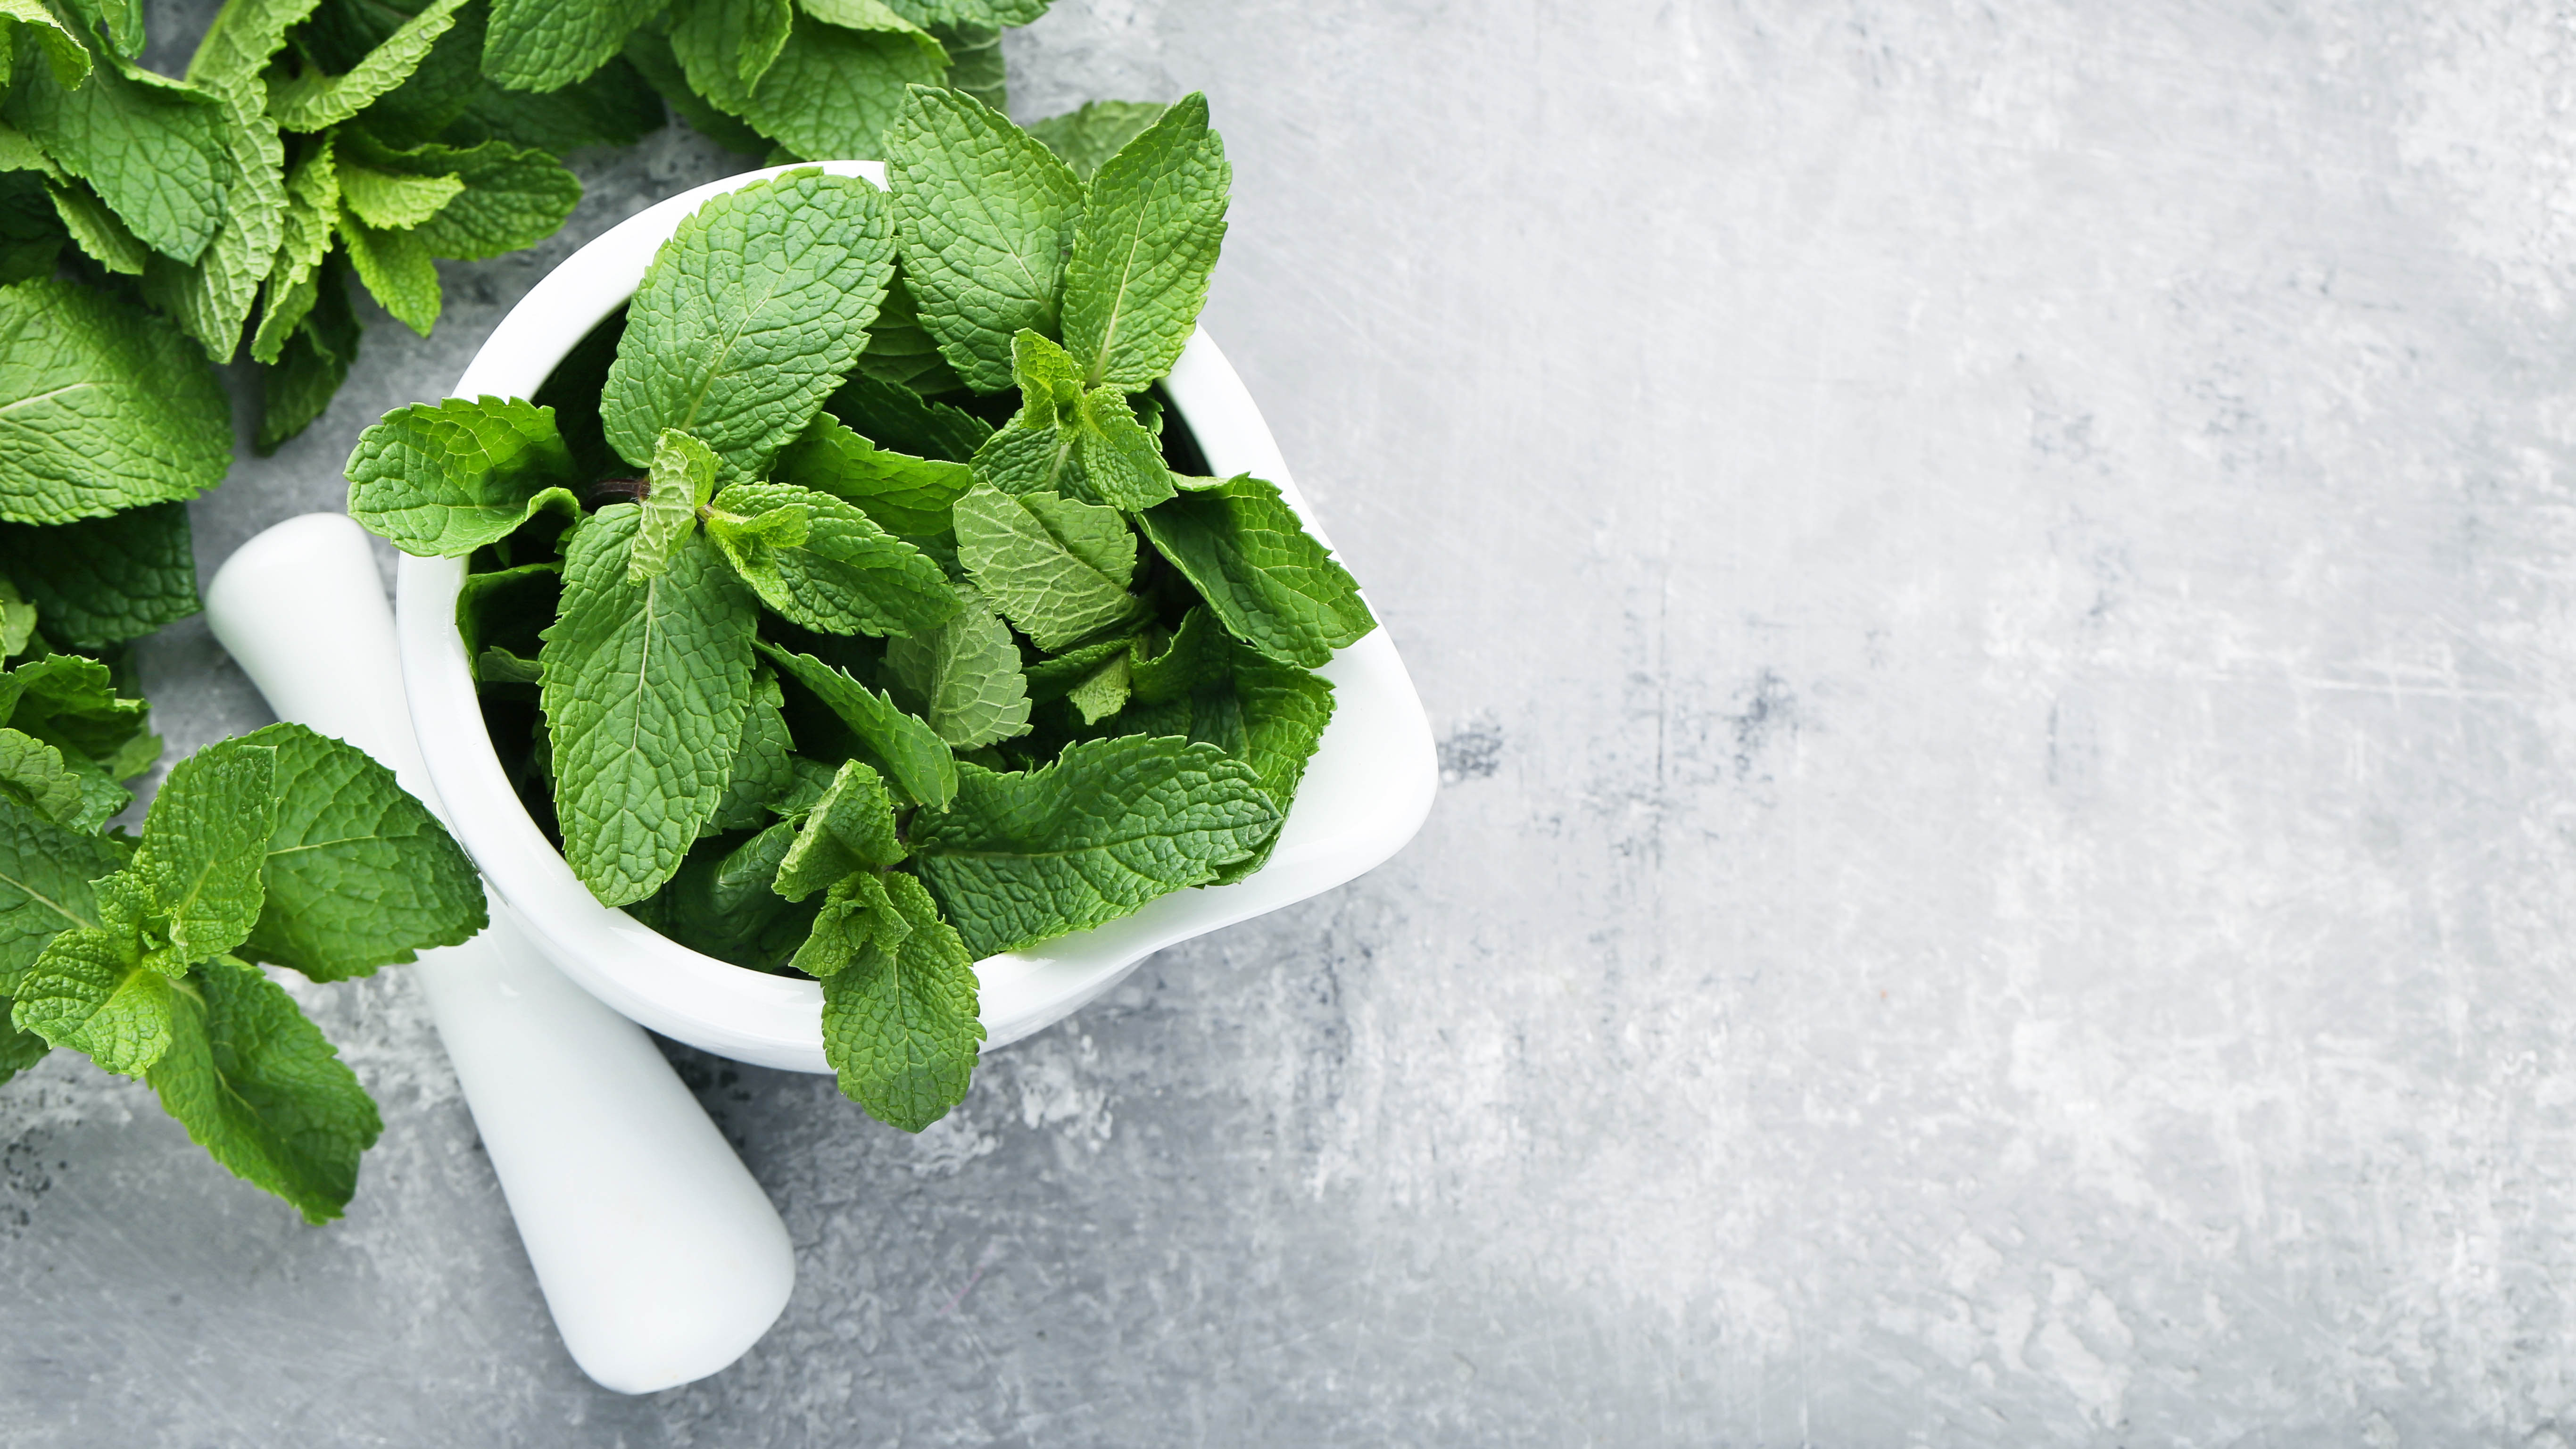
The leaves on your mint plant may look delicious, but there’s a right time and a wrong time to harvest them. Getting this right provides the best flavor, so timing is essential. You want the plant to be mature and to have reached at least four inches in height. You also want to make sure you pick them before it starts flowering. This is because the plant loses some oil during flowering, which makes the leaves less aromatic and flavorful.
However, you can generally pick the leaves from the plant anytime from late spring to mid-fall. Simply pluck the individual leaves from the plant to harvest them. Alternatively, you can cut away the leaves via the stem if you need to store for longer.
6. Pruning
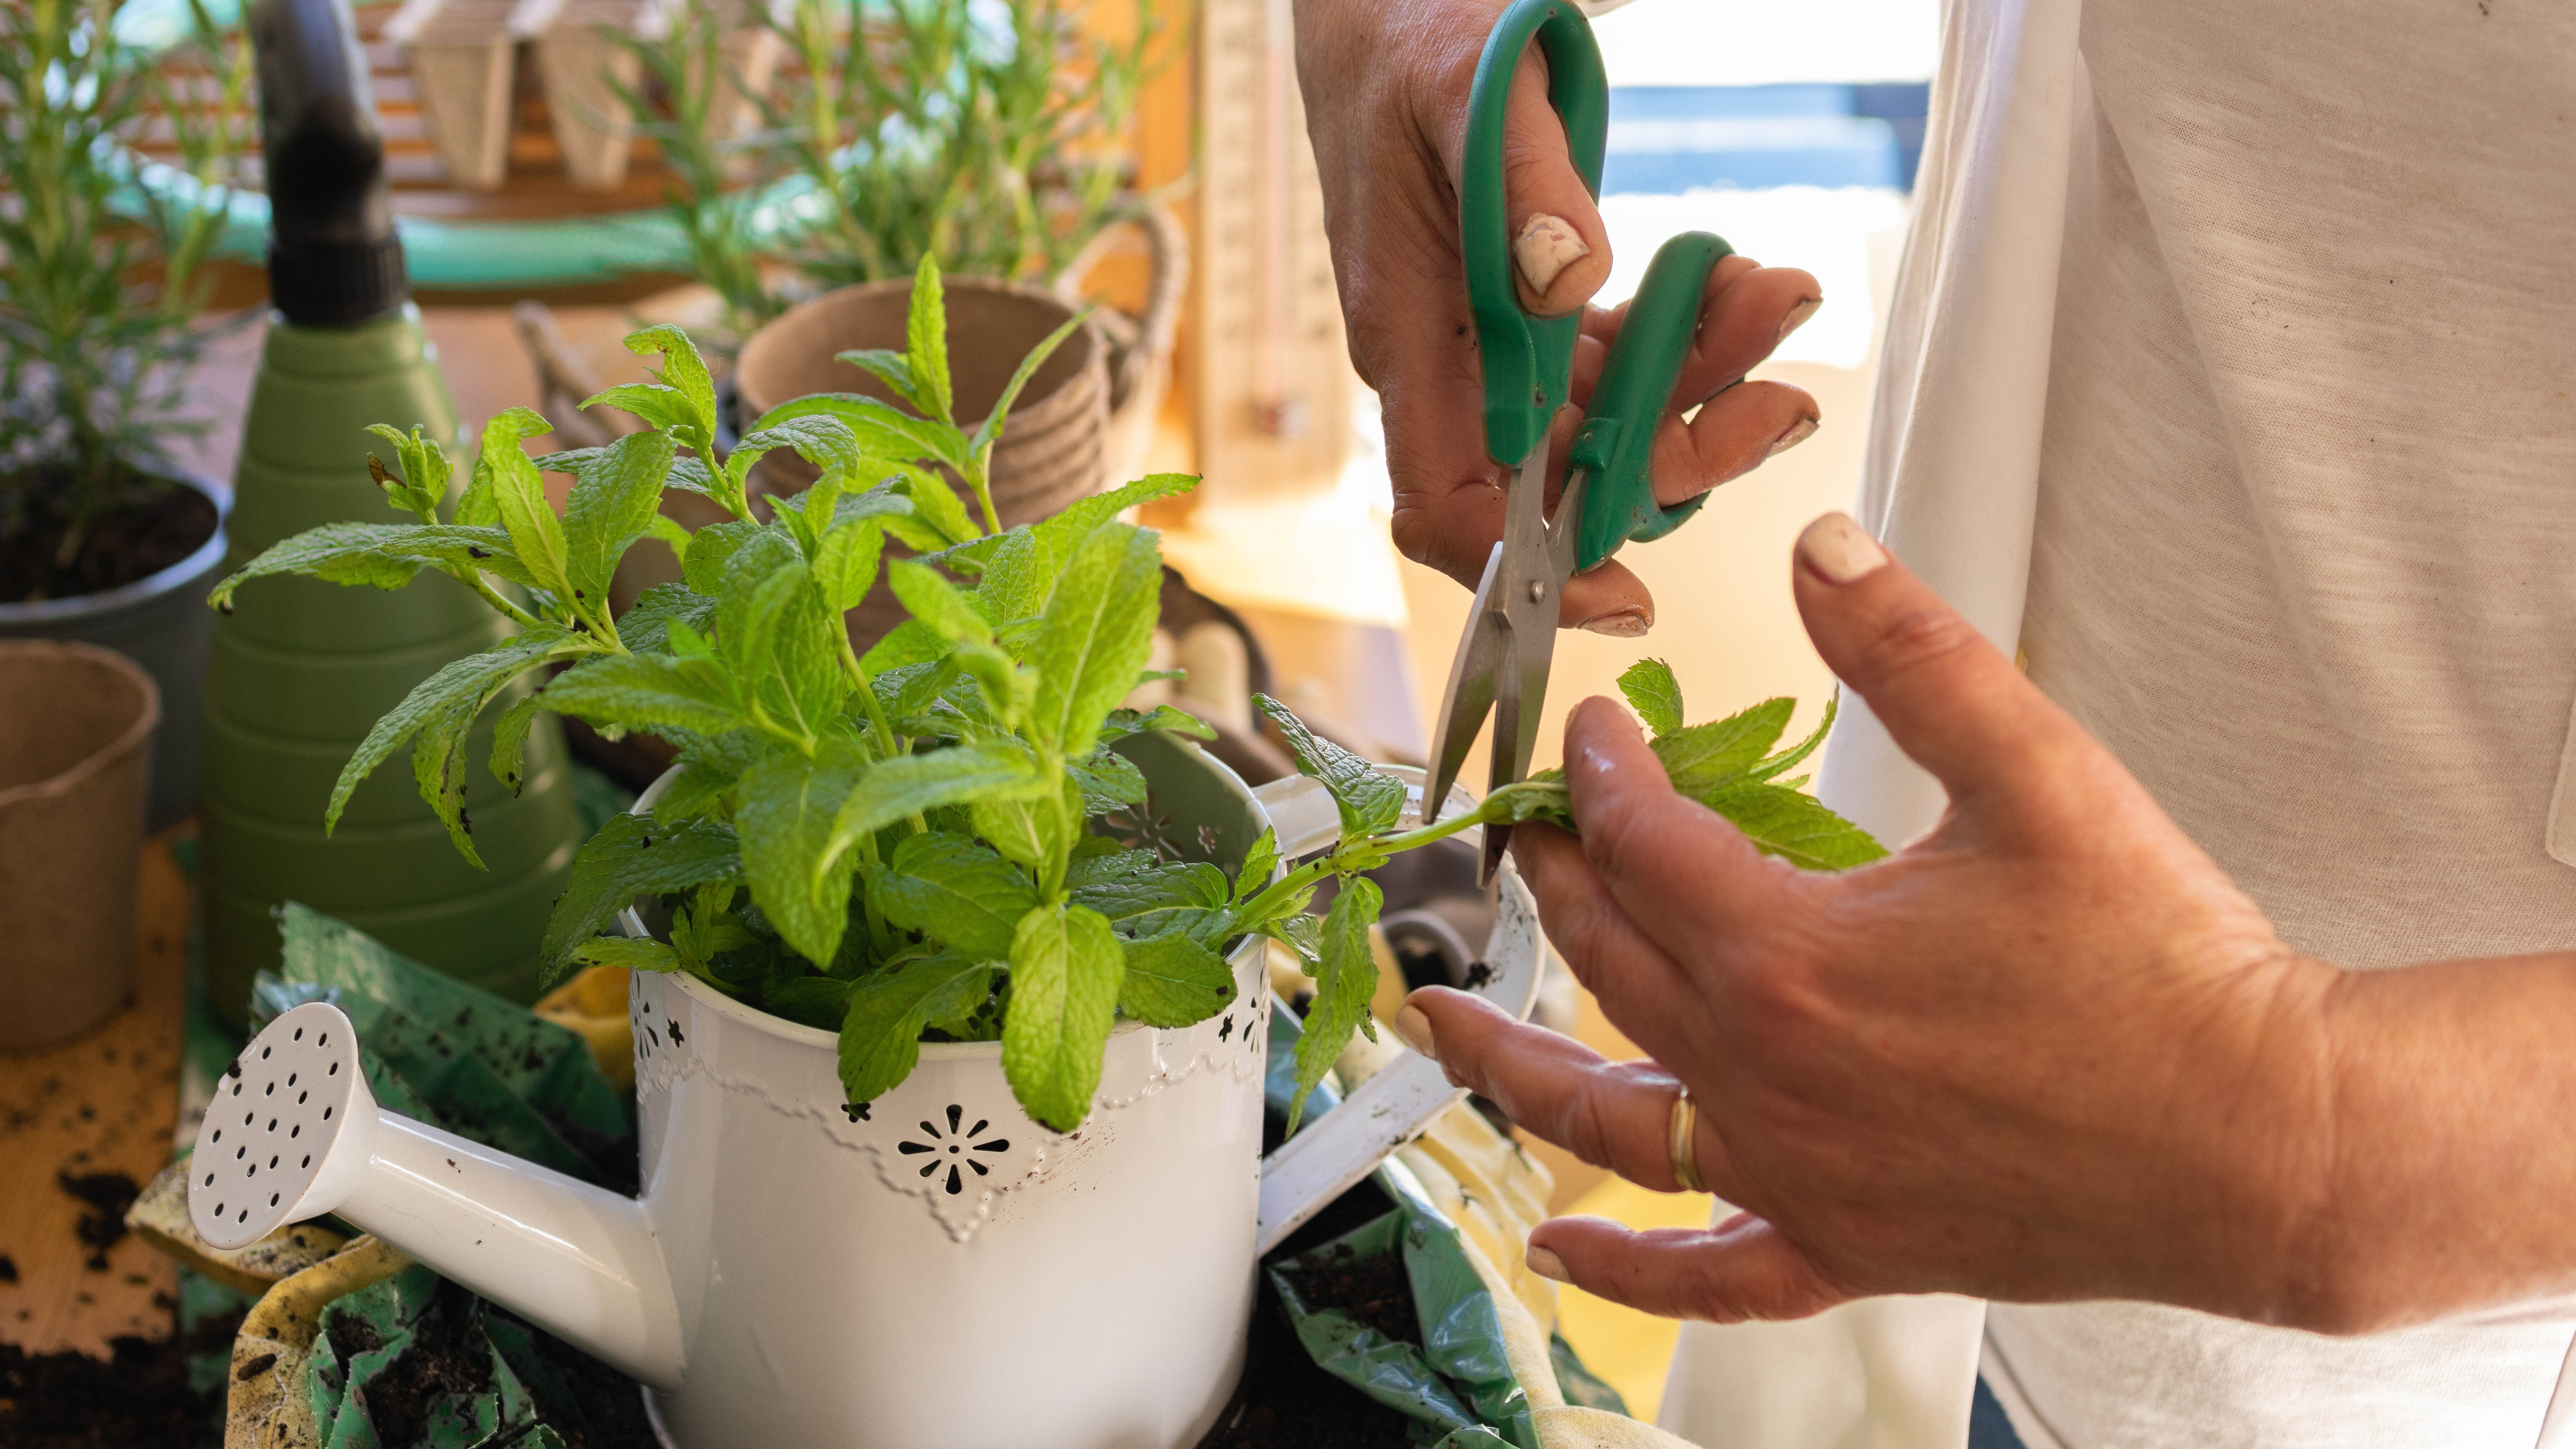
While mint is hardy, it’s also pretty invasive. So, if you give it the right conditions, and leave it to itself, things can get out of hand. Thankfully, it’s not one of the 7 invasive plants to keep out of your yard, but it can still grow unruly. Because of this, you’ll want to keep a pair of the best pruning shears to hand, so you’re ready to trim it back when needed. This can be done to prevent flowering as well as encourage fresh leaves.
For mint grown outside, if you’re cutting it back during the growing season, remove a third to a half. The cuttings can be stored or frozen for future meals. If winter’s on the way and the season’s over, you can cut back all the way to just off the ground (about an inch). Because it’s so invasive, we recommend growing mint in containers so you can better control its growth.
You can prune mint regularly to keep it in good shape — as much as once a week. Always cut to just above a node to promote new stems and leaves.
7. Pests
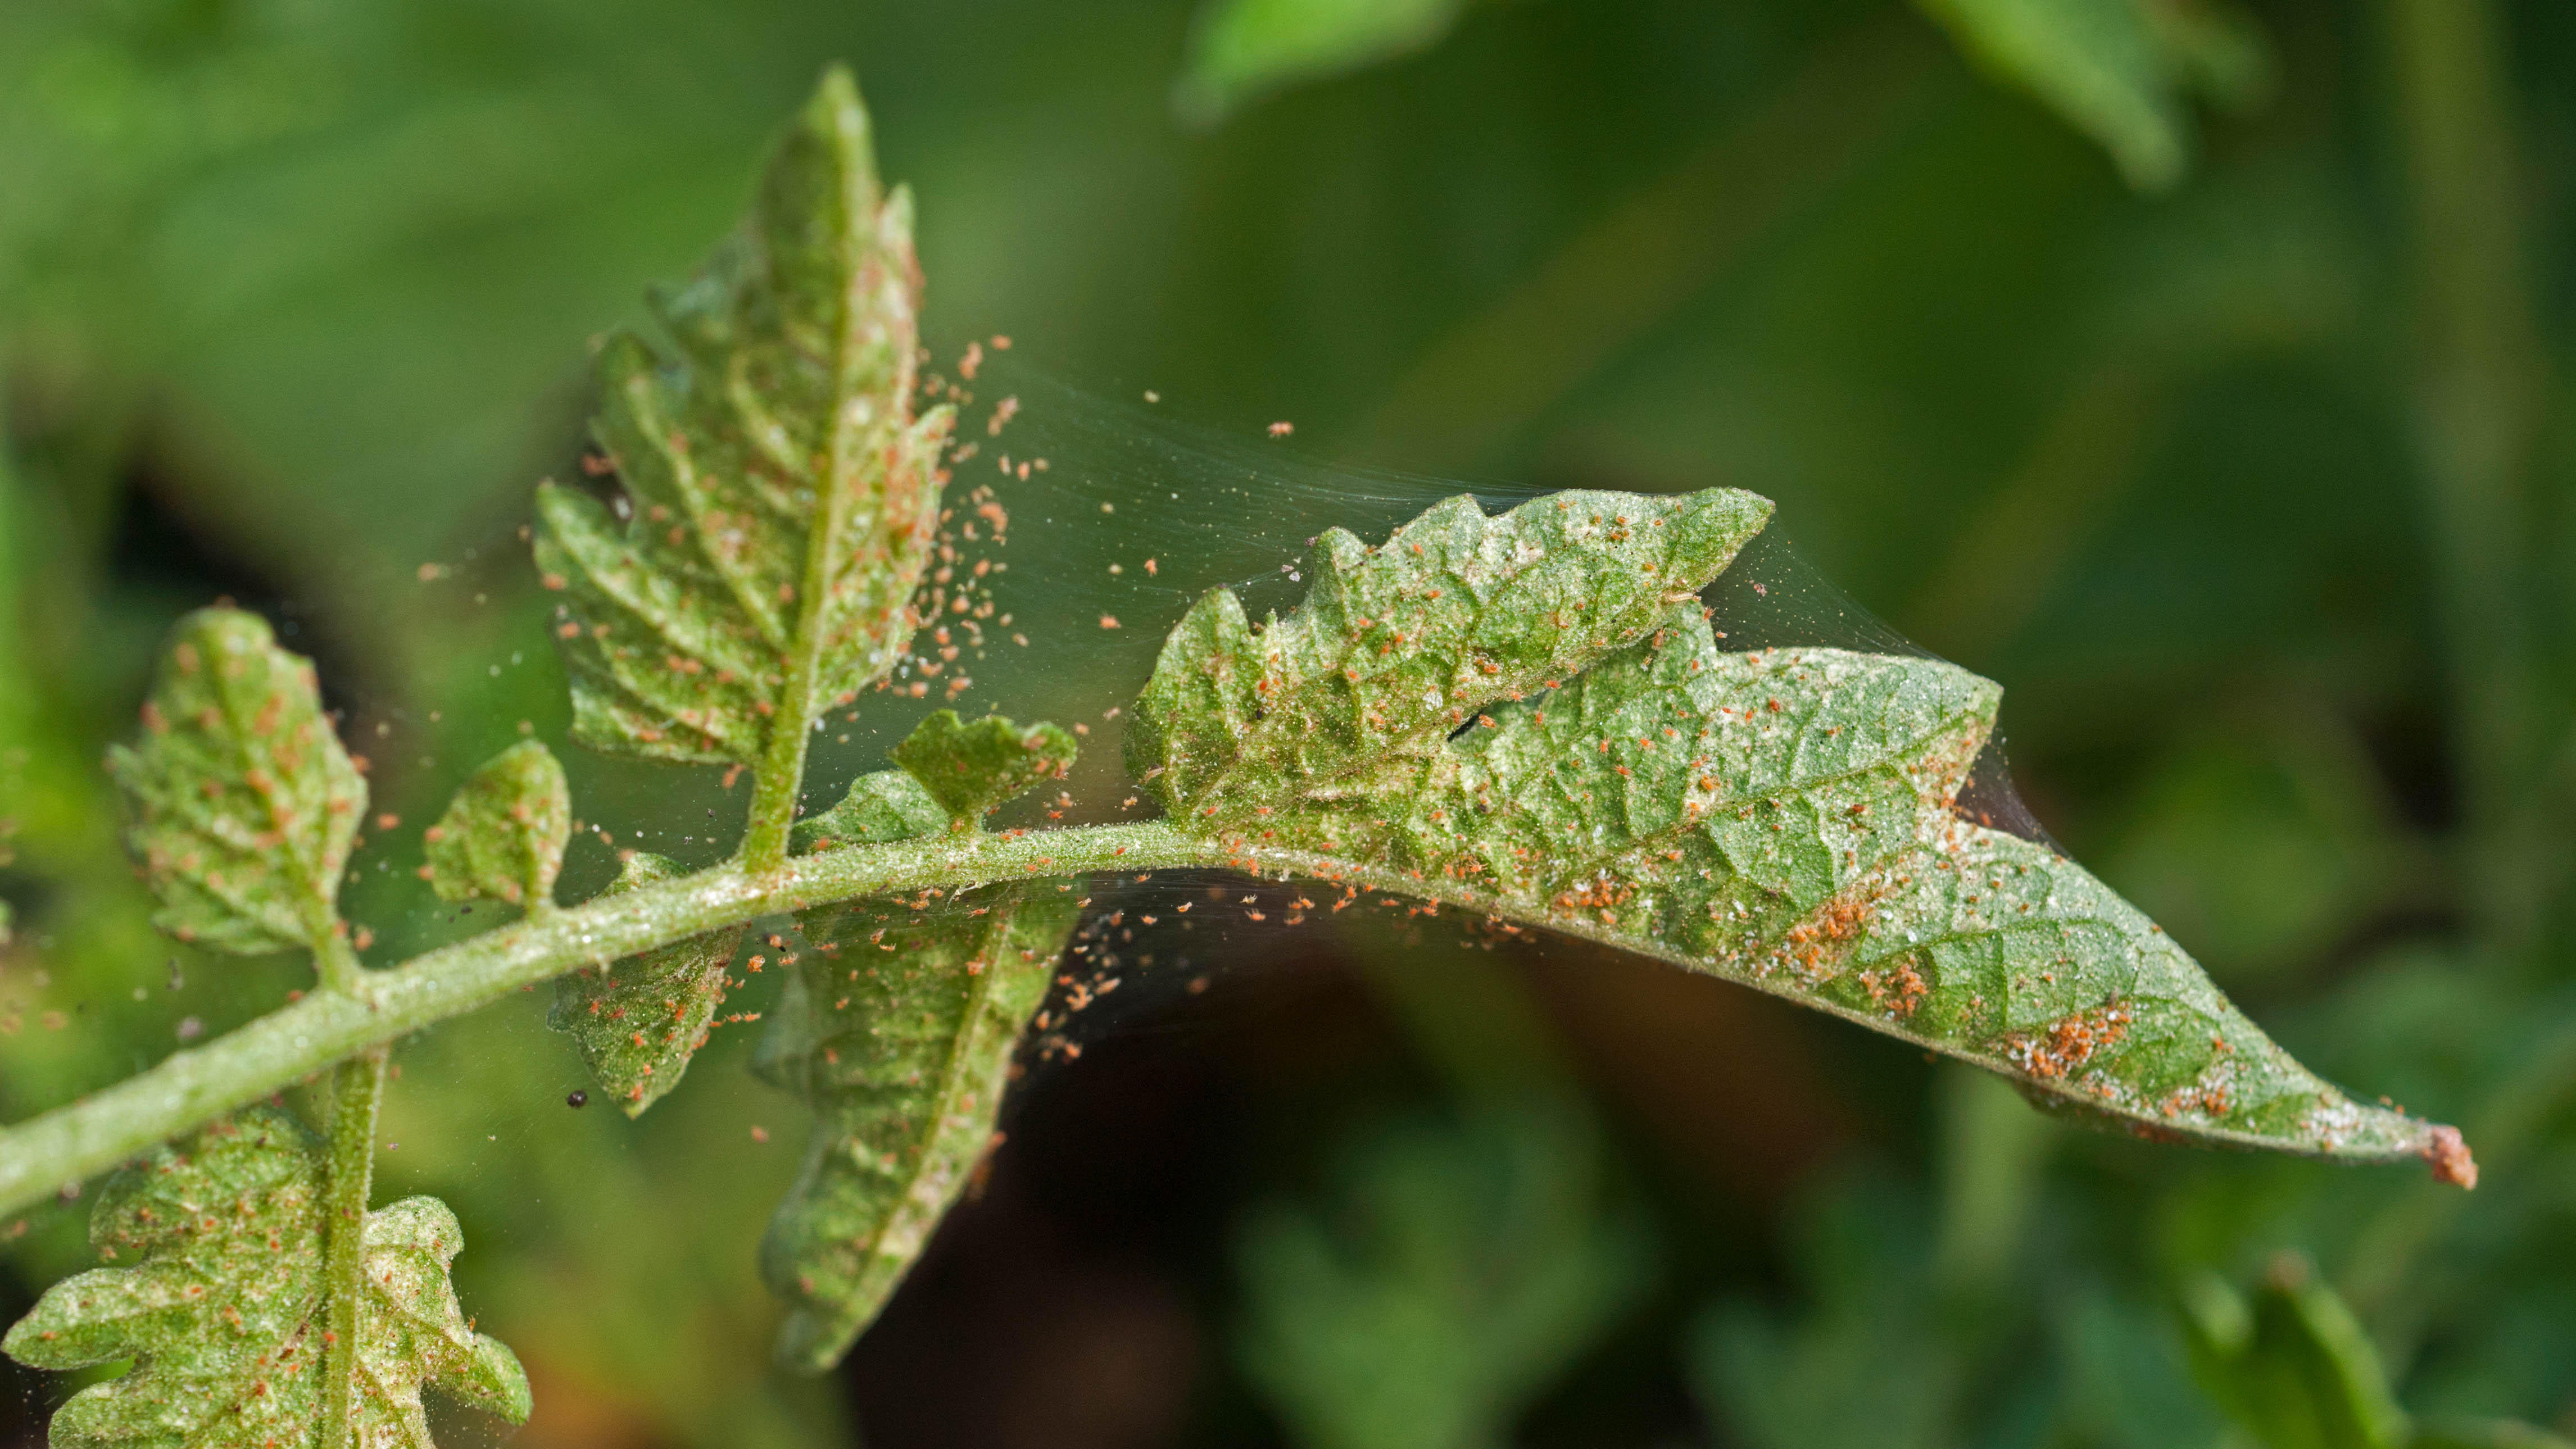
While mint can be used to deter certain pests — for instance, it’s one of the 5 plants that will keep wasps out of your yard — some pests can still take hold. You will need to keep an eye out should symptoms show. Spider mites can leave a thin webbing behind as well as discoloration, while flea beetles will jump from the leaves, leaving holes in their wake.
Whatever pest you’re dealing with, invest in a dedicated pesticide to deal with the problem as soon as possible — alternatively, home remedies may be available. Quarantine the plant away from other plant life as it recovers. Keep in mind that once you’ve used a pesticide, whether chemical or natural, you likely won't be able to eat the leaves anymore. Always check the label. Depending on the pest and the level of infestation, you may be able to remove them with a jet of water alone.
More from Tom's Guide

Katie Mortram used to be a Homes Editor for Tom's Guide, where she oversaw everything from kitchen appliances to gardening tools, as well as smart home tech. Specializing in providing expert advice for cleaning and home manintenance, she now works as Household Advice Editor for Good Housekeeping.
