7 Tips to keep your oven cleaner for longer
We’ve found 7 tips to keep your oven clean between uses
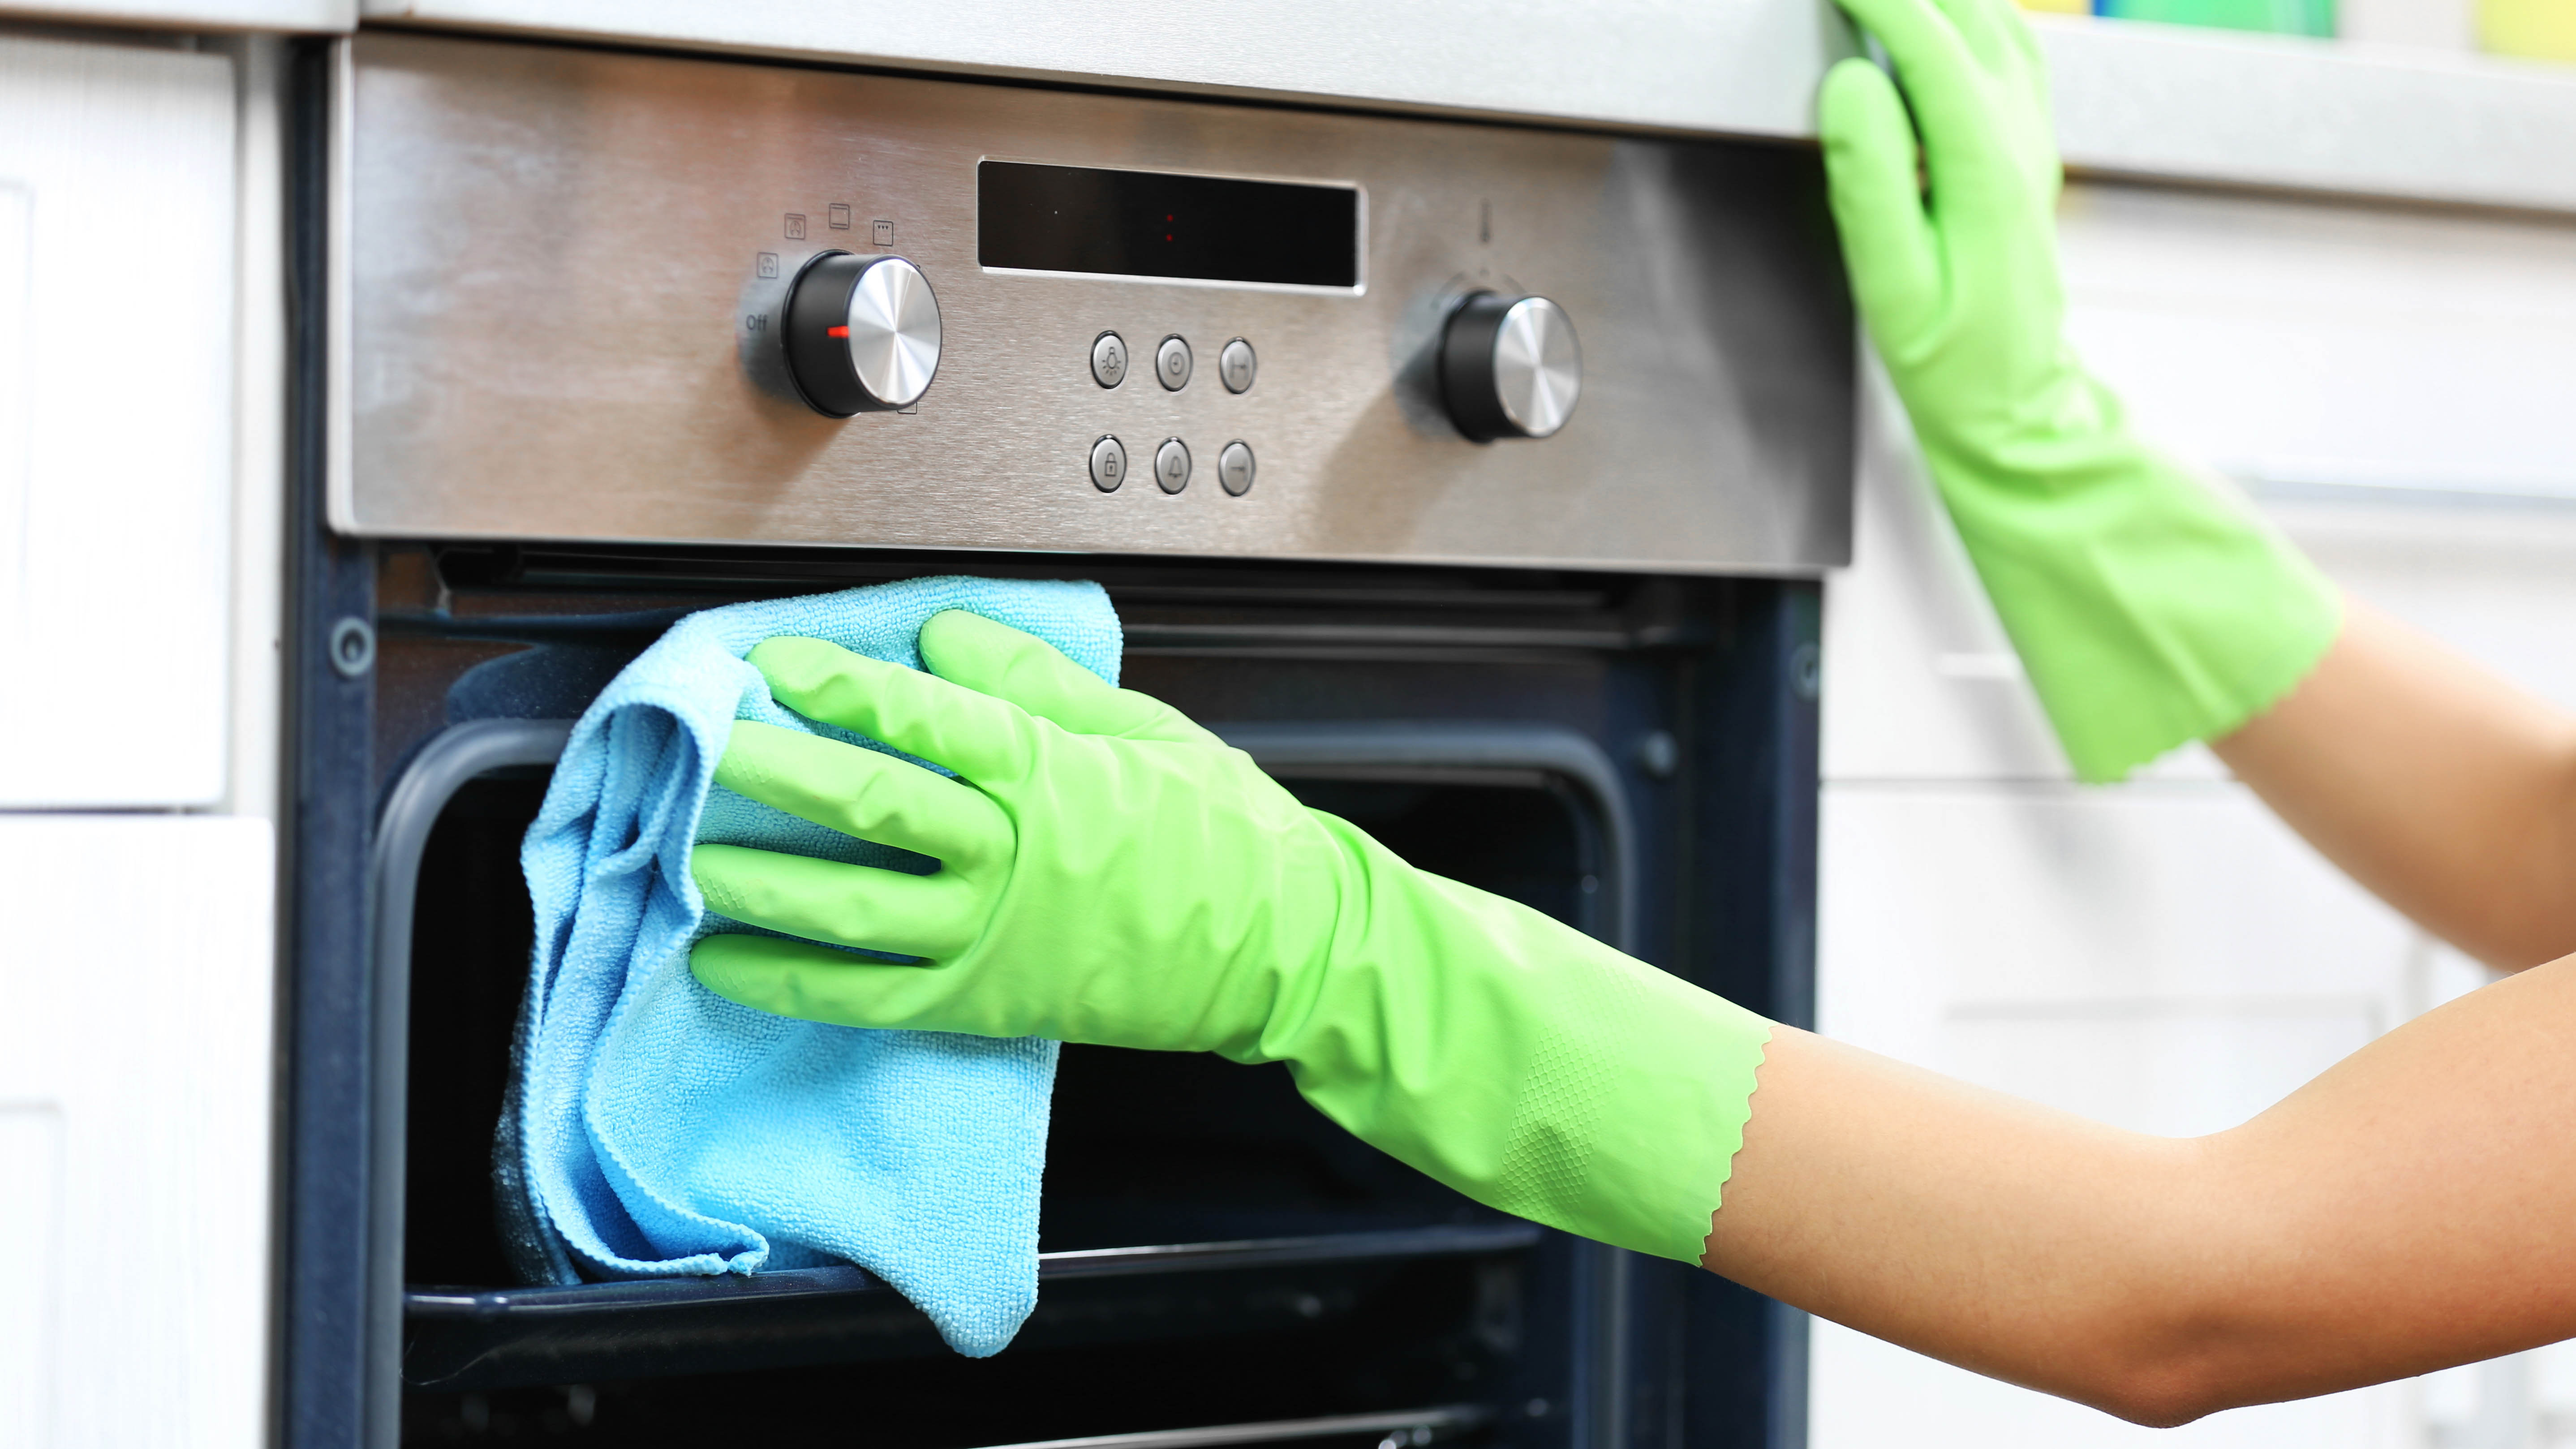
One of the worst chores around the home has to be cleaning the oven. Burnt on residue — the results of spitting and dripping — can seem impossible to remove, and reaching in to tackle it is no easy feat either. Scrubbing an oven clean can take hours, leaving it out of action in the meantime. Unfortunately, there’s no way to avoid cleaning an oven — everyday use will result in spills and stains for even the best electric ranges, but there are ways you can keep it cleaner for longer.
By making a few small changes, your oven won’t need deep cleaning so often, and the task will be easier when the time comes. Changes in habit as well as products you can purchase can help here. If you’re keen to learn more, we’ve listed 7 tips to keep your oven cleaner for longer. So you know what to do to keep your oven looking pristine and how to make cleaning it feel like less of a chore.
1. Light cleaning
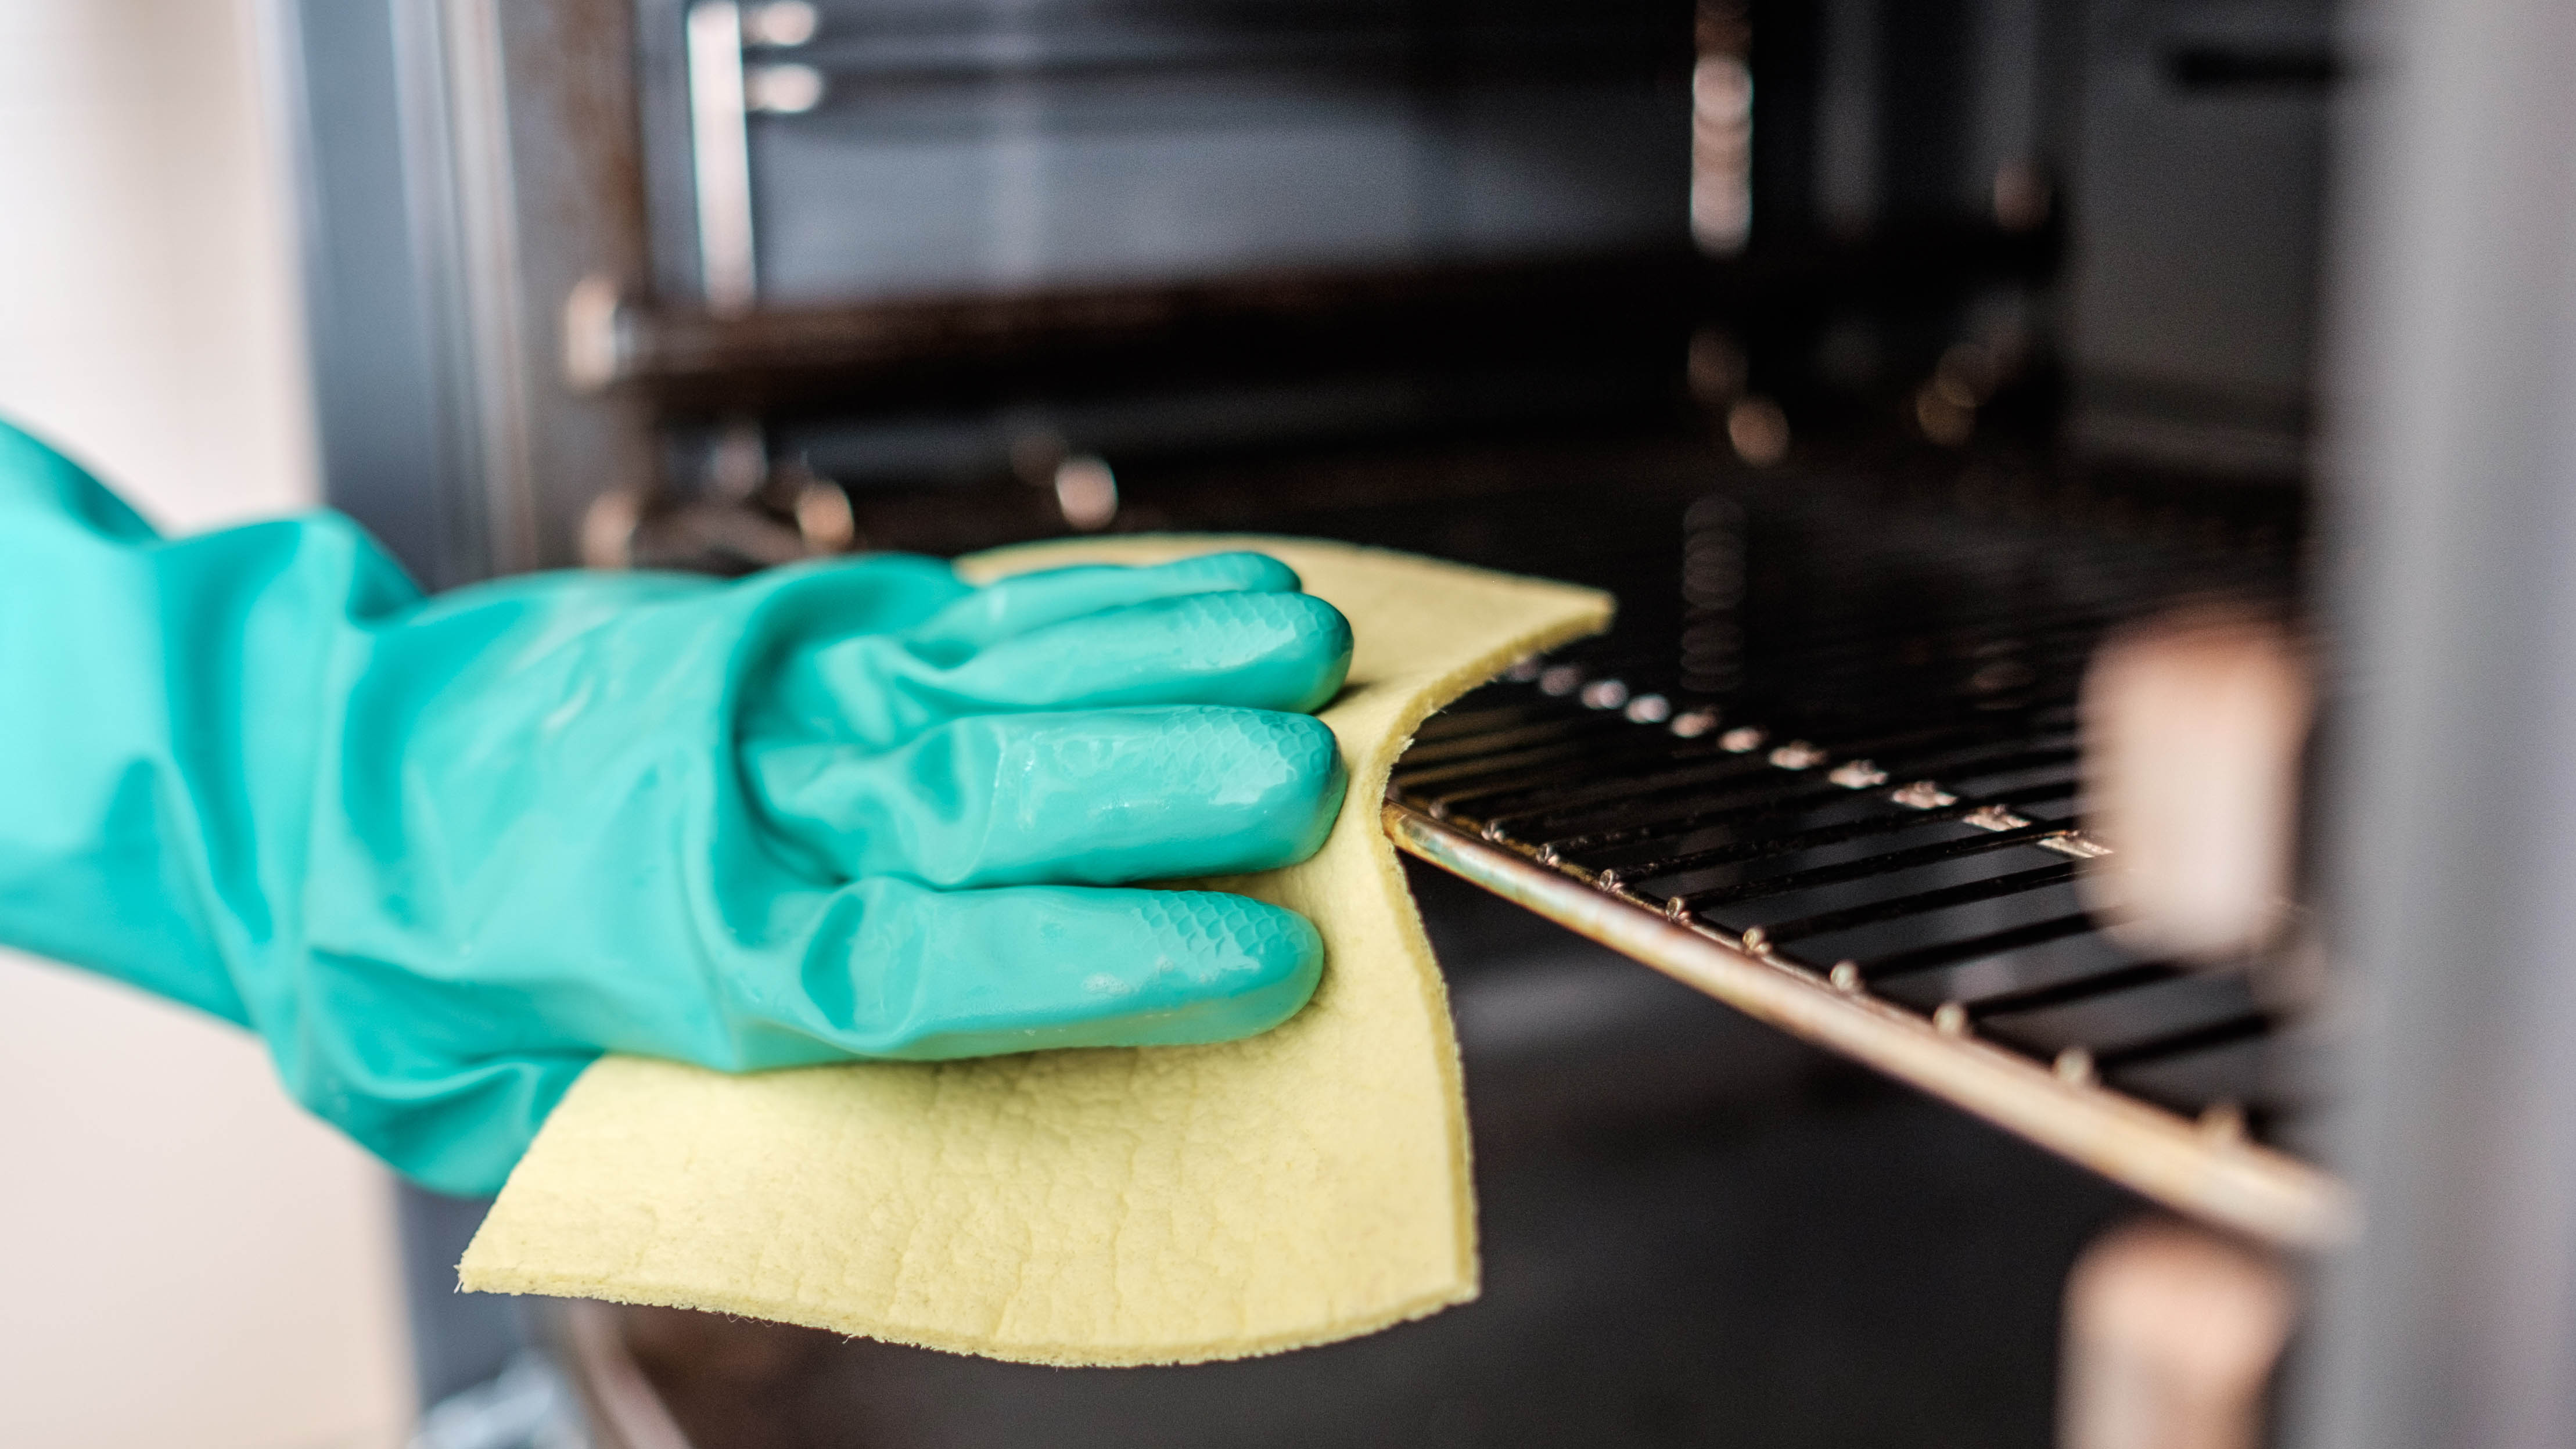
To keep your oven looking pristine, light and regular cleaning is best. This might seem like more hassle, but it’s actually easier work versus frequent deep cleaning. Once the oven has cooled, inspect it after each use — should you spot any fresh spills and stains, a quick wipe with a damp, soapy microfiber cloth, followed by a rinse can get things sparkling again, before it has a chance to burn on. A baking soda paste can help remove light residue too if that’s not cutting it. Let the paste sit for up to 8 hours for the best effect.
Even if you keep on top of light cleaning, you will still need to deep clean on occasion too. This will help restore your oven and remove any residue you might have missed. We recommend deep cleaning your oven every 2-3 months. For step-by-step instruction, check out how to clean an oven — this method should be sufficient when combined with light cleaning. But, if you’re dealing with a heavily stained oven, a proprietary oven cleaner may be required. Get into the habit of cleaning your oven quickly between uses — it will prevent residue from building up and burning on so quickly.
2. Use an oven liner
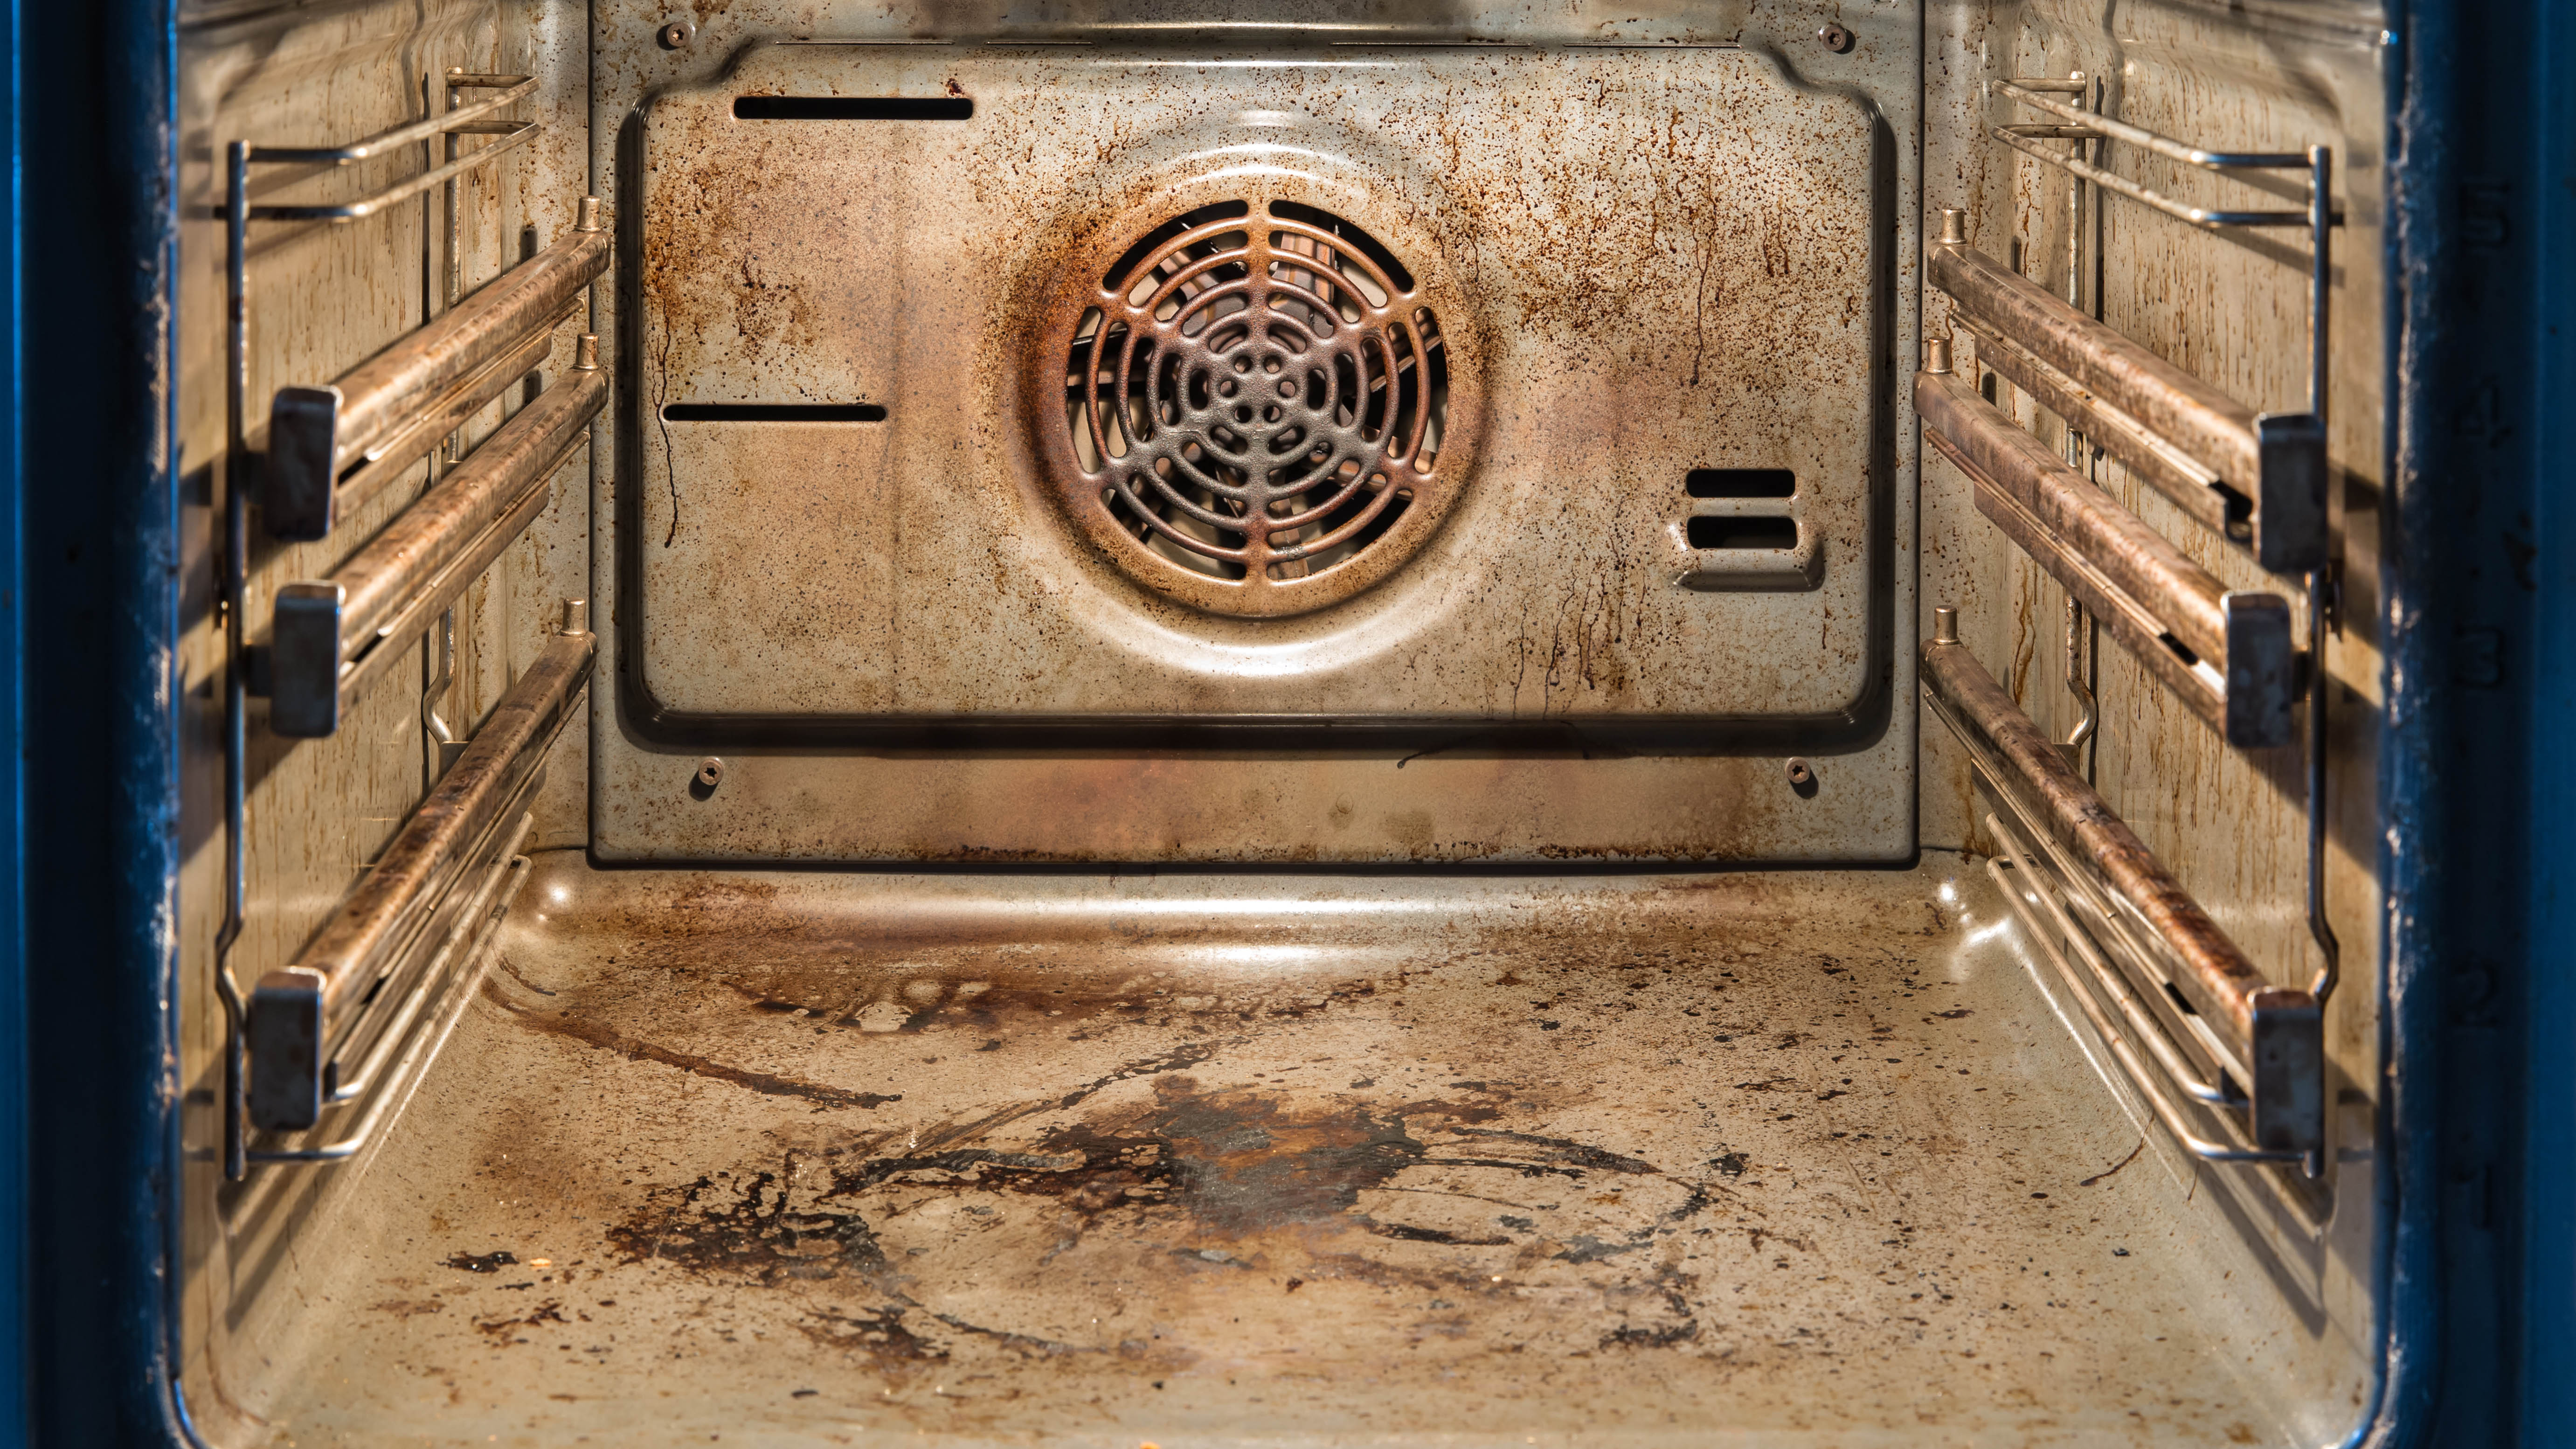
If you’re not using an oven liner already, it’s worth investing in one. When it comes to cleaning your oven, one of the worst places to scrub is the base. As food inevitably drips down and burns on, it can take some serious elbow grease to remove. This is where an oven liner can come in handy. It fits into your oven and collects any drips and spills during the cooking process. An oven liner’s placement depends on your type of oven and whether there are exposed heating elements at the base. It may slide under the elements or need to sit on the lowest rack — always follow instructions to check and never cover any internal vents or holes in the oven with an oven liner.
Once you’ve finished cooking and the oven has cooled, you can simply remove the liner and hand wash it in the sink. These are generally non-stick and dishwasher safe to make cleaning up easy. Some can be cut to size and are suitable for microwaves and toaster ovens too. Always check the instructions of both the liner and your appliance for compatibility. An example of this would be Linda’s Essentials Oven Liners for Bottom of Oven ($9.95, Amazon).
3. Cover your food
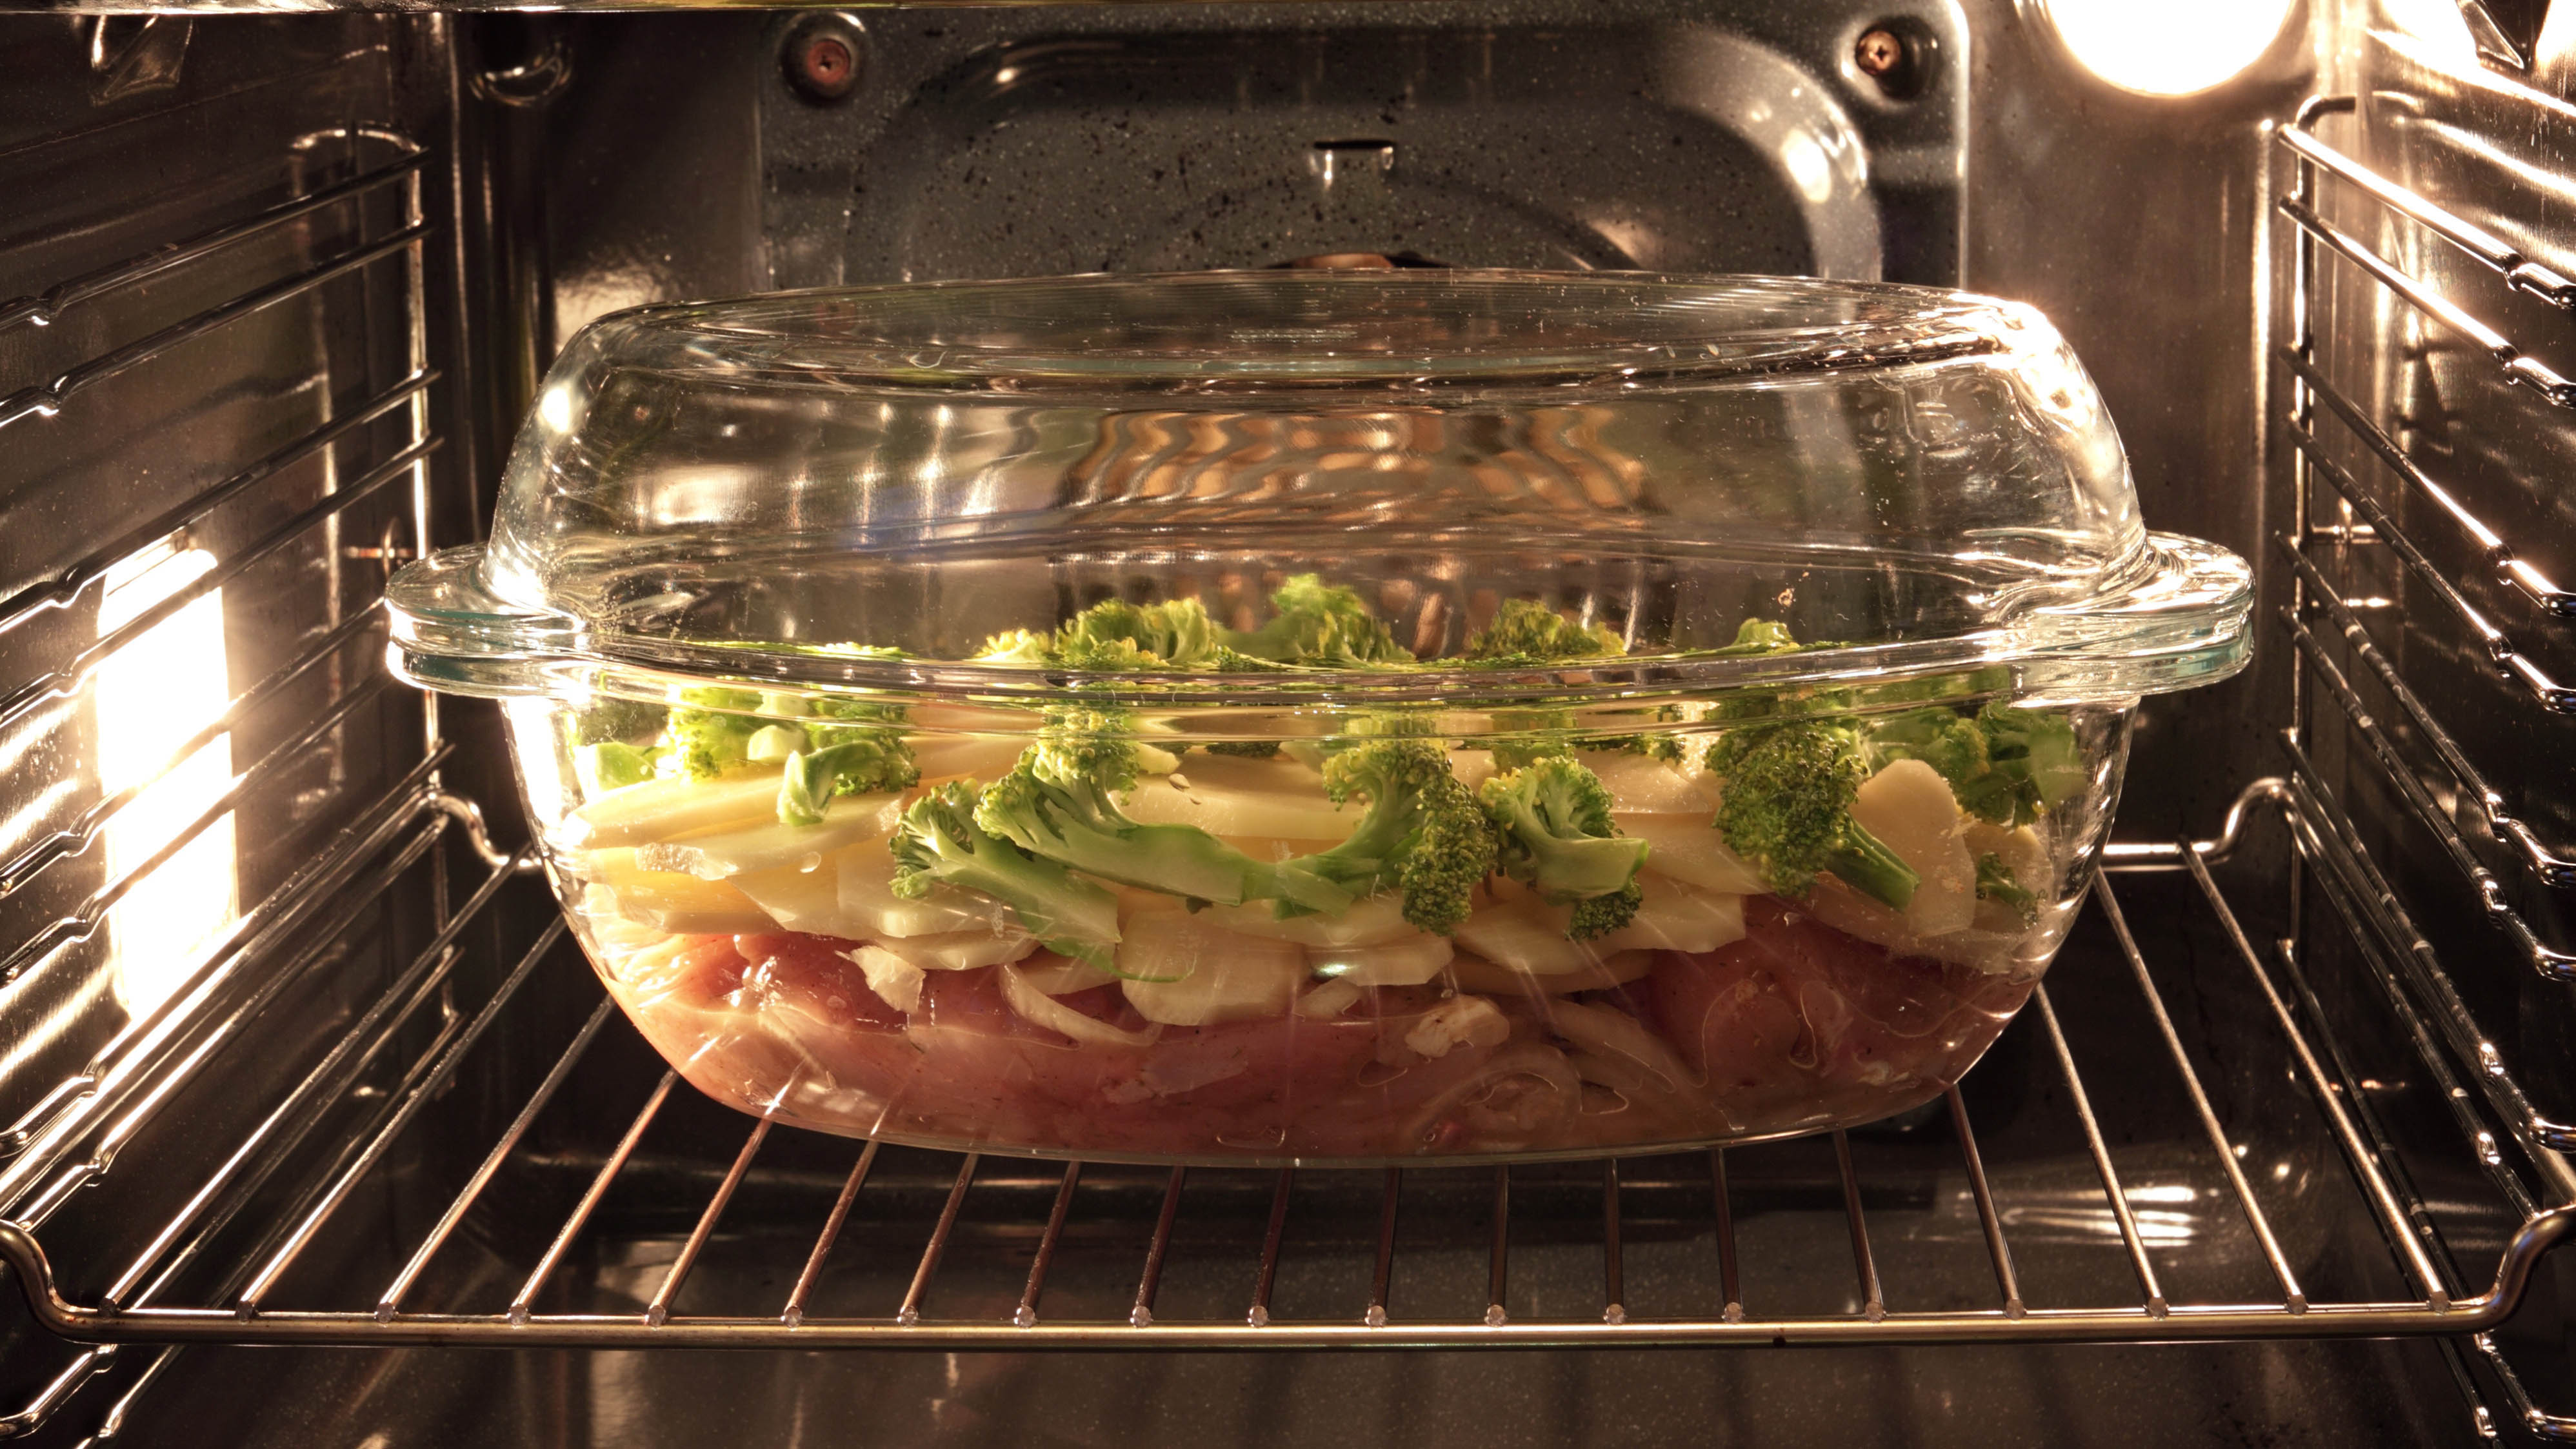
Most of the mess in your oven is caused by food spitting as it cooks, which can splatter over the walls and door. One way you can prevent this is by covering your food, where appropriate. In doing this, it can better retain moisture in the dish, thanks to the trapped steam. It promotes more even cooking as well, because the top won’t brown while the remainder continues cooking. Of course, this style of cooking won’t work for every recipe; anything which you want to brown and crisp will need to be uncovered. But, where retaining moisture is preferable, such as within a roast chicken, covering could improve the cooking process and save you from extra mess.
Sign up to get the BEST of Tom's Guide direct to your inbox.
Get instant access to breaking news, the hottest reviews, great deals and helpful tips.
Casserole dishes and glass cookware often come with lids which are suitable for oven use, although you should always check first. You can also form a lid with aluminium foil. This can make a difference just by being loosely placed on top of your food. But, you can fit it around the rim of the cookware for a better seal and moisture retention.
4. Don’t place food directly on racks
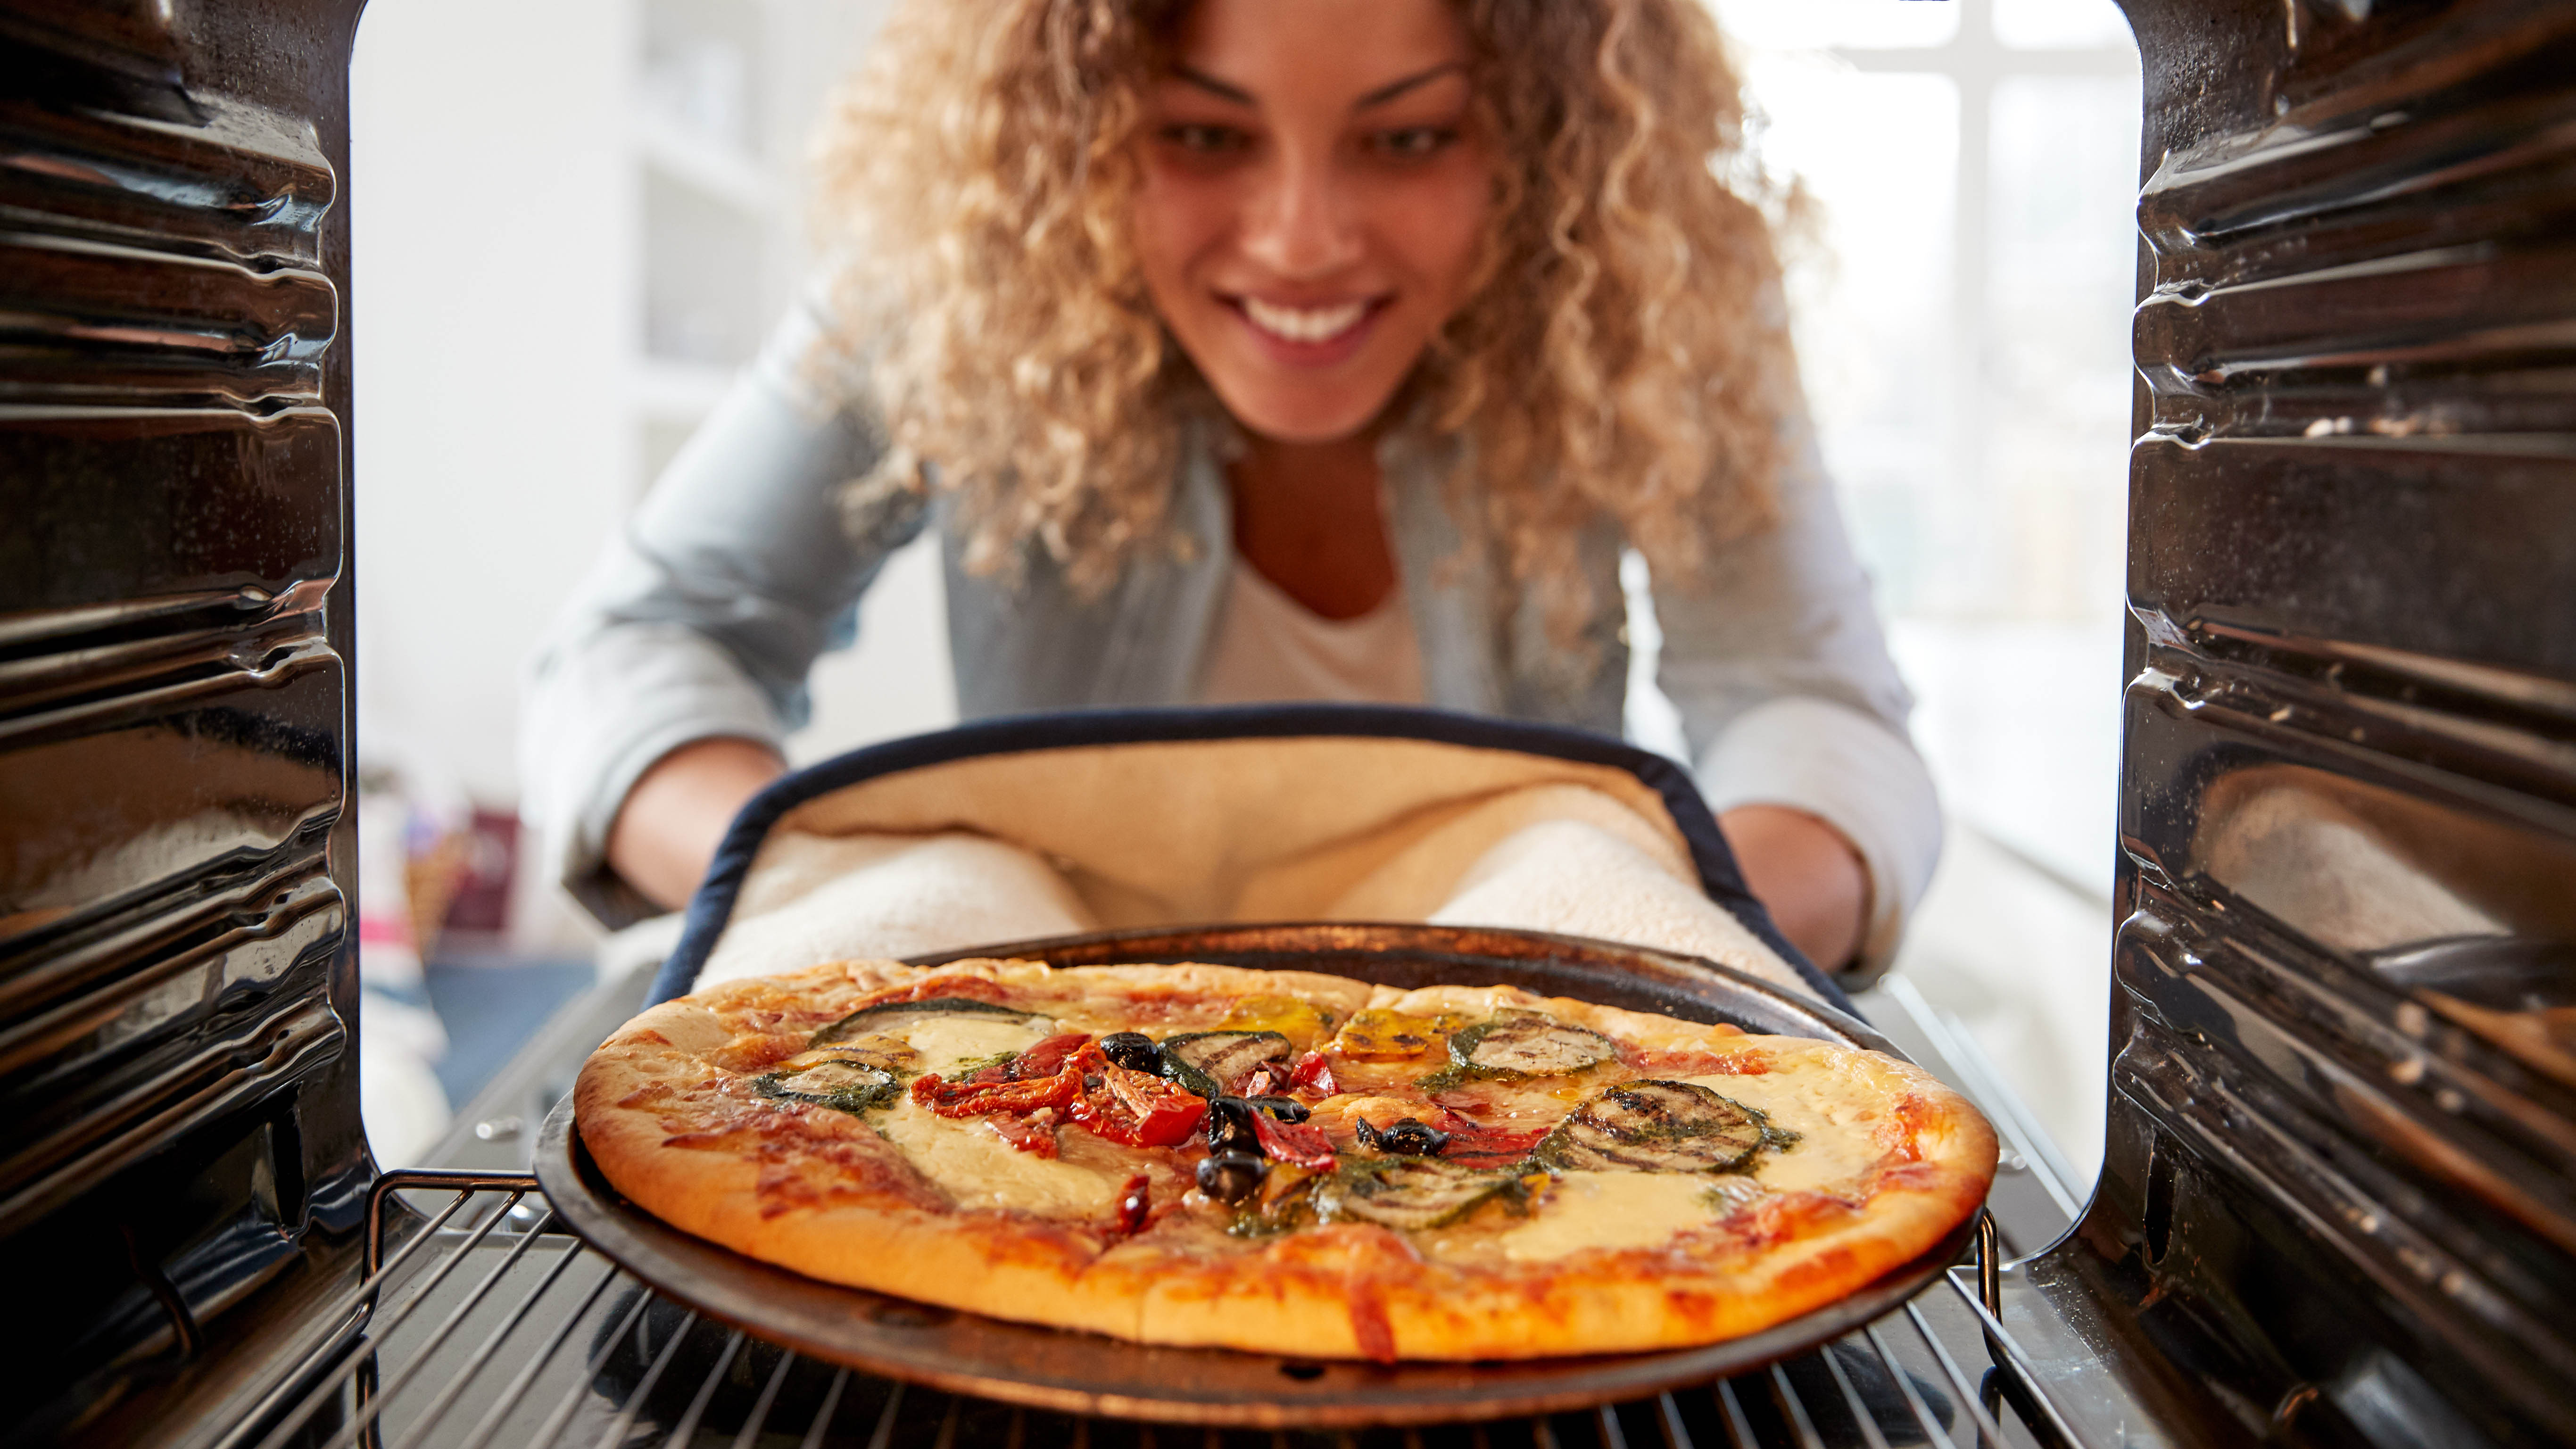
Frozen pizza is all too easy to cook in the oven, although we’ve found the best ways to reheat pizza properly. In as little as a few minutes, your pizza is ready to serve, complete with gooey cheese and sizzling toppings. And while frozen pizza is rigid enough to cook directly on the oven rack, you shouldn’t do this. Cheese can drip down over the crust and cause no end of mess. Plus any residue on the racks themselves will be applied to the underside of your pizza. Pizza with raw dough is definitely a no no for the same reason — in fact, it would seep straight through.
Always use a dedicated pizza tray, such as Alices Pizza Pan With Holes ($10.96, Amazon). Most of these come with holes so the heat can still reach the crust, but the tray provides a barrier should anything drip over the edge.
Avoid cooking any foods directly on the oven racks — the racks will be much more difficult to clean versus a dedicated piece of cookware, such as a baking sheet with a wire insert. You can always line baking sheets with aluminum foil to make clean up easier. If you want a better way to cook pizza, check out the best outdoor pizza ovens.
5. Don’t overload
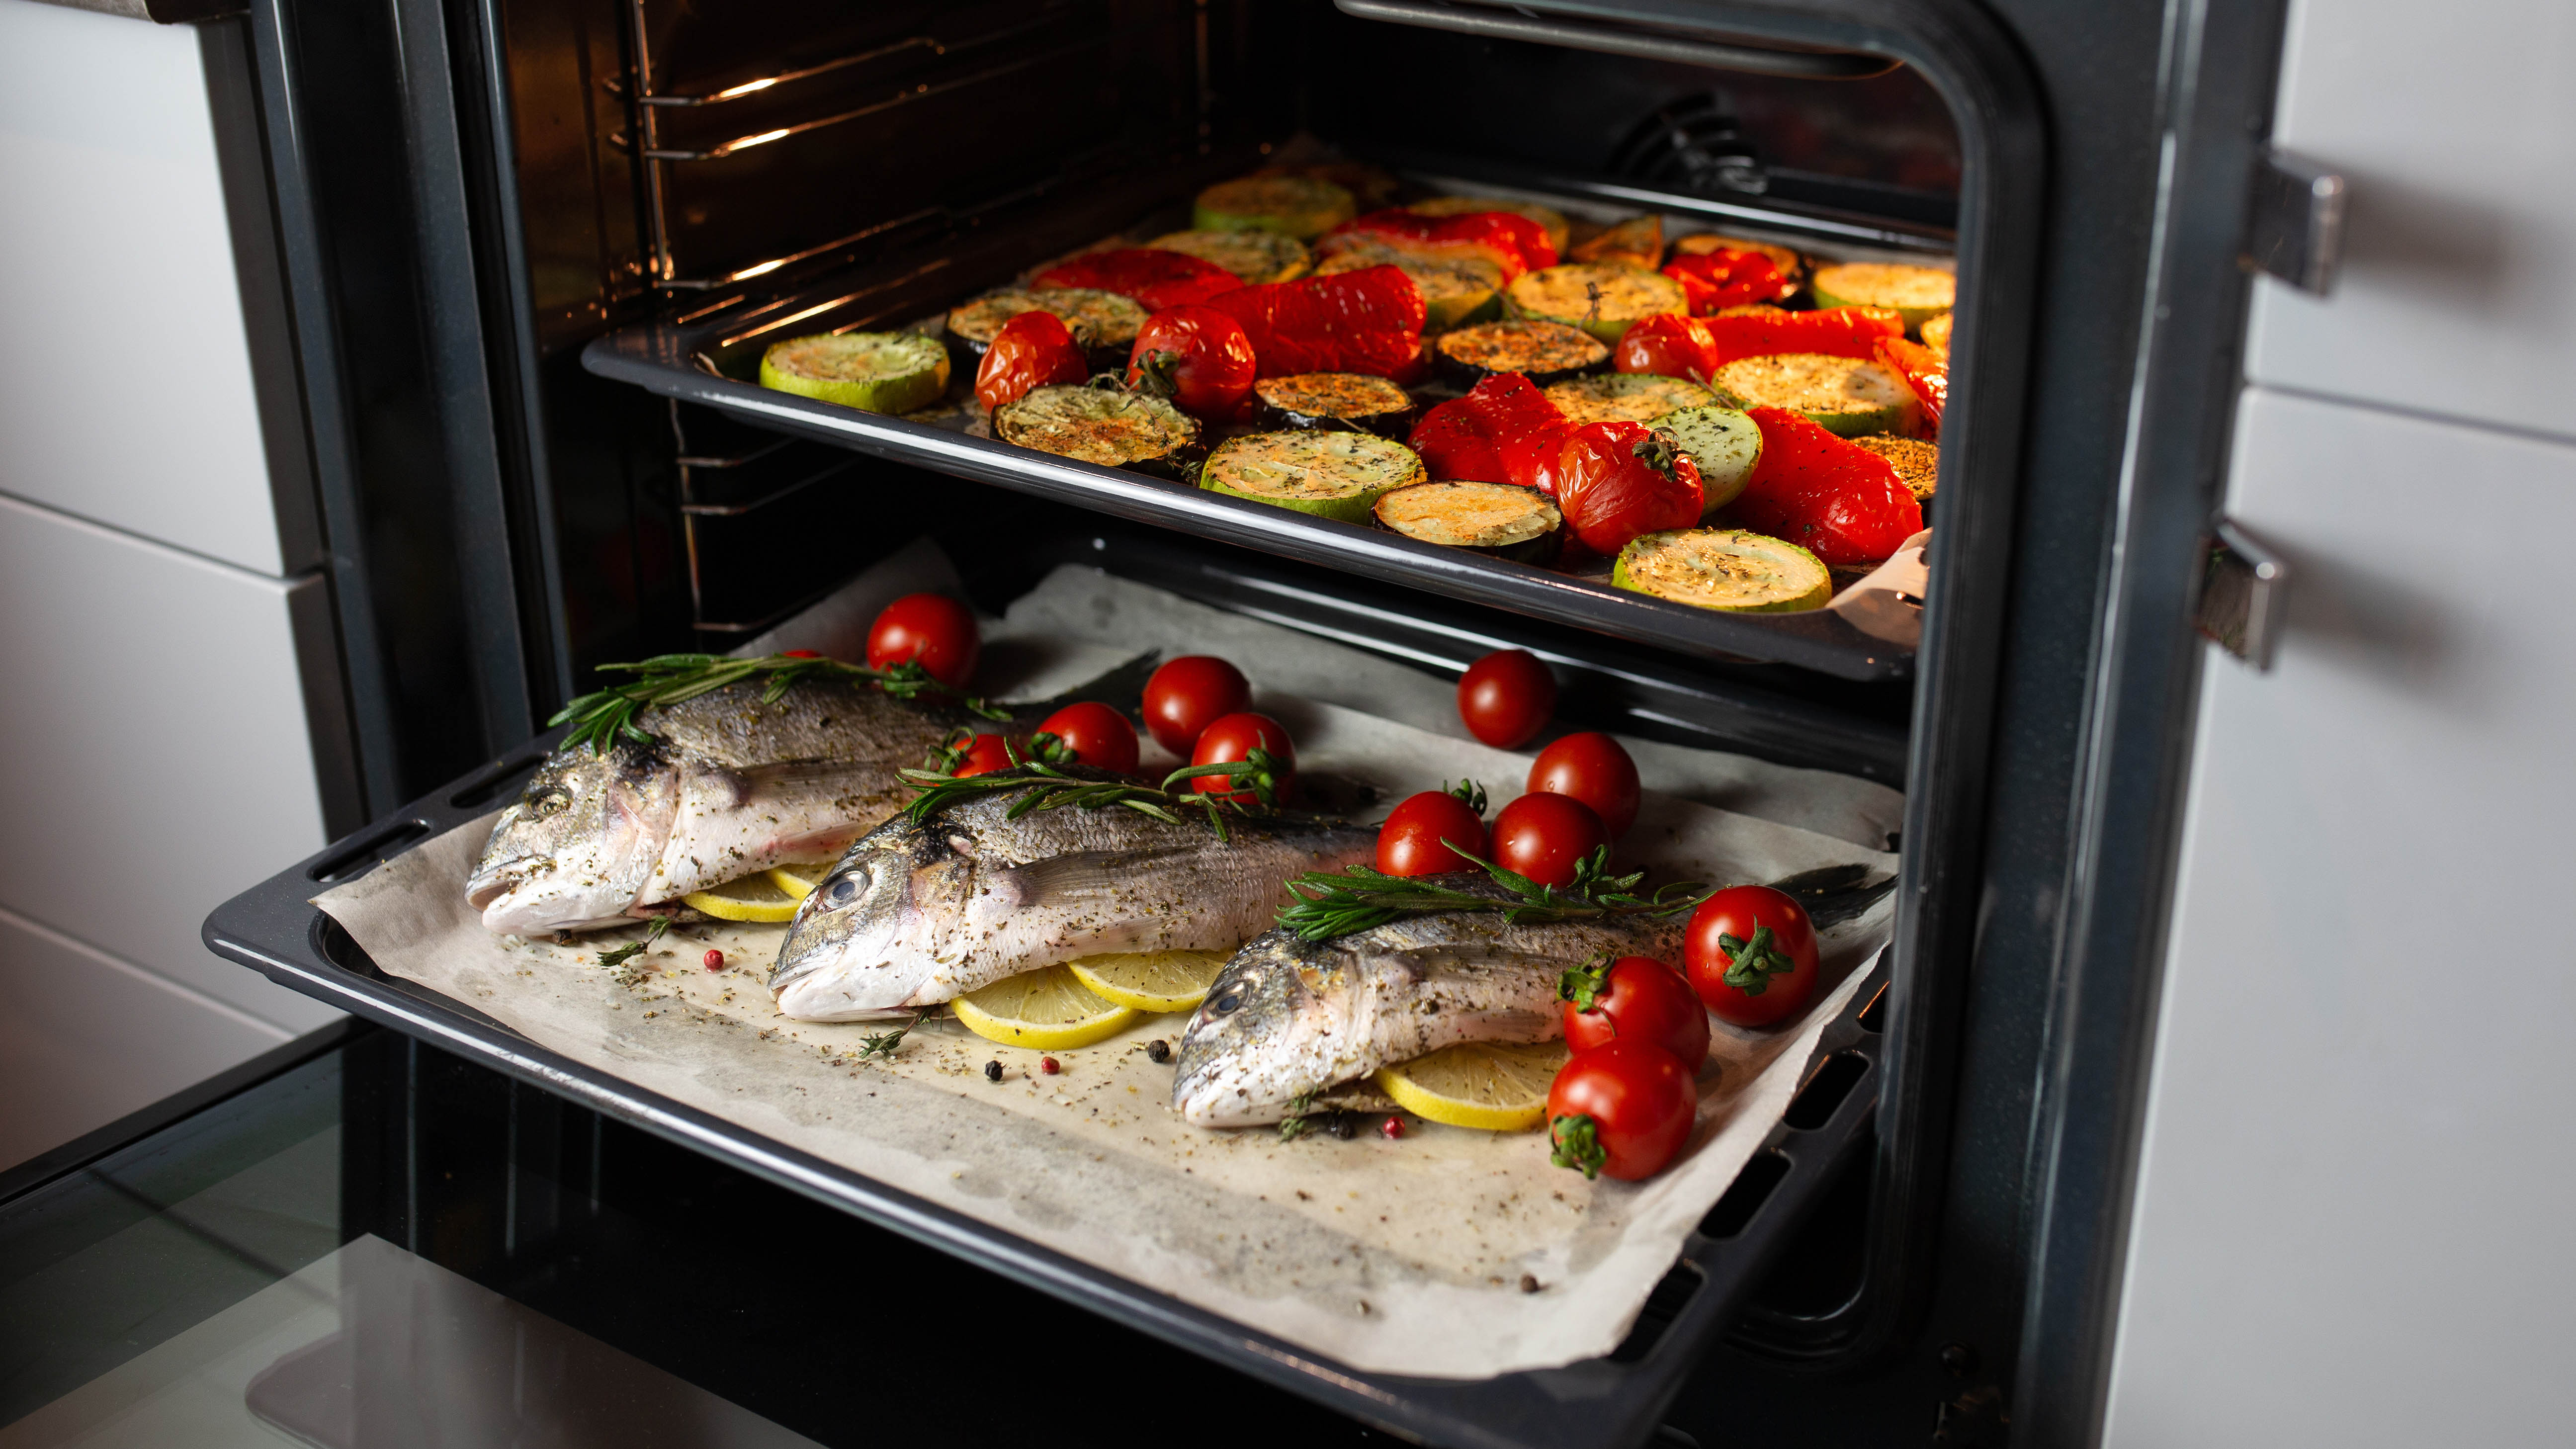
If you’ve got a pan which is loaded to the brim with food, it’s no wonder it’s making a mess of your oven. Overcrowded cookware will more likely overflow and spit over the edges as it cooks. When preparing your food, consider if it has sufficient space — a secondary dish or a larger tray may be necessary. If food isn’t pressed up against the edges of your cookware, any spitting or spilling is more likely to be contained. A baking sheet beneath can always catch any leaks if needed.
Make sure you’re using the appropriate rack level as you cook too. The top level will get the hottest and cook the fastest, making it great for browning, toasting and broiling. The lower racks are better for applying heat from the underside — ideal for roasts. The center of the oven provides the most even heat flow. Take this into account when you place your food — it will affect how it cooks as well as any potential mess. This is just one of the 7 oven mistakes you never knew you were making.
6. Roast in a bag
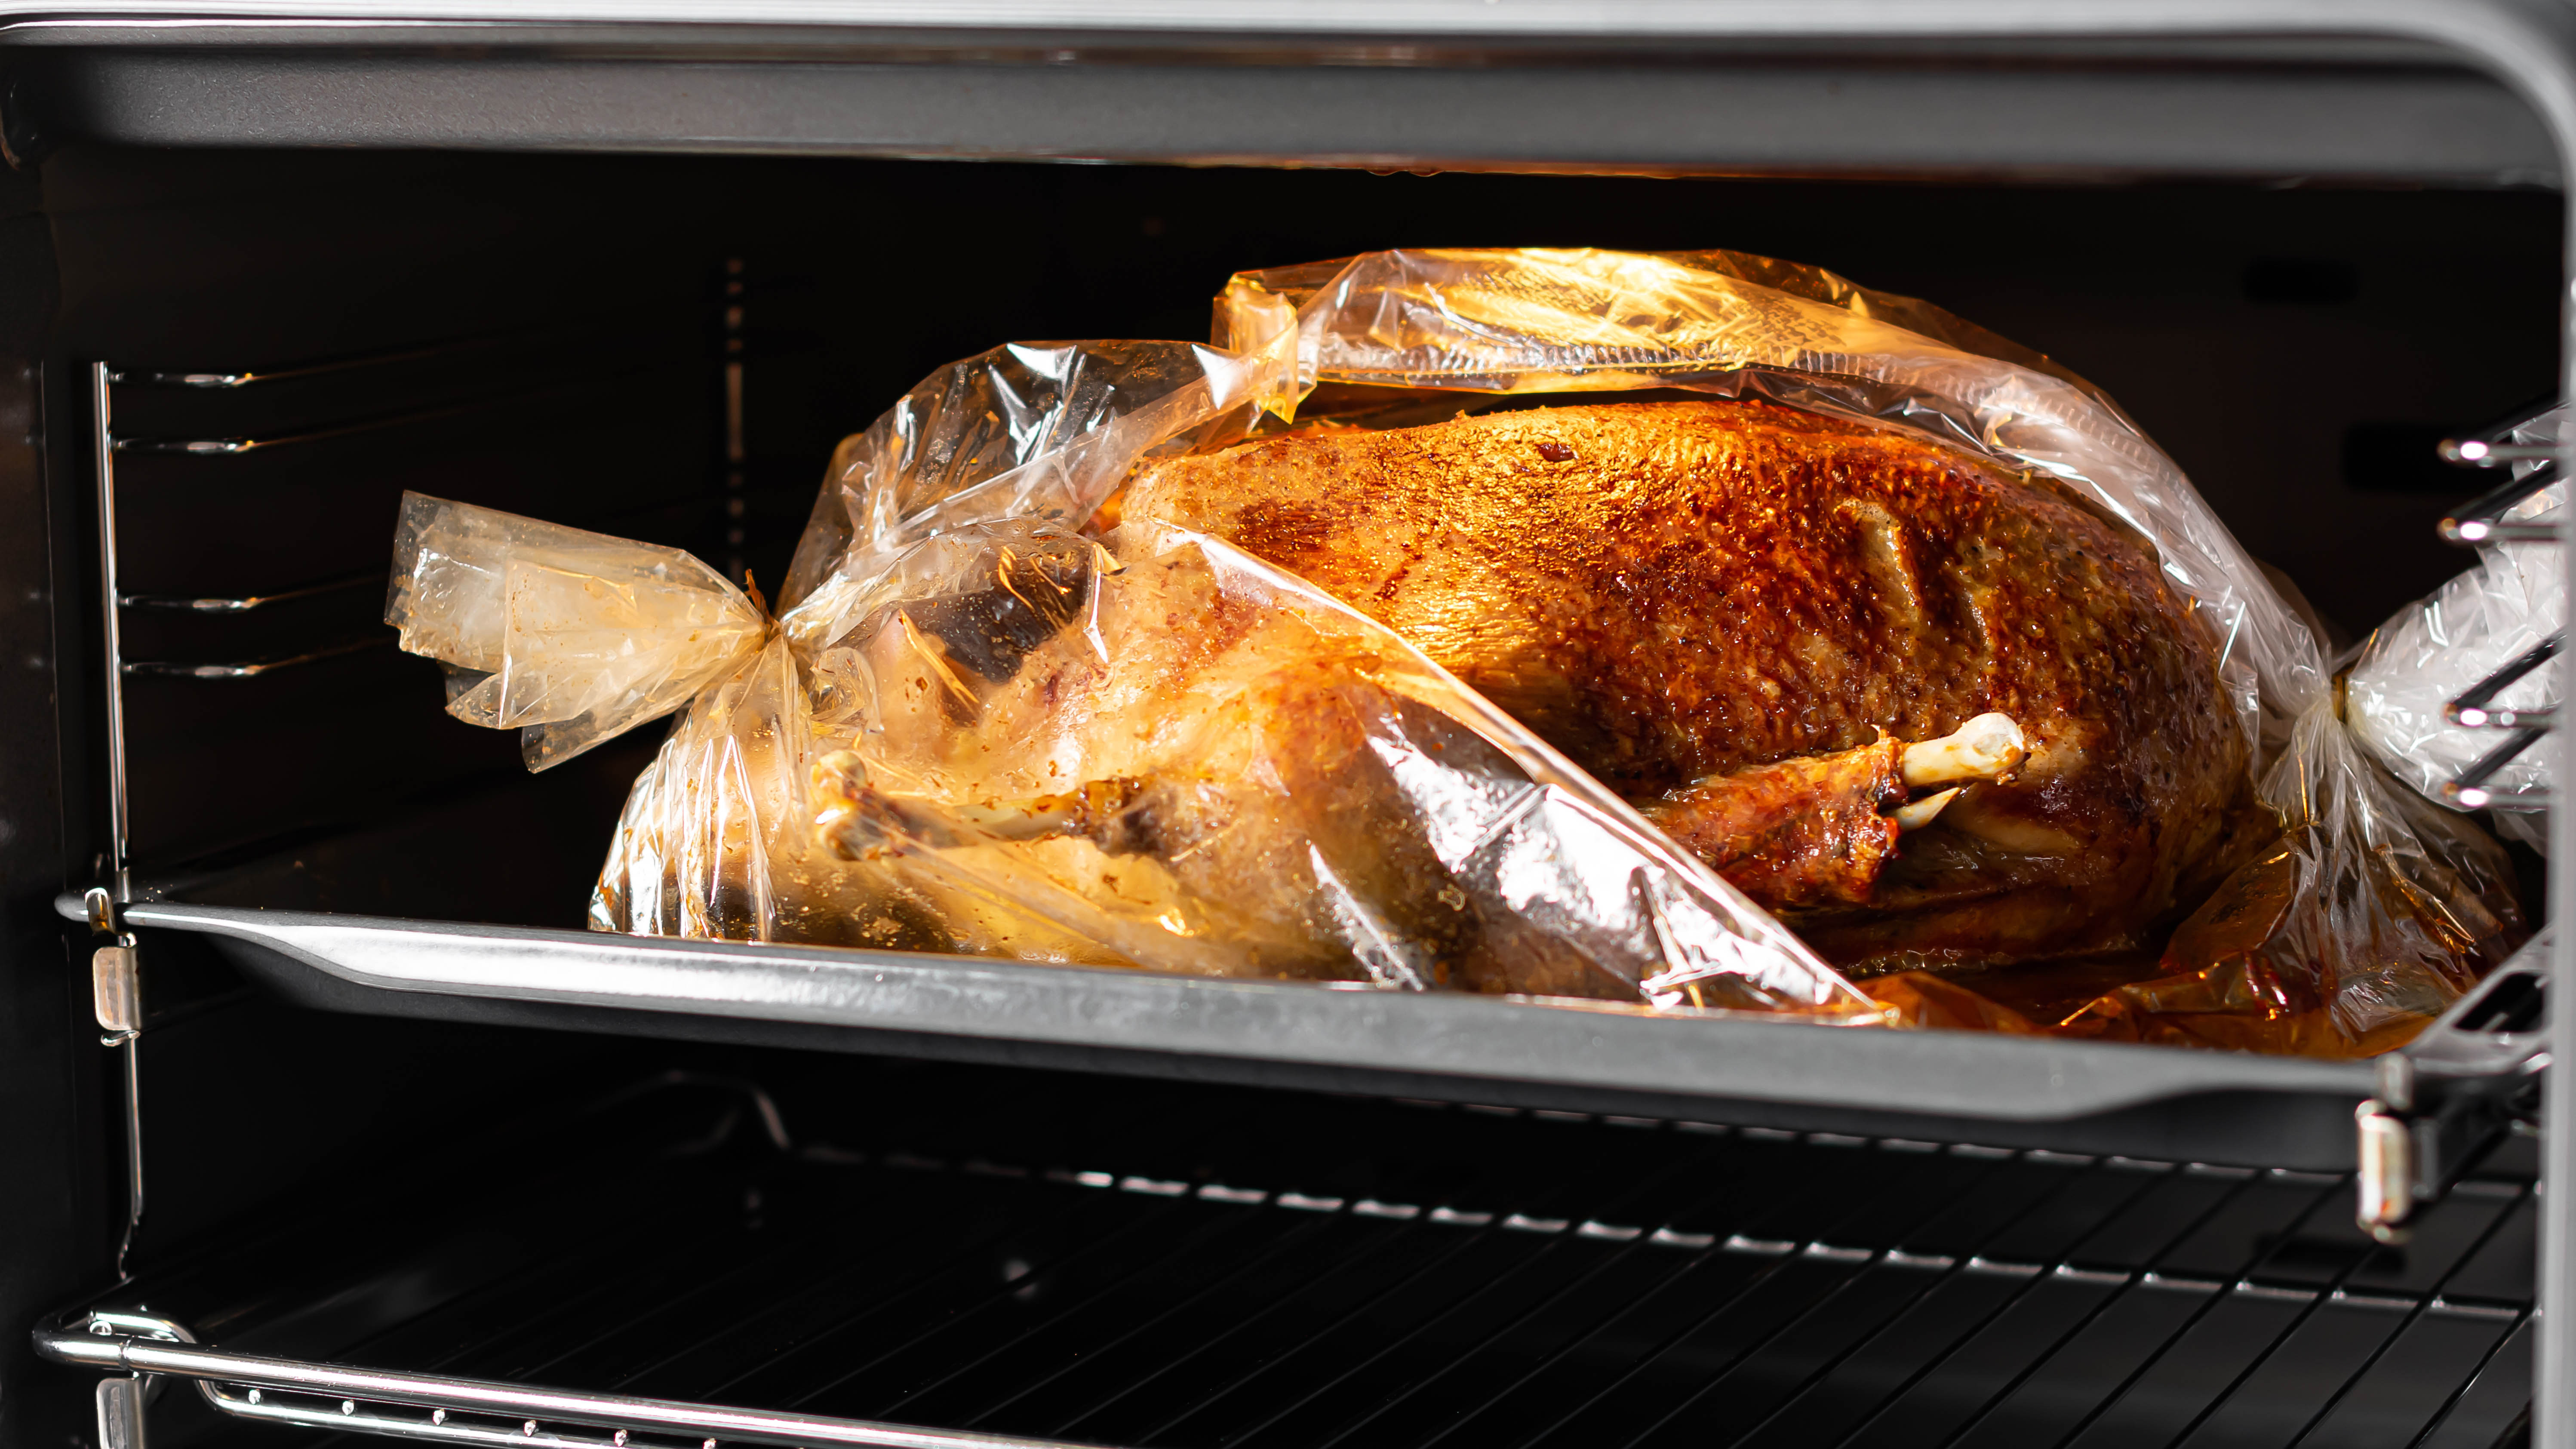
We mentioned earlier that it's preferable to keep meat moist in the oven, particularly roast chicken. So why would you want it spitting and drying out, making a mess in the process? One way to solve this is by covering it with aluminum foil, but you can simplify things by cooking a chicken in an oven bag, also known as a roasting bag. These bags can be purchased alongside the bird or separately, such as the ECOOPTS Oven Bags ($9.99, Amazon).
You leave this bag wrapped around the chicken or turkey as it cooks, during which it helps retain the moisture and flavor. It also prevents any spitting and messy consequences. Once finished, simply throw the bag away and enjoy the results. Oven bags are arguably more effective versus foil because it’s a more secure seal. You can also use oven bags for other dishes too, including fish and vegetables.
7. Cook smaller dishes in an air fryer
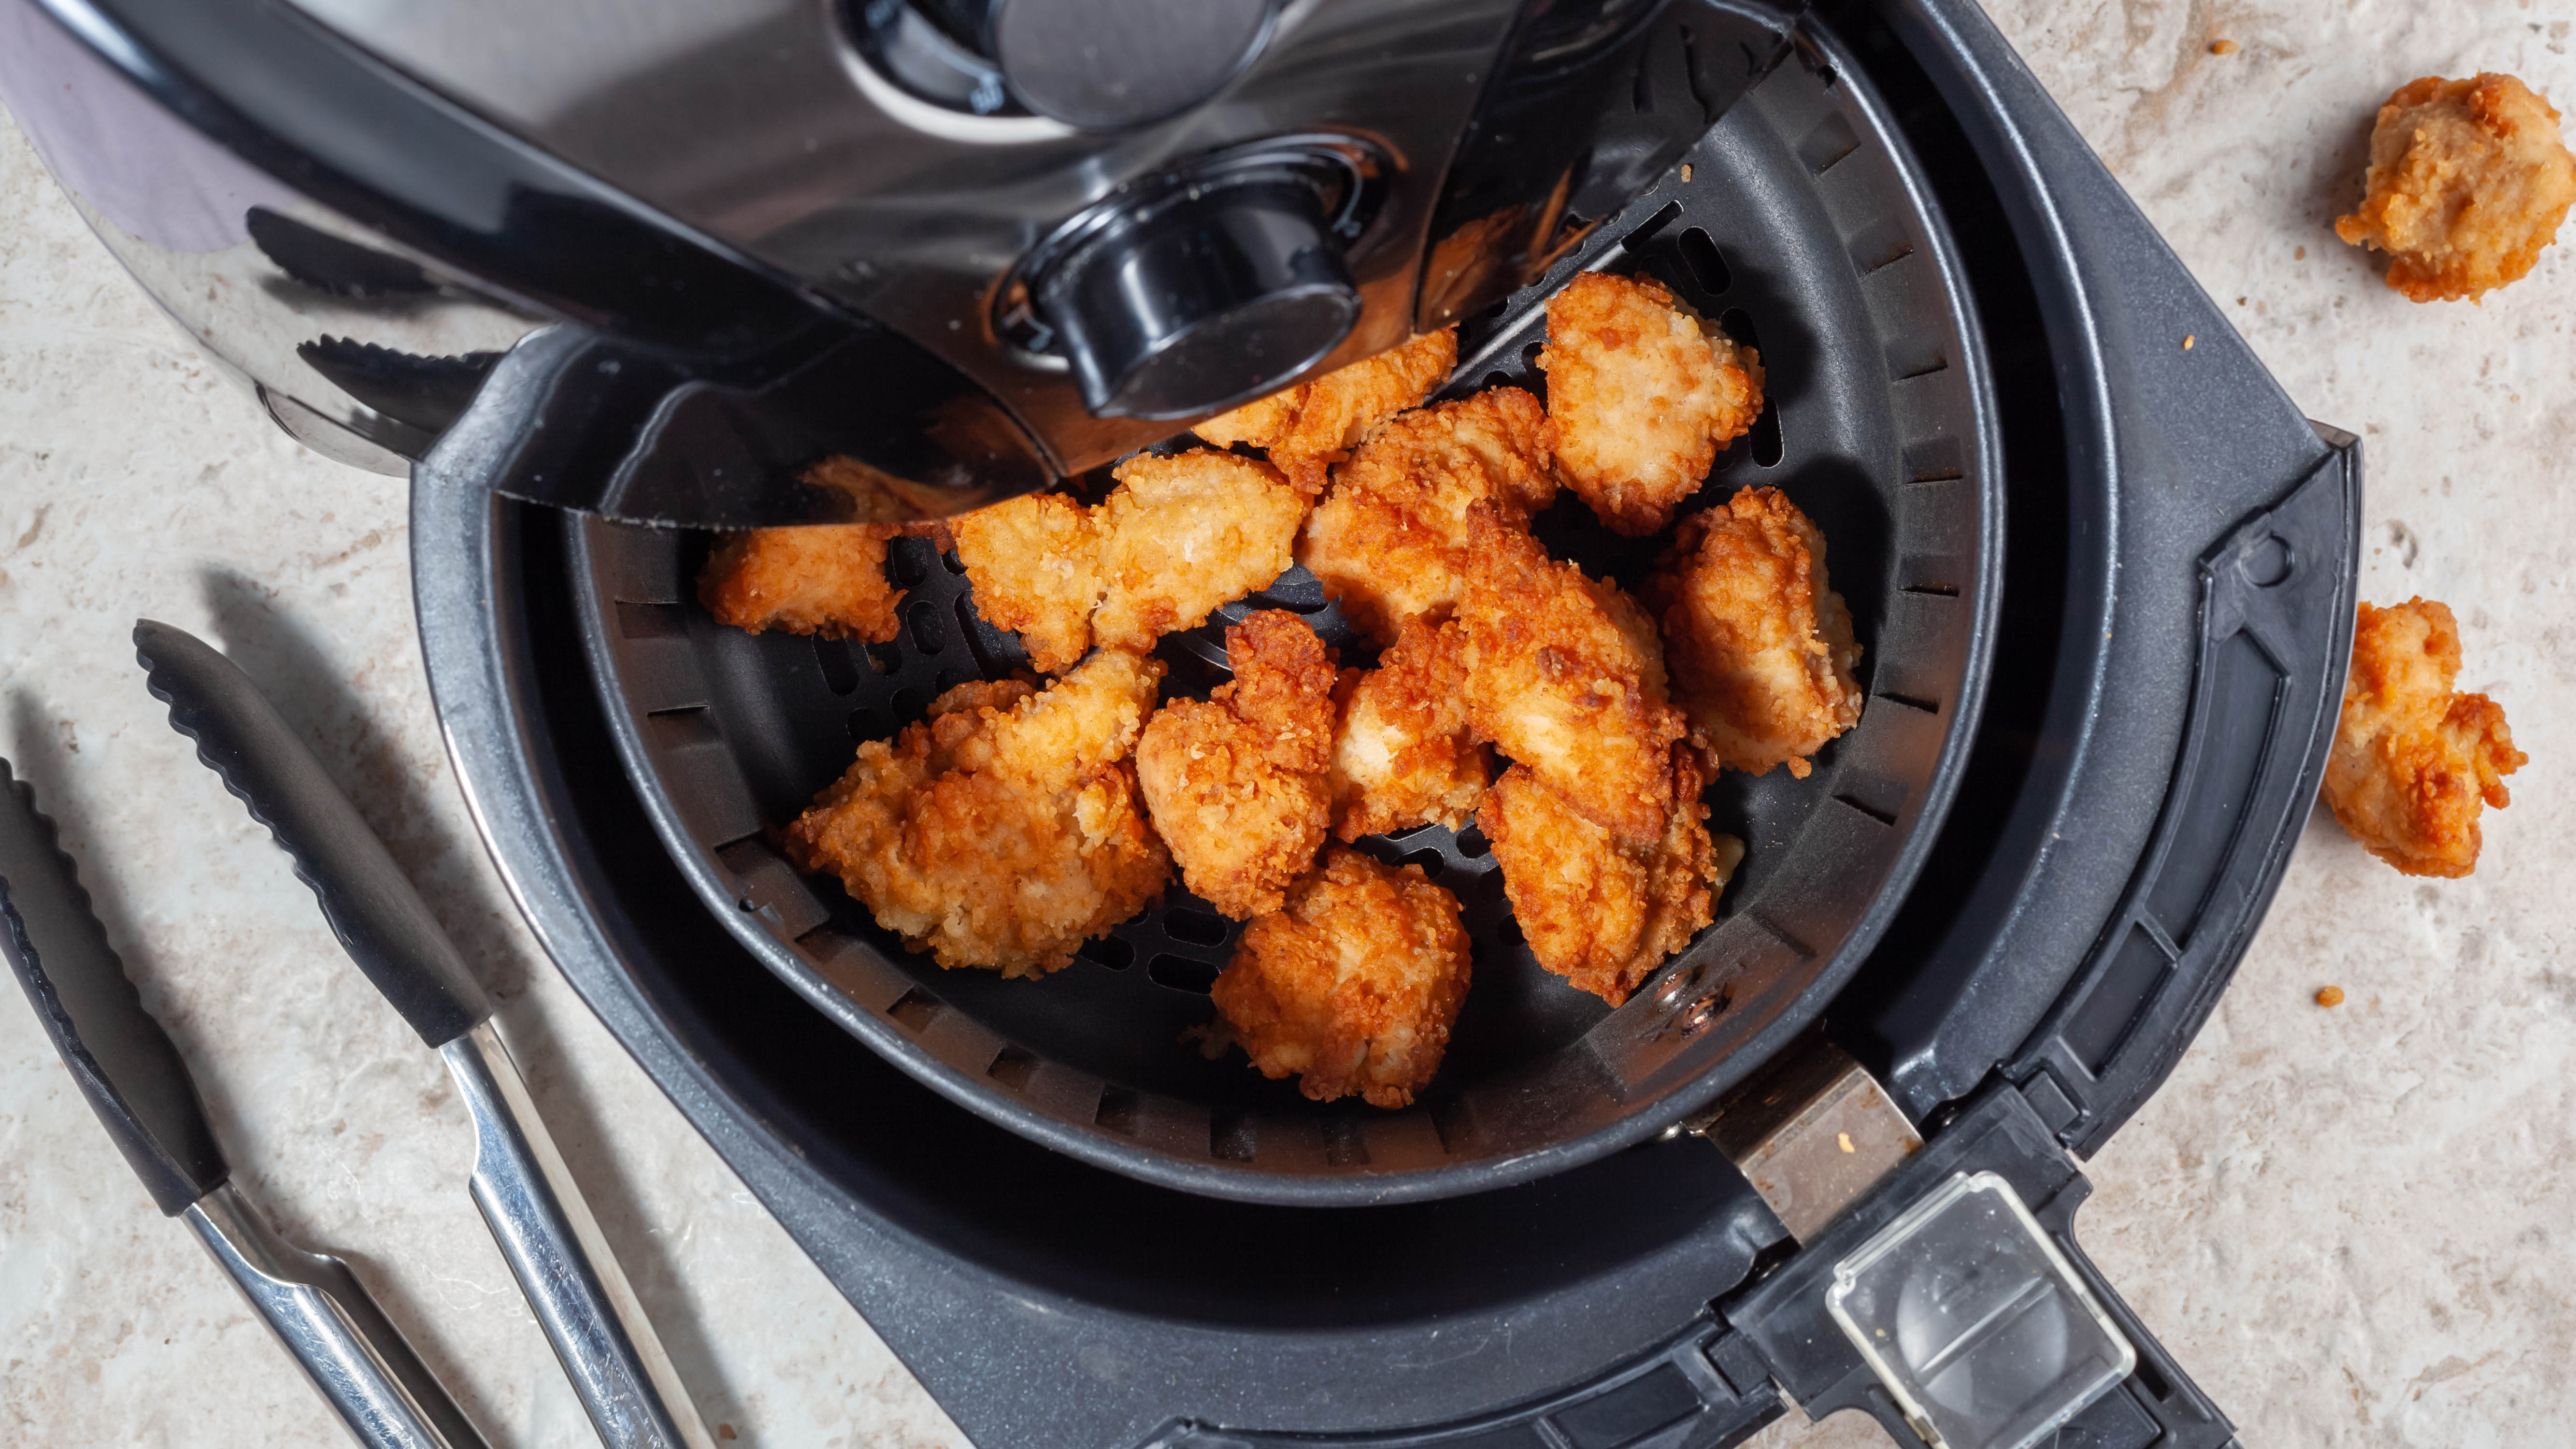
If you’re only cooking one or two items, you don’t necessarily need to go straight to the oven. One of the best air fryers will have enough capacity for smaller dishes, and will likely be much easier to clean up after, often with dishwasher-safe parts. Add to that, you’re likely saving energy and money by cooking smaller batches of food in an air fryer vs oven.
An air fryer will cook the food faster on the whole as well. So ultimately you’re saving time, money and potential mess by swapping over. Reserve the oven for large batches of food to save on energy, and mess. Here are 10 ways to lower your energy bills this summer.
More from Tom's Guide

Katie Mortram used to be a Homes Editor for Tom's Guide, where she oversaw everything from kitchen appliances to gardening tools, as well as smart home tech. Specializing in providing expert advice for cleaning and home manintenance, she now works as Household Advice Editor for Good Housekeeping.
