7 mopping mistakes which are ruining your floor
Are you making any of these mistakes as you mop?
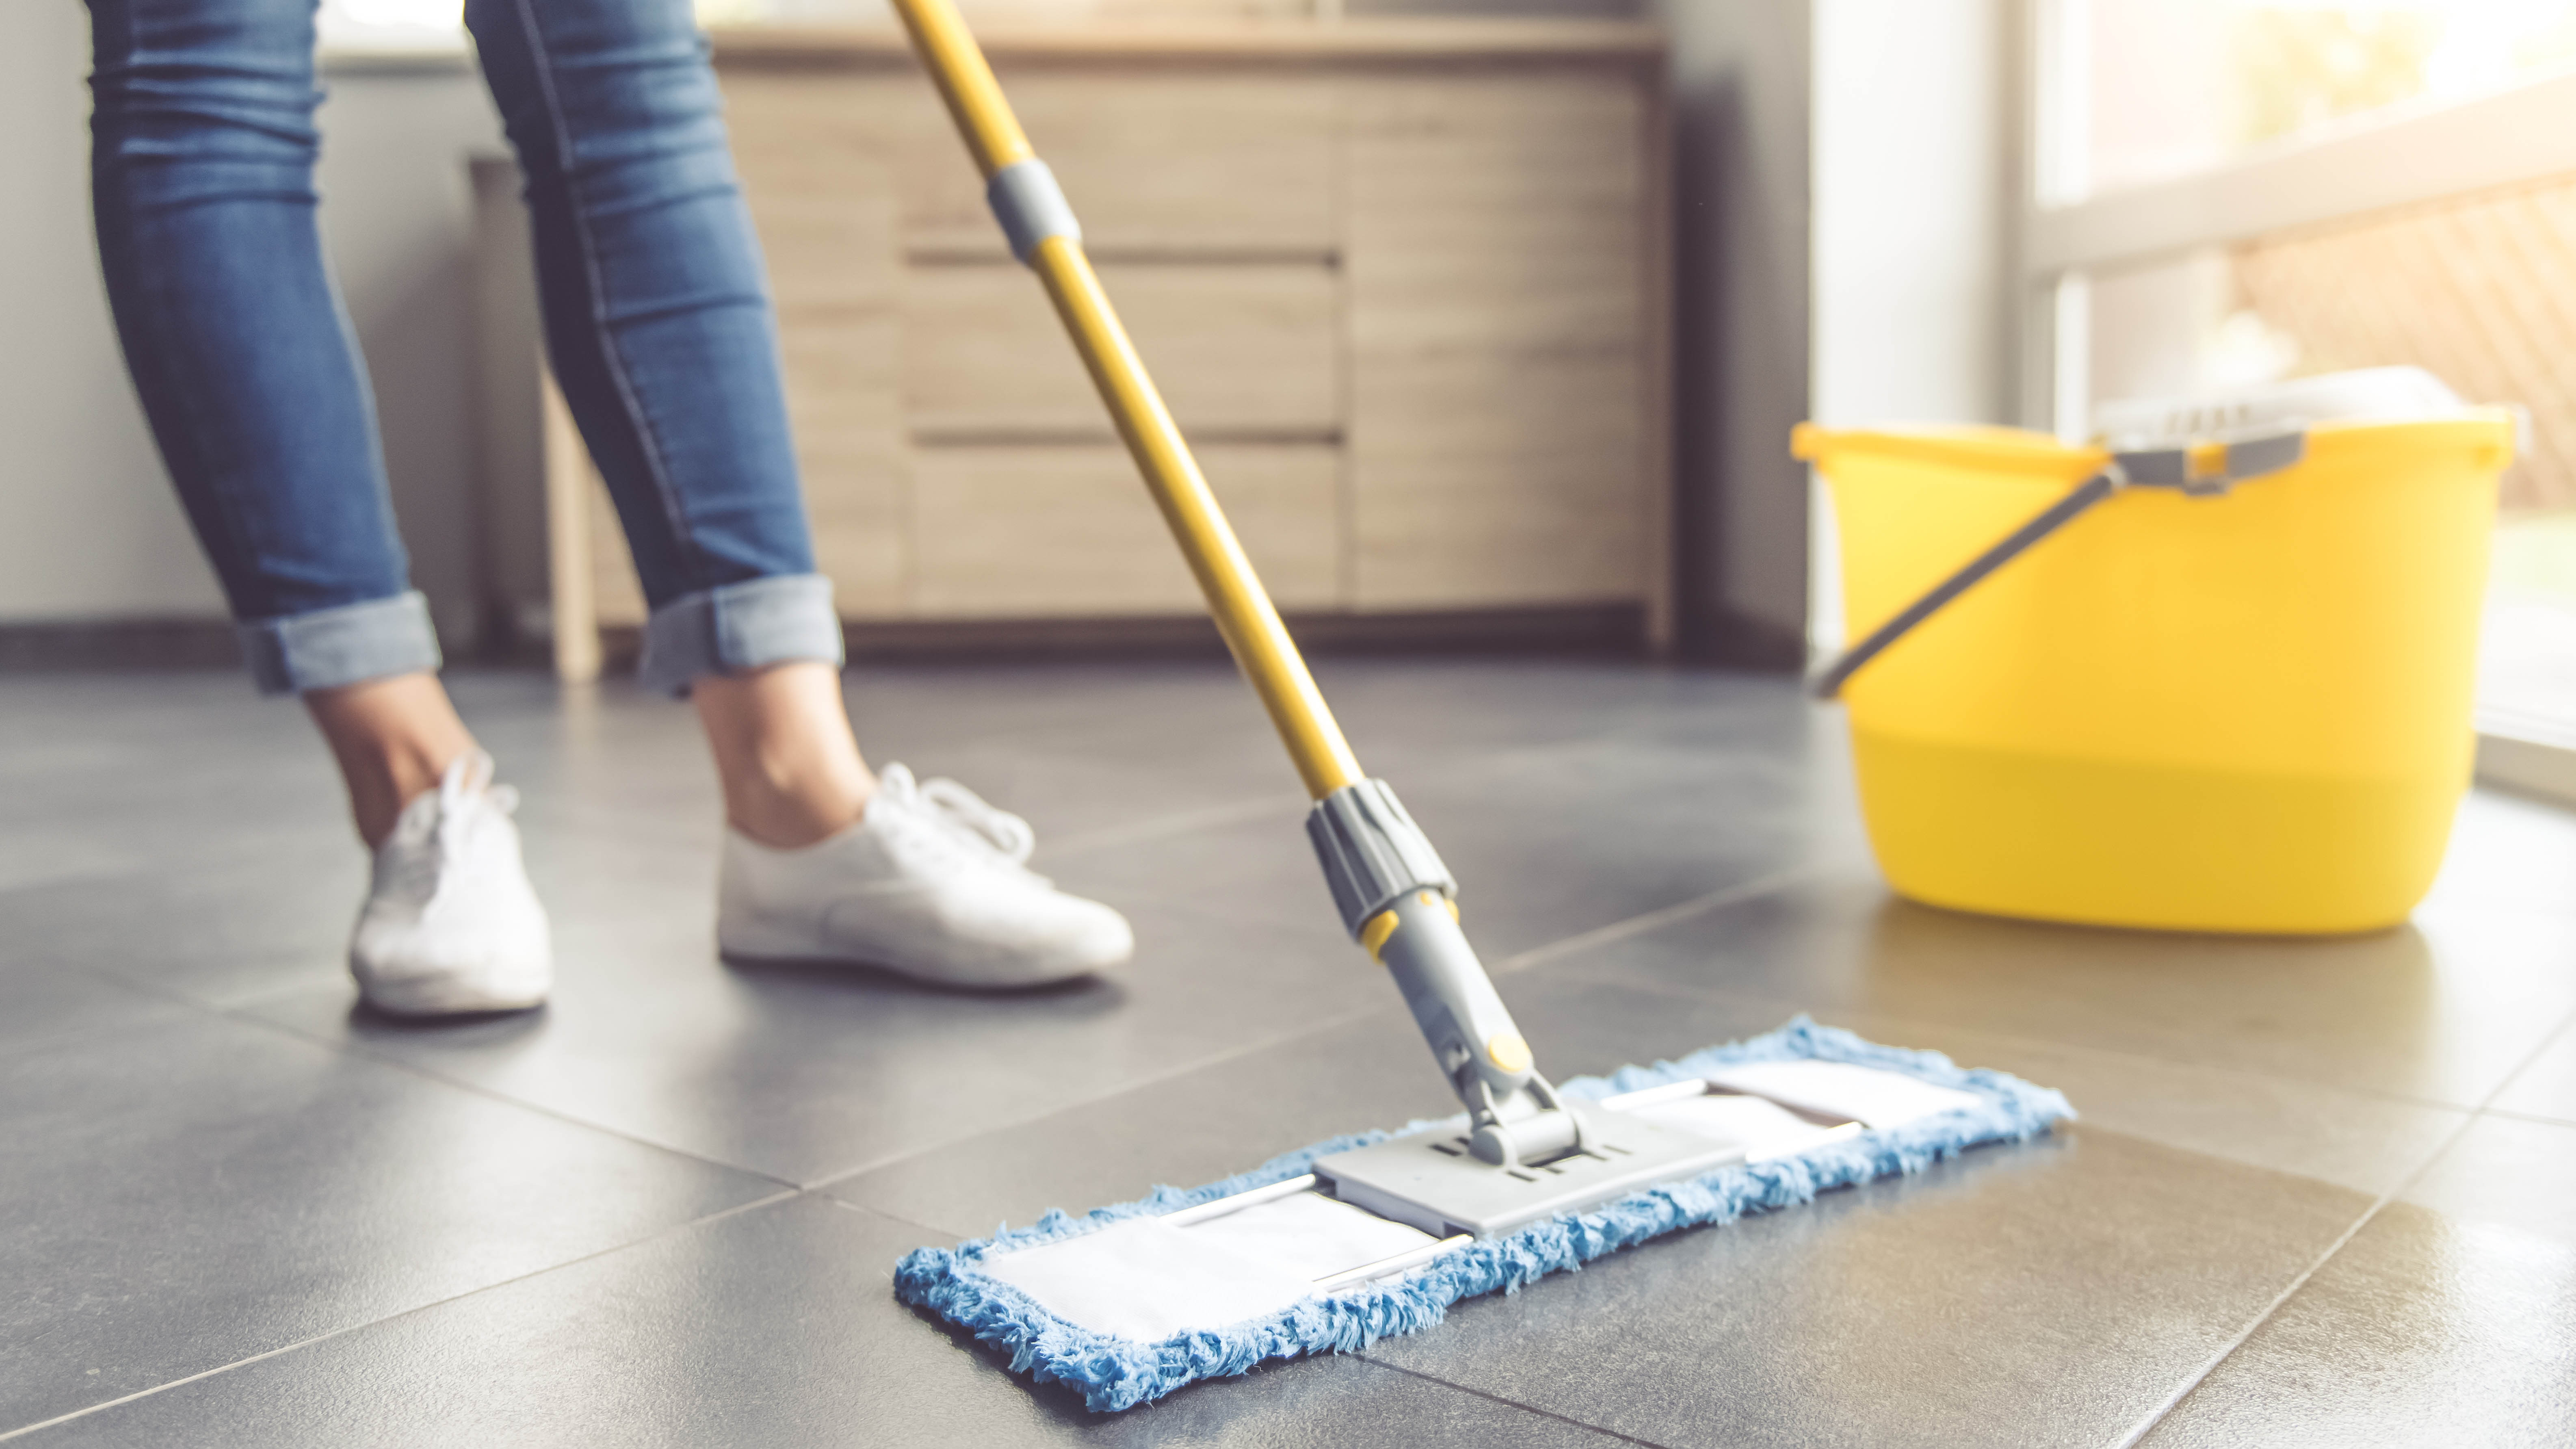
With everyday foot traffic, our once pristine floors can soon look grubby and neglected. Those accidental spills in the kitchen, and muddy footprints leading in from the backdoor, aren’t helping either. Thankfully, a quick run over with a mop and bucket can get our hard floors looking as new again. And with the right tools, the surface can appear shiny and streak-free in no time.
The trouble is, even if you’ve learnt how to clean hardwood floors without damaging them, there are still several common mistakes made when we mop our floors. Such mistakes can make the chore counterproductive, or in the worst case, leave the surface damaged, warranting expensive repairs. If you want to know what mistakes to steer clear of, we’ve listed them here and explained what to do instead. Here are 7 mistakes to avoid when you mop your floors.
1. Forgetting to vacuum first
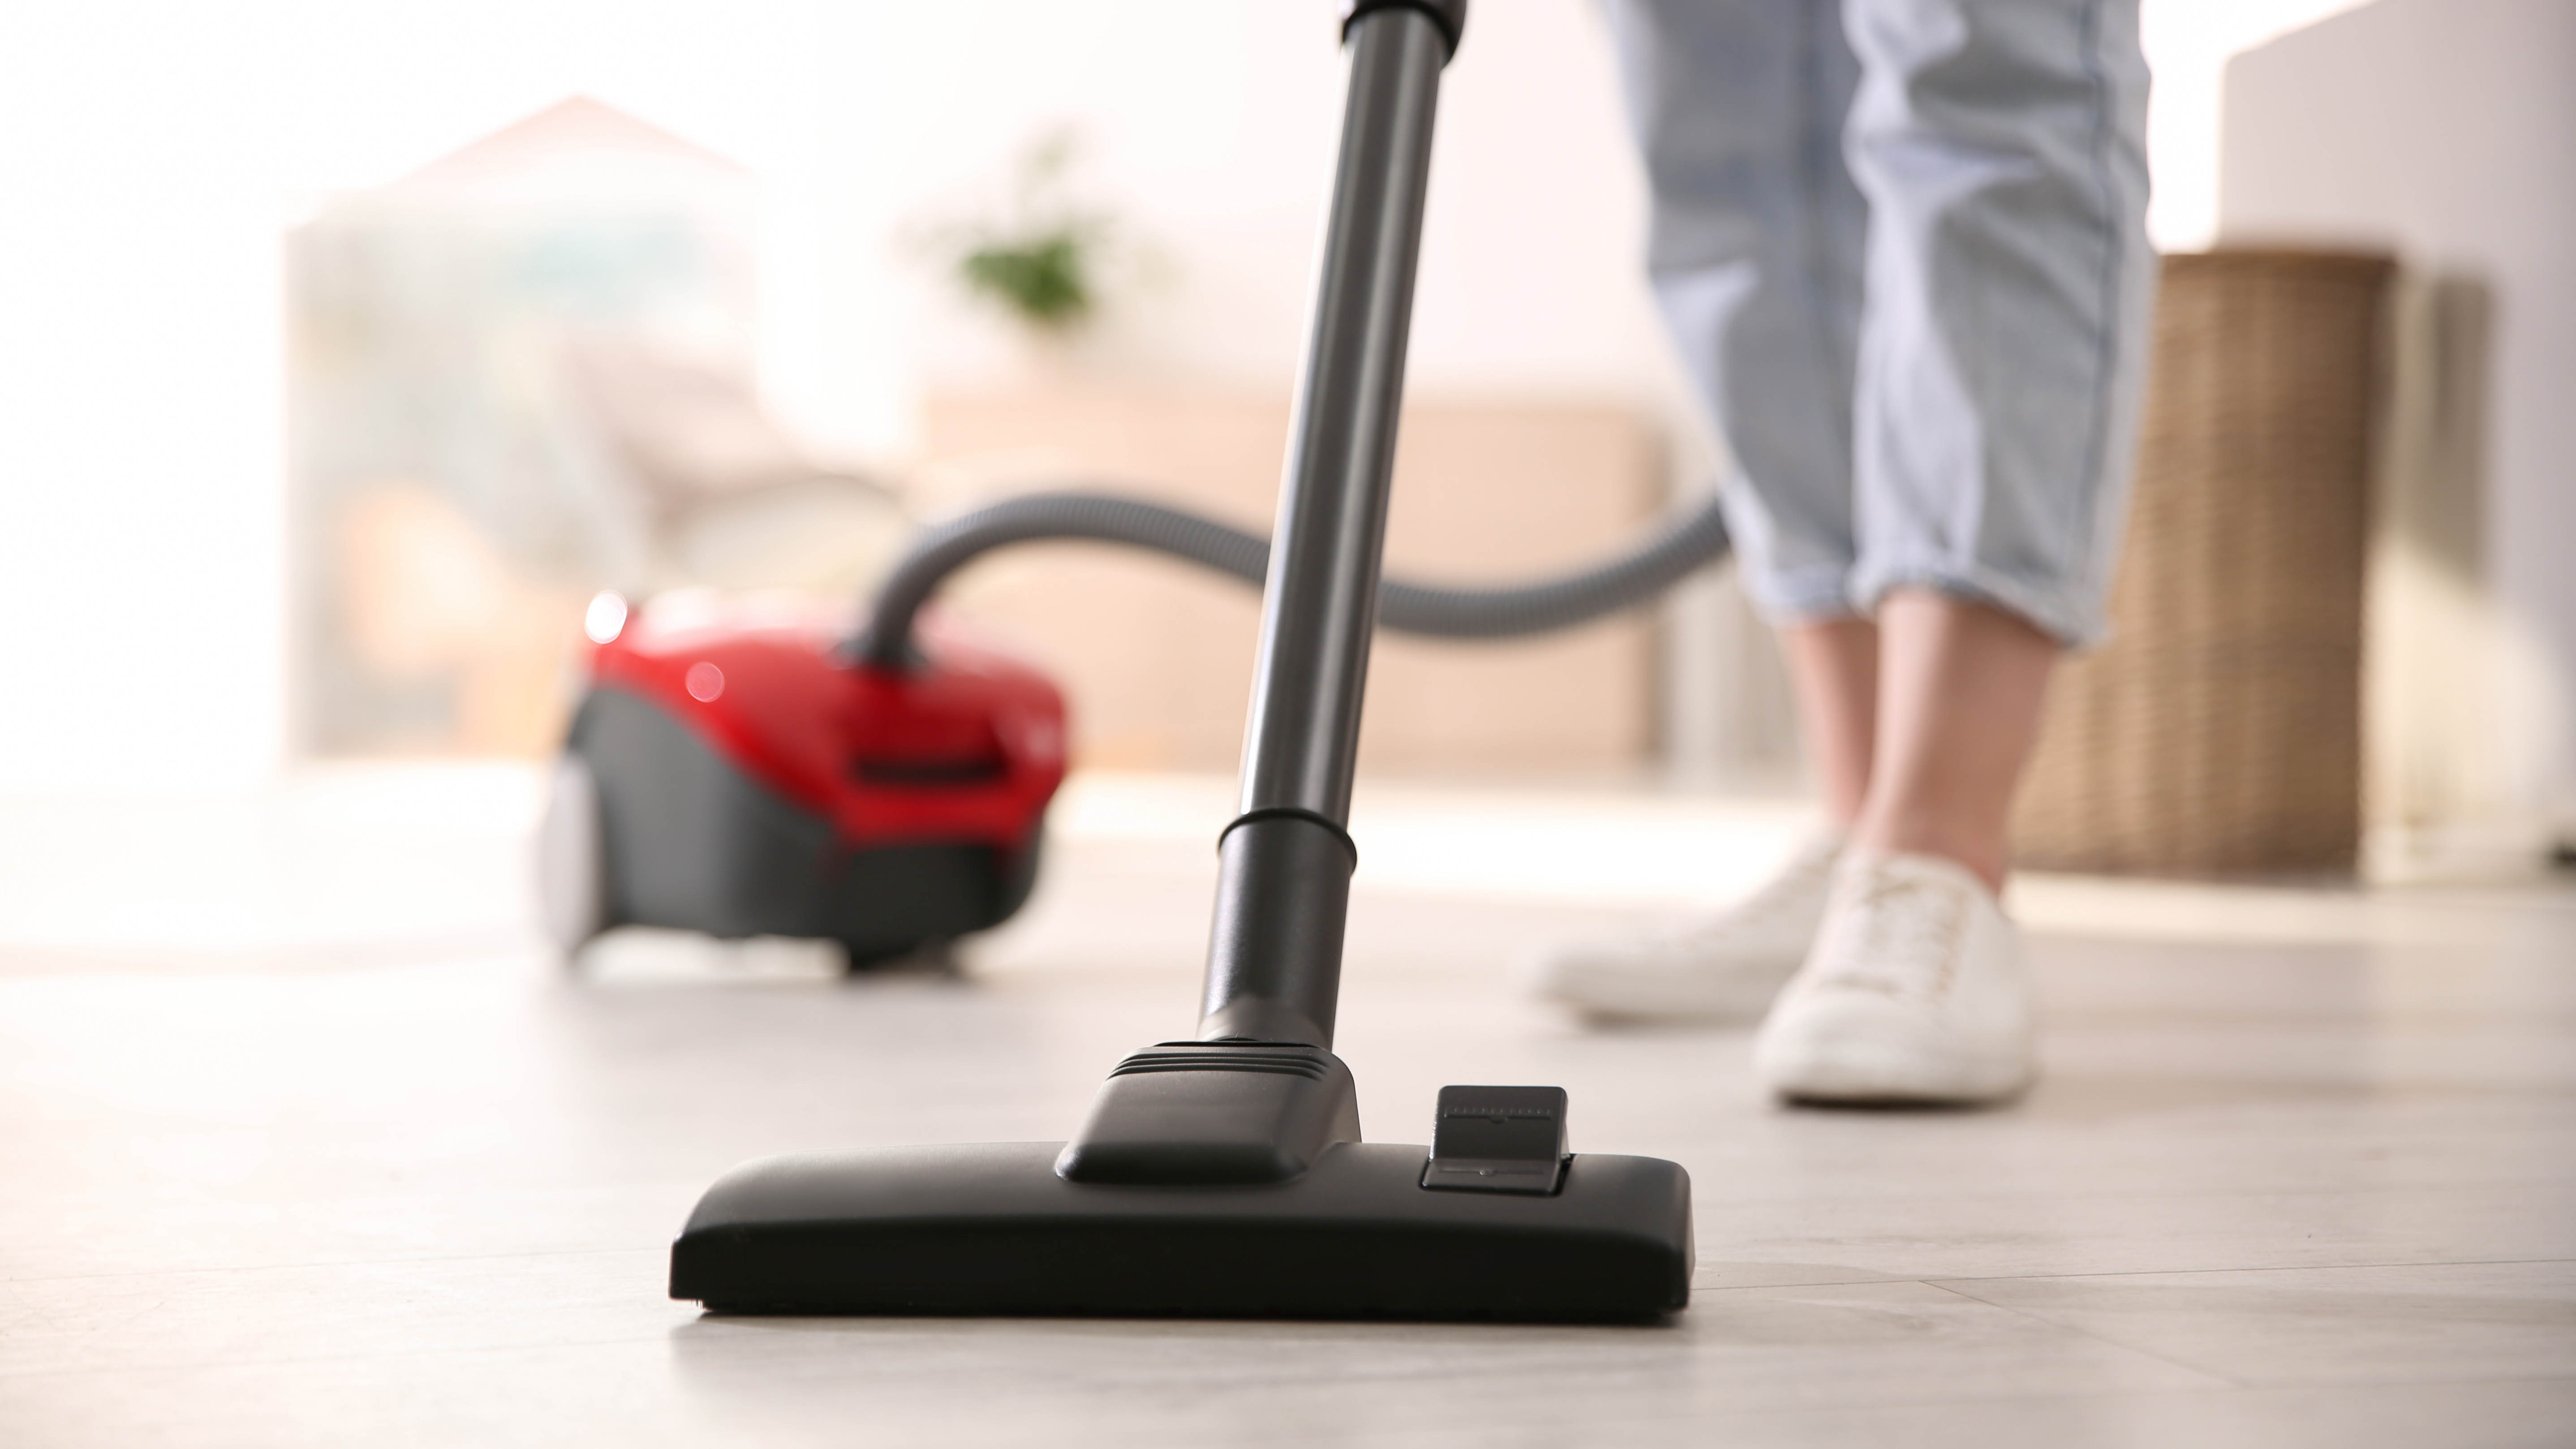
Rule one of mopping is to always vacuum first — otherwise you’re just smearing dirt and debris around with the mop head. You might even end up scratching the floor if small stones get dragged around with you as you work. For that reason, once you’ve moved all furniture and obstructions out of the way, you should always cover the space with one of the best vacuum cleaners first.
If your vacuum cleaner has a brush bar you can manually raise and lower — canister models often feature this, it looks like a small button on the floor head — remember to lower the bristles or felt pads when vacuuming your hard floors. This prevents the vacuum cleaner from scratching. You can raise it back up when cleaning the carpets for better contact.
This is one of the 9 vacuuming mistakes you’re probably making.
2. Using excessive water on hardwood or laminate floors
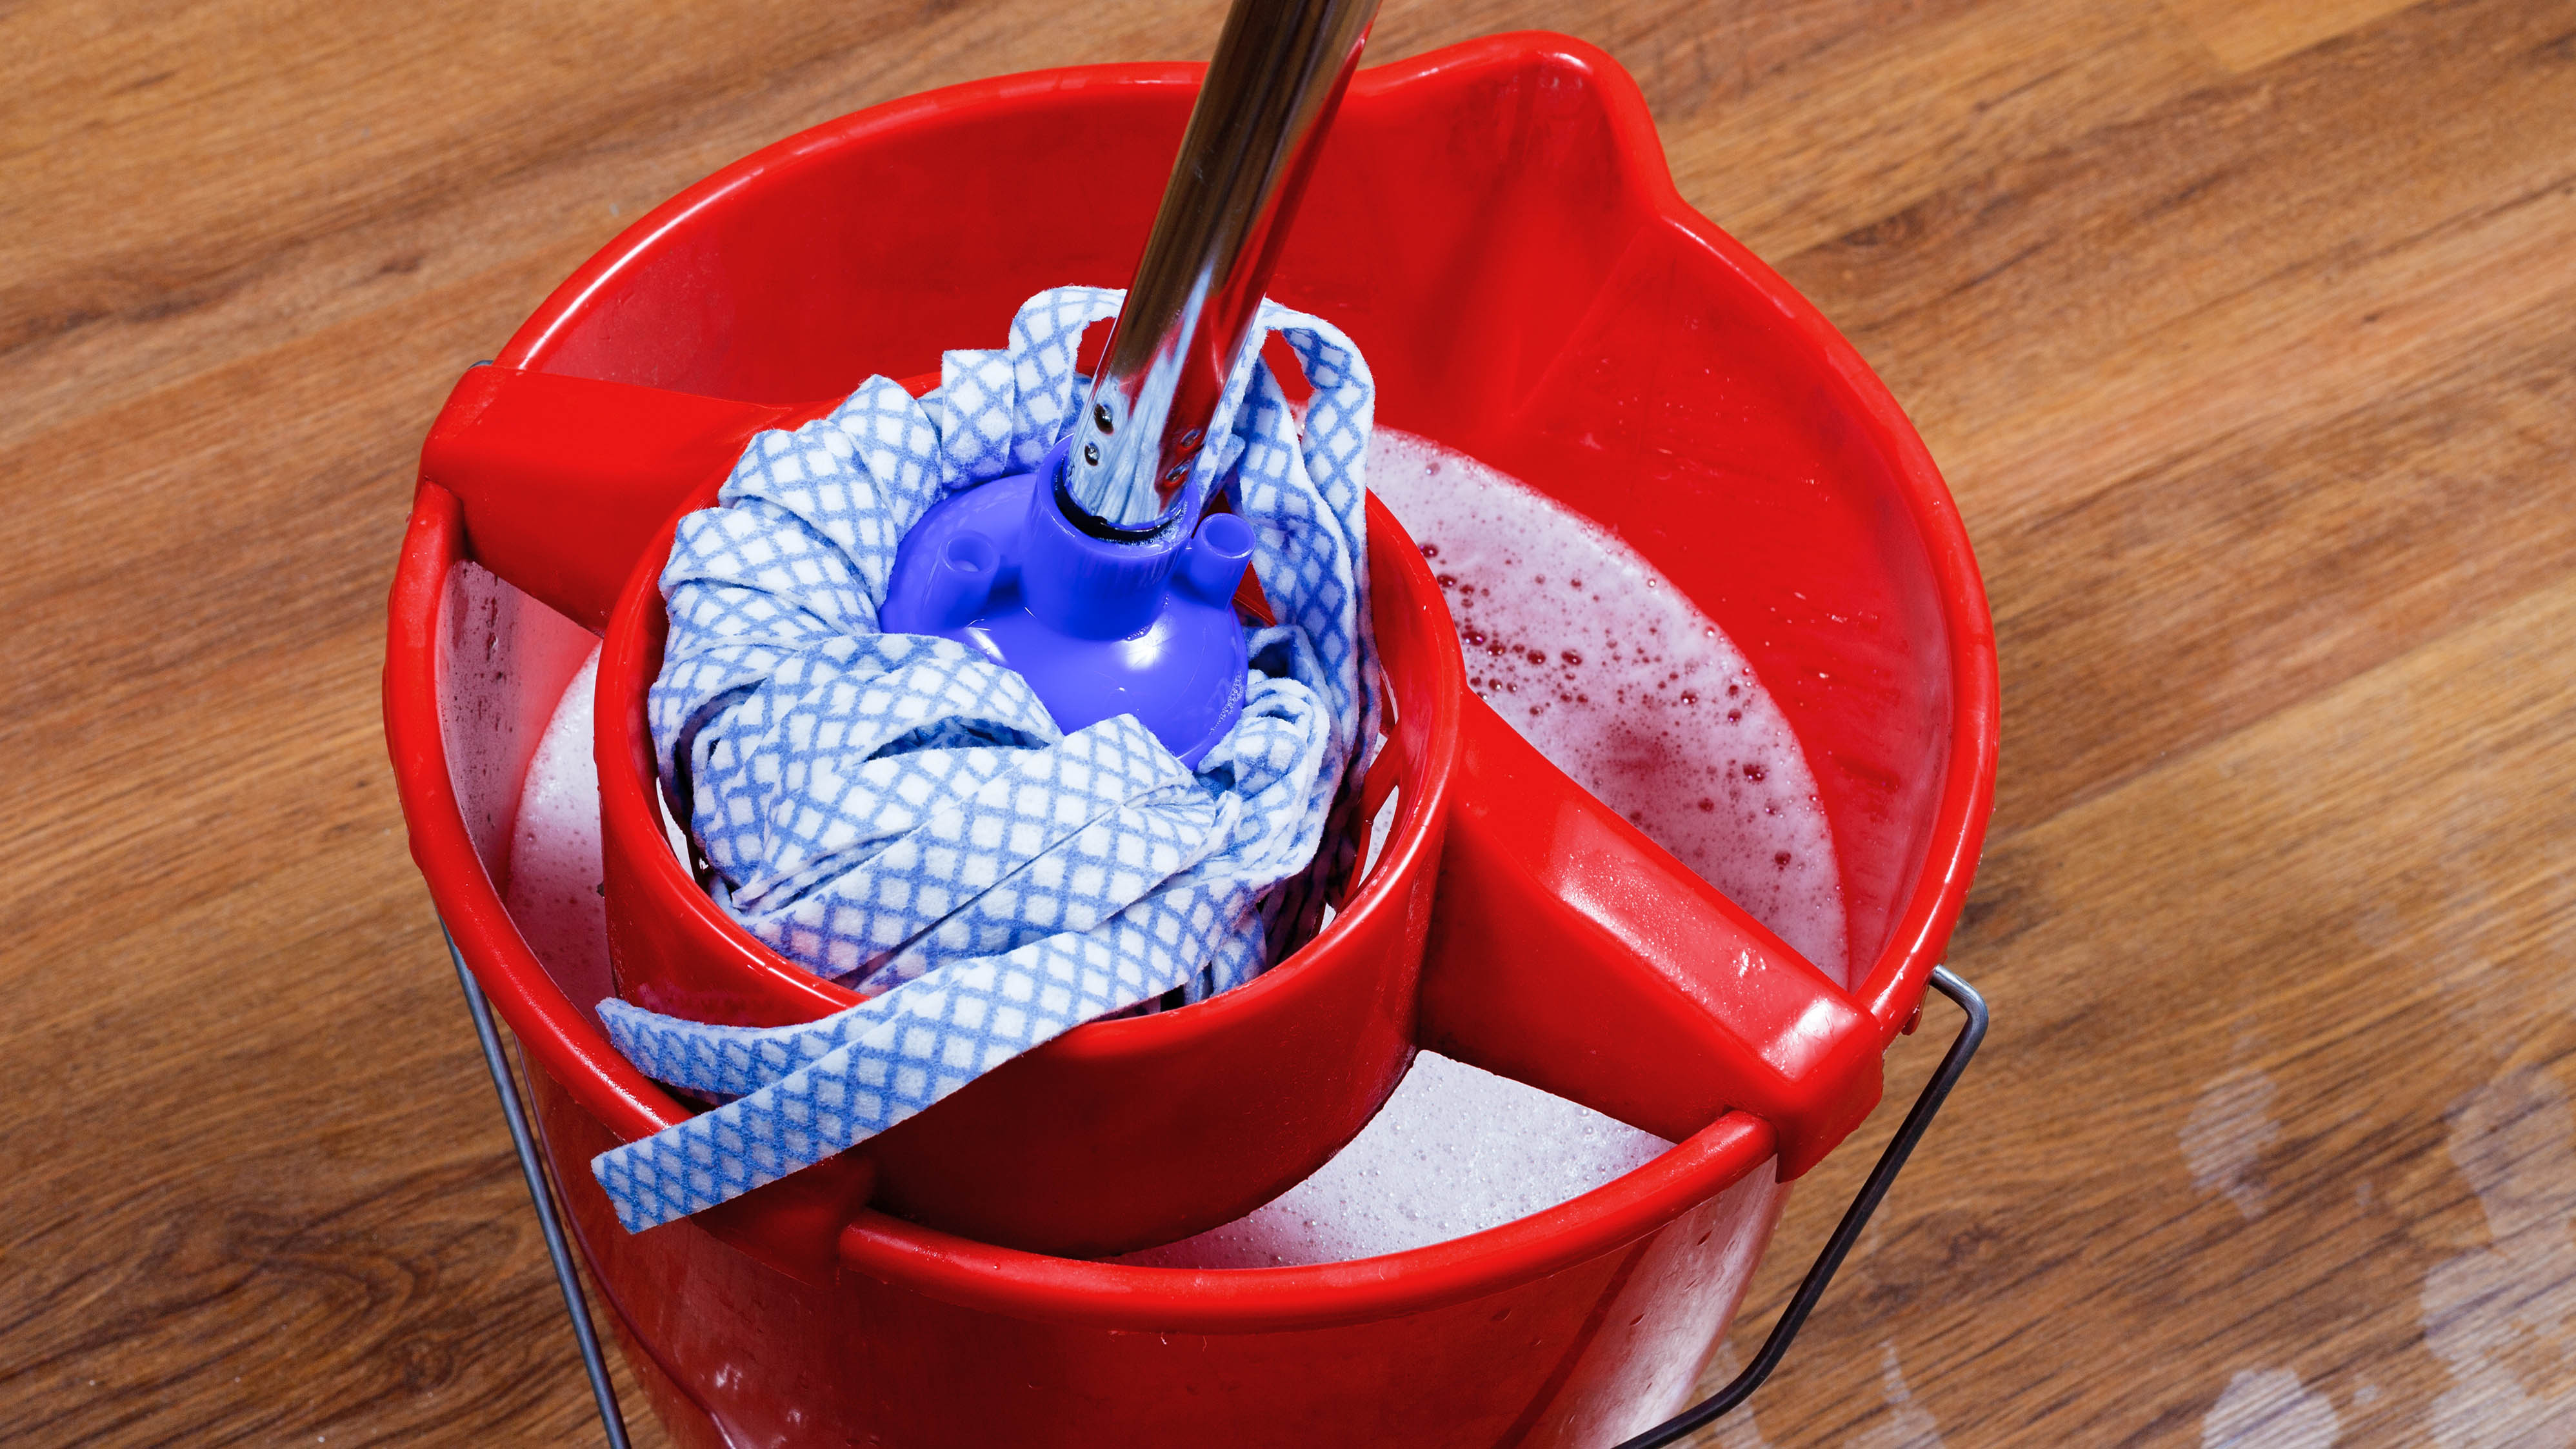
While you might consider water to be the answer for cleaning everything, there’s actually 7 things you should never, ever clean with water in your home, and hardwood and laminate floors are one of them. As water is applied to the wood, it can seep through the cracks and into the wood itself, which erodes any protective sealant. The wood will then swell from absorbing the moisture, and shrink as it dries, leading to warping. Discoloration is a natural result from this process too. Use a dedicated hardwood floor cleaner combined with a lightly damp mop (be sure to thoroughly wring it out), as recommended by the manufacturer and follow the given instructions. An example of this would be Bona Hardwood Floor Cleaner ($10.97, Amazon).
Don’t soak laminate floors with water as you mop either — it can penetrate the seams and layers, leading to warping and bubbling. Use a proprietary laminate floor cleaner — your manufacturer should recommend one — and ring out the mop as best you can so that it’s barely damp on application. The mop shouldn’t leave standing water on your floor and the residual moisture should dry within a couple of minutes, whether you’re cleaning hardwood floors or laminate.
Sign up to get the BEST of Tom's Guide direct to your inbox.
Get instant access to breaking news, the hottest reviews, great deals and helpful tips.
3. Cornering yourself as you clean
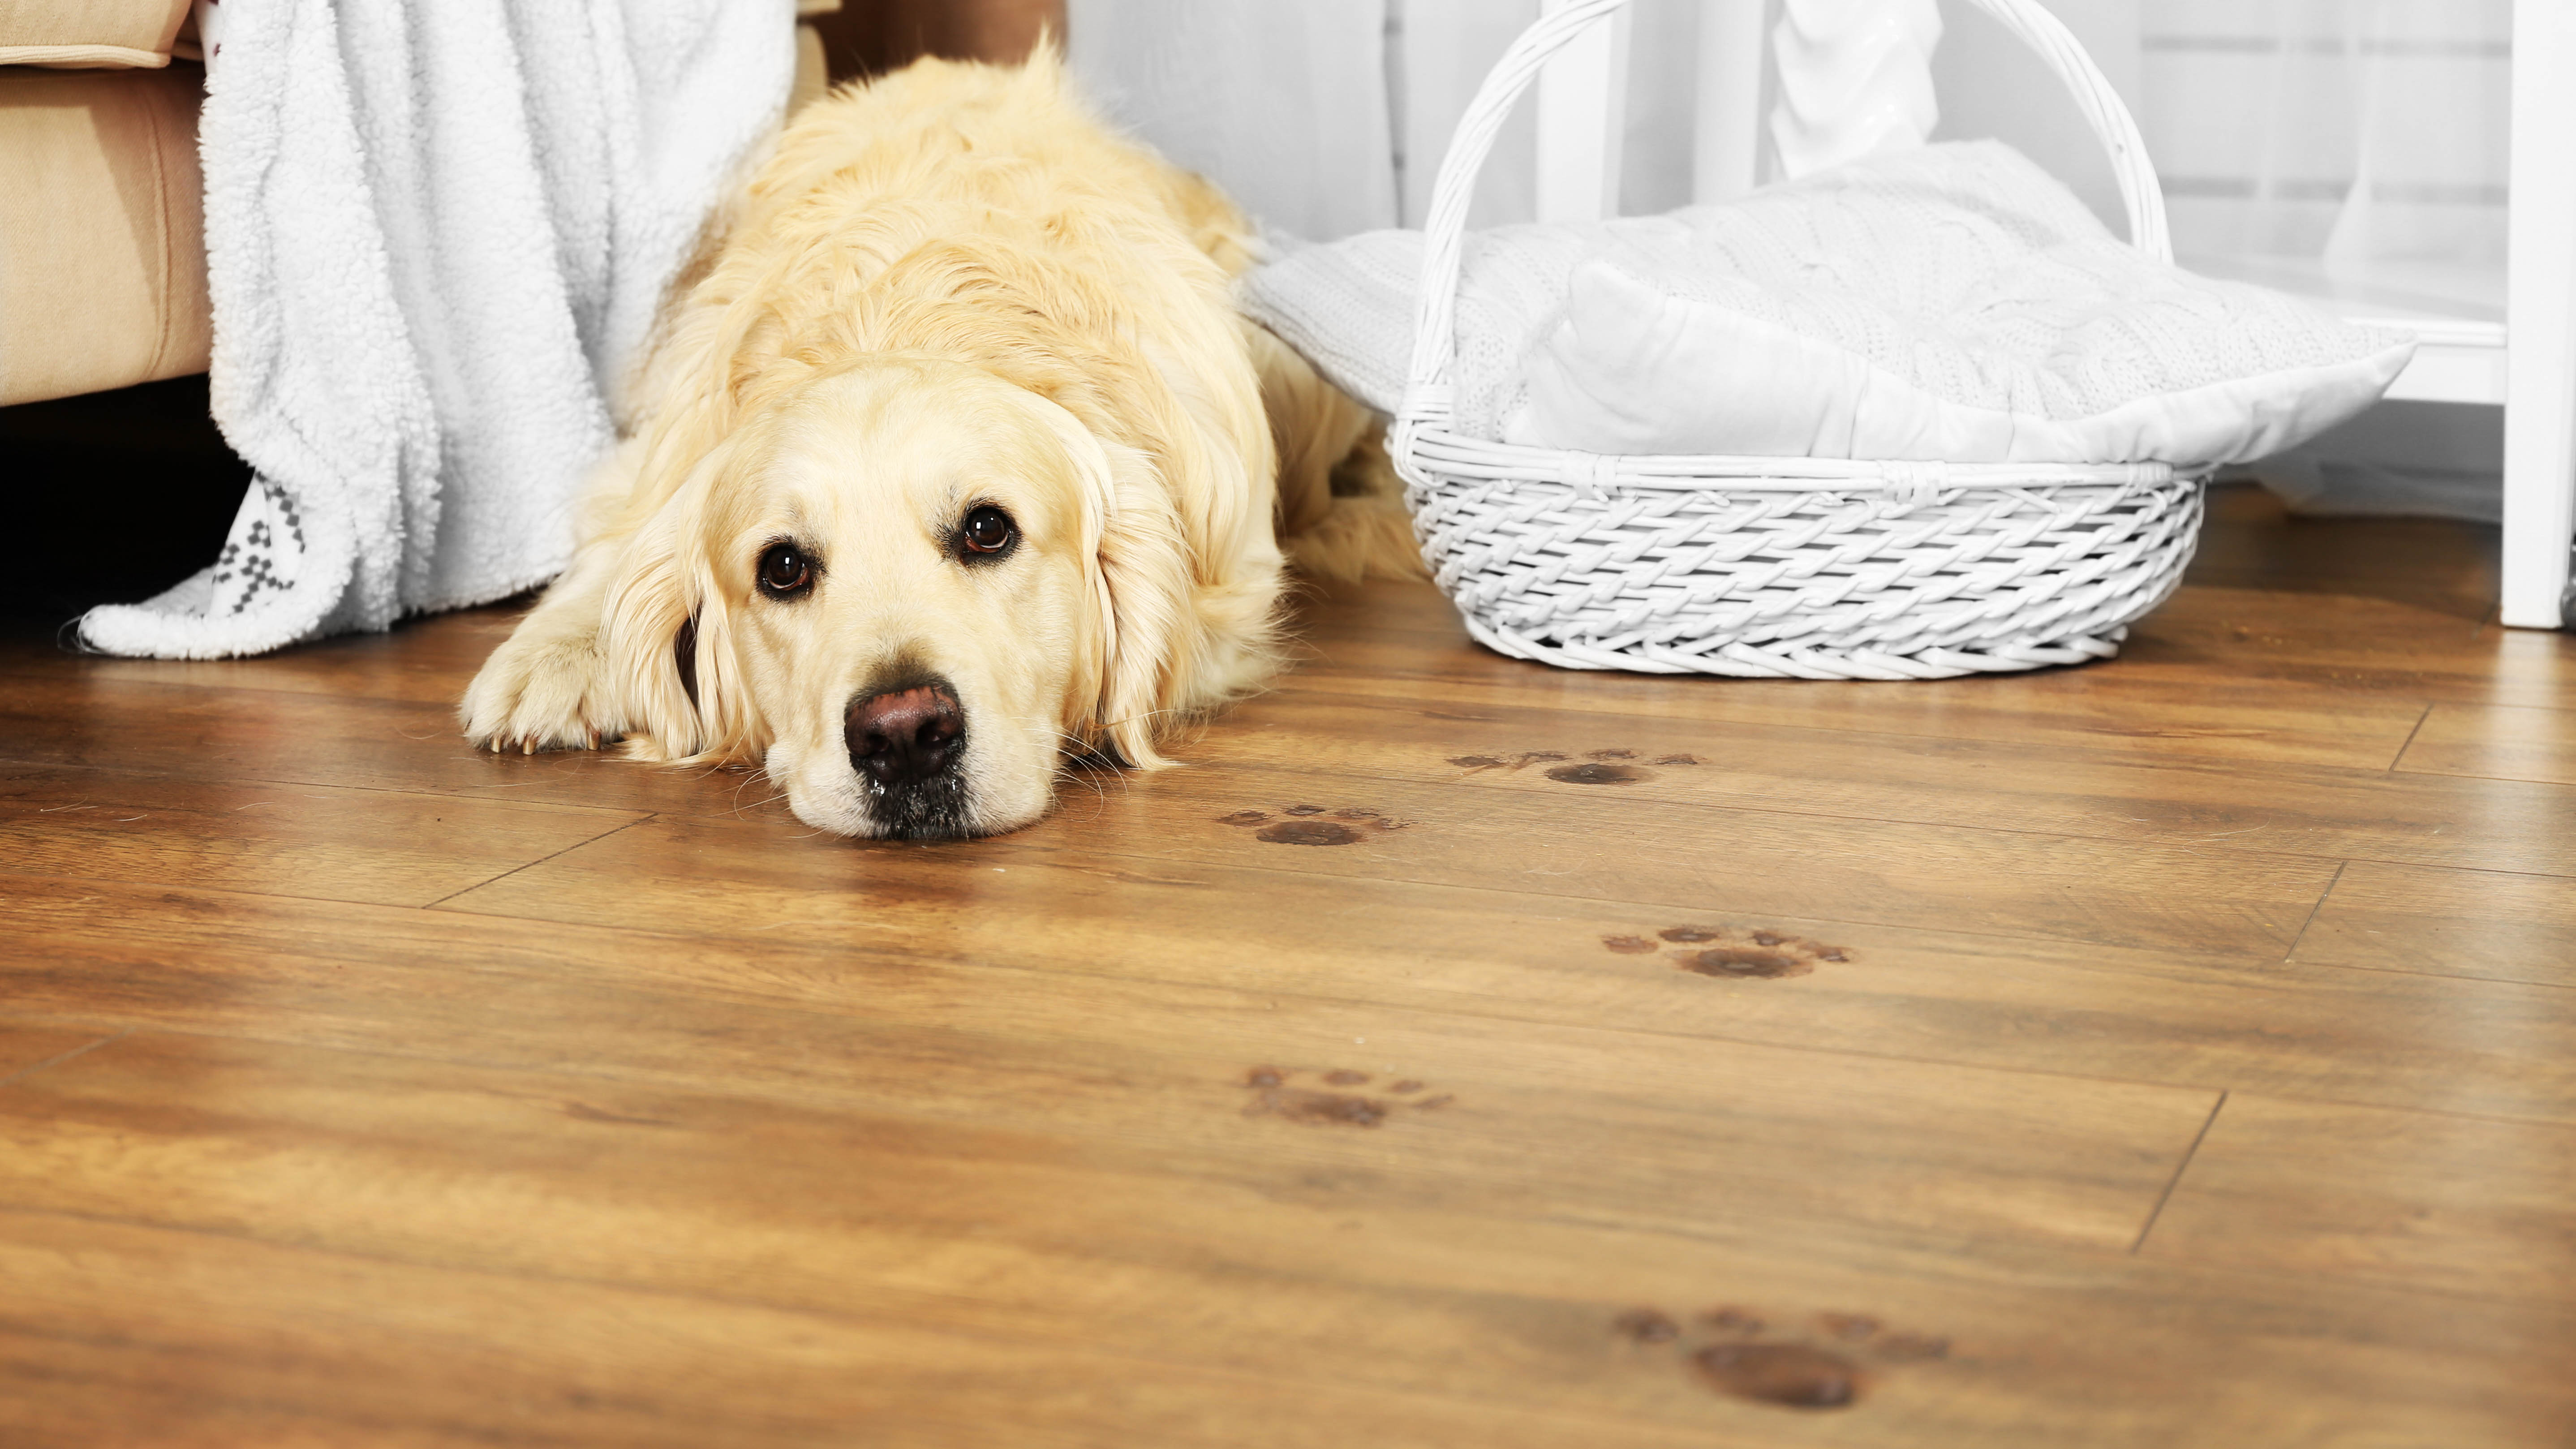
This is a rookie mistake, but it’s still worth mentioning. As you work your way around your floors with your mop, it’s all too easy to keep reversing as you clean and end up backing yourself into a corner. You can either stay where you are until the floor dries, or tiptoe to the nearest chair. It’s rare that we have enough patience for the first, so our socks inevitably end up damp, while we mop over the trail we’ve just made to the couch.
Always have a route in mind as you mop, so you will end up in a comfortable position to wait until the floor fully dries. Make sure no one else is going to wander over your floors as they dry either, so plan accordingly. There’s nothing so disheartening as spotting paw prints smeared on your shiny floors.
4. Using inappropriate tools
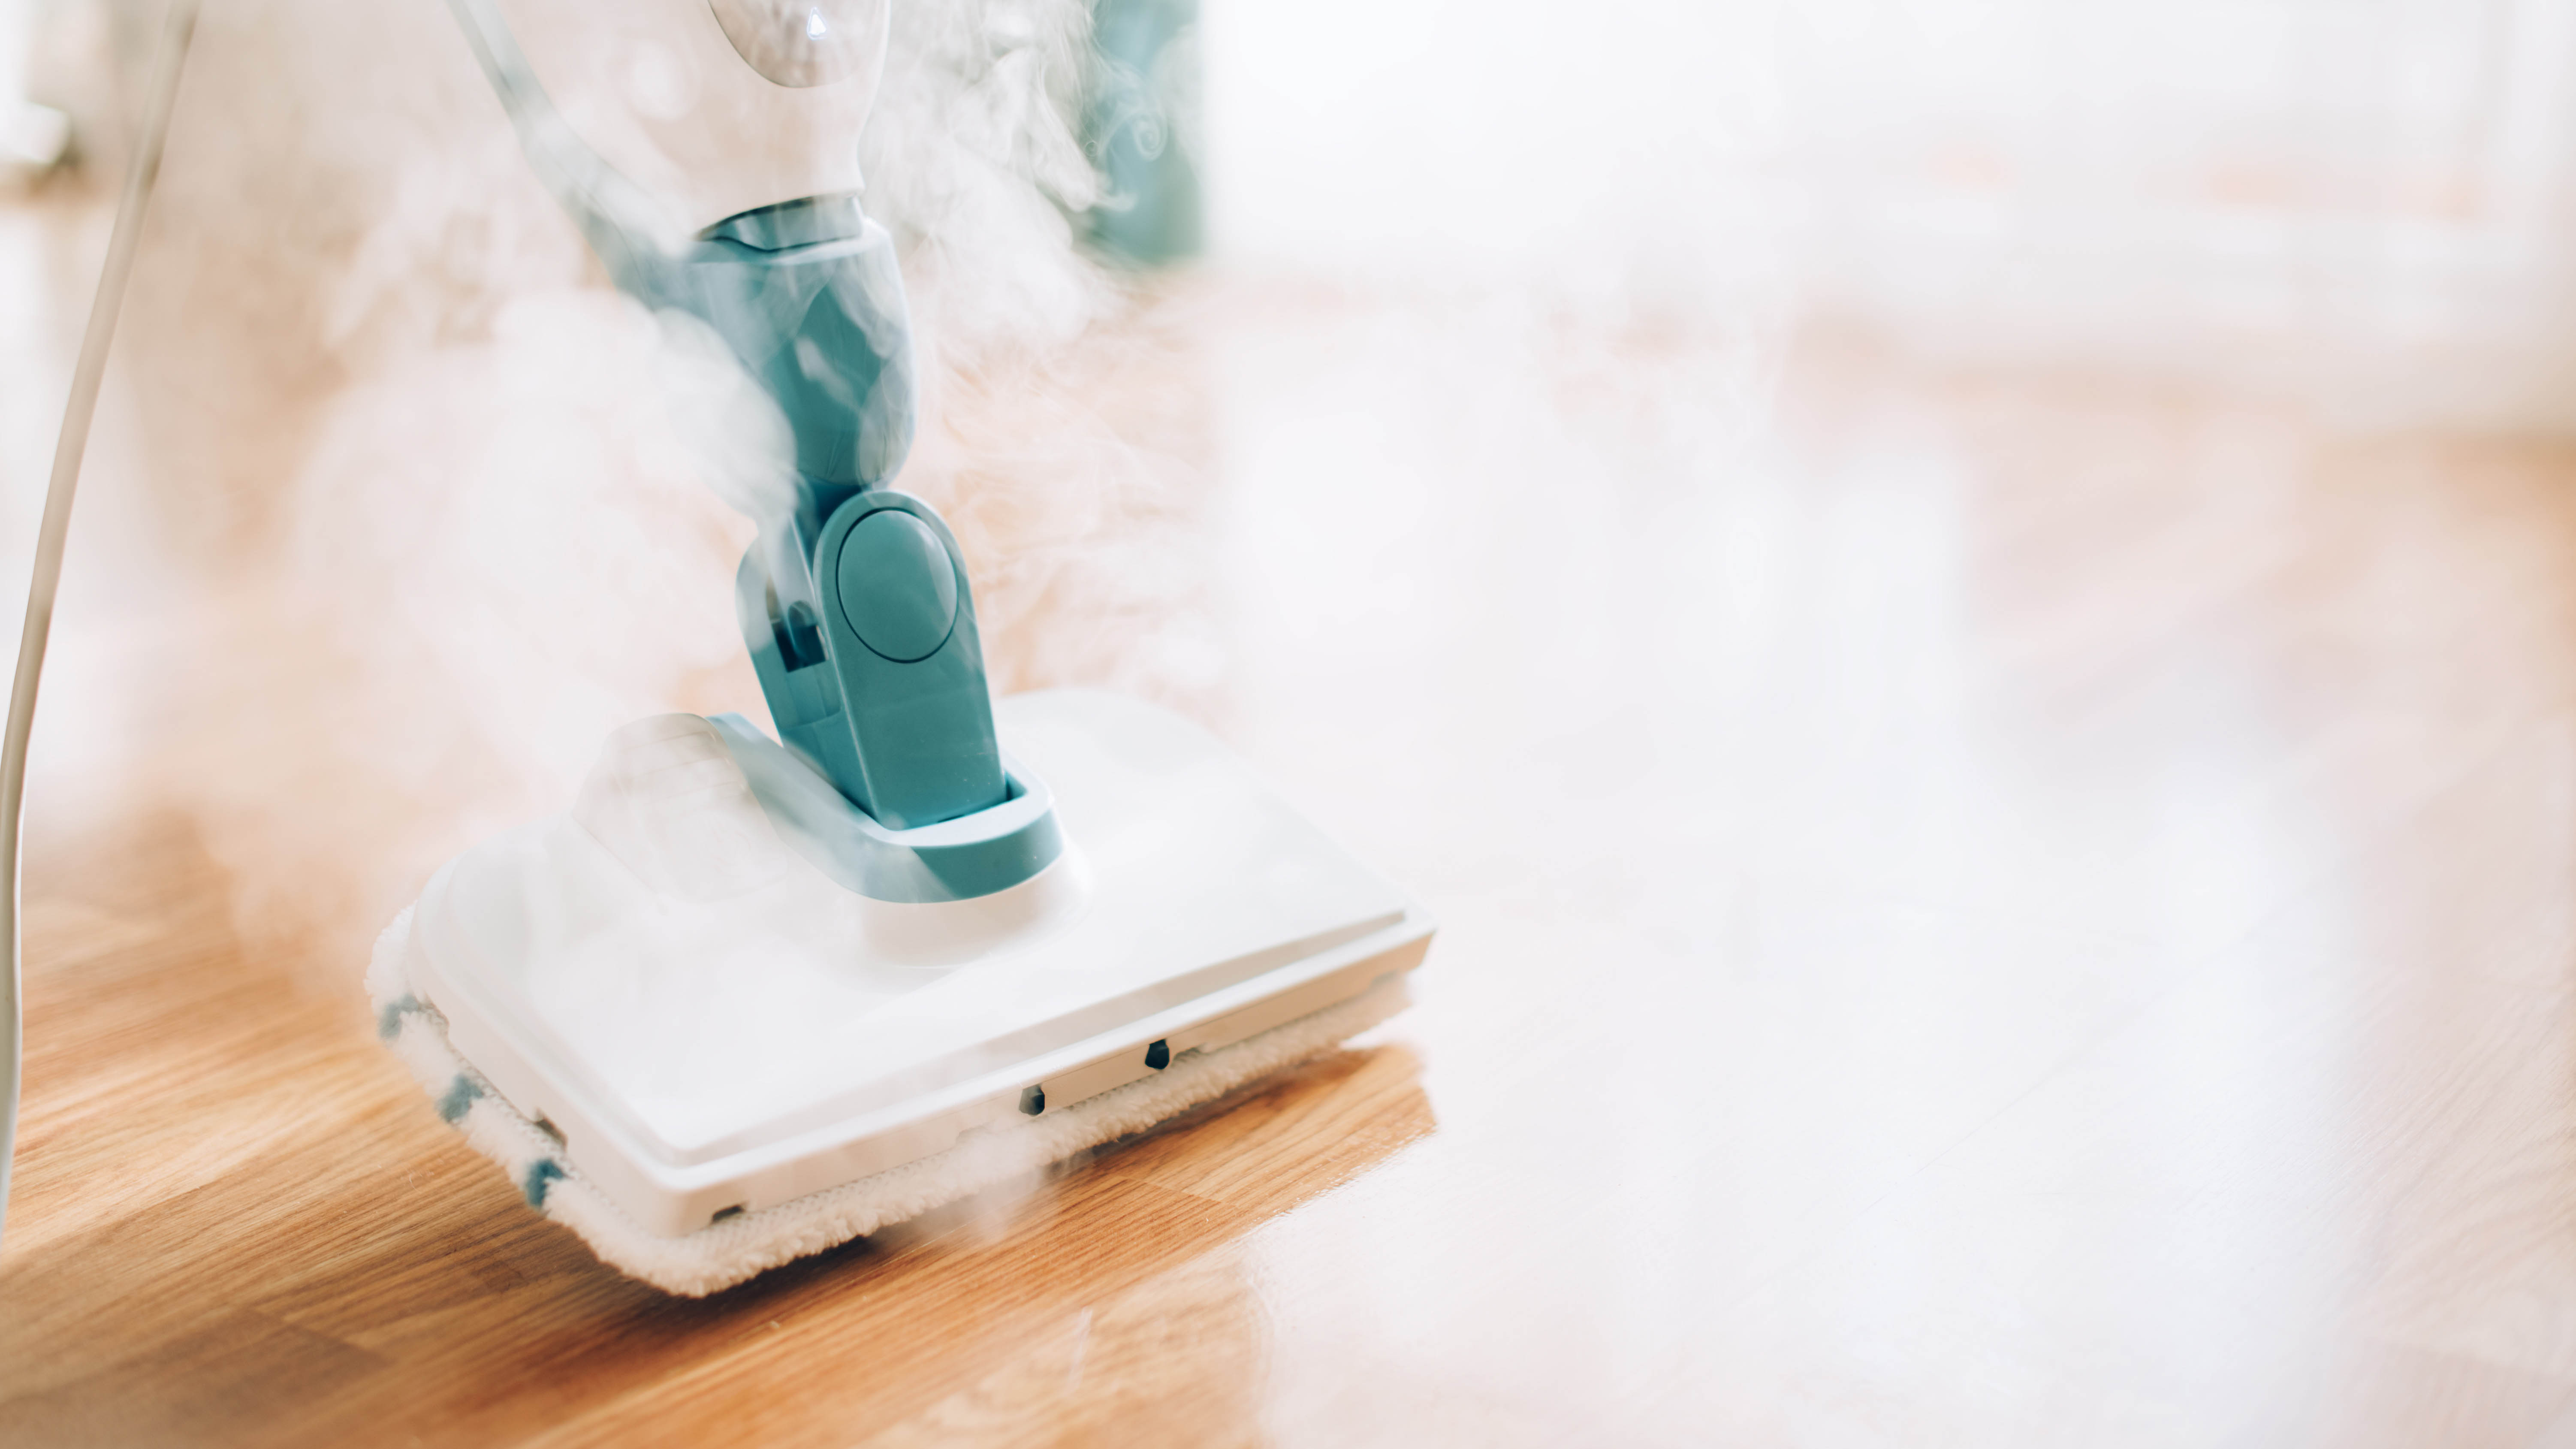
All kinds of tools have been introduced to make cleaning your hard floors that much easier. Steam mops use the power of steam to sanitize and lift stubborn stains, while electric vacuum mops combine both vacuuming and mopping to save yourself going over the same space twice. However, whatever you choose to use on your floors, make sure it’s compatible with the surface type.
Steam mops in particular have been known to damage both hardwood and laminate flooring and even vinyl. The steam will reach into the cracks between floorboards, and lead to warping and discoloration in much the same way as excess water. And as for laminate and vinyl flooring, it can become raised and warped if the steam penetrates the layers and gets absorbed. You may not see an immediate problem, but a colleague noticed these issues after a year of use. Check out: a steam mop damaged my floors — don't let this happen to you for more details.
Likewise, electric vacuum mops are usually only suitable for sealed floors for the same reason. Such tools are generally best kept for linoleum flooring, or tile floors, such as porcelain or ceramic. Always refer to the manufacturer’s guidance on what to use, both in terms of the tool and your floors. Any gaps in your floors can always cause issues where water is involved, so don't assume it's sealed and suitable for steam cleaning without checking first.
5. Not helping the floors dry
While it’s tempting to sit back and relax as your floors air dry, it’s better to give them a helping hand where you can. As we mentioned earlier, leaving certain floor types subjected to standing water for too long can lead to warping and damage. By helping them dry more quickly, you’re keeping this damage to a minimum.
You can run a clean and dry mop head or squeegee over the space to collect excess moisture — microfiber in particular is brilliant at absorbing liquids. This also helps guarantee a streak-free finish with no watermarks — you’re essentially buffing the surface. It’s a good idea to open the windows, switch on the ceiling fan and run one of the best dehumidifiers to help speed up the process too. Keep an eye on the clock, and make sure vulnerable floor types aren’t exposed to standing water for more than a couple of minutes.
6. Not cleaning your mop head
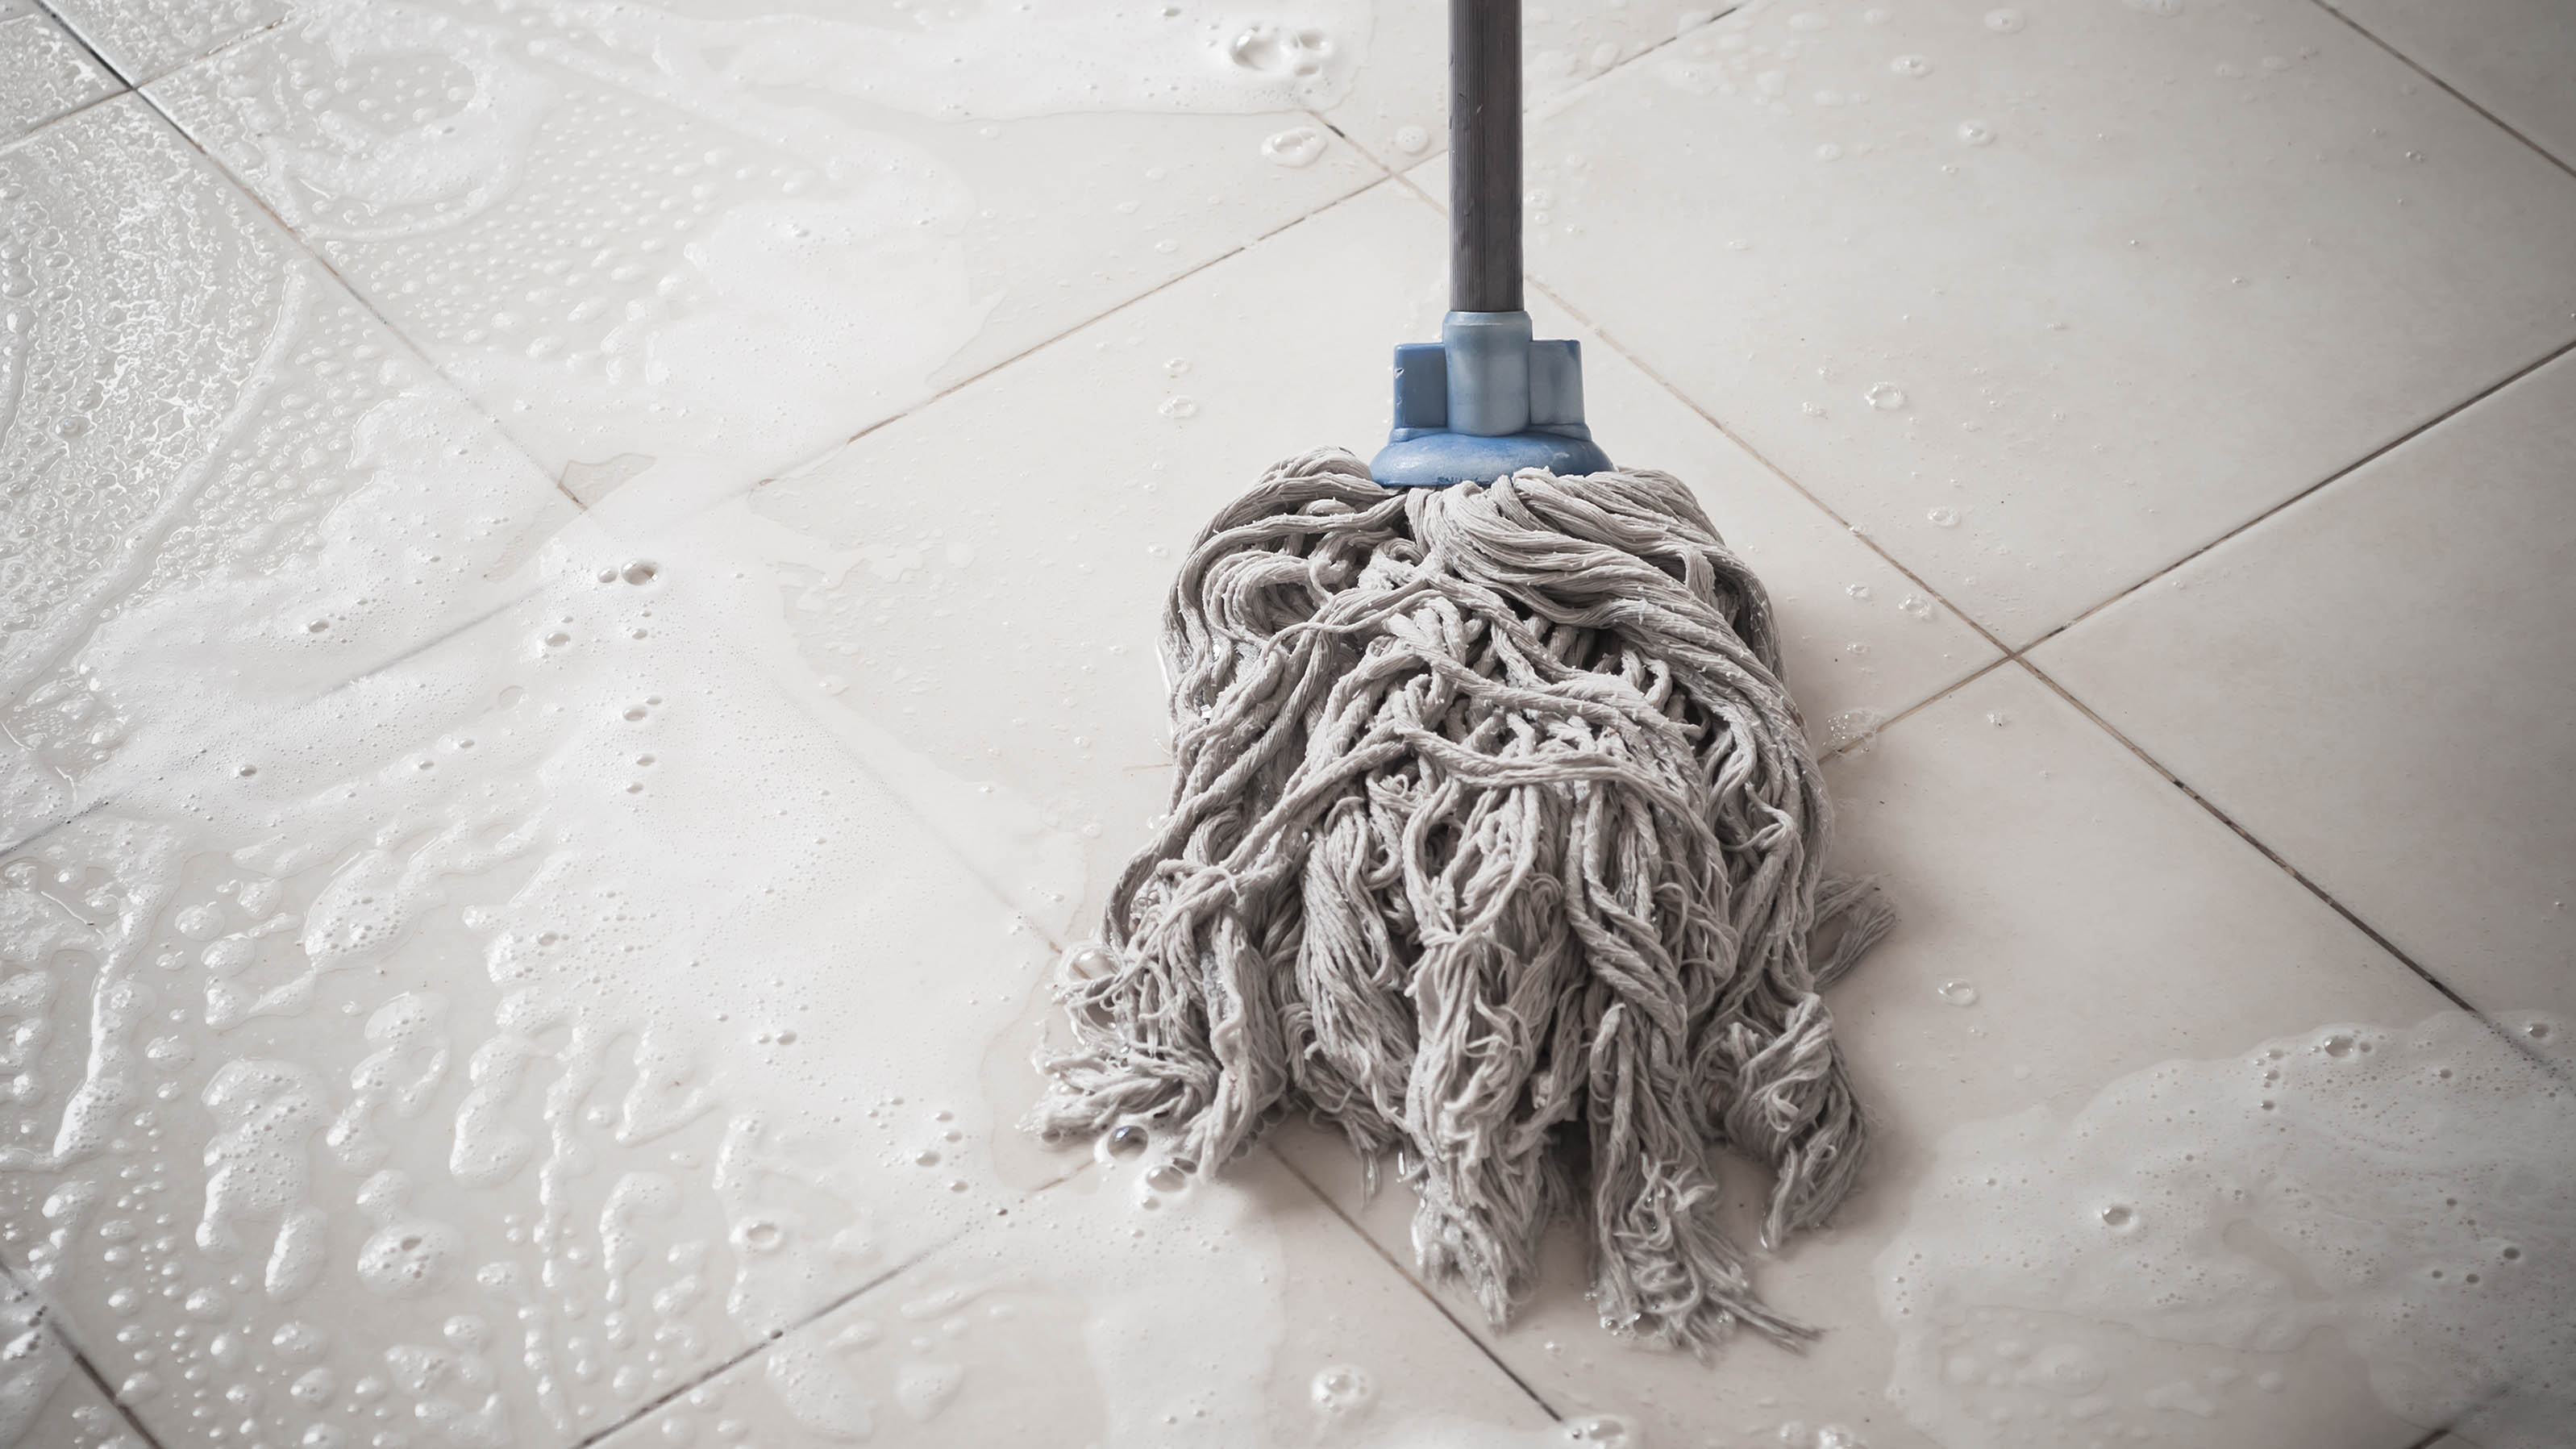
After all that hard work, dealing with a dirty mop head is not a welcome chore, but you must take the time to clean it. If you don’t, you’re simply applying the residual dirt to your floors with your next use, which makes it pointless. Add to that, a dirty mop can start to breed bacteria and smell, and leave this behind with future use. So make sure you clean it thoroughly between each session.
You should first rinse it out until the water runs clear, either in a bucket of water or in the sink. Most mop heads nowadays are machine-washable, so you can just detach it and follow the care label as you bung it in one of the best washing machines. Failing that, you can hand wash the mop head in warm, soapy water, then rinse. To disinfect, let it soak in a solution of equal parts bleach and tepid water for 10 minutes, then rinse away. Make sure you wear the necessary safety gear while handling bleach, including gloves and eye protection.
Don’t forget you need to dry your mop head before you store it as well. Mold and bacteria will make cleaning it redundant otherwise. Wring it out thoroughly, then hang it up to dry in a ventilated space, ideally outdoors. Make sure it remains dry where you store it too.
7. Letting your robot mop do it all
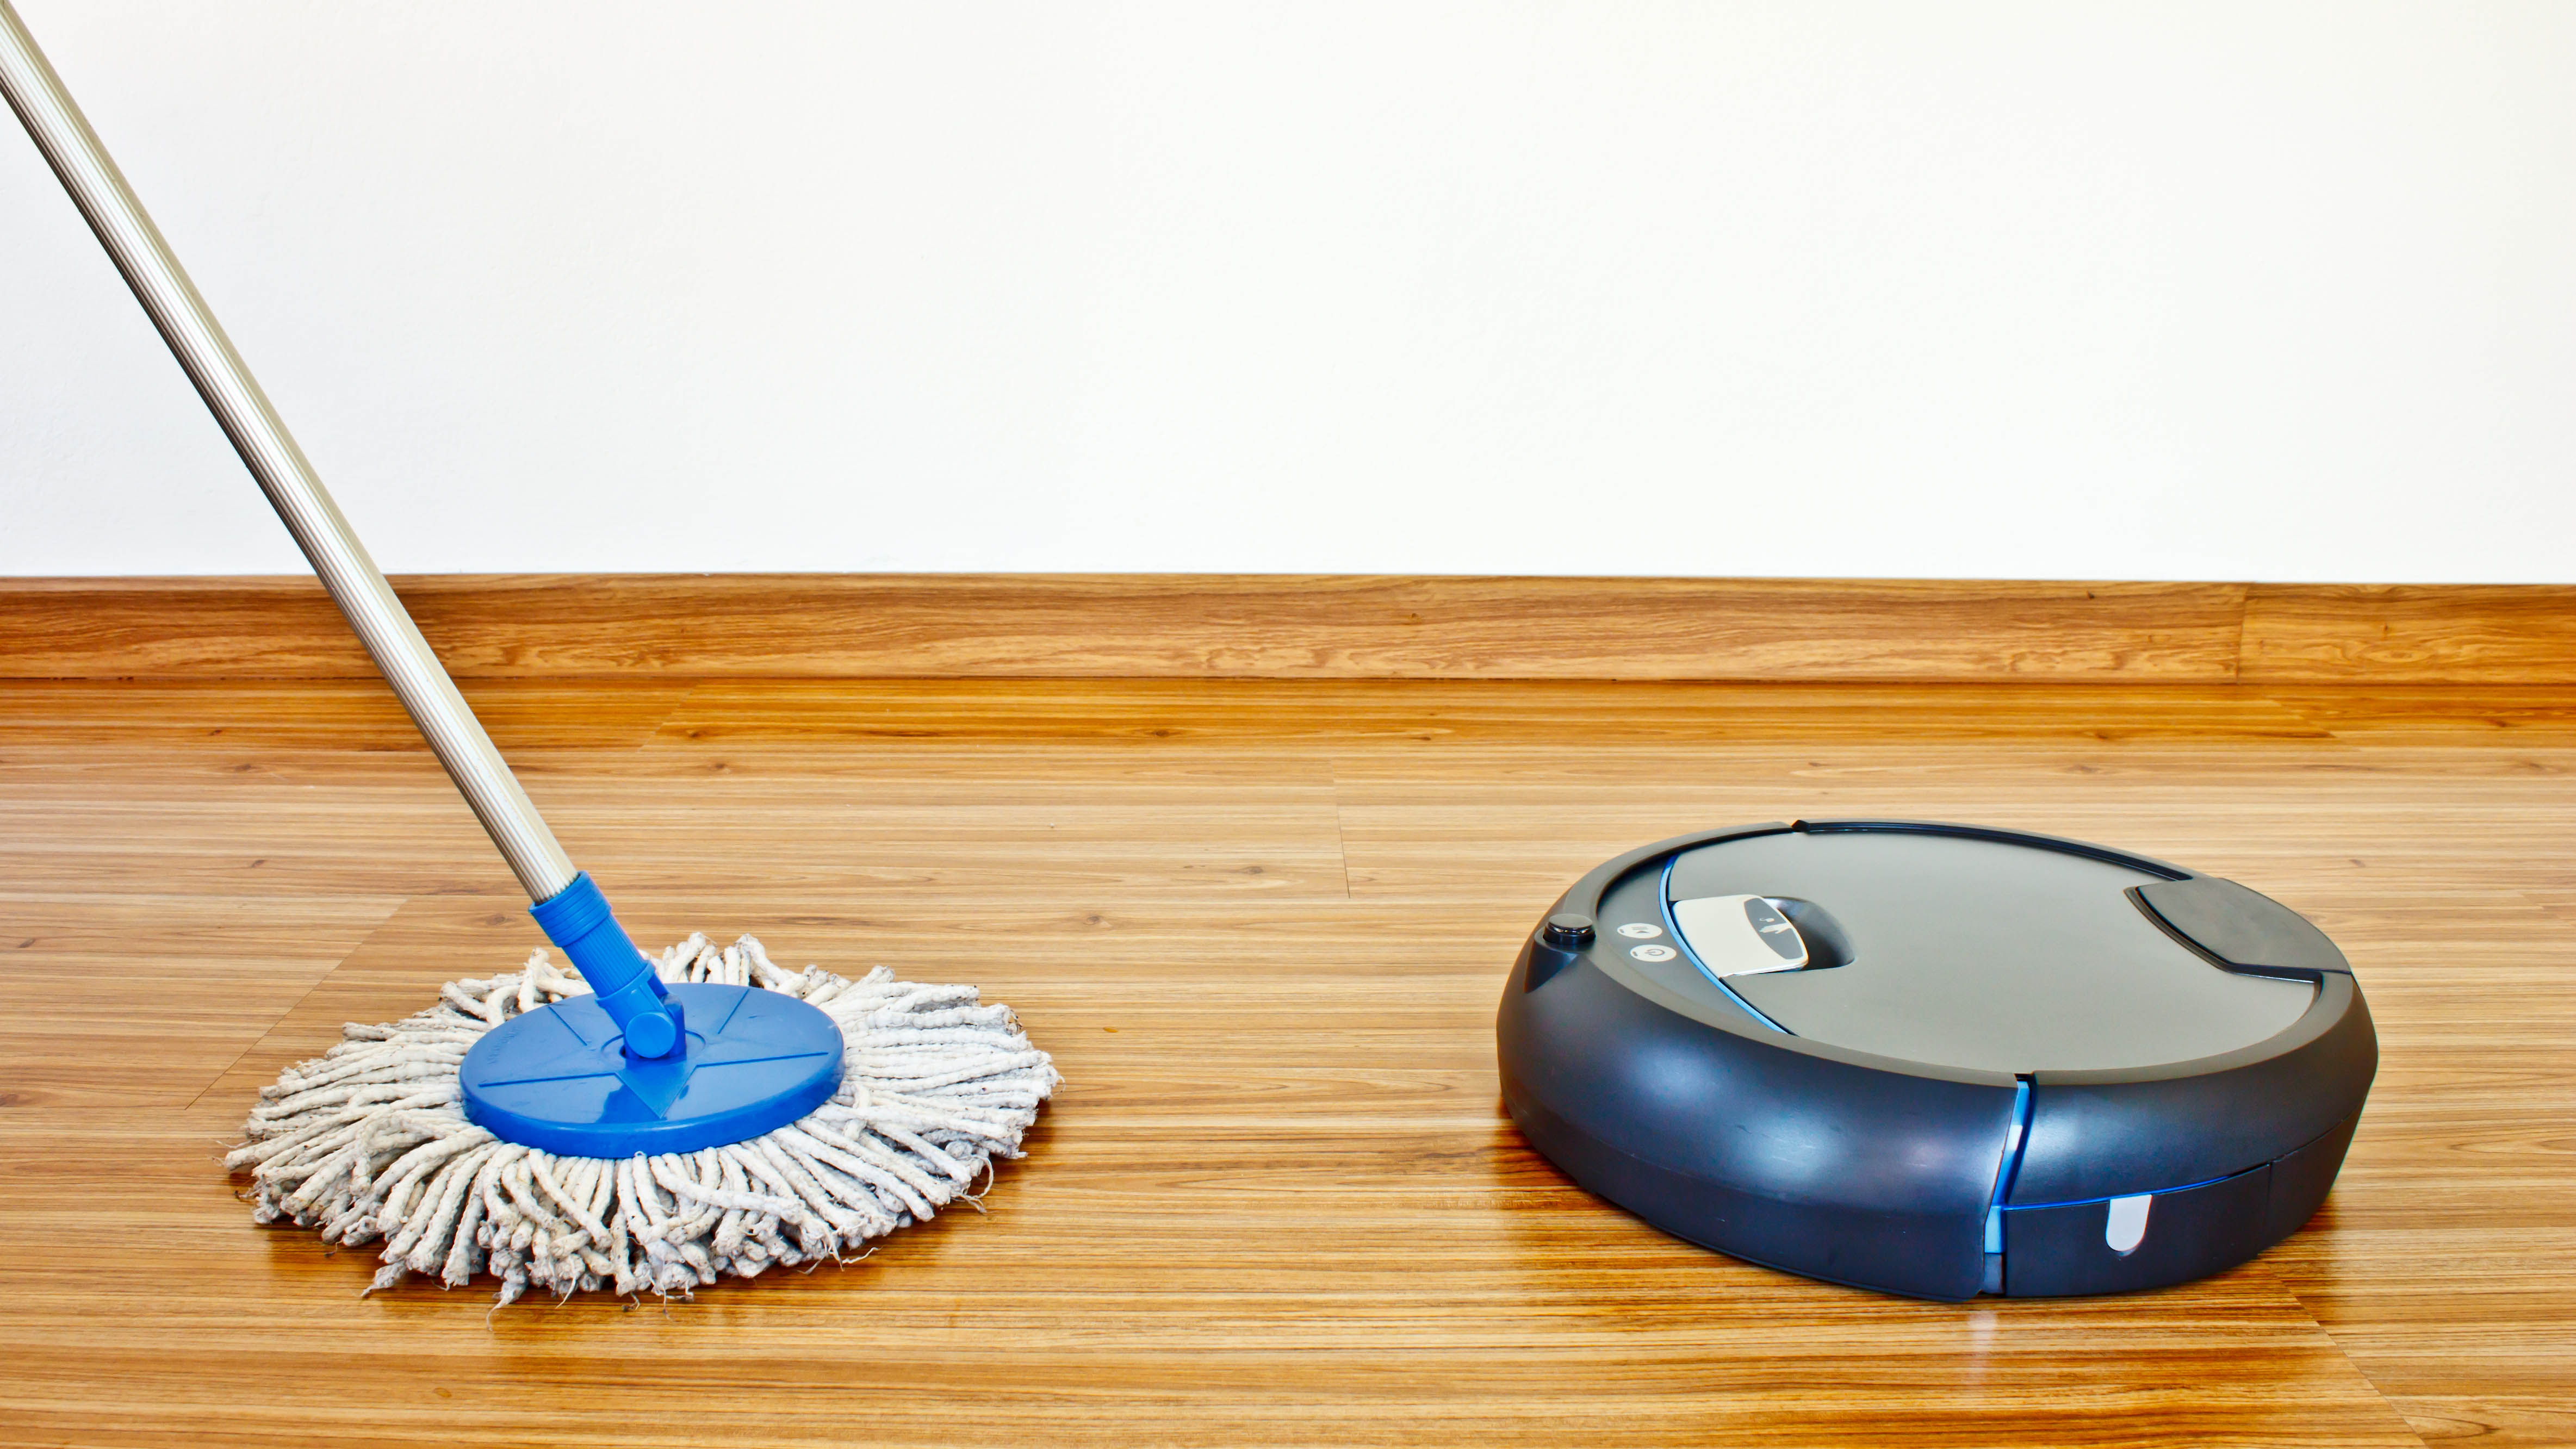
Finally, if you’re lucky enough to own a robot mop, you will know how handy these little helpers can be. They work in tandem with robot vacuum cleaners, but mopping rather than vacuuming to provide the finishing touches. They usually do this by dragging a microfiber cloth along the floors which is regularly soaked via an onboard tank.
However, while these devices are improving all the time, they should never fully replace your manual method of cleaning the floors. Even the best robot mops won’t provide the same level of cleaning as a standard mop and bucket. They’re more a method of light everyday cleaning and will struggle when subjected to heavy spills or embedded grime. For this reason, don’t rely on your robot mop to do it all — view it more as more of a supportive device, which stops you from mopping so often. Hopefully, they will improve enough in the future that we can finally say goodbye to mopping, but they’re not quite there yet.
However, if you do want to try an all-in-one method, you could try using a wet and dry vacuum, similar to my colleague, Camilla Sharman, here's what she discovered when she tried a wet and dry vacuum for the first time.
More from Tom's Guide

Katie Mortram used to be a Homes Editor for Tom's Guide, where she oversaw everything from kitchen appliances to gardening tools, as well as smart home tech. Specializing in providing expert advice for cleaning and home manintenance, she now works as Household Advice Editor for Good Housekeeping.
