7 mistakes to avoid when trimming a hedge
Are you guilty of any of these hedge trimming mistakes?
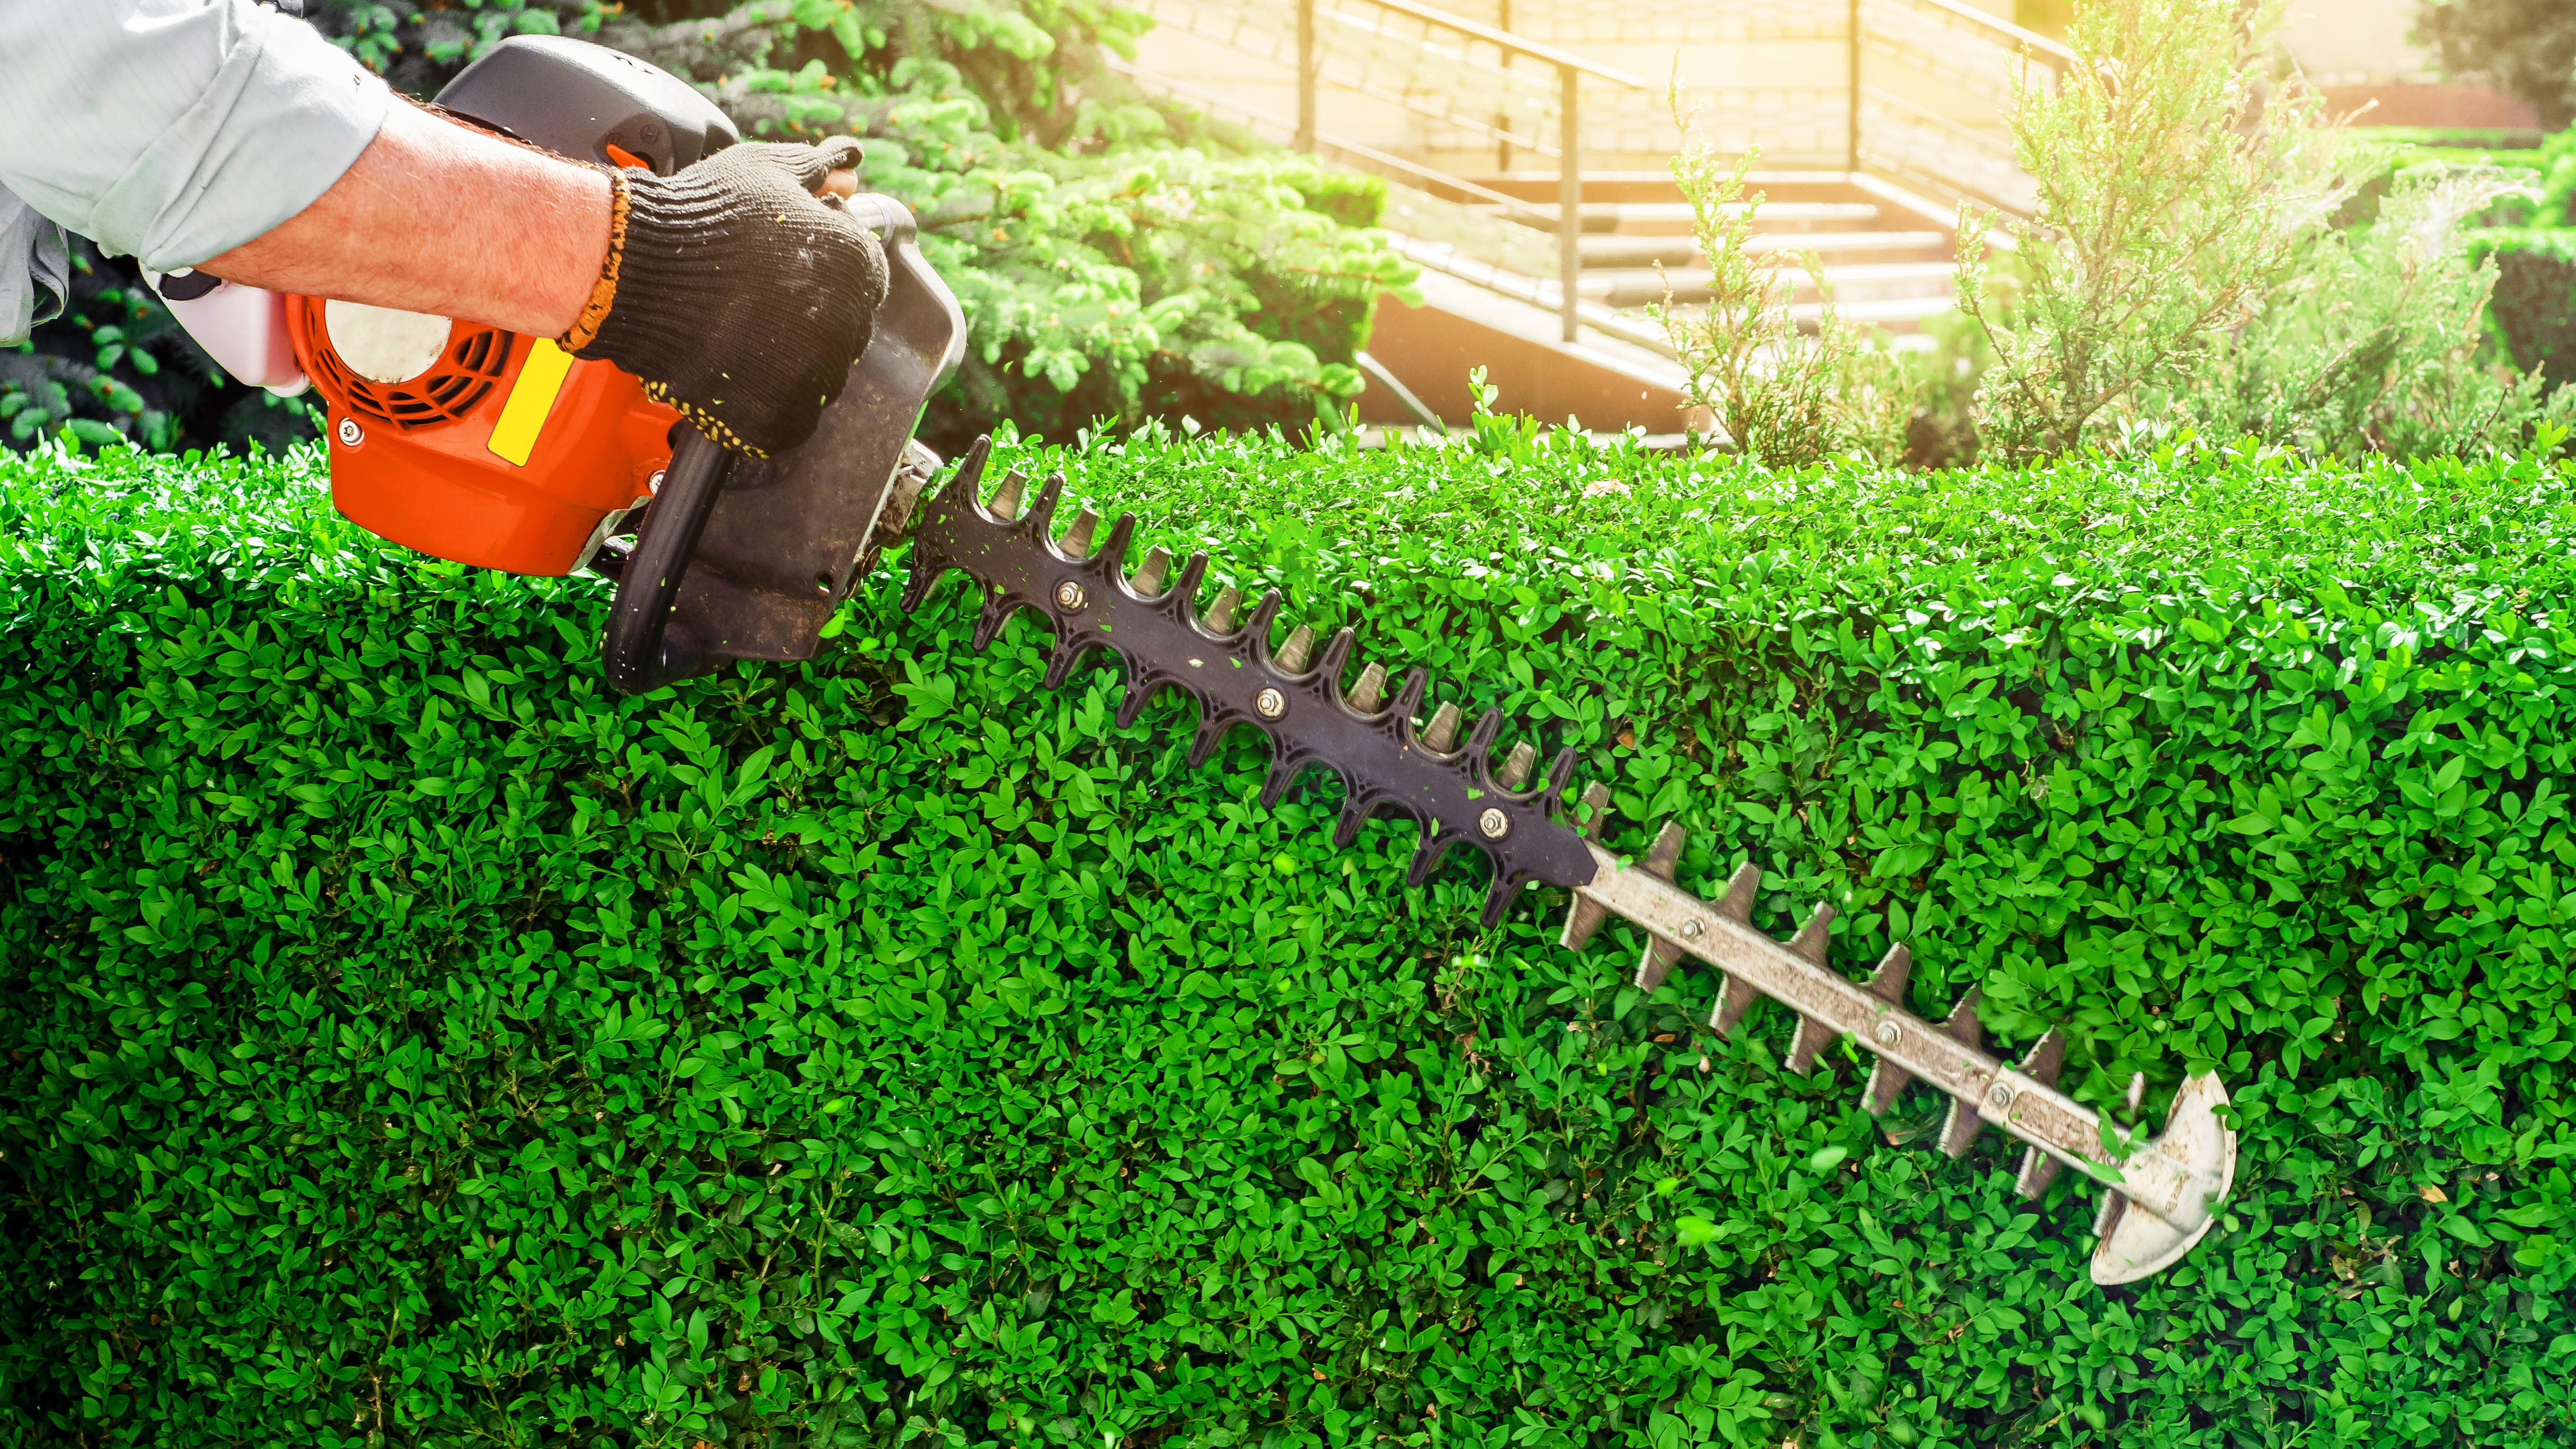
As we get more into the garden this spring, there are plenty of tasks to tackle. For instance, it’s time to prune hydrangeas, as well as break the lawn mower out of storage. One chore many of us take great pride in is trimming our hedges. Hedges can be used to border our property, as a means for privacy, or simply as a decorative addition. In any case, we prefer these shrubs to appear neat and tidy.
That’s why we take the time to routinely trim the hedges — to keep the growth and appearance in check. However, while this may seem like a straightforward task, you should know that there are 7 common mistakes often made when trimming a hedge. You can slip up whether you’re new to this task, or a seasoned gardener. Such a mistake can impair the growth of your hedge or just leave you with something you’re unhappy with. In any case, you’ll want to steer clear of these mishaps at all costs. Here are 7 mistakes to avoid when trimming a hedge.
Plus, here are 5 expert tips for shaping your hedges like a pro.
1. Cutting too much away
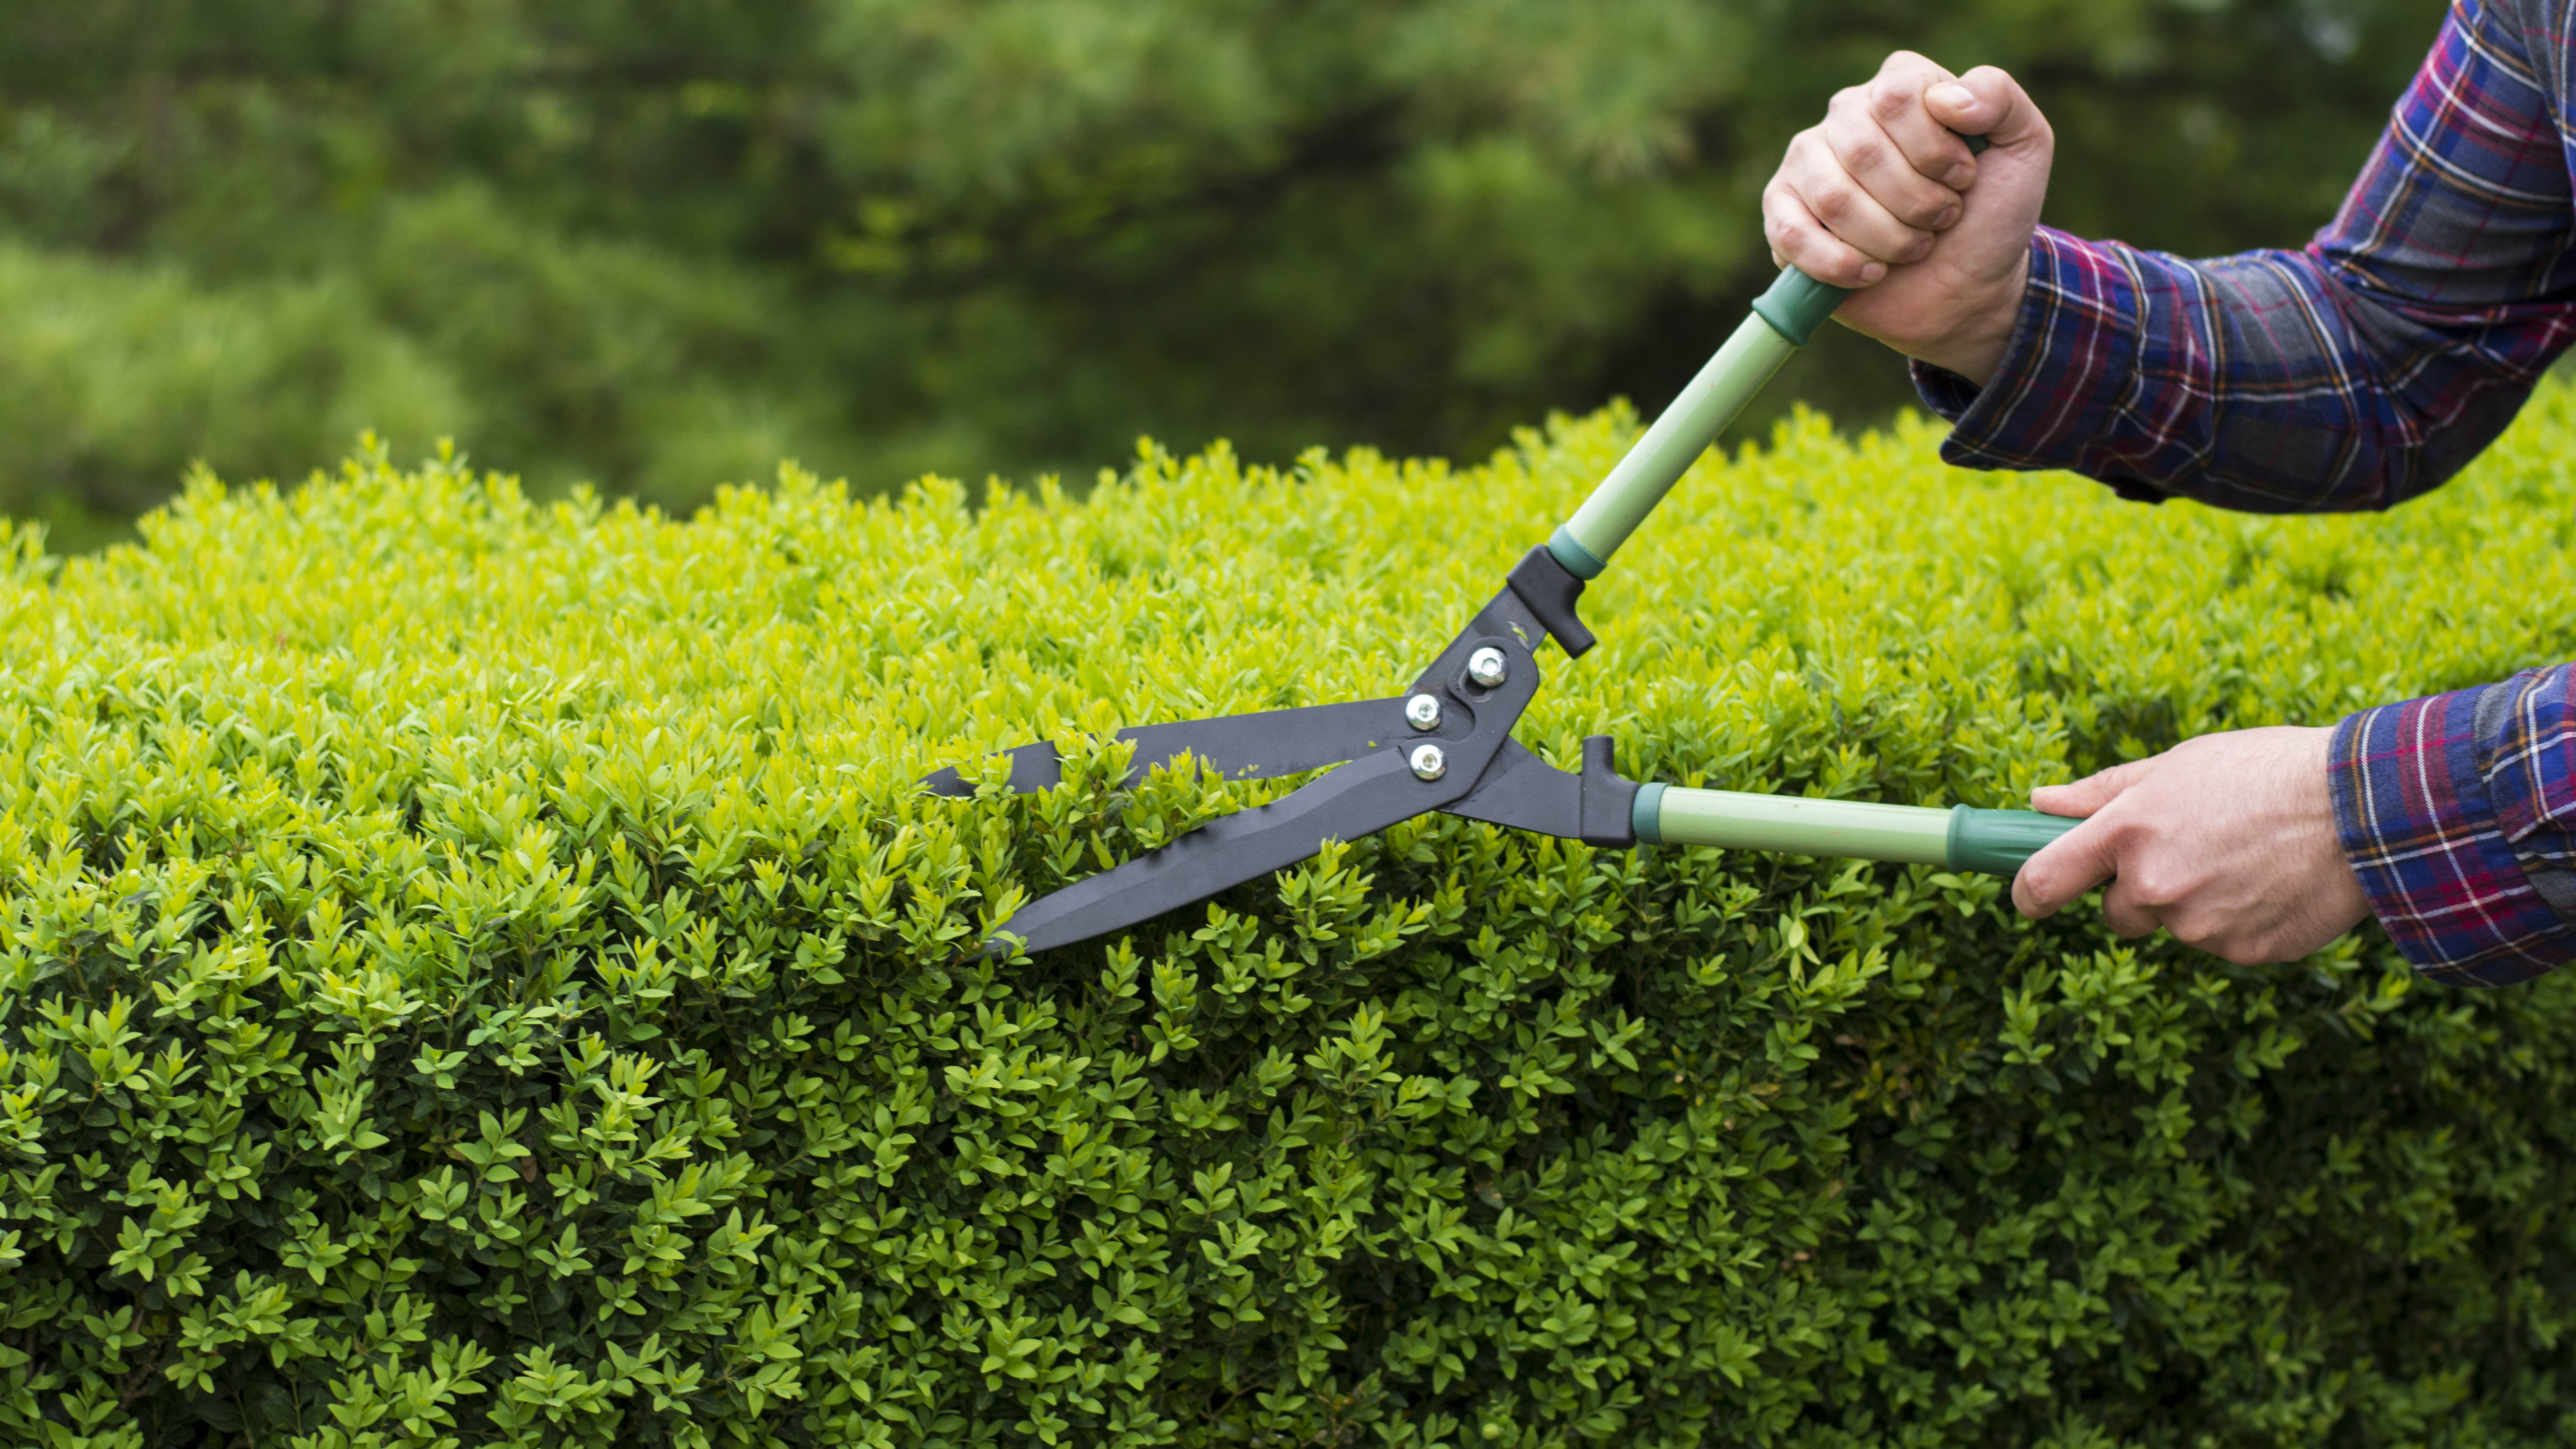
Sure enough, one of the easiest mistakes you can make when trimming a hedge is cutting away too much. This is easily done, particularly if you notice uneven patches and continually cut back to even things out. Before you know it, you’ve trimmed away so much that your hedge looks thinner and shorter than you anticipated.
It’s always best to know exactly to what height and shape you’re cutting your hedge (more of this later), and then to cut it back in a controlled and gradual fashion. Remember, you can always cut more off, but once it’s gone, it’s gone.
If you’re unsure of the final height, try sectioning off a small area of your hedge, and then cut that back to the tallest height option to get a sense for the final look. Remember though, once you cut this back any further, your whole hedge will have to follow suit, so don’t make any hasty decisions.
2. Cutting to the wrong shape
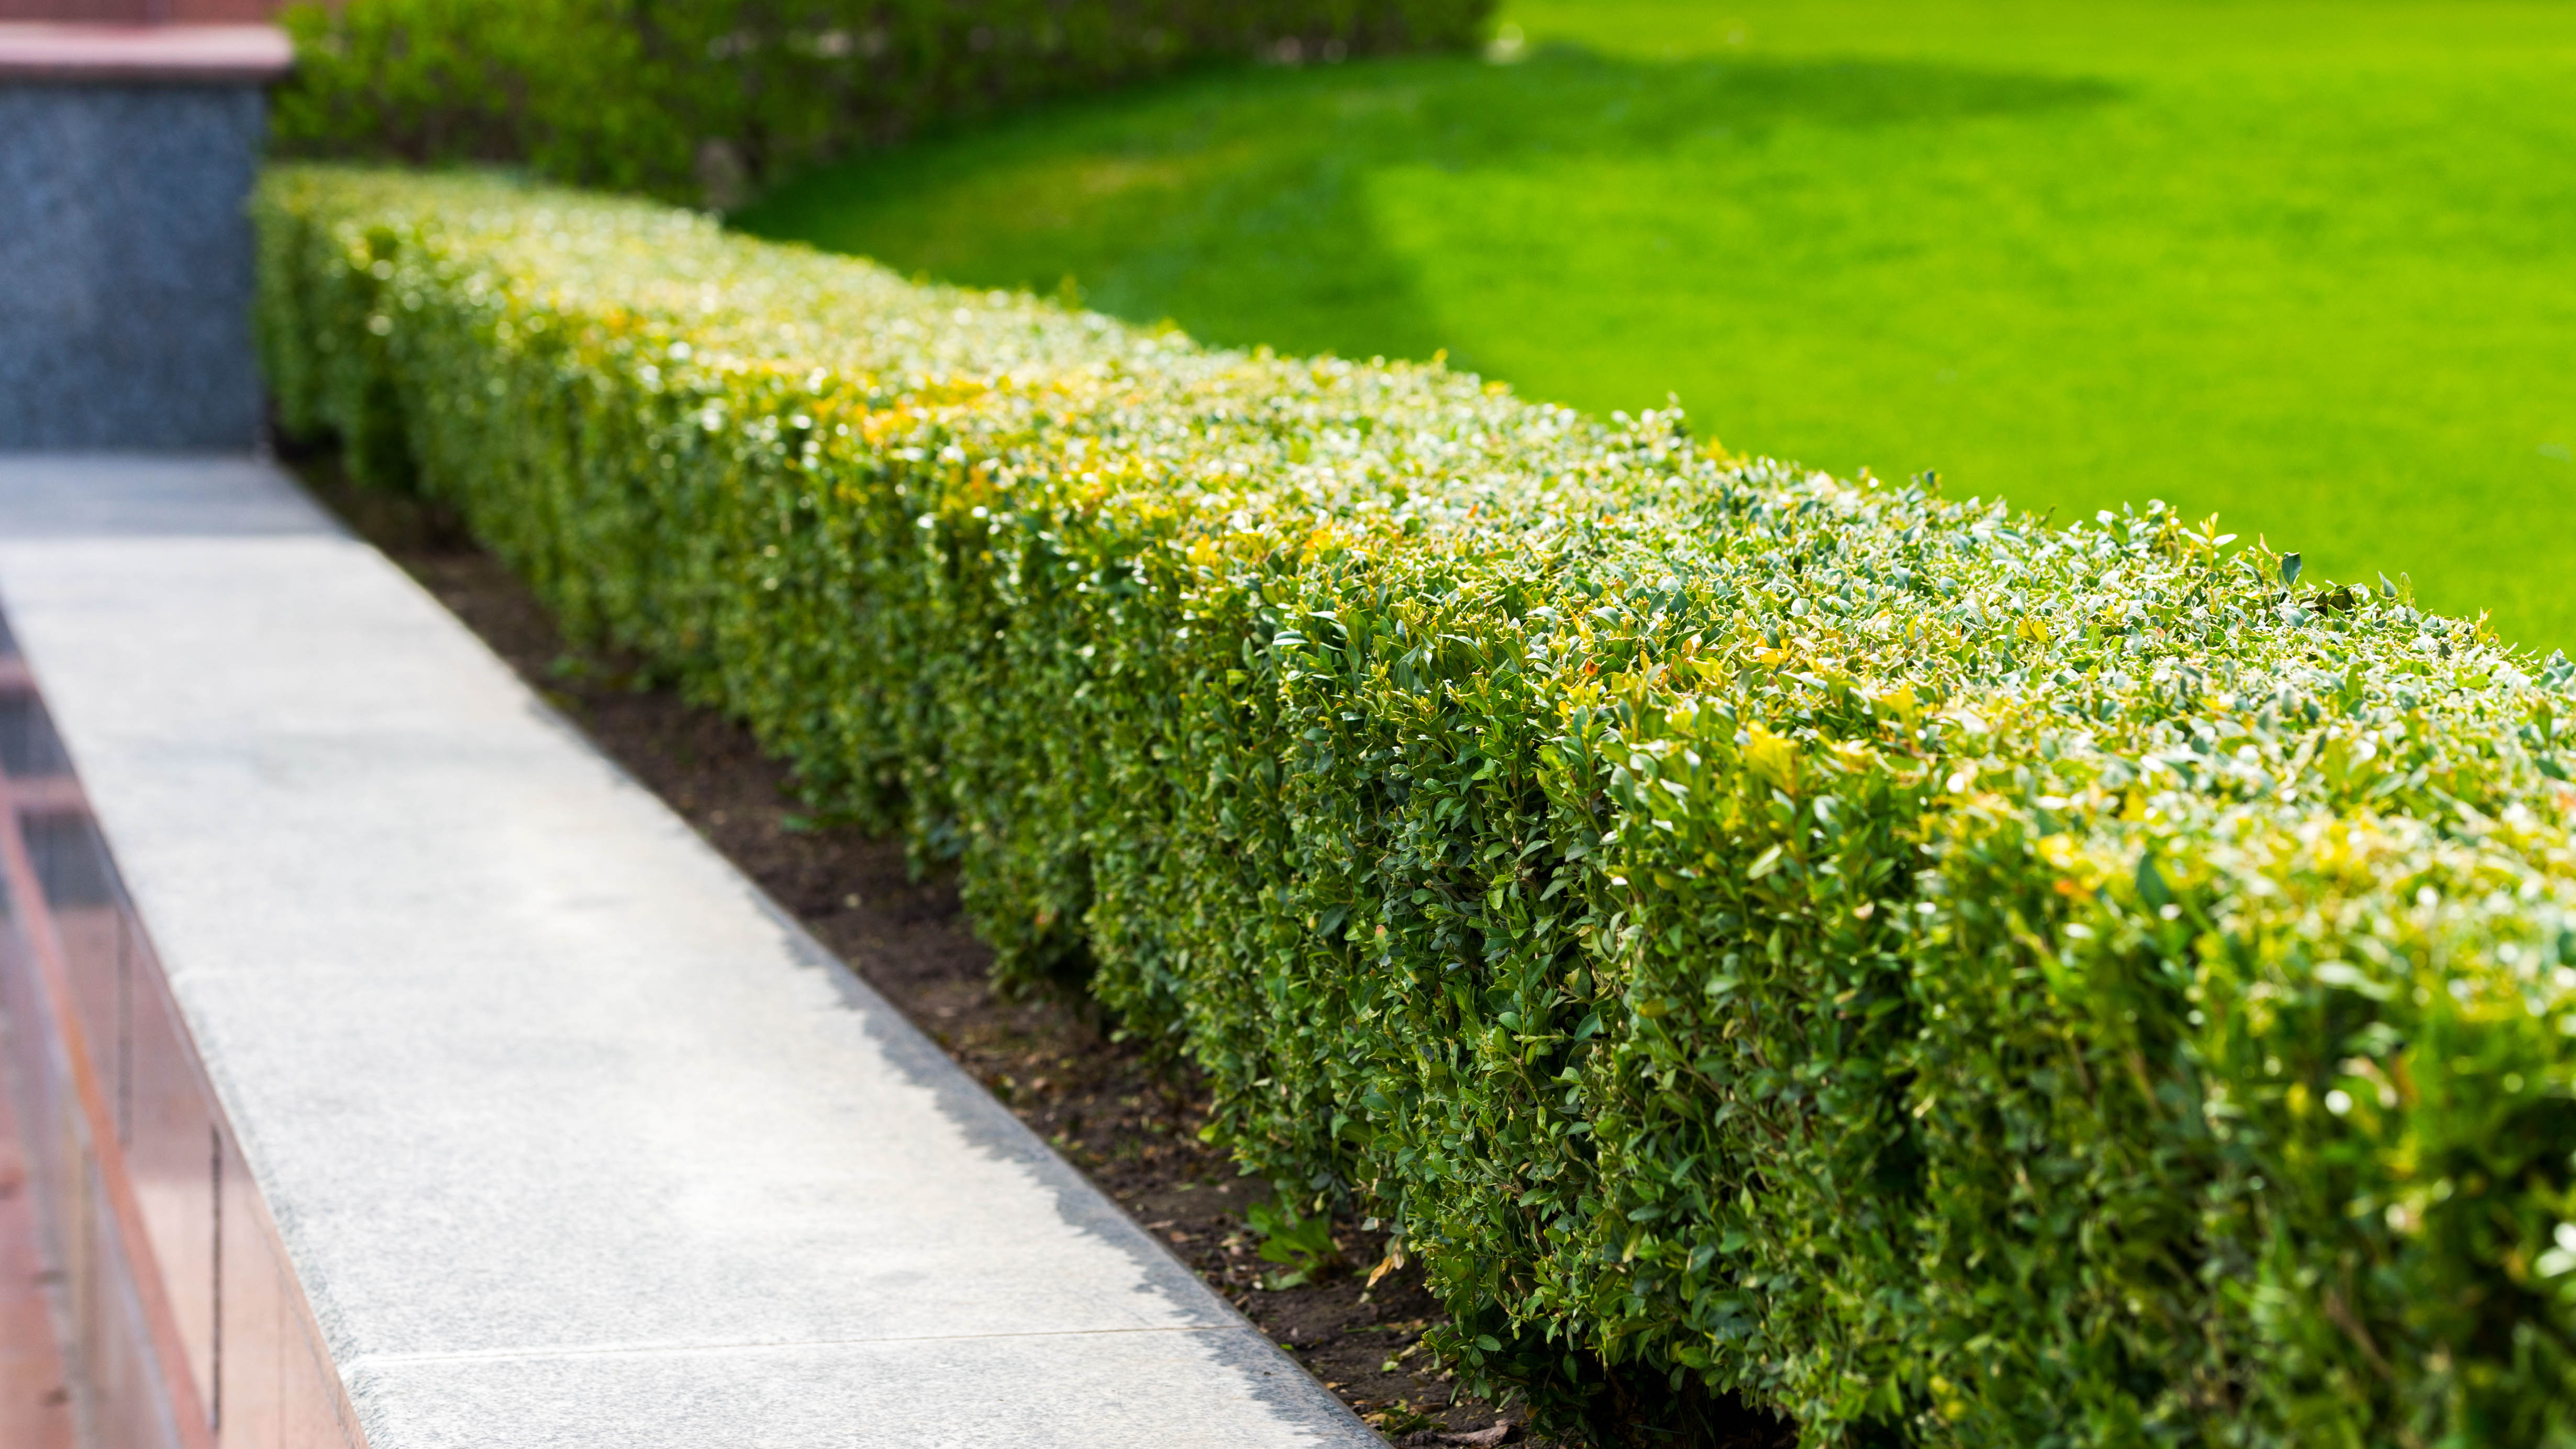
While it may look better in the immediate term, you shouldn’t cut a hedge into a perfect square, or rectangular shape. Hedges need sunlight to grow, just like any other plant. And considering the highest branches will receive the most exposure to sunlight, it’s naturally going to widen at the top as it grows, reducing sunlight for the lower branches. Under such conditions, the lowest branches will die, ruining the shape and deterring the health of the overall plant.
Sign up to get the BEST of Tom's Guide direct to your inbox.
Get instant access to breaking news, the hottest reviews, great deals and helpful tips.
Considering this, it’s always best to cut the hedge so that it’s wider at the bottom and thinner at the top. This will support the health of the lower branches and help your hedge grow into a more appealing shape.
3. Cutting in the wrong way
You could be trimming your hedge all wrong. Always start with a pair of loppers or hedge shears and manually cut away any immediate excess foliage by hand. Remember, you’re not just refining the external shape — you need to cut away any internal overgrowth as well, so inspect the bulk of your hedge. Take care here though, the aim is to allow more sunlight and oxygen to breach the hedge — but you don’t want to cut so much away that gaps are obvious. Don’t worry about a small amount of thinning — the hedge will soon grow and fill it in.
A pair of the best pruning shears can help you reach into awkward spaces. Remove any dead or diseased branches and always cut at a diagonal angle where you can — this improves water intake. If you want to promote growth in an established hedge, you can cut back the older branches by up to a third in any given year.
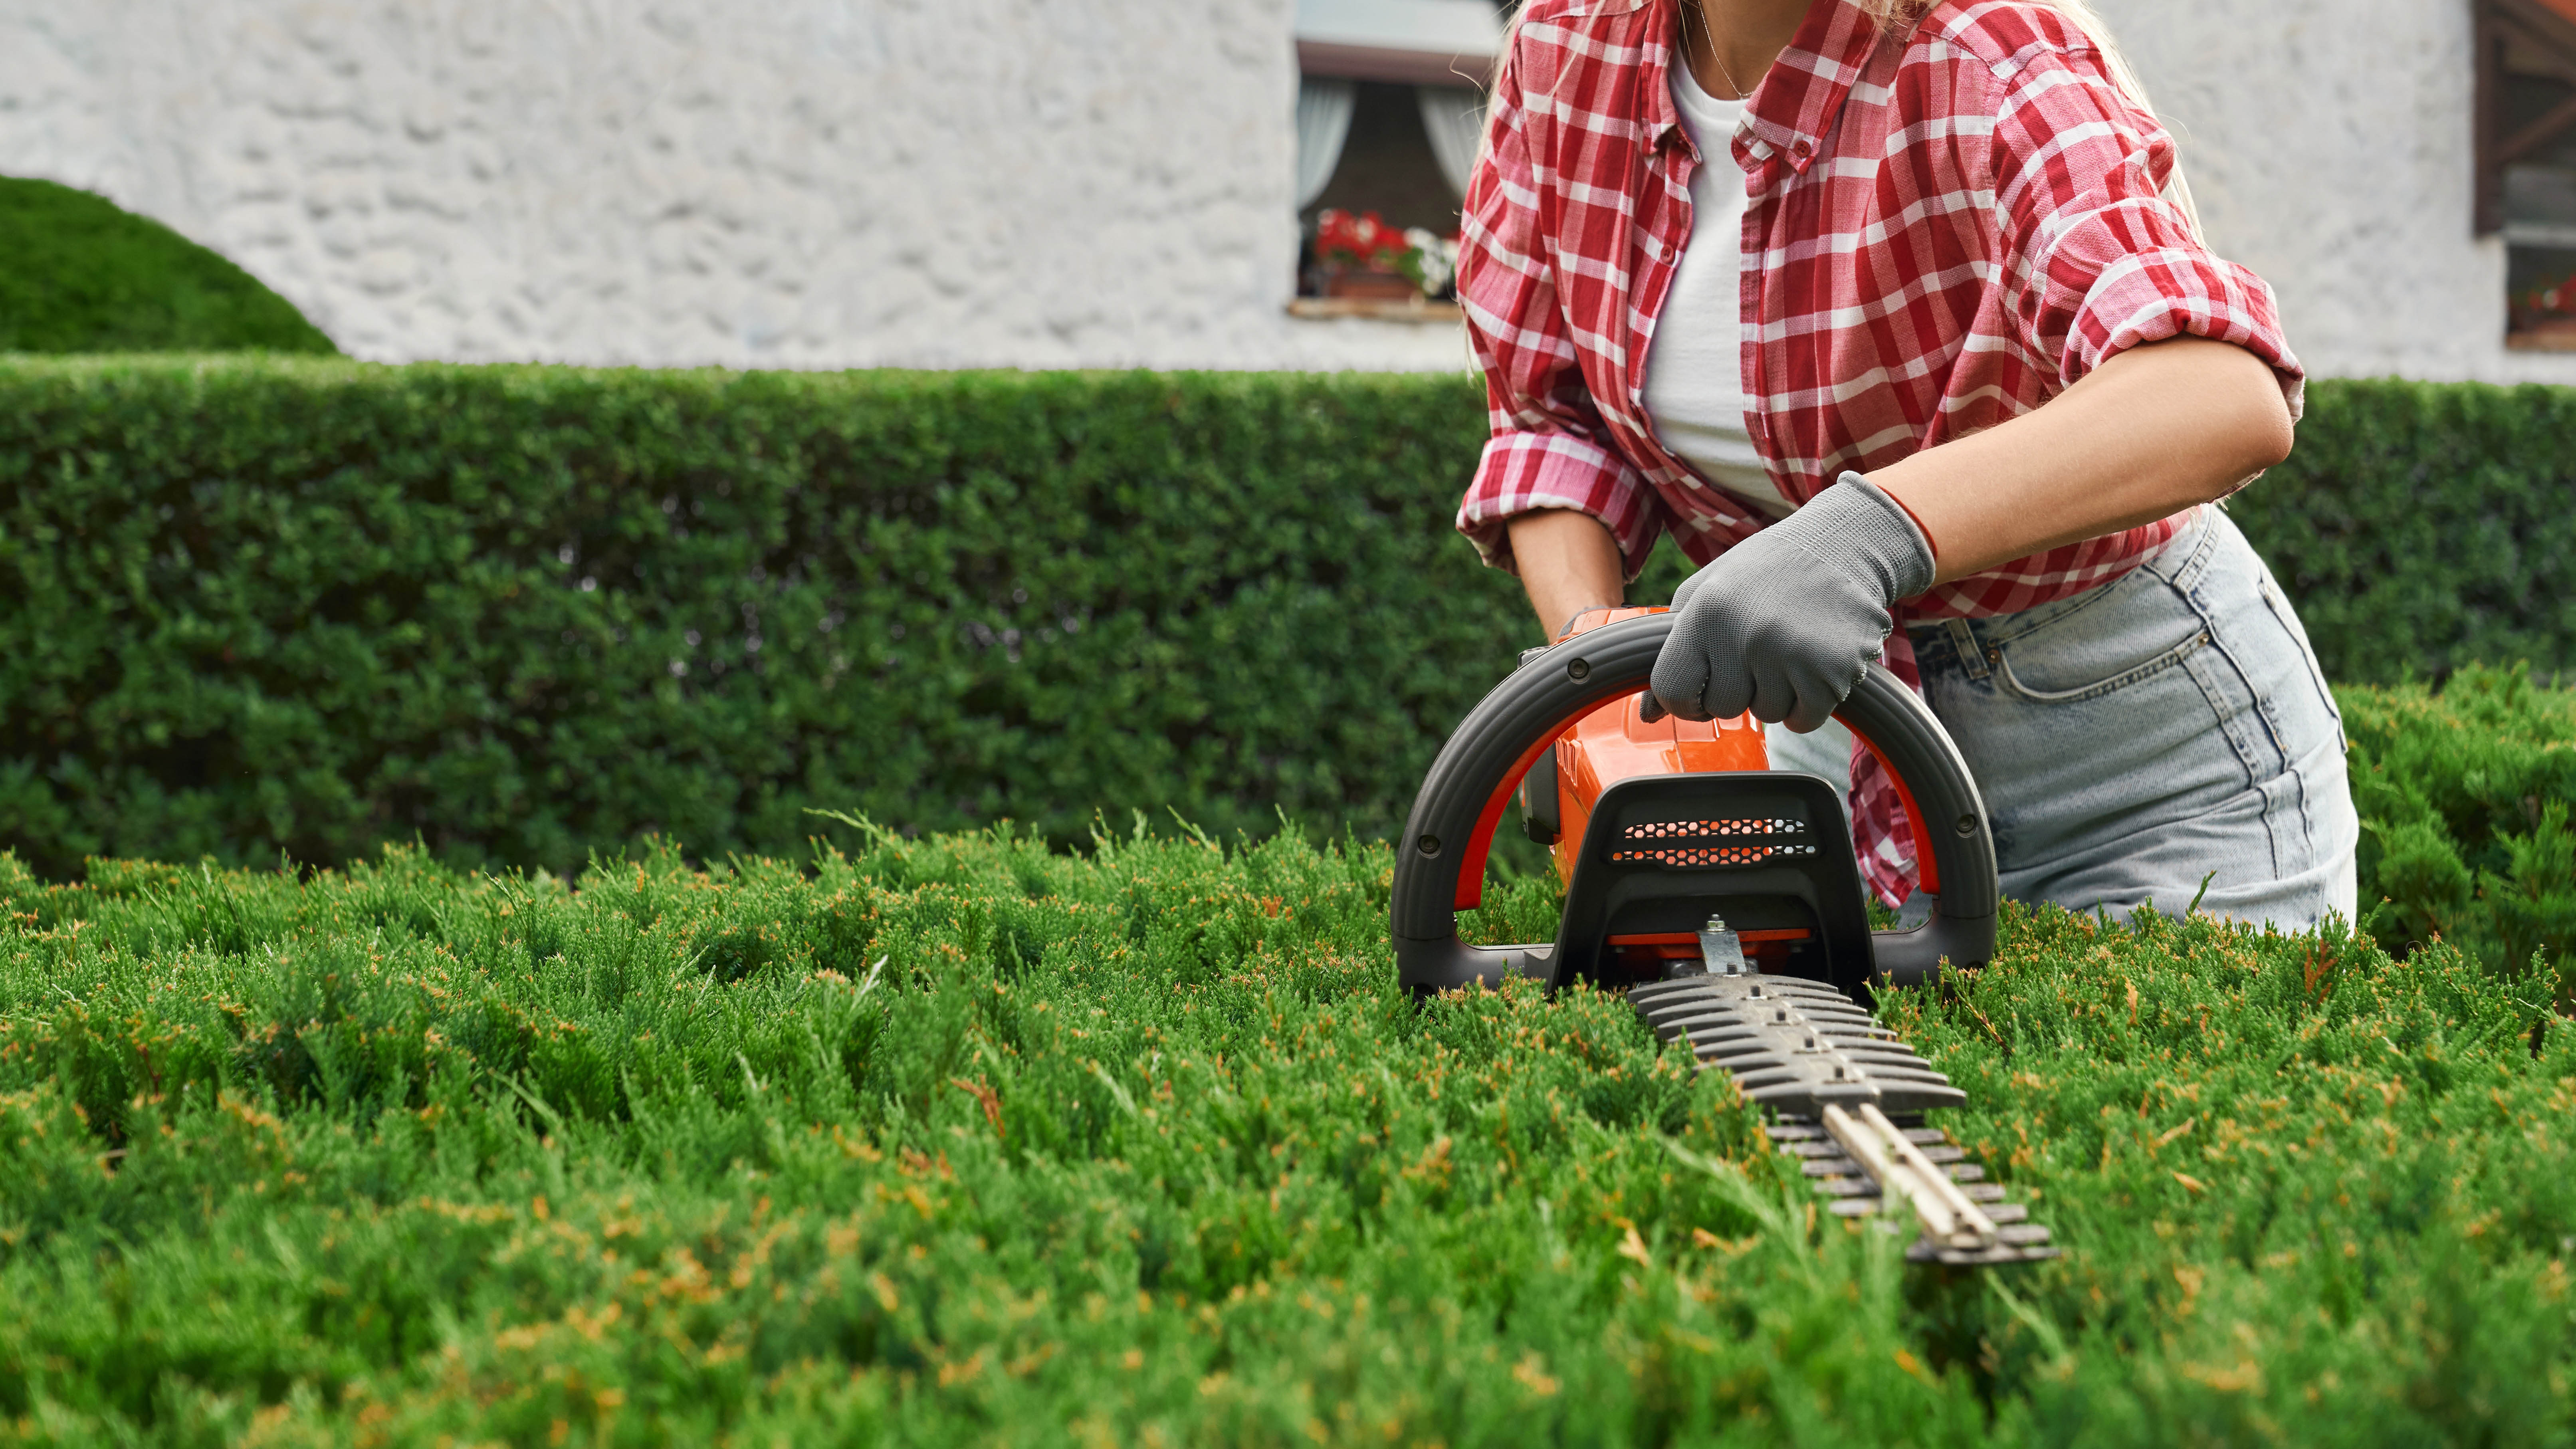
Once you’re happy with what you’ve removed, you can use a power trimmer to shape the hedge. But, remember to prep your space before you do this — see the next point.
Keep the trimmer held at a steady and constant angle as you work, and take regular breaks. Should your arms tire, this could impact the overall angle at which you cut. Take a step back to inspect your work every so often. In doing this, you can check your progress and evenness.
4. Not prepping the space
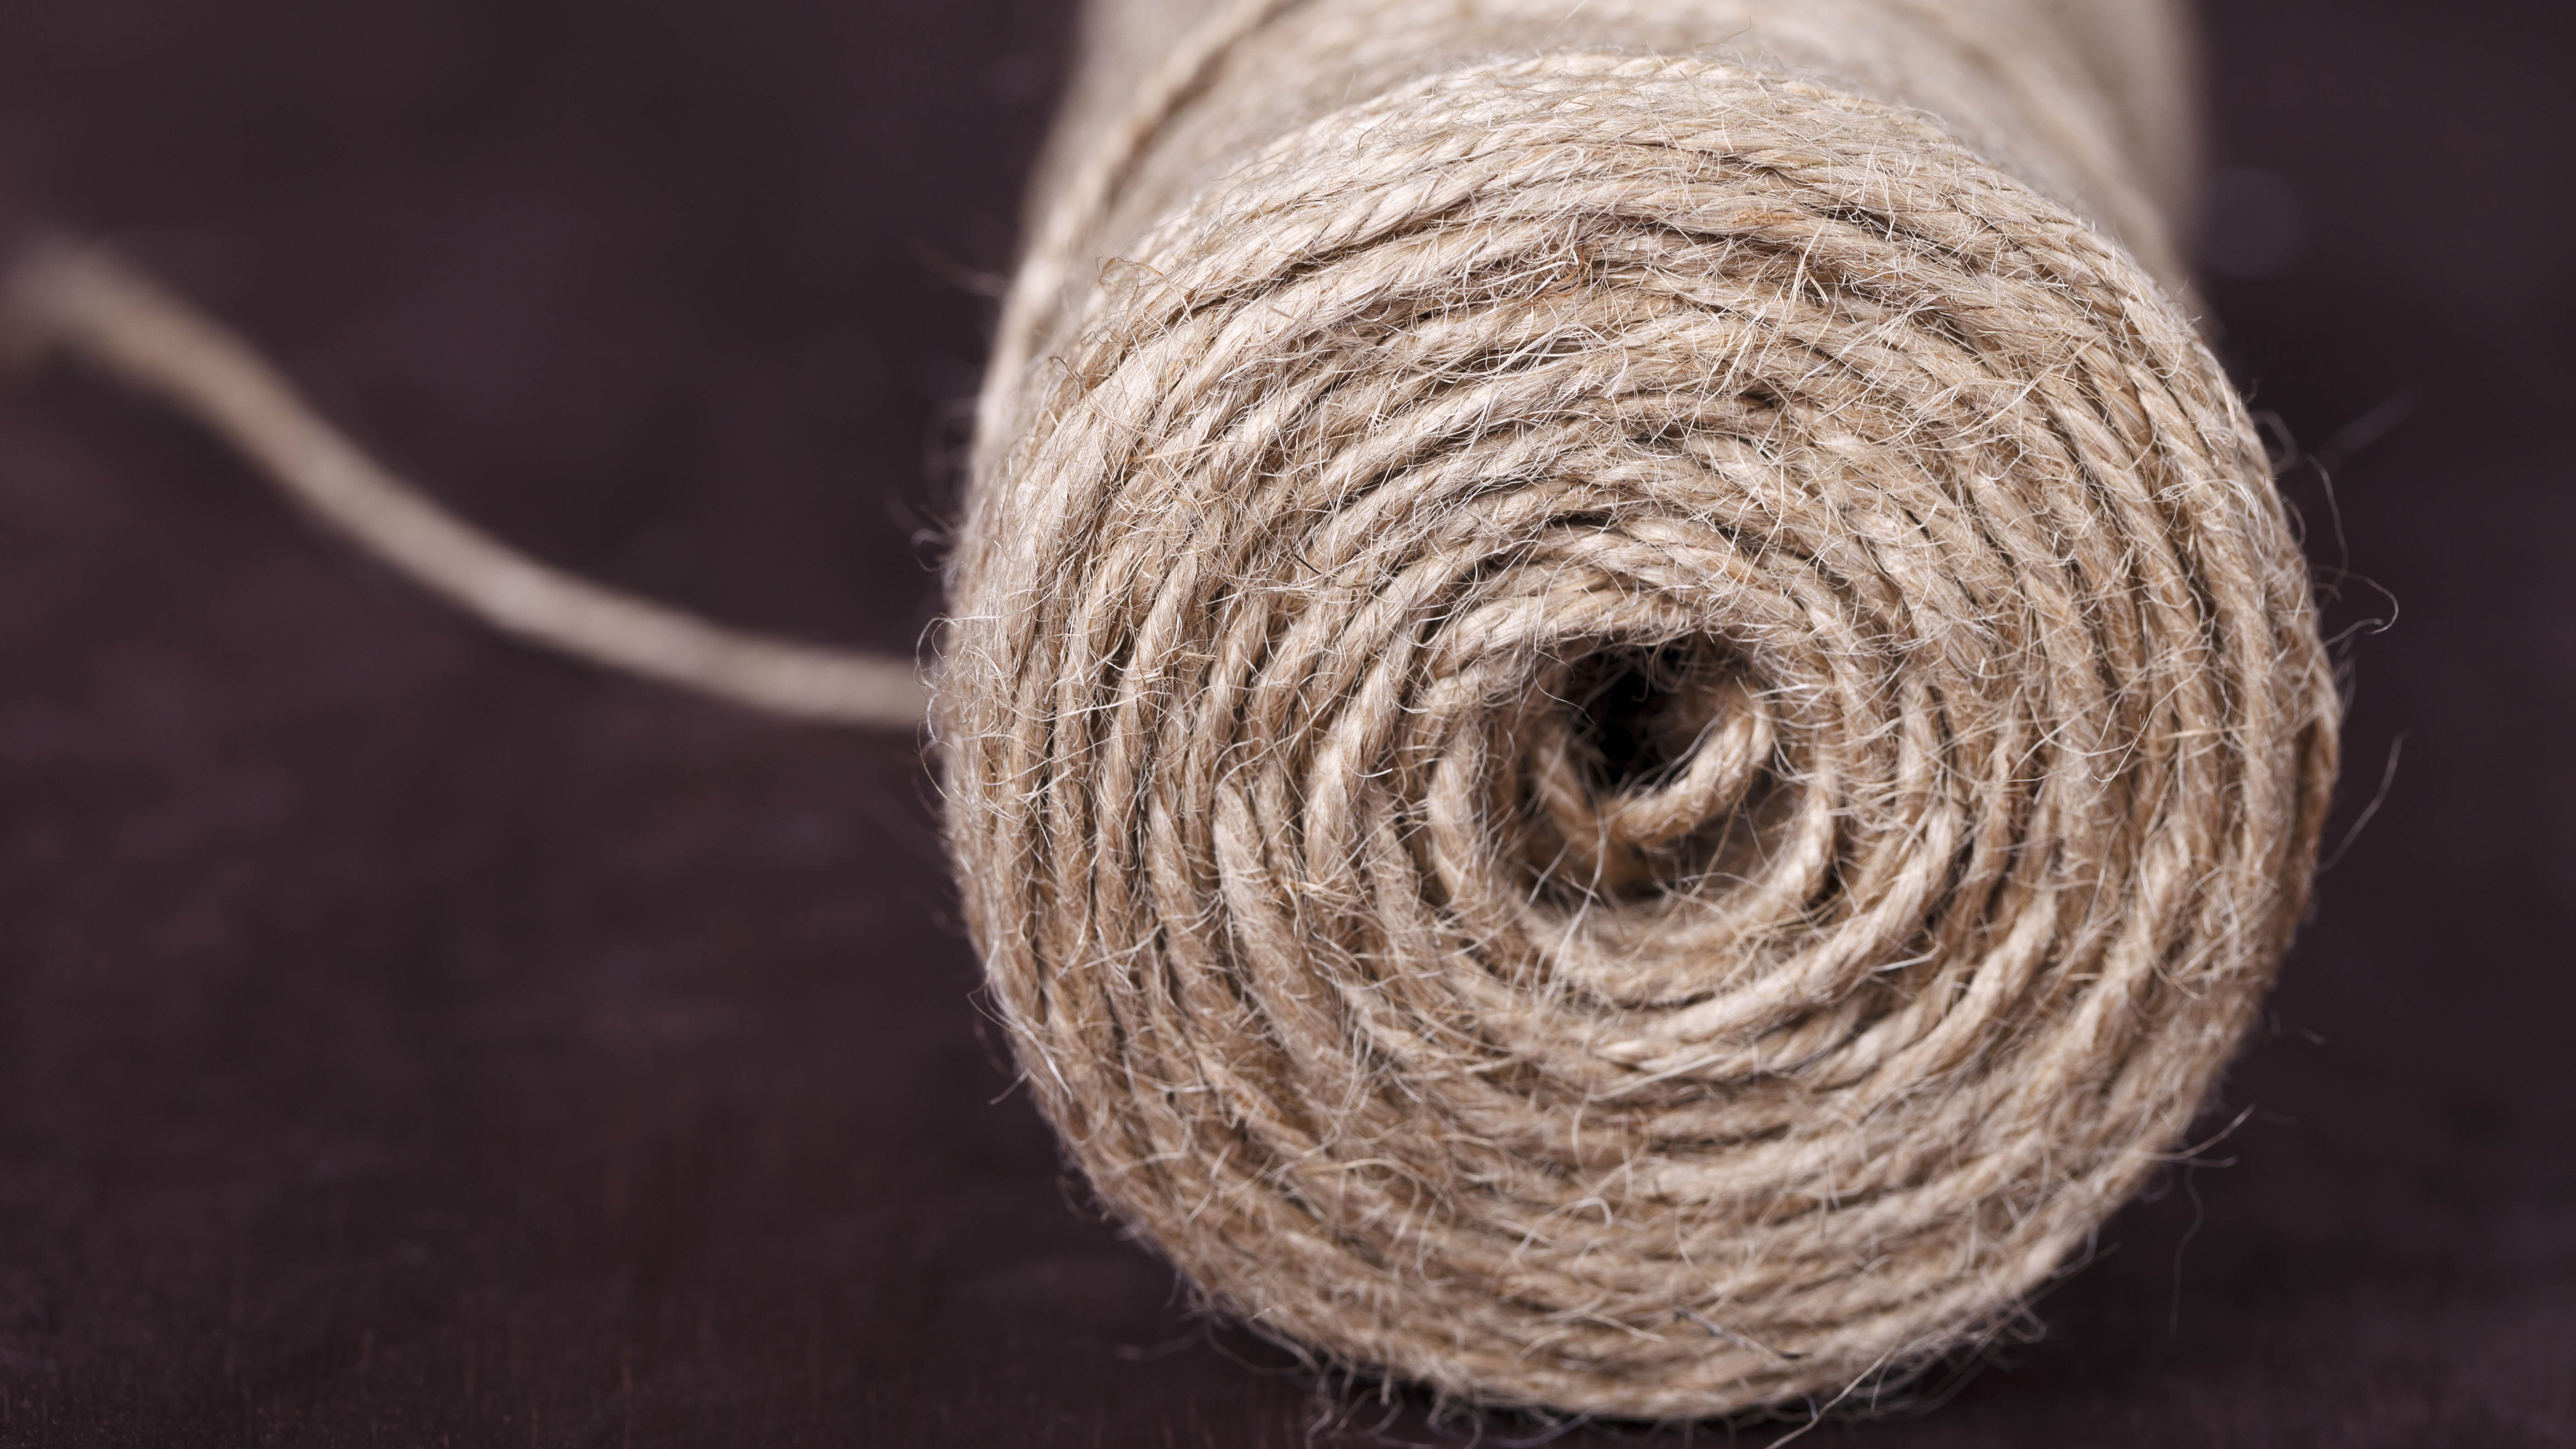
While you might have your tools at the ready and be impatient to get started, it’s imperative that you prepare the space before you shape a hedge. To achieve an even finish, you will need to set up a taut line of string to follow. This should be placed along the top as well as the bottom sides of your hedge. It’s a good idea to set this up after you’ve cut away the excess by hand, but before you use the power trimmer. Otherwise, it can be easy to lose sight of the string, or difficult to position it close enough.
To set up your string, you need to strategically place stakes at the corners of each hedge, angling these in the same direction as the hedge. Then tie a single piece of string from stake to stake, lining it up with the lowest branches and making sure it’s an equal distance from the ground on each side. A second piece of string should then be tied parallel, where you want the upper edge. Once again, this needs to be an even distance from the ground on each side. This string will act as a reference point as you cut the sides as well as the top.
In using string, you can pre-plan the desired height of your shrub and ensure you don’t overcut as well. The string needs to remain taut, so keep an eye on this. You can then do the same on alternative edges for a uniform finish. You will need to reference string on both sides of the hedge to achieve an even and flat top.
5. Using blunt tools
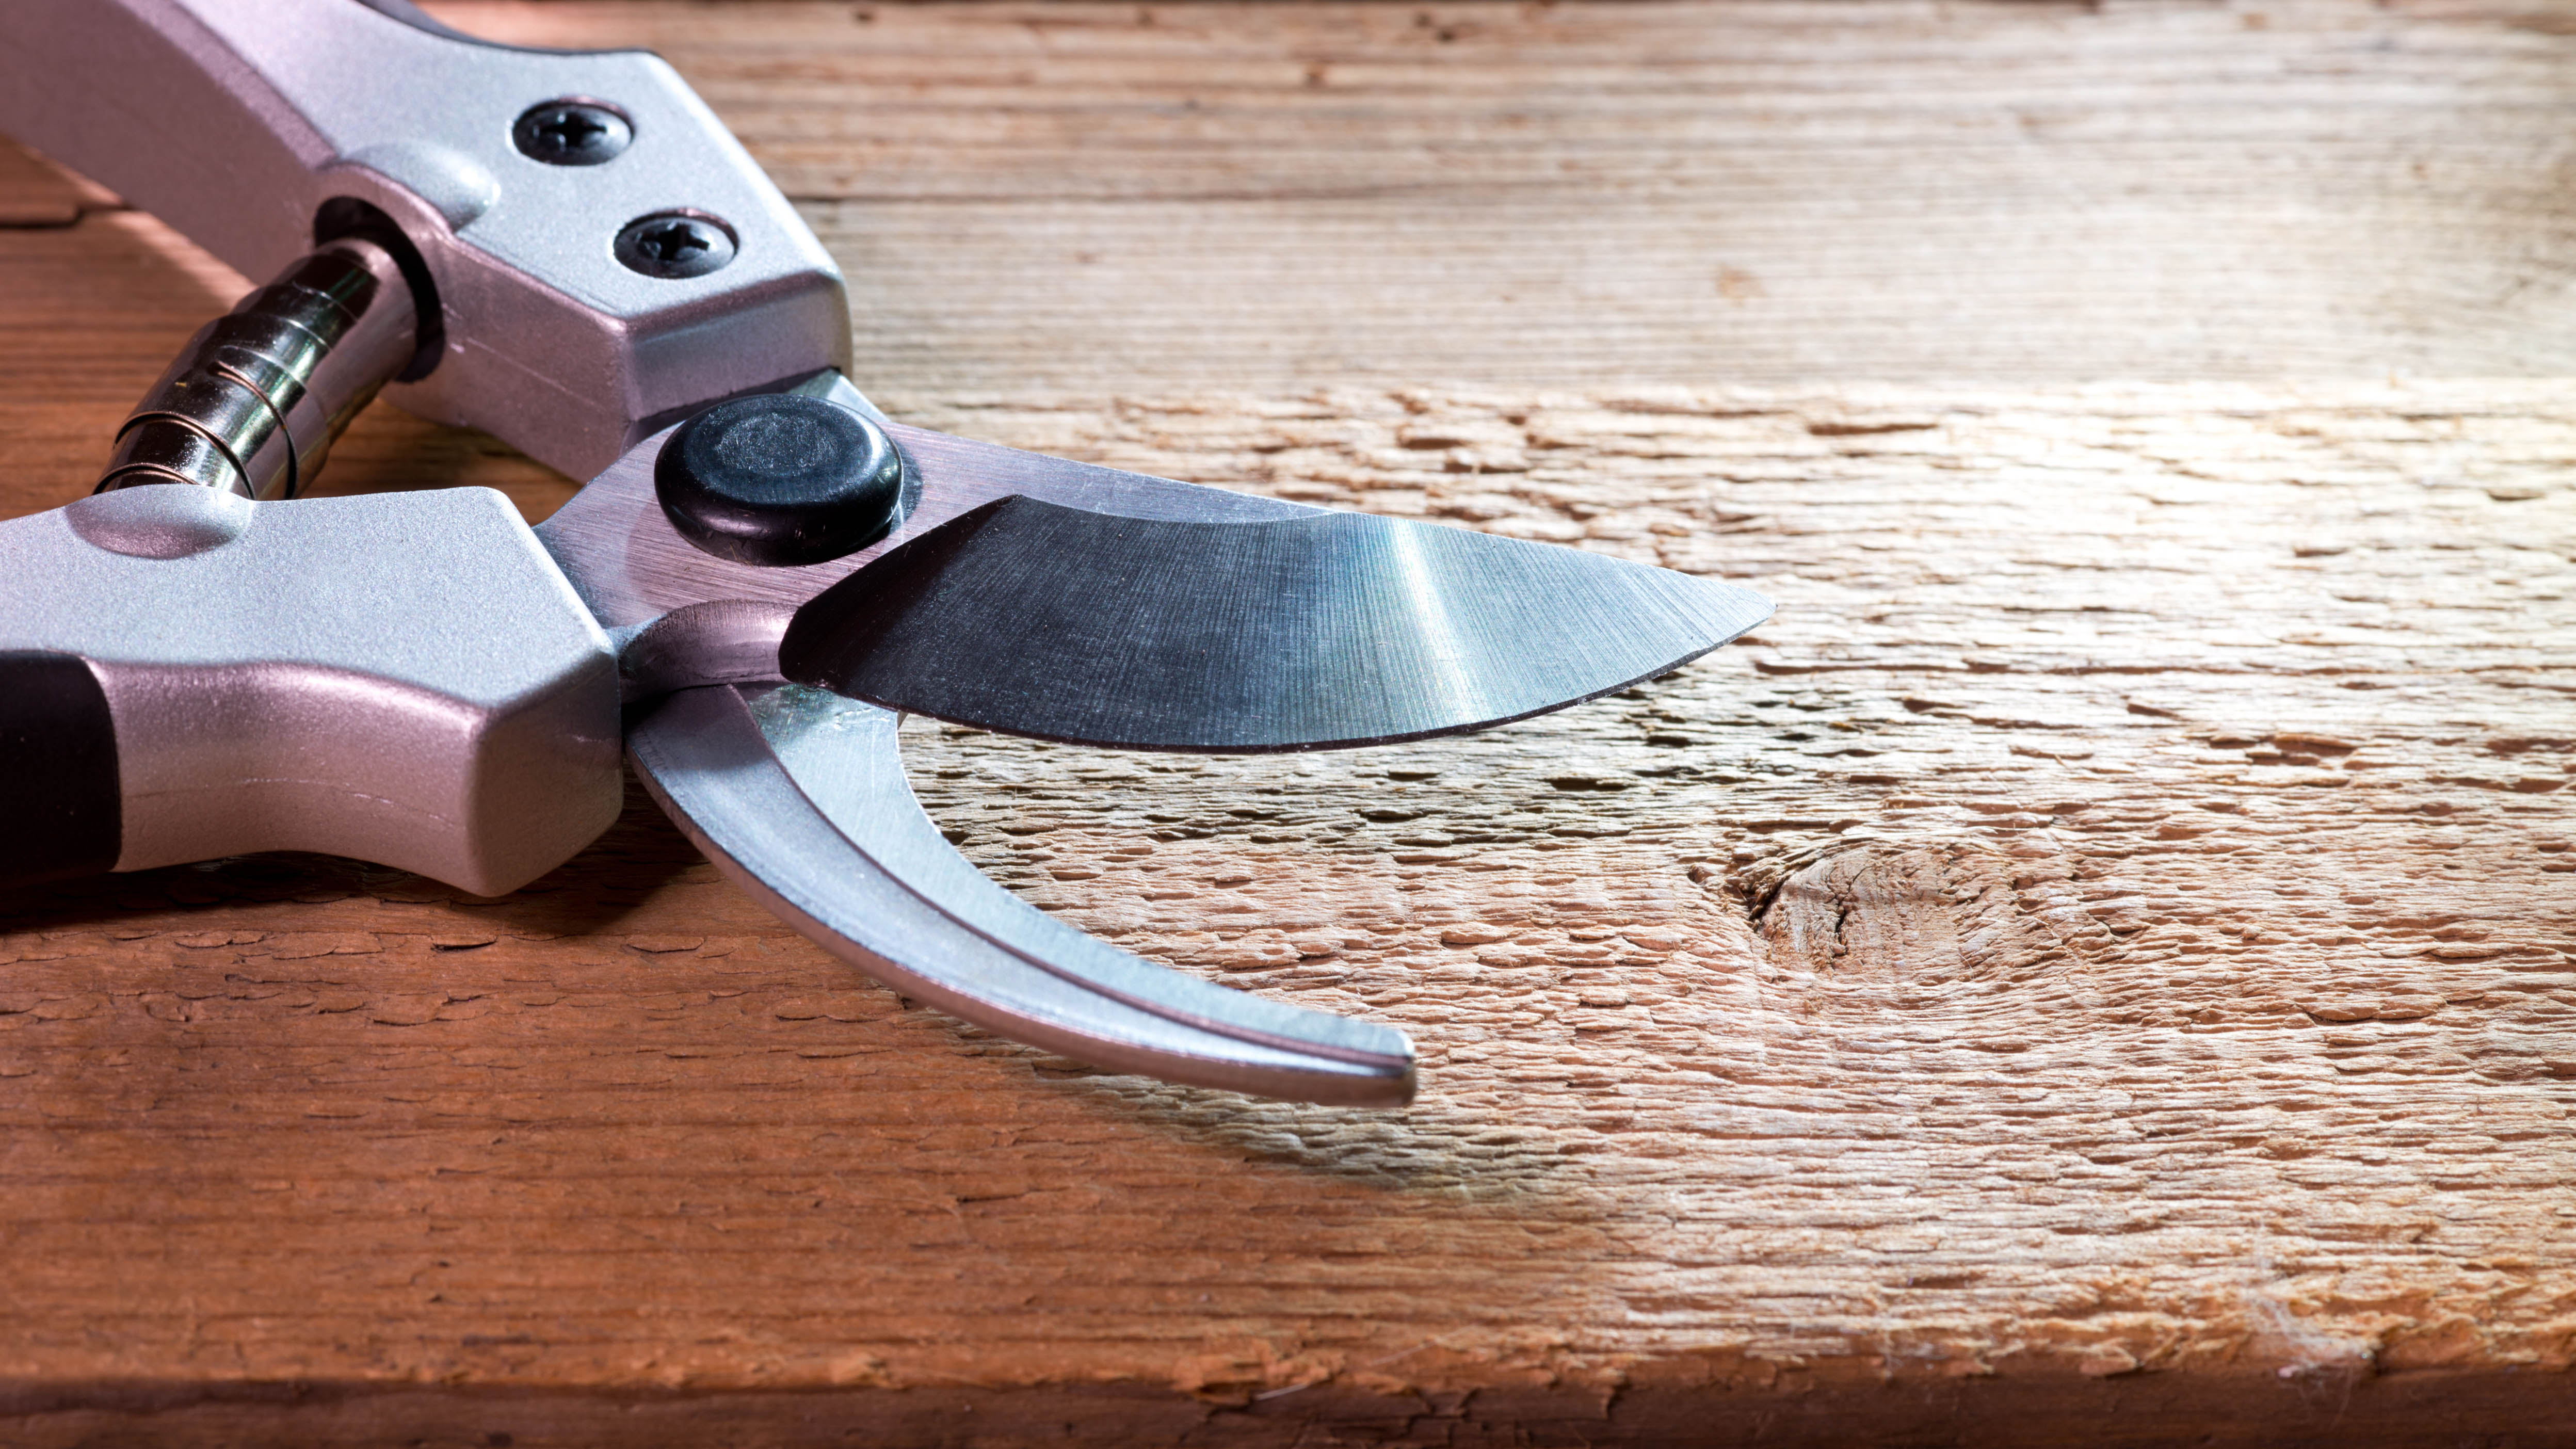
With regular use, your loppers and pruning shears will dull. It’s not always obvious because the blades wear gradually, but it’s essential that you keep an eye out for this. Dull blades will impact the quality of the cut — it will tear and rip at the stems and branches, rather than cut cleanly. This weakens the shrub and ultimately leaves it open to disease, plus it will have the same impact on any other plants you use the tools on. So, should you notice your tools aren’t cutting as they used to, it’s time to sharpen them up.
Best practice involves dismantling the tool (if possible), before carefully cleaning the blades and then sharpening them using a file. For step-by-step guidance on shears, see how to sharpen pruning shears. Remember, if you’re uncomfortable doing this, you can always pay to have the blades sharpened at your local garden center.
6. Lacking safety gear

Safety gear is essential when trimming hedges, and for good reason. The tools you’re handling are sharp and powerful, and it’s all too easy to have an accident. Ensure you’re wearing protective clothing, including safety goggles, thick, protective gloves and ear protection. You should have thick, protective shoes on as well, so fallen branches can’t scratch or cut you.
If you’re uncomfortable with handling this task or the equipment it requires, always air on the side of caution and hire a professional to help.
7. Cutting at the wrong time

The best time to trim your hedge will depend on its type and variety. Timing is less important for non-flowering hedges — aim to trim these every several weeks during the warm season and reduce as the temperature drops. Of course, more or less often may be required depending on the weather, so keep an eye on conditions and don’t let the hedge become unruly. It will be easier to control if you trim little and often.
If you’ve got a flowering hedge, the aim is to not to disturb the buds. You’re best off trimming those that flower in the spring as soon as they’re finished blooming and die back. Those that flower during the summer or fall are best trimmed in the winter or the springtime. Be cautious though; birds will nest during the spring, so you may want to tackle this chore in early spring to avoid disruption and delays.
Don’t trim your hedge if temperatures are high. It will need time to recover and grow back, and high temperatures won't help its health while it's weakened. Don’t trim in moist conditions either — the hedge won't be as easy to cut.
More from Tom's Guide

Katie Mortram used to be a Homes Editor for Tom's Guide, where she oversaw everything from kitchen appliances to gardening tools, as well as smart home tech. Specializing in providing expert advice for cleaning and home manintenance, she now works as Household Advice Editor for Good Housekeeping.
