5 ways to maintain your wooden fence and keep it looking new
Here’s how to maintain your wooden fence and keep it in top-notch condition
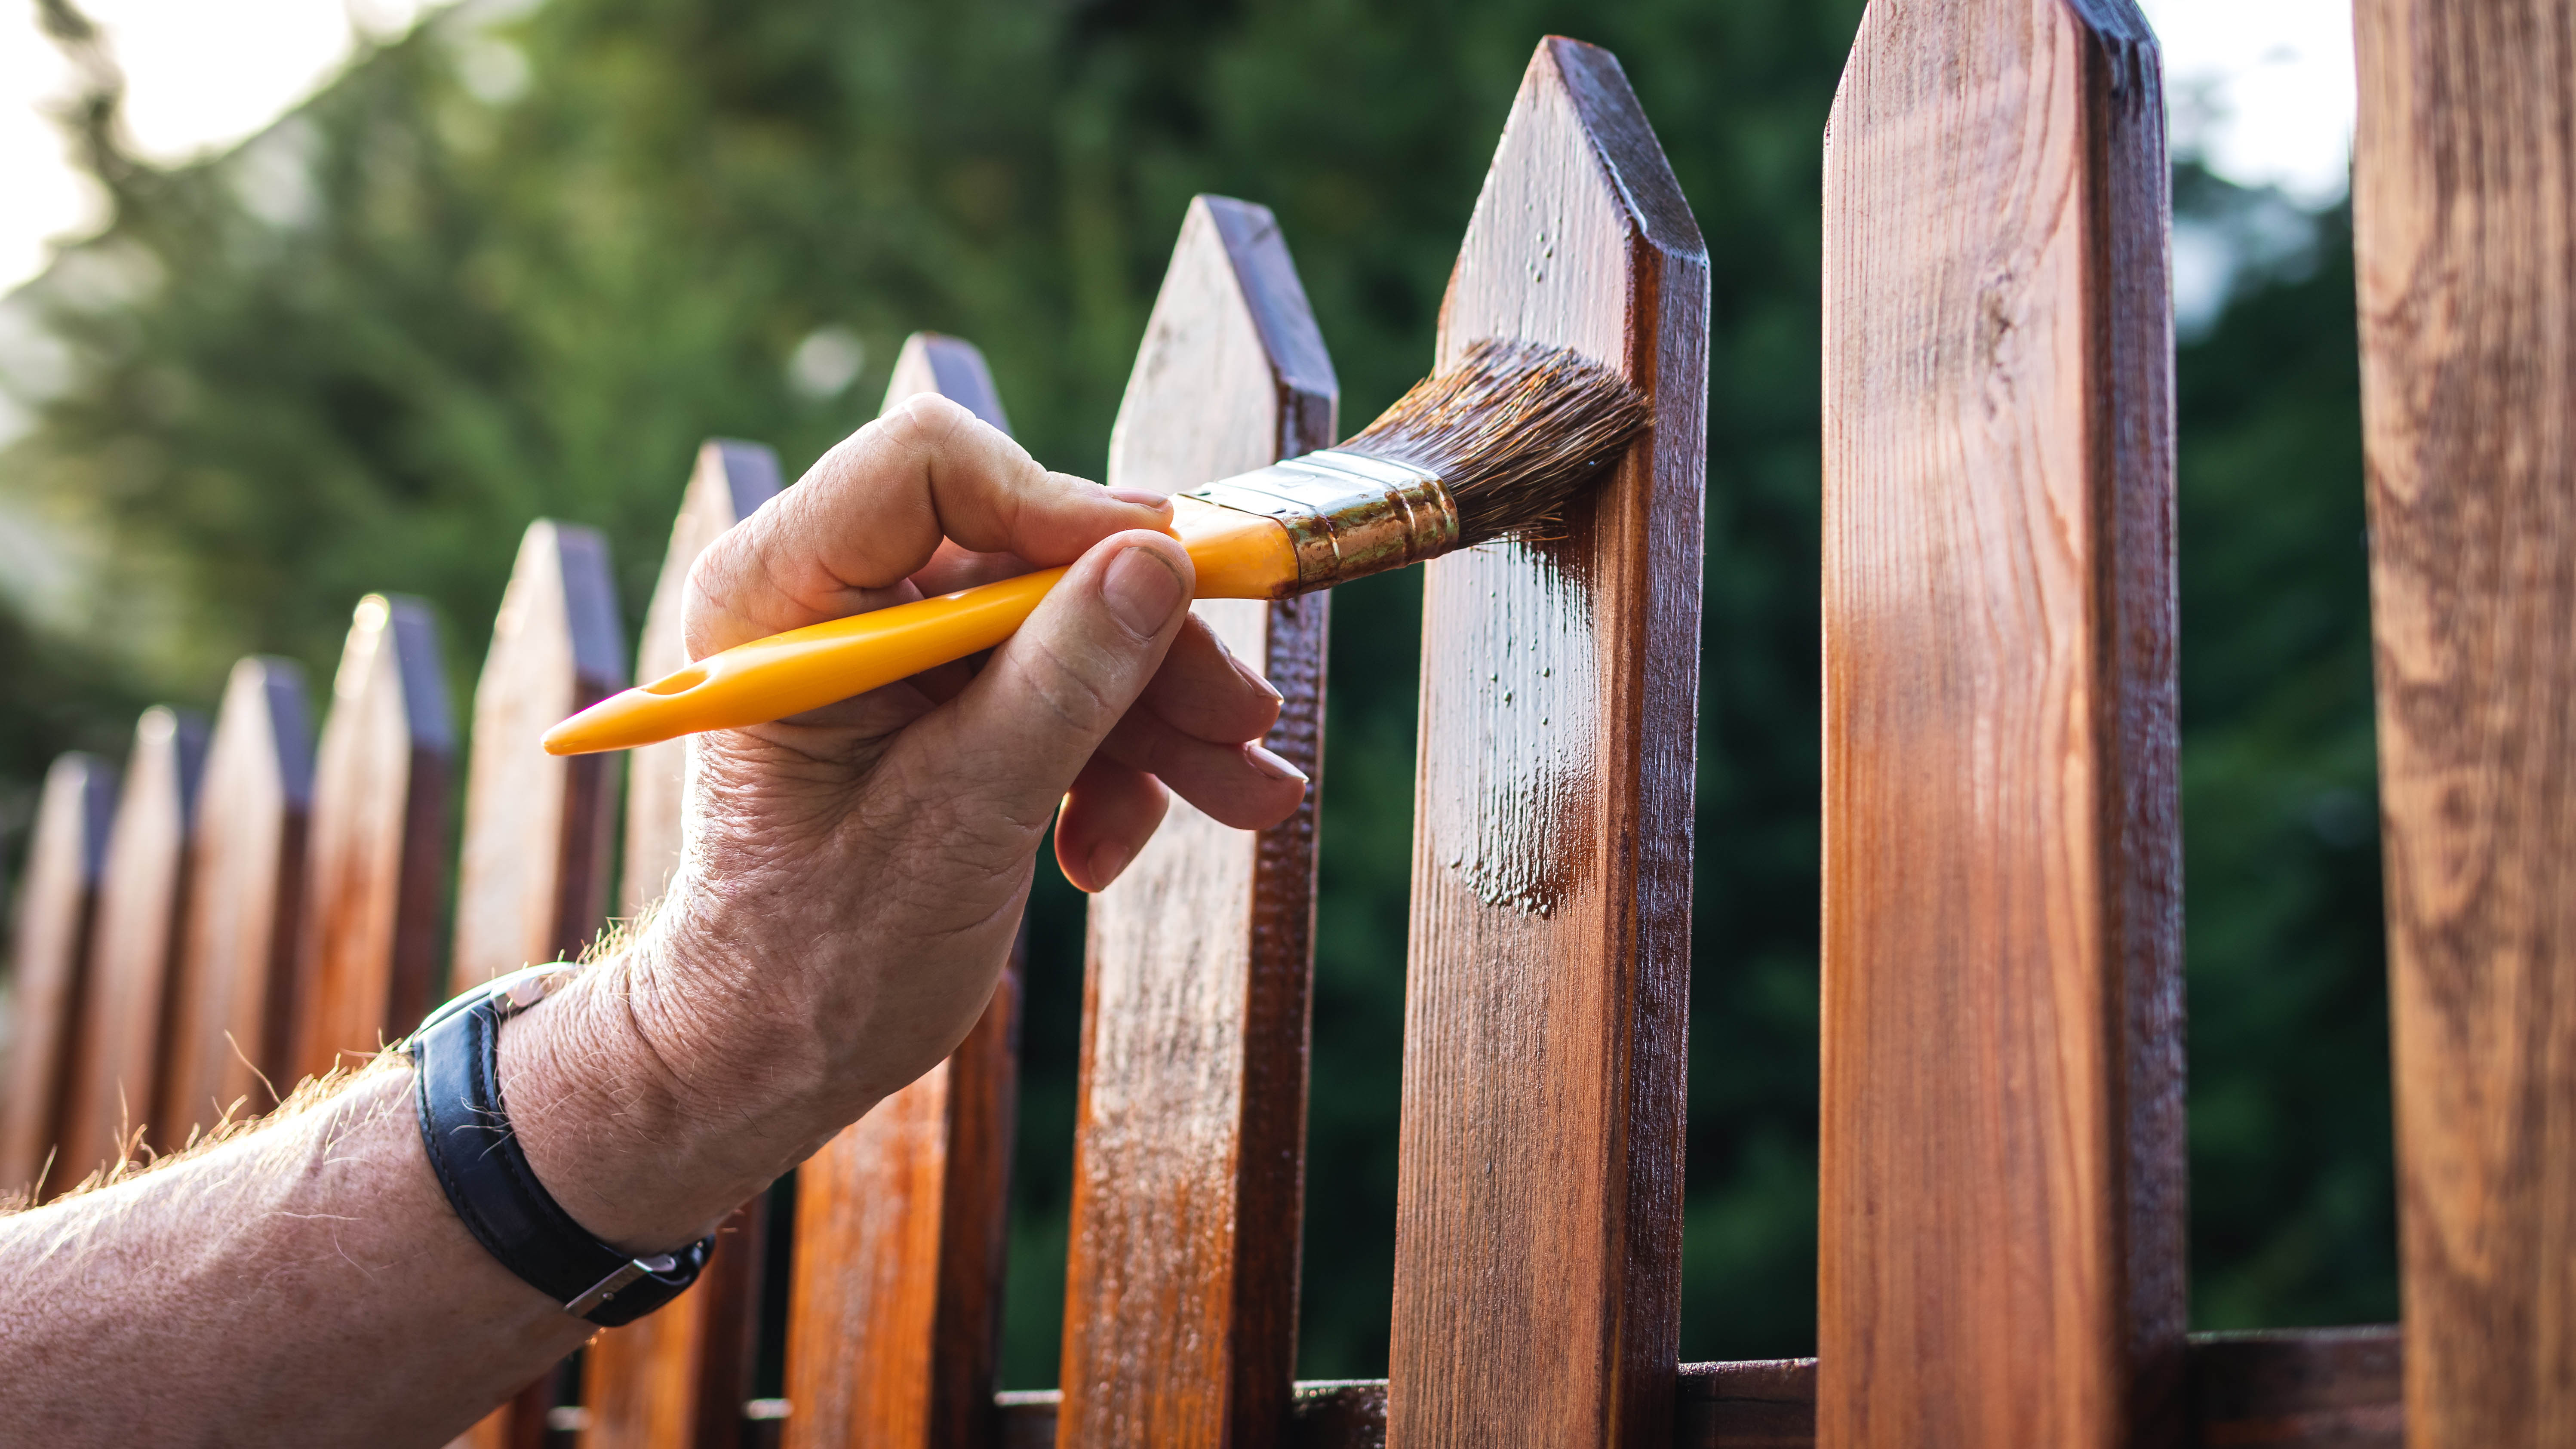
When it comes to maintaining our yards and gardens, we tend to overlook the humble fence. However, knowing how to maintain your wooden fences are an essential part of yard care, and can make all the difference.
Not only do our fences outline the boundary of the yard, offering privacy, but it plays a vital role in the overall aesthetics of the garden. After all, there’s nothing worse than having a beautifully landscaped or striped lawn framed by a damaged or tired-looking fence!
That’s why it’s important to give it some TLC, so that it looks their best all-year round — especially when hosting those backyard gatherings. What’s more, caring and maintaining your wooden fences will ensure they're kept in good condition, and last longer without the need for expensive repairs or replacements. it's also one of the job that can be done to prepare your yard for fall.
So, whether you want to protect it from the elements or simply want to give it a fresh update, check out these 5 ways to maintain your wooden fence and keep it looking new.
Plus, check out these 7 clever ways to make your backyard look bigger and here are 5 ways to create shade in your yard.
"Knowing how to maintain your wooden fence is an essential part of yard care."
1. Clean the fence
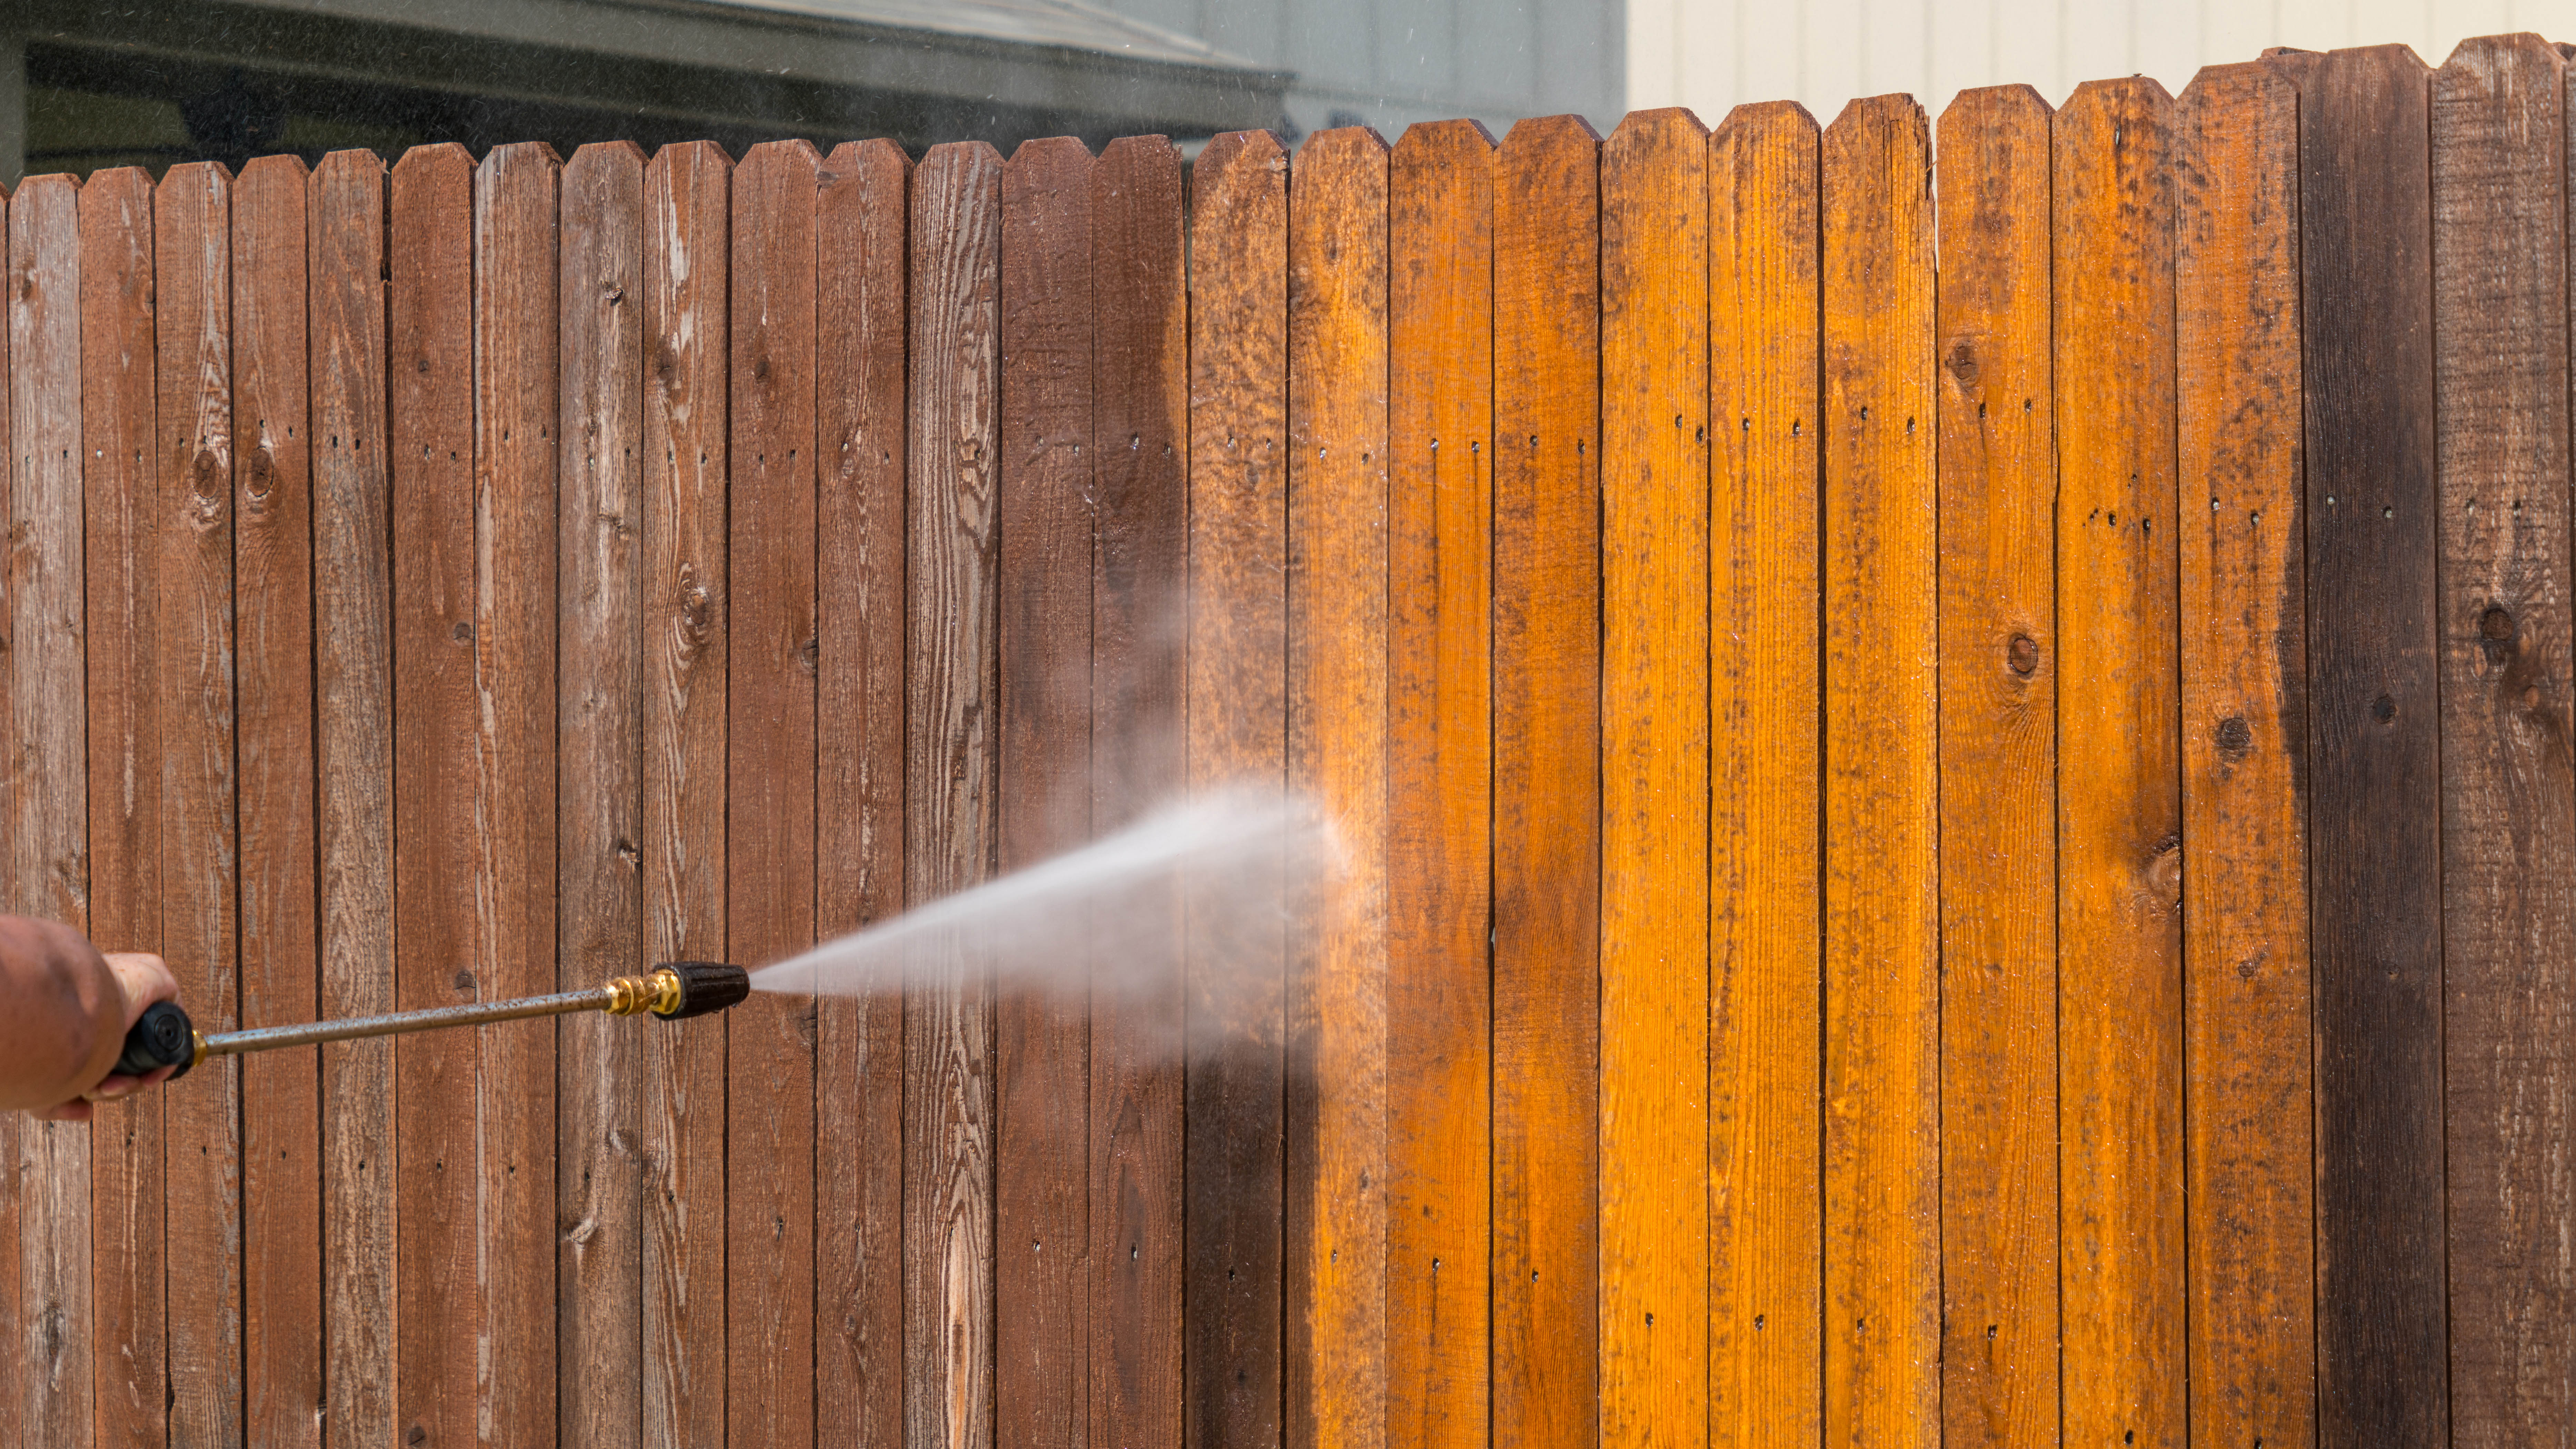
When was the last time you cleaned your fences? Inevitably, these are prone to daily dirt, grime or moss growth, so it’s important to give it a good clean first. This allows a fresh surface before applying any protective treatments or staining.
First, brush away any surface dirt before washing. “You need to ensure your fence is free from any debris such as cobwebs,” says fencing expert Arran Driscoll at Fitrite, “it's best to use a bristle brush to do this.”
Sign up to get the BEST of Tom's Guide direct to your inbox.
Get instant access to breaking news, the hottest reviews, great deals and helpful tips.
Depending on how sturdy or grimy your fences are, it might be better to use a pressure washer to clean them properly. This can be used to quickly blast away grime and dirt, and expose a clean layer of wood. More importantly, it'll save precious scrubbing time. Afterwards, experts recommend cleaning with a dedicated wood cleaner before rinsing off any residue. Having a clean surface, that is free from debris and dirt, will make all the difference when staining.
If you don’t own a pressure washer, you might be able to hire one from your local gardening center. Just avoid these 9 things you should never clean with a pressure washer.
2. Make minor repairs
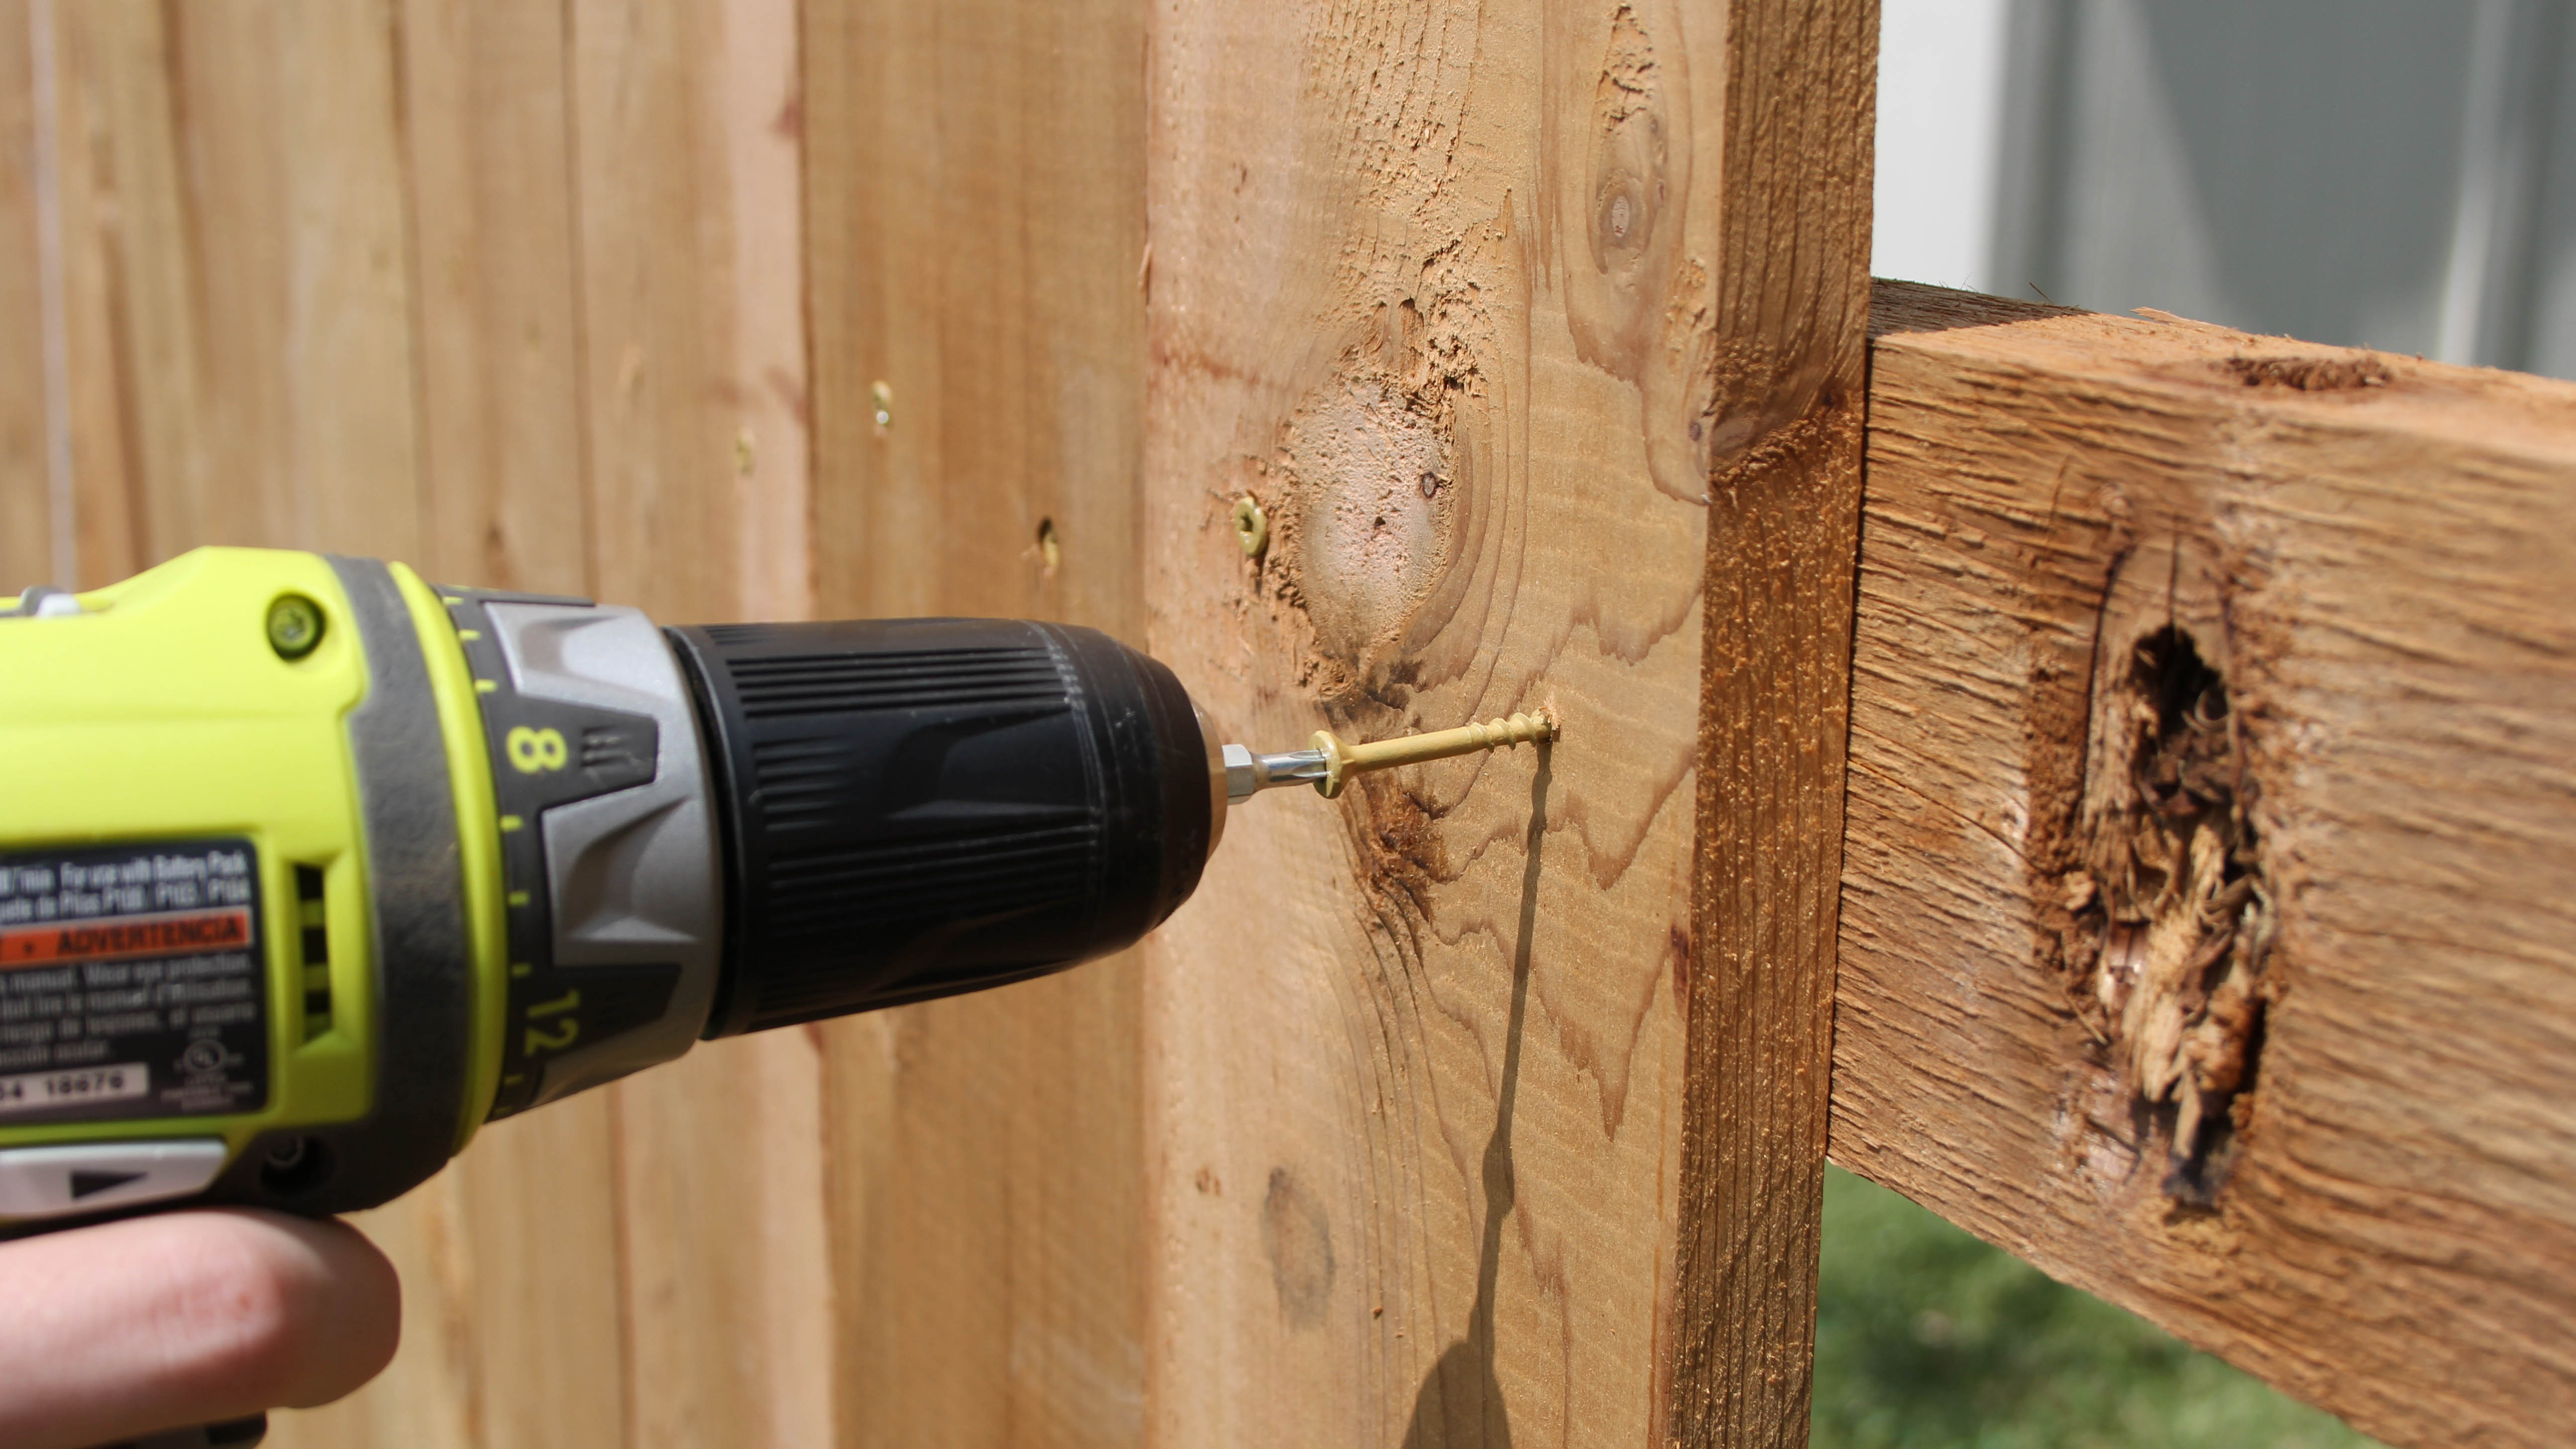
Once the wood has dried completely, this is the ideal time to inspect fences for repairs that need fixing. Keep an eye out for any areas where the wood has cracked or have developed holes. Depending on the extent of the damage, these can easily be repaired with a wood filler or putty. Any imperfections in the wood grain can easily show through when you're staining or painting.
However, if you have wood rot or serious, weather-related damage, you may need to replace the panel. Also, ensure your fence posts are sturdy, as these can weaken over time.
3. Sand the fence
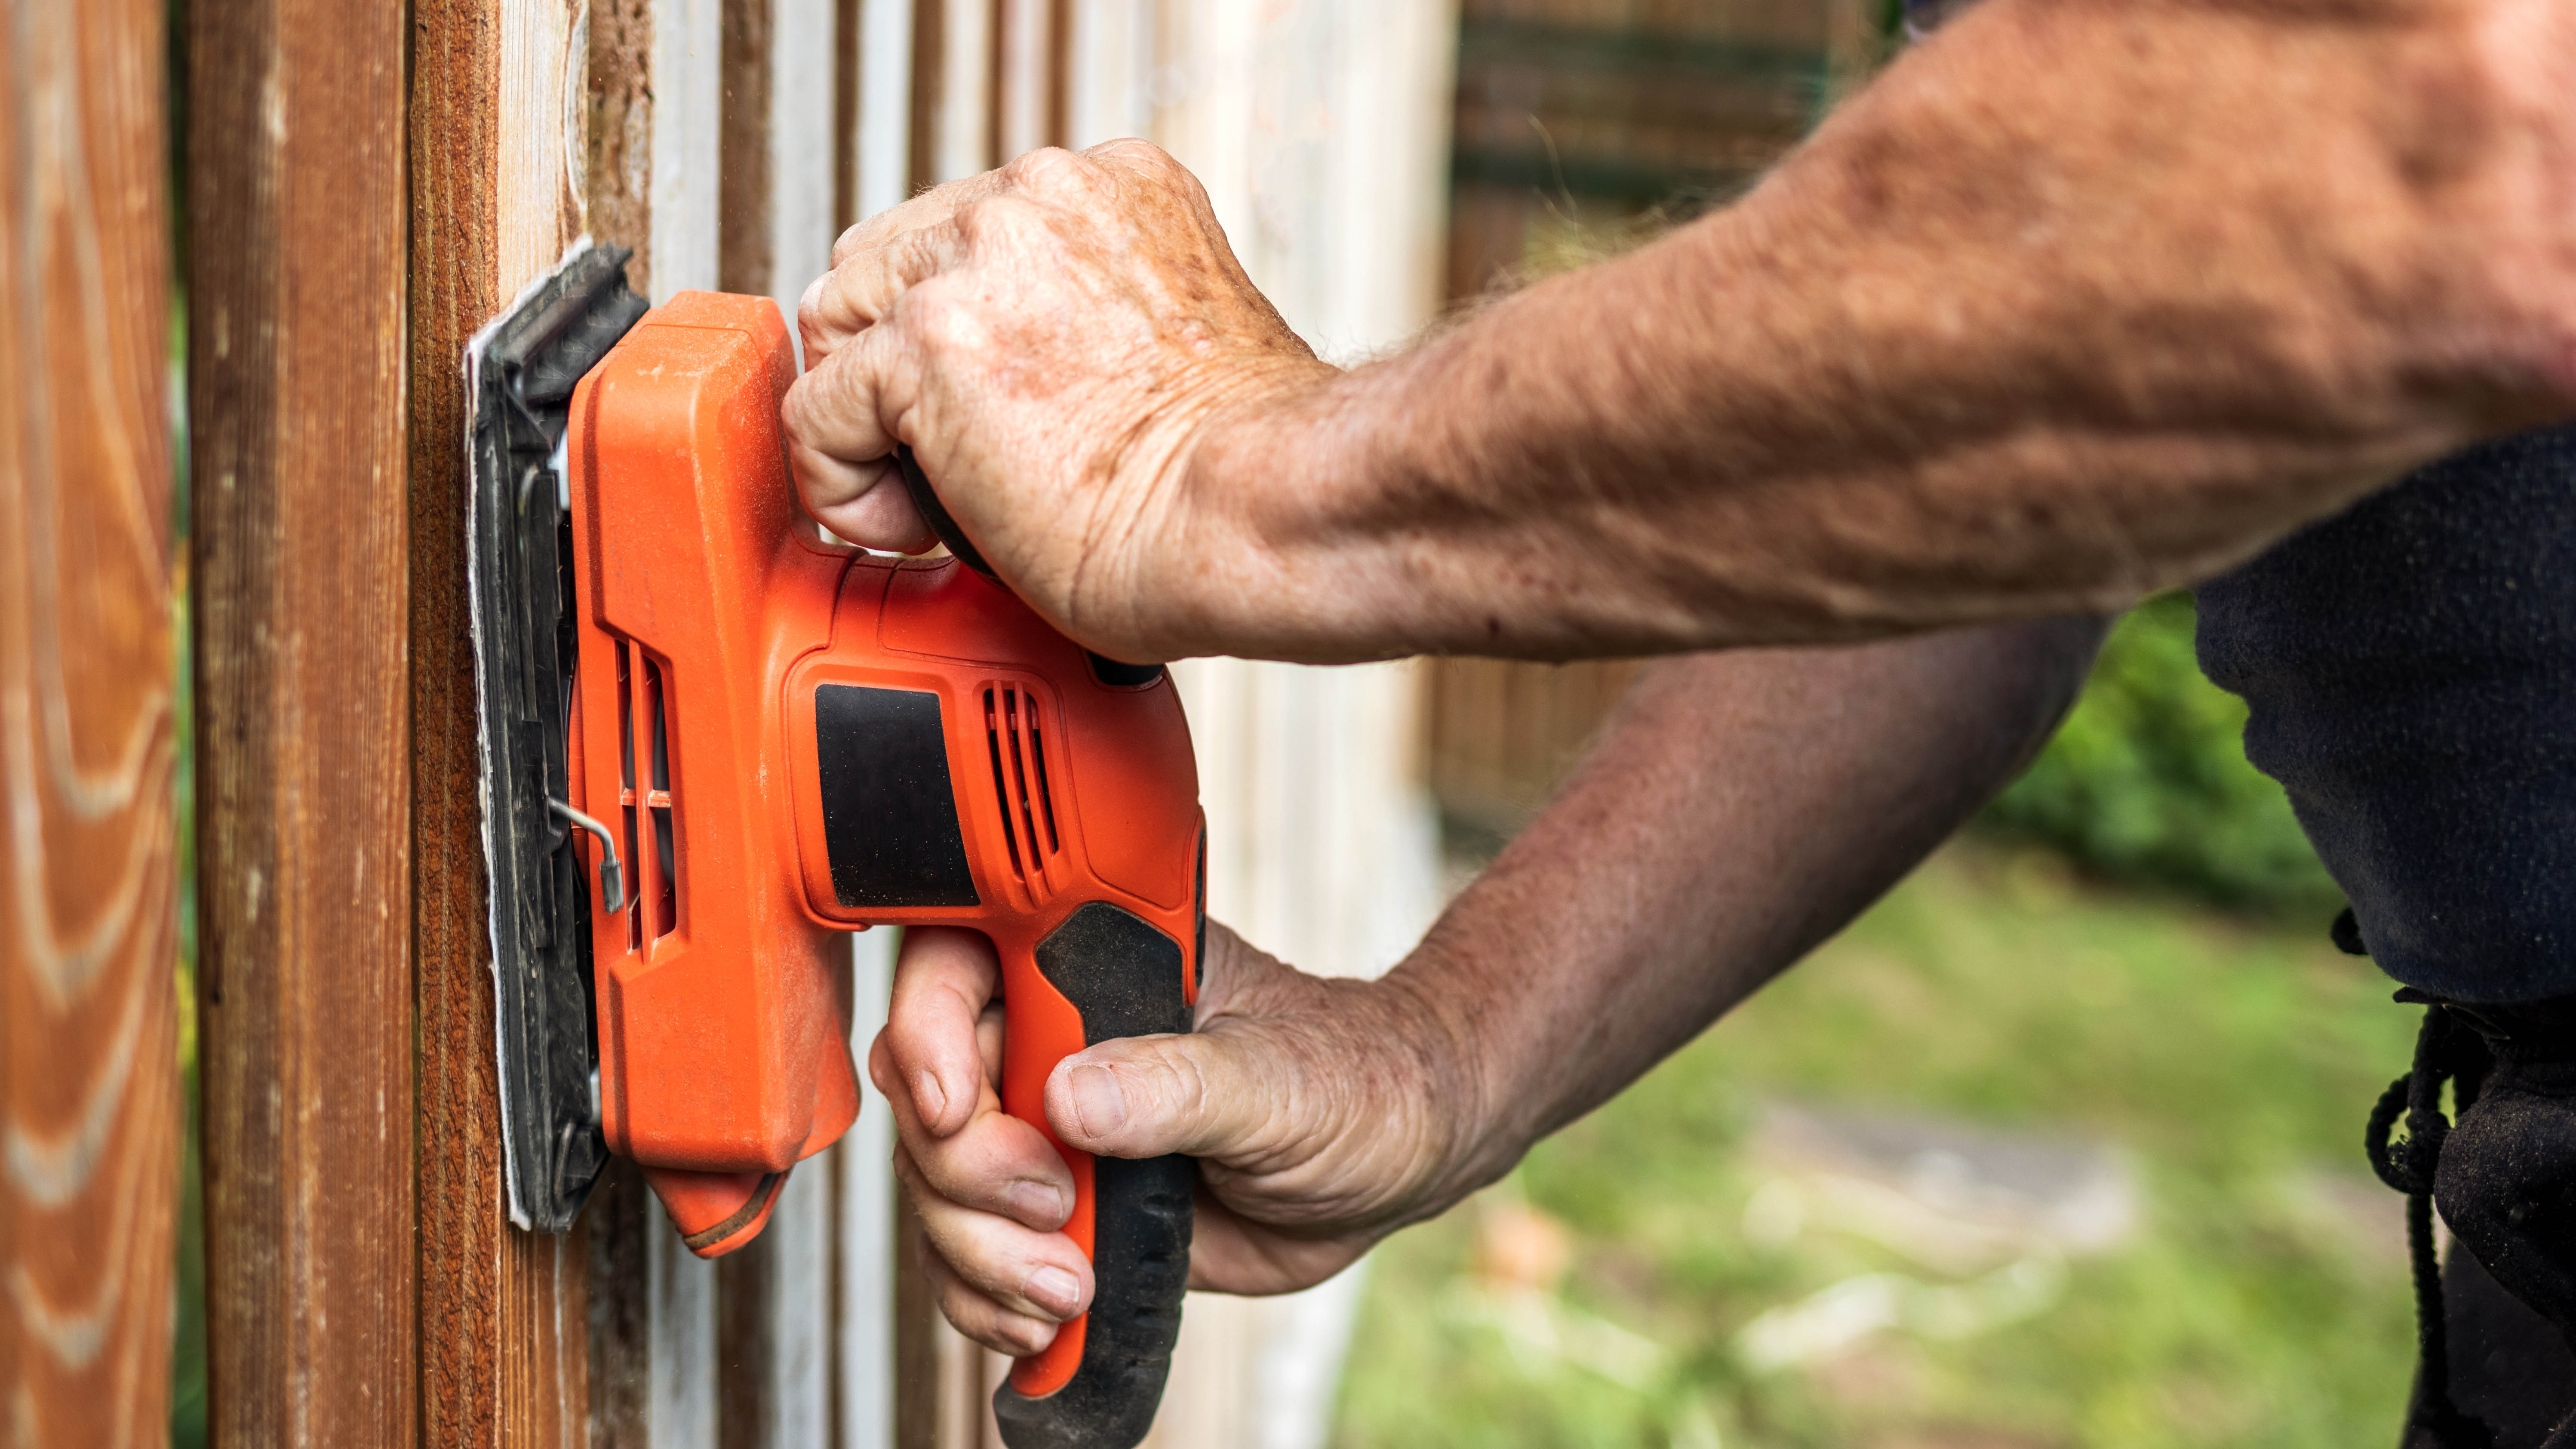
After you’ve made all the necessary repairs, sand the wood to make the surface smooth and bump-free. You can either use medium-grit sandpaper and a sanding block to tackle those small areas, or a hand-held power sander to lightly sand fences.
It’s always advisable to test a small area on the fence first, to get the exact pressure you’ll need (without causing more damage!). In any case, sanding will help to prevent further cracking or splitting in certain areas over time, and between coats of paint.
4. Apply a protective sealant

Although most fence panels already come pre-treated, it’s still best to apply additional protective sealant. You can find decking oils and wood preservers available in a range of shades to suit your home. “Wooden fences require annual maintenance with UV and weather-resistant coatings to protect the timber from rain, wind, snow, and rot,” says Driscoll, “The coating should then be applied every year, again with a bristle brush, working the strokes in the same direction as the wood grain. It typically requires two coats and if you want to paint you can do so over this coating.”
What’s more, the simple task of applying treatment can not only offer extra protection against the elements, but will give your fences a nice finish too! And since this helps to make your fences last longer, this will save you the money (and hassle) of major repair jobs in the long-run.
5. Paint your wooden fence
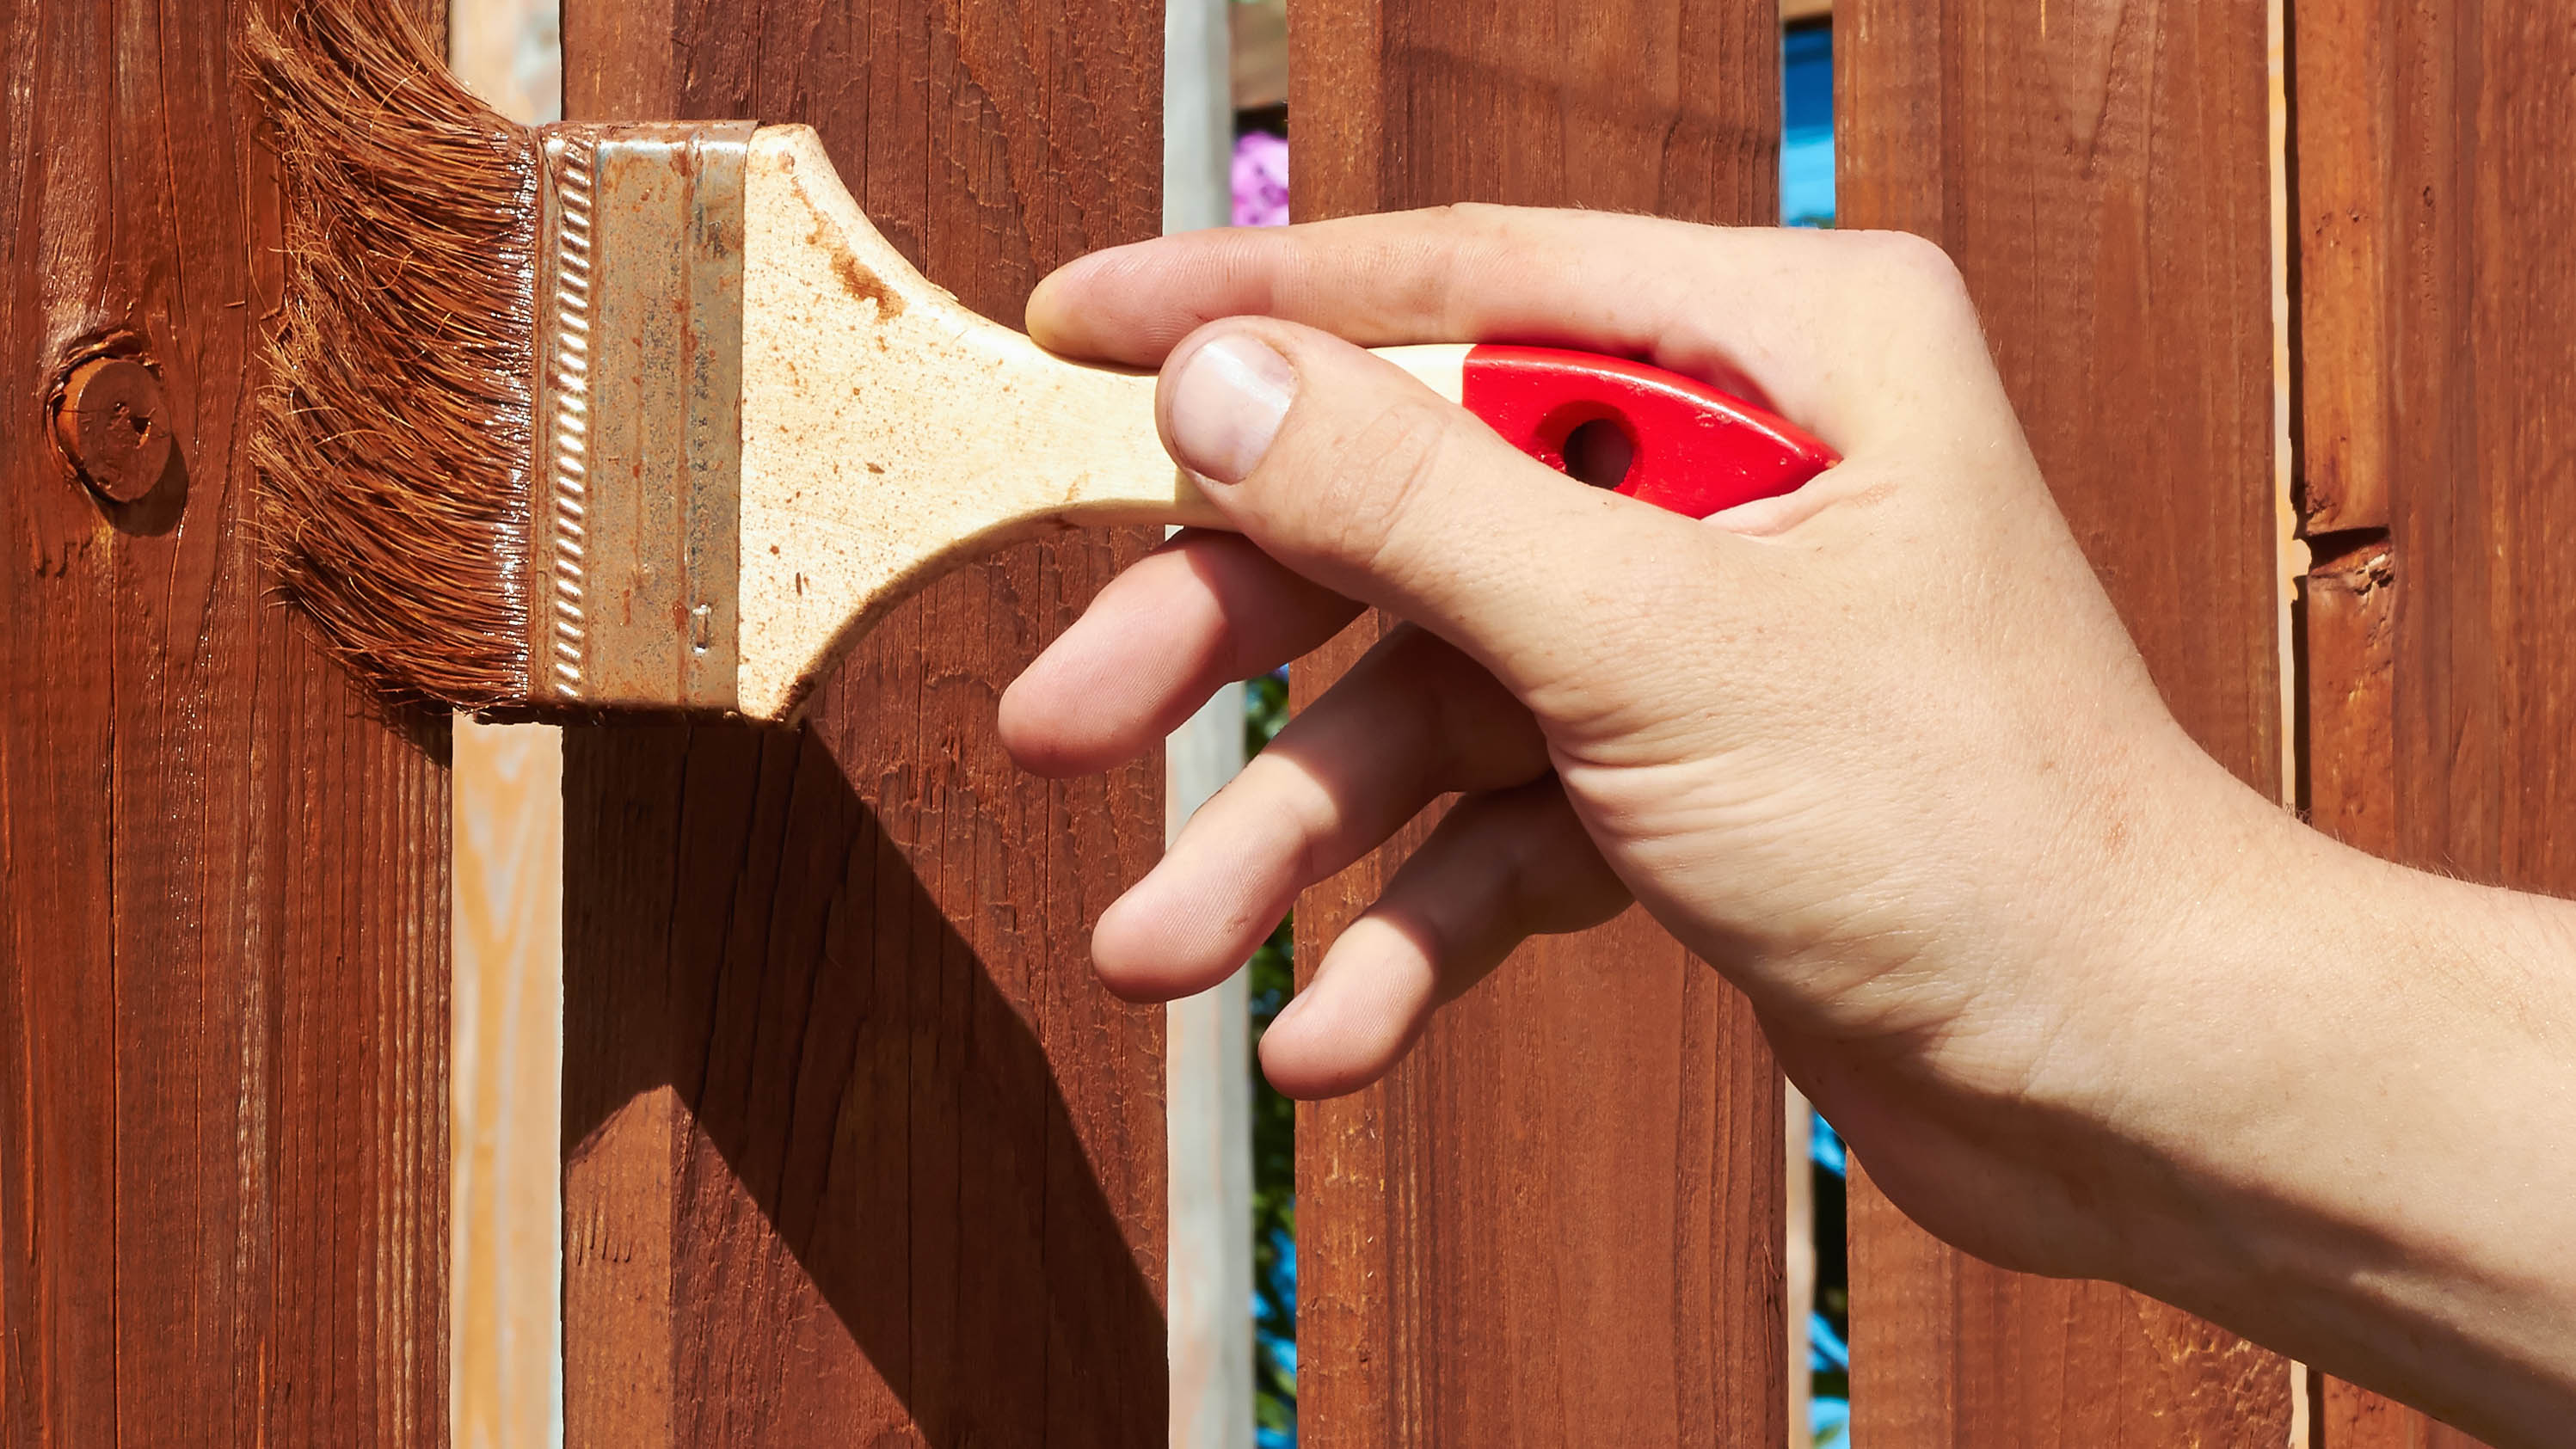
Now that your fence or fences are prepped, you can give it a new lease of life with a fresh coat of paint. When painting, always remember to apply the paint in the same direction as the grain to get the best finish.
There are plenty of colourful shades available to add a splash of colour to your yard. In fact, if you want to make your garden look bigger experts recommend painting your fences green. Not only does it give the illusion of more space, but blends in nicely with your lush greenery.
Other popular color options include light blue, cream or natural wood shades that will open up the space. If you want to take it to the next level, you can even paint your wooden garden furniture in a lighter tone too.
More from Tom's Guide

As the Homes Content Editor, Cynthia Lawrence covers all things homes, interior decorating, and garden-related. She has a wealth of editorial experience testing the latest, ‘must-have’ home appliances, writing buying guides and the handy ‘how to’ features.
Her work has been published in various titles including, T3, Top Ten Reviews, Ideal Home, Real Homes, Livingetc. and House Beautiful, amongst many.
With a rather unhealthy obsession for all things homes and interiors, she also has an interior design blog for style inspiration and savvy storage solutions (get rid of that clutter!). When she’s not testing cool products, she’ll be searching online for more decor ideas to spruce up her family home or looking for a great bargain!
