5 ways hard water is damaging your home — and how to fix it
Common hard water problems and solutions
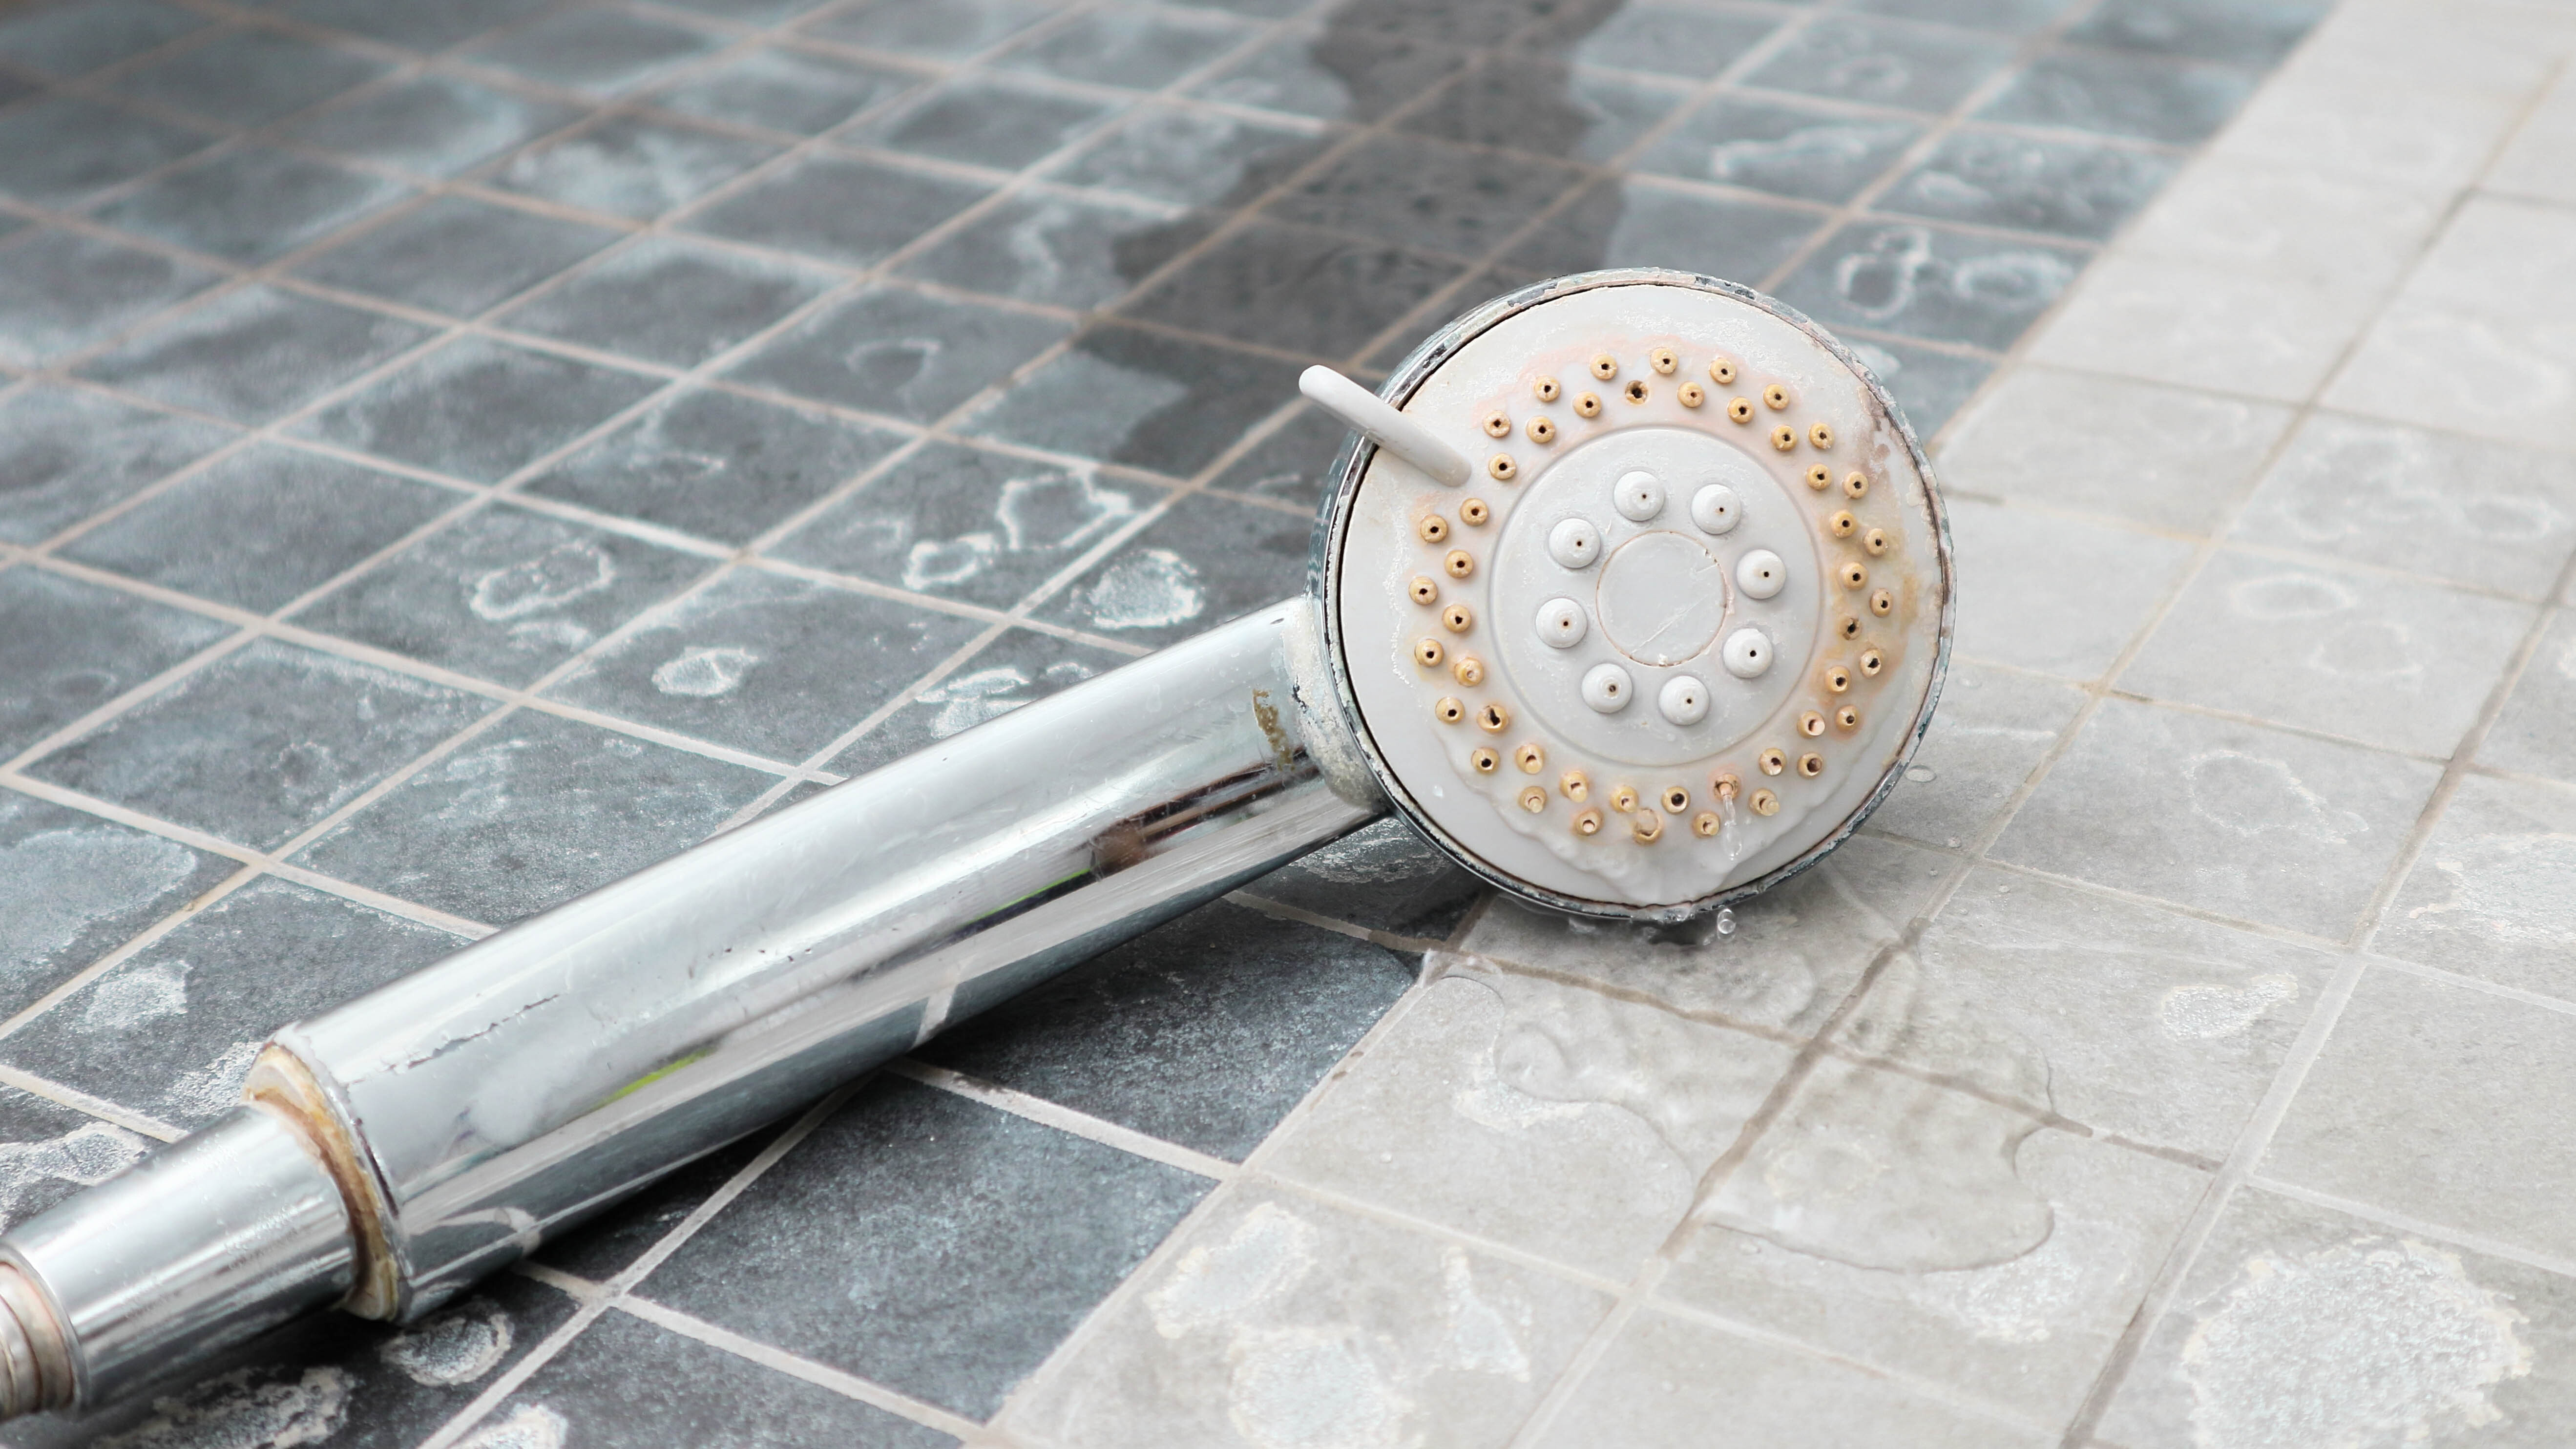
All of us with a hard water supply will be familiar with the visible signs of white chalky scale around our faucets. Hard water isn’t difficult to spot, so if you don’t know whether the freshwater supply to your home is hard or soft, it’s very likely soft.
Apart from the unsightly mess hard water leaves behind, it damages our home and causes problems with our plumbing, appliances and faucets. And with 85% of the US having a hard water supply, according to the US Geological Survey (USGS), it’s worth understanding why hard water causes an issue.
In hard water areas, limescale is caused when calcium and magnesium are left behind once hard water evaporates, and it builds up where water is heated or left standing. Soft water doesn’t contain the same level of calcium and magnesium and, therefore doesn’t leave behind nasty residues.
The bad news for hard water households is that scale can be difficult to remove and causes appliances to wear out more quickly. Here, we look at common hard water problems around the home and how to tackle them.
1. Internal damage for your appliances
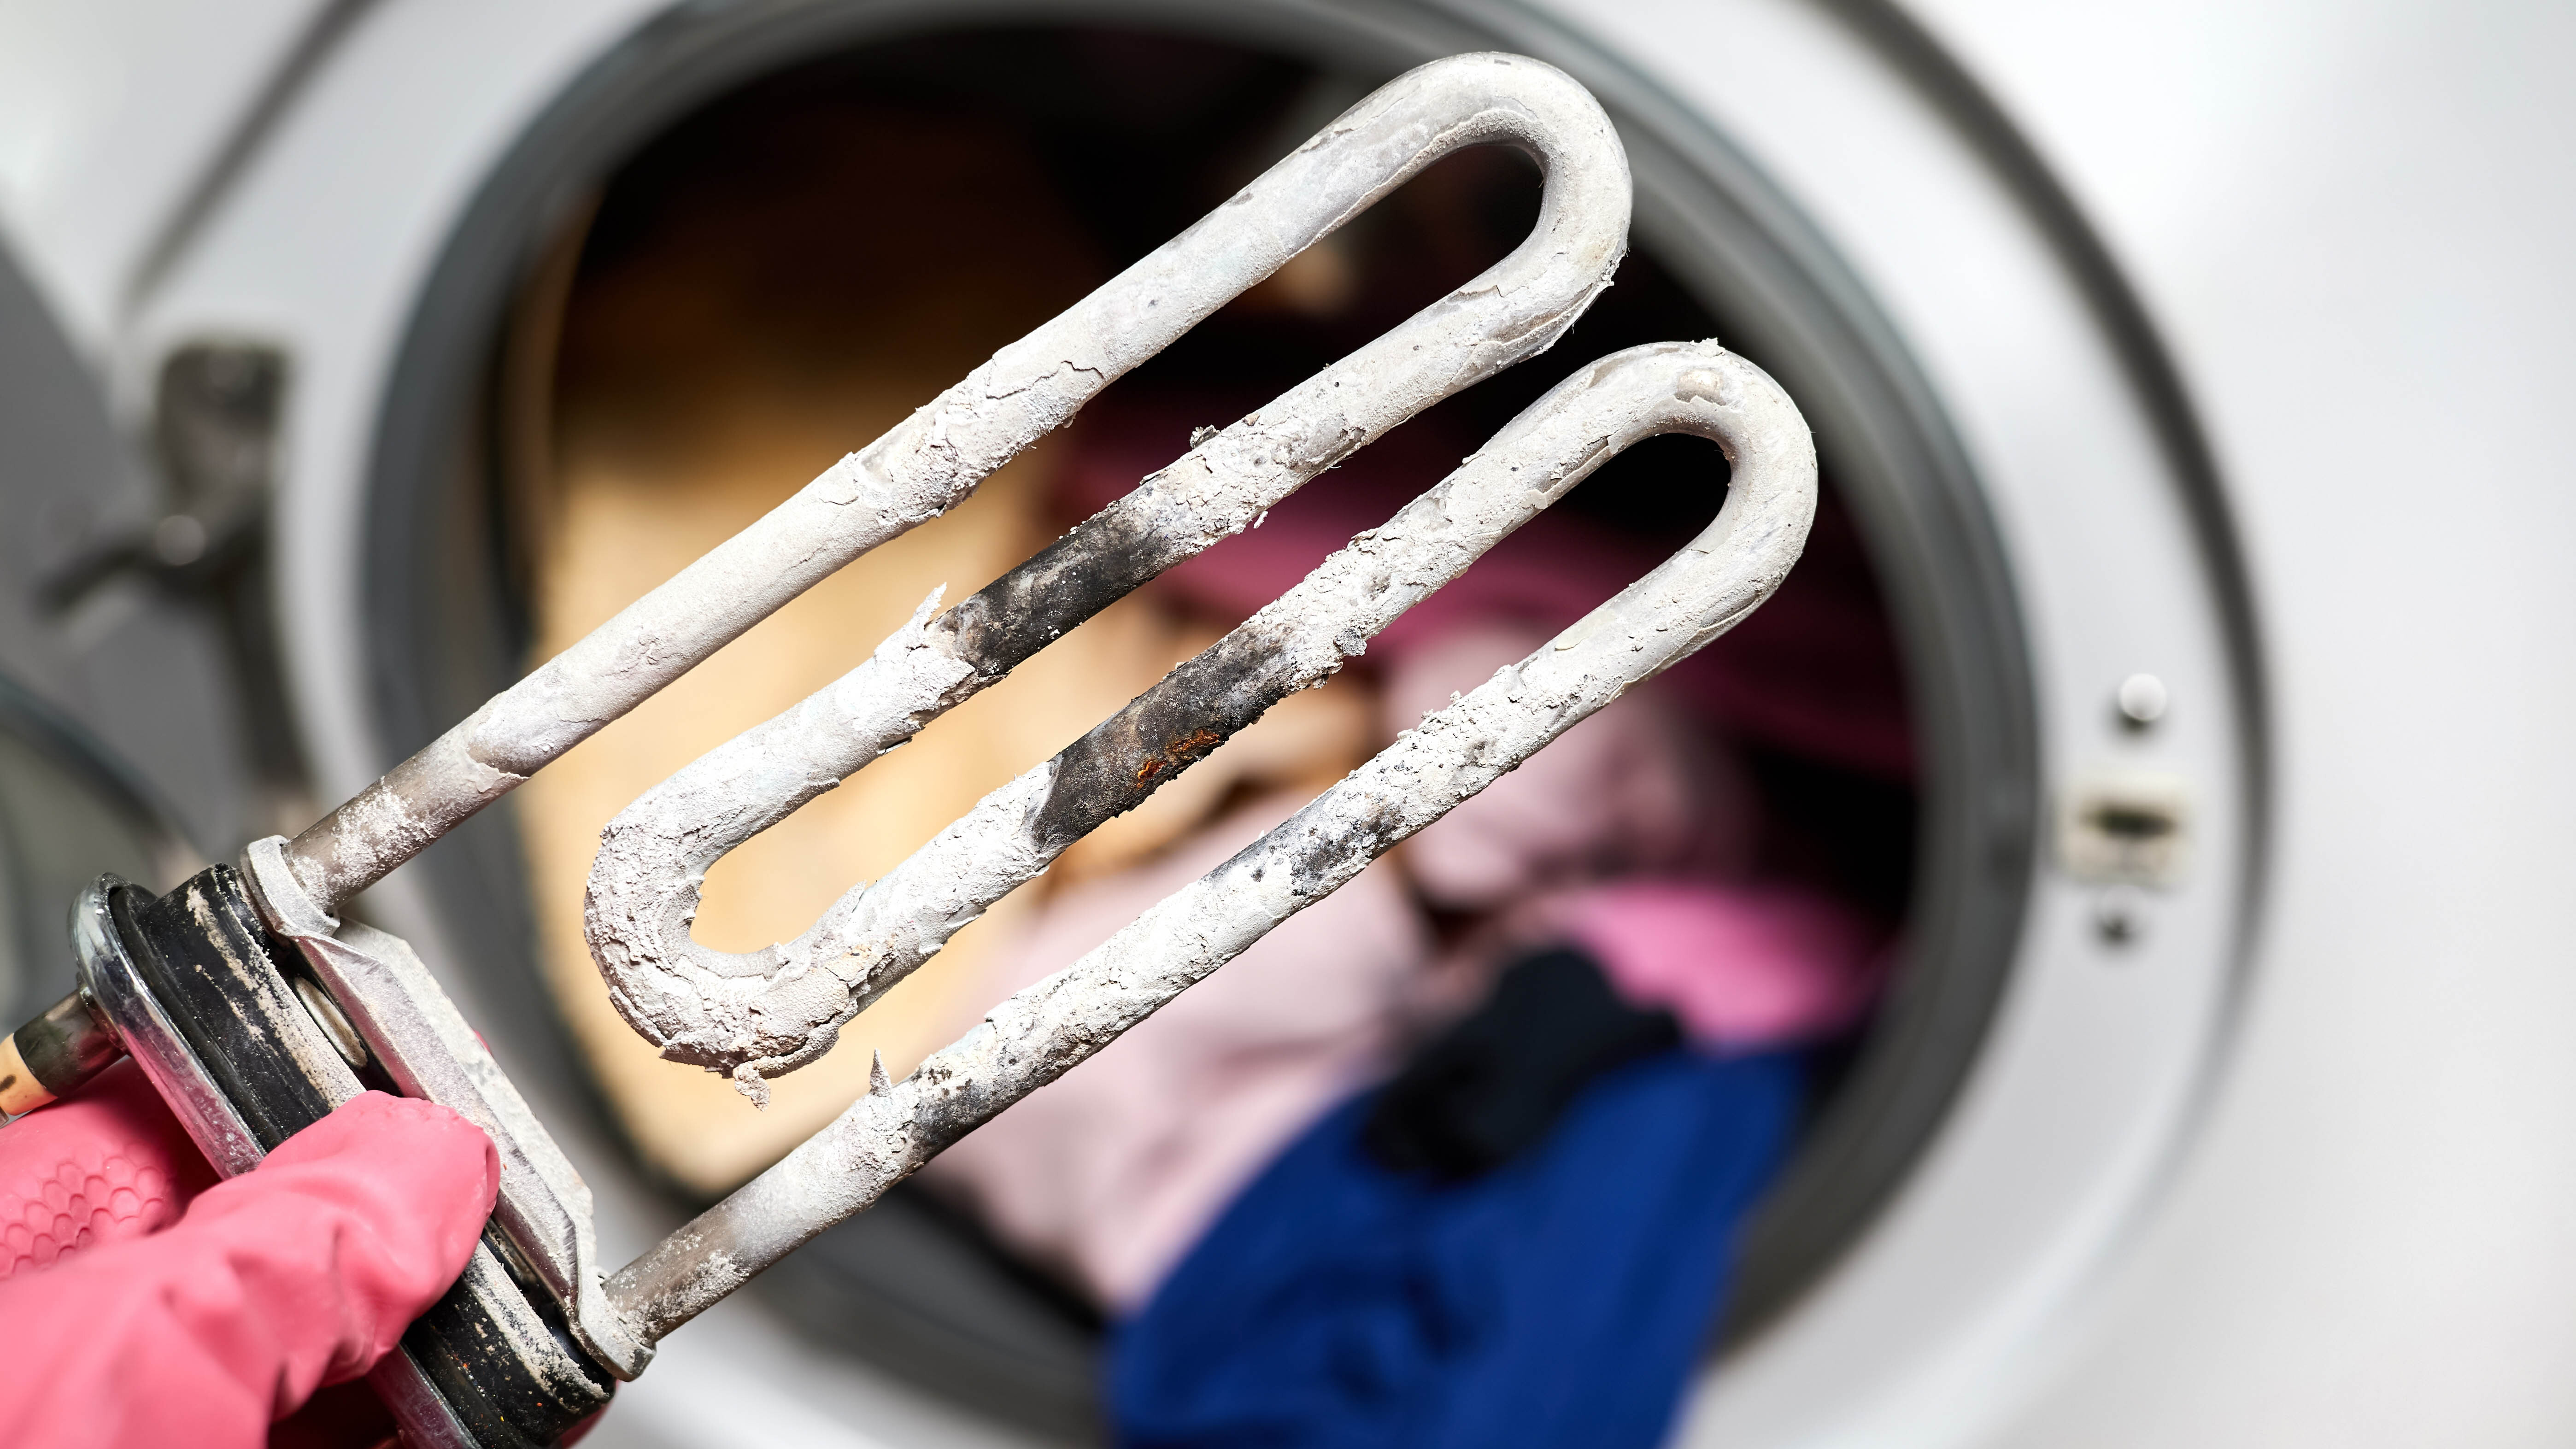
Over time, hard water deposits will build up on appliances that use water. And no matter whether you have the best dishwasher, washing machine, shower and coffee maker, your appliance will suffer as sediment builds up and it wears out more quickly.
Hard water leaves behind calcium carbonate deposits on pipes, tubes, sprayer jets, the heating element and other areas. As a result, the water takes longer to heat, and the water flow and even water pressure are compromised, affecting the machine’s performance.
In your dishwasher, you’ll notice white marks appearing on your glassware or white scale forming on your appliance’s heating element. However, the signs are not so easy to spot with a washing machine as the damaged elements are hidden from view.
Get instant access to breaking news, the hottest reviews, great deals and helpful tips.
You may also find your morning coffee turns into a splutter rather than a steady stream, as water pipes in coffee machines are narrow and can easily become clogged with deposits.
Cleaning appliances can sometimes be tricky, as it’s not possible to get to the internal workings of the machine, although with a washing machine or dishwasher you can run an empty load with a limescale-busting solution of vinegar and lemon juice.
Set your machine to the highest temperature setting, add in two cups of white vinegar or lemon juice, or an equal mix of both, and press start. Once complete, repeat the cycle without any solution.
2. Mineral deposits around faucets
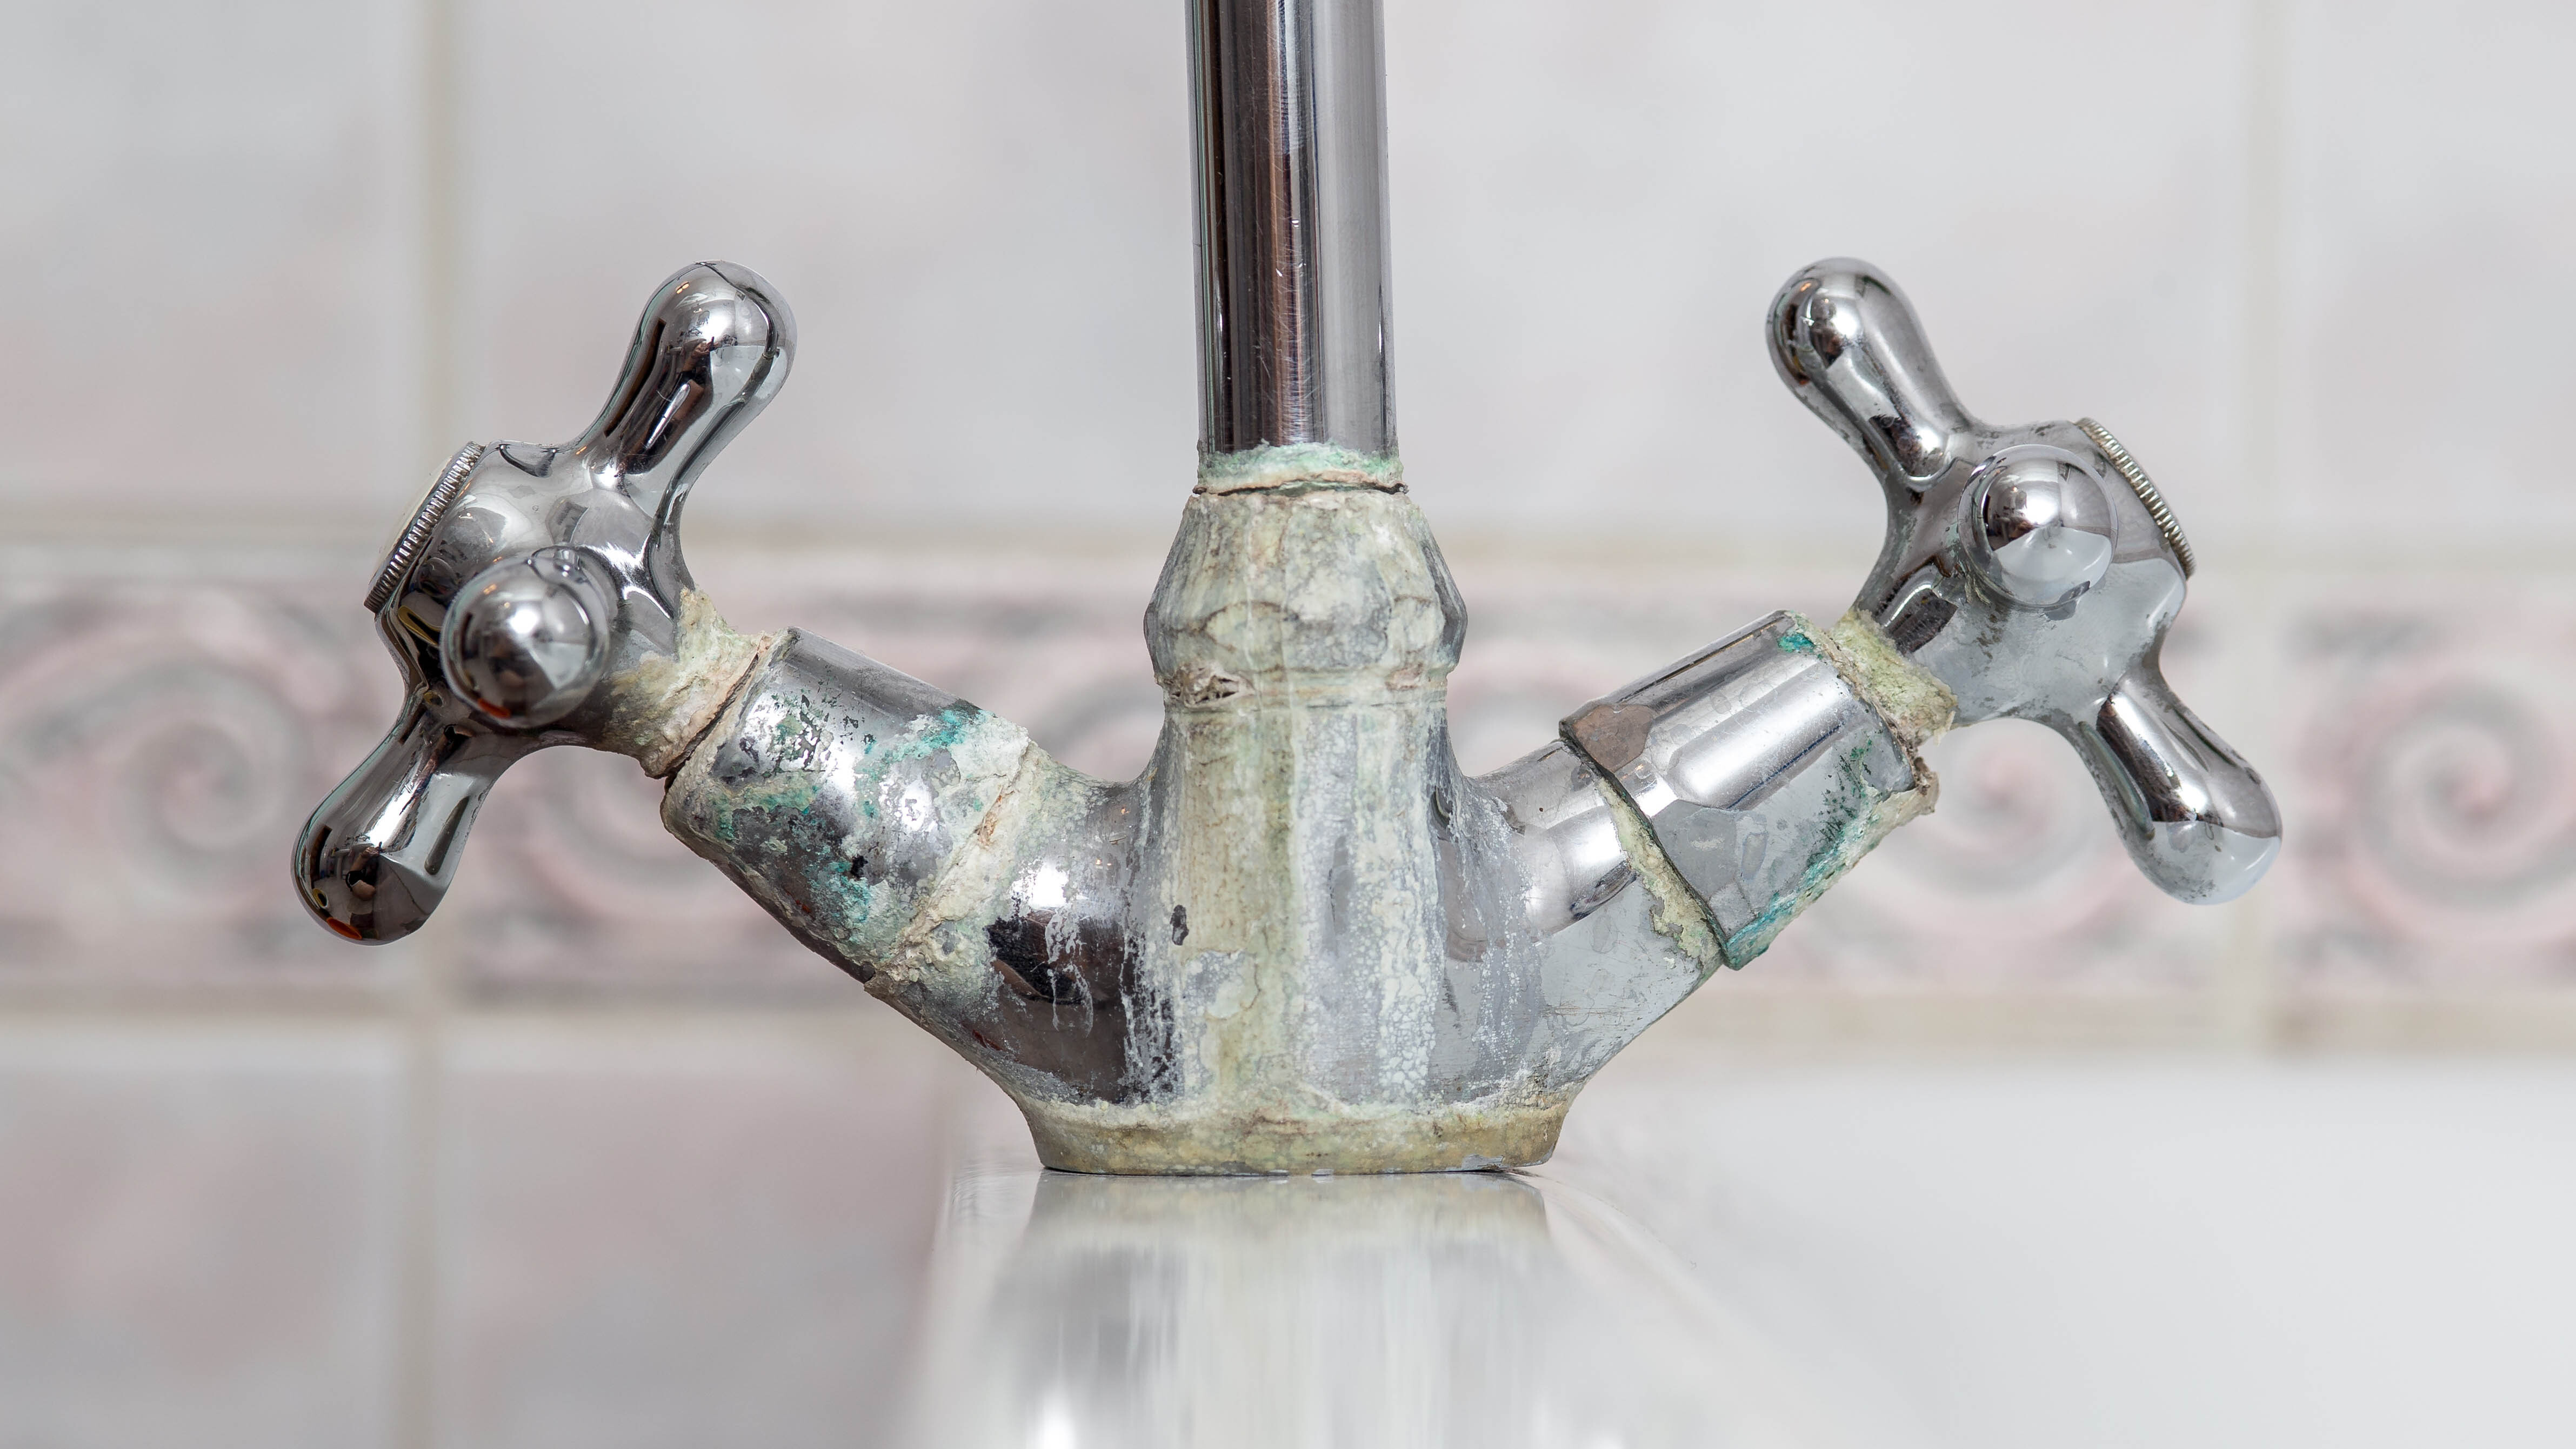
If you live in a hard water area, you’ll know that hard water deposits look unsightly. Appearing on your kitchen and bathroom faucet, white film and stubborn deposits are difficult to banish.
The worst areas will be on the spout or diffuser, the spout’s base and the body of the tap. Deposits will also gather internally on the ceramic valve, reducing the life of the faucet.
Regular cleaning with a specialist off-the-shelf product or a homemade solution will keep the problem under control. Although faucets can be tricky to clean, with a bit of vinegar and lemon juice, you can have them sparkling again.
Soak a cloth in vinegar or lemon juice and carefully wrap it around your tap to ensure every surface is covered. Secure the cloth with an elastic band and leave it for one hour. Remove the cloth and wipe away the residue, before rinsing the faucet. If limescale still remains, why not try this lemon hack to remove limescale on faucets?
Whatever you do, don’t pick at the limescale, as this will cause damage to the finish or surface of the tap.
3. Stains in your toilet and a poor flush
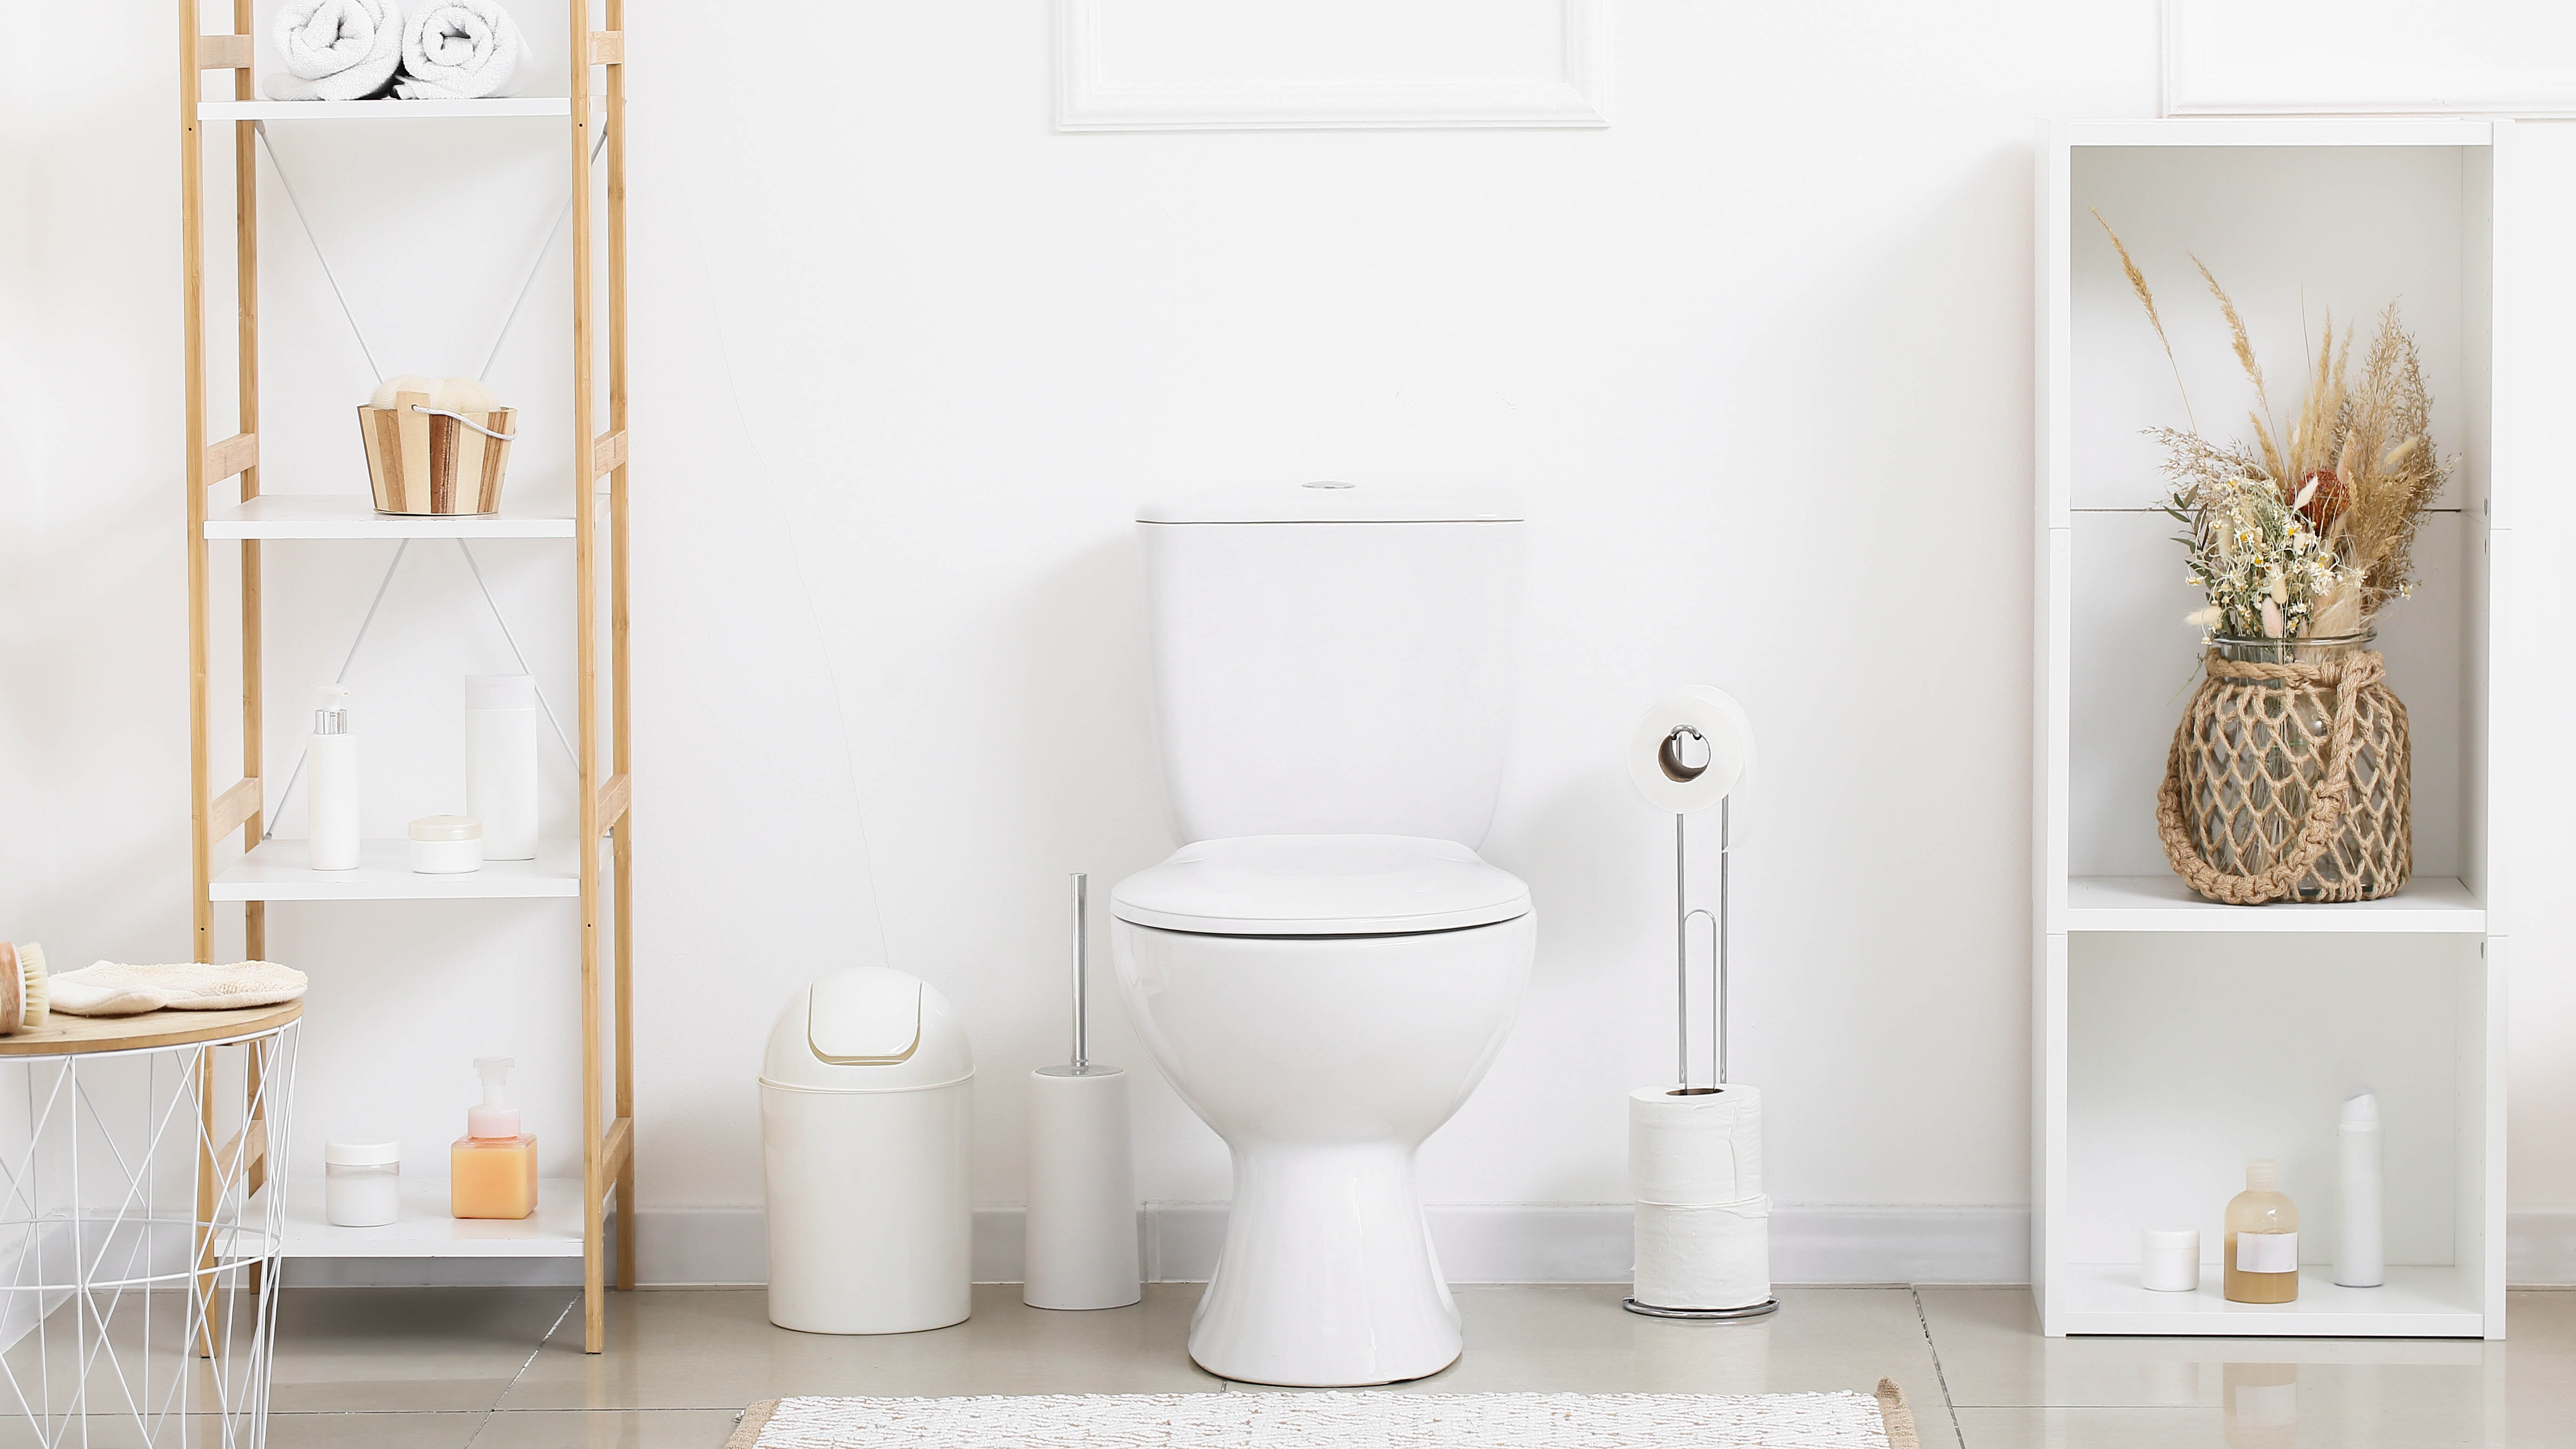
Limescale does not always appear as a white chalky deposit. While limescale leaves white marks around faucets, it’s a different story in the bathroom. Against white ceramic, limescale leaves behind unpleasant brown stains.
Stains appear where water is present for the longest, around the waterline in the base of the pan, or where water trickles down from the rim after a flush. In more extreme cases, deposits can build up and plug the water jets under the toilet rim, causing a slow, weak flush.
And although under wraps, we mustn’t forget about the toilet tank. Mineral deposits in standing water can gather on the pipes and flushing mechanisms. The flapper function provides suction control and prevents water leaks into the toilet bowl. When hard water deposits build up around the suction area, the flapper’s functionality is depleted, causing water to trickle into the bowl. Apart from increasing the likelihood of staining, it’s also a waste of water.
To prevent the build up of limescale in your toilet pan, a regular weekly clean with an acid cleaner, such as white vinegar, will help to banish the limescale. While your toilet tank can be treated to a monthly solution of white vinegar. Pour in one cup and leave it for 30 minutes before flushing. You could also try these tips on how to clean a toilet.
4. Limescale in your shower
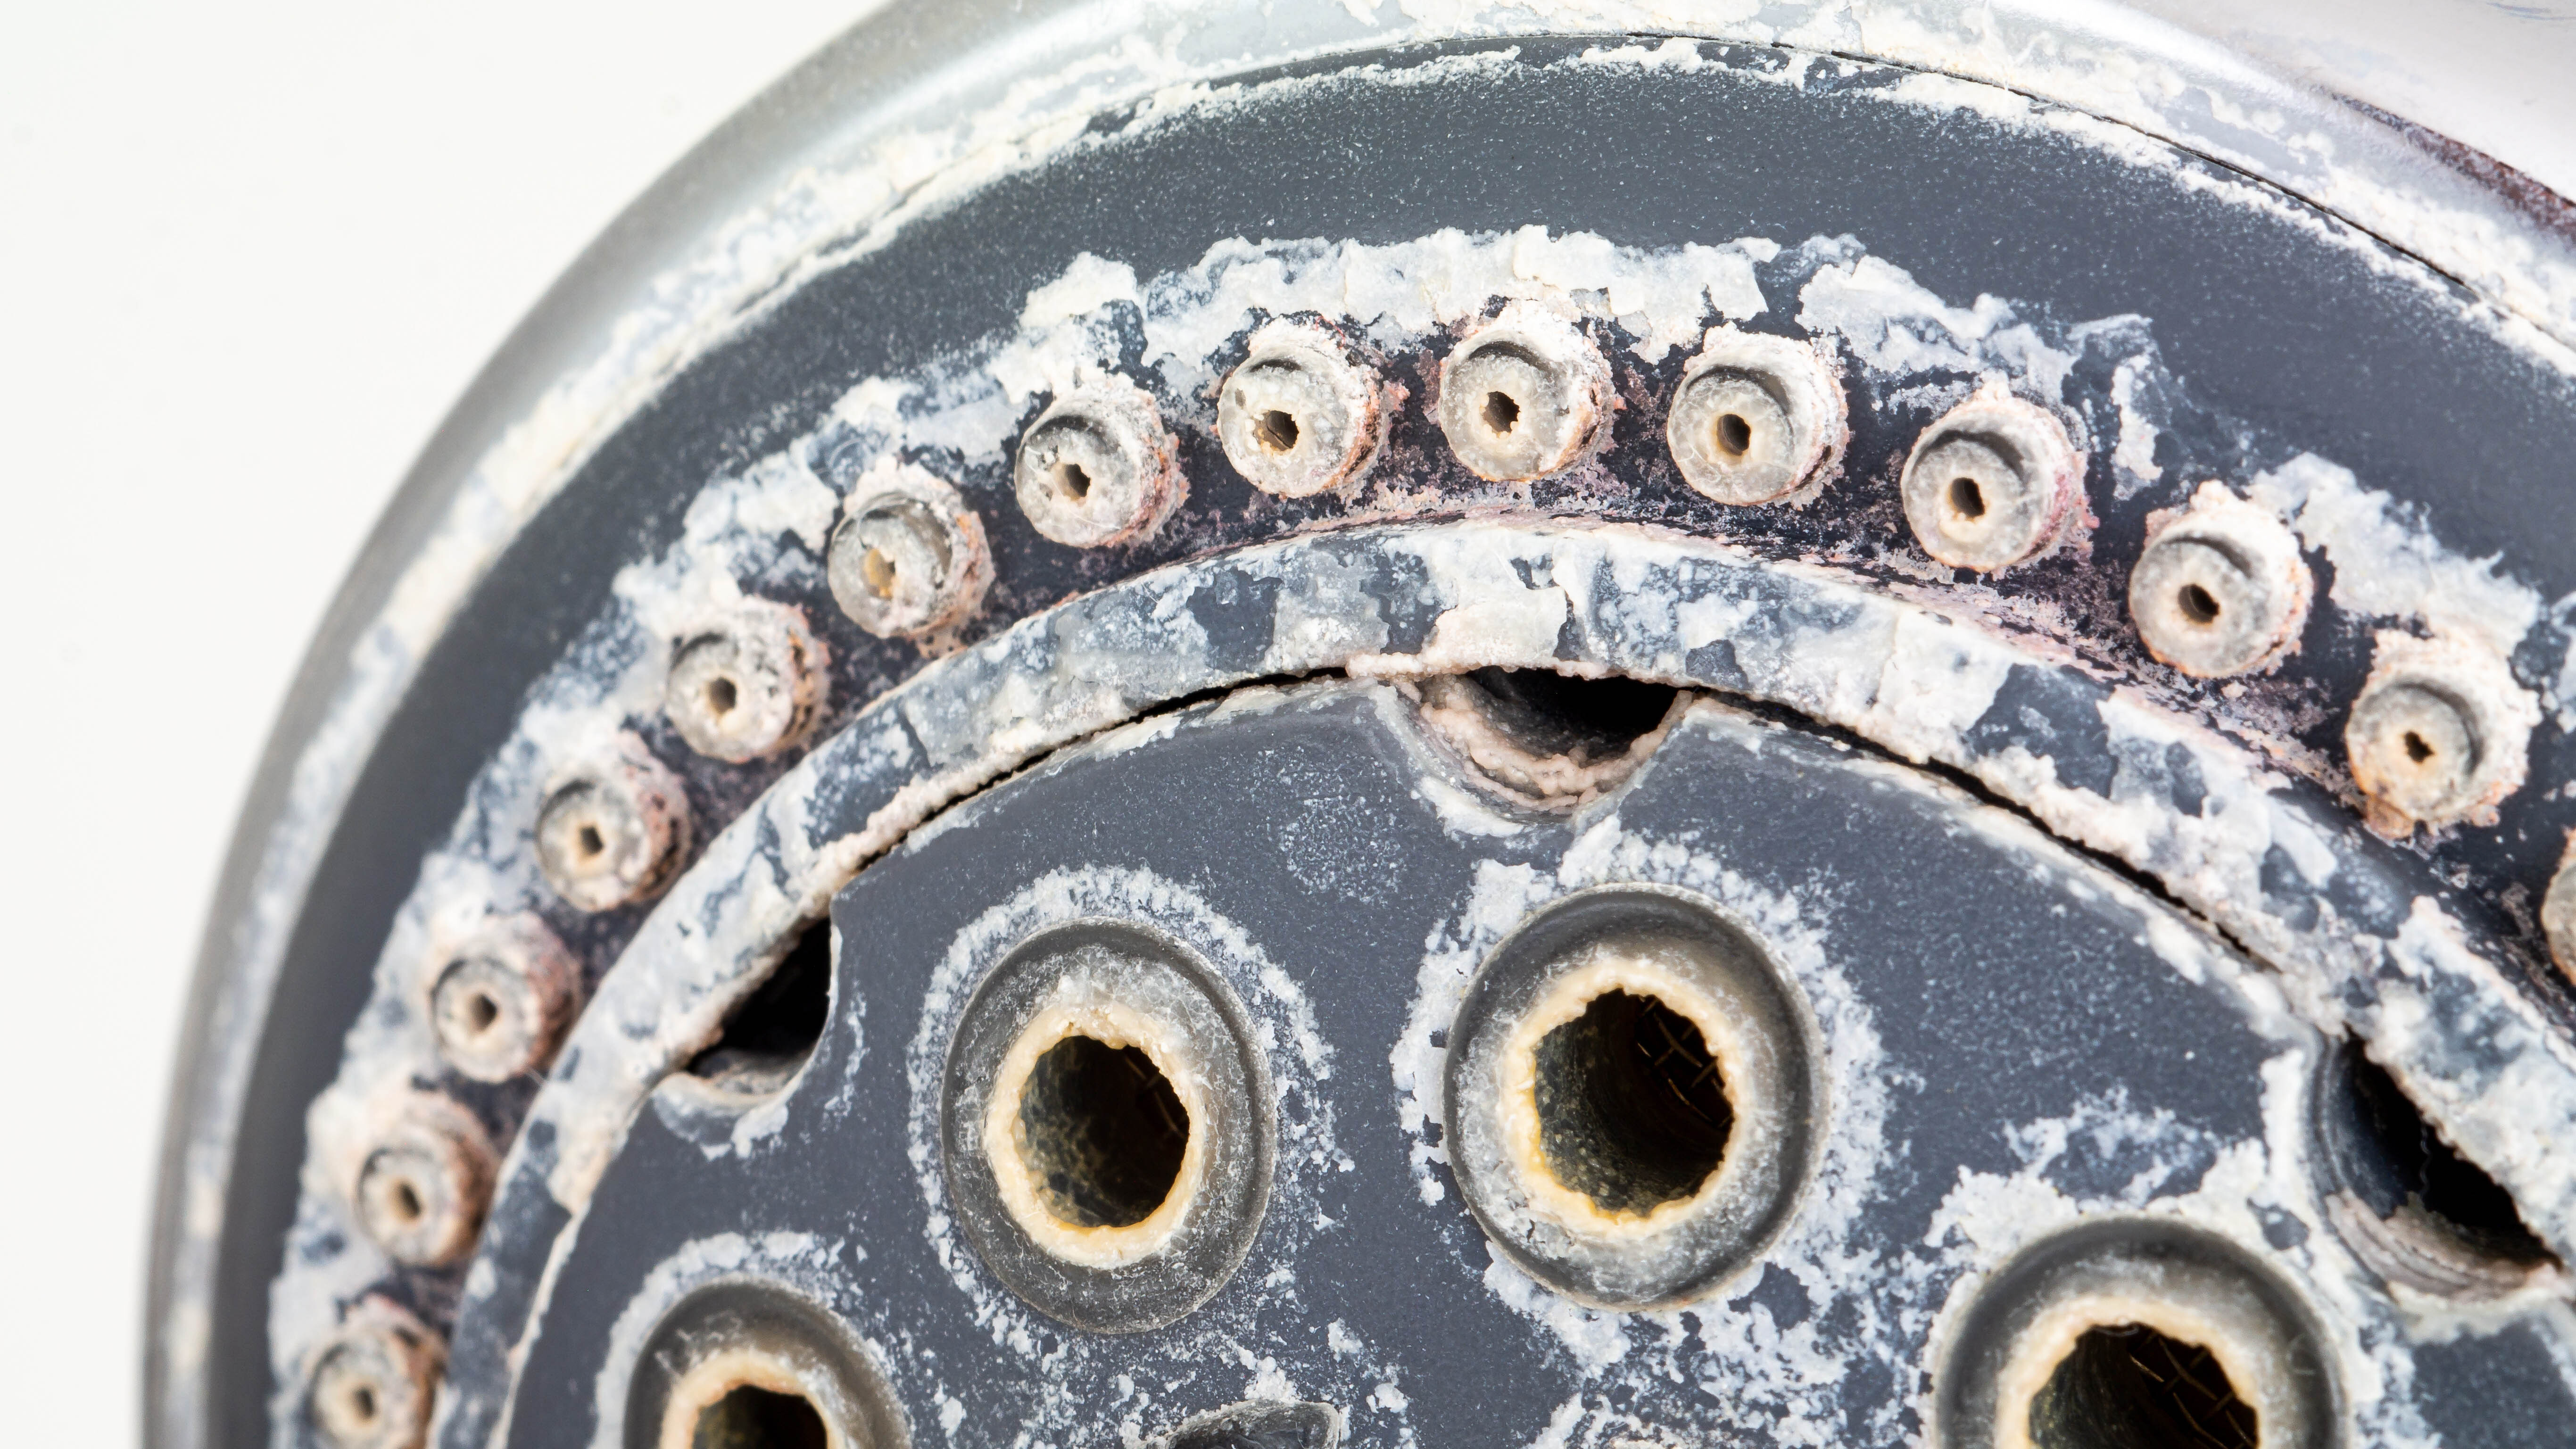
Are you forever trying to find ways to prevent limescale in your shower? Water droplets stay in contact with your shower long after you’ve finished showering and form chalky deposits that block the tiny shower jets. Rather than a refreshing blast, your shower turns into a meagre sprinkle.
Your shower screen will also look lackluster, as once hard water evaporates it leaves behind soap scum. The fatty acids in soap don’t mix with the minerals in hard water and leave behind an insoluble substance that won’t dissolve in water.
To get your shower back to its full potential, remove the shower head from the hose. Place it in a container of white vinegar so that the head is covered. Leave it to work for 30 minutes and then check to see if all the limescale has been removed, if not, rinse the showerhead to flush out the limescale, and repeat. Any remaining limescale can be scrubbed with a toothbrush, before switching the water back on to clean through any remaining residue.
When removing water marks on glass shower doors, prevention is always better than cure. After each shower, use a squeegee to remove any excess water. But if this isn’t a practical solution in your household — perhaps you have young children — white vinegar can do the trick. Mix equal parts of white vinegar and water in a spray bottle and apply to the area. Then, wipe down the surface with a cotton cloth, or remove with a squeegee, then buff with a microfibre cloth.
While using the cleaning solution, protect your hands with a pair of household gloves and open a window for ventilation.
5. Electric kettle
As an English writer, I’m surprised the tea kettle isn’t more popular in the US, because over the water, when you fancy a good old-fashioned English cup of tea, there’s nothing like putting the electric kettle on to make a brew.
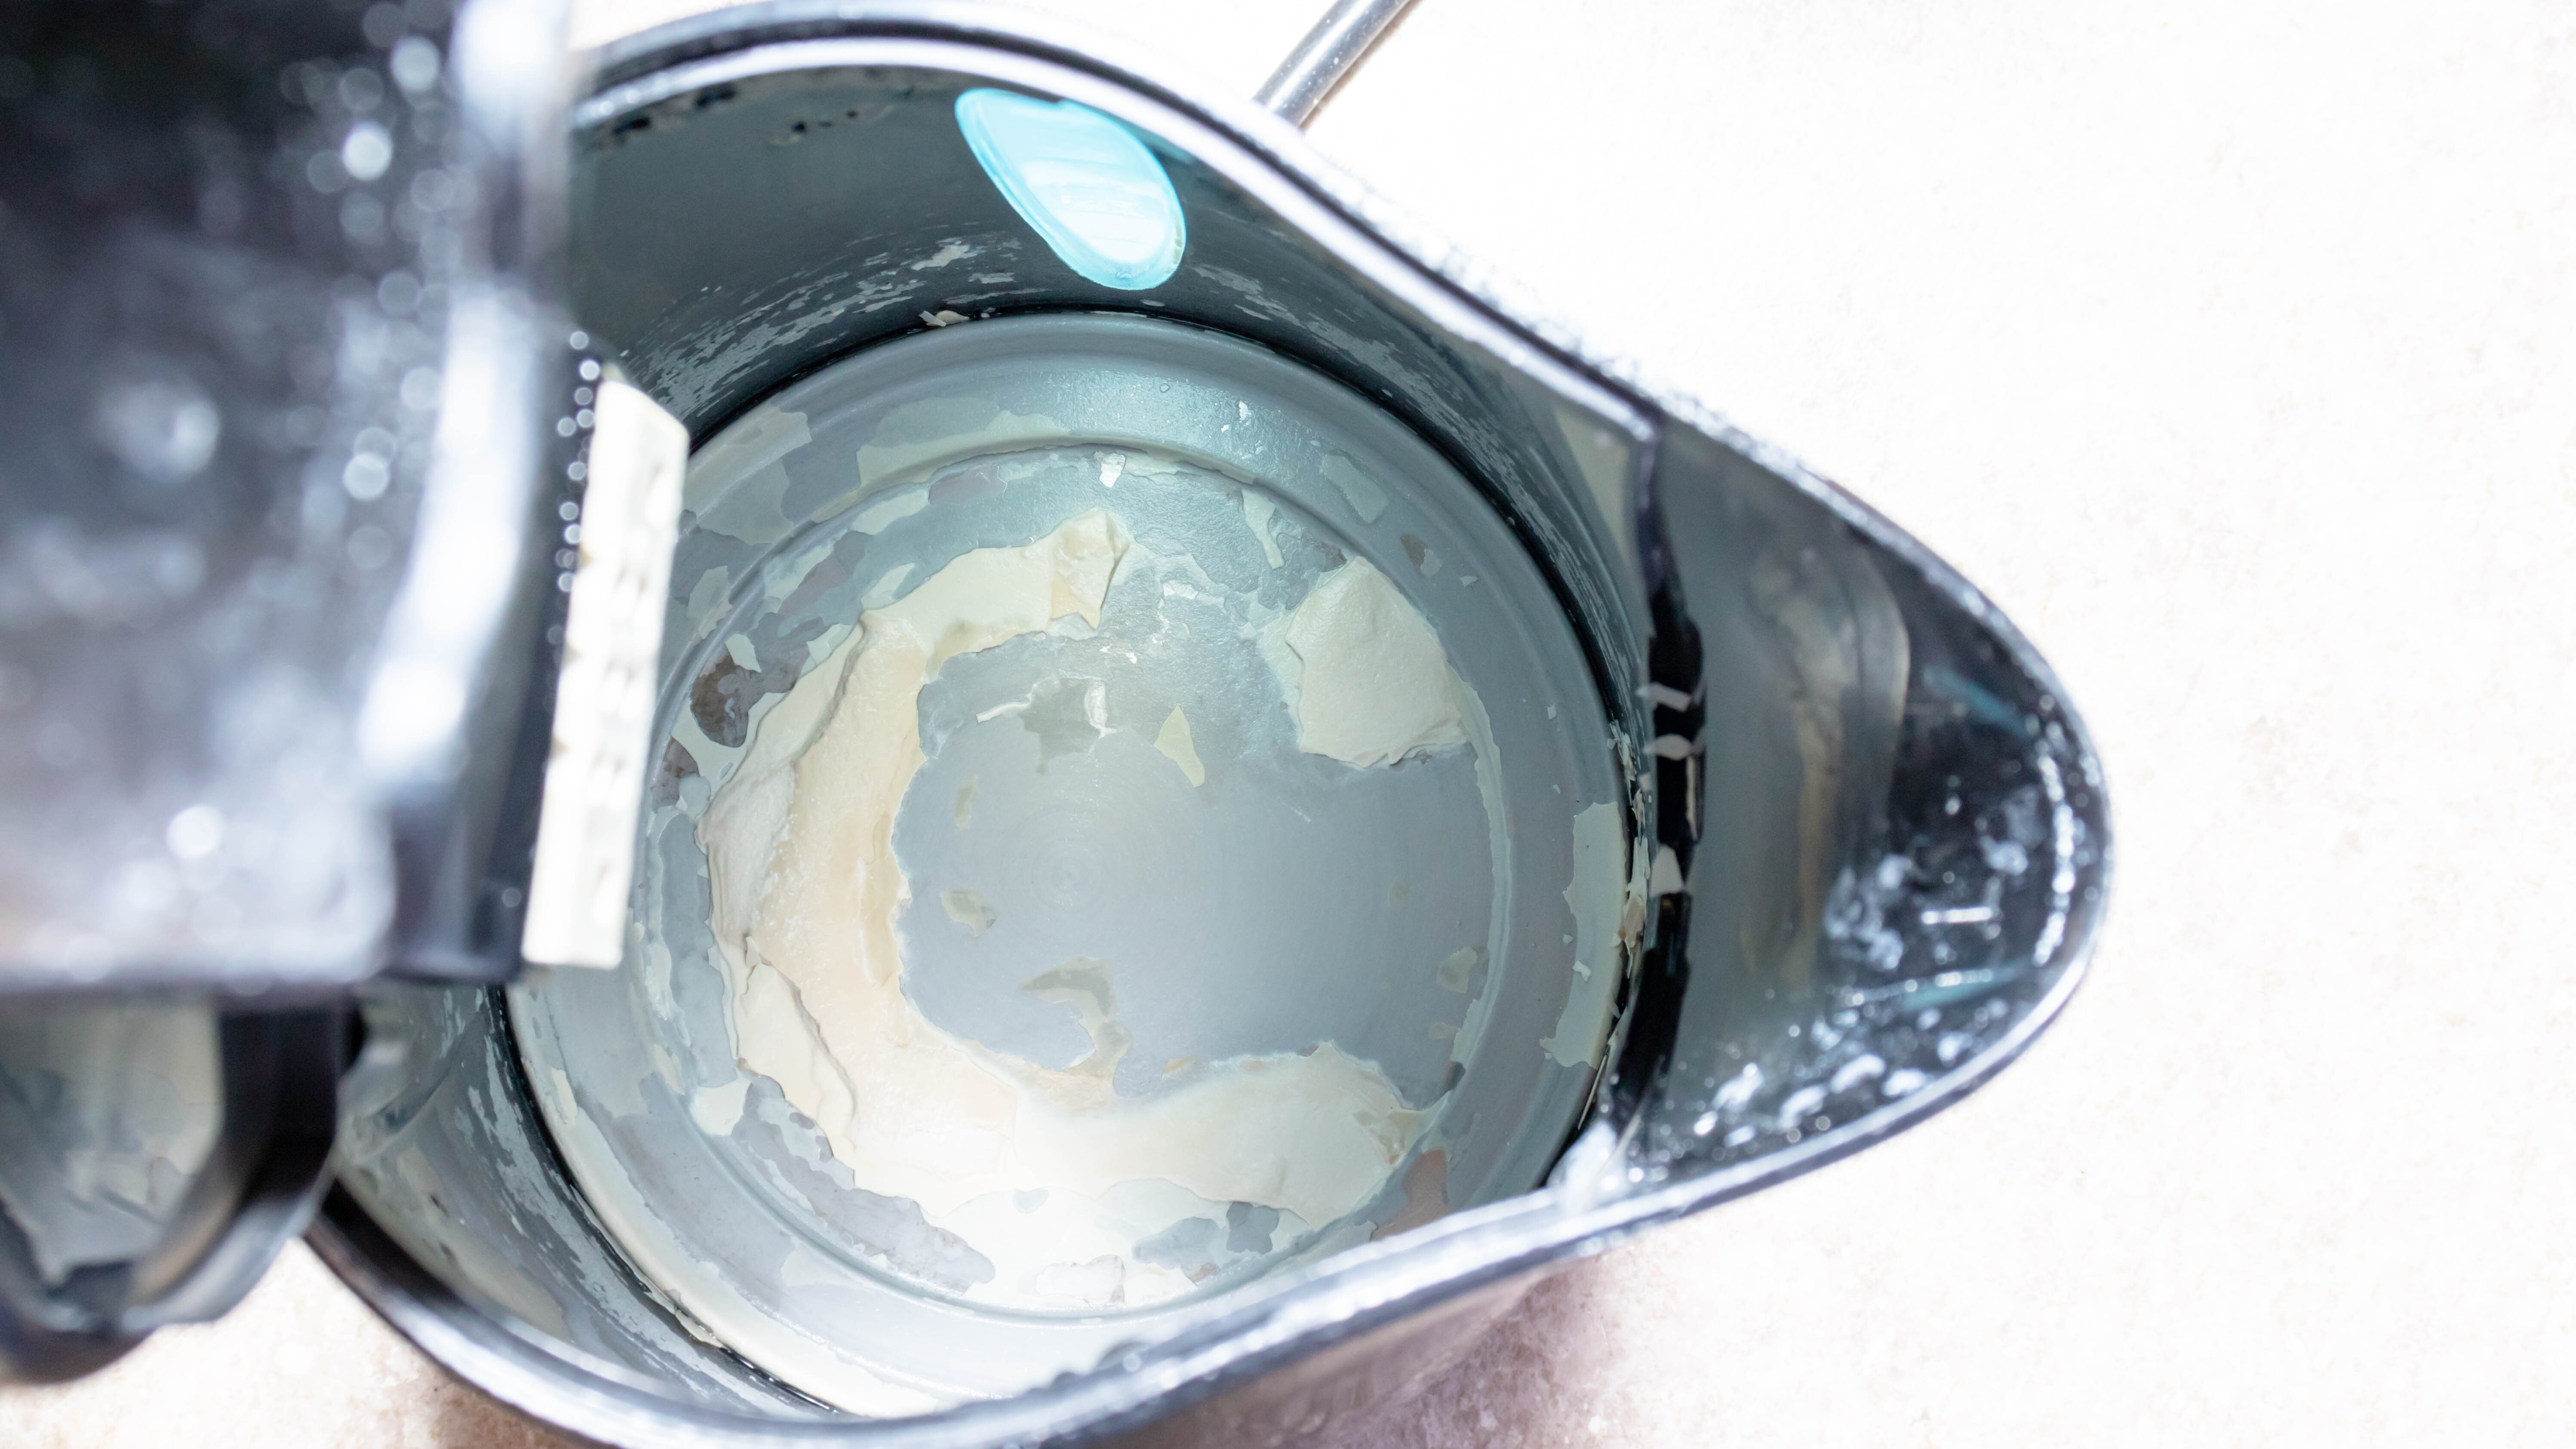
But this very English tradition can be blighted if you have hard water. Limescale deposits build up around the heating element that boils the water. And when water is left inside and not emptied after each use, there’s more reason for deposits to develop. The electric kettle takes longer to boil and becomes less energy efficient — costing you more each time you switch it on.
Without regularly removing the hard water deposits from your kettle, you could be faced with replacing it more often. So, what is the best way to descale a kettle? Aside from shop bought products, you can find what you need in your own store cupboard.
Vinegar is one sure ingredient that will get you out of a pickle. Half fill your kettle with one part distilled white vinegar and one part water. Switch on the kettle, but turn it off once it boils. Leave the solution for an hour, or overnight, to work. Then rinse it out and clean and reboil the kettle at least twice to remove any residue or traces of vinegar.
But if your electric kettle is beyond repair you might be interested in reading our guide on the best kettles we've tested and rated.
More from Tom's Guide
- Get cleaner dishes with 7 ways to improve your dishwasher's performance
- Discover How to clean a showerhead and get rid of limescale
- Extend the life of your shower with 7 ways to prevent limescale in your shower

Camilla is the Homes Staff Writer and covers everything to do with homes and gardens. She has a wealth of editorial experience, mounting over 30 years, and covers news and features, tests products for reviews and compiles buying guides.
Her work has appeared in business and consumer titles, including Ideal Home, Real Homes, House Beautiful, Homebuilding & Renovation, and Kitchen & Bathroom Business. She’s even appeared on the cover of Your Home, writing about her own house renovation.
Although she’s obsessed with decorating her home, she also enjoys baking and trying out the latest kitchen appliances. But when she’s not inside, you’ll find her pottering about in her yard, tending to her vegetable patch or taking in her prized hydrangeas.
