Capture more — how to take a scrolling screenshot on iOS and iPadOS
Take your iPhone screenshots to the next level
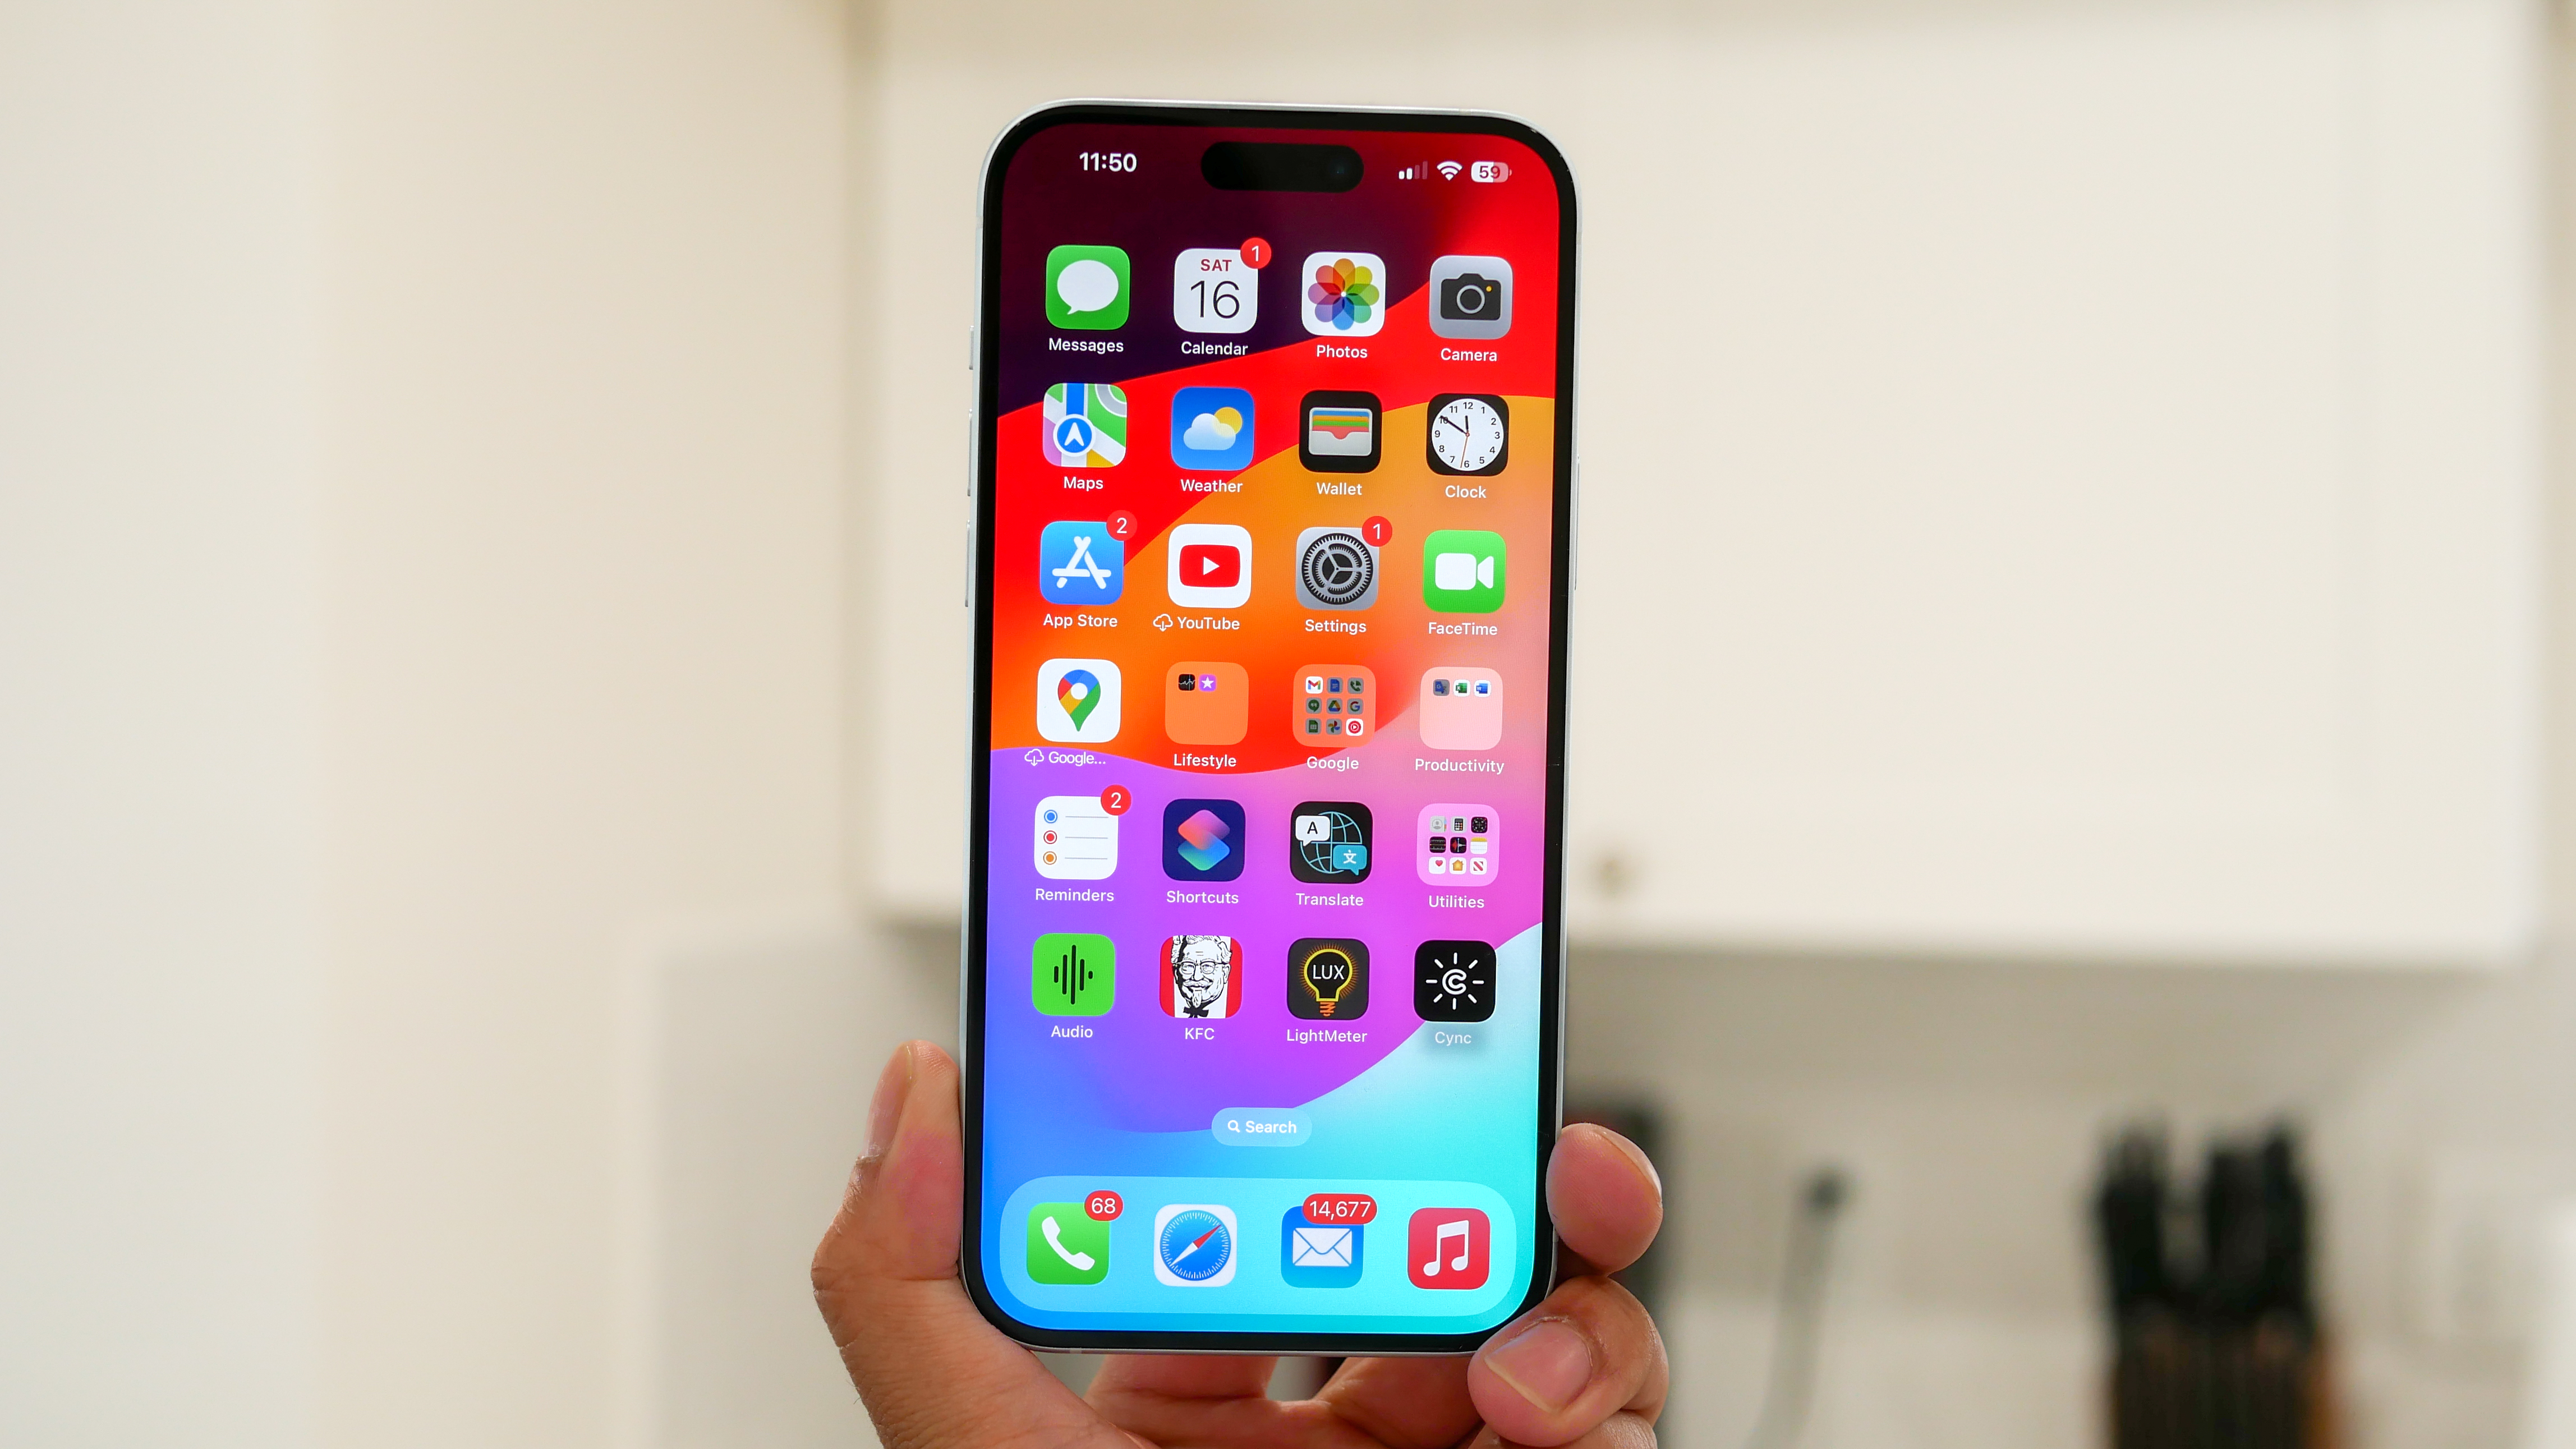
Taking screenshots on the best iPhone or iPad is a common task, but sometimes a standard capture isn't enough. For those times when you need to save an entire webpage, a long conversation, or a full document, knowing how to take a scrolling screenshot becomes essential.
As Apple continues to update its software, with features like customizing your Photos app, understanding these built-in tools becomes increasingly important. From practical uses to specialized applications like the cycle tracking feature, your iOS devices offer a range of helpful built-in functions.
Whether you're a student saving research, a professional keeping track of those never-ending email threads, or someone who likes saving multiple posts to share with friends, getting the hang of scrolling screenshots can really up your digital game. Let's jump in and learn how to capture those extra-long screenshots like a pro.
1. Ensure your device is compatible

Before diving in, check that your iPhone or iPad is running iOS 14 or iPadOS 14 or later. This nifty feature doesn't just snap a simple picture. Instead, it grabs entire webpages, lengthy emails, or full documents, and saves them as PDFs.
So instead of a static image, you get a scrollable, interactive file that preserves all the content in its original format.
2. Open the page you want to screenshot
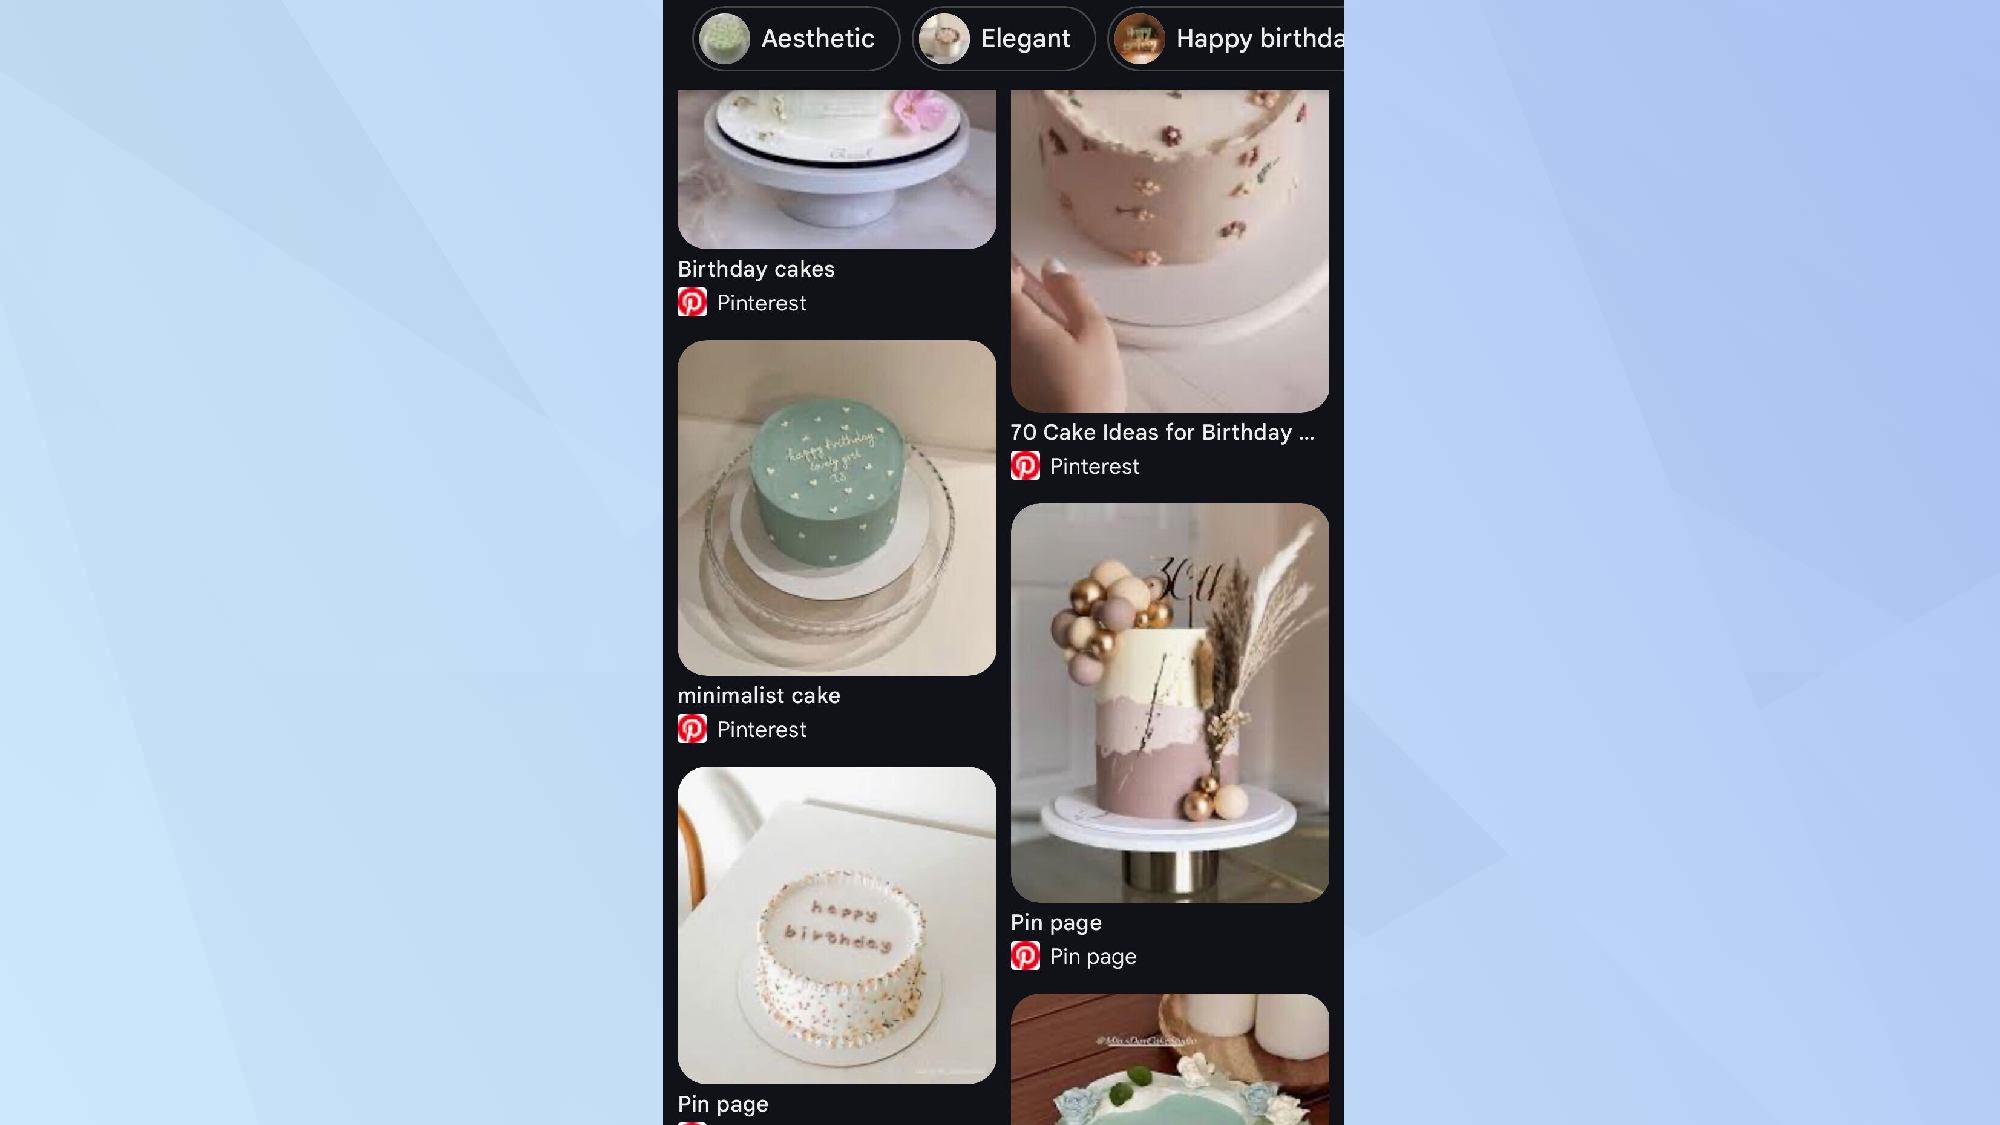
Open any app where you want to capture a long screenshot. This could be your web browser, email, a document viewer, or even a social media app.
For example, if you've searched for a PDF in the Google app, open that document fully. Scroll to the top of the content you want to capture to ensure you don't miss any information.
3. Take an initial screenshot
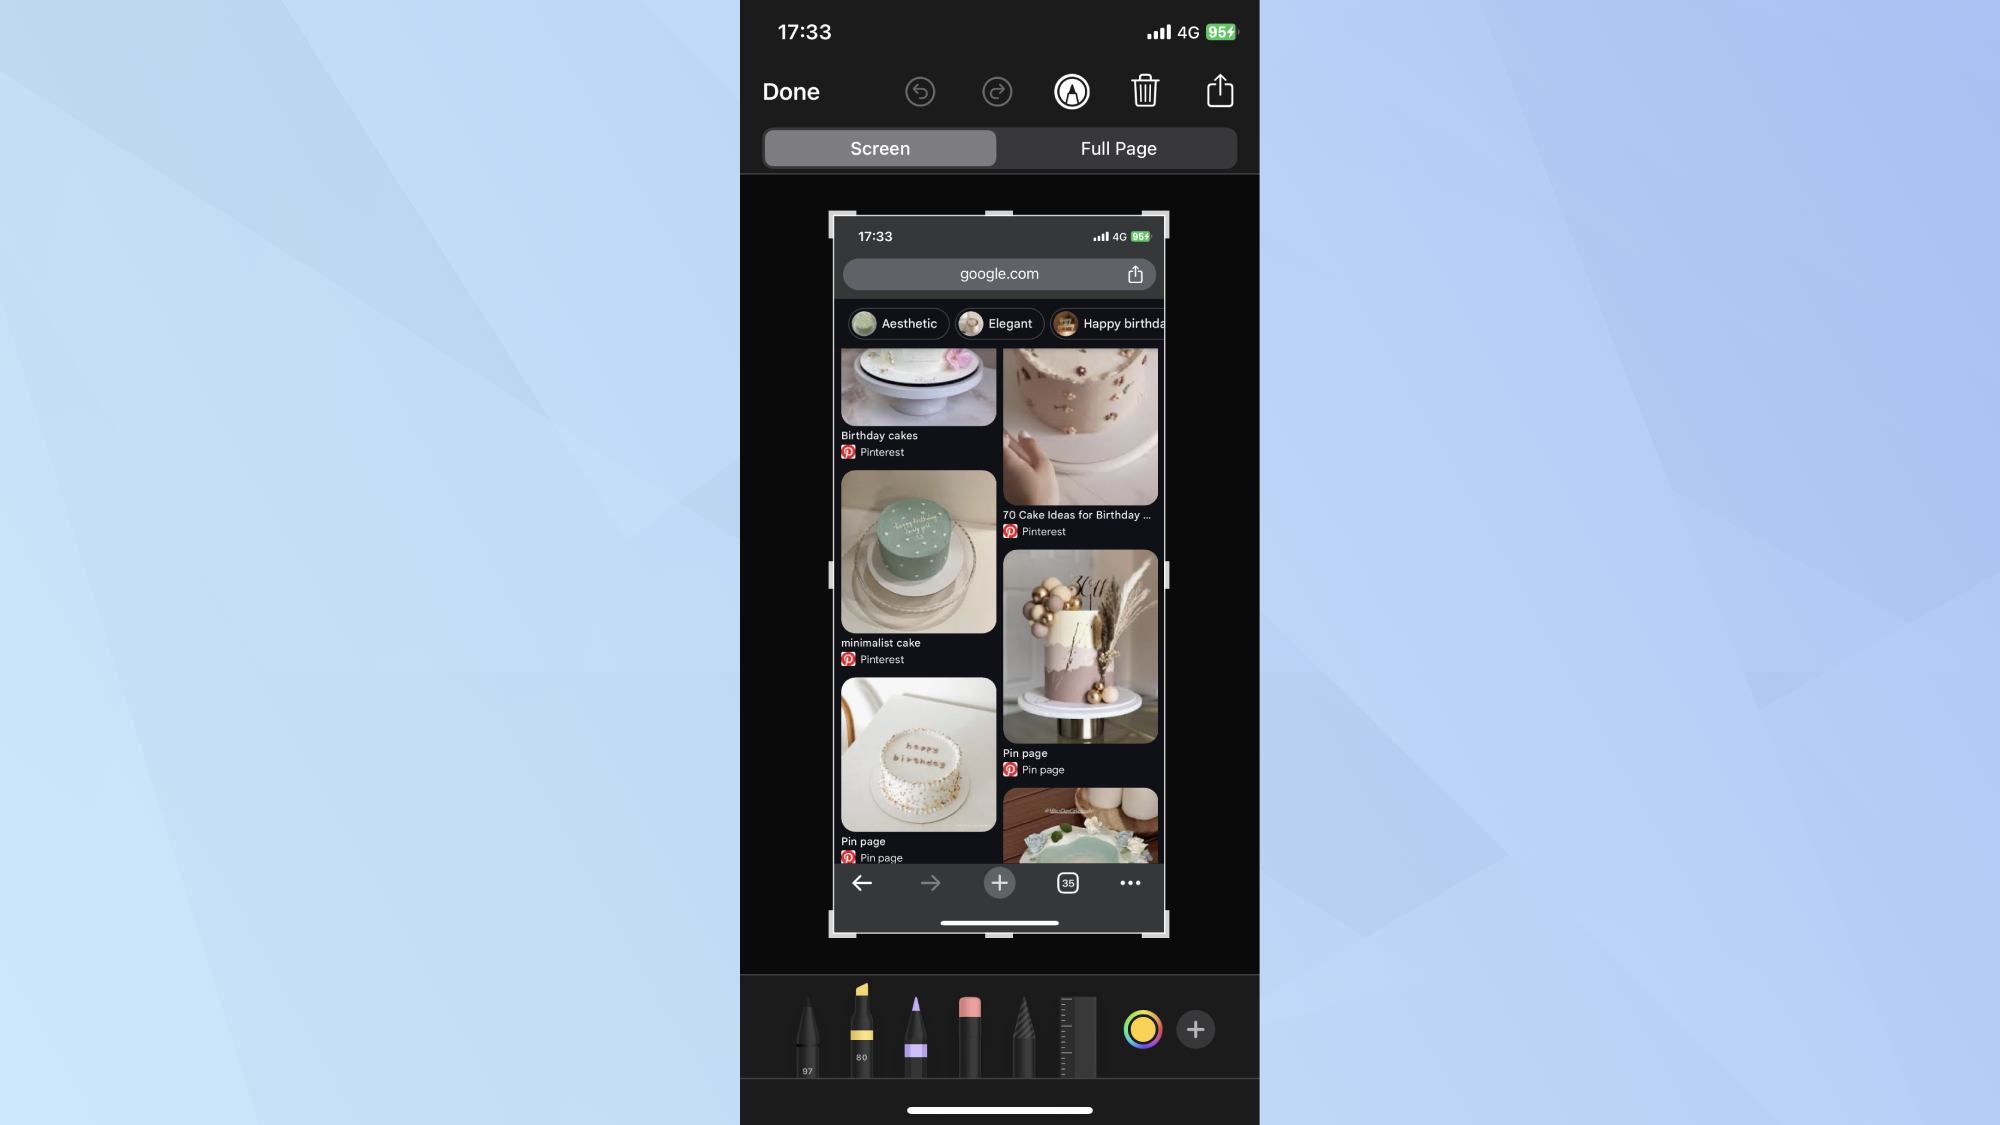
Use your device's standard screenshot method. On devices with a home button, press the home and side buttons simultaneously. For devices without a home button, press the side and volume up buttons together.
After taking the screenshot, a small preview will appear in the bottom-left corner of your screen. Quickly tap this preview before it disappears.
4. Switch to full-page mode
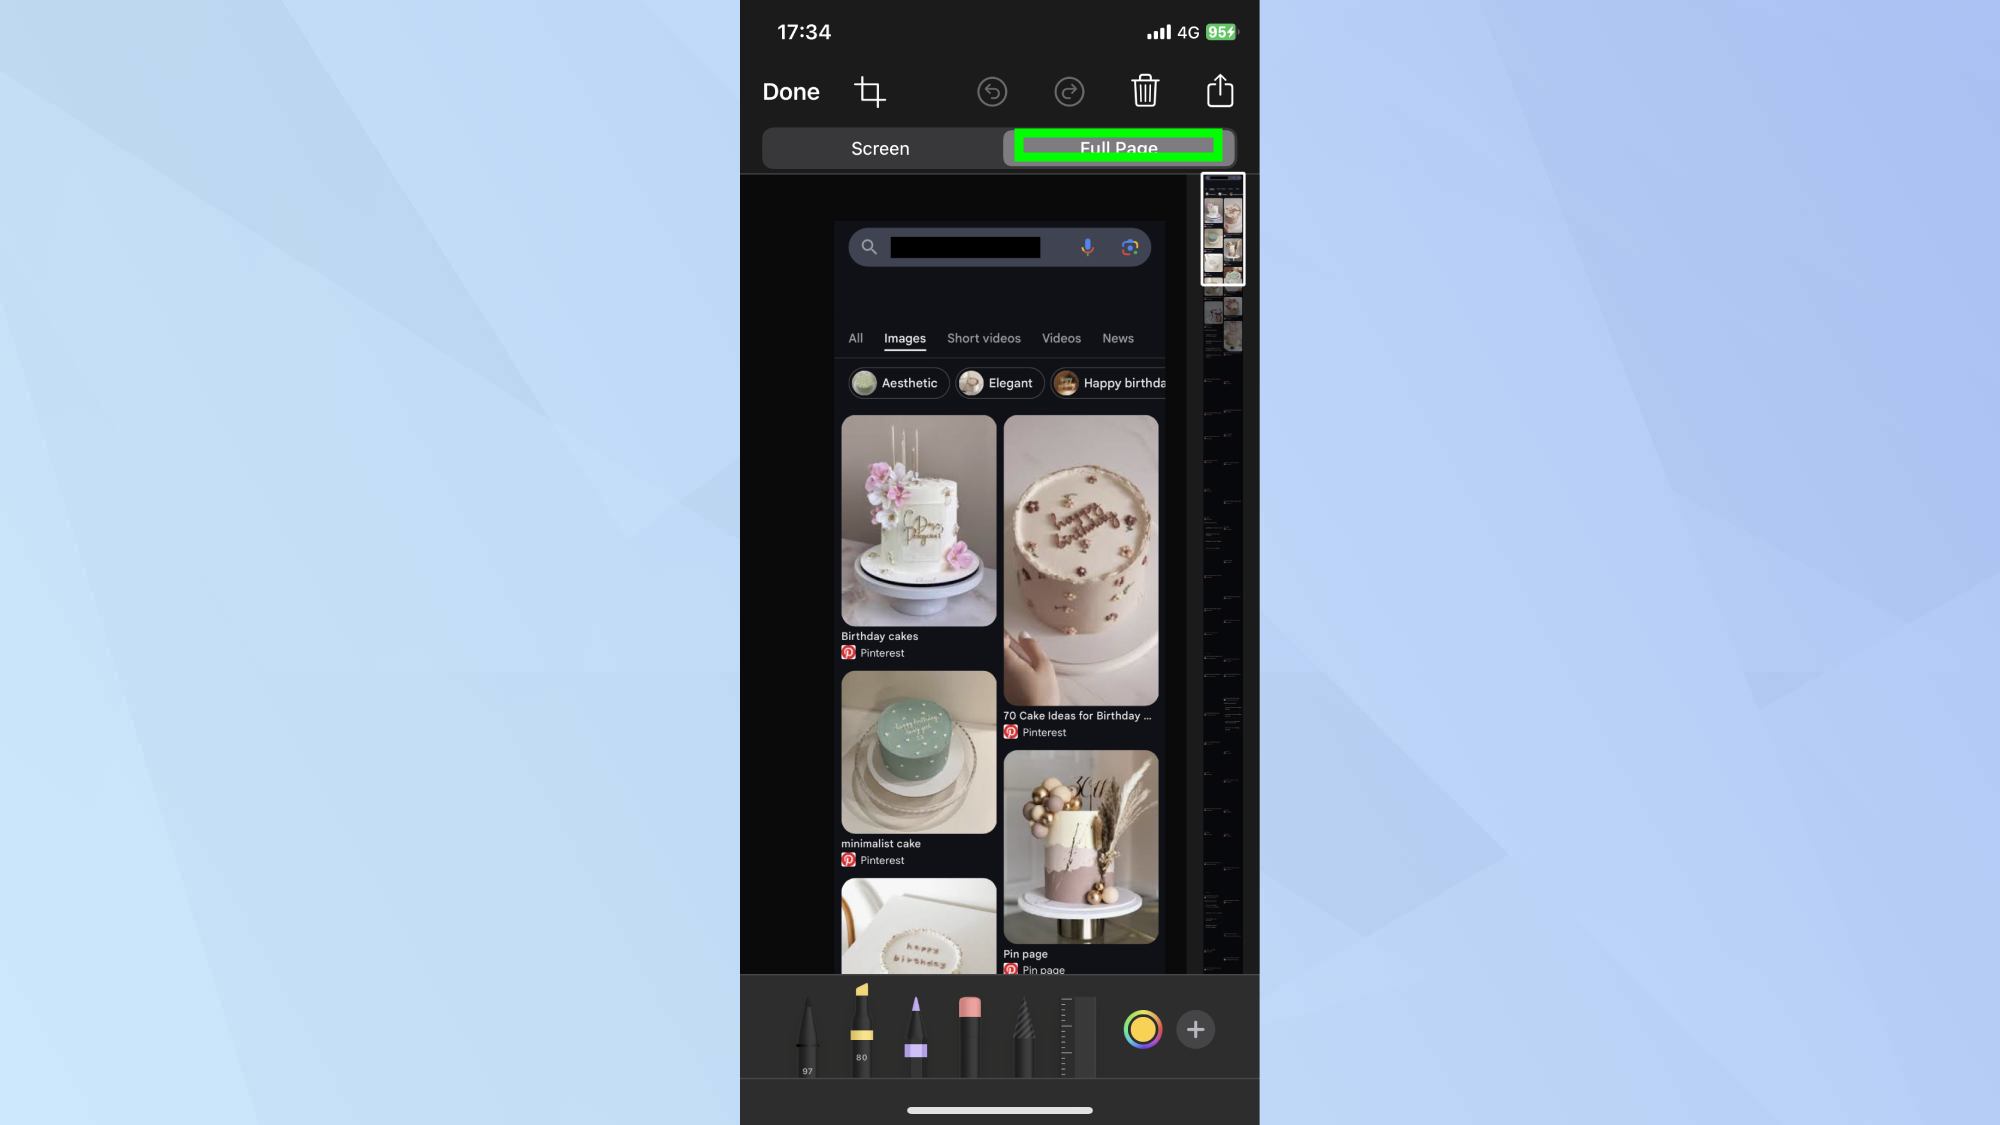
In the preview screen, you'll see tabs at the top for Screen and Full Page. The Full Page option will only appear in instances where there is more than one page worth of content on-screen.
Then, tap Full Page to switch to the scrolling screenshot mode.
5. Markup your screenshot
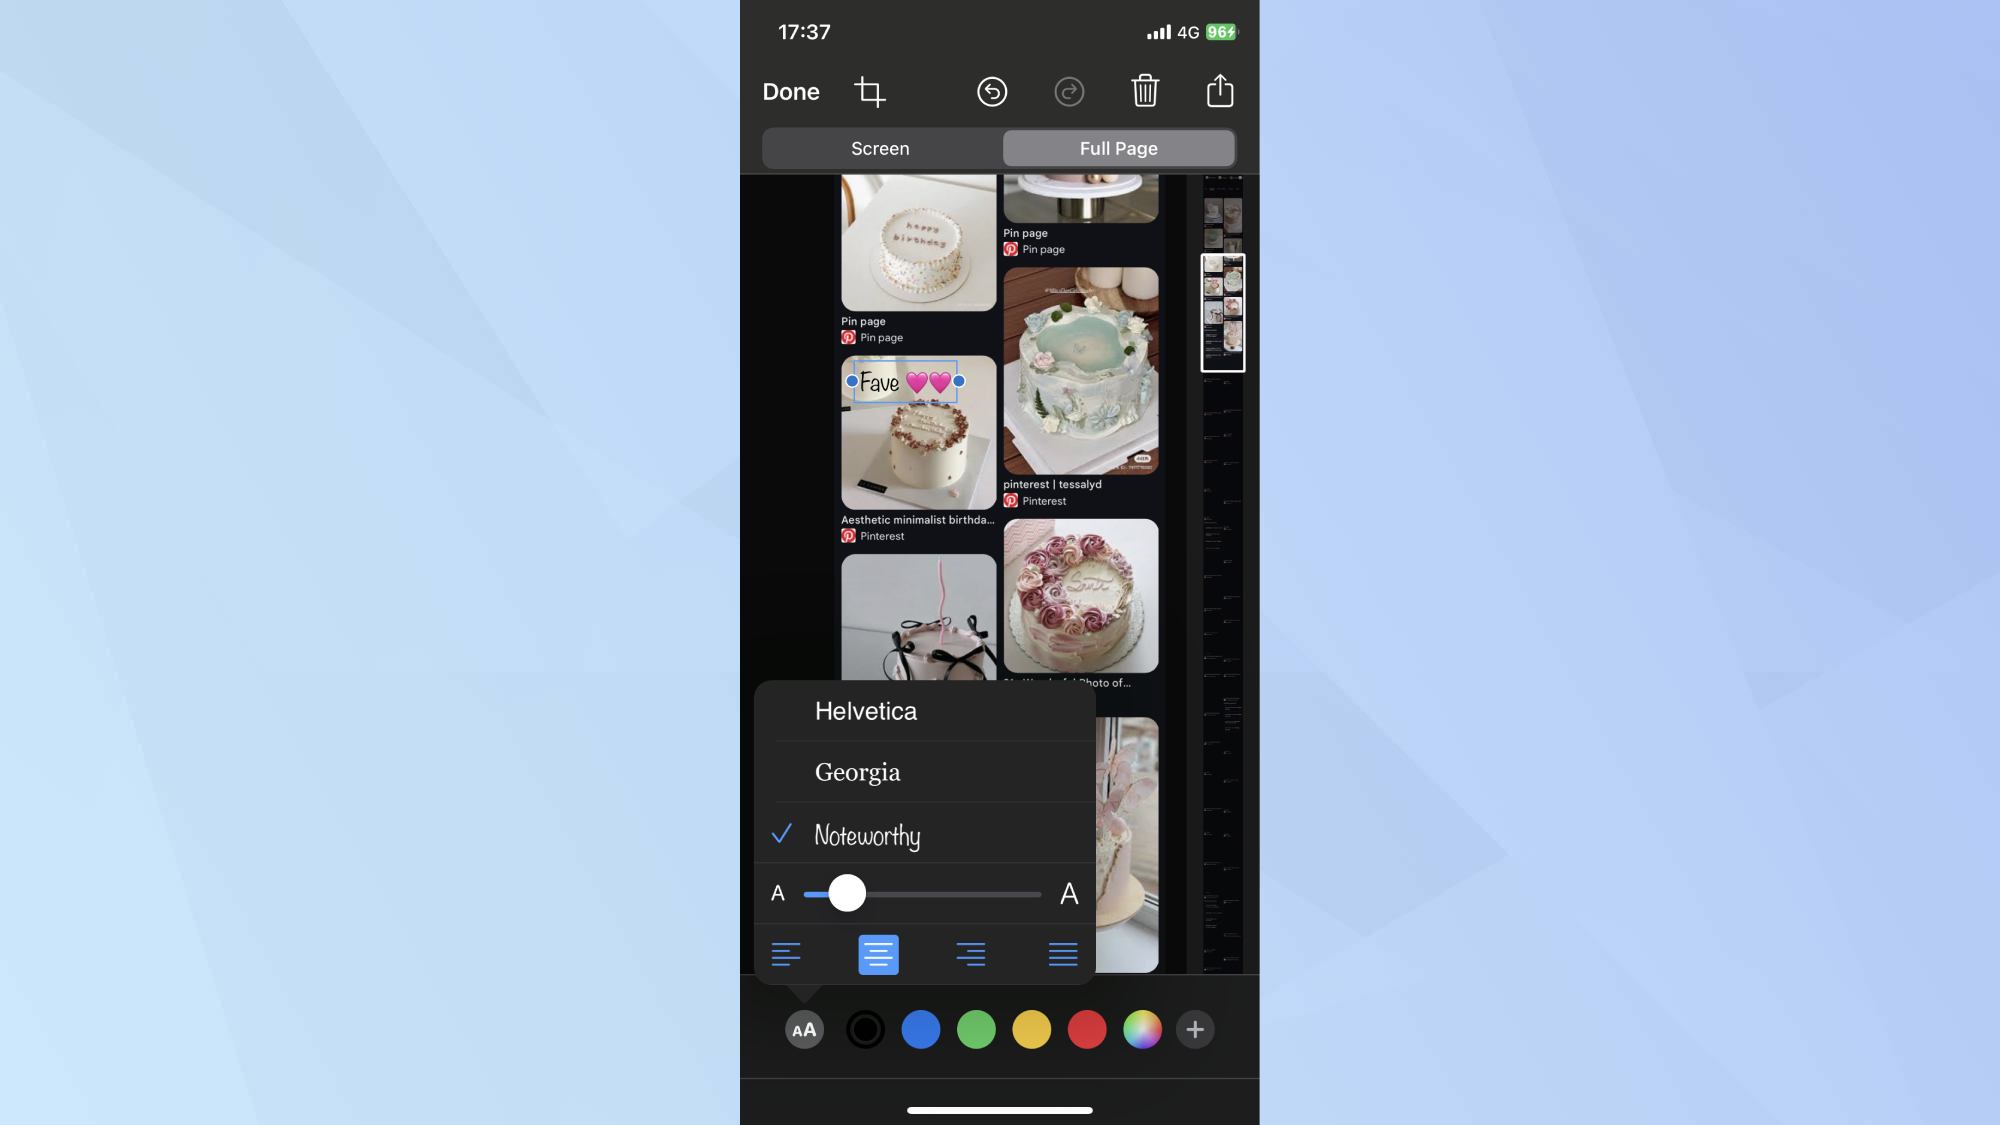
At this stage, you can annotate your screenshot if desired. Use the pen or highlighter tools at the bottom of the screen to add marks, underline text, or emphasize specific areas before saving.
6. Adjust your capture
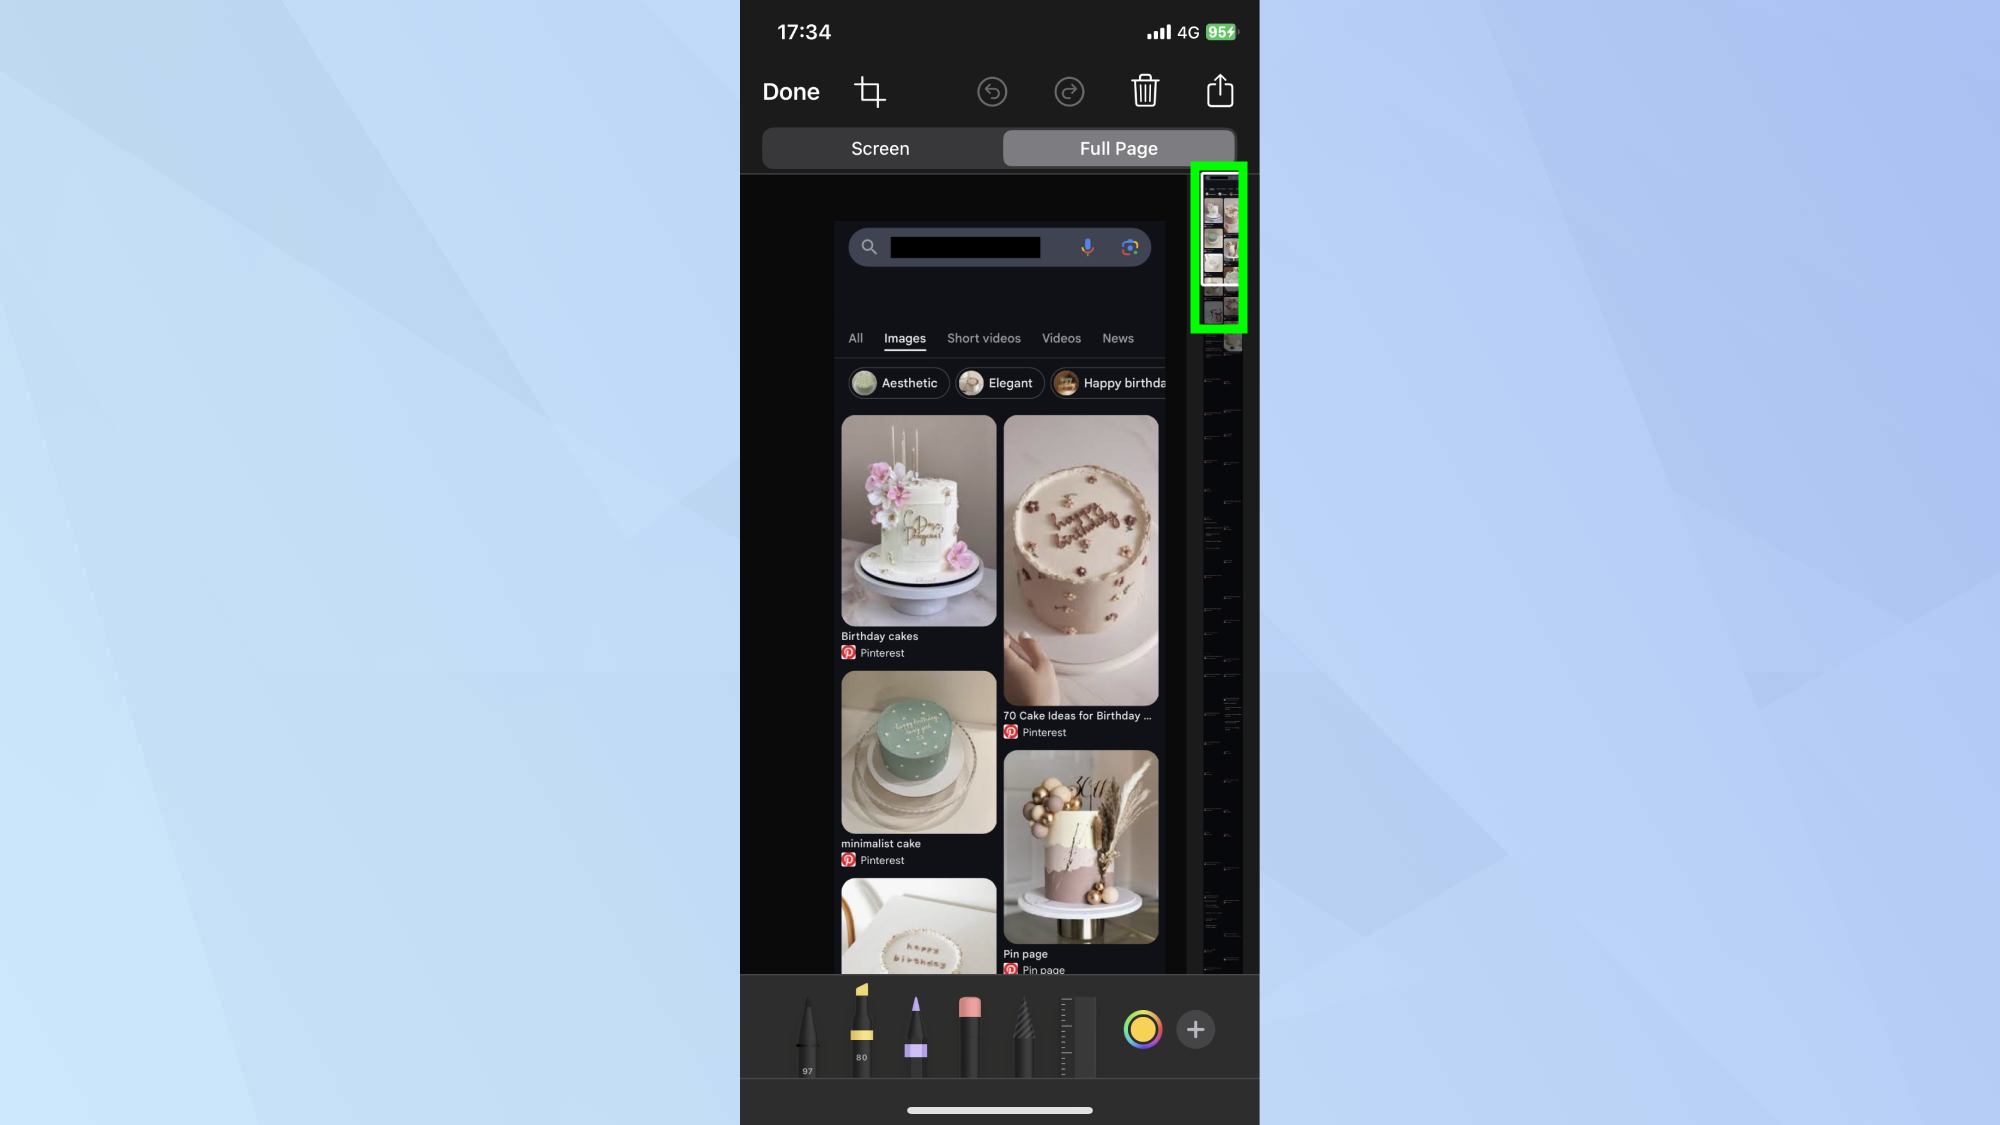
Use the sidebar slider to scroll through the entire captured page. You can also use the crop tool to adjust what parts of the page you want to keep.
7. Save your full-page screenshot
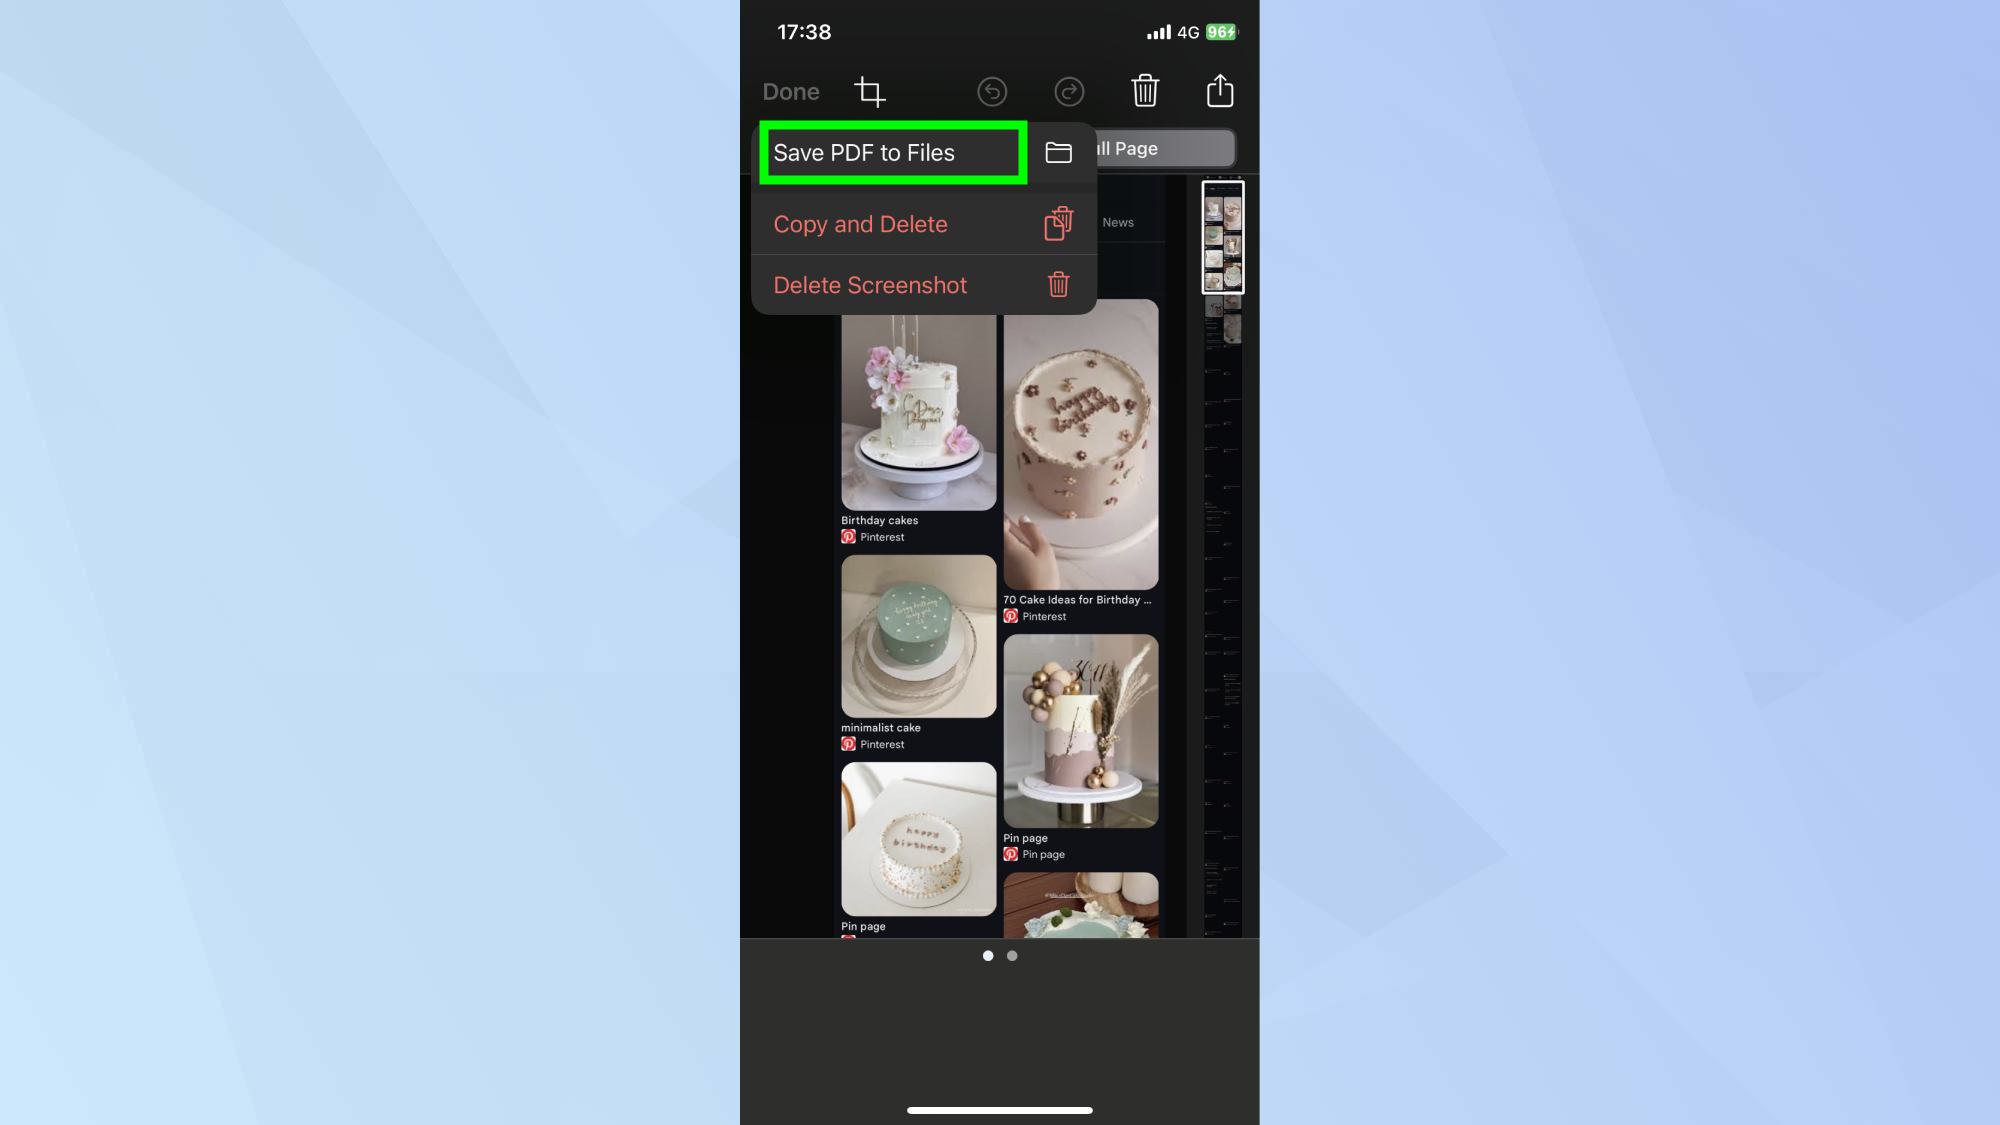
Once you're satisfied with your capture, tap Done and click Save PDF to Files. By mastering this feature, you'll be able to capture and share extensive content with ease.
After mastering scrolling screenshots, explore more iPhone features. Learn how to use Claude AI on your smartphone for intelligent assistance. Create custom routes in Apple Maps for personalized navigation, and how to update AirPods firmware for optimal accessory performance.
Sign up to get the BEST of Tom's Guide direct to your inbox.
Get instant access to breaking news, the hottest reviews, great deals and helpful tips.

Kaycee is an Editor at Tom’s Guide and has been writing for as long as she can remember. Her journey into the tech world began as Cazoo's Knowledge Content Specialist, igniting her enthusiasm for technology. When she’s not exploring the latest gadgets and innovations, Kaycee can be found immersed in her favorite video games, or penning her second poetry collection.
