9 unexpected uses for your coffee grinder
Here’s how to get more out of your coffee grinder than just great coffee
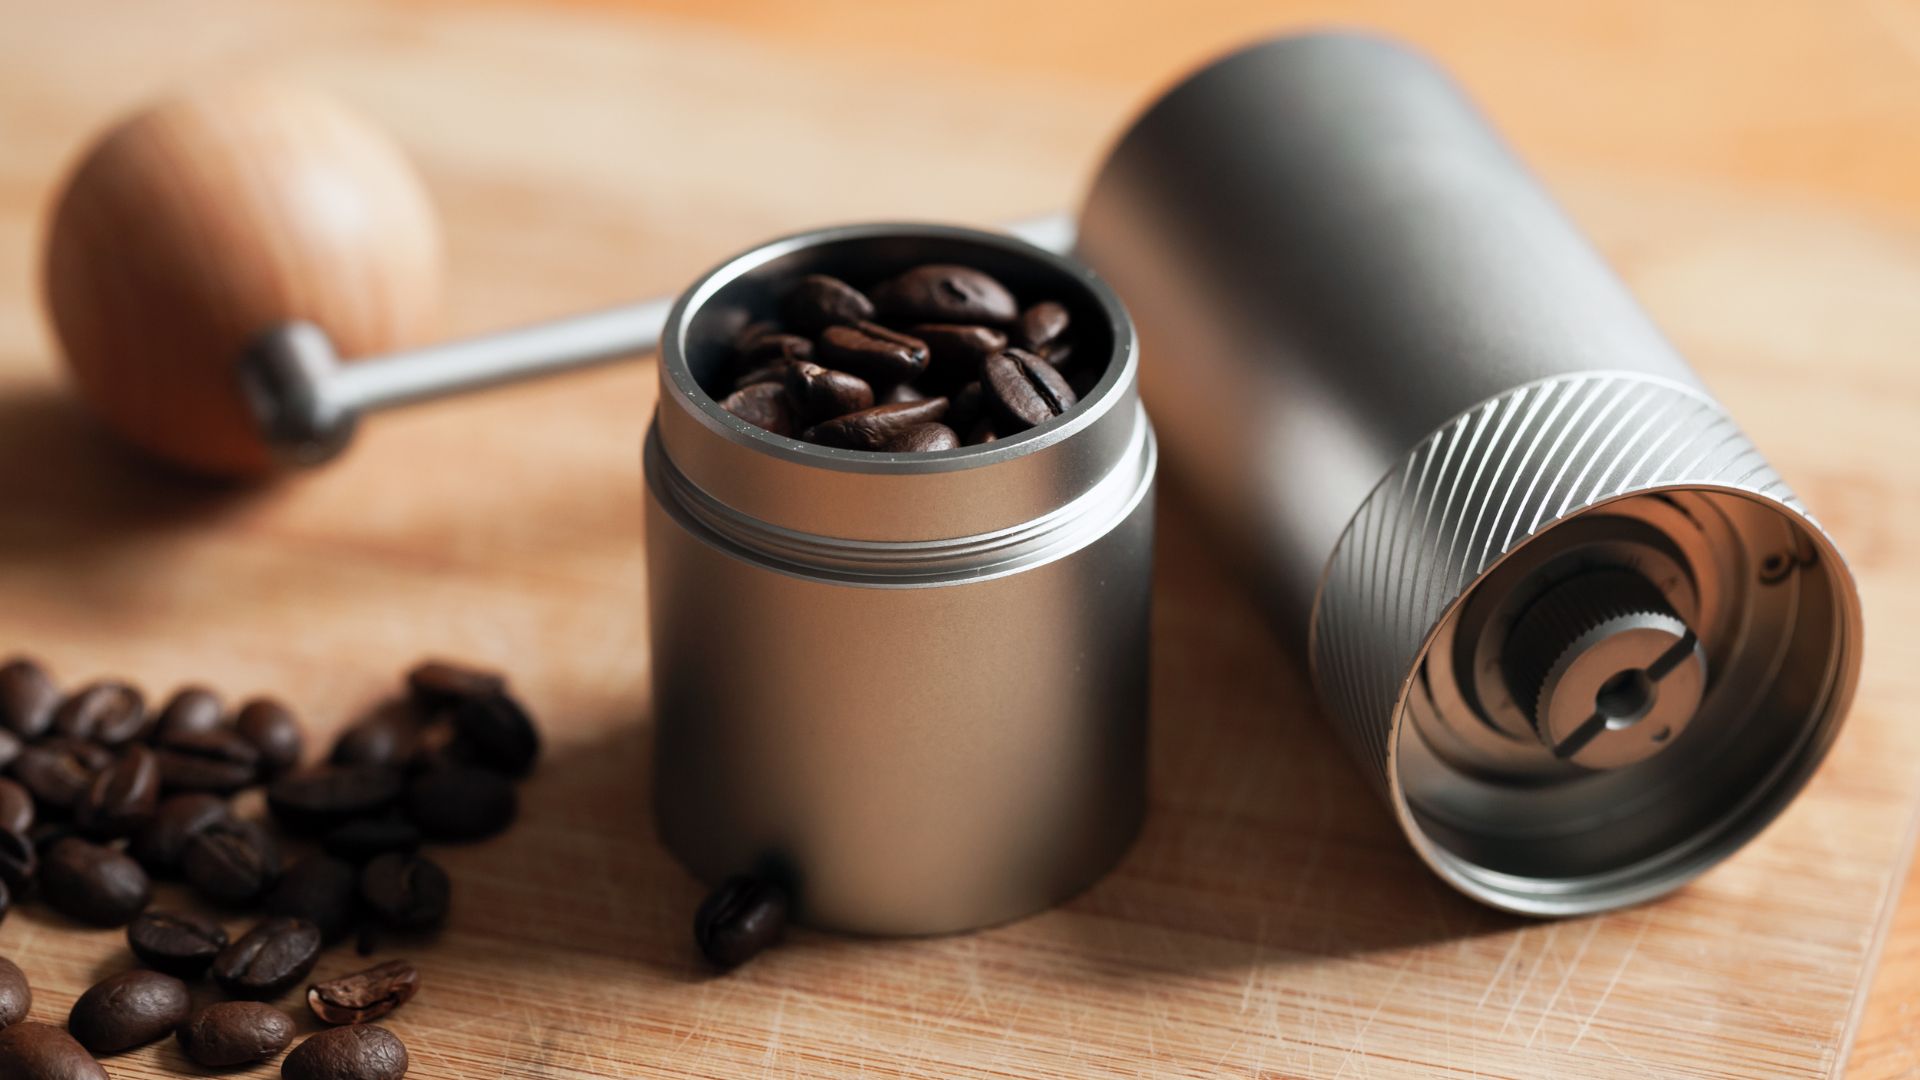
Across your kitchen, you’ll have an array of appliances with specific uses. The garlic press, the toaster oven, the electric kettle, the blender, and so on. Quite quickly, your cooking space can become overrun with kit you need to make certain dishes, but what about if you could use one appliance for a whole multitude of tasks? Well, the coffee grinder can do just that.
While it’s primarily used for grinding coffee beans, the process by which it does that means it can actually work as a really great small food processor. And, there’s actually a lot of uses for making up small batches of blended-up ingredients, which we’re about to dive into below.
Before we jump into our list, there are a couple of things to say. You’ll want to use a certain type of coffee grinder, and we’ll explain why next. You’ll also want to make sure you’re not trying to blend anything too hard, wet, or oily as you’ll risk ruining your coffee grinder for, well, coffee.
Which coffee grinder should I use?
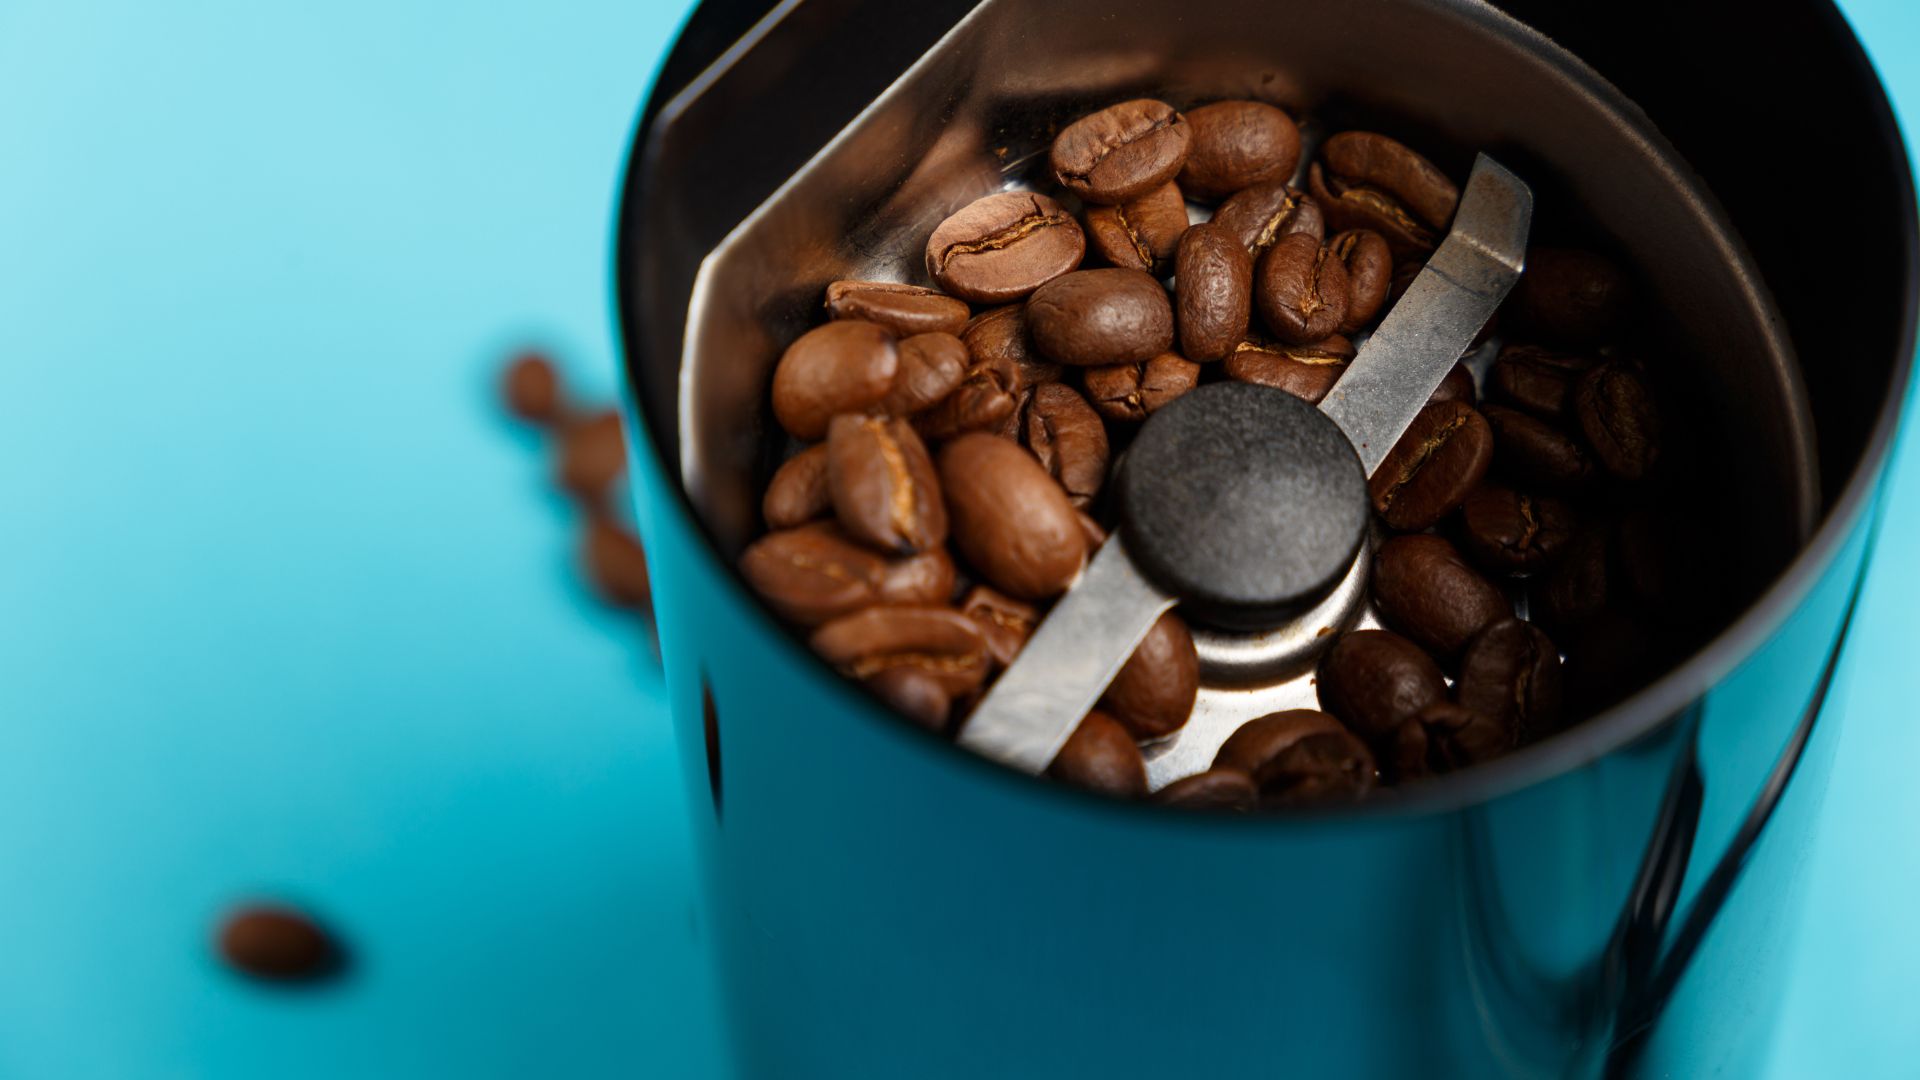
When it comes to the best coffee grinder, there’s an abundance of choice. But, when it comes to finding a coffee grinder that’ll be better suited for the unexpected uses we’re about to delve into below, there’s a certain type you’ll need to get your hands on; a blade grinder.
Blade grinders use a single blade that is sharpened on alternate sides that spins very fast and chops up the items in its way. This works best for creating smaller batches with smaller ingredients. If you have hardier and larger ingredients and want bigger batches, opt for one of the best food processors.
The alternative coffee grinder is a burr grinder, which tends to be the preferred choice for coffee lovers due to its ability to create a more even blend. But the lack of blades won’t work for these uses. Thankfully, blade grinders are fairly inexpensive, so if you haven’t already got one and you’re thinking of purchasing one to use on our list below, you won’t have to break the bank. You could keep a blade grinder specifically for spices, let’s say, and then use a soft brush to clean it out between each use.
Top tip: We’d recommend grinding coarse rock salt in your coffee grinder every once in a while to sharpen the blade and give it a deep clean.
Sign up to get the BEST of Tom's Guide direct to your inbox.
Get instant access to breaking news, the hottest reviews, great deals and helpful tips.
1. Spice blends
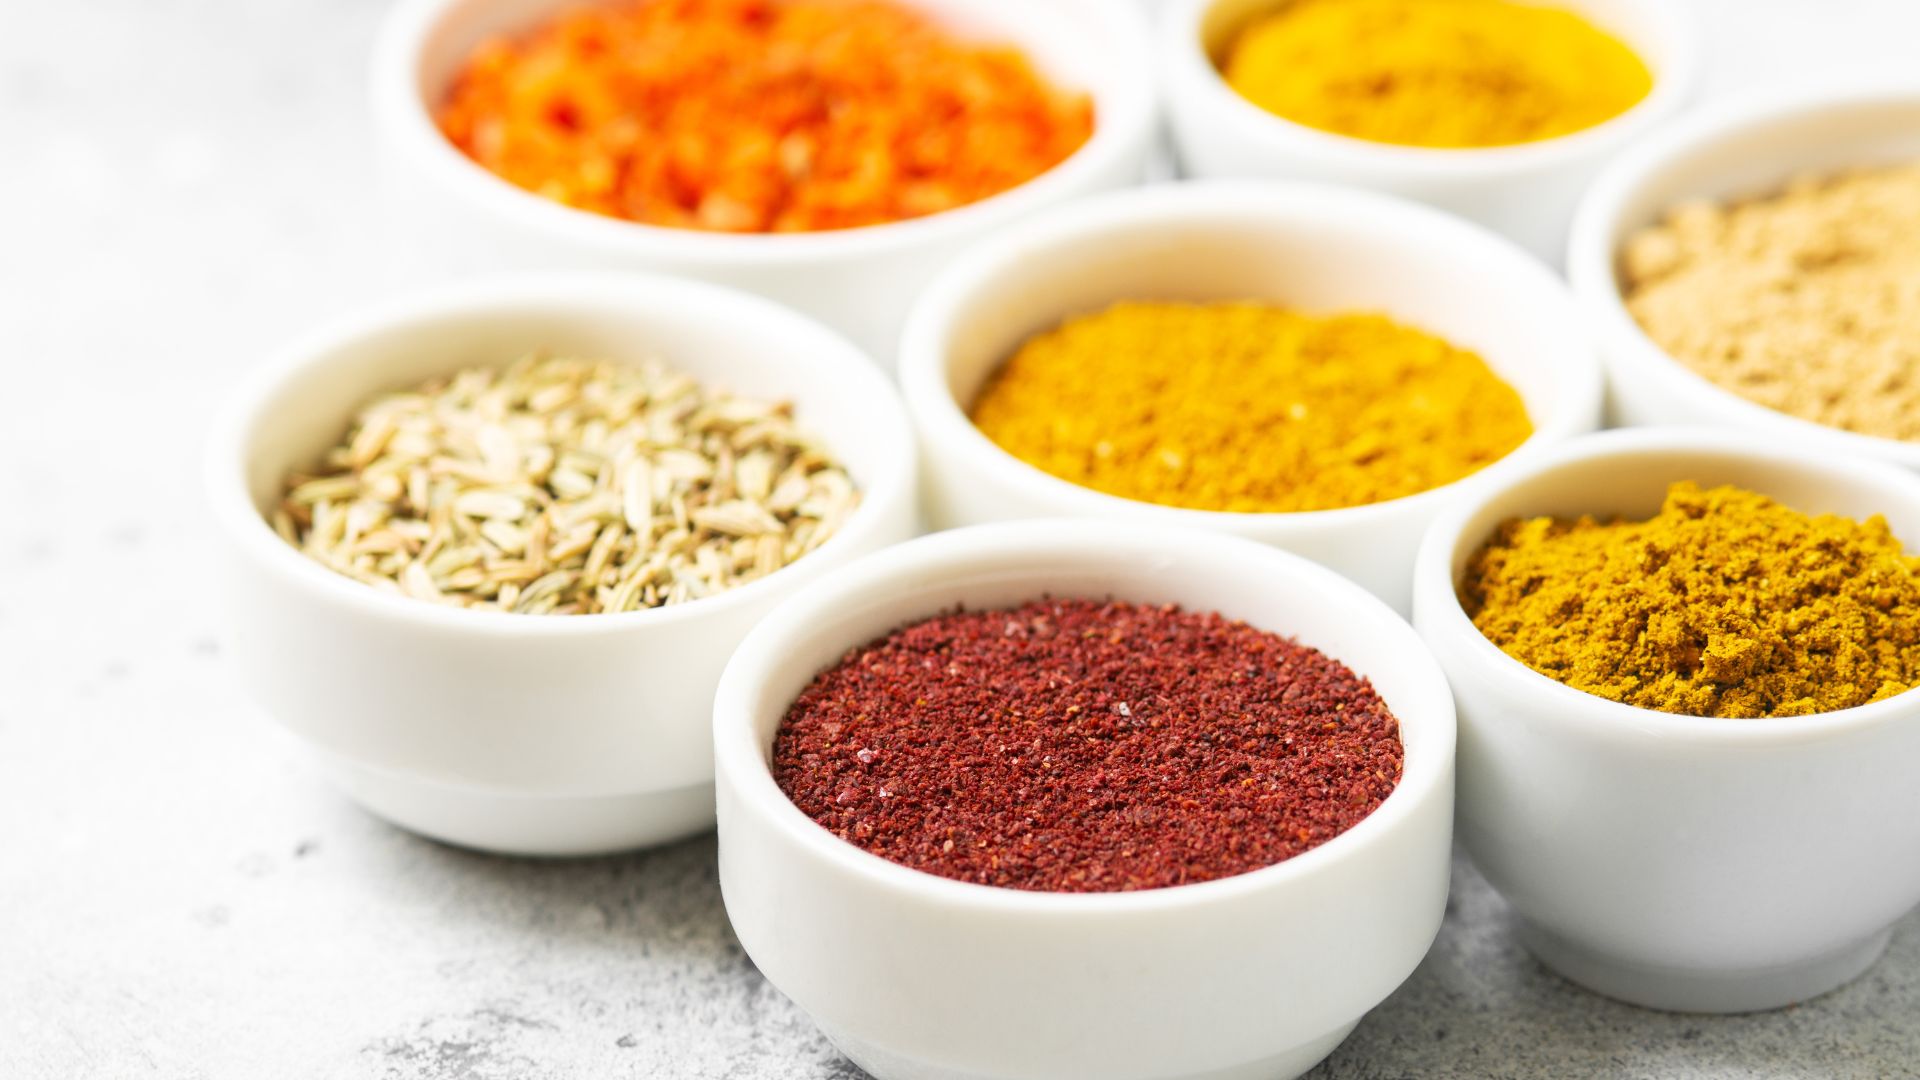
While you can easily purchase spice blends from stores, they come with an expiration date. Even if they’re not out of date, you can’t beat the freshness and aromas of newly blended spices and that’s why your coffee grinder is perfect. Instead of buying ready-made ground spices, you can instead keep whole, dried items that you store until you’re ready to use them.
Simply pop them in your coffee grinder and grind them up to make spices whenever you need them, or create small batches to use over a period of time. From cumin to cinnamon to paprika to even turning whole vanilla pods into vanilla powder to add to your coffee to go full circle. Plus, you can have a lot of fun experimenting and making spice blends you love.
2. Breadcrumbs
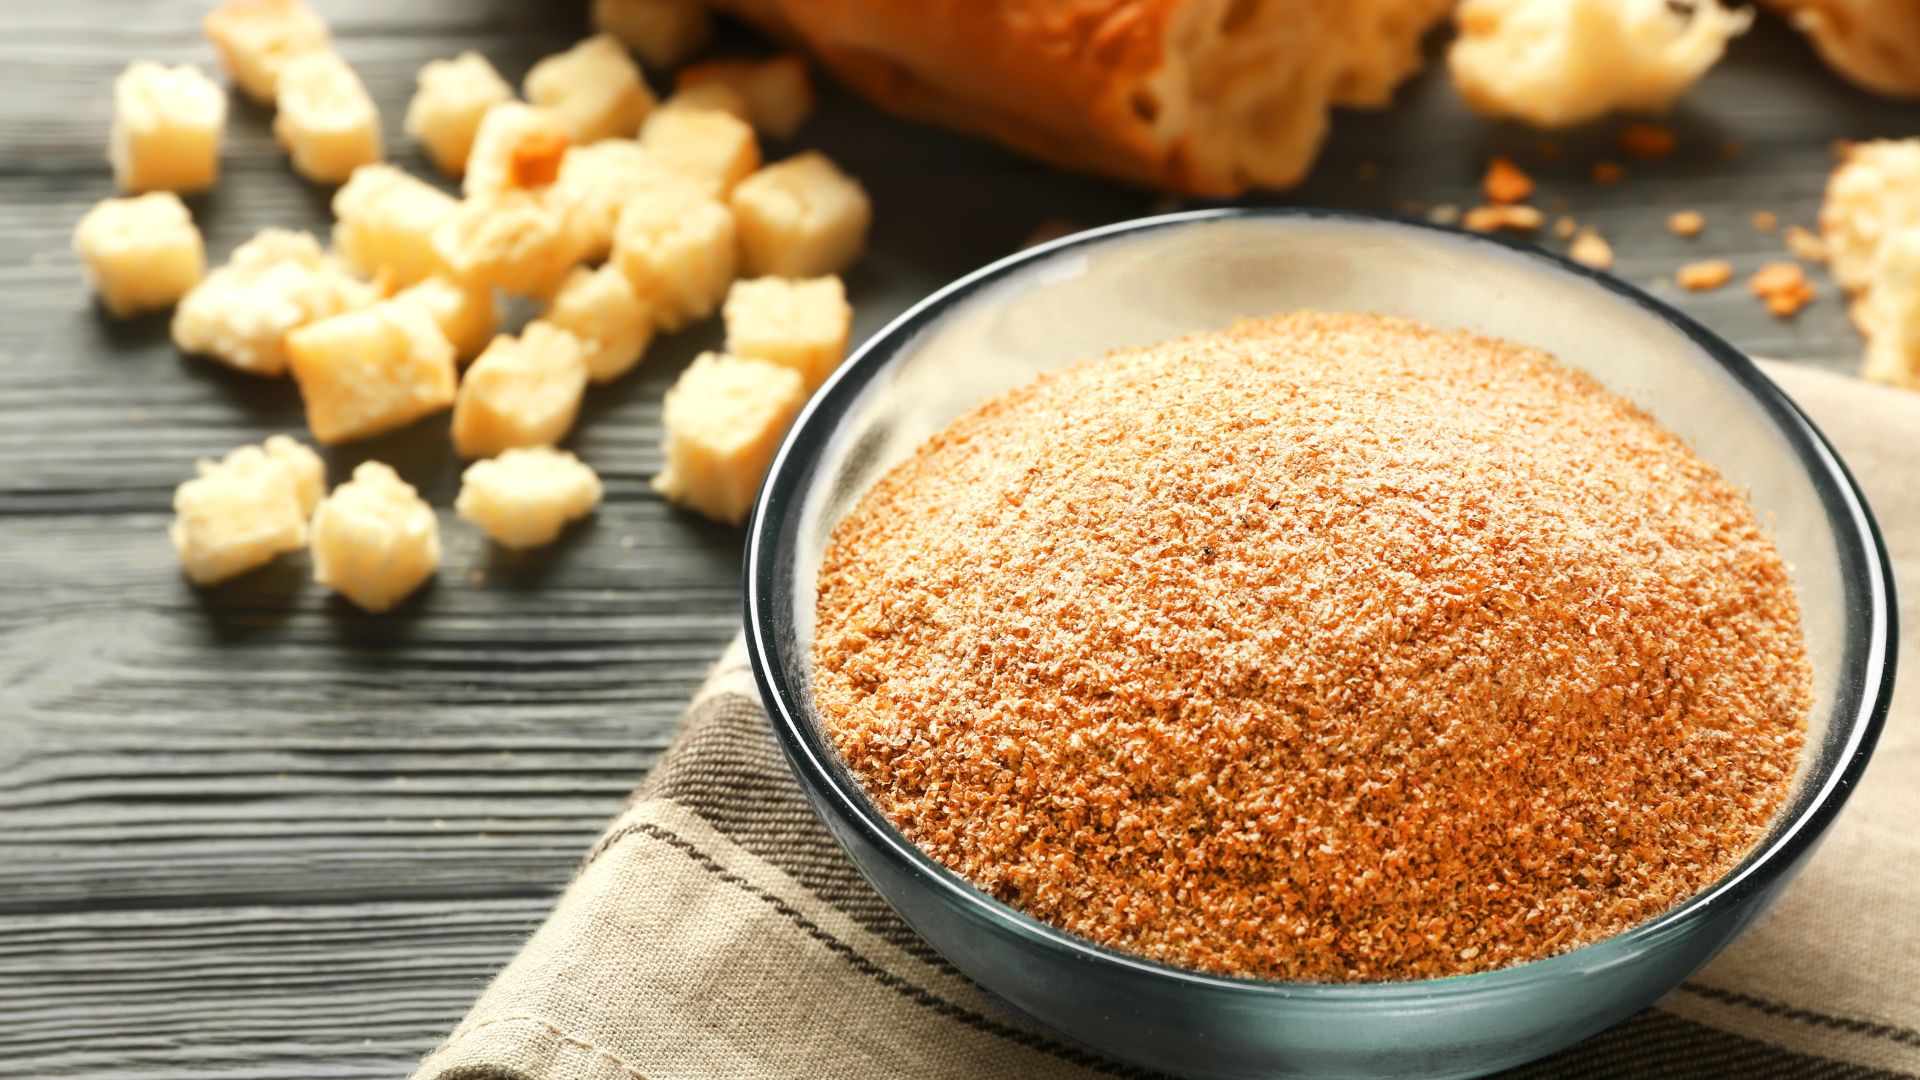
If you’ve got some stale bread to hand, why not make breadcrumbs? They’re an incredibly versatile ingredient in the kitchen and avoid food wastage, especially if you've made too much in your bread machine. It’s far less expensive than buying the ones in the shop and you can control the consistency of the crumb you’re after. Blitz it less for chunkier crumbs and more for fine, powdery crumbs.
For this, break the stale bread into small pieces and place it in your coffee grinder to make your own. We suggest stale bread as it’s drier to break up and won’t get stuck in the grinder. We also suggest making sure you don’t overload or use too large chunks. So, keep the bread to about half the capacity of your coffee grinder.
3. Homemade flour
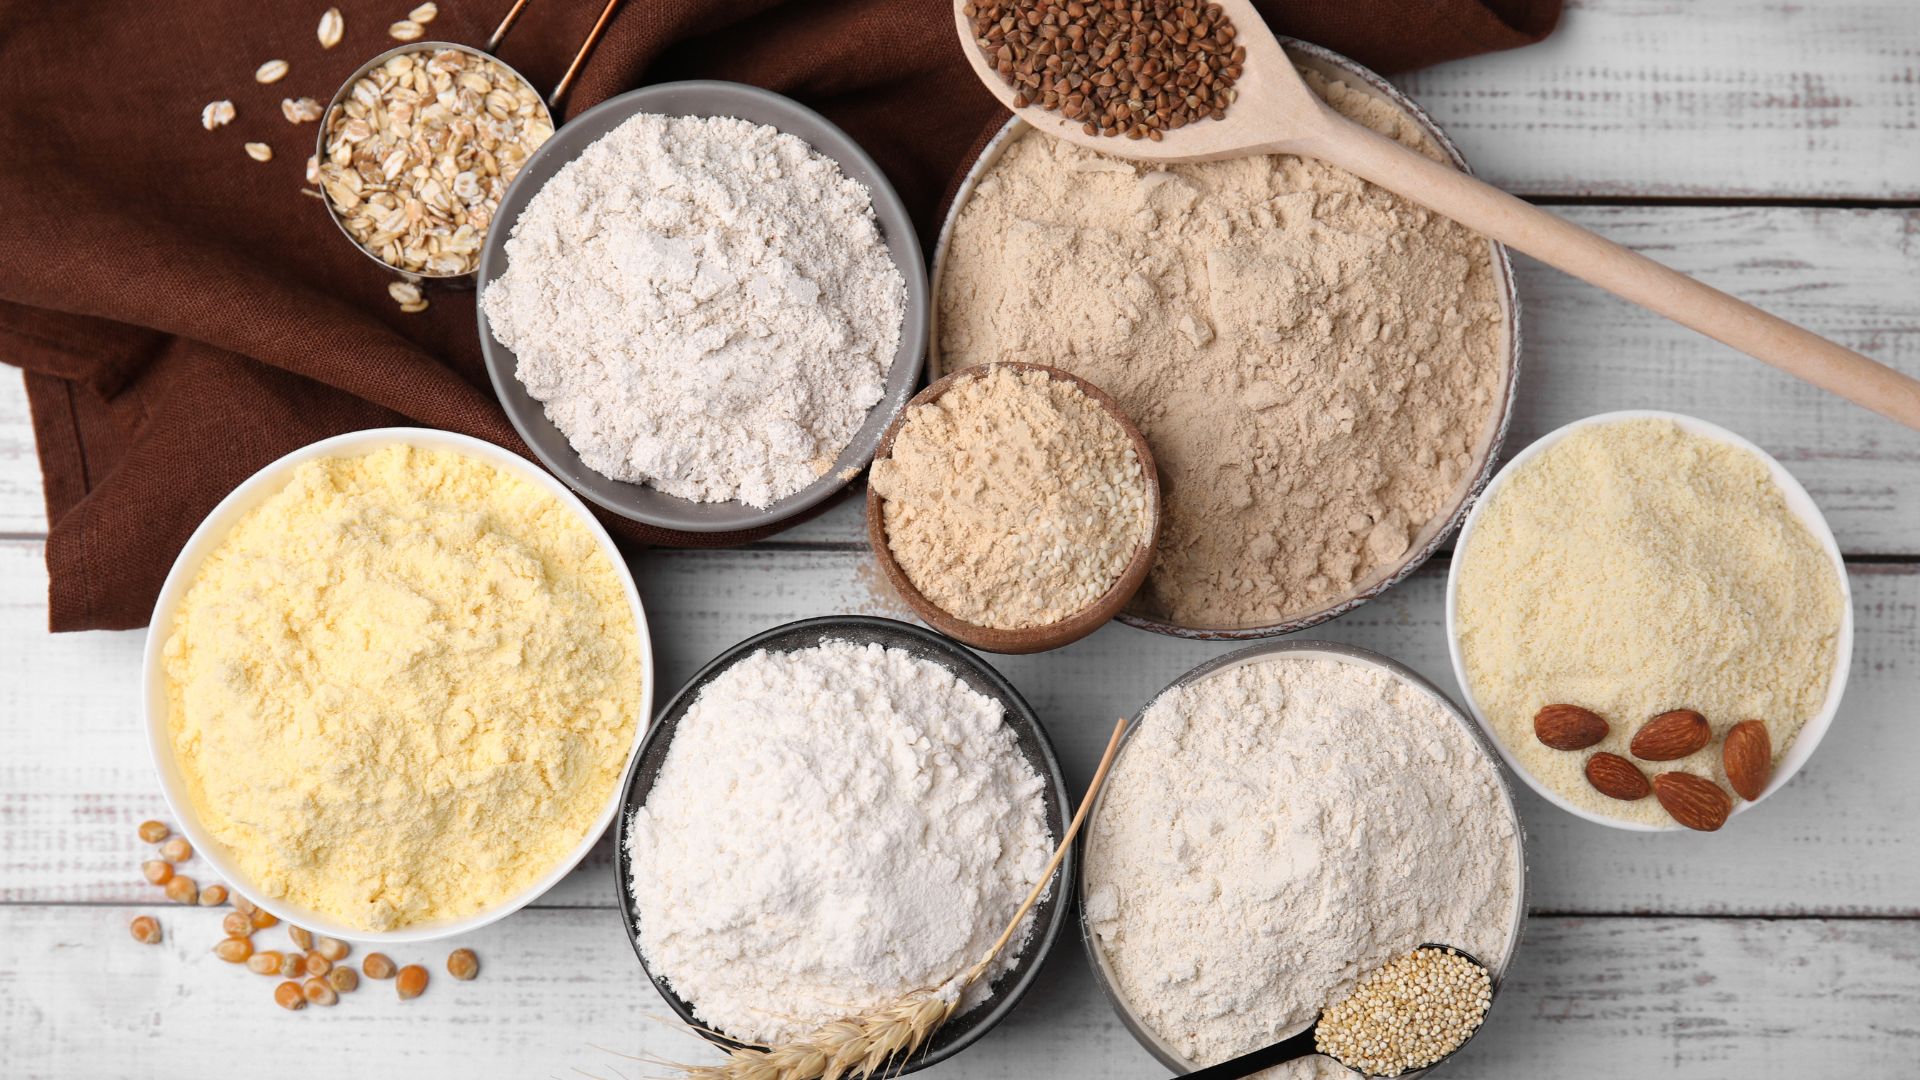
Making your own flour may sound like a daunting task, but as long as you’re equipped with the right grains and have a comparison for consistency, you’ll be able to produce small batches of flour using your coffee grinder.
Simply add the necessary grains for the flour you’re after and blitz until you’re happy with the texture. For all-purpose flour, you don’t want it to be as fine as say cake flour. If you find it’s not getting any finer after around a minute, sift the flour and regrind the larger parts. If you’re looking to experiment with flour alternatives depending on your recipe or your diet, you can use oats, quinoa, or even rye berries to make different flour blends. Then, you can learn how to bake the perfect loaf of bread.
4. Ground pepper
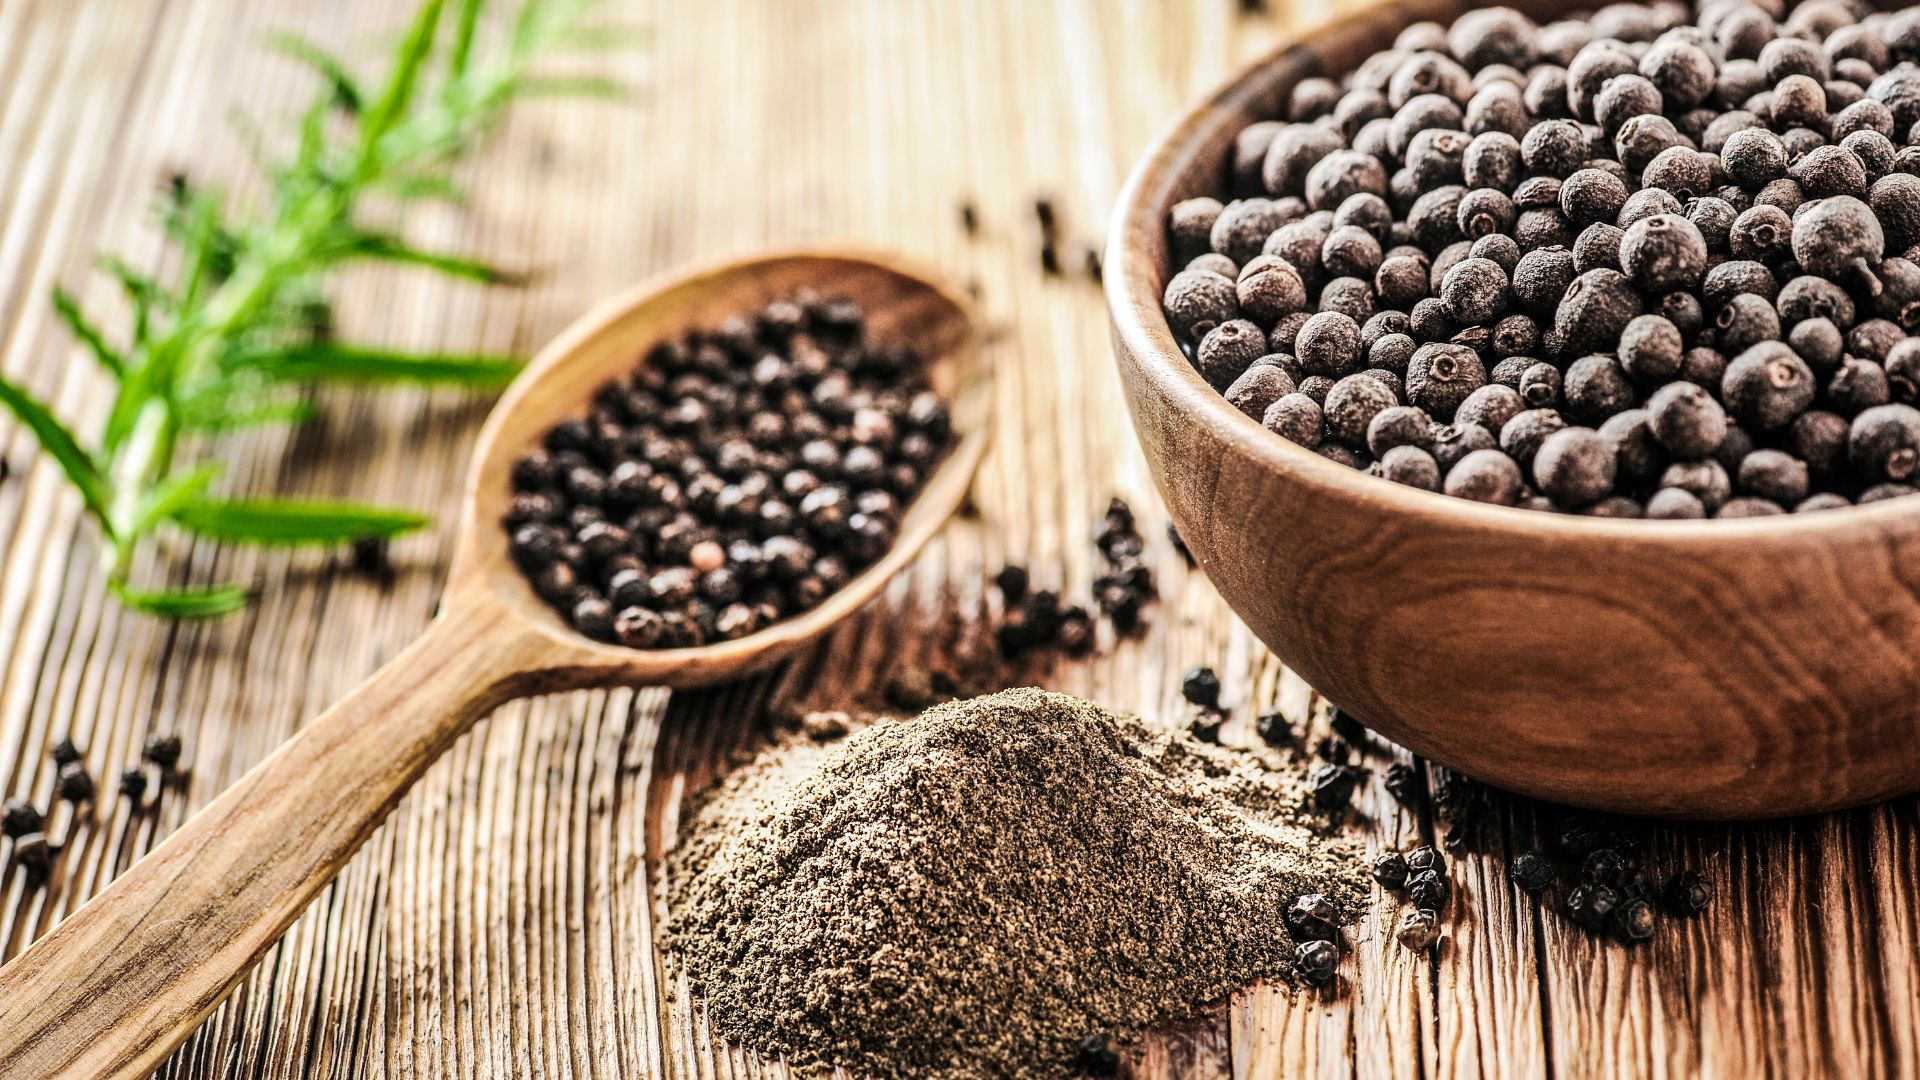
If you don’t have a pepper grinder but are searching for an alternative way to create fresh ground peppercorns, your coffee grinder will do the job. Blitzing peppercorns will create a more fragrant, fresh, and aromatic ground pepper for your cooking than the pre-ground version you can pick up in grocery stores.
Another advantage to grinding it yourself is you can make small batches of different consistencies. If you want a chunkier consistency, stop a little earlier and store it away. If you want a finely ground powder, put more time into it and keep this aside too. It takes hardly anytime at all and can make all the difference to a dish.
5. Herbal tea blends

In much the same way as grinding fresh spices, you can use your coffee grinder to make fresh blends of teas. Gather up stores of dried tea leaves, herbs, flowers, fruit, and spices, depending what flavors you’re after, and then add them to your coffee grinder in small amounts to grind up for tea.
Once you’ve experimented and created your different blends from herbal sleep teas to making the perfect brew, store them in an airtight container ready for steeping in hot water when you’re ready. Or, if you want to get really creative, you can buy empty tea bags to load up with your special herbal blends (which also make great gifts).
6. Powdered sugar
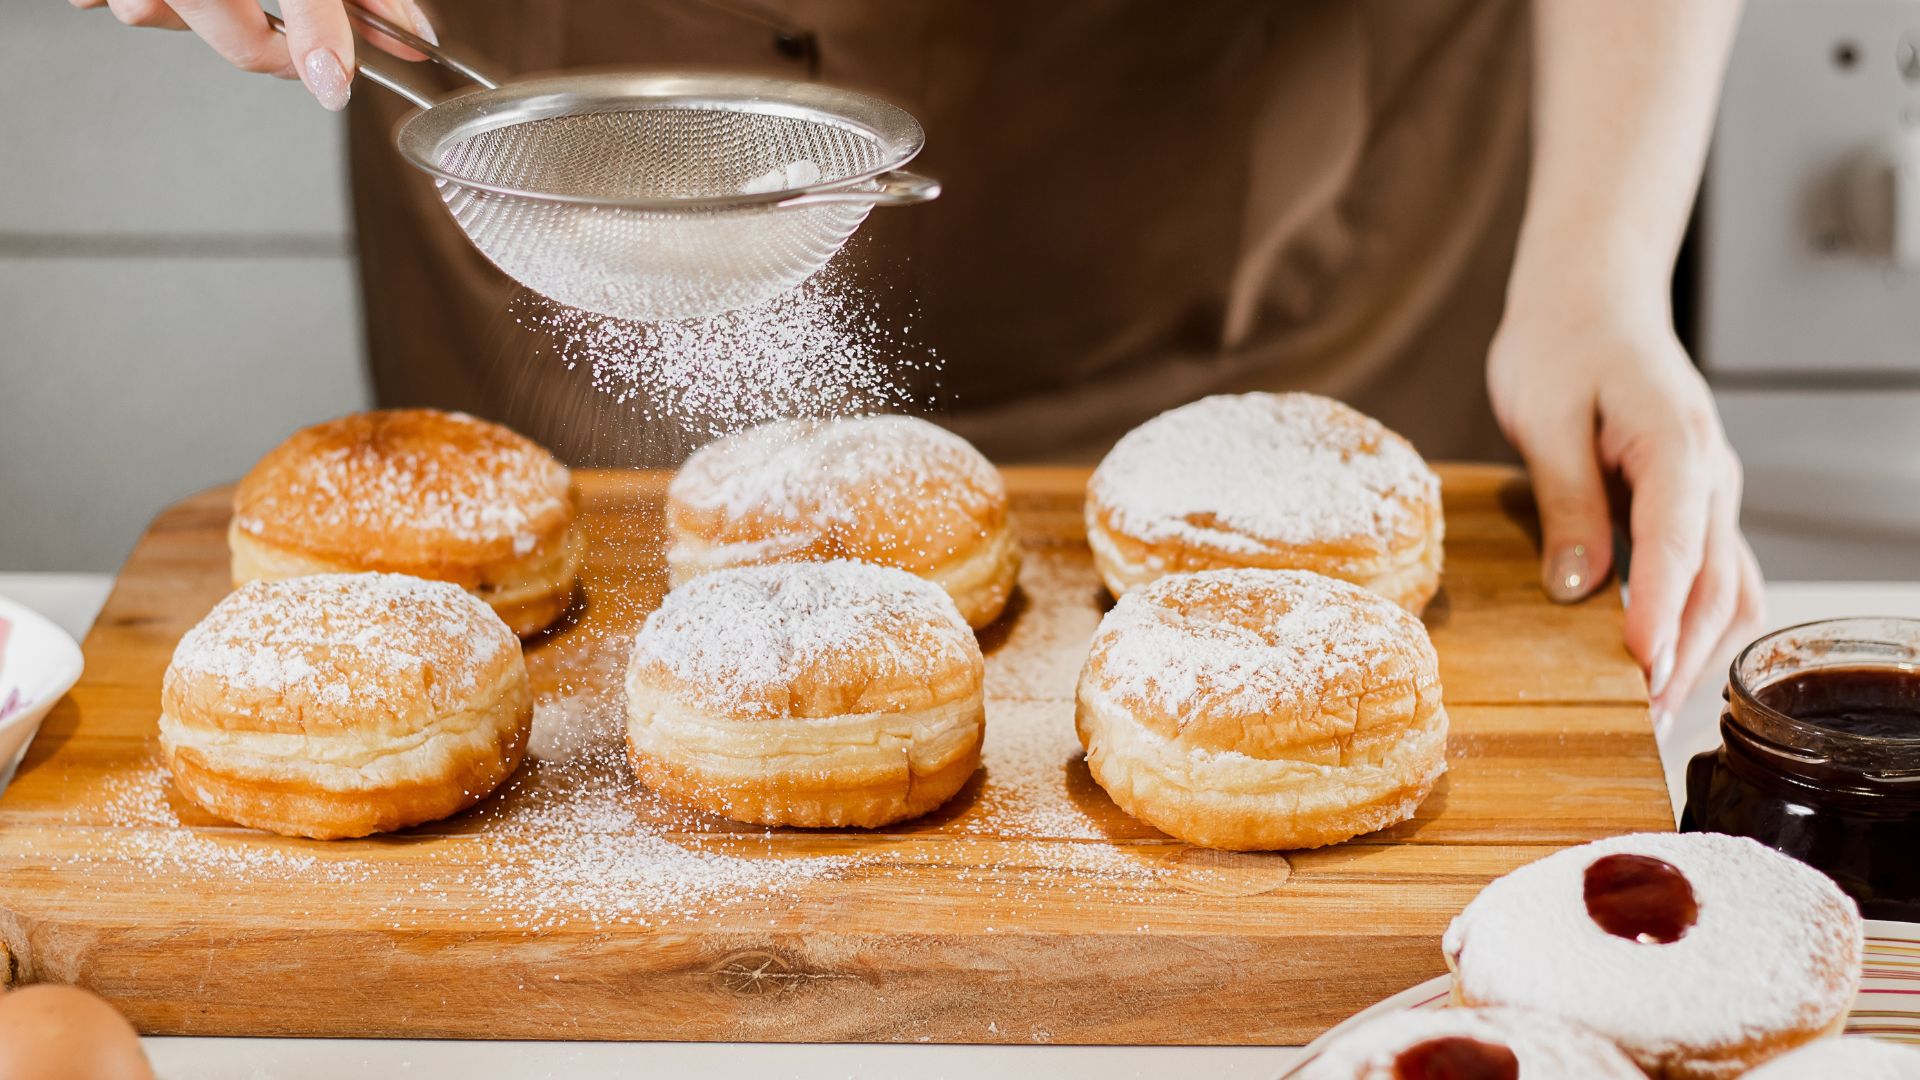
You’re planning to do some baking, but when you take a look at the recipe, you see it requires powdered sugar to make up some frosting or as a dusting for some delicious donuts. If you don’t have powdered sugar, but you do have granulated sugar and cornstarch, you can use both of those ingredients in a coffee grinder to blend up the fine powdered sugar you require.
It’s that simple, really. The suggested quantities are one cup of granulated sugar to one tablespoon of cornstarch. Depending on the size of your coffee grinder, you may want to halve these measurements. Blend it up and you’ve got yourself something sweet to work with in just a few minutes.
7. Chopped nuts and seeds
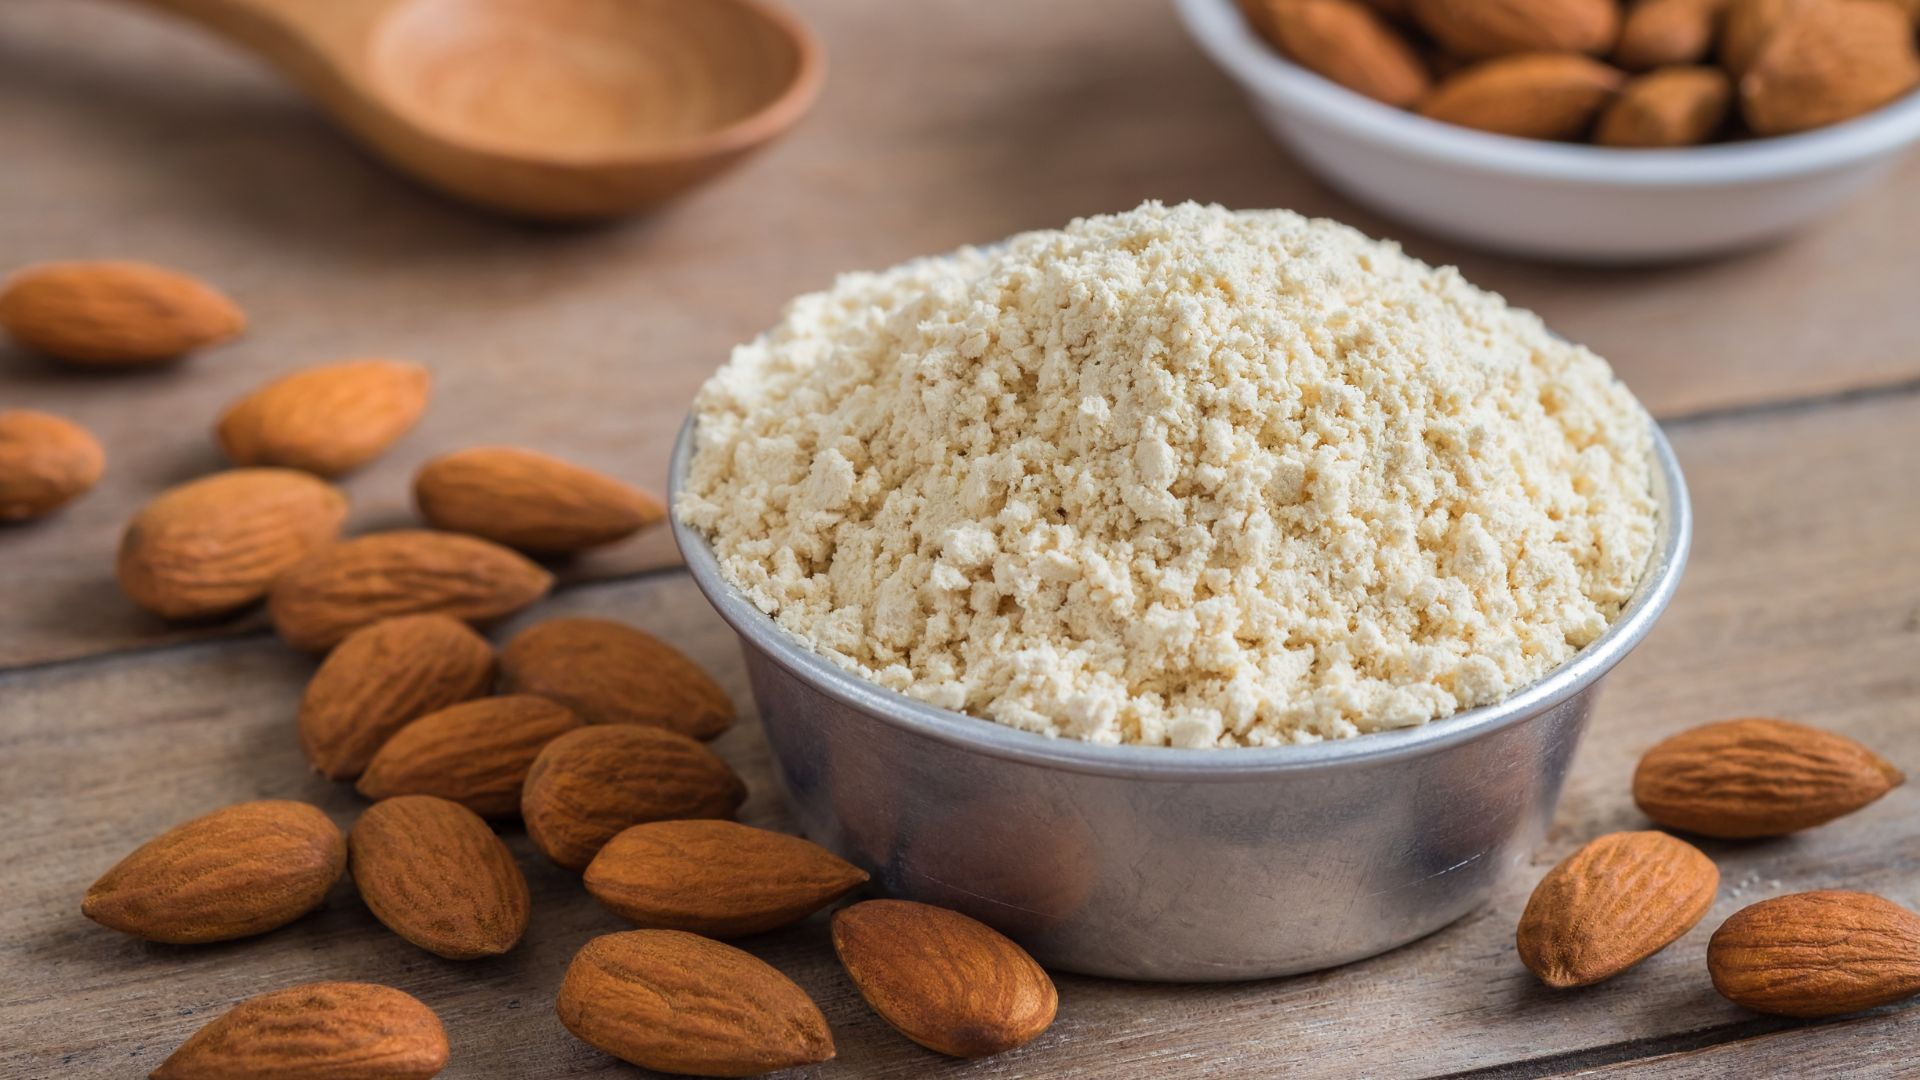
If you’re looking for some chopped up nuts and/or seeds for a meal you’re cooking up or as a topping for your porridge or yogurt, you can make them yourself. Instead of buying the fairly expensive pre-chopped nuts in the store, you can keep a packet of whole nuts that you’ll only turn into the quantities you’re after.
For the coffee grinder, add small amounts of nuts or seeds and blend. Softer nuts work best here, so pecans, walnuts, and peanuts, for example. Harder nuts may be harder to blend or may be a less consistent blend. The most important thing to note is you don’t want to grind them for too long because you’ll make a nut butter, which can prove really hard to clean.
8. Garnishes
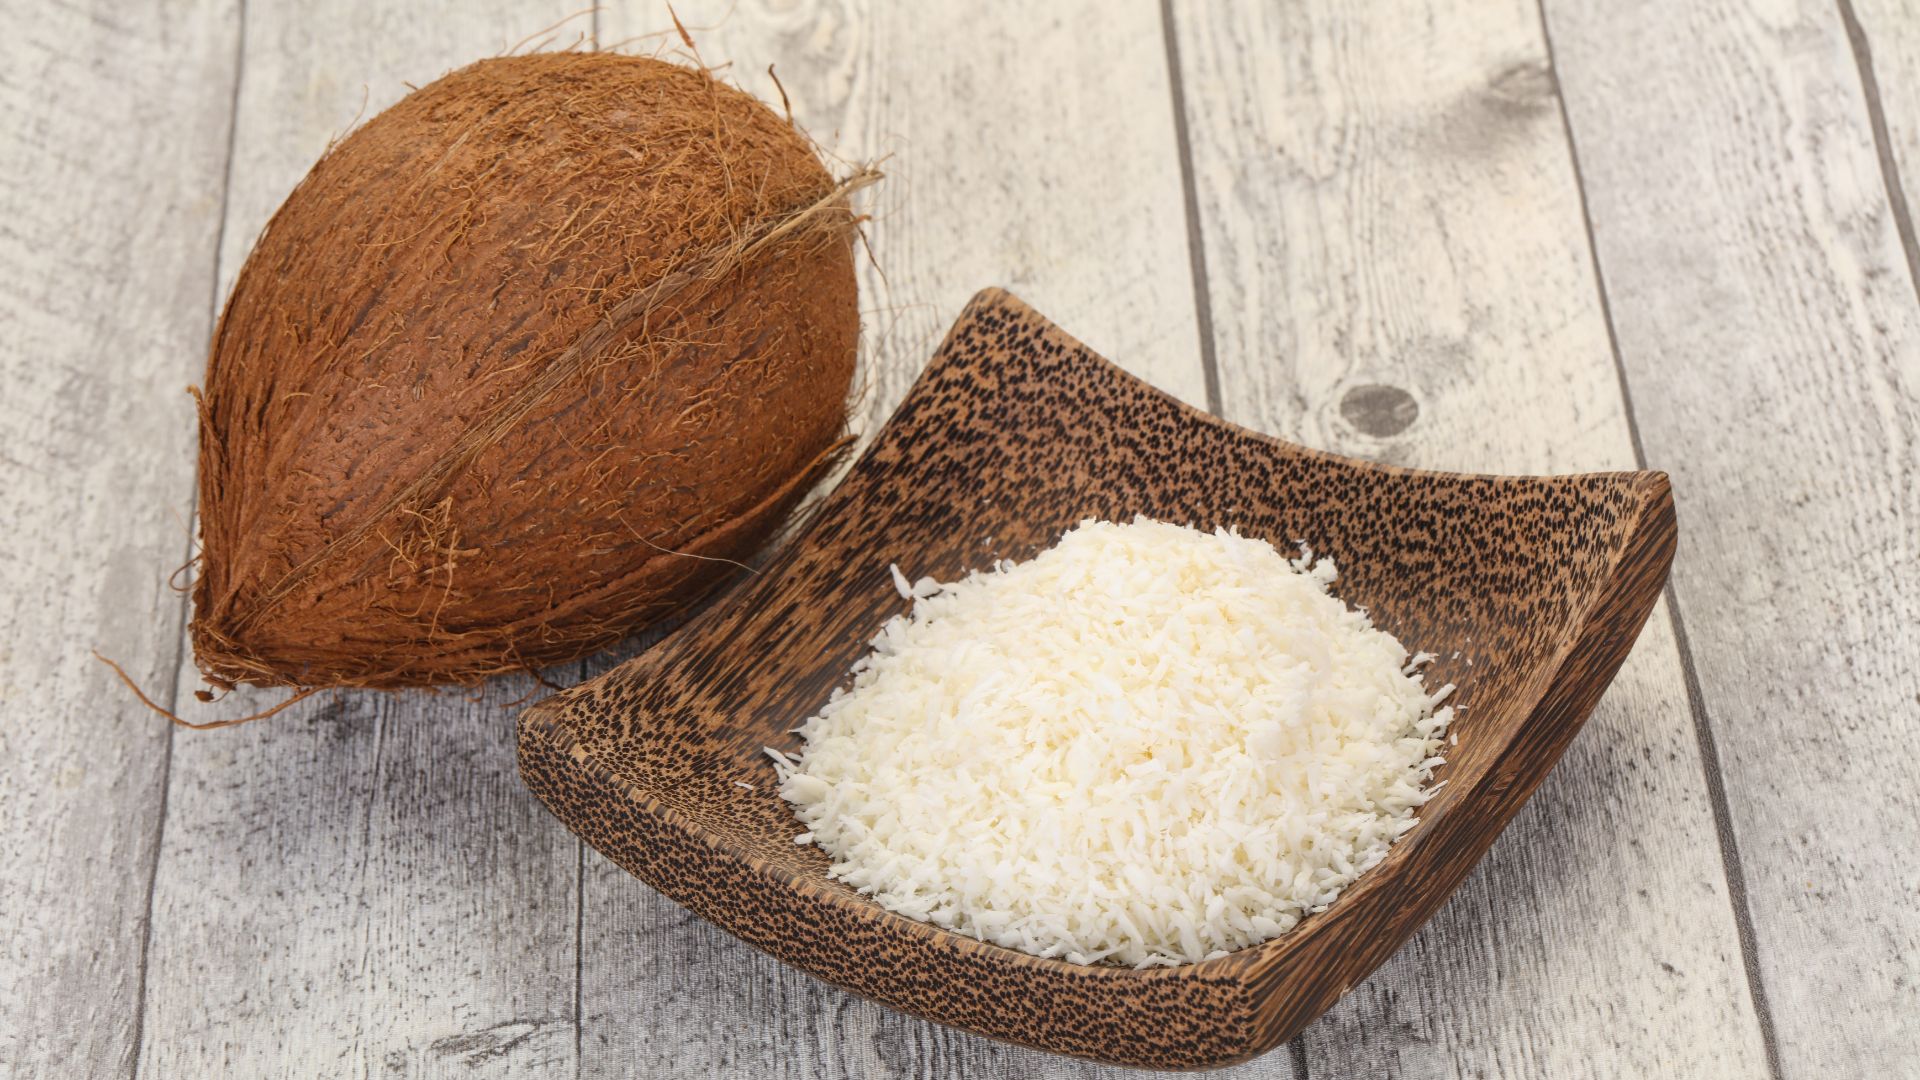
If you’re looking to add some flourish to your cooking, a coffee grinder can help you create garnishes to add on top of dishes. For citrus peels, you can peel an orange, lemon, or lime at home and leave the strips to dry out on a plate in a well-circulated sunny area of your home for two to three days. If you’re short of time, you can hurry up the process by cooking them in the oven on 200F for 25 to 30 minutes.
For chocolate garnish, you can add small chunks of chocolate to the coffee grinder and blend for chocolate flakes. Dried coconut is also an option, but the process of drying out the coconut will require some research.
9. Chili flakes
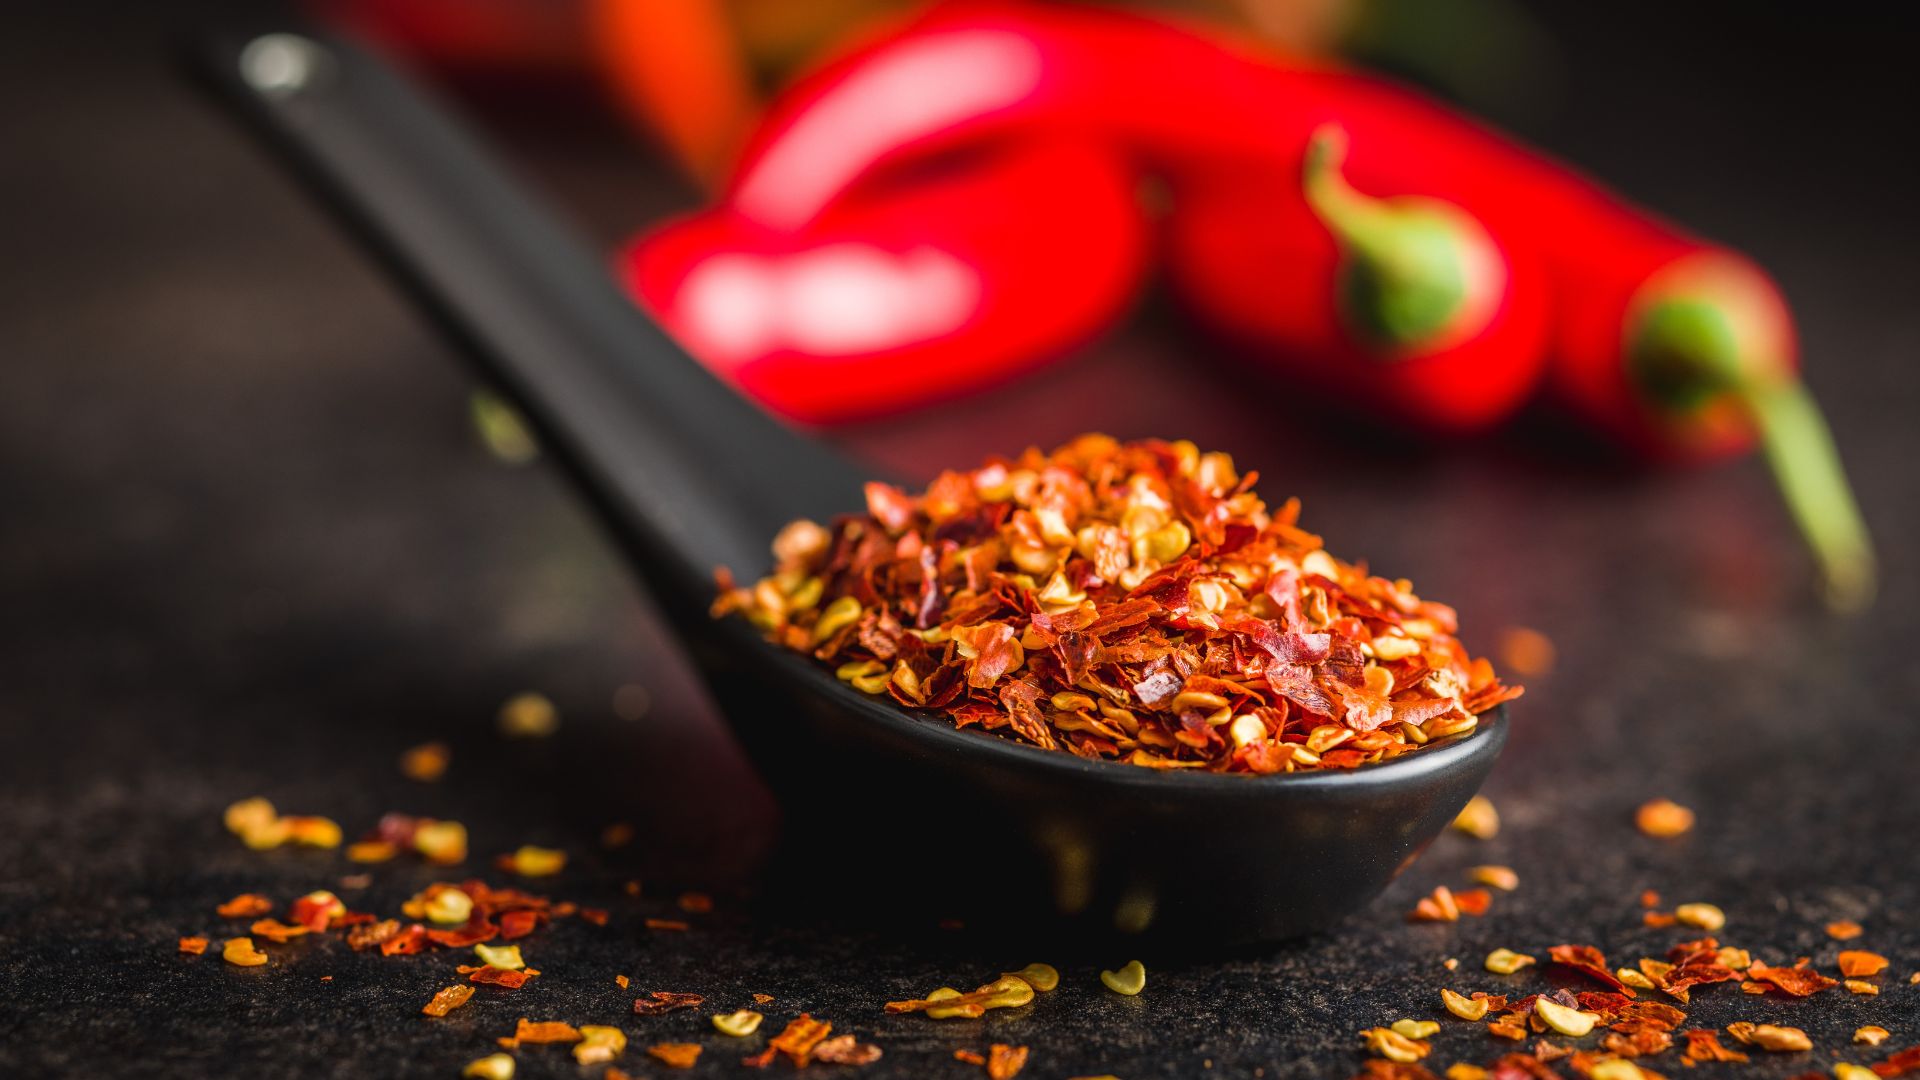
Finally, to make sure your meals pack a real punch, you can’t beat freshly ground chili flakes. Whether you’ve grown your own chilis in a pot at home or you’ve bought them in a store, you can hang them up to dry or place them on a plate or wire rack and leave for a few weeks to dry out. Then, add them to the coffee grinder and blitz it to the consistency you’re after.
You can leave them as flakes or grind to a more powdery consistency to distribute more evenly in your dishes. It depends what you’re making and how well you want the heat distributed.
More from Tom's Guide
Grace is a freelance journalist working across homes, lifestyle, gaming and entertainment. You'll find her writing for Tom's Guide, TechRadar, Space.com, and other sites. If she's not rearranging her furniture, decluttering her home, or relaxing in front of the latest streaming series, she'll be typing fervently about any of her much-loved hobbies and interests. To aid her writing, she loves to head down internet rabbit holes for an unprecedented amount of time.

