5 ways to get rid of rust stains and look after your garden tools
Simple household items can help you banish rust in no time.
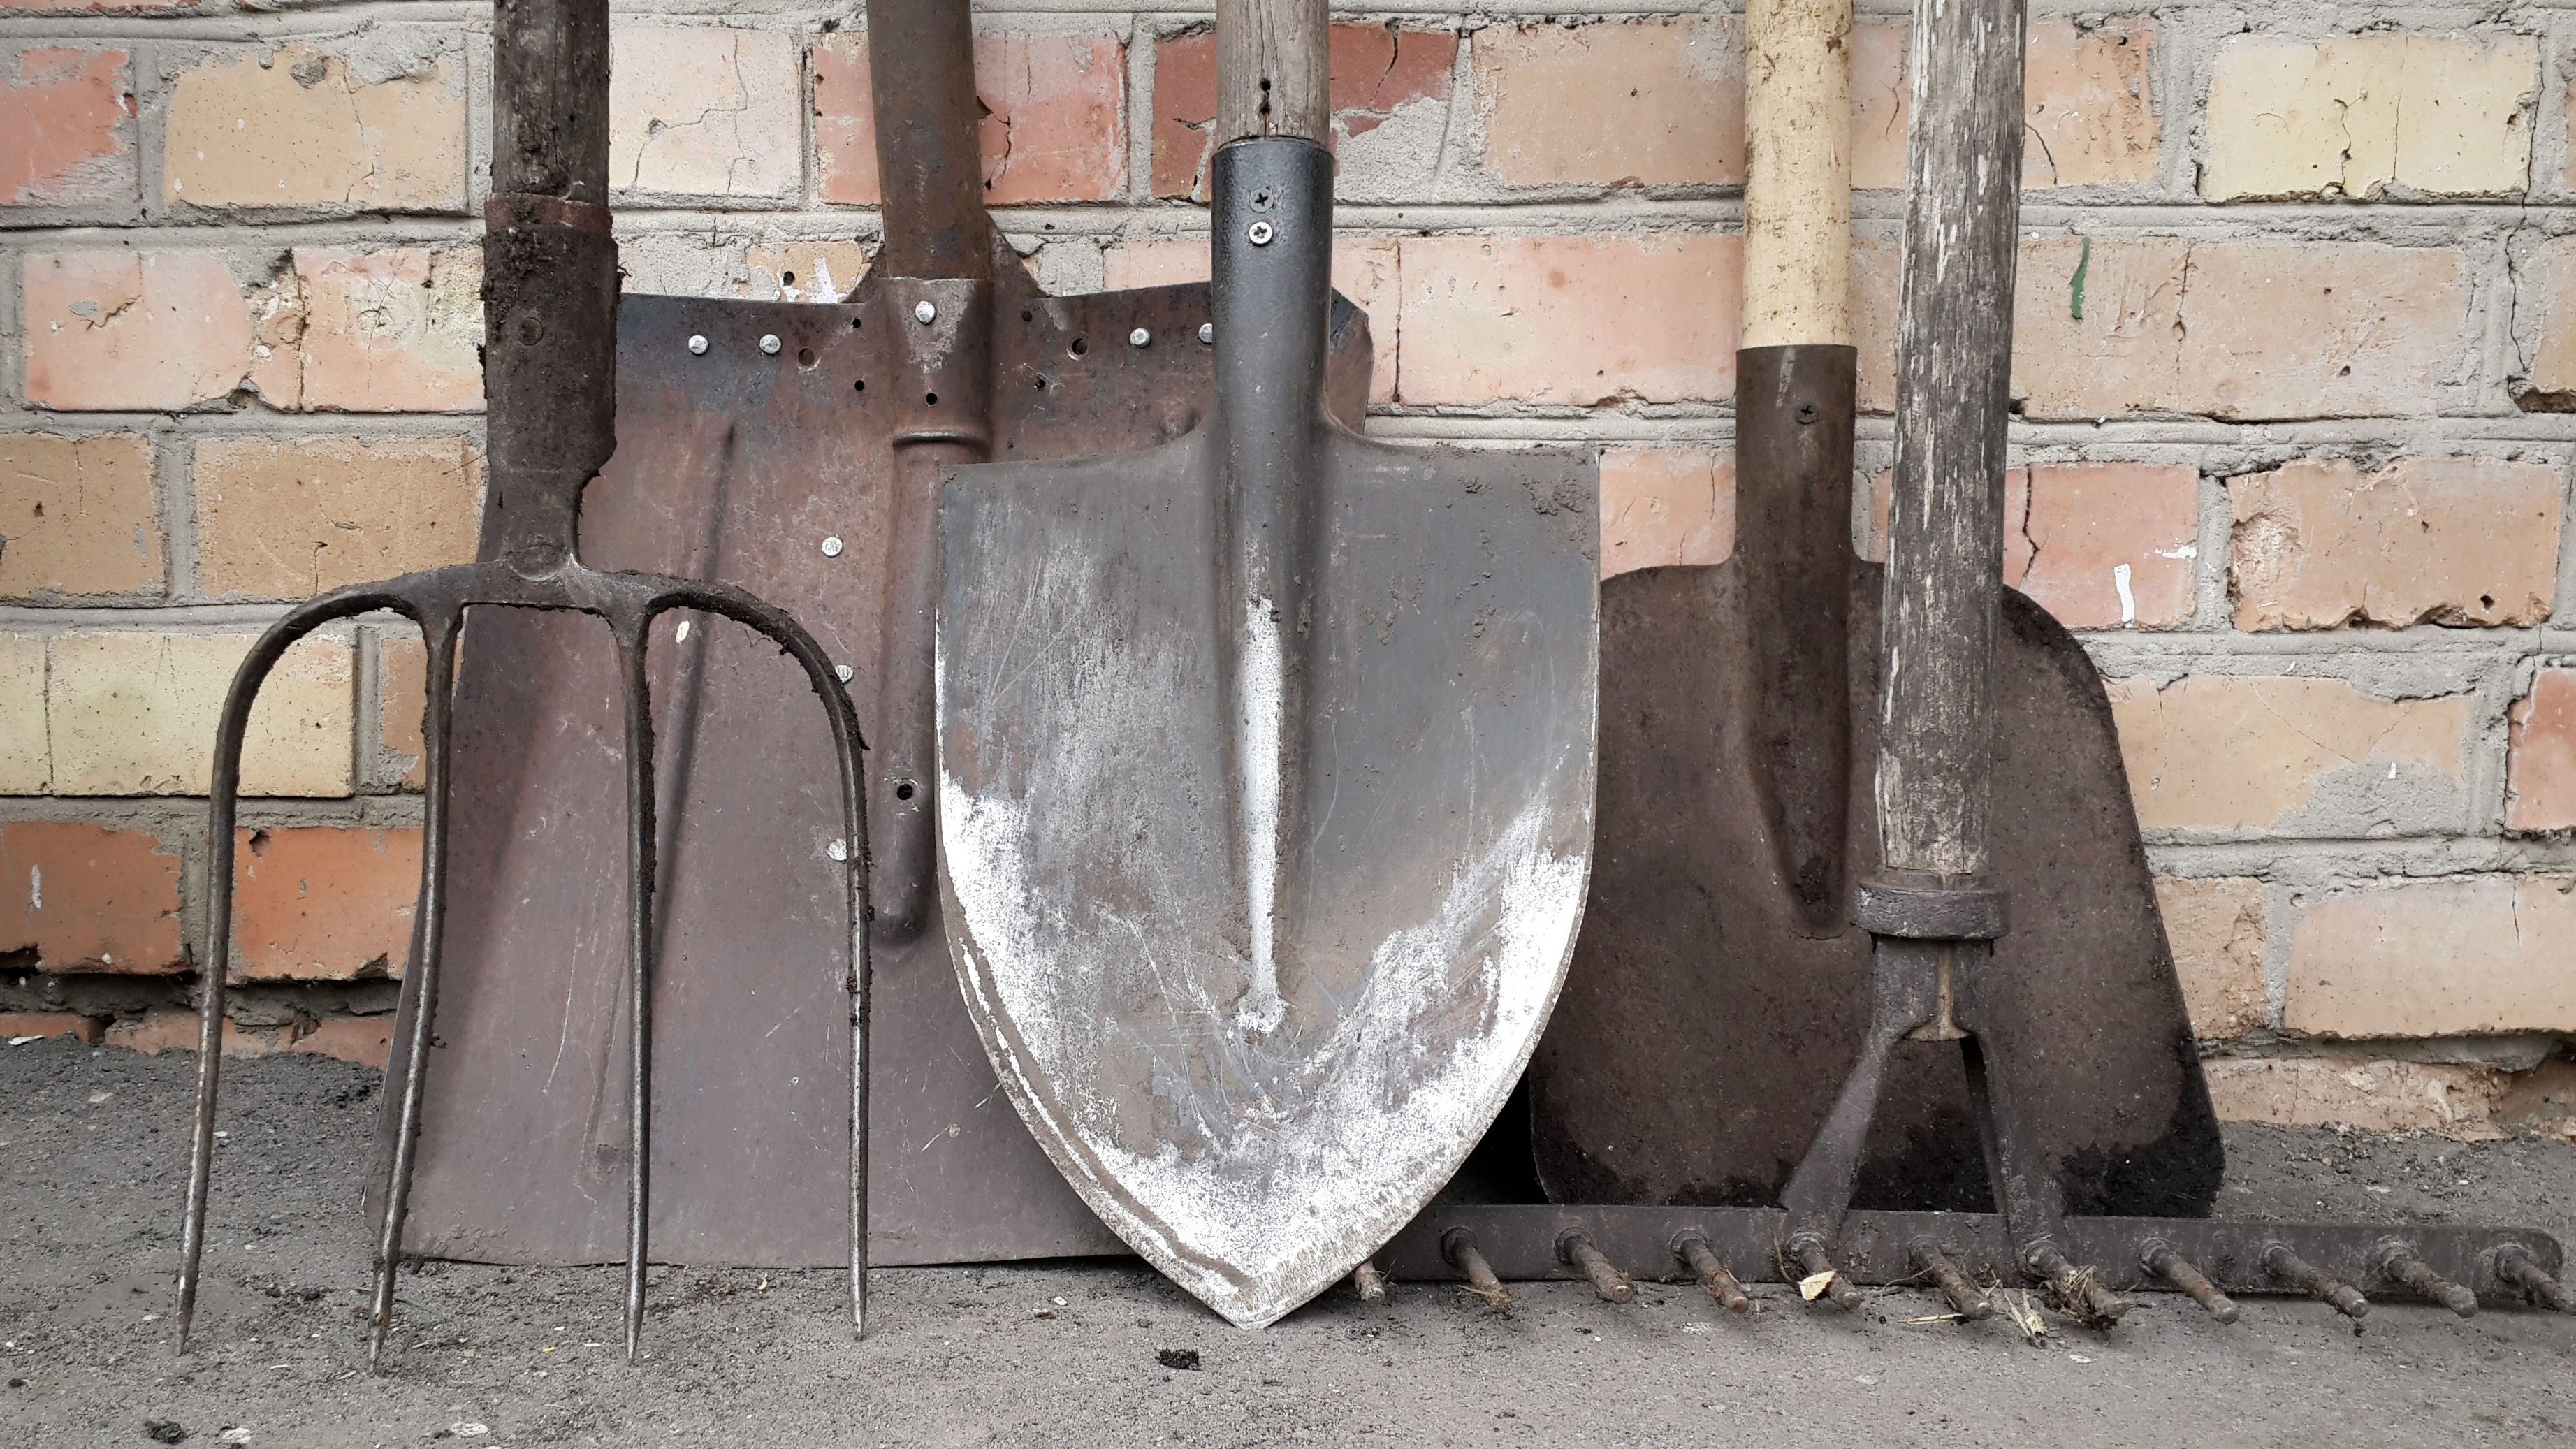
It’s happened to the best of us. After a long afternoon of yard maintenance, you forget to clean and organize all your tools. Perhaps one pair of the best pruning shears is left out in the damp overnight. Repeat a few times and suddenly your favorite garden tool is covered in rust spots and no longer cutting through material like it used to.
Fortunately, these tools can be salvaged and got ready for the spring. With the right bit of care and some common household ingredients, rusty tools can quickly be restored to their shiny best so you can get back to yard work.
First, it’s important to know what happened to your tools. Rust is more than just an unappealing stain on metal. It’s formed through the extended exposure of iron or iron alloys (like steel) to oxygen and moisture, which corrodes the metal and leaves a reddish-brown layer of rust behind. When a garden tool has rusted, such as a pair of pruning shears, it can make the tool less sharp and impede its ability to do its job. Not only is this less effective, but it can even be dangerous for the user; it’s more likely that the tool will slip and hurt you when the edge is dull.
So, your first step is to remove any rust that may be lingering on your tools, using any of these 5 simple tips. Then, protect them from future rusting by keeping them dry and out of the elements.
1. Scour and sand tools
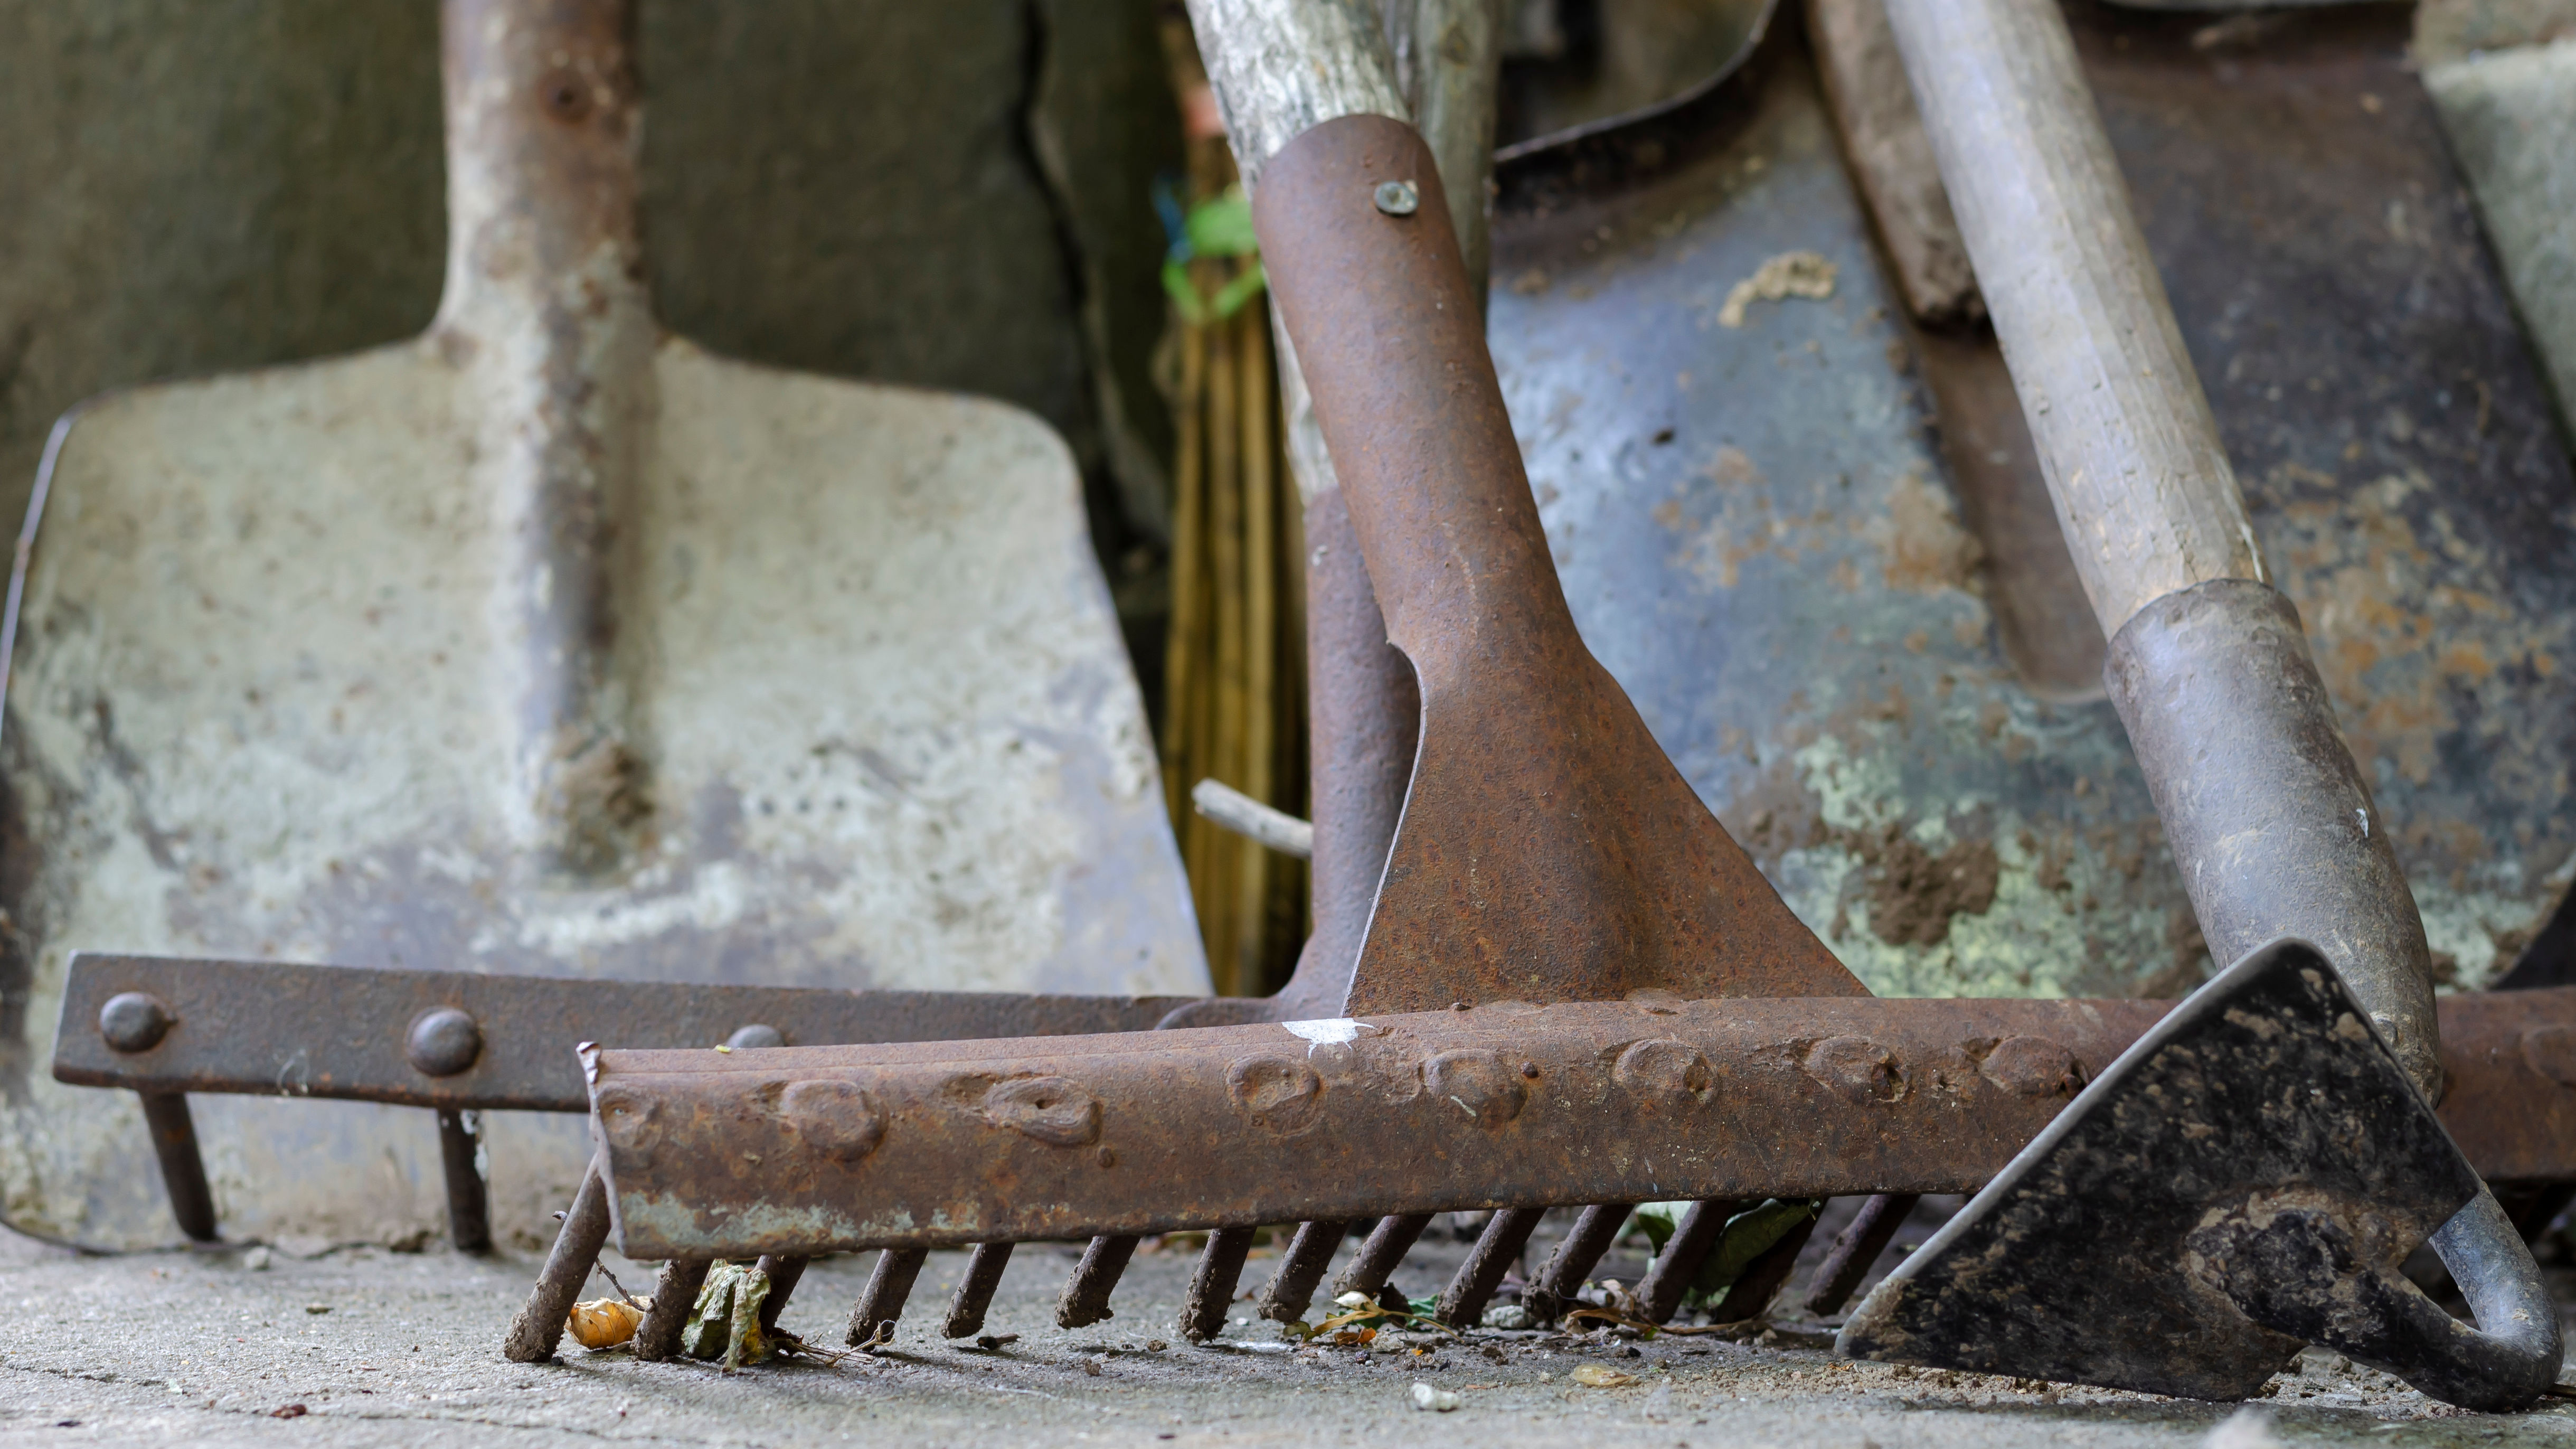
The simplest way to remove rust from a garden tool is by simple abrasion. Using a stiff wire brush or steel wool, rub down the most rusted areas to lift off the worst of it. You may need to use a good amount of force to remove as much as possible, but this is a generally effective method for removing corrosion.
Once you’ve scoured off as much as possible, you can use sandpaper to further erode the rust from the metal surface. Start with a coarse grit sandpaper to get those first remaining layers off, before switching to a finer grain sandpaper for any final patches. Keep working on any rust specks until the surface is sufficiently clear.
Once finished, wash the tool in water and dry thoroughly before storing. If there are still some lingering rust patches, consider using one of the chemical methods below.
Sign up to get the BEST of Tom's Guide direct to your inbox.
Get instant access to breaking news, the hottest reviews, great deals and helpful tips.
2. Soak in white vinegar
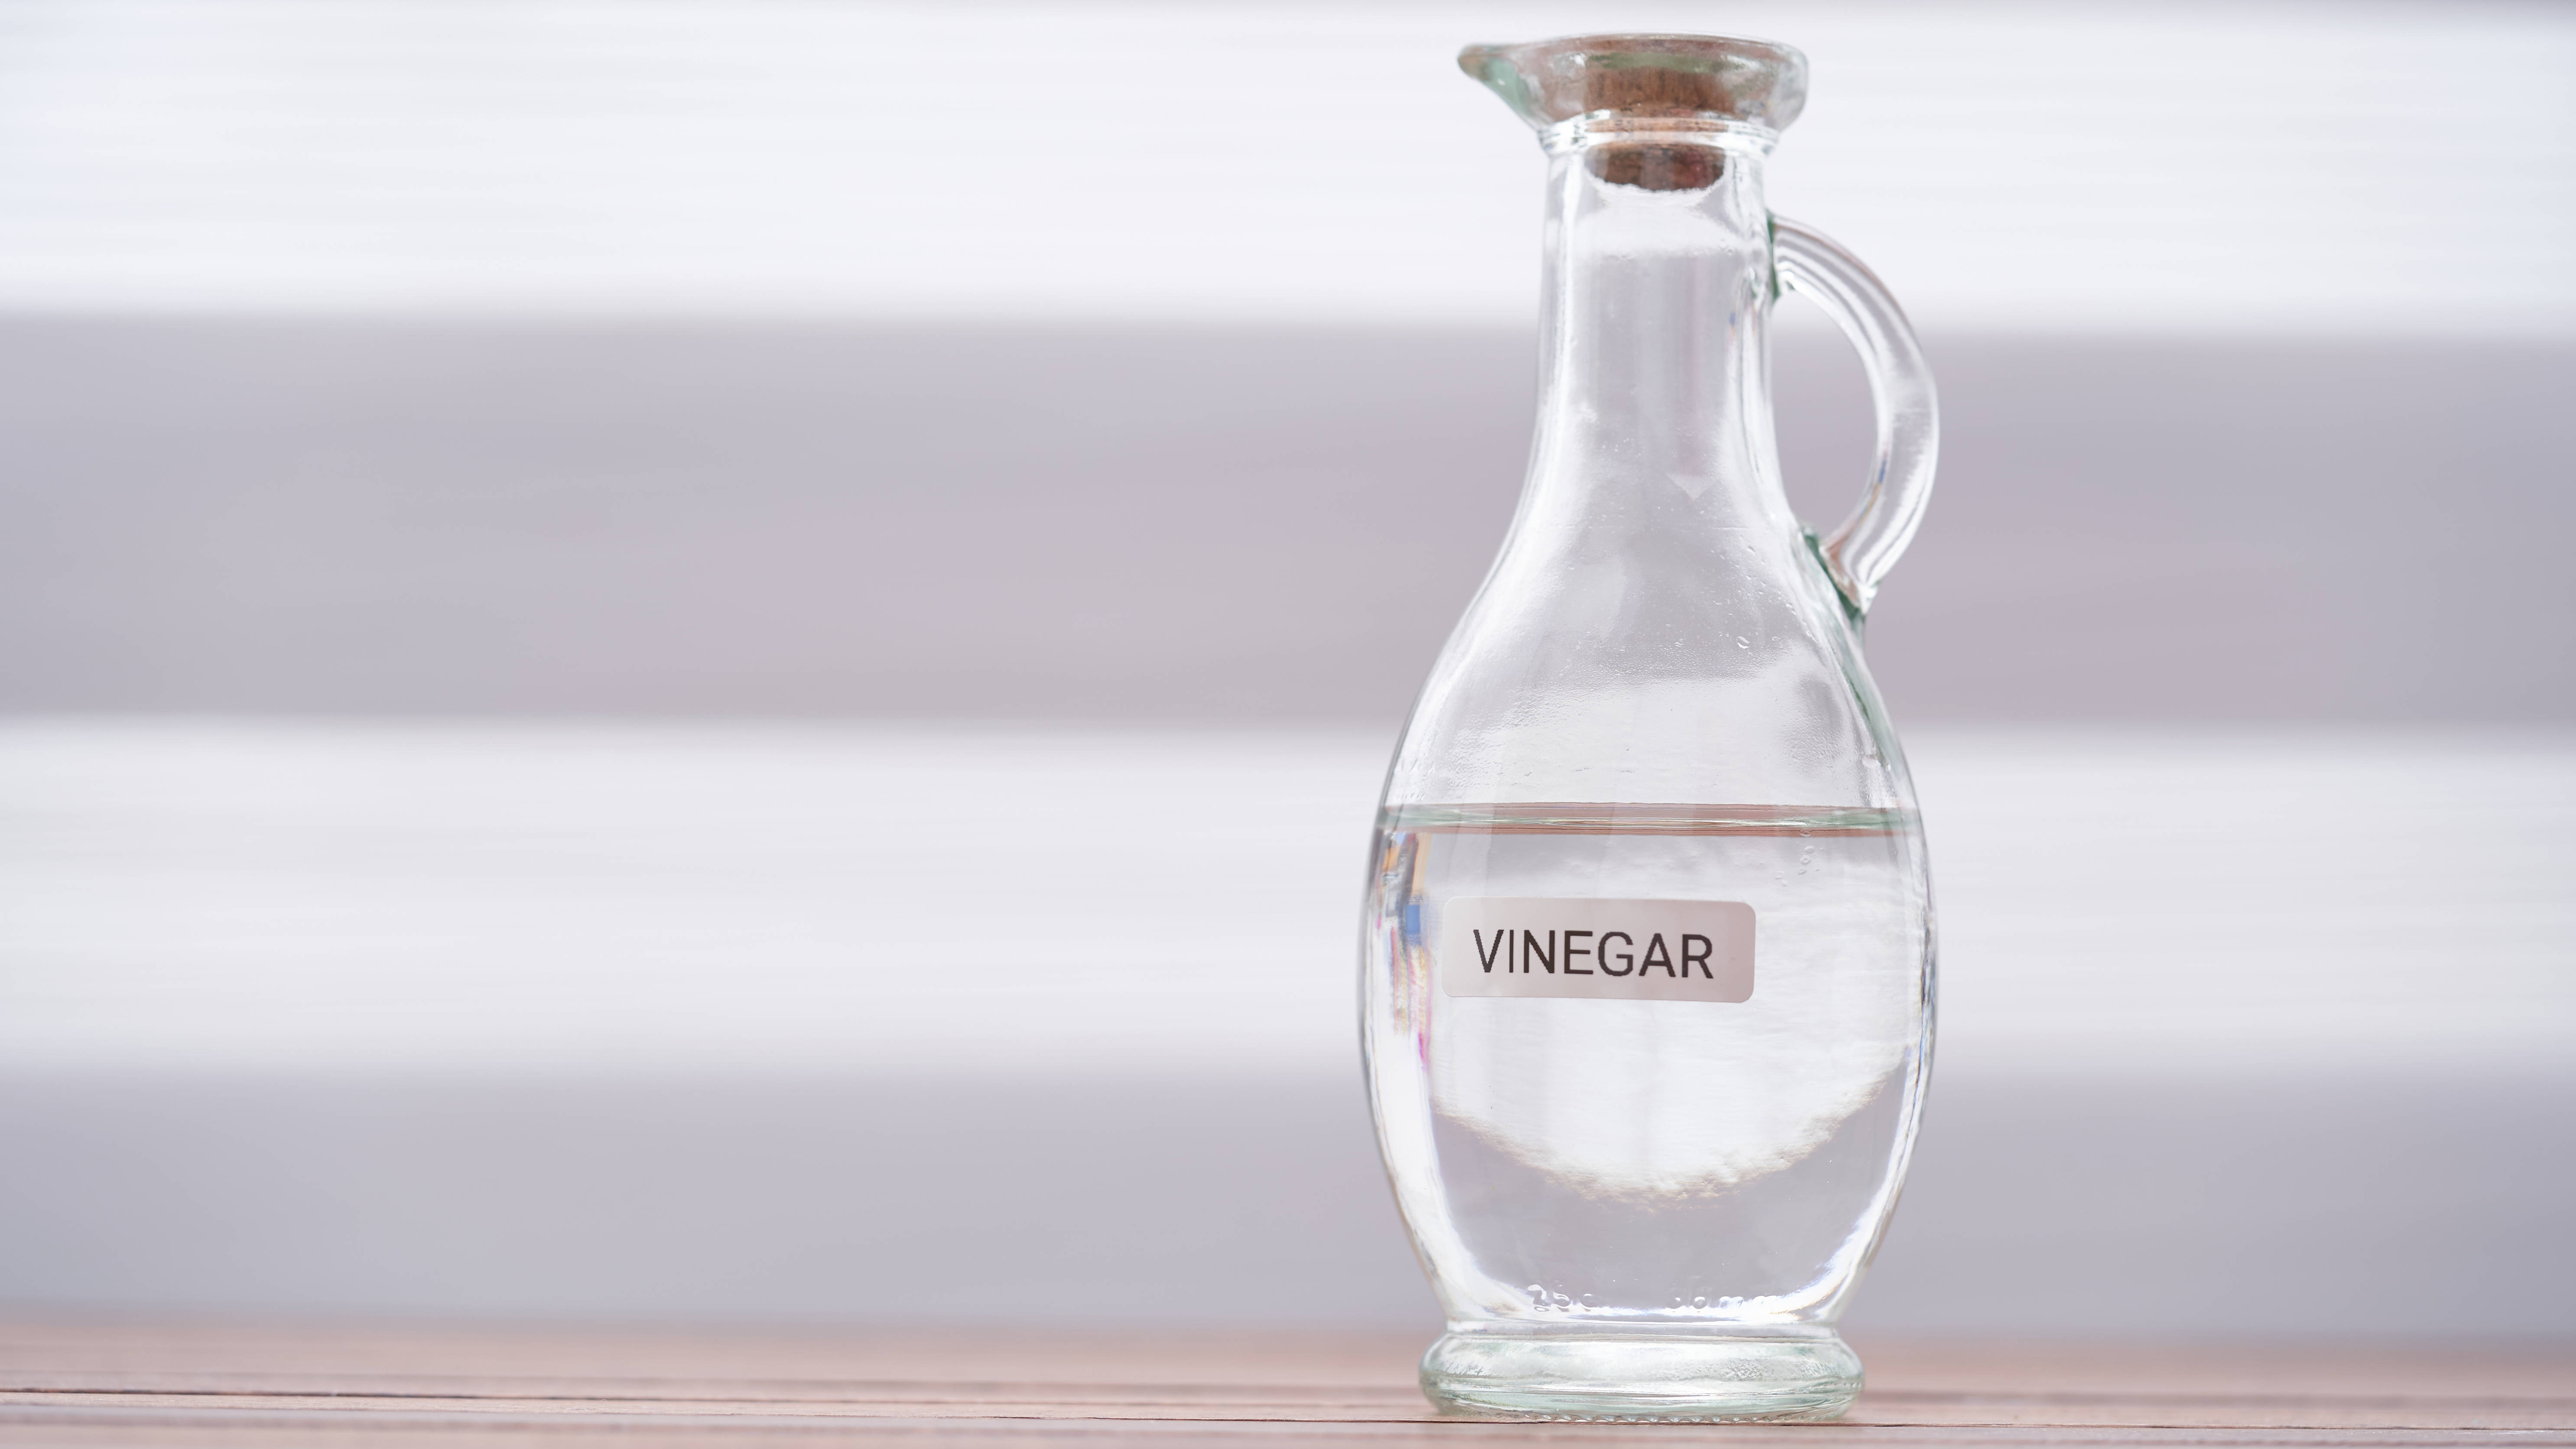
There are many household items that double up as cleaning agents, but white vinegar might be the most versatile of them all. Not only is this liquid both accessible and affordable, but it can work wonders on stubborn rust spots. Pour white vinegar into a container big enough to fit your rusted tools. Then, leave the tools to soak in the vinegar for at least several minutes, although particularly bad rust may need longer to fully saturate – as much as a day or two. When you remove the garden tools from their vinegar bath, the rust coating should be easily removed with a cloth or scrubbing brush.
For larger items that can’t be fully submerged in a vinegar bath, such as a garden spade, consider pouring white vinegar over the affected areas. Alternatively, soak a cloth in vinegar, which can then be wrapped around the rusted parts. In more severe cases, you may want to follow the vinegar bath with a more thorough scouring like in the first method. As with the first method, finish up by rinsing and drying the tool before placing it in storage.
3. Soak with baking soda
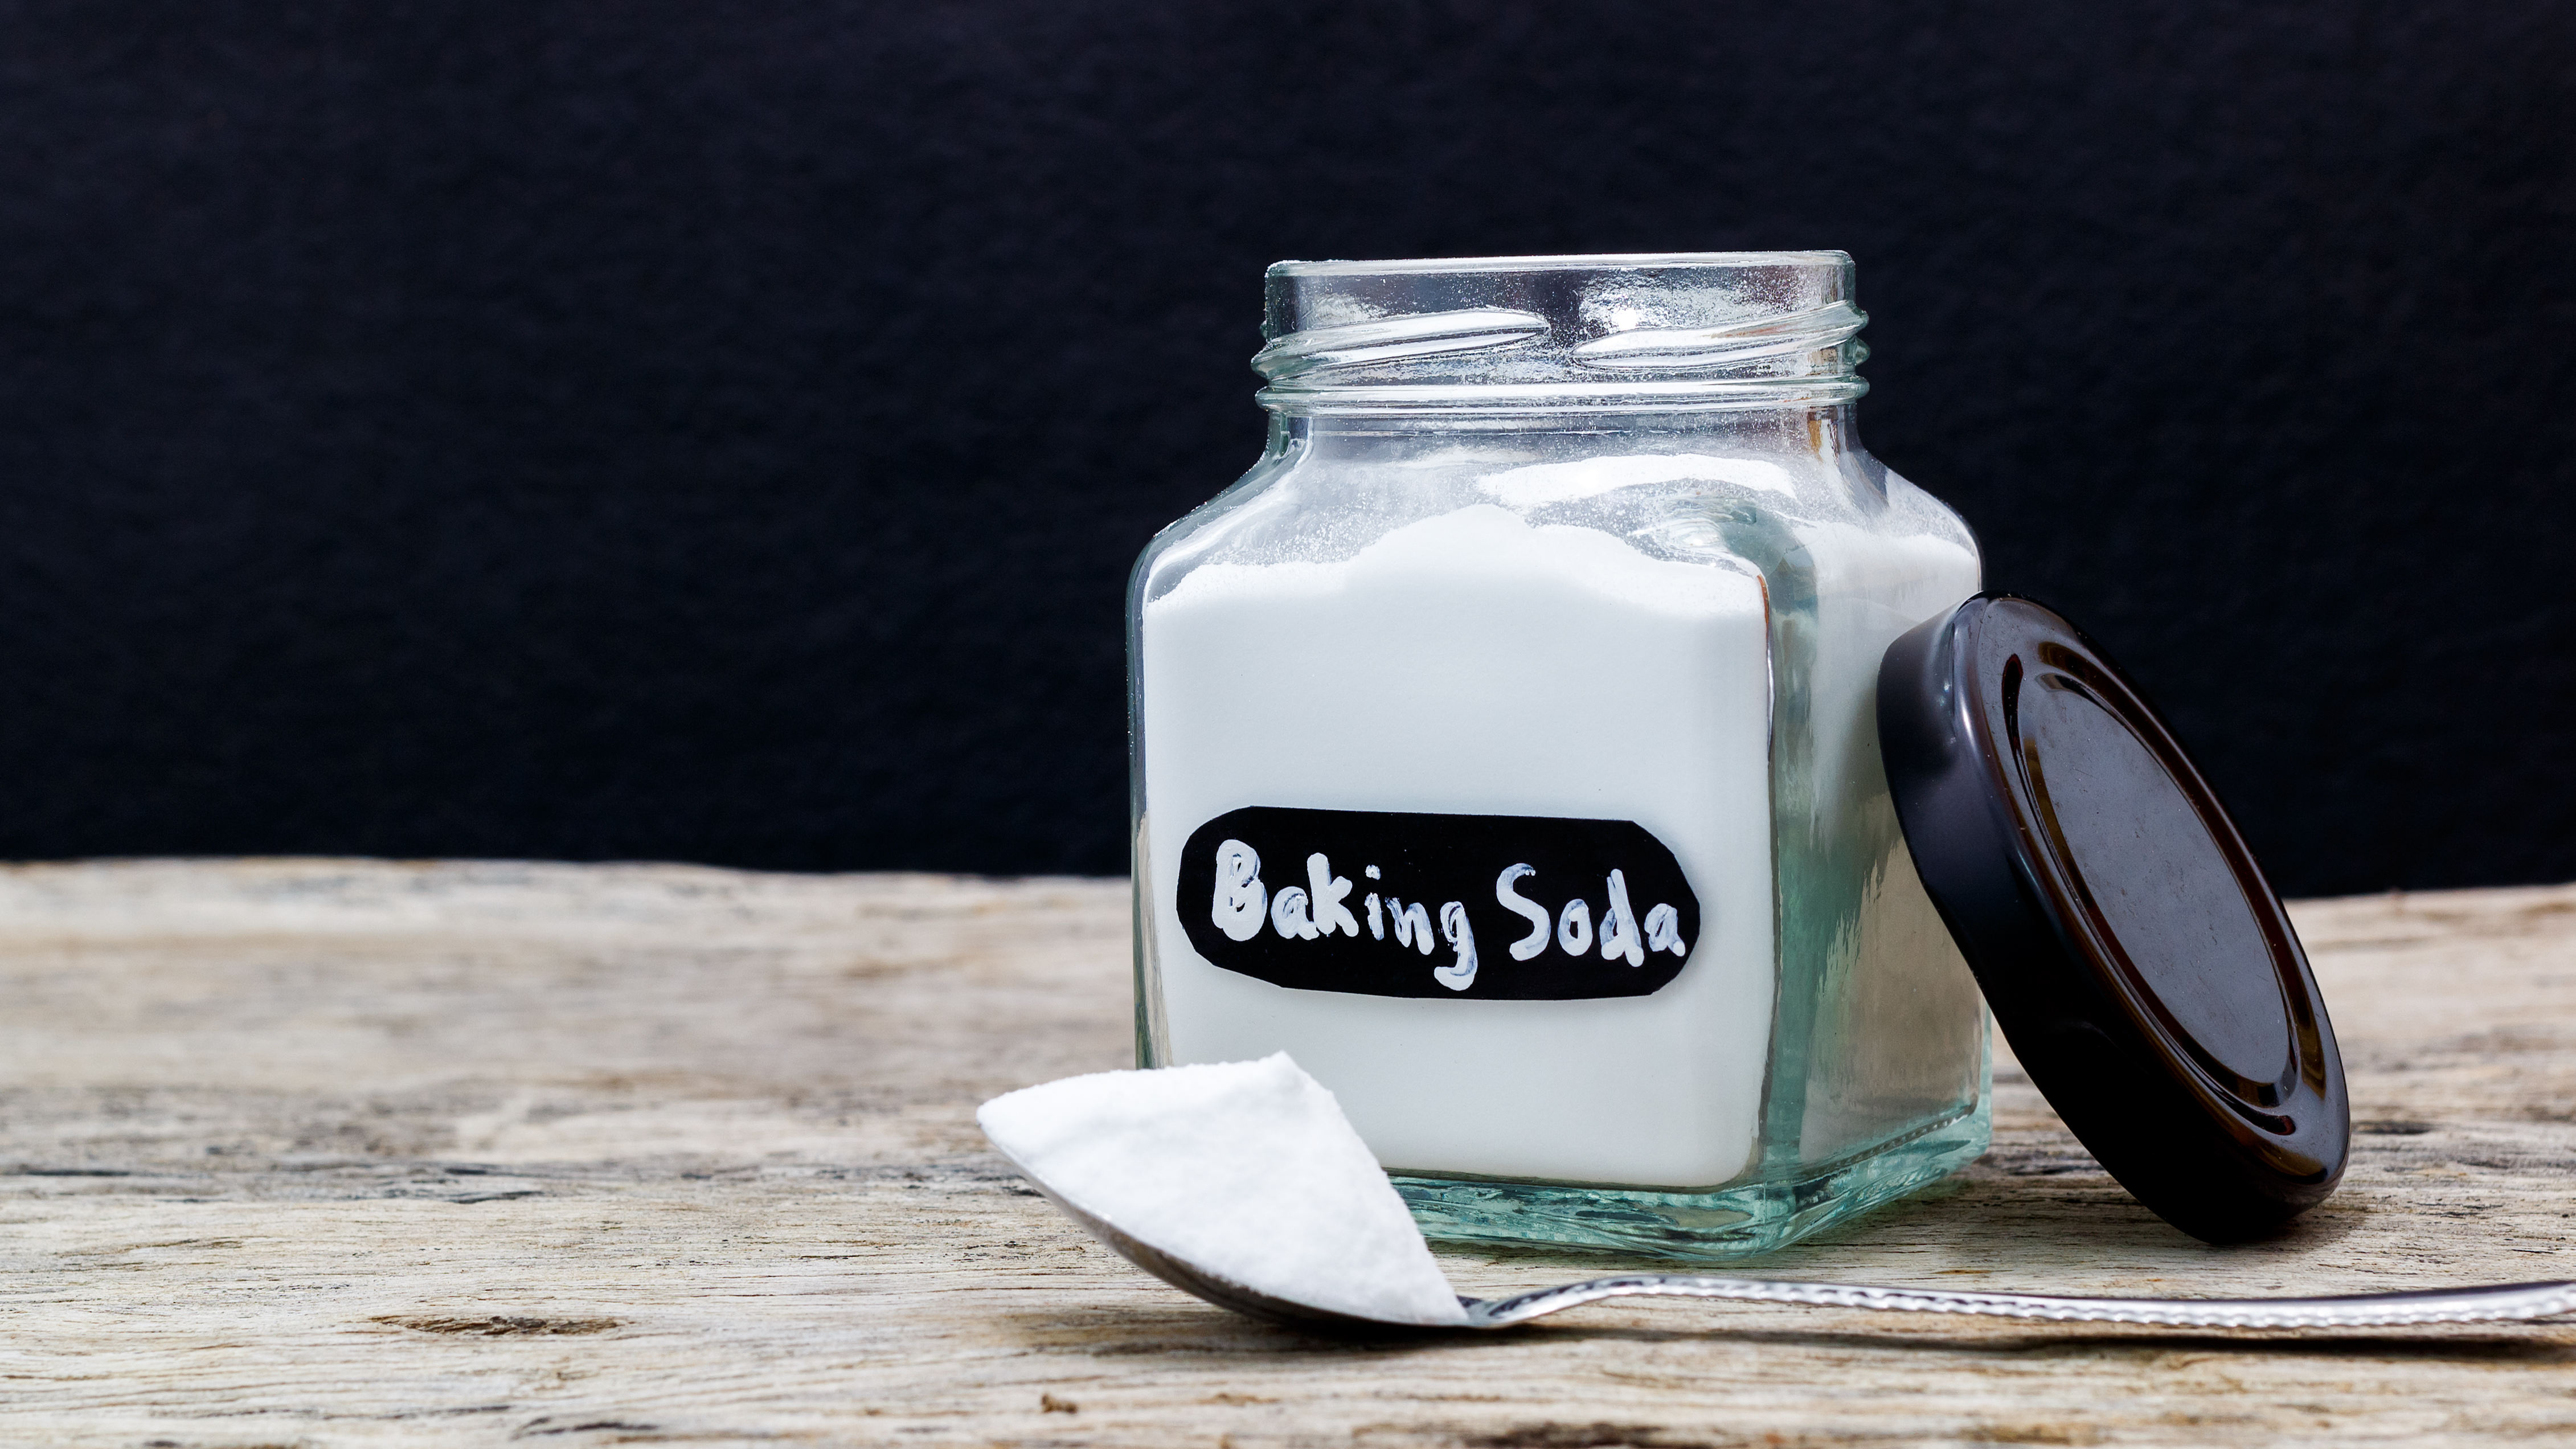
Another household favorite for cleaning purposes is baking soda. If you’ve mostly relegated it to cooking, think again. Baking soda can be used in combination with vinegar, or simply on its own to help lift lighter rust stains. To use on its own, simply mix baking soda with a little bit of water so that a paste forms. Apply this paste to the affected areas and leave to work for anywhere between a few minutes or a couple of hours.
You can use your hands, as baking soda is a safe chemical ingredient, or use a tool like a toothbrush to lightly scour the rusted areas. Once the time is up, use a sturdier brush to scrape off the paste and any remaining rust underneath. As always, finish the process by rinsing the tool clean and drying the surface.
4. Soak in cola

You may drink cola, you may not, but everyone can use cola to help clean their garden tools and remove rust. The method is similar to the other liquids mentioned above, but cola can be easier to buy in bulk which makes it a convenient choice when dealing with a large affected area.
Buy any brand of cola and fill a container with the liquid, before submerging your tools inside. Make sure all rusted areas are fully covered by the cola for maximum effect. Leave the tools to soak for about 24 hours, so that the chemicals have time to work on the rust; more severely rusted tools may need even longer.
When ready, simply remove the tools and there should be no need for even minor scraping, as the rust should already have lifted off. Instead, simply rinse and dry as usual.
Here's another 7 things you never knew you could do with Coca-Cola.
5. Use oxalic acid
If those classic household items aren’t quite getting the job done, consider using oxalic acid to remove those final rust spots. Oxalic acid is the common agent in commercial rust removers, but it can also be found in potatoes if you have any lying about.
If using a commercial product, make sure you are protected from the chemicals by wearing rubber gloves and eye protectors. Then, create an oxalic acid bath by adding about 3 tablespoons of oxalic acid to a container of water. Soak the garden tools in this bath for about 20 minutes, or follow the instructions on the commercial product if they differ. Finally, remove from the bath, rinse off the rust and dry thoroughly.
If you decide to try the potato method, cut a potato in half. Cover the cut side with dish soap and sprinkle with salt for extra abrasion. Then, rub the cut side of the potato over the rusted areas of your tools. The oxalic acid from the potato should work to dissolve the rust, while the soap and salt should also help to remove the rust through friction.
This is definitely a more messy, labor-intensive method than the commercial product, but can be done with common items found in your kitchen. There’s also less risk of chemical exposure or need for protective gear, however it will likely be less effective on severe rust than the commercial cleaner.
More from Tom's Guide
Madeleine Streets is a writer and content manager based in New York City. She covers an eclectic mix of lifestyle, technology, finance and health and has been published in Tom's Guide, Women's Wear Daily, SELF, Observer, Footwear News and others. Originally from London, Madeleine has a penchant for tea, baking and moody weather. When she’s not writing, you can find her exploring the city’s bookstores, hunting down new restaurants, fostering cats and cheering on Arsenal FC.

