I tried the "scientifically perfect" pour-over coffee method — here's how it tasted
The results may surprise you...
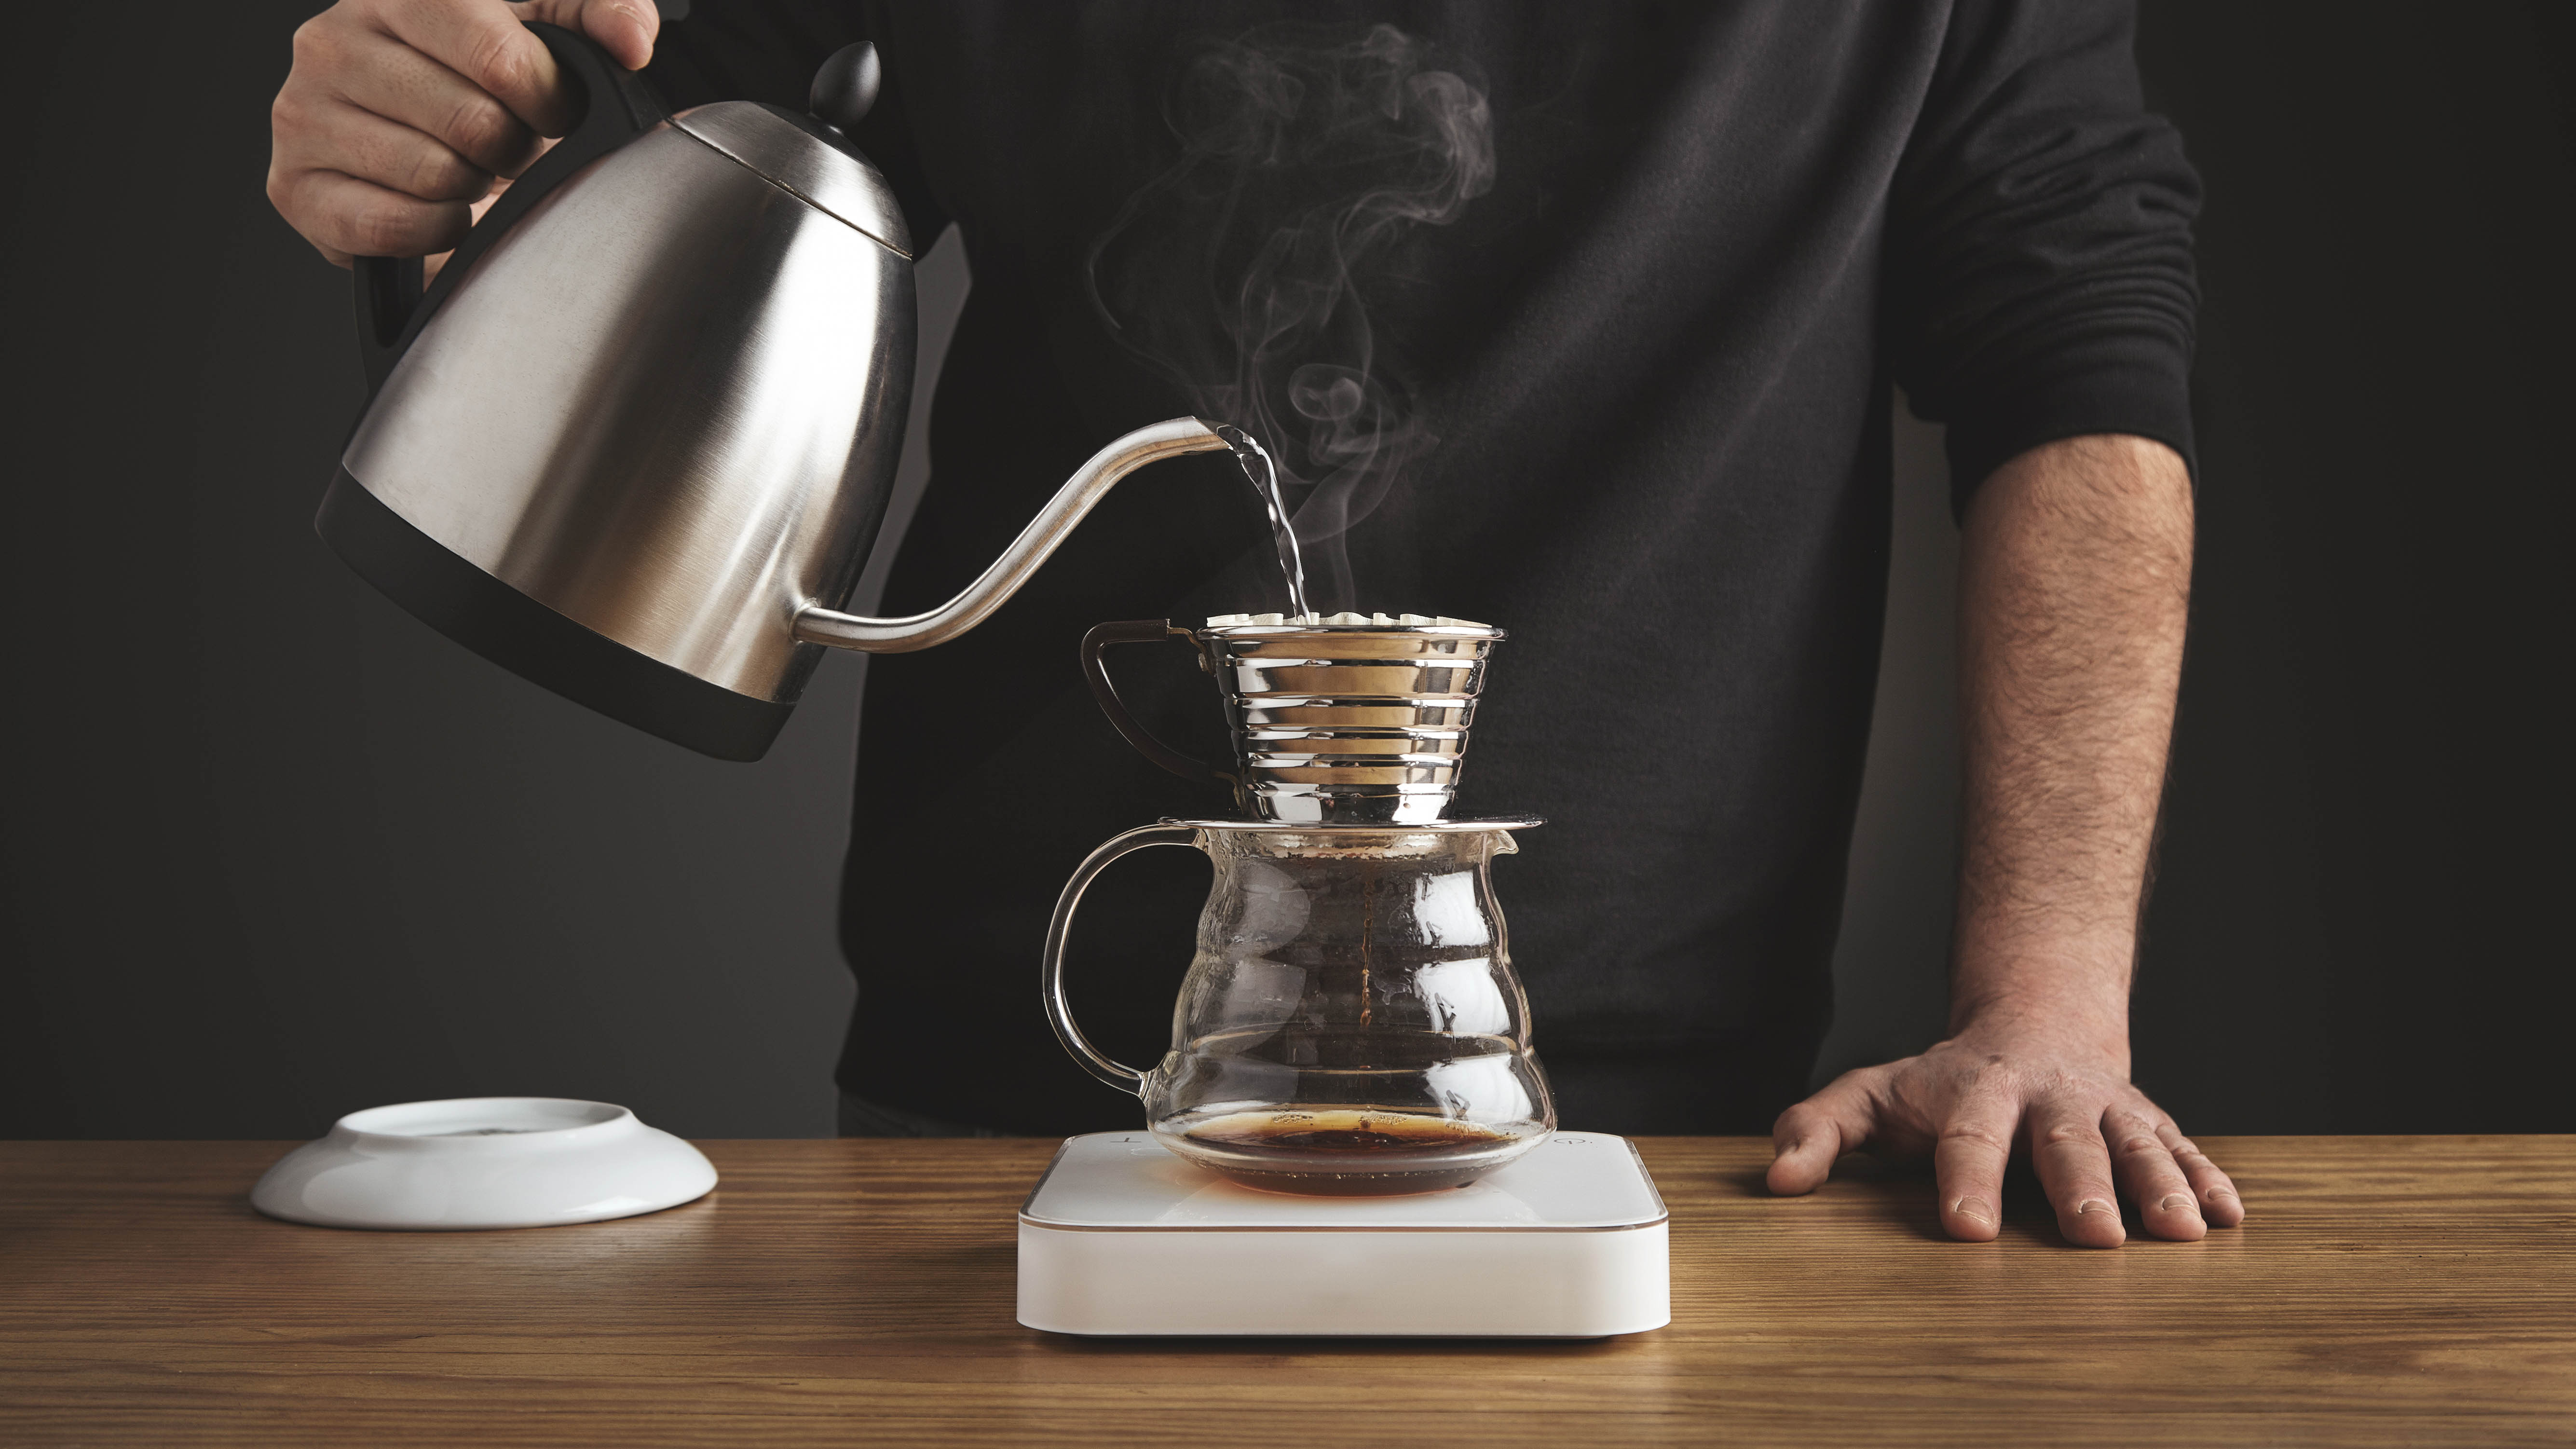
While I spend my days testing and reviewing some of the best coffee makers, there are actual scientists dedicating hours of real research to optimizing pour-over coffee methods. Now my job feels very juvenile.
I just make coffee and drink it — no math equations or peer-reviewed journals involved. I suppose, though, my job testing the best pour-over coffee methods does involve a very similar activity — experimenting with grind size, ratio, pouring control and taste.
So when I found out that scientists at the University of Pennsylvania have discovered the ‘scientifically perfect’ pour-over coffee method, I knew I had to give it a go. The fluid mechanic experts have used physics to work out the best way to make a pour-over, and it’s not my personal style.
As Tom’s Guide’s resident ex-barista and coffee nerd, I was super excited to put it to the test. Here are the results of said experiment, using a Hario V60, Chemex, and Kalita Wave.
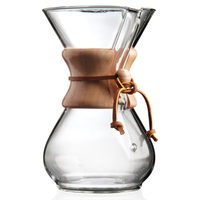
The Chemex Classic Glass Pour-Over coffee maker is one of the most iconic pour-overs on the market. As it's super easy to use and makes a delicious brew every time, it's the best option for those brewing for groups.
What does the science say?
The scientific recommendation is as follows:
- Pour boiling water over ground coffee slowly, but not too slowly
- Ensure the water pours as a stream — no droplets allowed
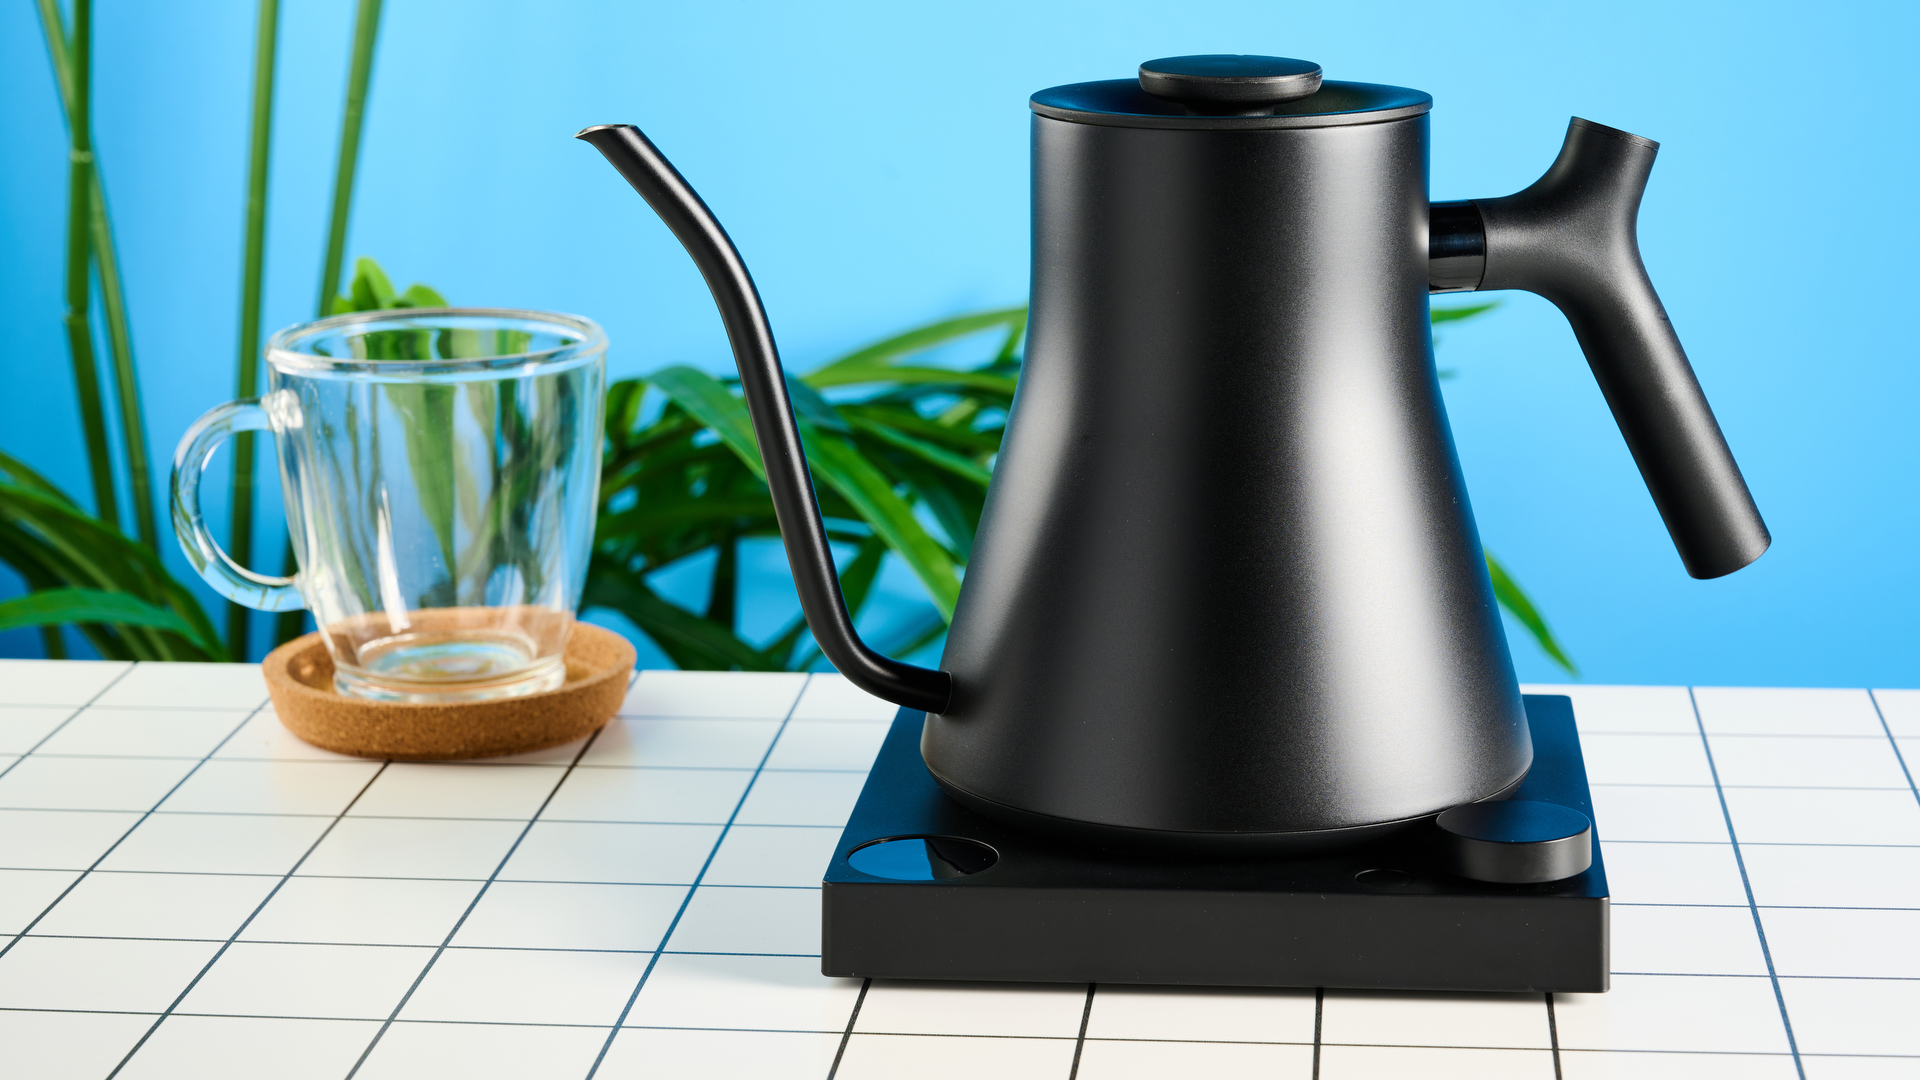
- Ensure a thin jet of water from a gooseneck kettle
- Increase the pour height to mimic an ‘avalanche’ in the coffee grounds
I’ll follow these instructions to hopefully get the ‘scientifically perfect’ pour-over. I do have a few questions about this scientific advice right off the bat, though. Every barista trainer has said 200°F is the maximum temperature when brewing coffee, not boiling as outlined above.
There’s also no mention of grind size or ratios, so I’ll go with my standard 1:16 ratio and medium ground coffee.
Sign up to get the BEST of Tom's Guide direct to your inbox.
Get instant access to breaking news, the hottest reviews, great deals and helpful tips.
The methodology
I used my Kalita Wave, Hario V60, and Chemex with their respective branded filters. I pre-wet the filters as you’re supposed to.
I used light roasted washed Rwandan beans ground to medium using my Sage Dose Control Pro.
Then, I followed a ratio of 1:16 and brewed coffee in my Hario V60, Kalita Wave, Chemex twice. I poured with my Fellow EKG Stagg gooseneck kettle.
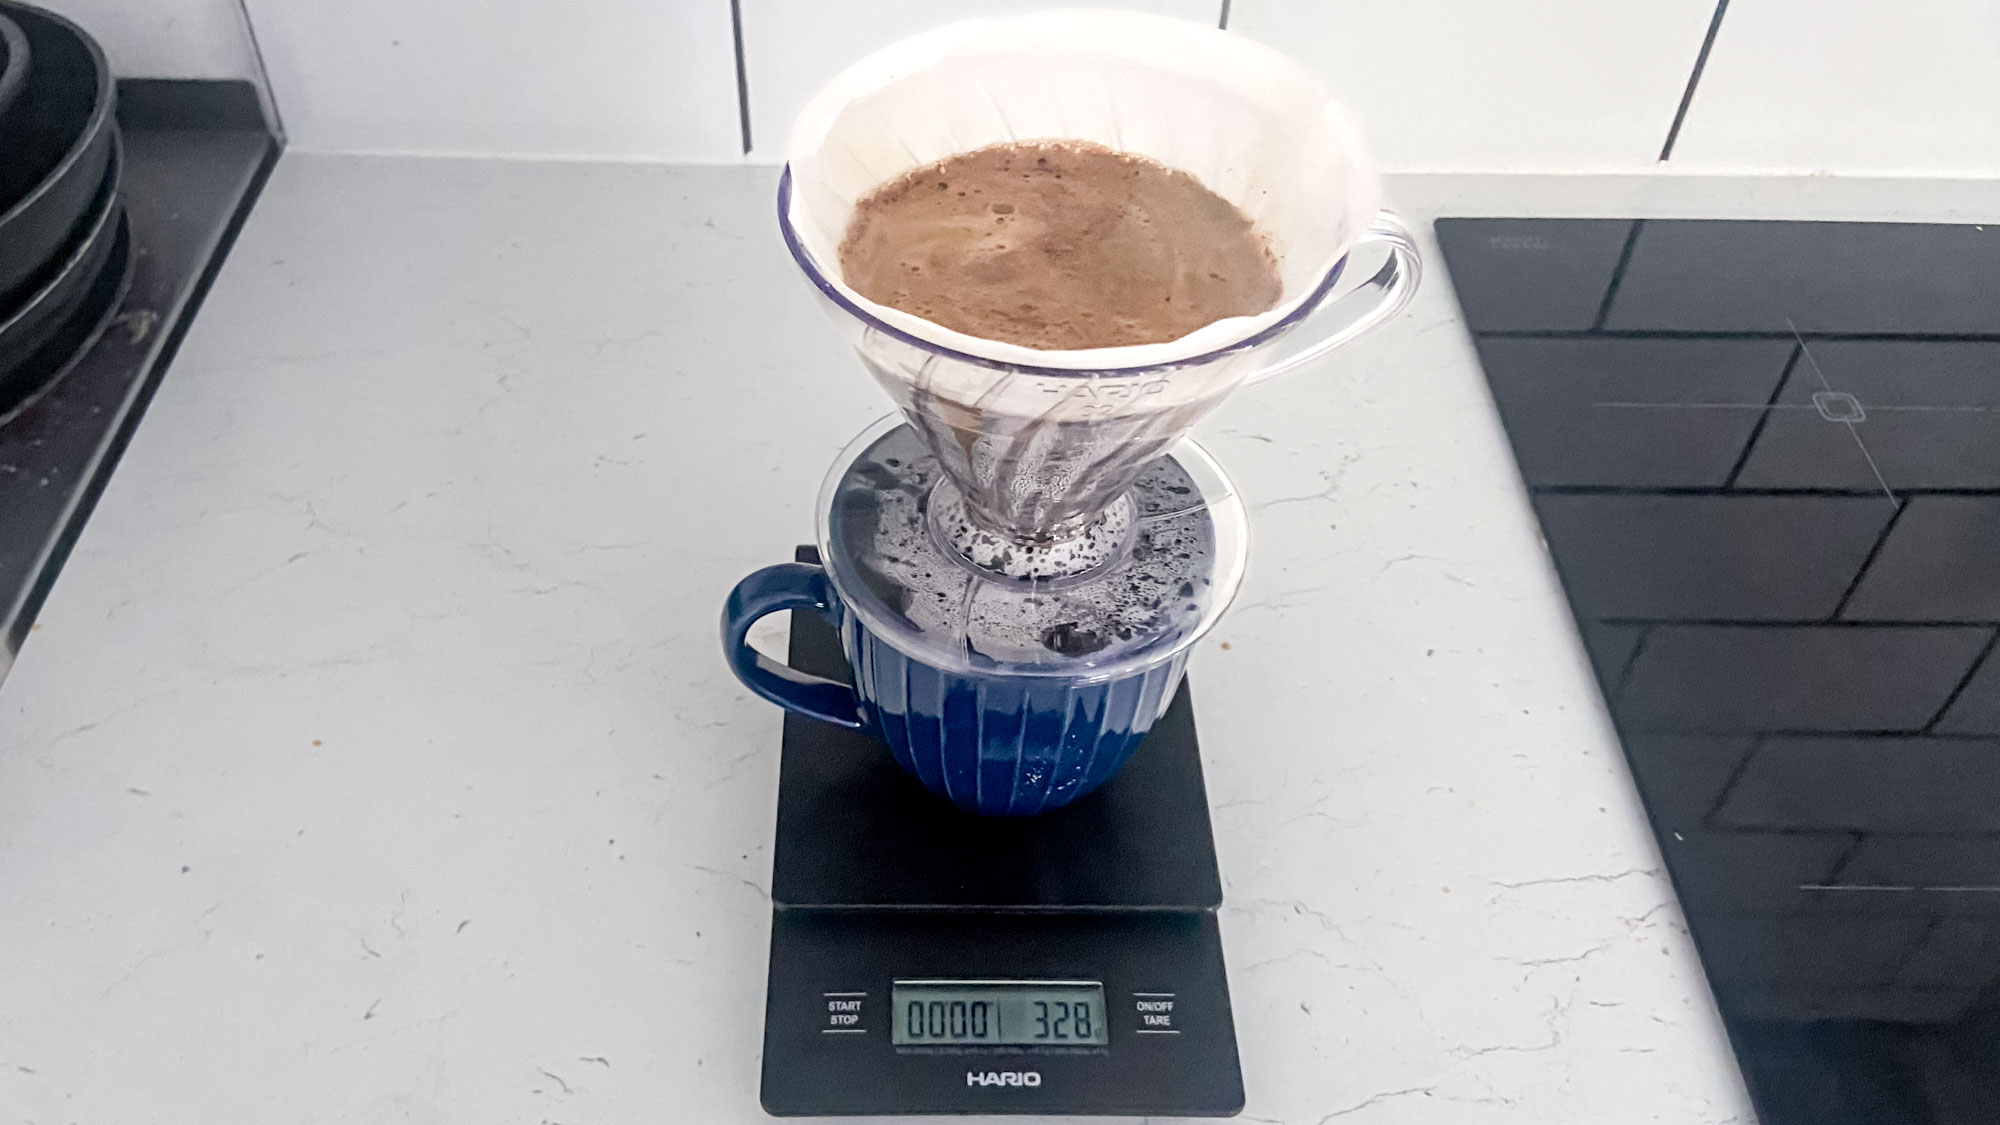
The first time, I followed the ‘scientific method’, and the second time, I just followed my usual process.
My usual process is 200°F 256g water to 16g of coffee. I pour close to the dripper as I feel it gives me more control. I use my wrist to make circular motions as opposed to my elbow or shoulder. I feel this method gives me control over precisely where the water ends up and helps me fix funnelling.
The results at a glance
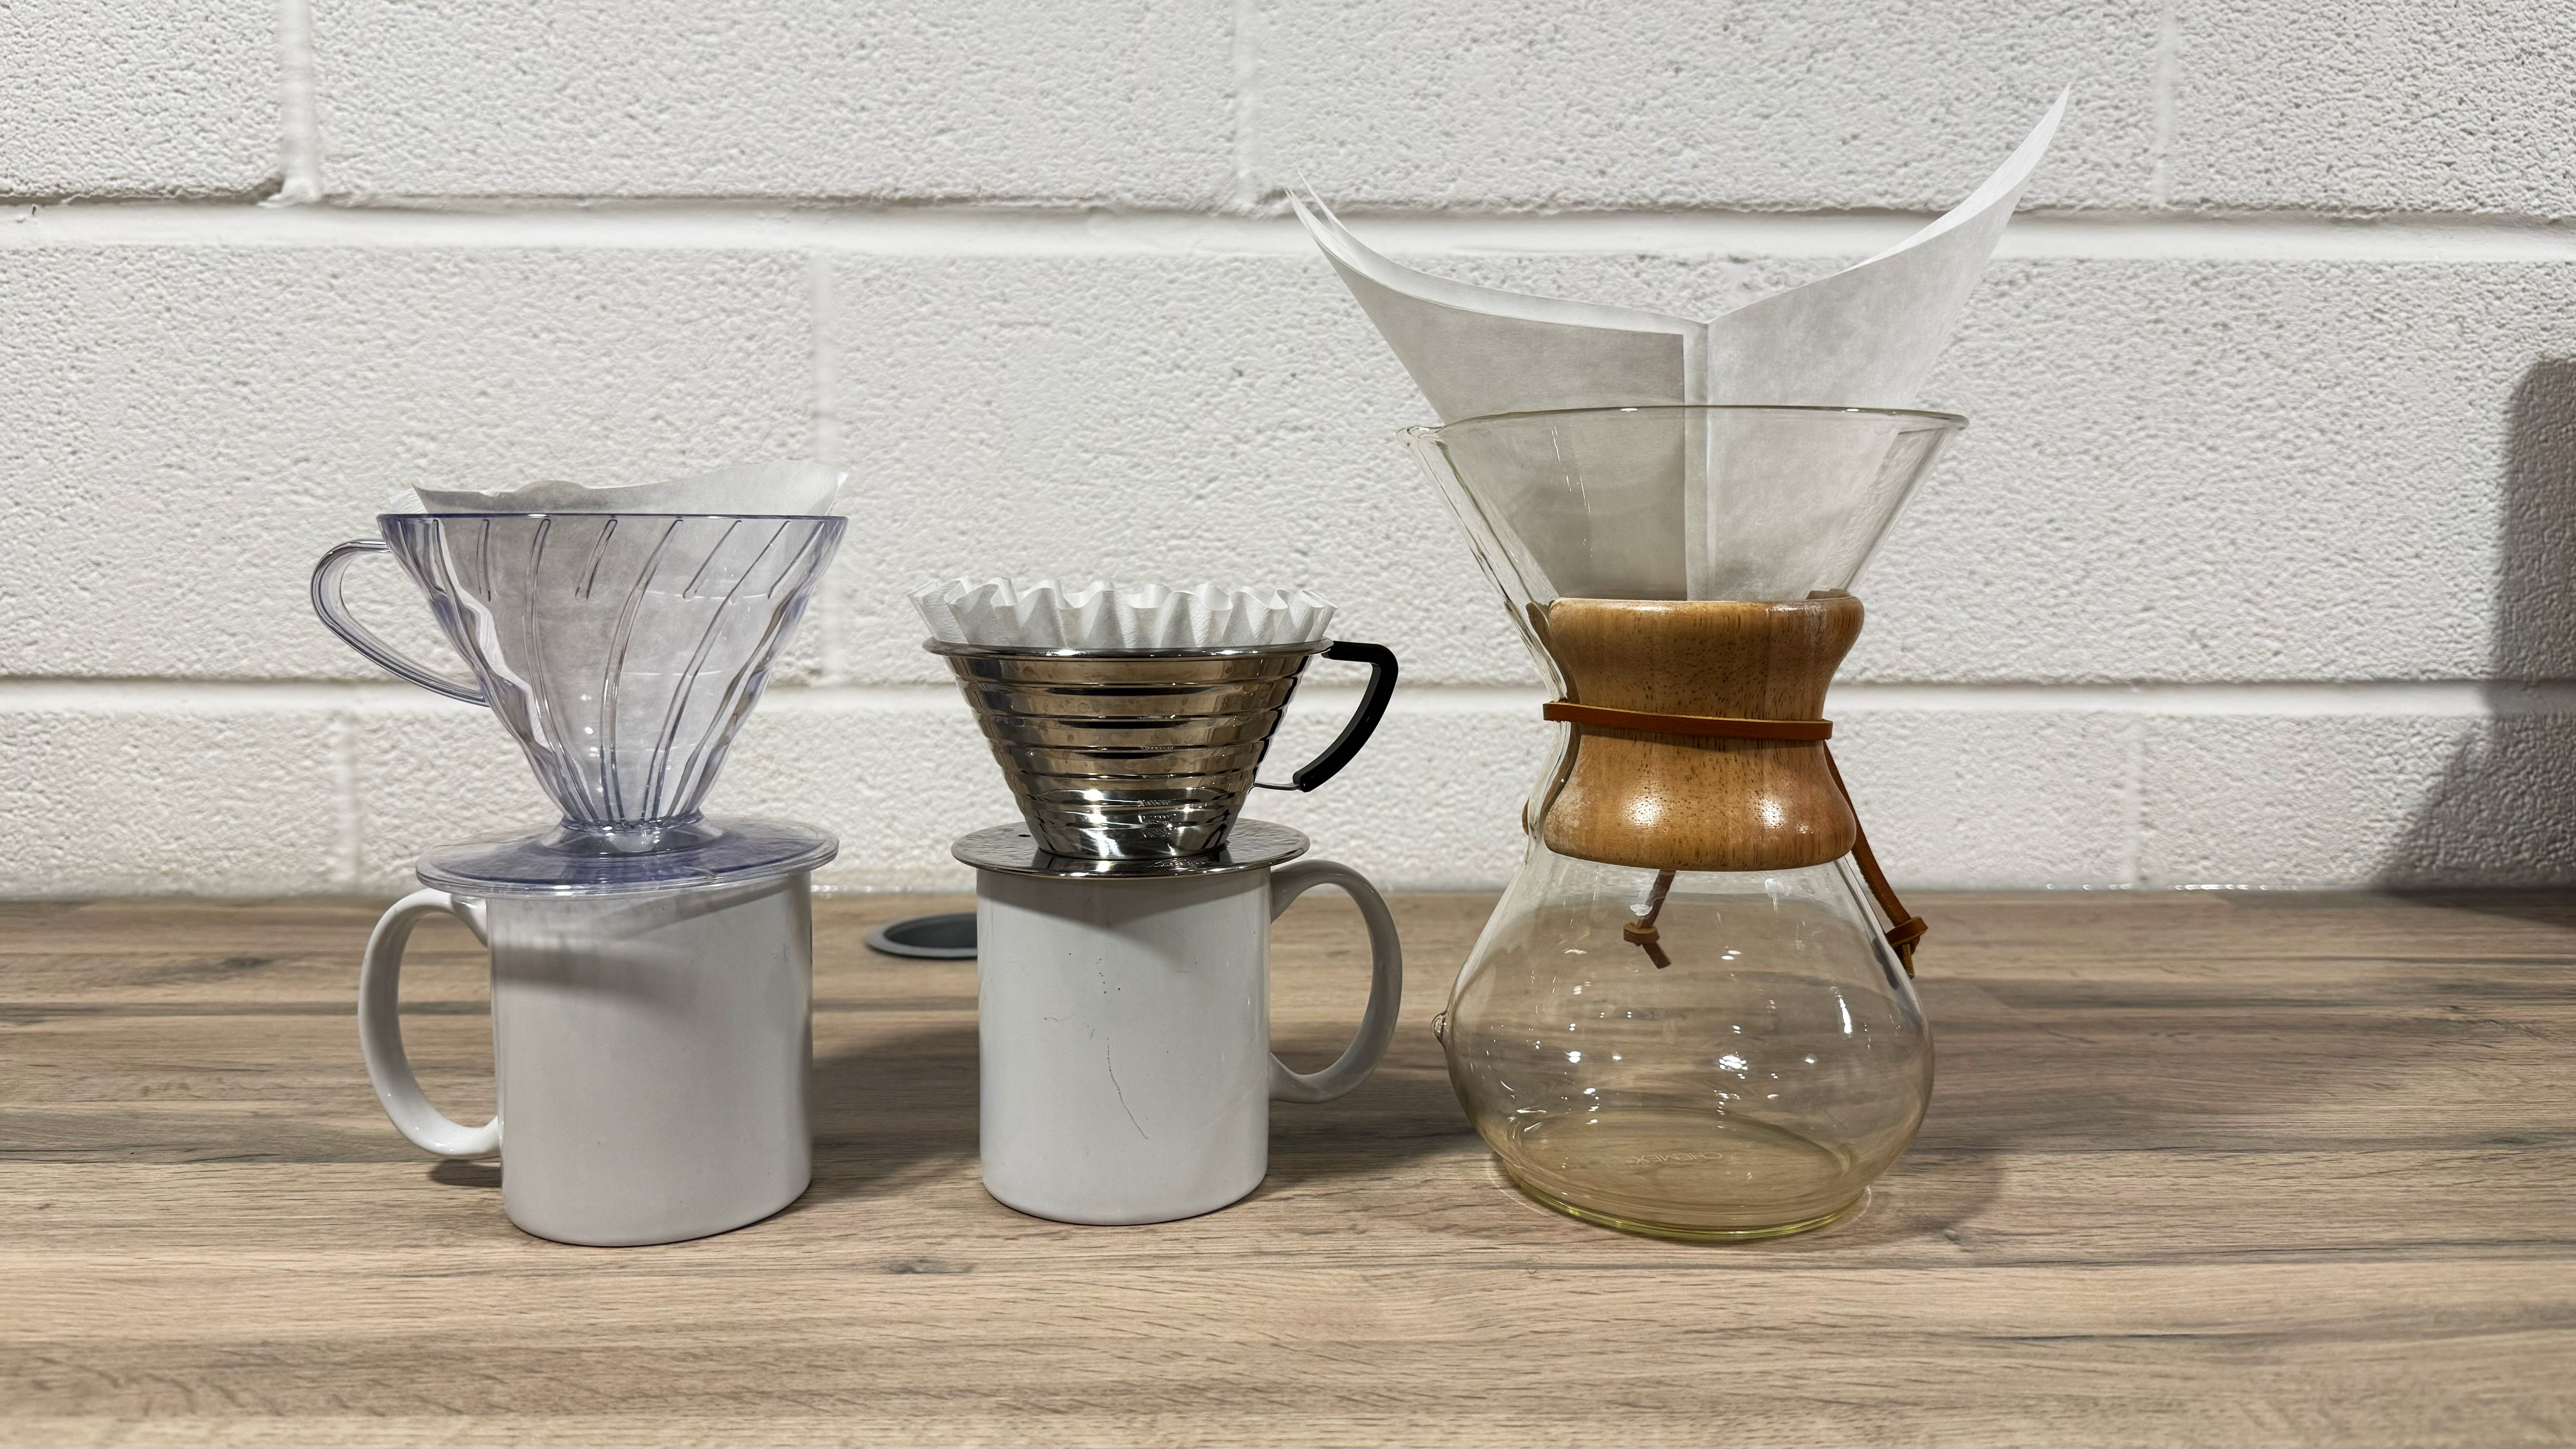
Here are my results. I’ve included photographs of the brew and my tasting notes. After I share the results, I’ll discuss them in depth below. I used a medium-fine grind for the V60, a medium-coarse grind for the Kalita Wave, and a medium grind for the Chemex.
Hario V60
As the V60 can be quite prone to funnelling, I was a little apprehensive that the high avalanche pour would result in an imperfect pour. Unfortunately, this worry was proven true!
Science - 200°F water, avalanche effect: A full-bodied, nuanced cup of coffee. Notes of earth, soil, and fruit.
Standard - 200°F water, slow, close pour: Sweeter and fruitier than the previous pour, without the earthy tones.
The winner? My way.
Kalita Wave
The Kalita is usually better for beginners as the flat-bottomed dripper means there’s less funnelling, but there’s a longer contact time between coffee and water so can be a little bitter.
Science - 200°F water, avalanche effect: Bubbly surface while brewing. Prone to funnelling more than usual. Surprisingly bitter.
Standard - 200°F water, slow, close pour: Stronger than the scientific method but with no bitterness.
The winner? My way.
Chemex
The Chemex is my go-to brewing method for large batches, but I followed the same 16g:256g water for control.
Science - 200°F water, avalanche effect: Like the V60, quite earthy, maybe even a little nutty. Splashed quite a lot while pouring.
Standard - 200°F water, slow, close pour: Much juicer than the scientific method, super lively flavor with little earthiness.
The winner? My way.
The results in detail
I’ll go through taste and pouring control here in depth.
Taste
So, my pouring style won in my taste tests. This likely could be due to the fact that I’ve built my own pouring method based on my personal tastes, so I let my colleagues blind taste test for comparison.
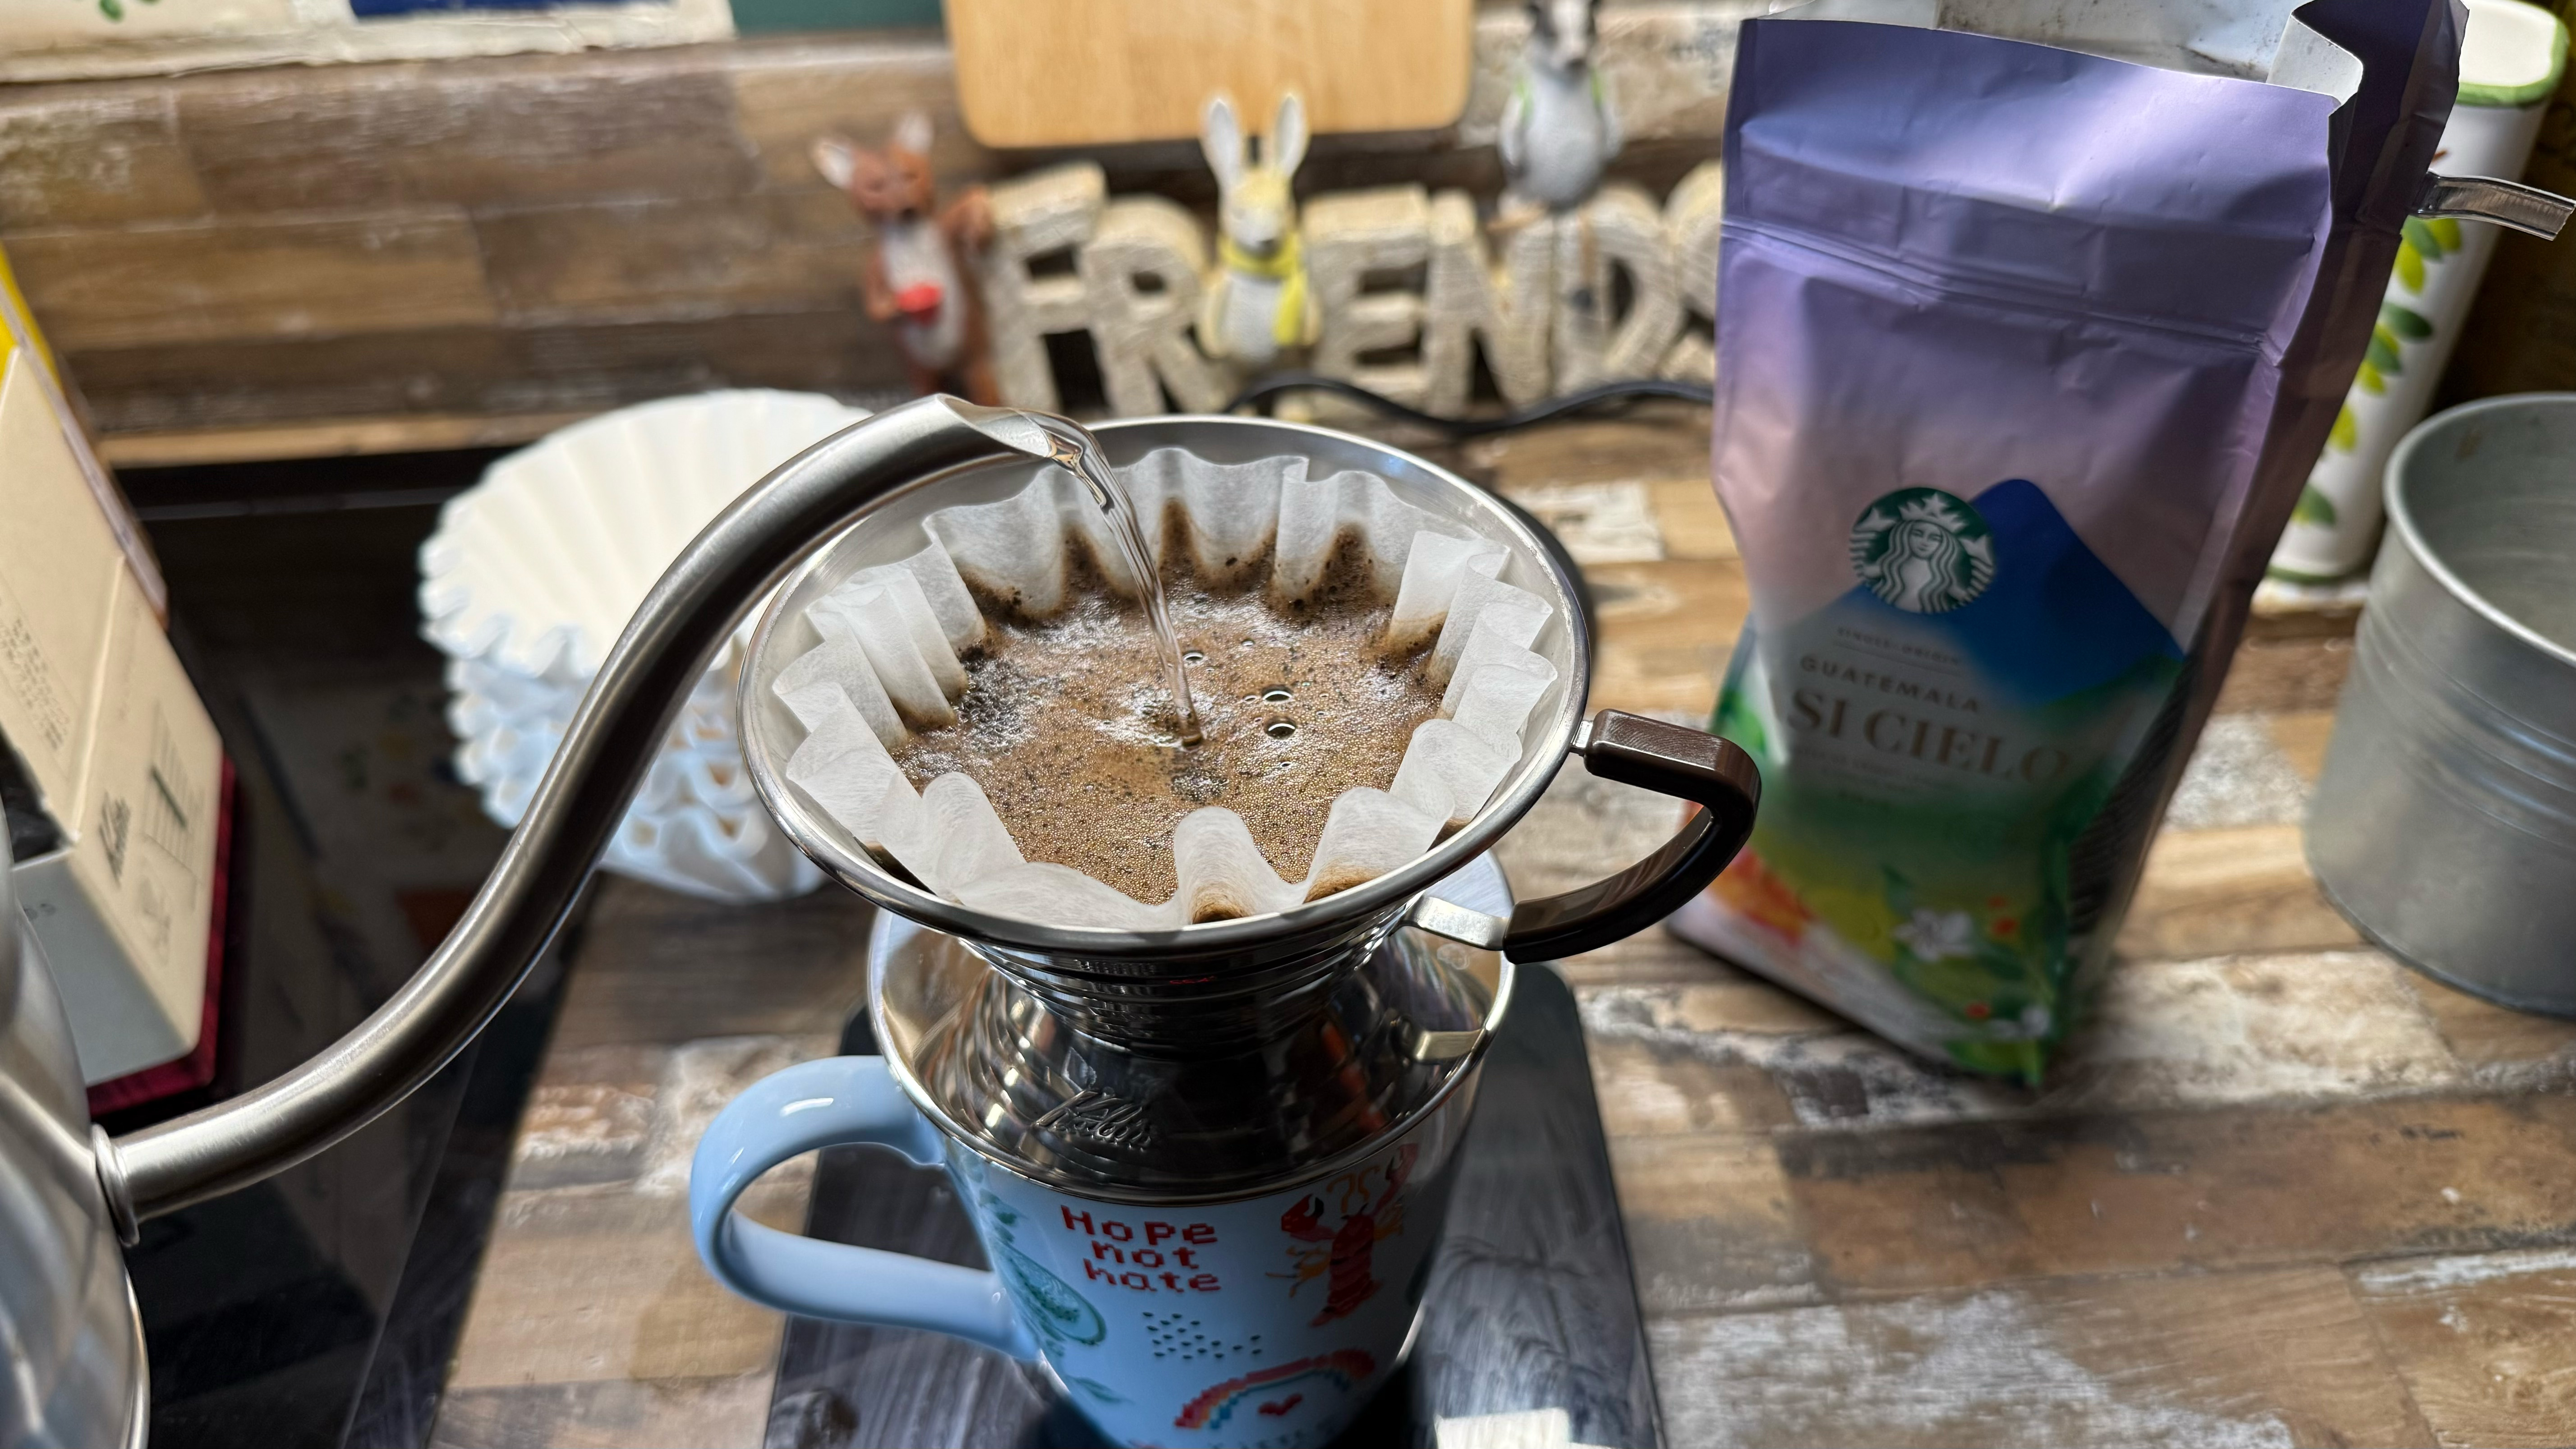
I can confirm that my coworkers chose my method too! This makes me wonder if the ‘avalanche’ method is better for darker roasts that need a little more agitation to get a nuanced flavor profile, when compared to lighter roasts that already have a lively taste.
Yes, I did adjust the scientific method a little. As the scientific method recommended boiling water, I switched this out for my usual 200°F water. For fairness’ sake, I wanted to use optimal water temperature instead of boiling, as boiling water would’ve burned the beans.
Pouring control
The science suggests that an ‘avalanche’ pouring method is the best. This is effectively pouring from a height with a steady jet of water.
While this sounds good in theory, I found it resulted in coffee splashing over the filter. I then had to correct this splashing on the second and third pours and had less wiggle room to correct funnelling.
It was also tricker to control the bloom when pouring from a height. Usually I like to pour slow and close for the bloom, then a touch higher for the second and third pours. I did find it harder to fix funnelling when pouring highly, too. I much prefer pouring closer to the dripper itself as I have more control over where the water goes.
So what is the best pour-over method?
I’m not saying the scientific method is completely wrong, but I do think it’s a little flawed. I don’t see any benefits to pouring from a height, so I will continue to pour relatively close to the dripper.
However, pouring in a steady jet of water is 100% a requirement. If you pour so slowly that the water is dribbling out, the coffee will be over-and-under-extracted simultaneously. You must have a controlled flow of water and pour in circular motions around the coffee grounds.
I’ve tested loads of pour-over drippers and use my Kalita Wave every single day, and I recommend that you pour close to the dripper, with a steady stream of 200°F water, in controlled circles.
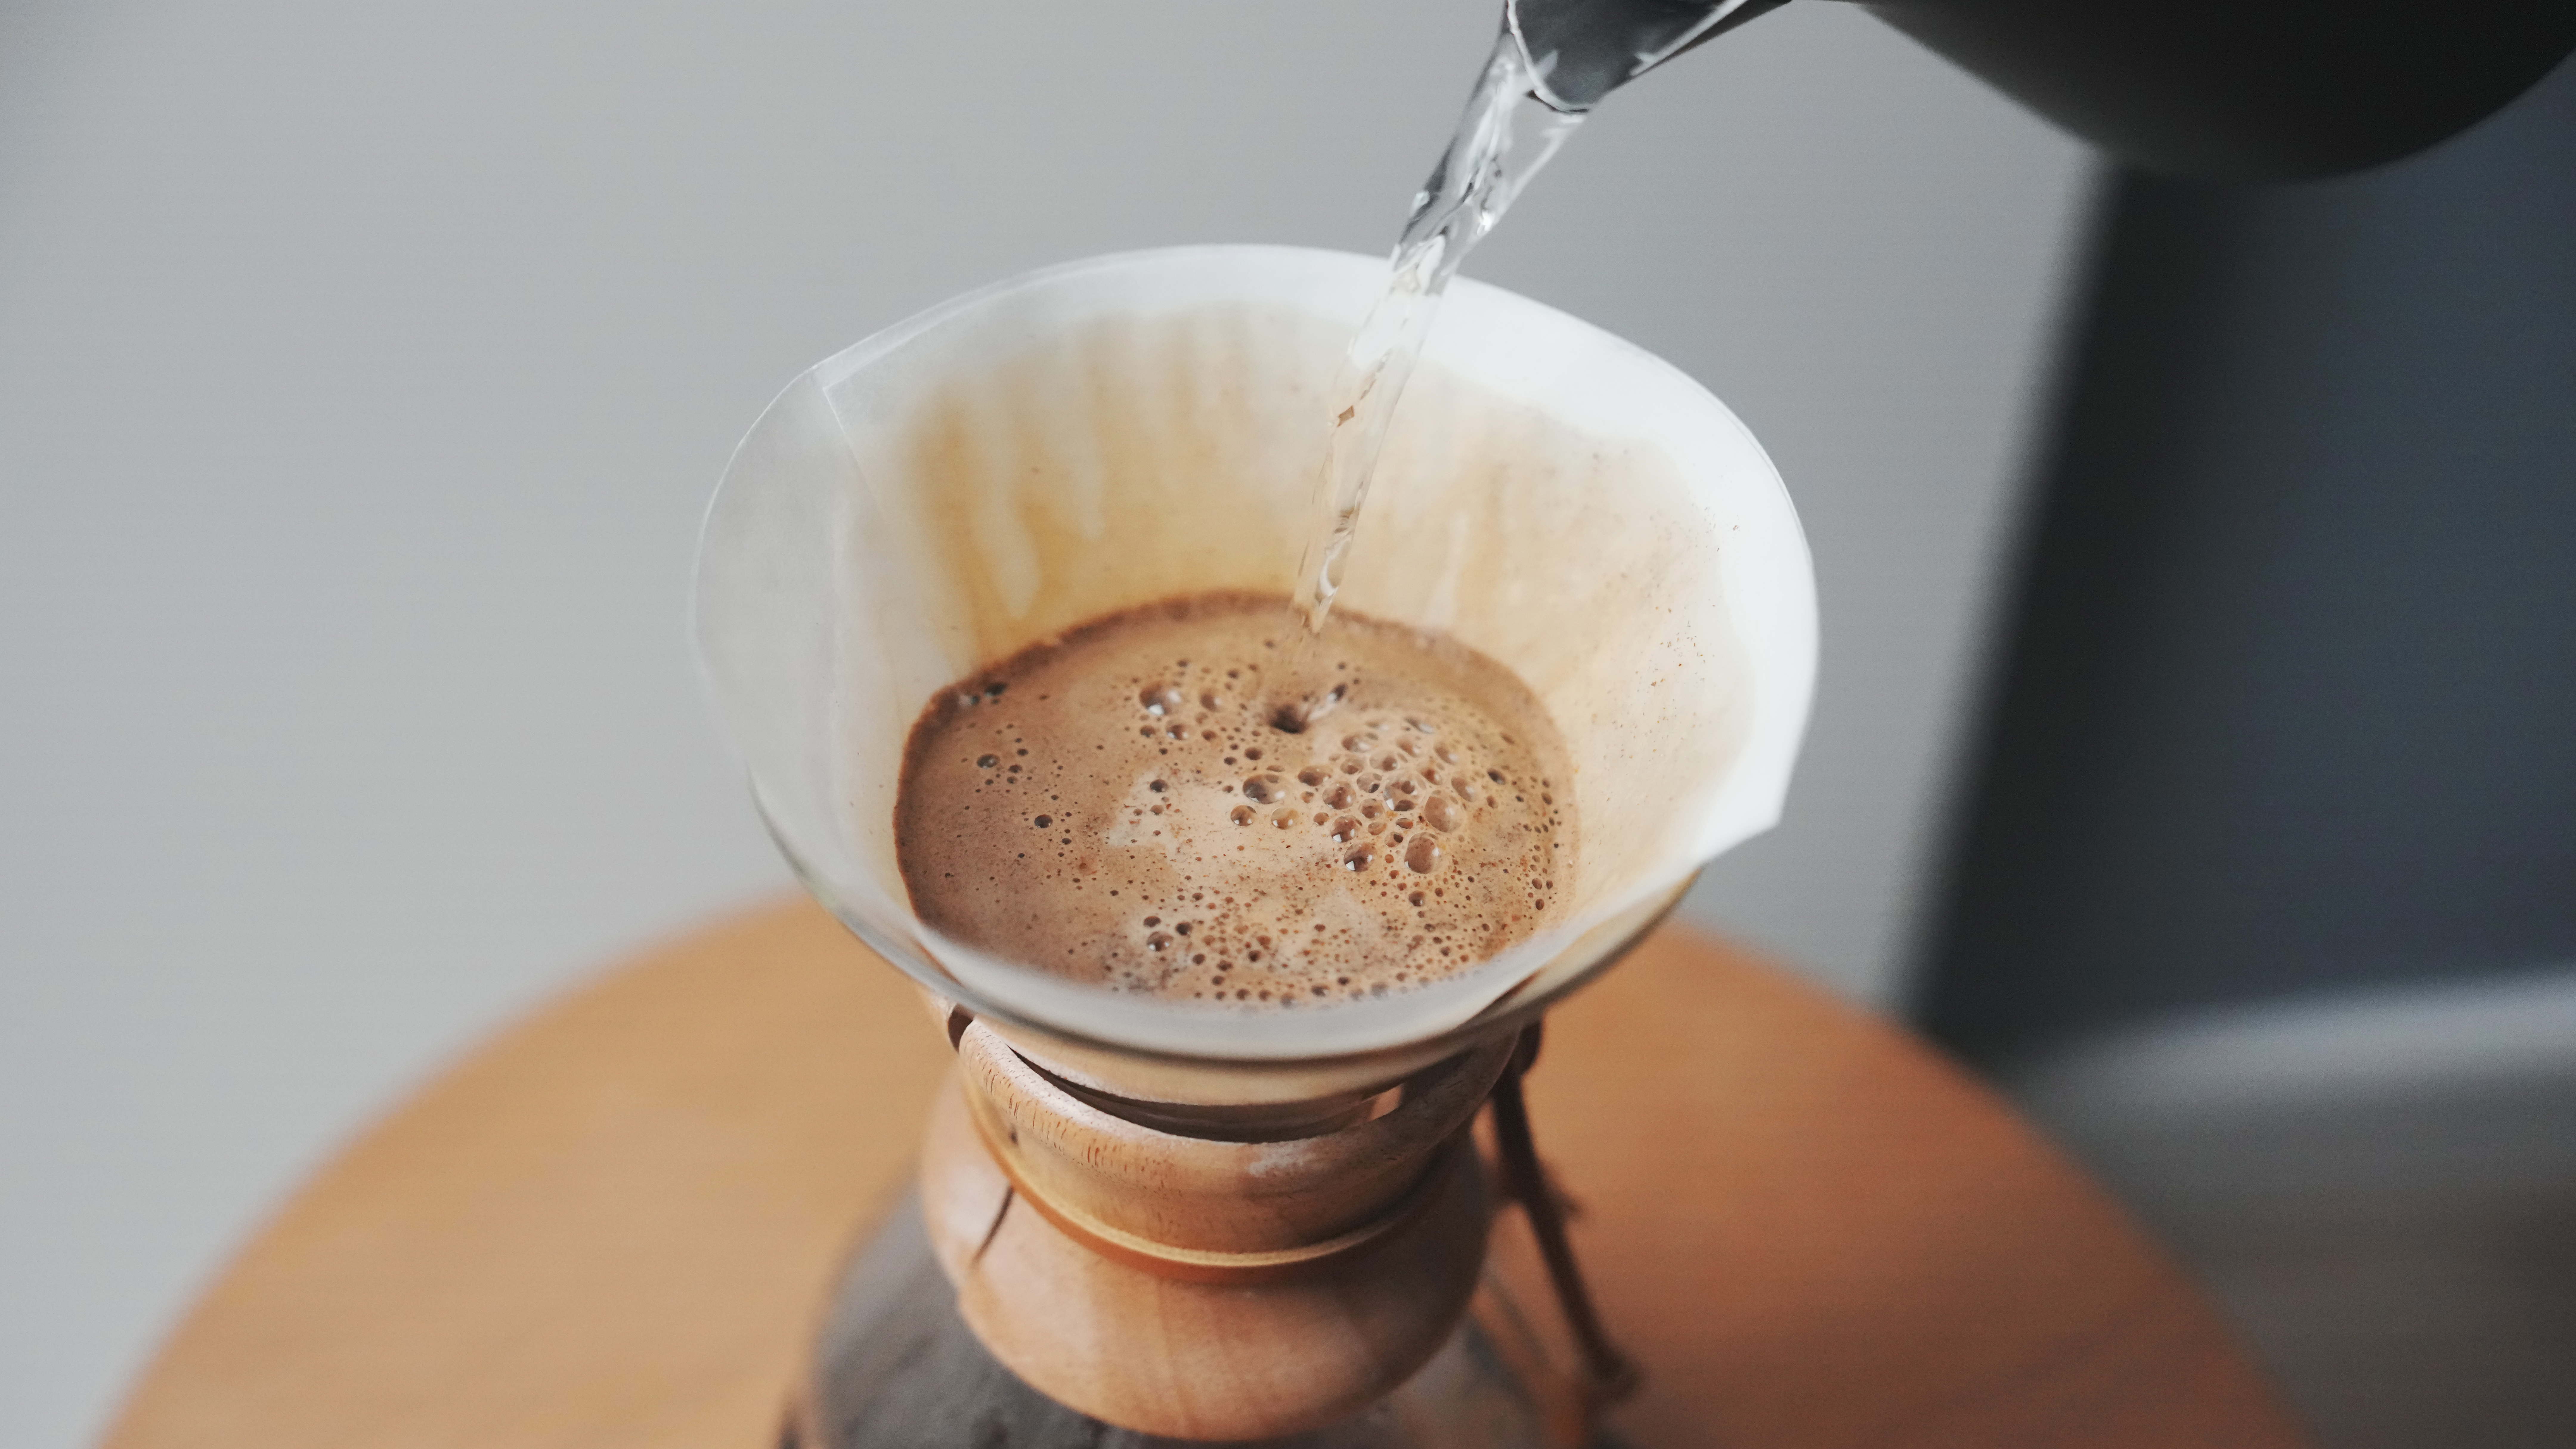
Pour around three times the weight of the coffee (so for 16g coffee, 48g water) to bloom the grounds. When they’ve released their gasses and shrunk, pour in around half of the remaining water. Once the water has filtered through, slowly pour in the remainder of the water, being careful to fix any funnelling that might have occurred.
If you follow these steps, you’ll be making perfect pour-over in no time. Sorry, science — this time I think my method is better.
More from Tom's Guide
Erin Bashford is a staff writer at Tom’s Guide, covering reviews. She has a Masters in Broadcast and Digital Journalism from the University of East Anglia and 7 years of experience writing music, events, and food reviews. Now she’s turned her attention to tech for Tom’s Guide, reviewing everything from earbuds to garlic crushers. In her spare time you can find her reading, practising yoga, writing, or stressing over today’s NYT Games.
You must confirm your public display name before commenting
Please logout and then login again, you will then be prompted to enter your display name.
