How to protect a garden hose from freezing temperatures — 5 expert tips to use
Make sure you’re ready to water your plants come spring
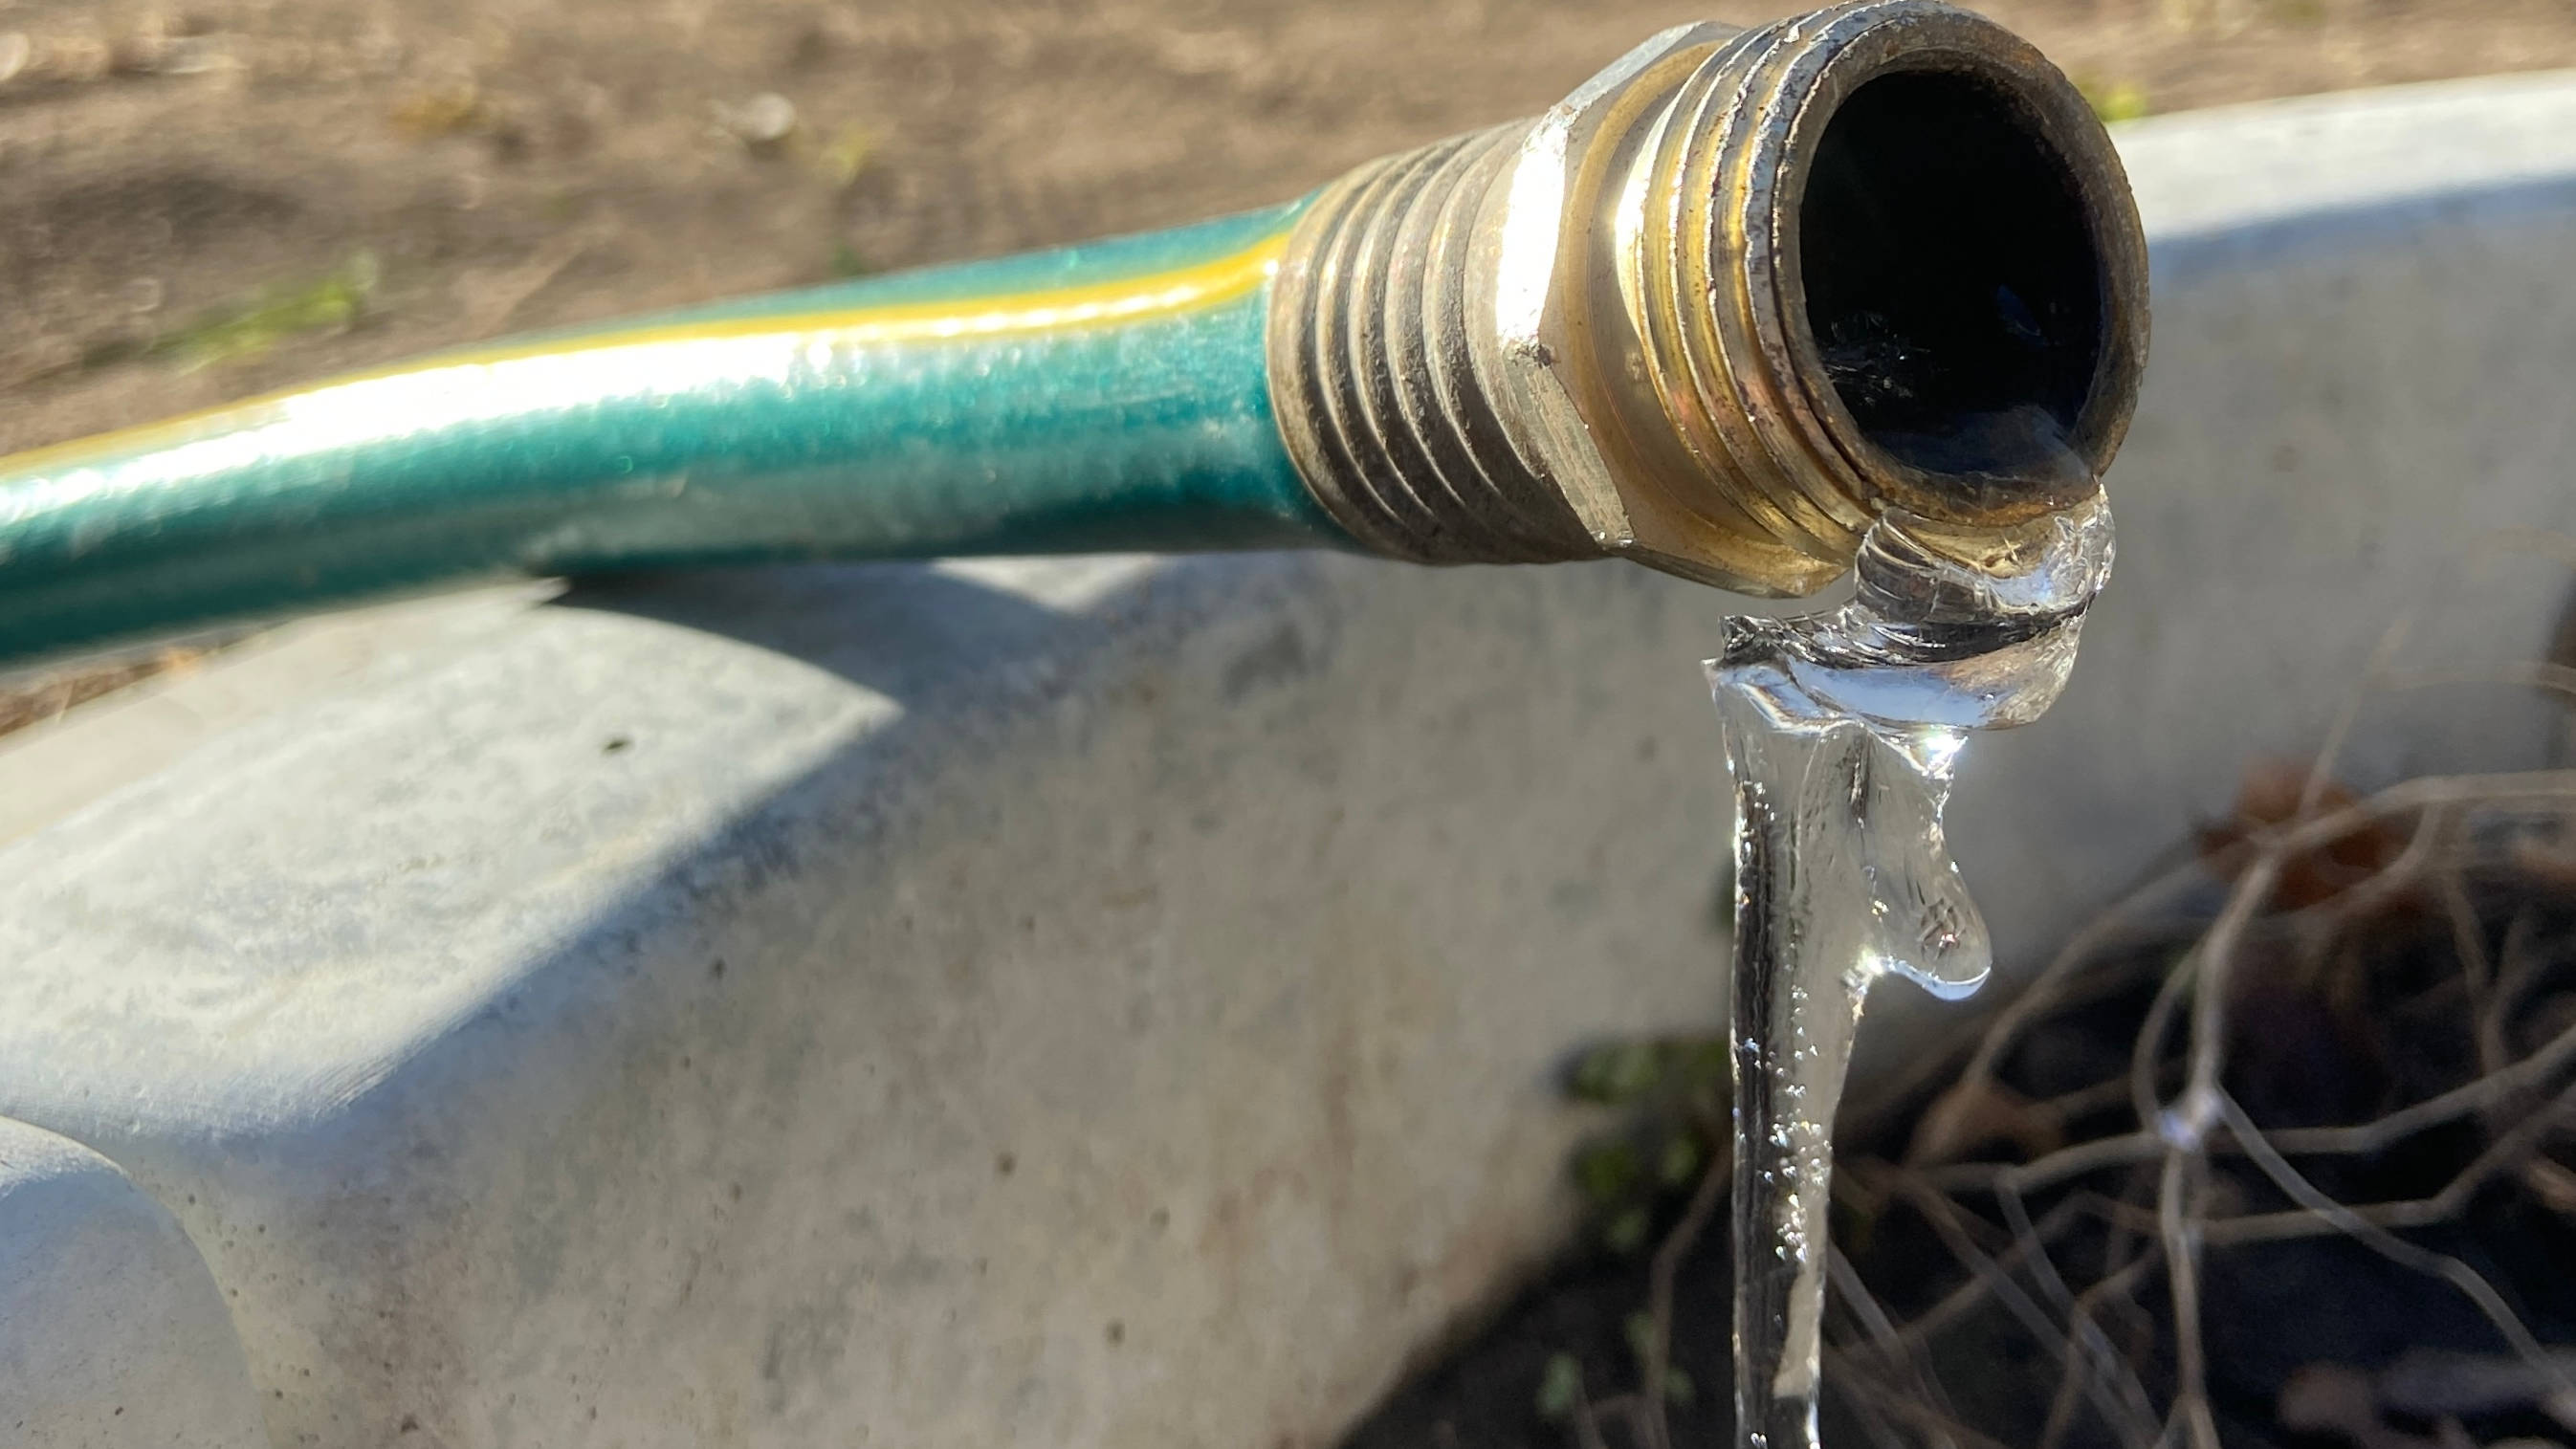
Winter is generally a quiet period for garden care and yard maintenance, but there are a few important issues to monitor as the weather gets colder. Low temperatures and frost can wreak havoc on your plants, but also on your tools, especially water hoses. Petar Ivanov, gardening and plant expert at Fantastic Gardeners, told Ideal Home that, “Leaving a garden hose outside during winter isn’t recommended because the freezing temperatures can damage it. If there’s any water left inside the hose, it’ll expand when it freezes and it’ll cause cracks on it.”
This frozen water can even end up pushing back through the faucet and into the pipes, causing much greater damage. This can be costly to repair and will make it difficult for you to take care of your plants when the weather warms up. Fortunately, there are a few easy ways to protect your hose from the elements and ensure that it remains in good condition when spring rolls around. Depending on where you live, you will want to take different precautions: If you live in a particularly cold area, you may want to invest more heavily in preventative measures than people who may only rarely experience freezing temperatures in their area.
We turned to the experts to get their advice on how to protect your garden hose this winter and beyond. No matter your circumstances, we’re confident that you’ll find something in this list of methods that will work for you.
1. Turn off the water at the faucet
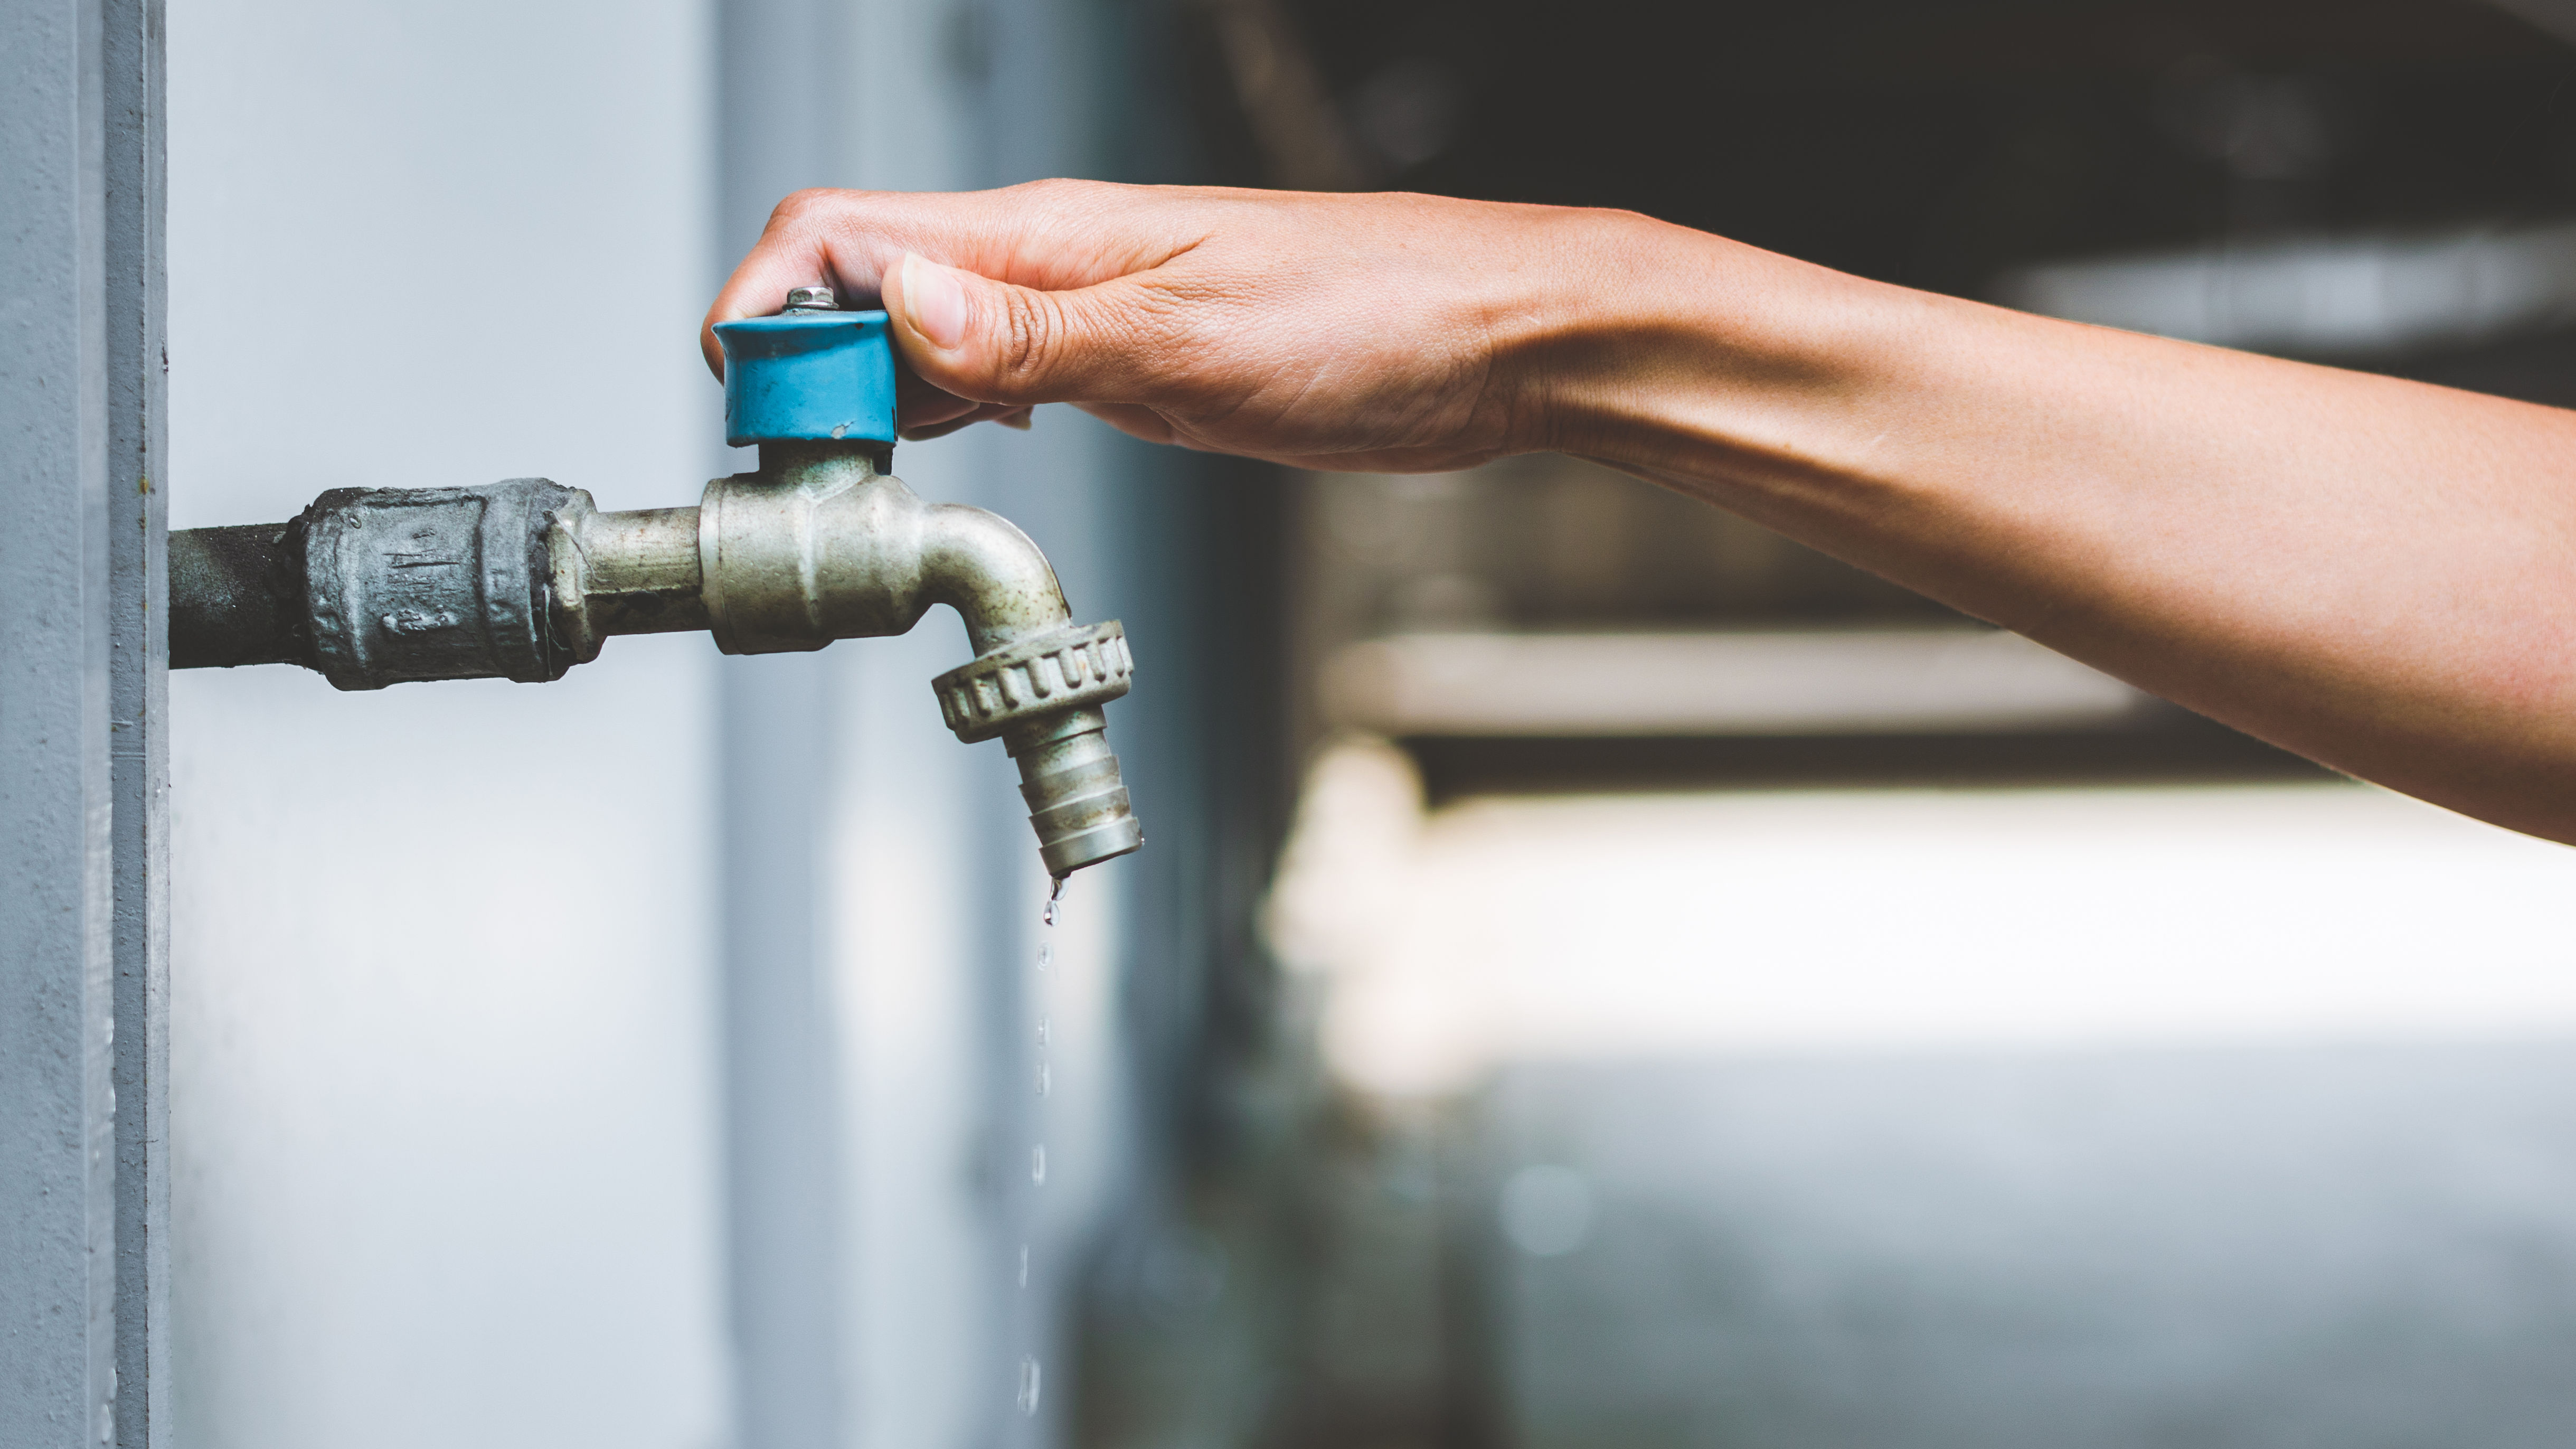
To minimize the risk of water traveling into the hose during the coldest months, the first step is to make sure that you have turned off the water at the faucet. This will help to reduce the chance of ice damage to the spigot itself, while also keeping the hose clear of water drips.
To be even more thorough, Rhiannon Moore from Toolstation recommended in The Mirror that people should also turn off the full outdoor water supply using the isolator valve. All of the water in both the tap and the pipe can then be drained off, so there is no risk of water getting into the hose even passively. This also doubles as good protection for your pipes, which are also at risk from ice damage during the winter.
2. Install an insulating cover for your faucet
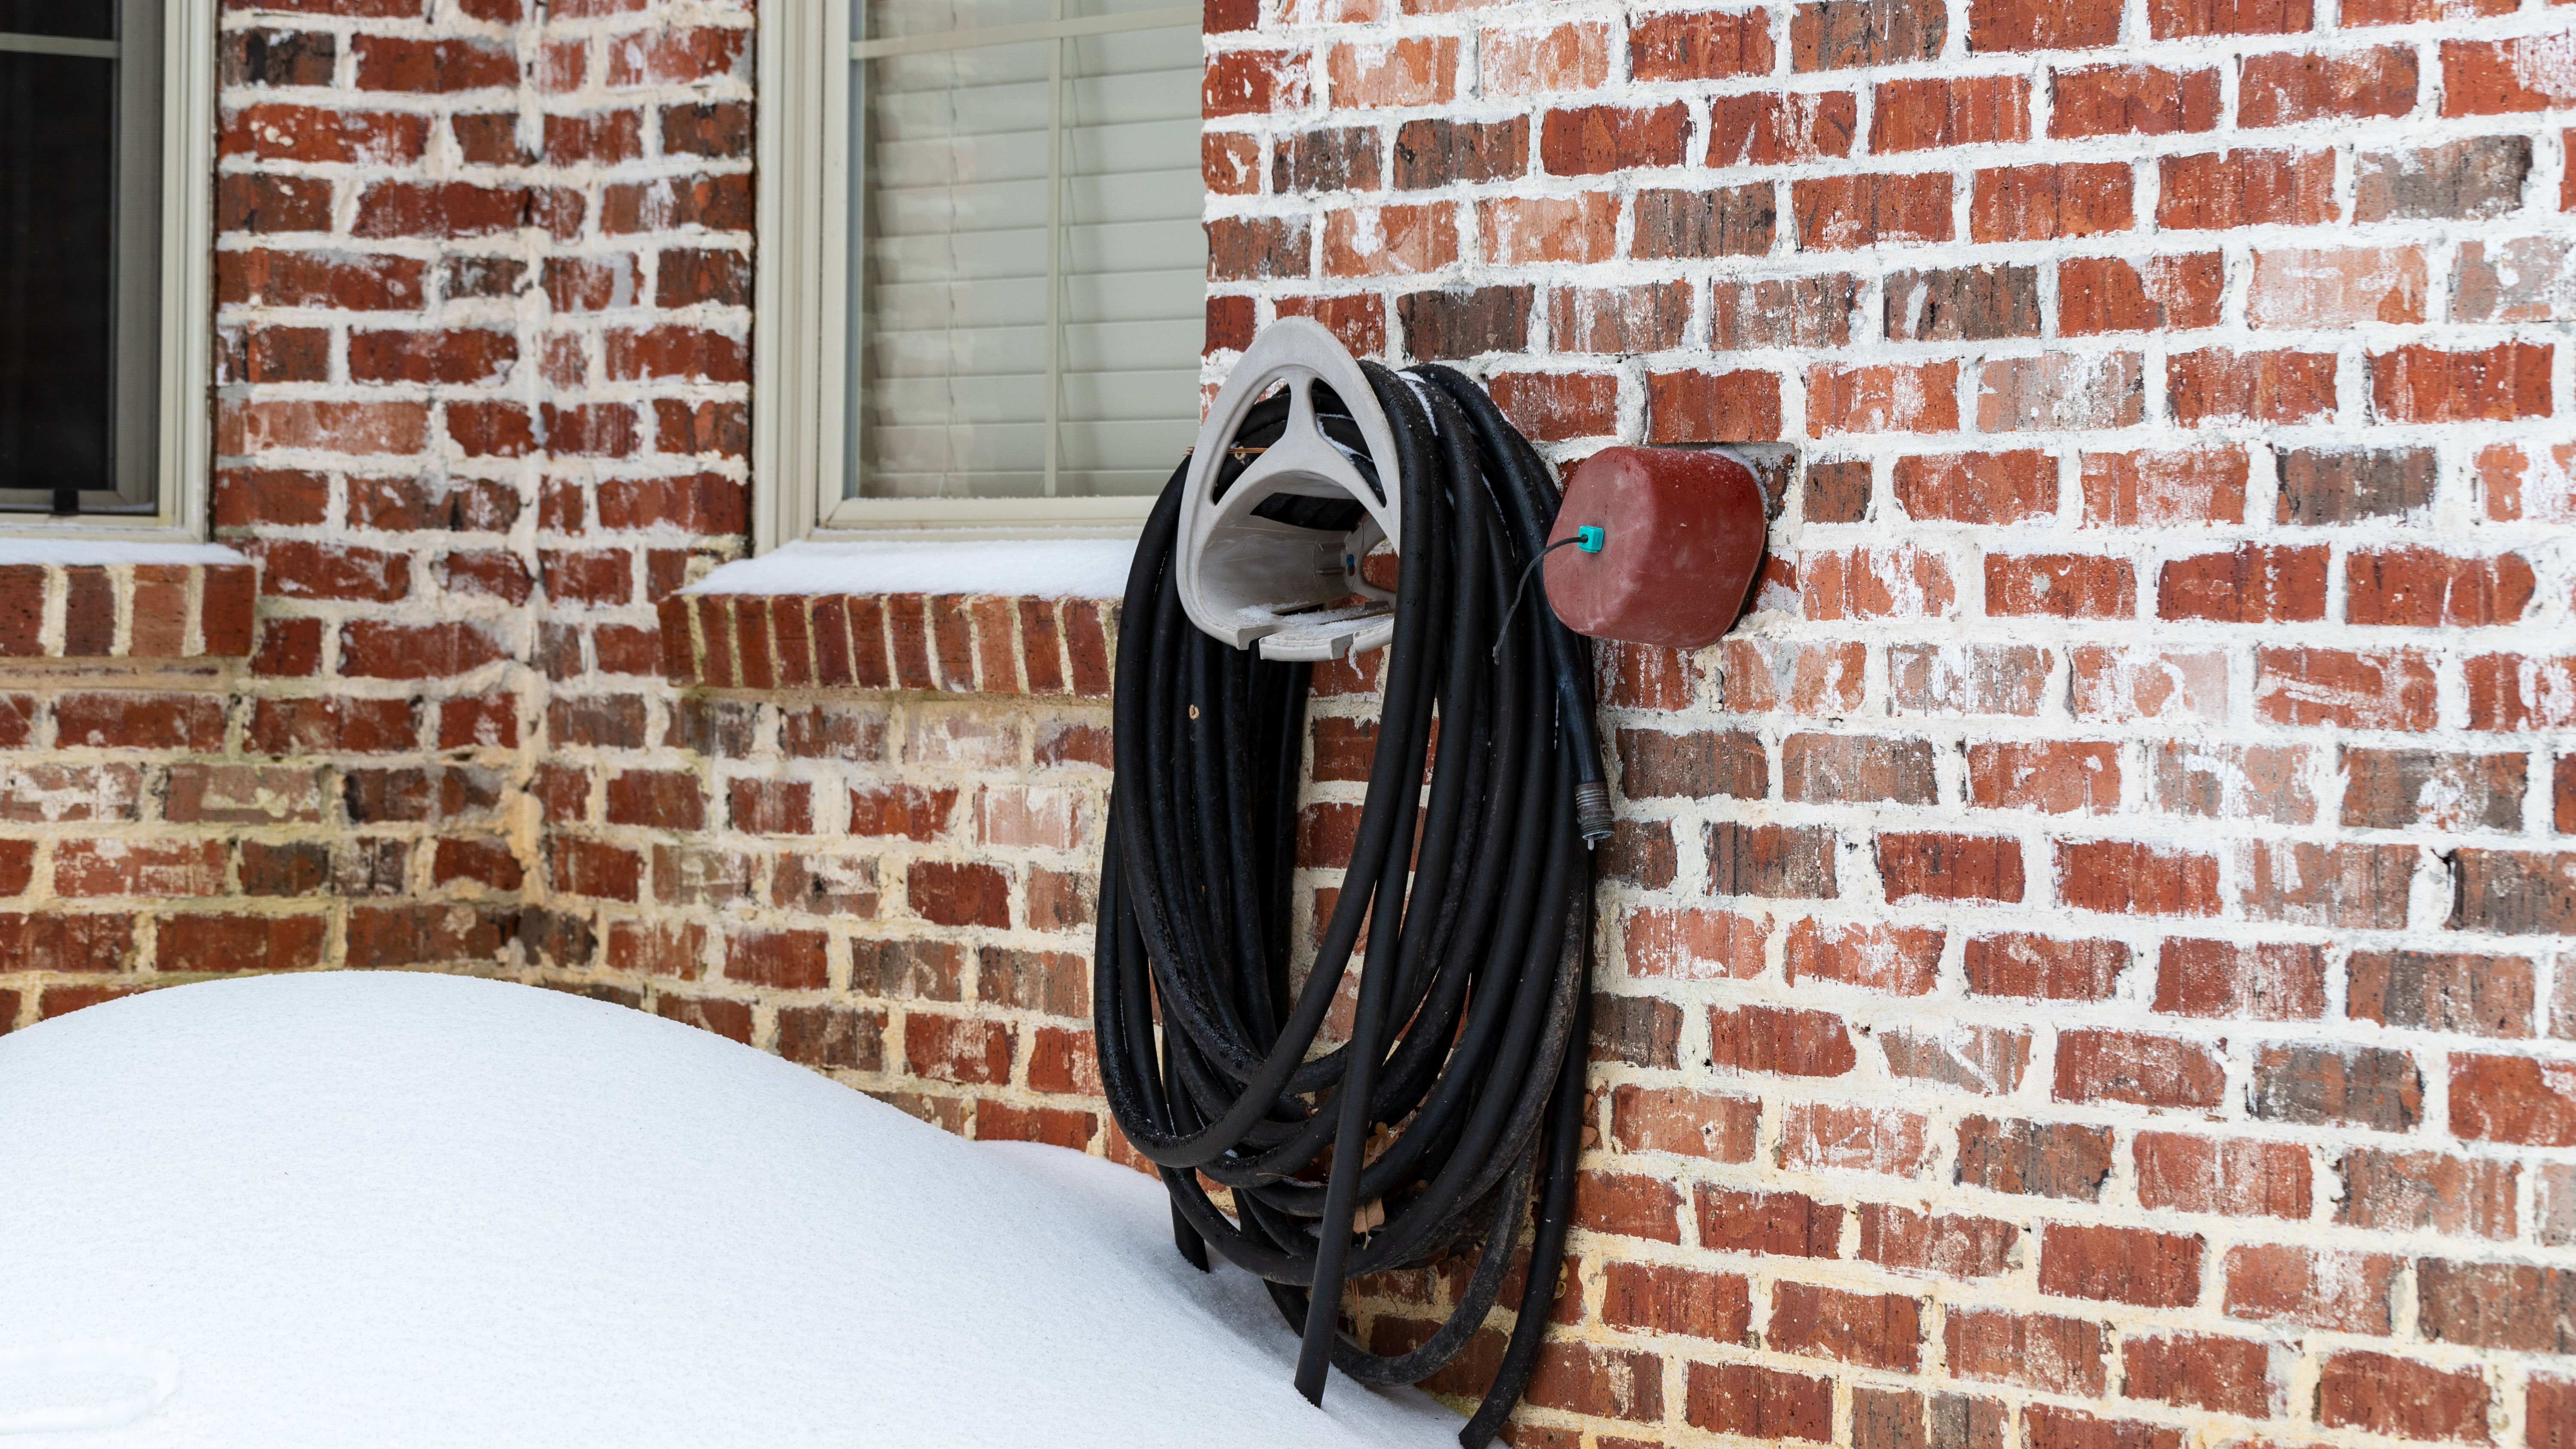
You may not have an isolation valve, as some homes have their whole water supply connected to a single valve. In this case, you won’t be able to turn off the valve as that would shut off water throughout the house. While some faucets are freeze-proof, others may need assistance to keep them warm throughout the winter. “You should ensure that the tap where the hose is connected is covered and insulated,” Steven Chilton, a garden expert at LeisureBench, told IdealHome. “If it isn't, it's likely to freeze up and you won't be able to use your hose in the first place.”
This is because a working water pipe may leave the faucet vulnerable to collecting water that will cause damage if frozen, both to the faucet itself and to the pipe connected to it. To avoid this, consider installing an insulating cover that will keep the faucet protected from the elements. These are readily available at most DIY stores and are an inexpensive solution to a potentially expensive problem. For added warmth, wrap the faucet inside with foam pipe insulation.
Sign up to get the BEST of Tom's Guide direct to your inbox.
Get instant access to breaking news, the hottest reviews, great deals and helpful tips.
3. Disconnect the hose and drain it
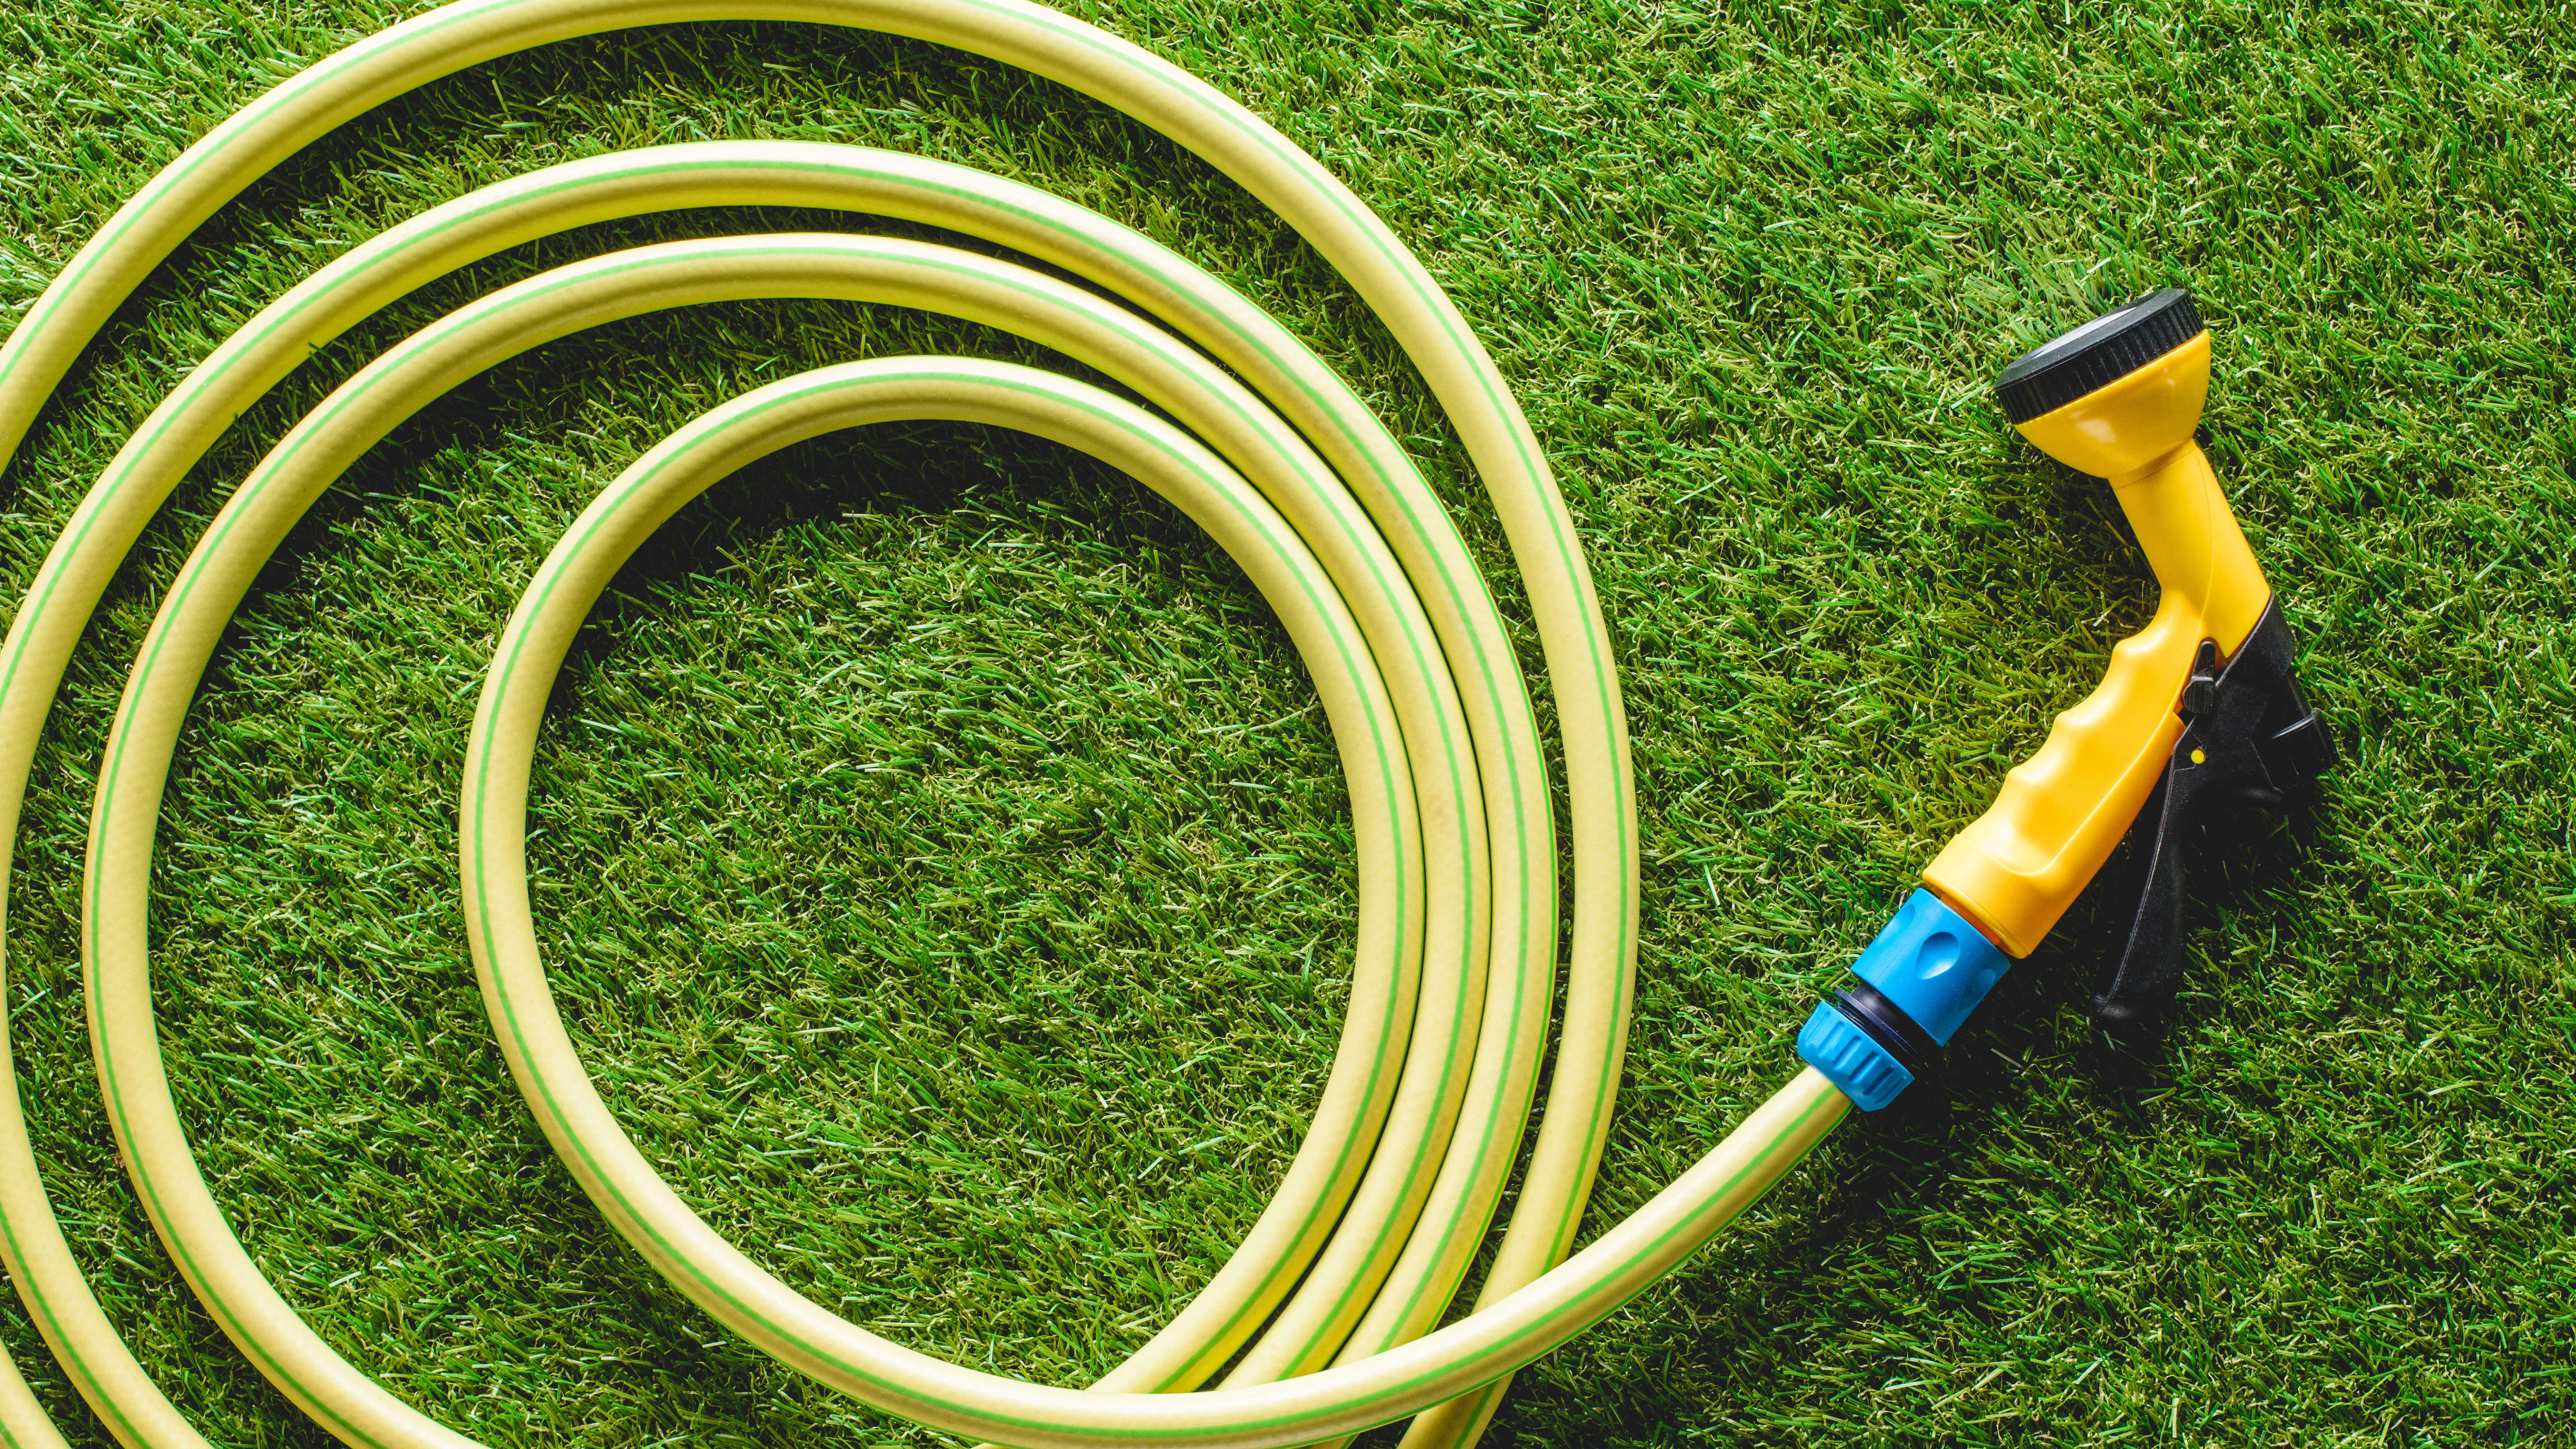
Disconnecting your hose from the faucet is good for both components. According to Denver Water, freeze-proof faucets will more safely drain when unconnected to a hose and reduce the chance of damage. Next, drain the hose itself. You may think your hose is empty, but there’s a decent chance that there is still some water inside that has collected during previous uses. Considering the length of the hose and the fact that it is often stored coiled up, water can easily get trapped if the hose isn’t emptied out thoroughly on a regular basis.
Moore recommends doing this “By placing one end on the ground and raising the rest of it through your hands off the ground,” so that each section drains one at a time. Alternatively, you can lift the hose from the center and let gravity drain the water from both ends simultaneously. If there is a nozzle or spray function attached to one end, be sure to drain this manually too as water can often get trapped inside these mechanisms.
4. Hang dry and store your hose in a warm, indoor place
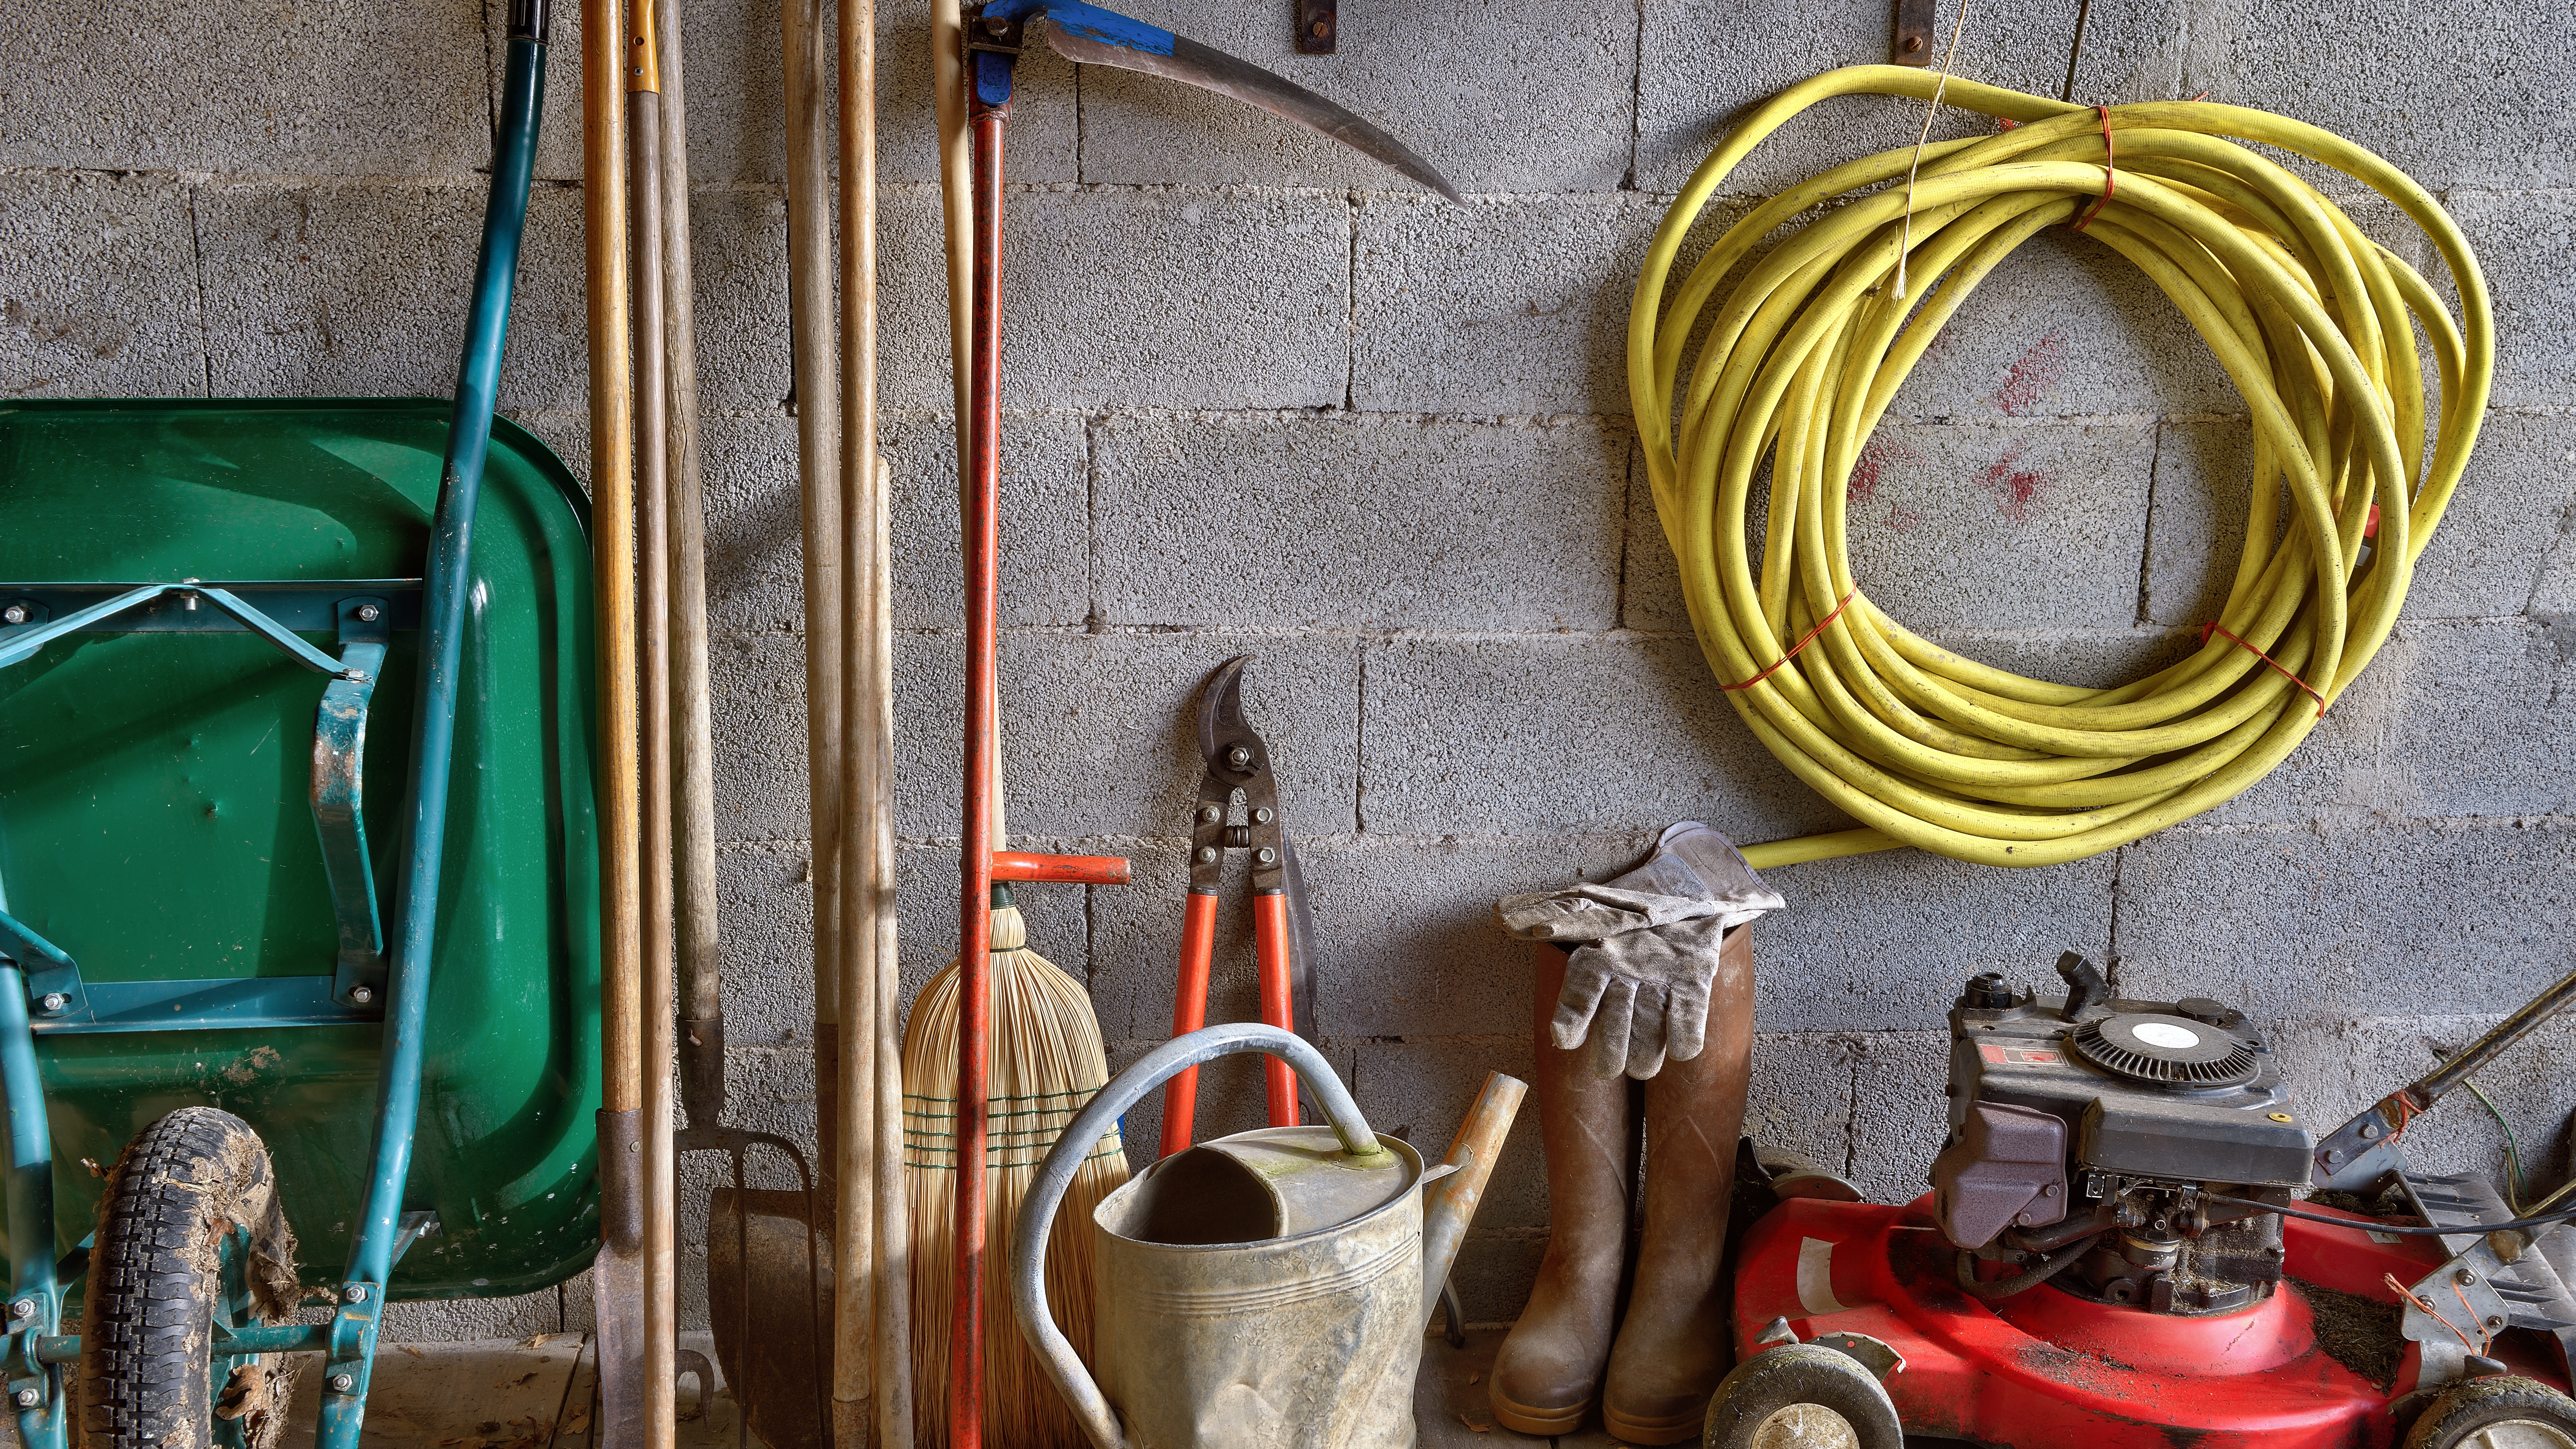
Once the hose is disconnected and drained, you can hang it up to dry. Rather than coiling it up and storing it in its regular spot outdoors, consider moving it inside to a well-insulated, dry place. This is particularly important if you live somewhere which consistently stays cold in the winter months and possibly into spring. “In the UK, we can get some pretty cold, harsh winters which would cause havoc on our garden hoses,” said Chilton. “For this reason, I don't recommend leaving the hose outside during winter, and instead I recommend keeping it somewhere that won't get below freezing.”
Avoid kinking the hose as you coil it up, as this could also cause damage – especially if kept this way over time. Once the hose is in a neat coil, store it in any space that will keep above freezing. This could be a garden shed or garage, or perhaps an insulated basement if your outdoor buildings get too much exposure. Consider placing it on a higher shelf so that it’s out of the reach of garden pests.
5. Wrap your hose in heat tape
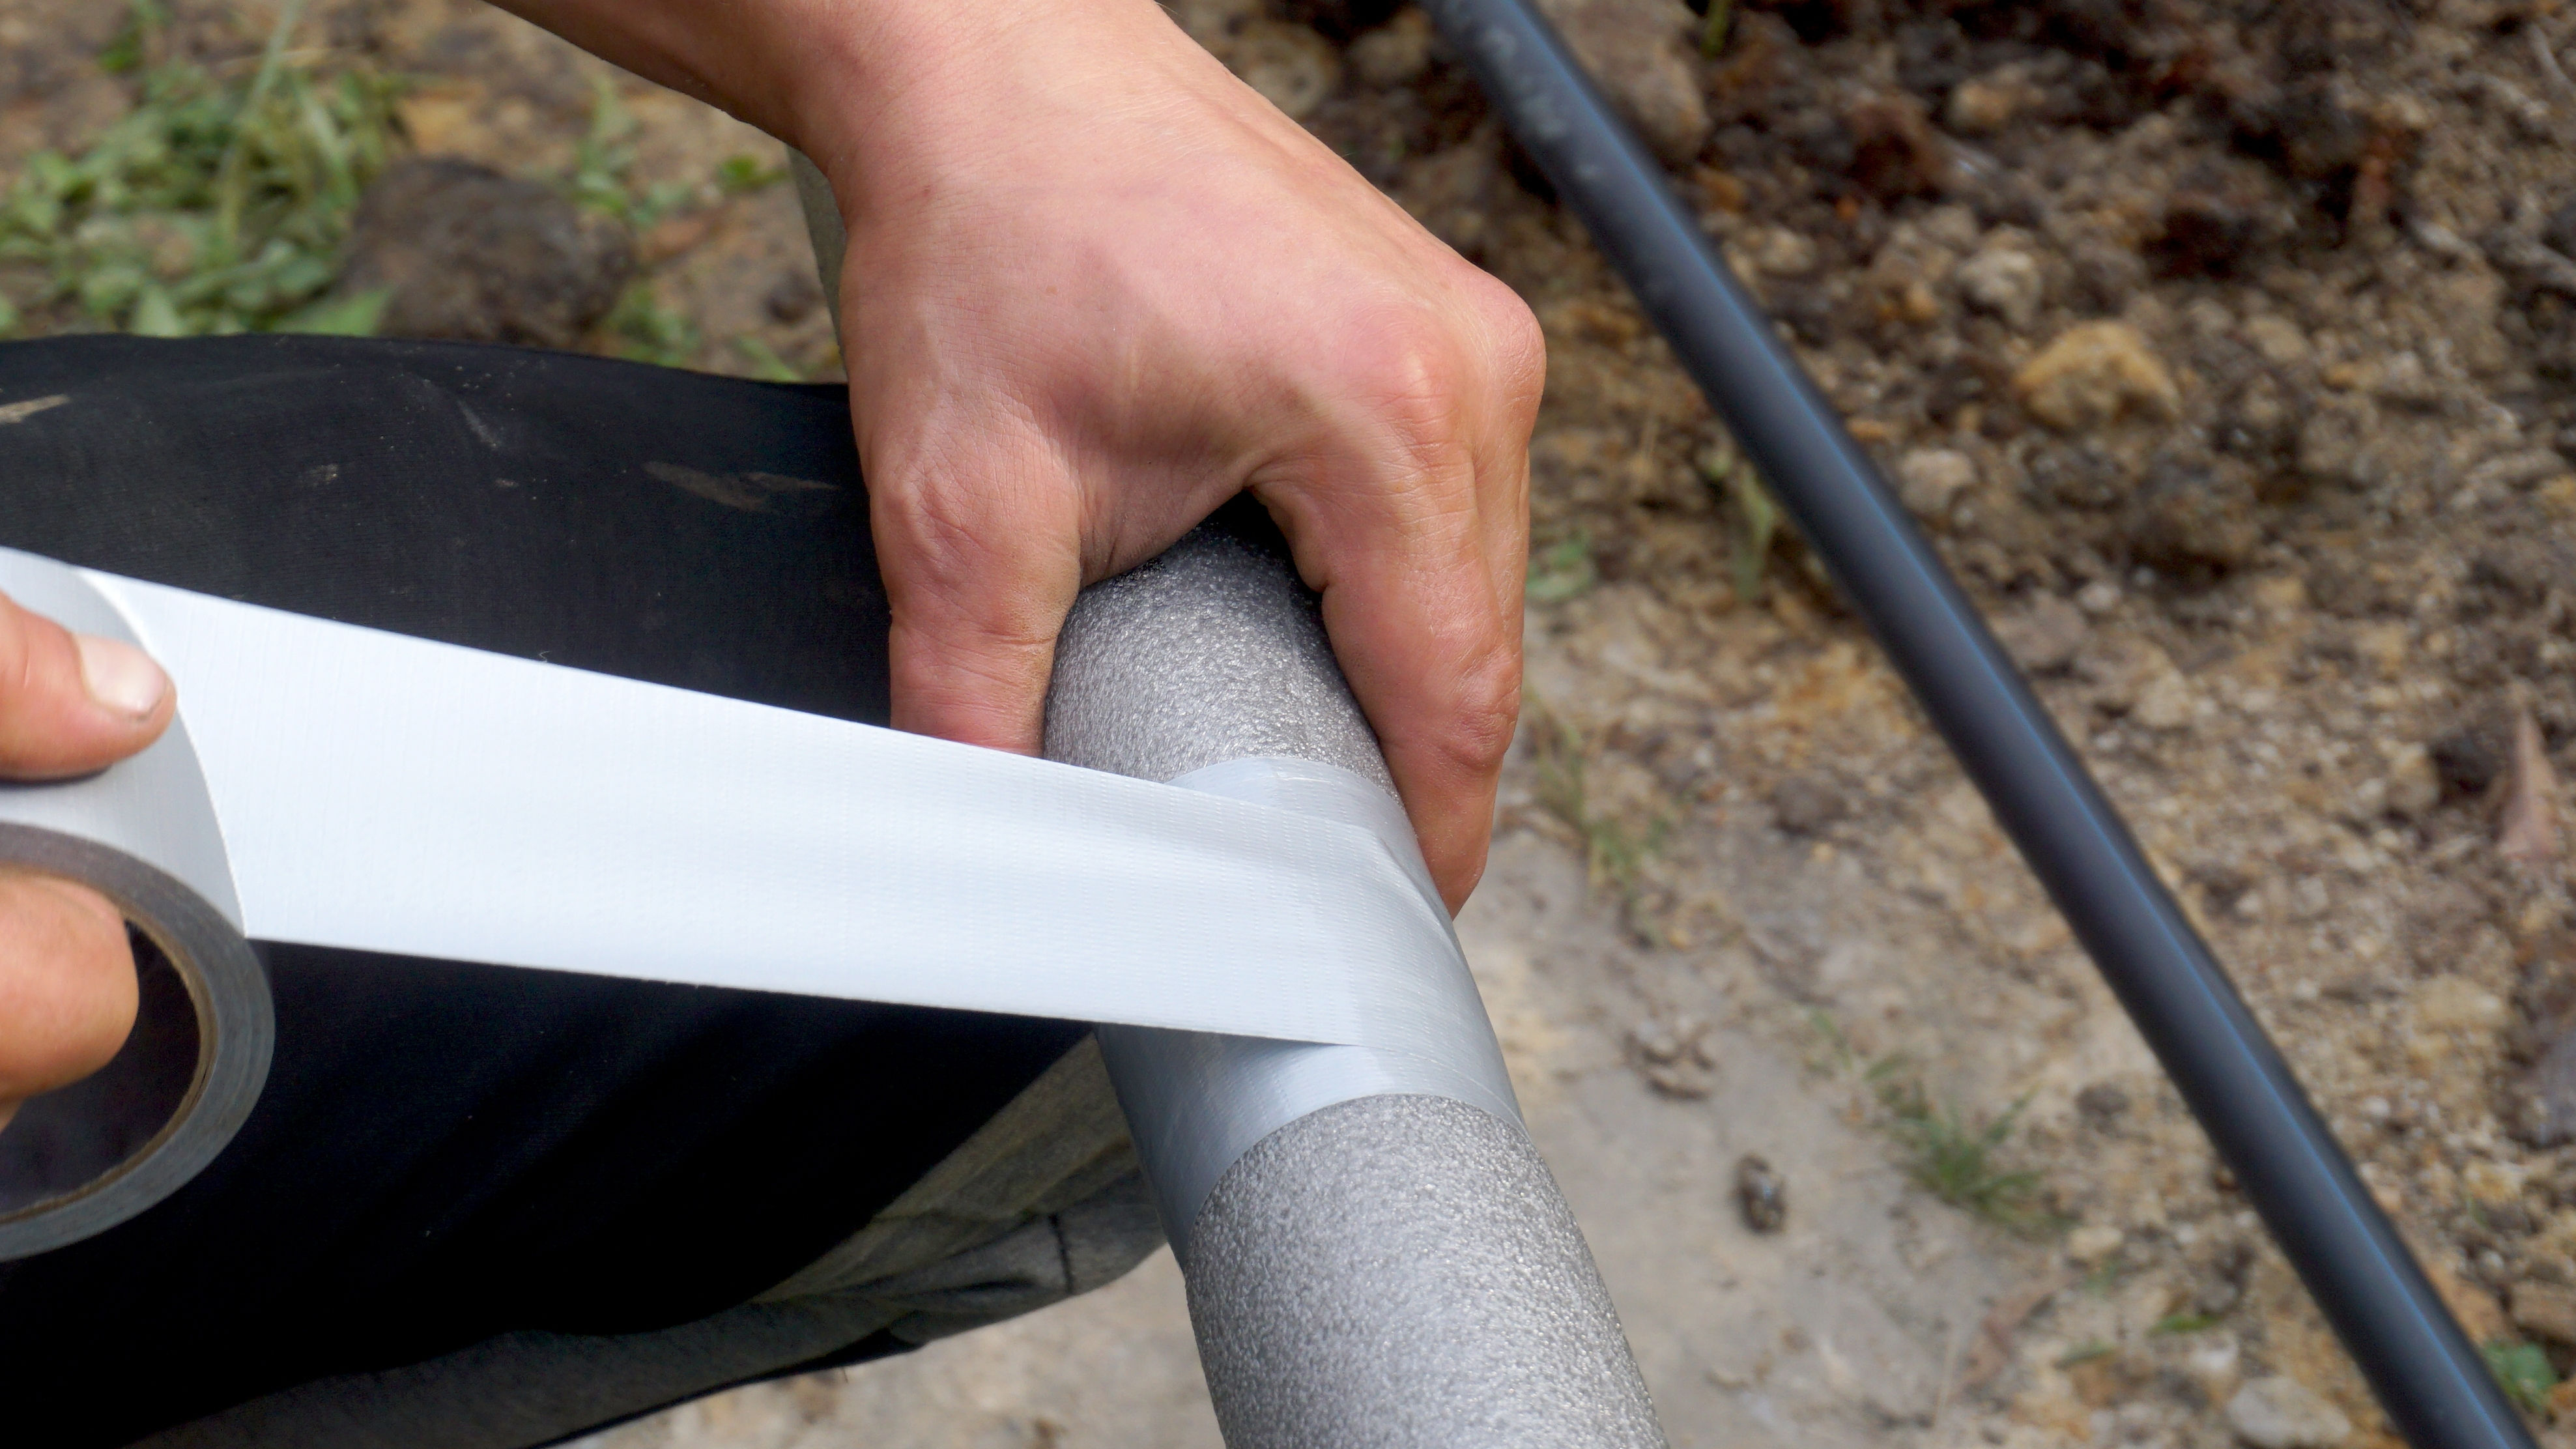
Sometimes you can’t fully disconnect your hose for weeks on end. If you live somewhere with unexpected cold snaps or know that your area often experiences colder weather deep into the spring when you need to water your plants, you may want to invest in some weatherproofing for your water hose.
Heat tape can be applied to the outside of a standard garden hose, insulating it and reducing the risk of water freezing inside. This may not be sufficient for seriously cold temperatures, but is a good way to add greater protection to your hose during transitional seasons. It can also give you peace of mind in case you get an unexpected snowfall.
Heat tape is easy to apply, but plastics company Teknor Apex recommends you measure your hose before purchasing to ensure you have enough for thorough insulation. “The diameters of a standard hose run from one-half to three-fourths of an inch, so make sure you have enough tape to cover the whole thing,” warns the company.
More from Tom's Guide
Madeleine Streets is a writer and content manager based in New York City. She covers an eclectic mix of lifestyle, technology, finance and health and has been published in Tom's Guide, Women's Wear Daily, SELF, Observer, Footwear News and others. Originally from London, Madeleine has a penchant for tea, baking and moody weather. When she’s not writing, you can find her exploring the city’s bookstores, hunting down new restaurants, fostering cats and cheering on Arsenal FC.

