How to clean a stand mixer — keep your KitchenAid gleaming
Mix, bake, clean, repeat

A stand mixer is a kitchen powerhouse, capable of whipping up everything from fluffy meringues to hearty bread dough. But with great power comes great responsibility — namely, keeping your trusty appliance clean.
Whether you've carefully chosen from the best standing mixers on the market, deliberated over KitchenAid VS Smeg, or followed our guide on how to choose the best KitchenAid stand mixer, your investment deserves proper care.
Regular cleaning not only ensures your mixer looks great on your countertop, but also maintains its performance and extends its lifespan. In this guide, we'll walk you through the steps to keep your stand mixer sparkling clean, no matter how messy your latest culinary adventure may have been!
1. Unplug and disassemble
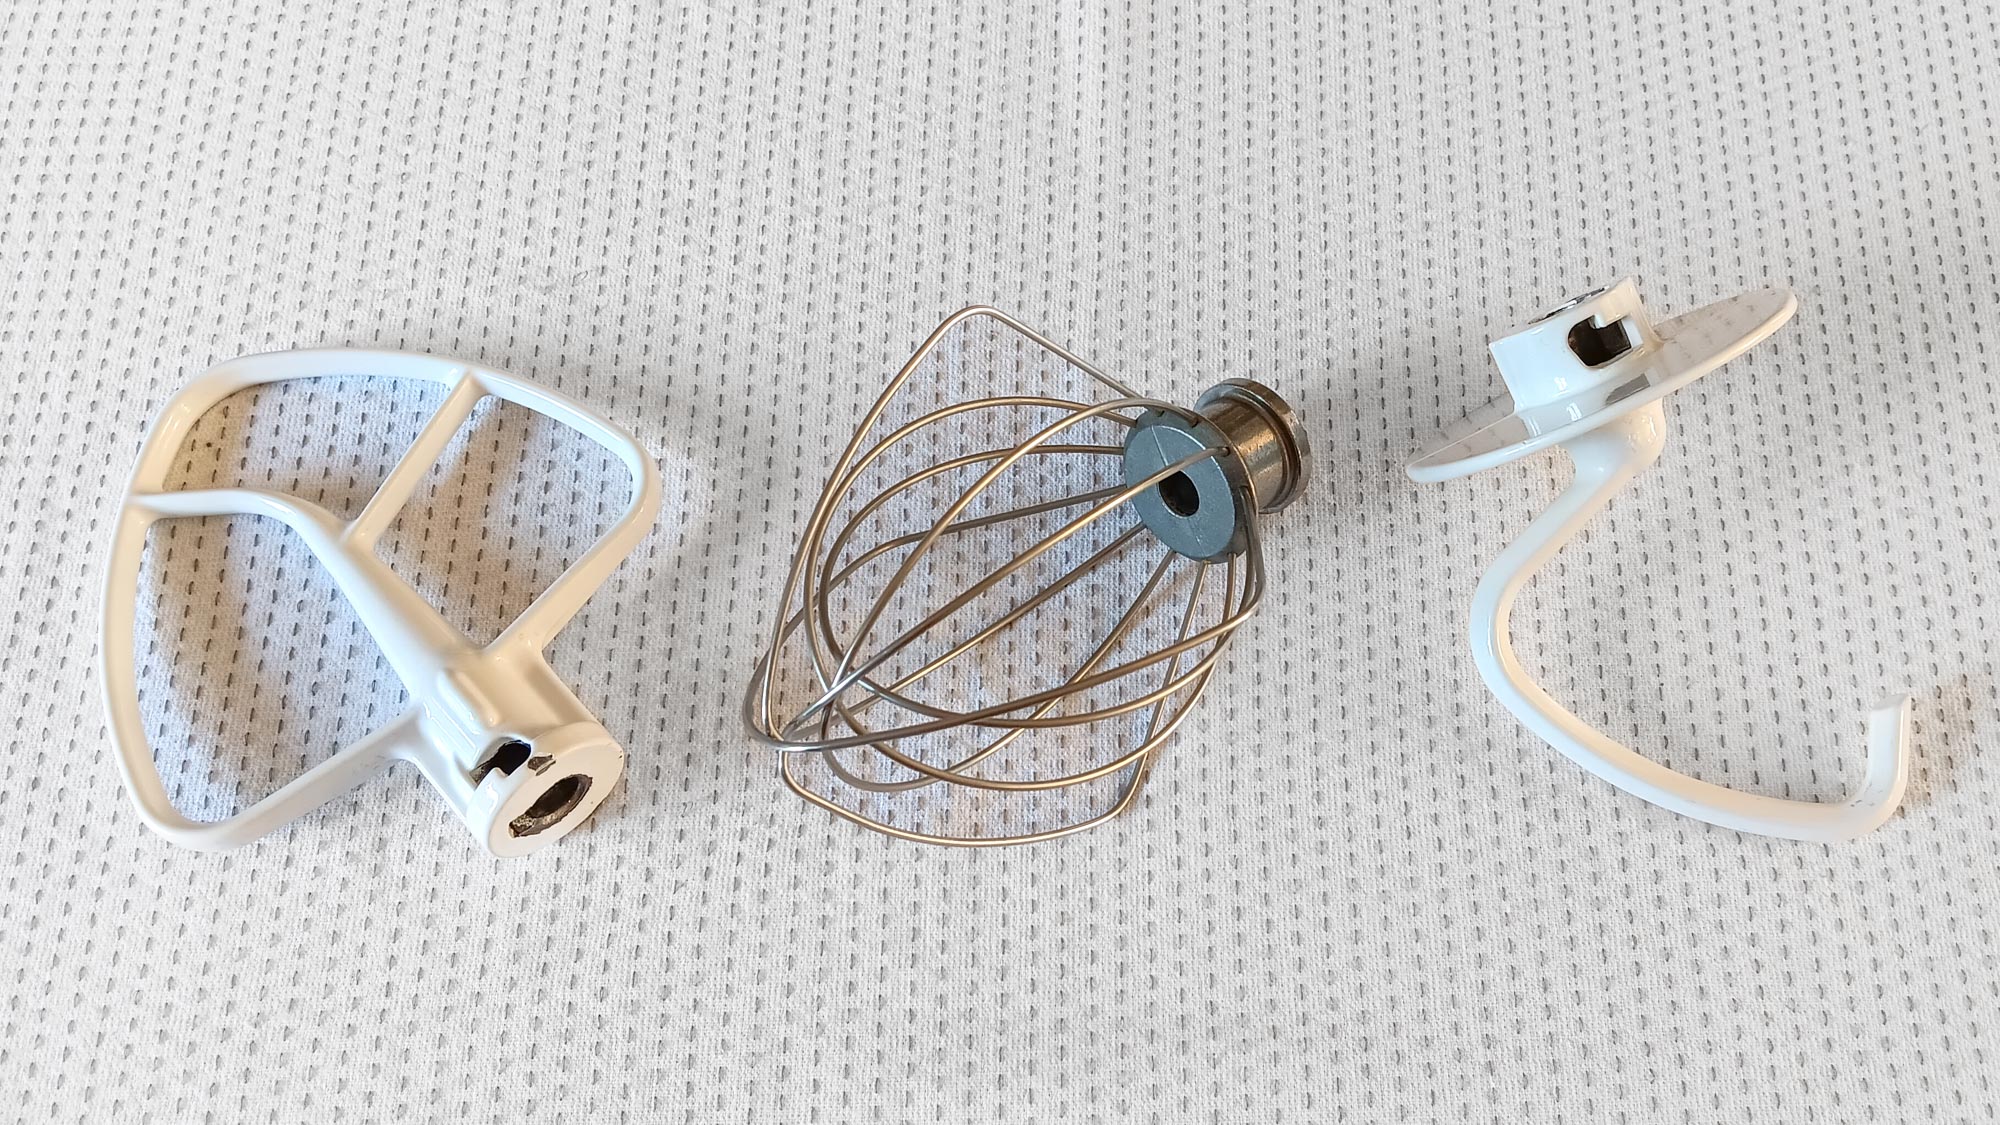
Before cleaning, always unplug your mixer for safety. Remove all attachments, including the bowl, beater, whisk, and dough hook. If your model has a splash guard, remove that too.
2. Wash removable parts
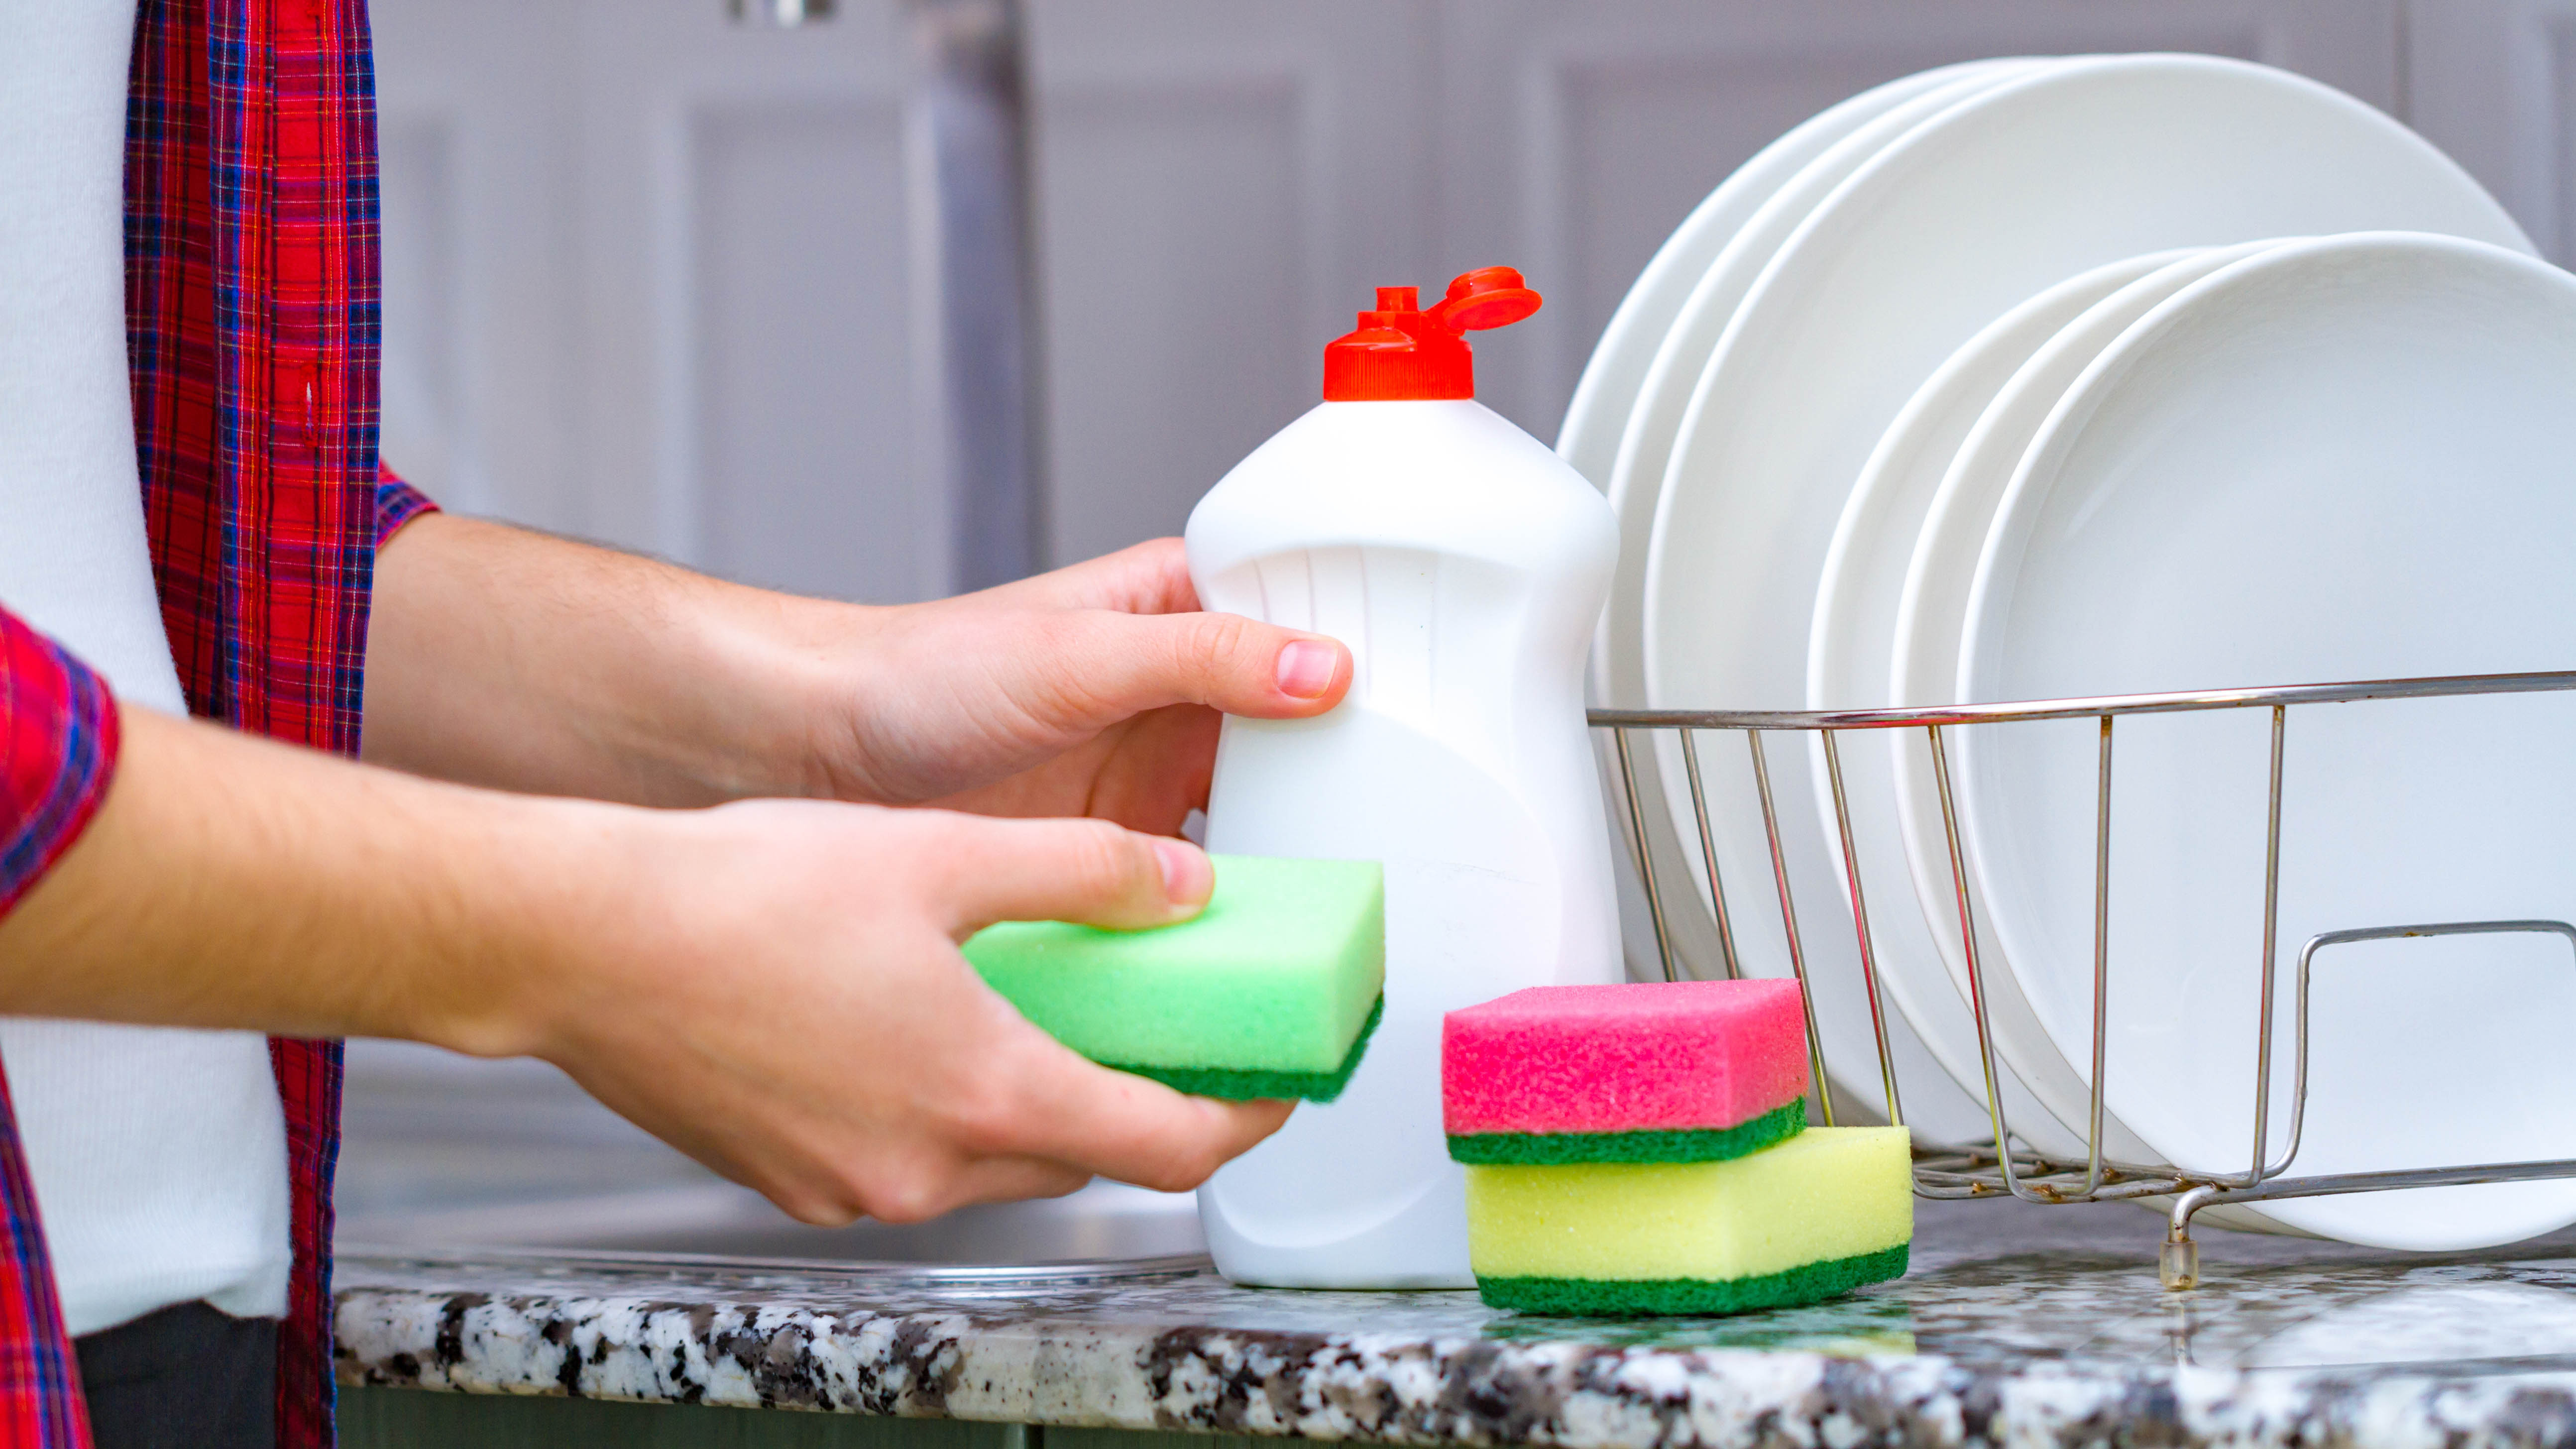
Clean the bowl and attachments in warm, soapy water. For stubborn residue, let them soak for a few minutes. Most attachments are dishwasher safe, but check your manual to be sure. Dry thoroughly to prevent rust.
3. Clean the mixer body
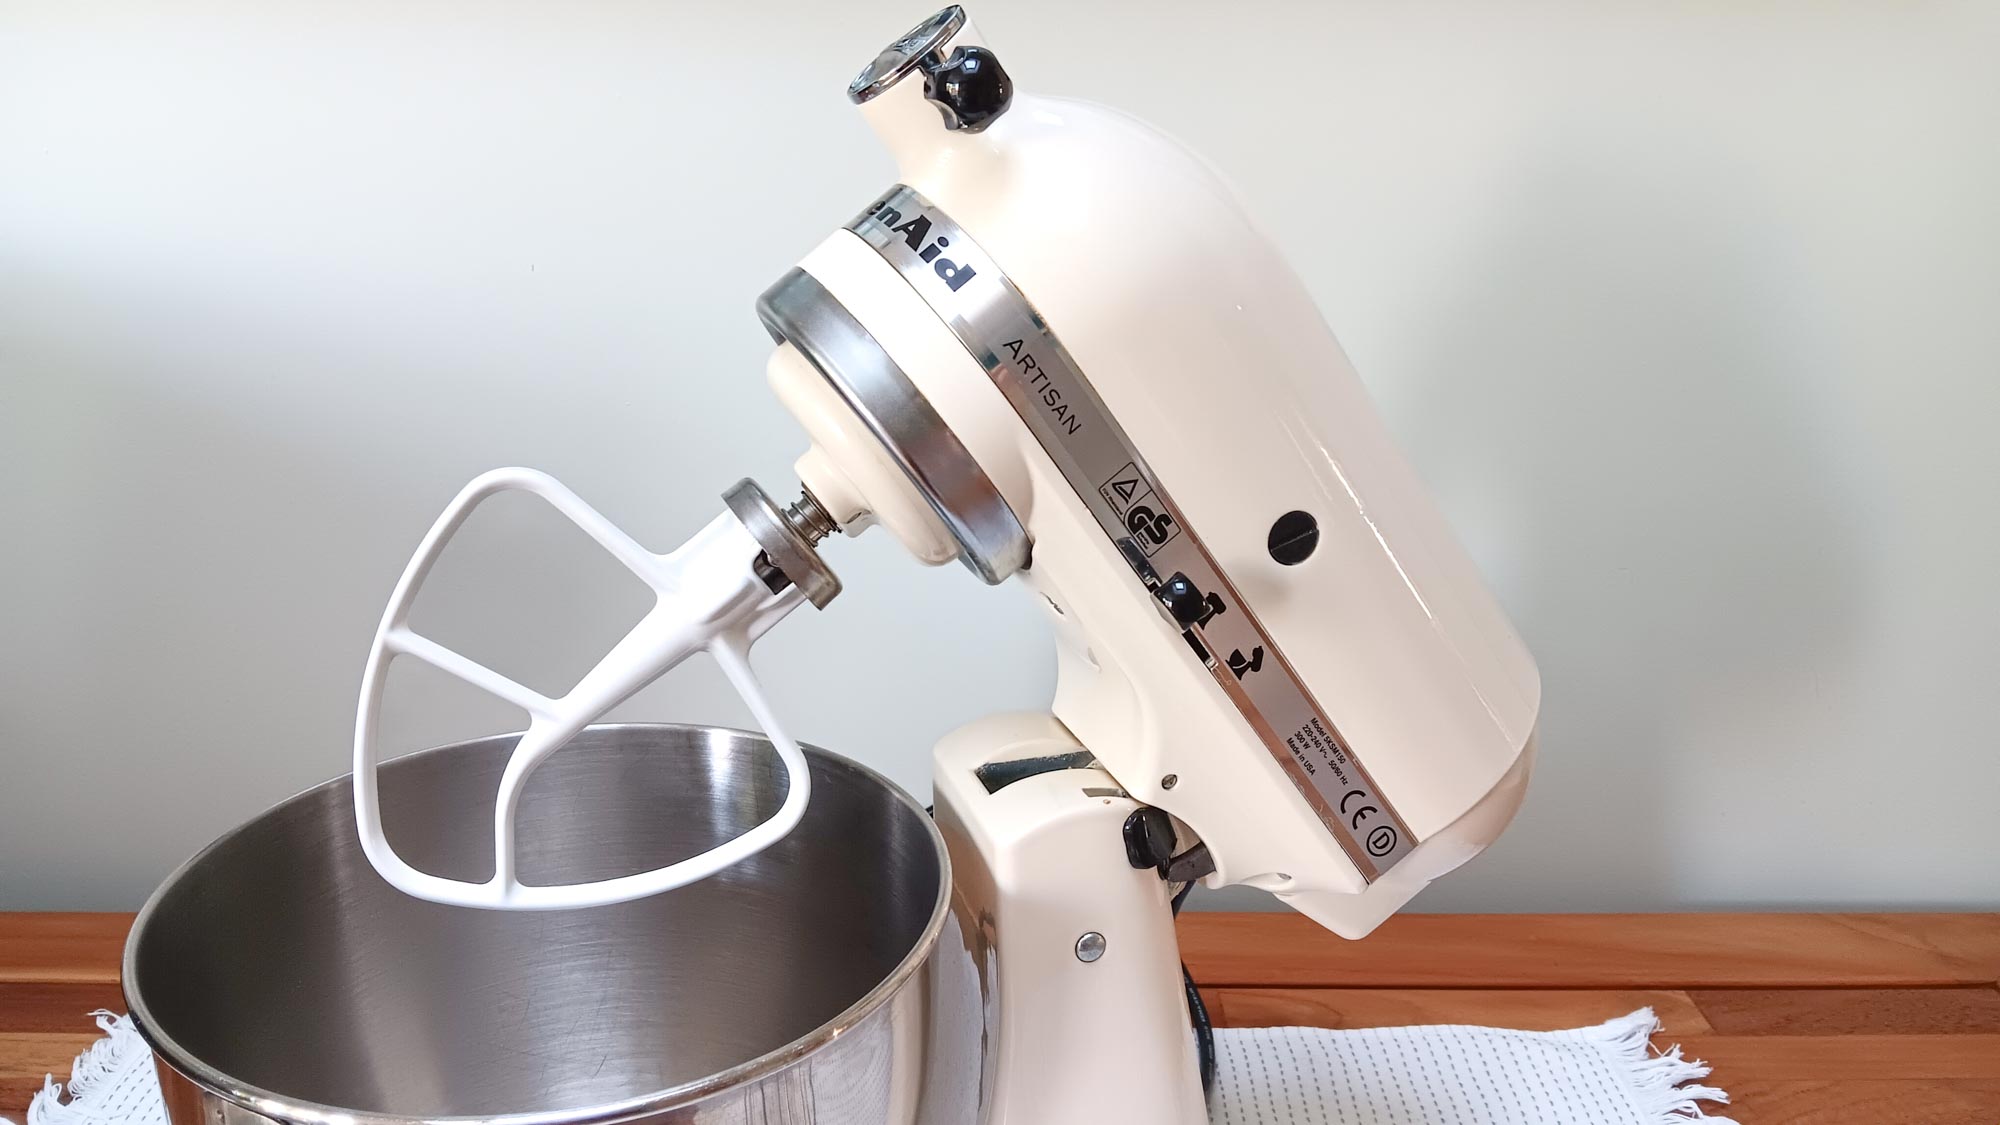
Wipe down the body of the mixer with a damp cloth. For tough spots, use a mild all-purpose cleaner. Pay special attention to the attachment hub and any crevices where flour or batter might hide.
Tilt the mixer head back and clean underneath. This often-overlooked area can accumulate a surprising amount of dust and flour.
Use a soft brush or toothpick to gently remove any stuck-on food from small spaces, like around the speed control lever or the spring where attachments connect.
4. Polish and protect
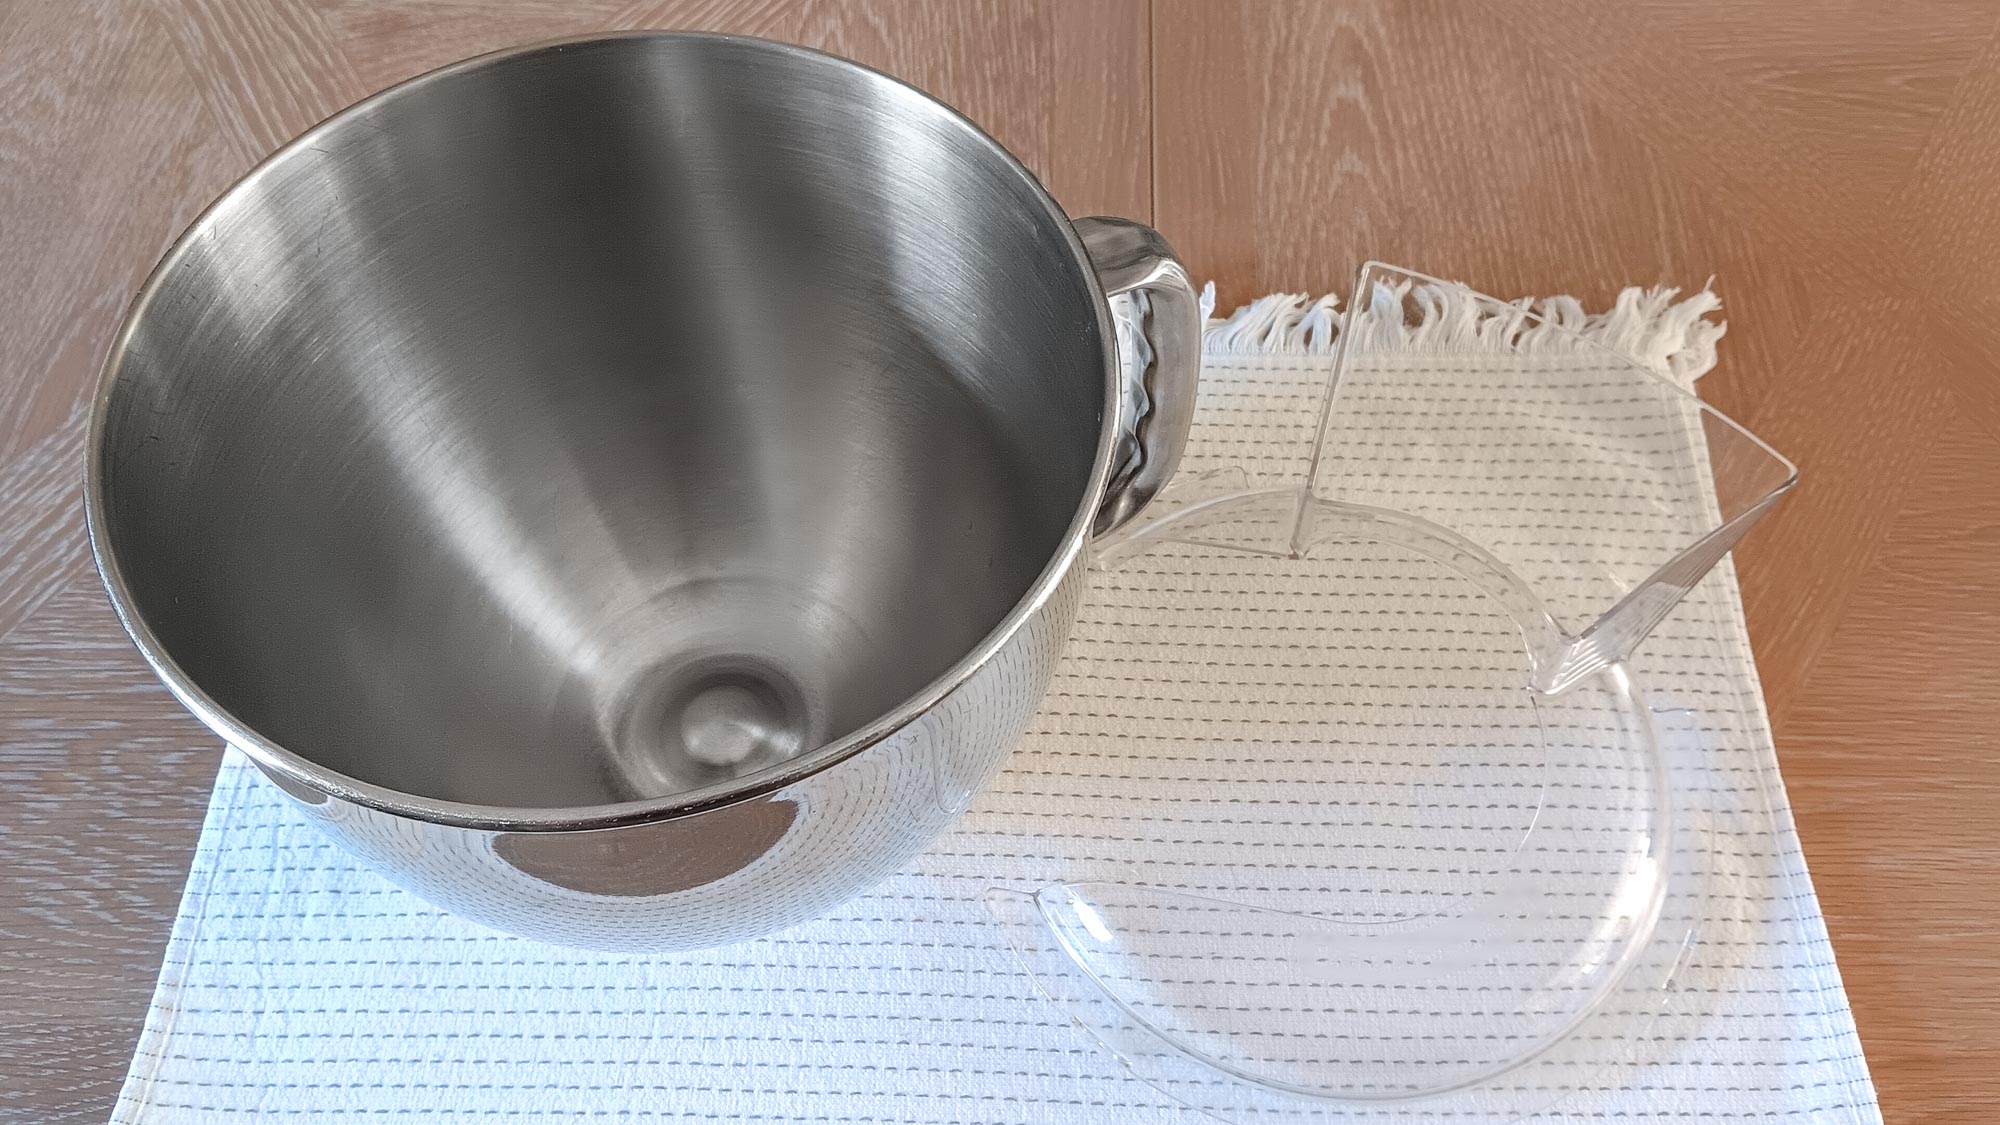
For stainless steel mixers, use lemon or juice or glass cleaner to prevent fingerprints. For colored mixers, a gentle all-purpose cleaner will suffice.
5. Reassemble and store
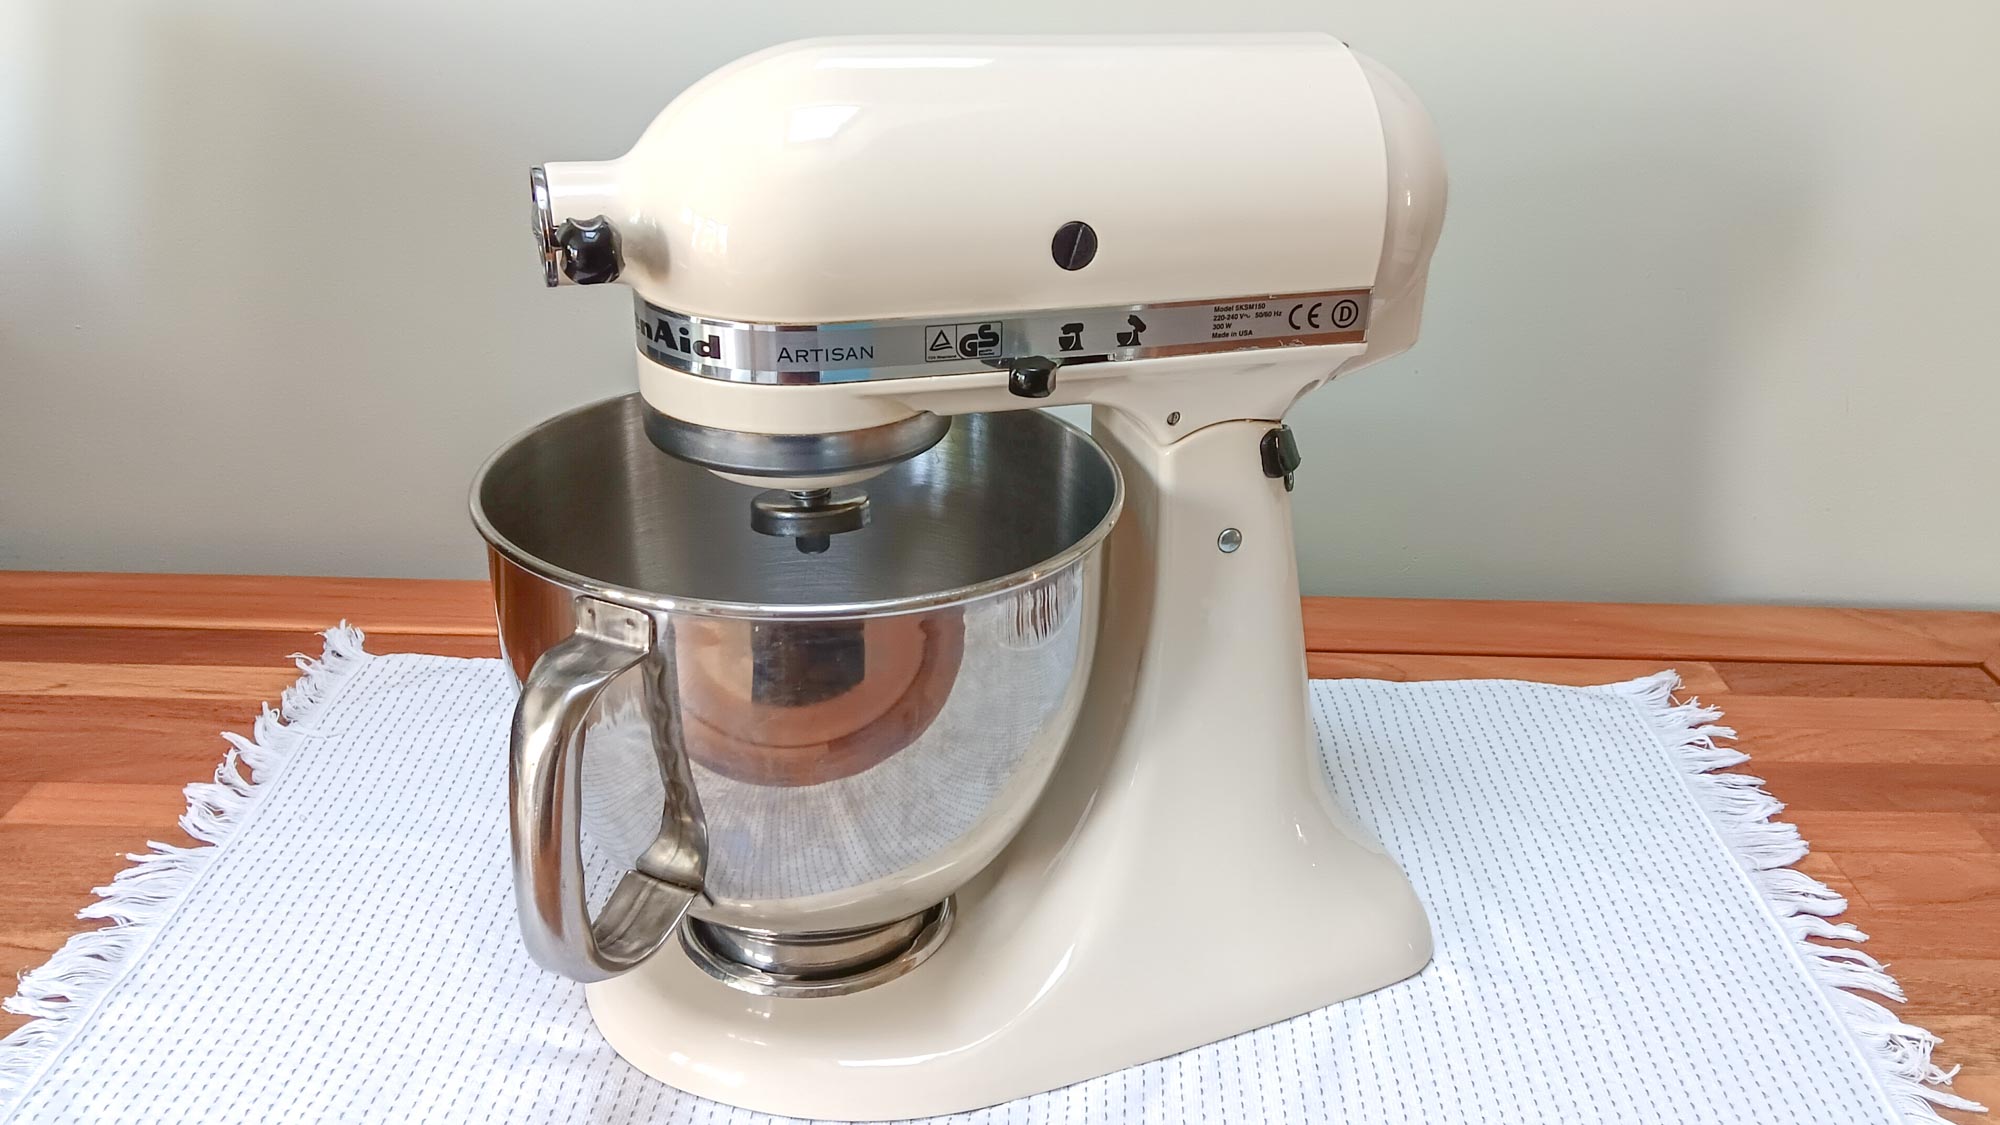
Once everything is clean and dry, reassemble your mixer. If you don't use it regularly, consider covering it to keep dust at bay.
Remember, cleaning after each use will make deep cleaning sessions much easier and keep your standing mixer in top condition for years to come.
To keep your stand mixer in top condition and ensure it lasts for years, proper cleaning and maintenance are essential. Looking to upgrade? Check out How to choose the best KitchenAid stand mixer. If you're ready to put your mixer to good use, don't miss How to bake the perfect loaf of bread — 11 top tricks to try at home, or 5 KitchenAid attachments to get the most out of your mixer to truly maximize its potential.
Sign up to get the BEST of Tom's Guide direct to your inbox.
Get instant access to breaking news, the hottest reviews, great deals and helpful tips.

Kaycee is an Editor at Tom’s Guide and has been writing for as long as she can remember. Her journey into the tech world began as Cazoo's Knowledge Content Specialist, igniting her enthusiasm for technology. When she’s not exploring the latest gadgets and innovations, Kaycee can be found immersed in her favorite video games, or penning her second poetry collection.
