Club Benefits


In my journey to master the art of brewing, I’ve come to appreciate that a clean coffee grinder is essential for unlocking the full flavor potential of my beans. Whether I’m indulging in a rich cup of cowboy coffee or trying to make a wellness coffee at home, I've realized that even the best coffee grinder can’t compensate for stale grounds.
Over time, I’ve learned that maintaining your coffee grinder is a simple yet crucial task that ensures every brew tastes fresh and delightful. A little regular TLC can elevate your morning routine and transform your coffee experience.
So, grab your tools and let’s dive into the straightforward steps to keep your coffee grinder in peak condition, ensuring each cup is packed with the vibrant flavors you deserve.
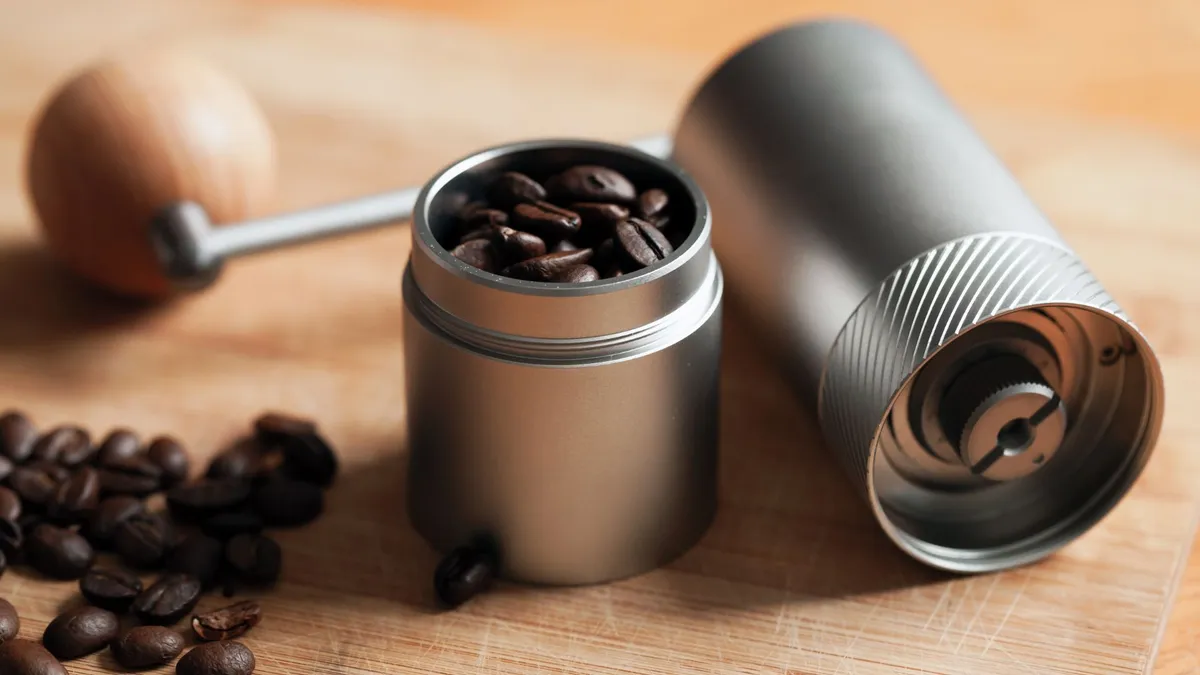
Article continues below1. Determine your grinder type

Before cleaning, identify whether you have a blade or burr grinder. Blade grinders use spinning blades to chop beans, while burr grinders crush beans between two abrasive surfaces. For instance, the KINGrinder P Series has burr grinders.
The cleaning process differs for each type, so this first step is crucial for proper maintenance.
2. Cleaning a blade grinder

For blade grinders, use the rice method. This method effectively cleans without introducing chemicals that could affect your coffee's taste.
To start this process, fill the grinder with uncooked rice so the blades are covered. Let the grinder run for a minute to absorb oils and collect residue.
Discard the rice and repeat if necessary. Then unplug the grinder and wipe the interior thoroughly with a damp cloth, reaching all crevices.
Be careful not to over-wet the grinder to prevent rusting and let it air dry completely before the next use.
3. Cleaning a burr grinder

Cleaning a burr grinder is more involved but crucial for coffee quality. Unplug the grinder and remove the bean hopper, cleaning it with soapy water. Then, remove and clean any detachable parts.
Take out the inner burr (you may need a screwdriver) and use a stiff brush to clean both burrs, removing stuck grounds. Next clean the coffee chute with a cotton swab.
Wipe all parts with a slightly damp cloth or paper towel, then allow everything to dry completely before reassembling. This thorough cleaning prevents flavor contamination and ensures optimal grinder performance.
4. Regular maintenance
To make deep cleaning less daunting, wipe down your grinder after each use. For daily users, clean blade grinders weekly and burr grinders monthly.
This routine not only ensures better-tasting coffee but also extends the life of your grinder, saving you time and money in the long run
5. Avoid common mistakes

While cleaning is important, some methods can do more harm than good. Never use rice in burr grinders as it can damage the burrs. Also, avoid running water directly over the grinders to prevent rusting.
Instead, use a damp cloth or dry microfiber cloth to catch residual particles and oils. These precautions will help maintain your grinder's integrity and performance.
Now that you've learned how to clean your coffee grinder, ready to elevate your coffee game? Discover how to make espresso like a barista, find the best coffee maker, or learn how to make iced coffee in 4 simple steps.