5 things to know before buying a bread maker — here’s what I learned
What you need to understand before buying a bread machine
Bread machine
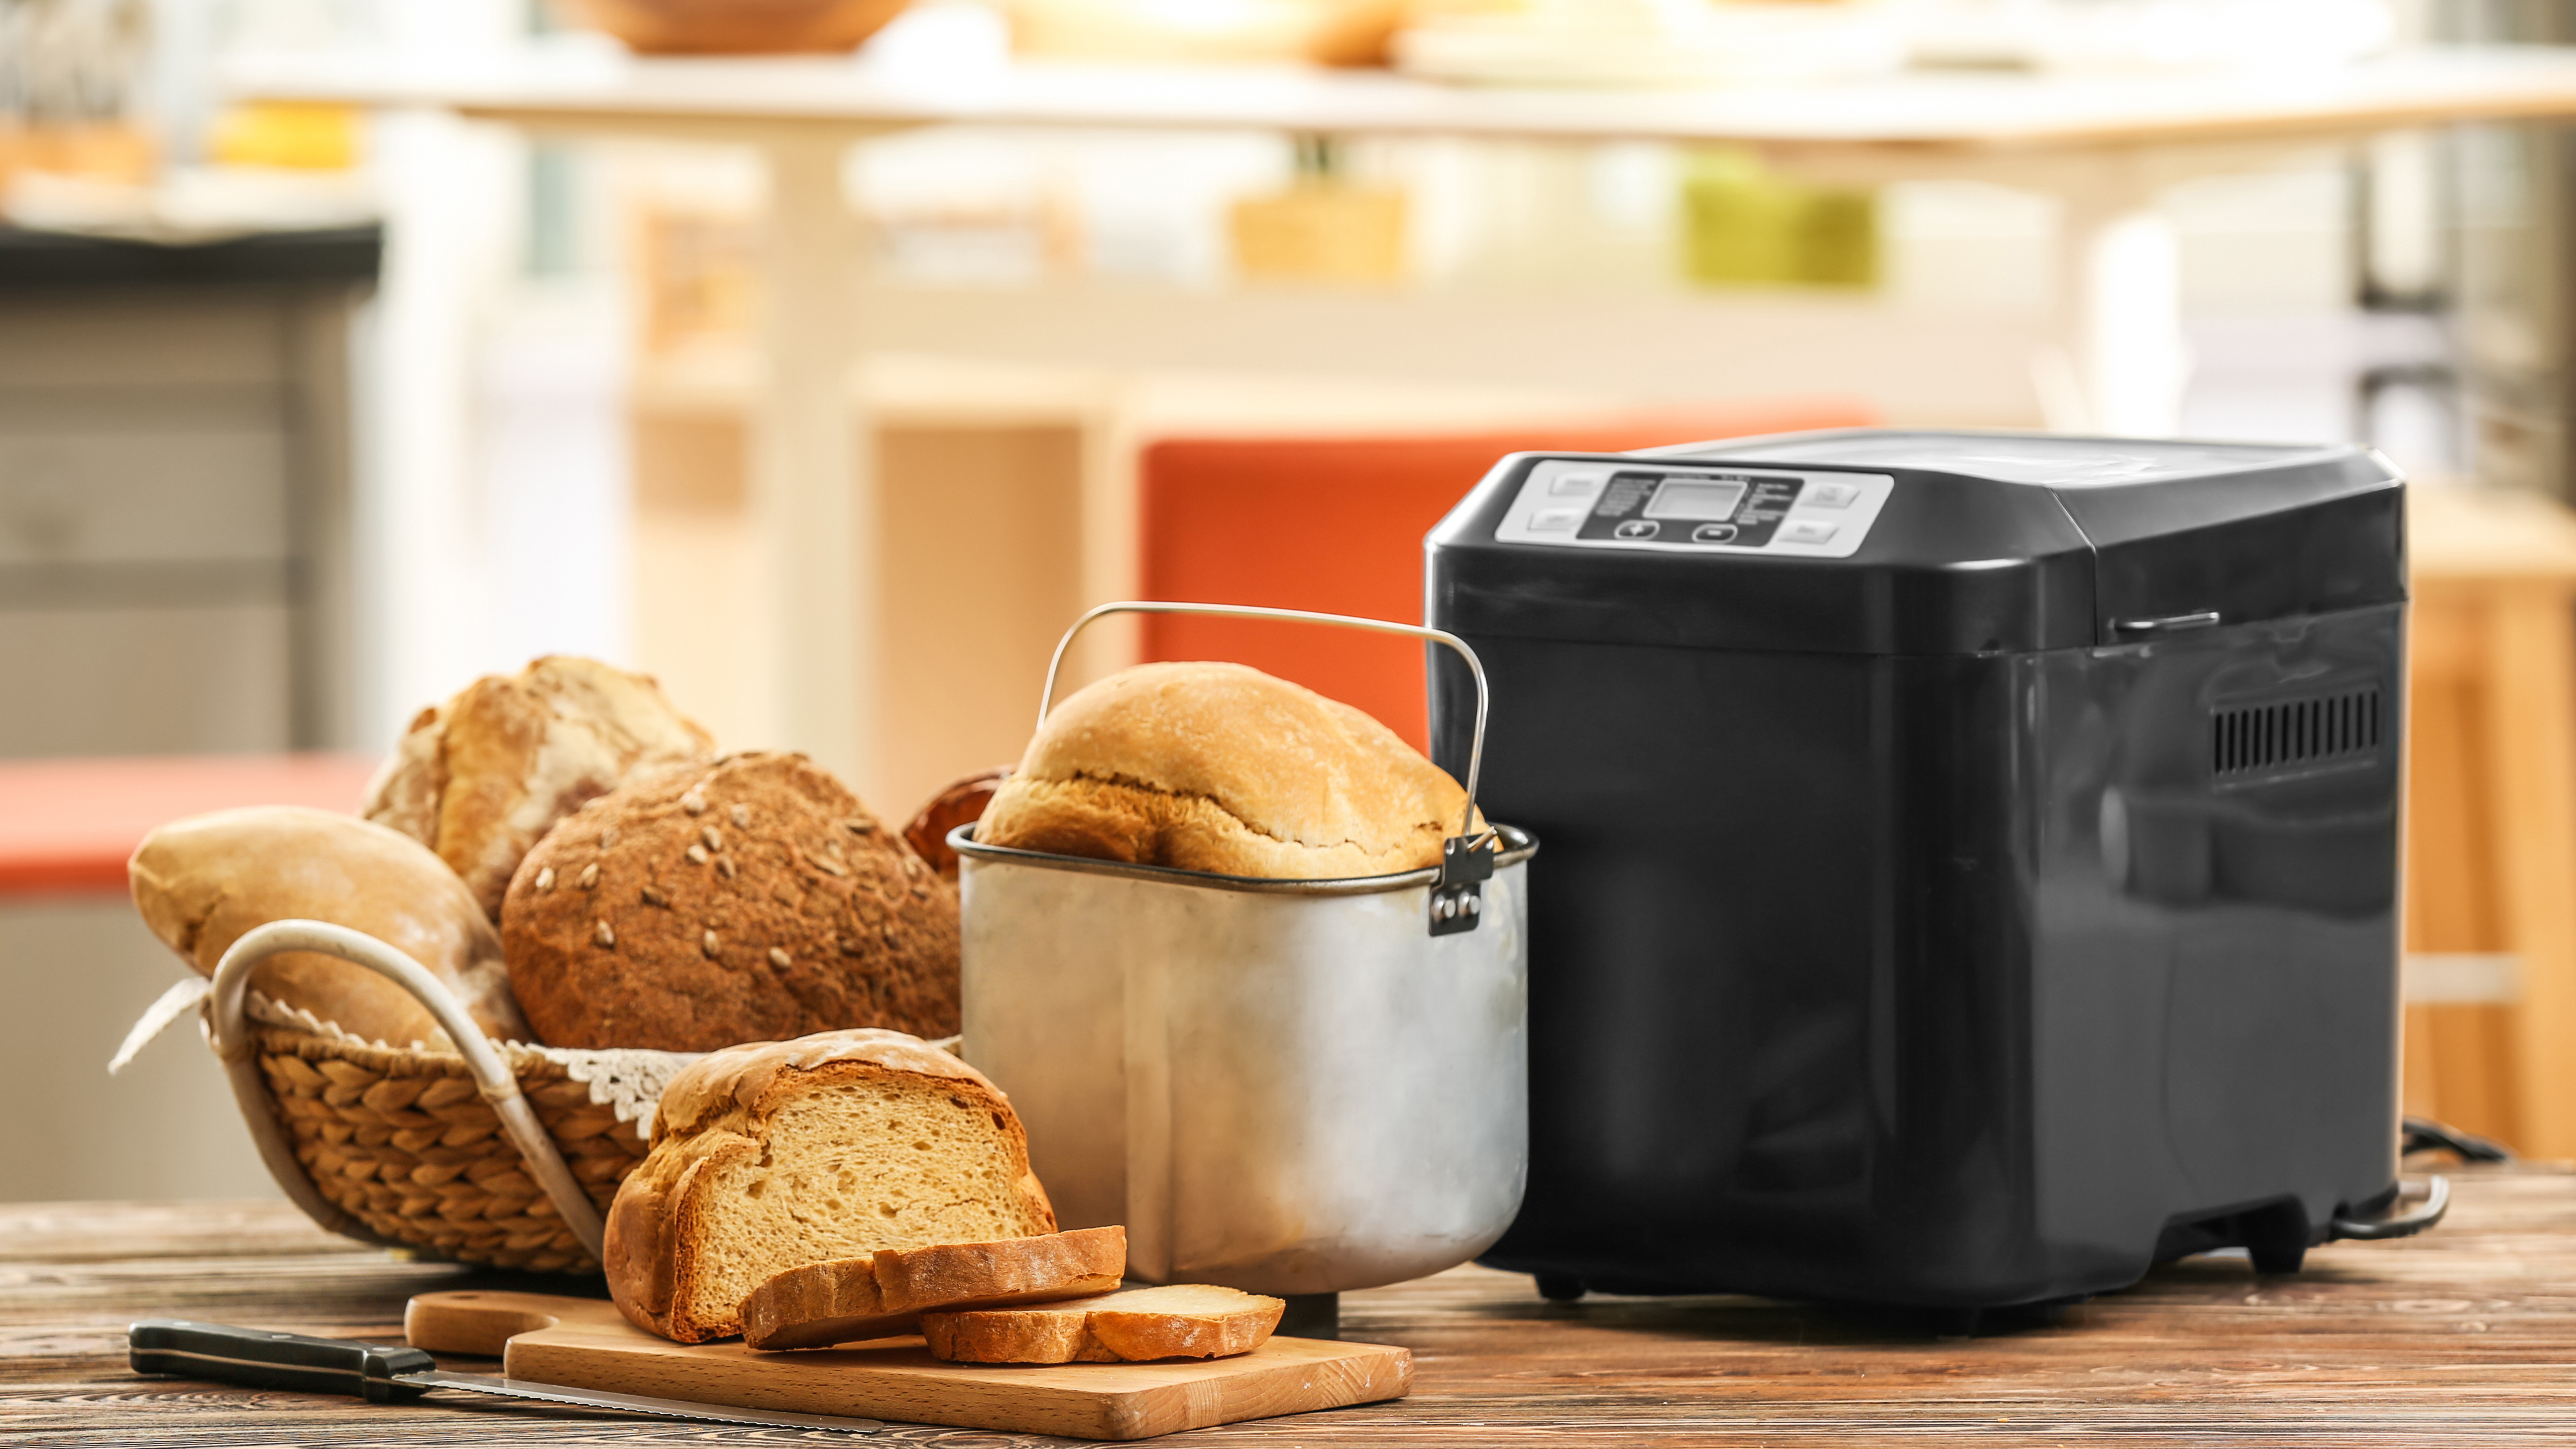
(Image credit: Shutterstock)I’m a keen bread maker, but while I love to bake bread the traditional way without the help of a bread machine, it is a time-consuming process. It’s not always practical to be around when the bread requires knocking back or shaping, and I often get caught up in another task. So, I bit the bullet and decided to give a bread maker a shot.
I’ve been pleasantly surprised at the results and how using one of the best bread machines can transform how you eat your daily bread. So, I’m sharing what I learned when I used a bread maker to help you get the most out of your appliance, whether it’s new or not. You can also find out how I got on when I reviewed the Breville Custom Loaf bread maker.
1. Get your ingredients in order
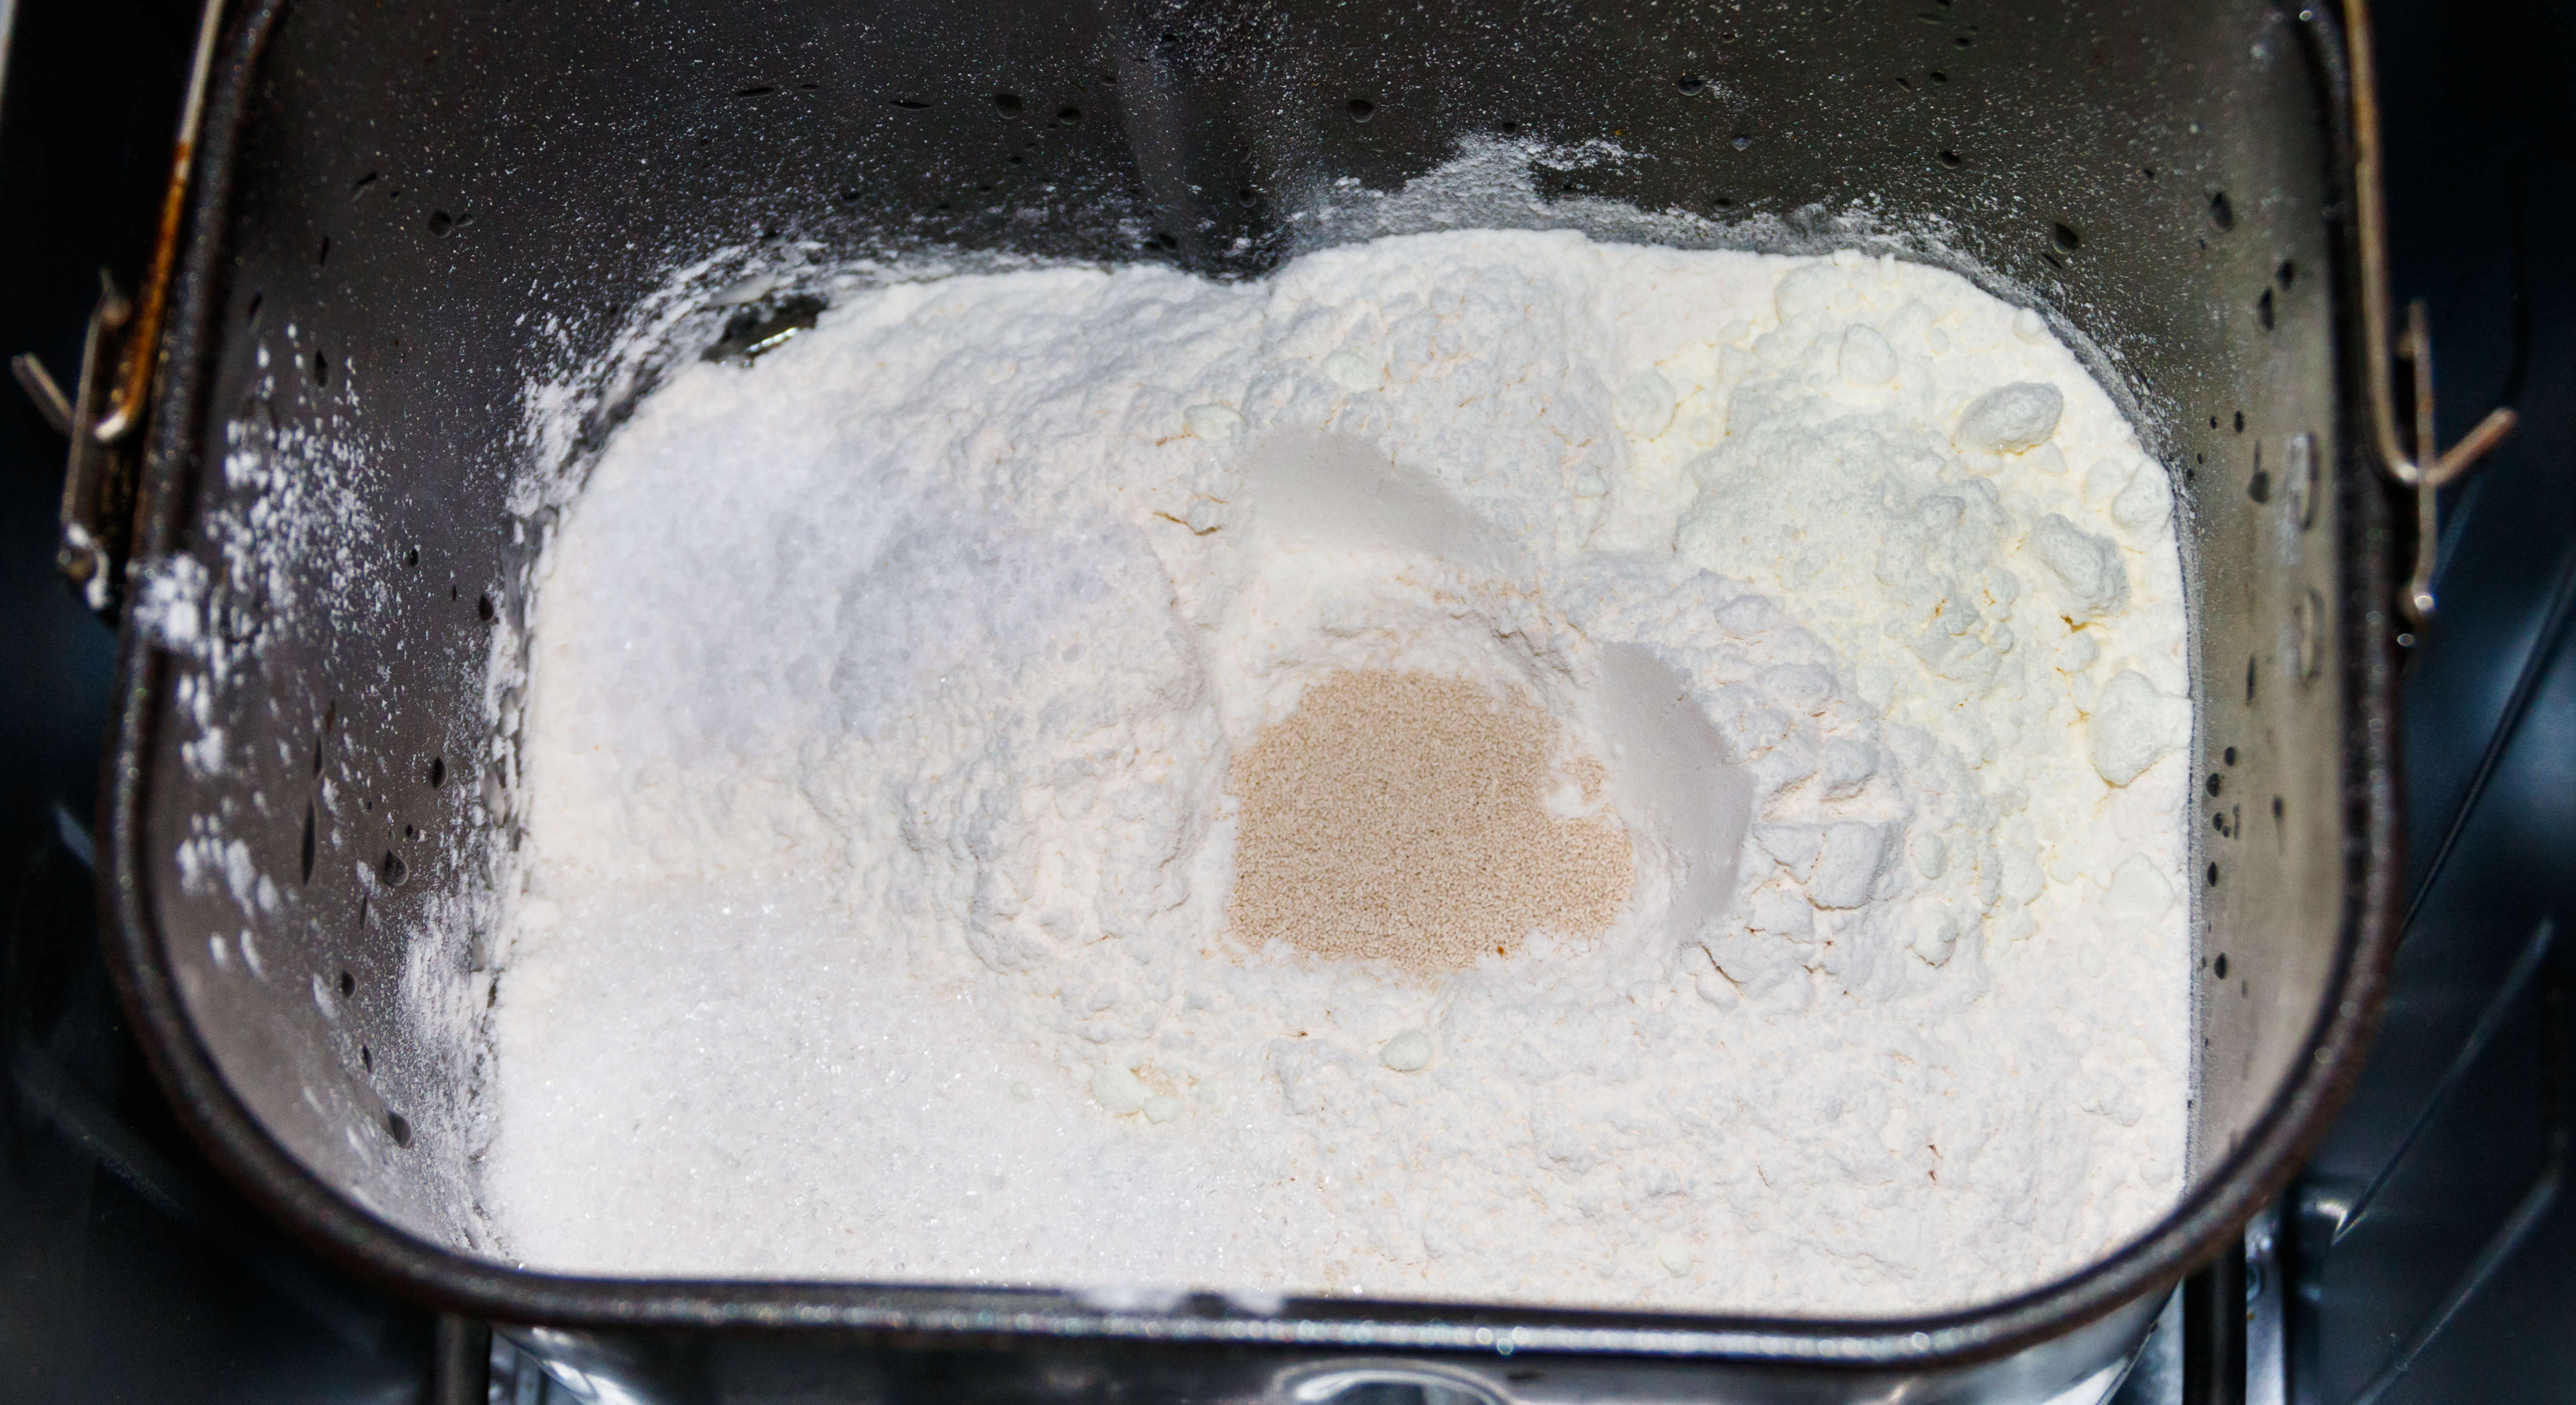
If you’ve made bread by hand, everything is a bit topsy-turvy when using a bread machine. Rather than adding the dry ingredients to the bowl first, followed by the wet ingredients, most bread machines require you to do everything in reverse.
So, for a basic dough, you’ll need to add the water first, followed by the oil, salt, flour and yeast. Although there’s no clear insight into why the wet ingredients should go in first, it’s likely due to the action of the paddle at the bottom of the pan. If dry ingredients are placed directly on top, it’s more likely to struggle with the initial mixing, whereas the liquid will enable the paddle to turn more easily and draw down the dry ingredients.
Also, if you intend to use the timer function on your bread maker, placing the flour and yeast at the top will prevent the yeast from mixing with the liquid and activating too early.
2. Start with the basics
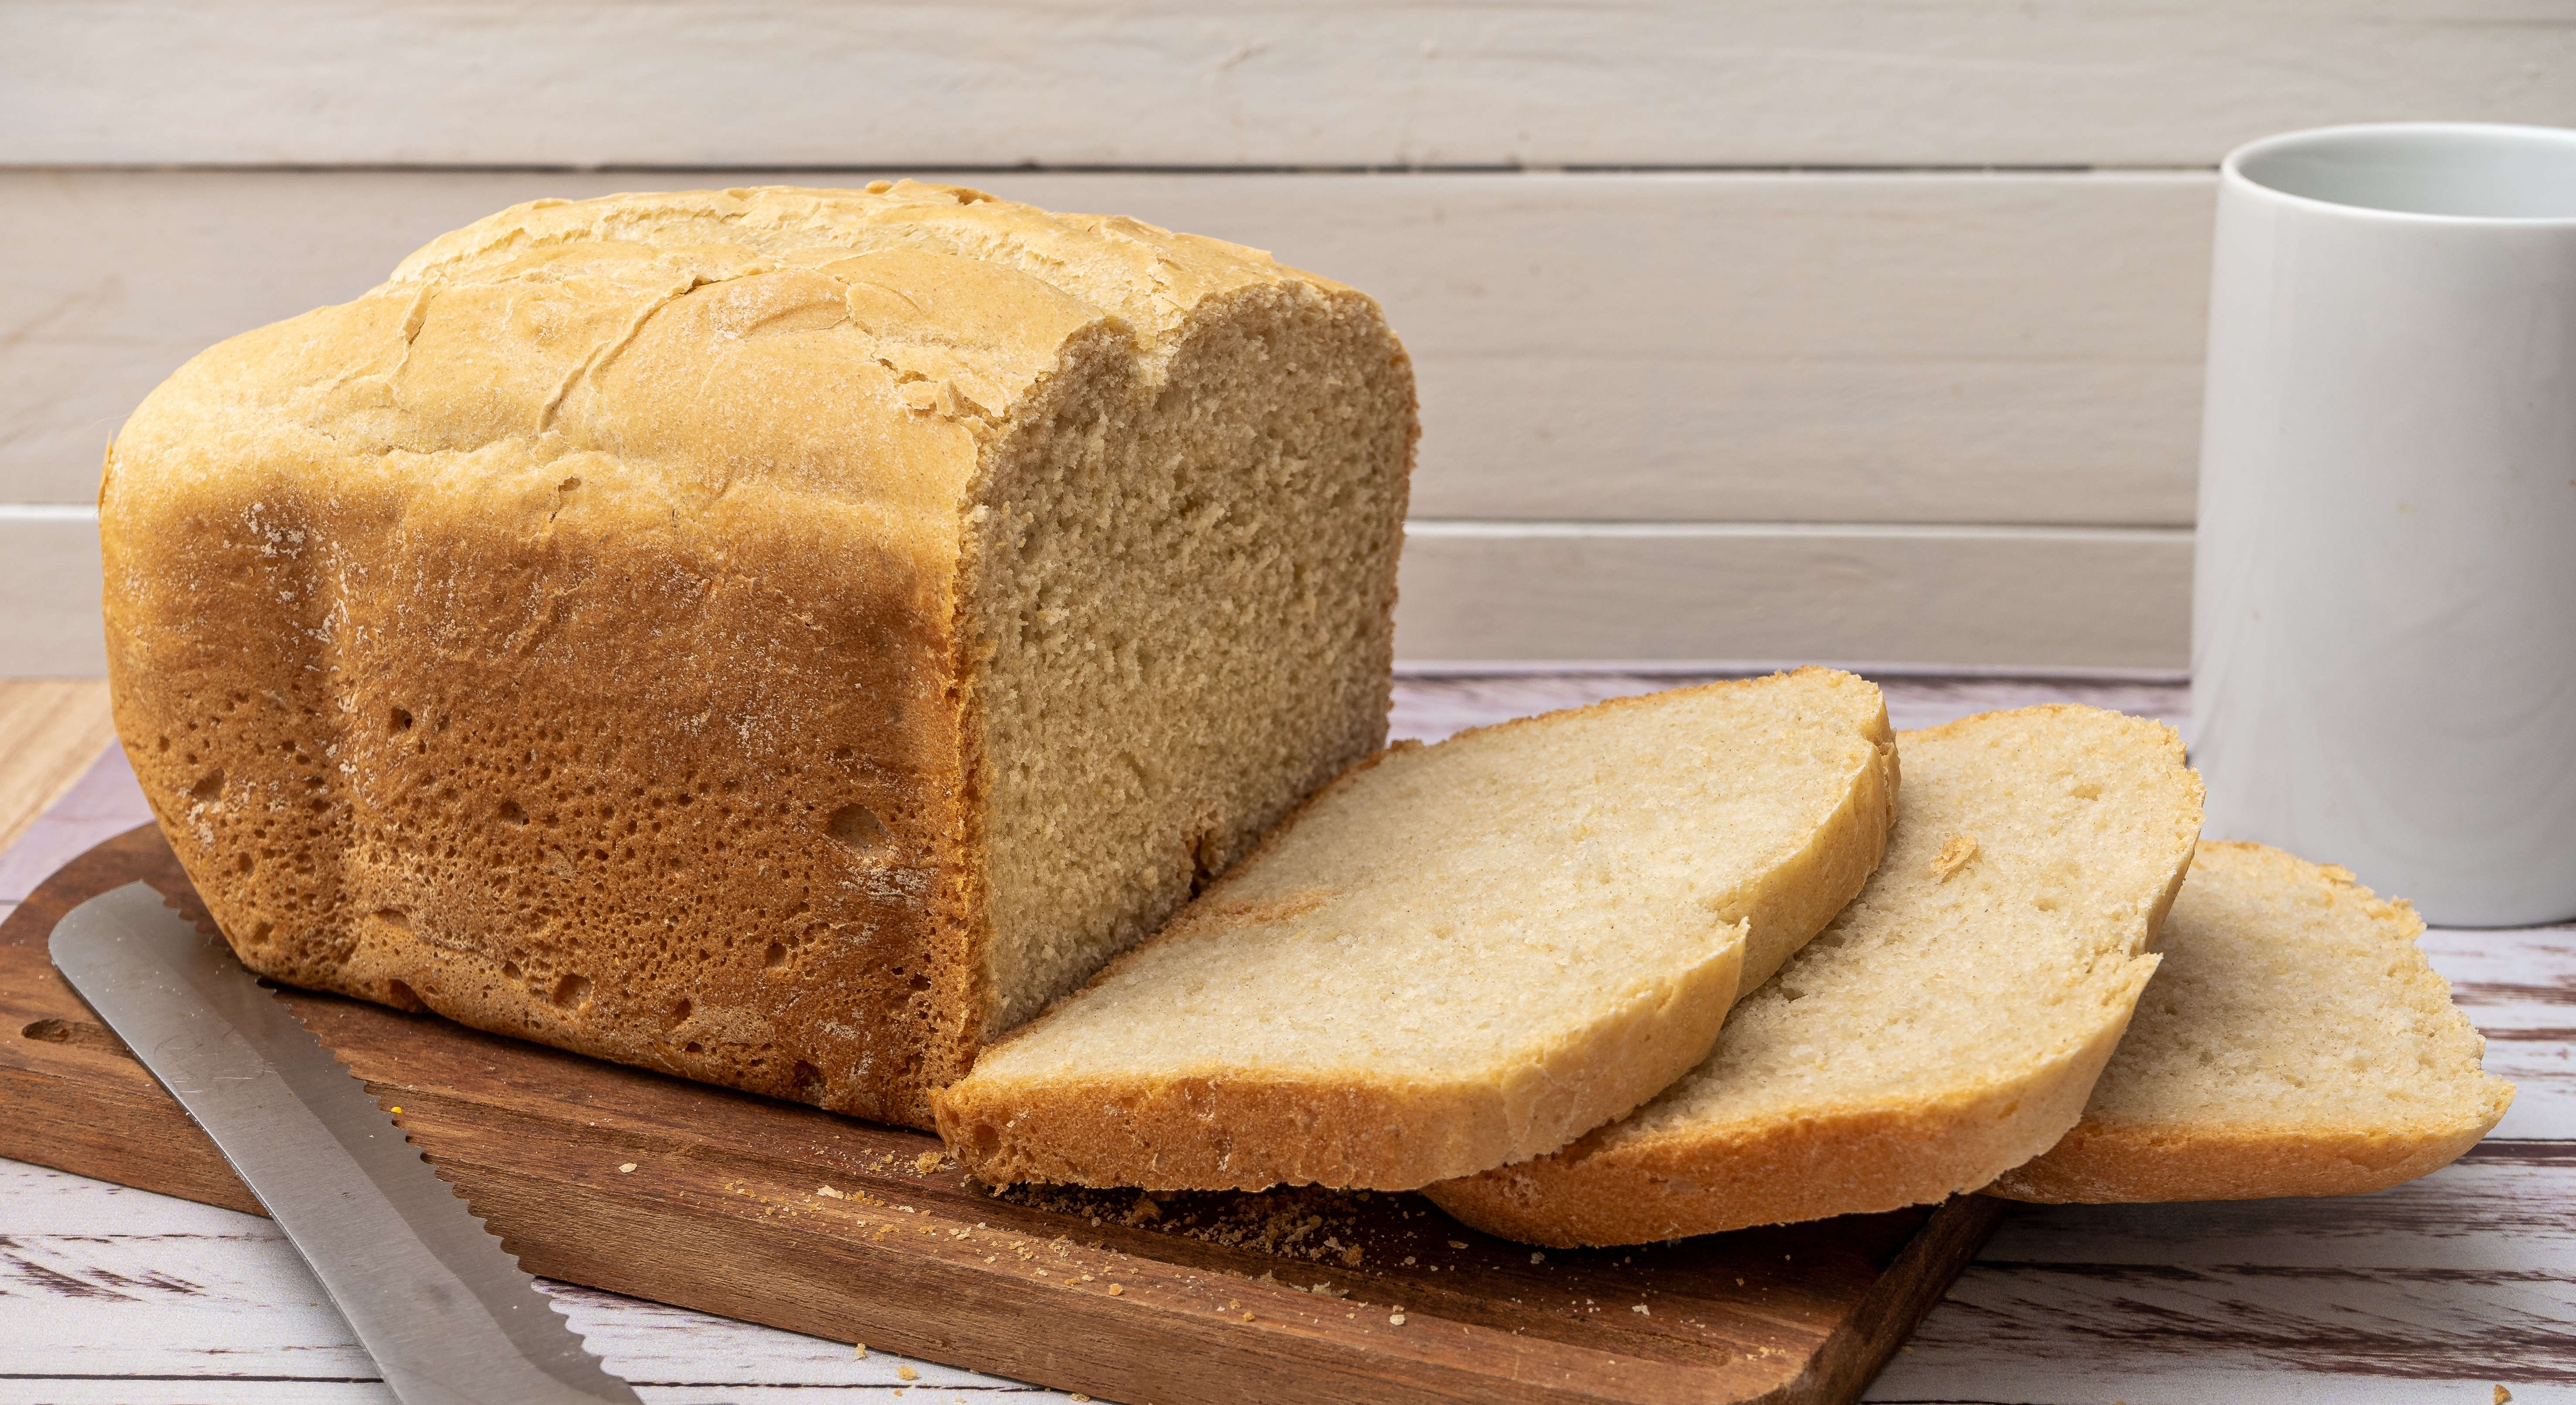
With the excitement of unpacking your bread machine, you may be keen to try out your favorite dough recipe. For me, it would be cinnamon rolls. Although there’s nothing wrong with being ambitious, if you’ve never used a bread machine, you’re best off getting comfortable with the basics.
Start by making a basic white loaf and get used to the settings on your machine. You can make different-sized loaves and select dark or light crust settings. I’d also advise sticking to recipes recommended for your bread machine, as the quantities of ingredients will be spot on for your bread pan and the time settings on your appliance.
Sign up to get the BEST of Tom's Guide direct to your inbox.
Get instant access to breaking news, the hottest reviews, great deals and helpful tips.
Once you’ve accomplished the basics, you’ll have the confidence to be more ambitious and try recipes with different flours, added ingredients, and making doughs that need to be removed from the bread maker to be shaped and baked in an oven.
3. Check the paddle
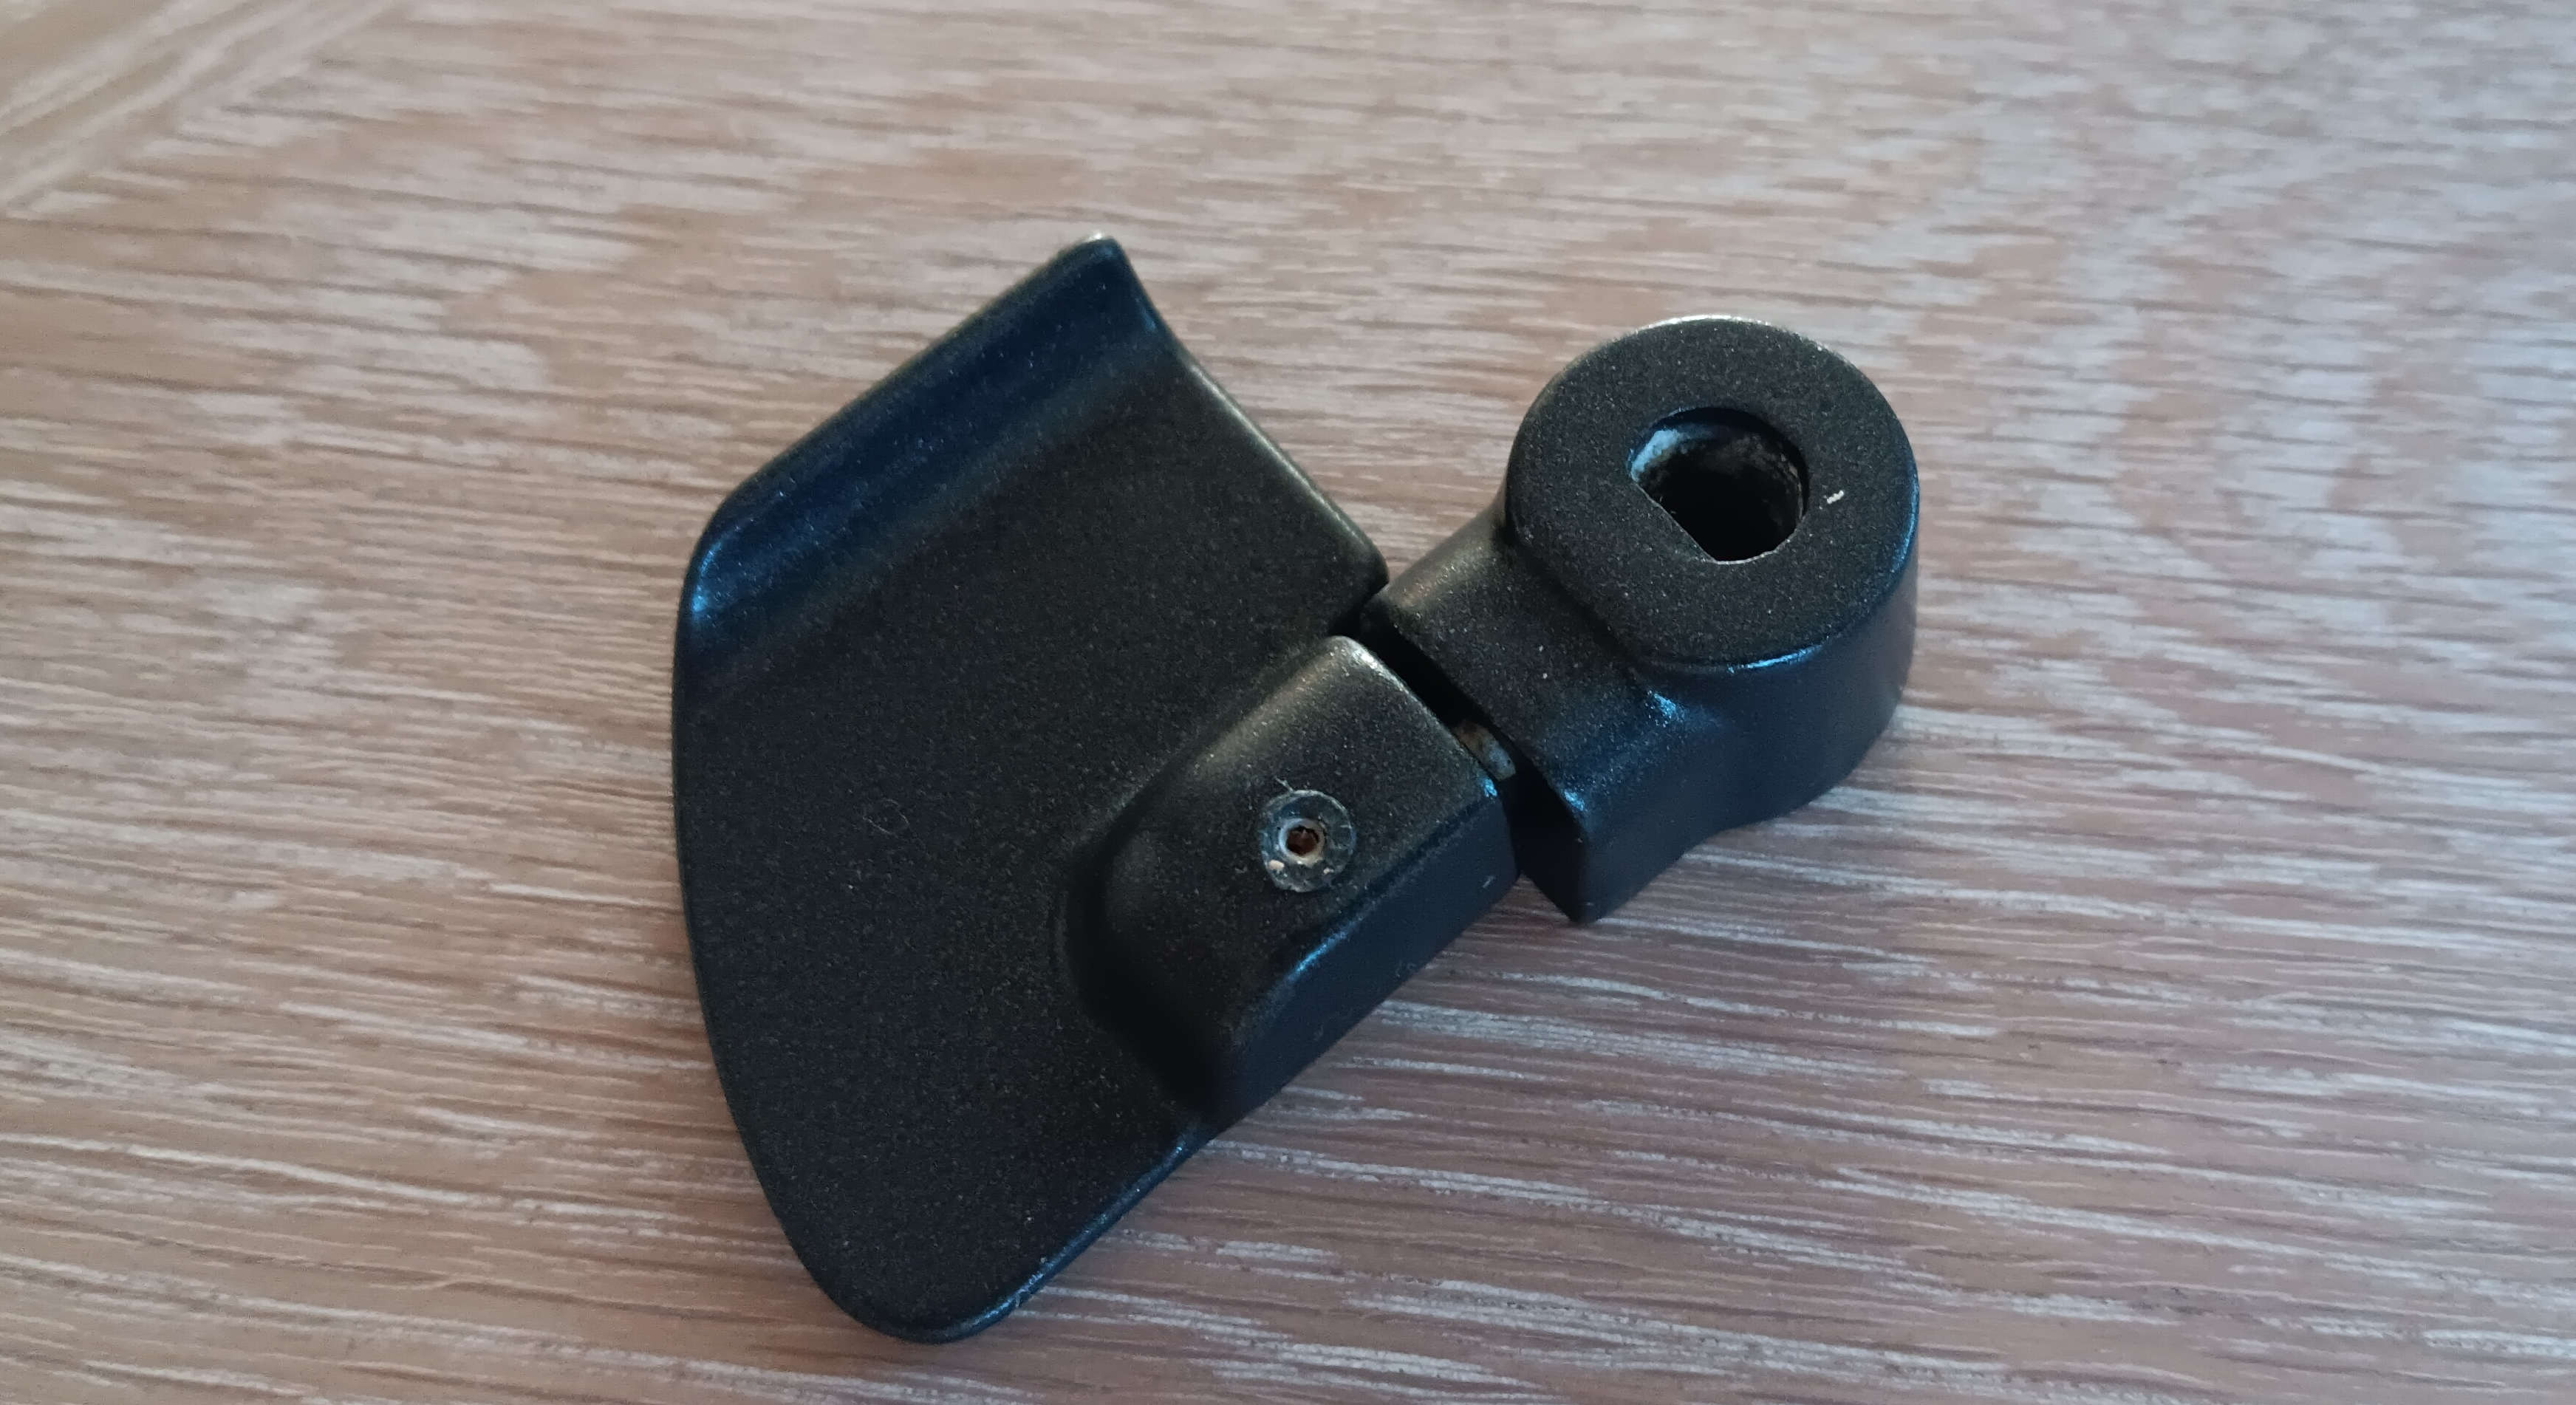
My bread machine came with two paddles — a fixed one for jam-making and a collapsible one for bread. The collapsible paddle has two positions, a flat and an upright position. It must be inserted upright to mix the ingredients thoroughly during the first kneading phase. It will then collapse and return to the upright position in later stages.
However, the paddle was stiff initially, and it was tricky to attach to the drive shaft on the pan. I was also worried that it wouldn’t be able to collapse when needed and that it would make removing the finished loaf difficult, as the paddle would remain on the shaft. So, rather than calling on my DIY hero — WD40 — that I use to loosen up stiff hinges, I called on the culinary equivalent — sunflower oil — to ease the stiffness.
The paddle can also get jammed with bread while it’s baking, so be sure to remove any remits before reusing, as it will cause the paddle to get stuck.
4. Get the temperature right

My bread machine manual suggests that all liquids should be 81°F (27°C) when placed in the bread pan. While it’s tempting to ‘guess’ the temperature, I’d advise using a thermometer. On my first attempt, I thought I was fairly spot on with my "guestimate", but on testing the temperature, I found the liquid was far too hot and would have destroyed the yeast. If I’d gone ahead without reducing the temperature of the water, I would have ended up with a very flat loaf.
Liquid thermometers are inexpensive and will save you from making mistakes that will kill the yeast if the liquid is too hot or not give it enough warmth to germinate if it is too cold. I use a digital thermometer from DOQAUS that gives me an instant reading and doubles up as a meat thermometer ($6, Amazon).
Apart from ensuring the temperature of the liquid is right, it’s also wise to check that the dry ingredients are at room temperature between 68°F-77°F (20°C-25°C). If they are too cool or hot, they can also affect the action of the yeast.
5. Be careful when substituting ingredients
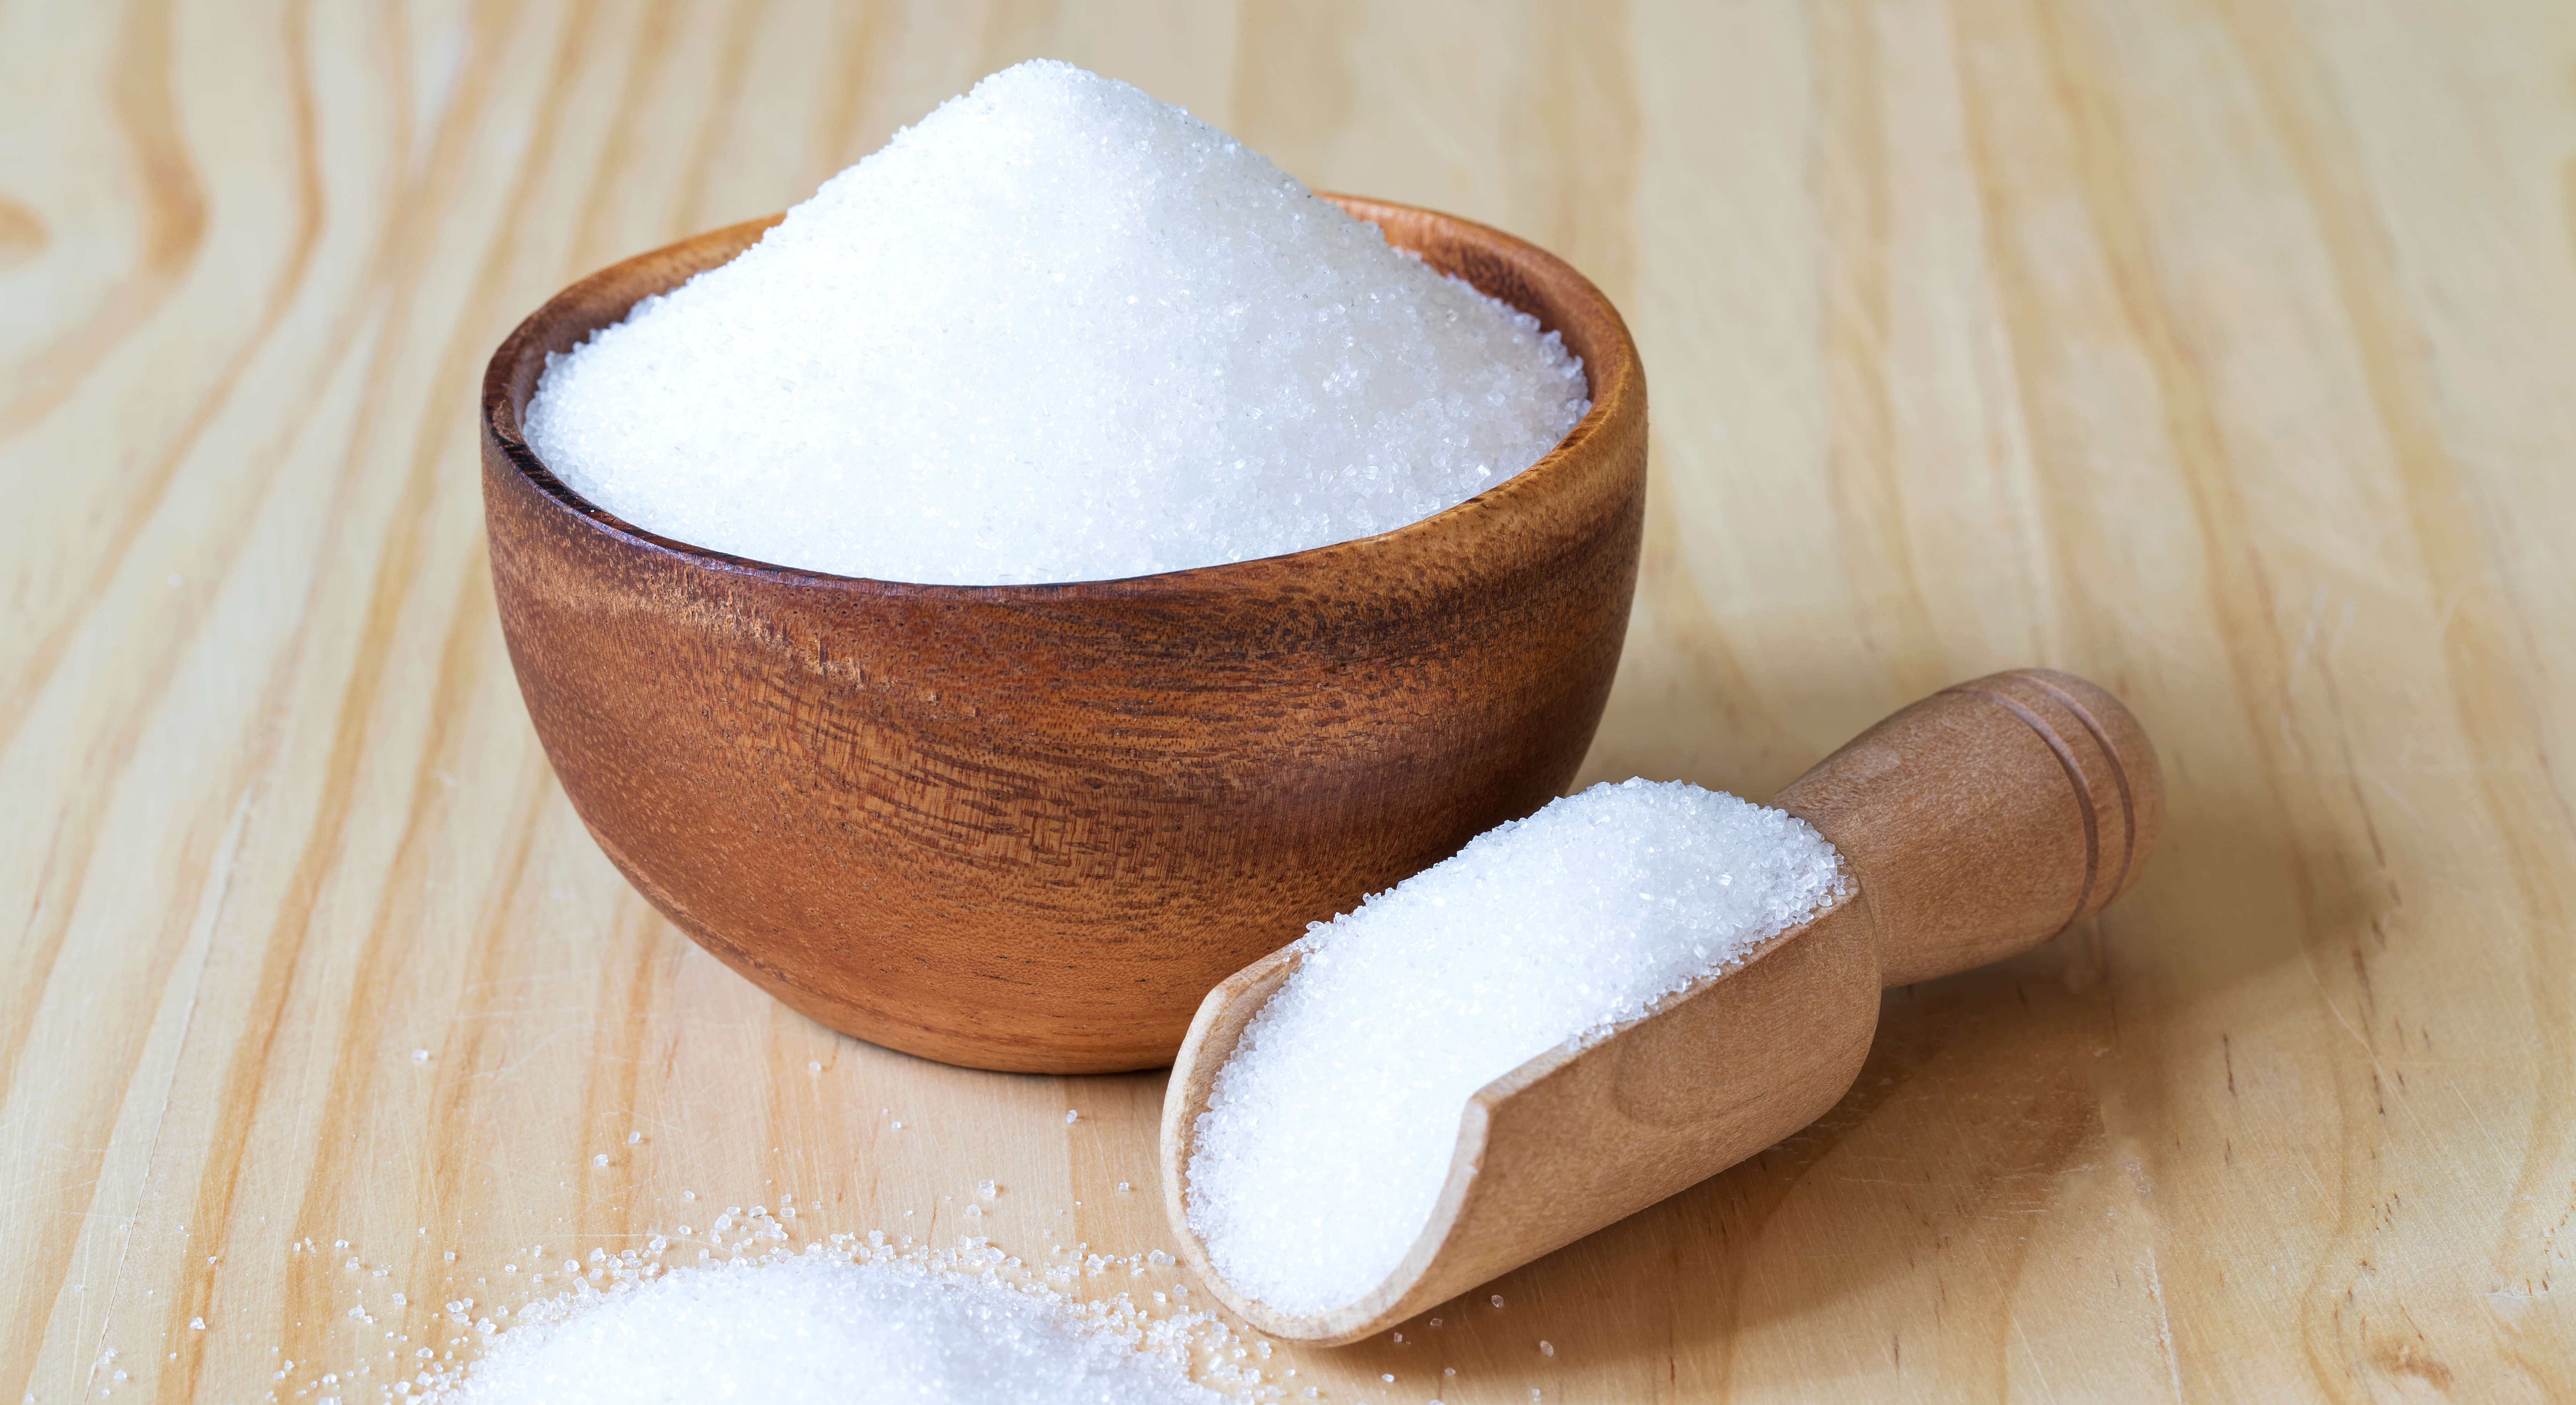
When you start to bake, you may be surprised at how much sugar goes into recipes, especially when making cakes for the first time. The same is true when making bread. Although sugar isn’t needed in a basic dough, it is often added to feed the yeast and give sweetness, even in savory loaves. But don’t be tempted to swap sugar for a low-calorie substitute. While you can use maple syrup or honey to sweeten your dough, an artificial sweetener won’t feed the yeast.
The same goes for the type of flour you use. Stick to the flour type that’s mentioned in your recipe. For instance, bread flour is higher in protein and gluten than other flour and will give a finer grain. King Arthur Baking says that most bread machine cookbooks call for bread flour rather than all-purpose flour.
King Arthur Baking also says that rye, barley, buckwheat, amaranth, corn or rice flour contain little or no gluten. In this case, it suggests adding a split of high-protein flour to provide the gluten for rising. The recipe for zucchini bread that I've shared requires more strong bread flour than rye flour, but it produces a well-risen loaf with the added flavor of the rye.
But the best advice I can give you, keeping trying, enjoy the tasting and most of all have fun.
More from Tom's Guide

Camilla Sharman has worked in publishing and marketing for over 30 years and has covered a wide range of sectors within the business and consumer industries both as a feature, content, and freelance writer.
As a business journalist, Camilla has researched articles for many different sectors from the jewellery industry to finance and tech, charities, and the arts. Whatever she’s covered, she enjoys delving deep and learning the ins and out of different topics, then conveying her research within engaging content that informs the reader. In her spare time, when she’s not in her kitchen experimenting with a new recipe, you’ll find her keeping fit at the gym. In the pool, stretching at a yoga class, or on a spin bike, exercise is her escape time. She also loves the great outdoors and if she’s not pottering about in her garden, she’ll be jumping on her bike for a gentle cycle ride.
