I spent a day at barista school — and learned these 3 game-changing tips
Get the most out of your espresso machine with these barista-approved tips
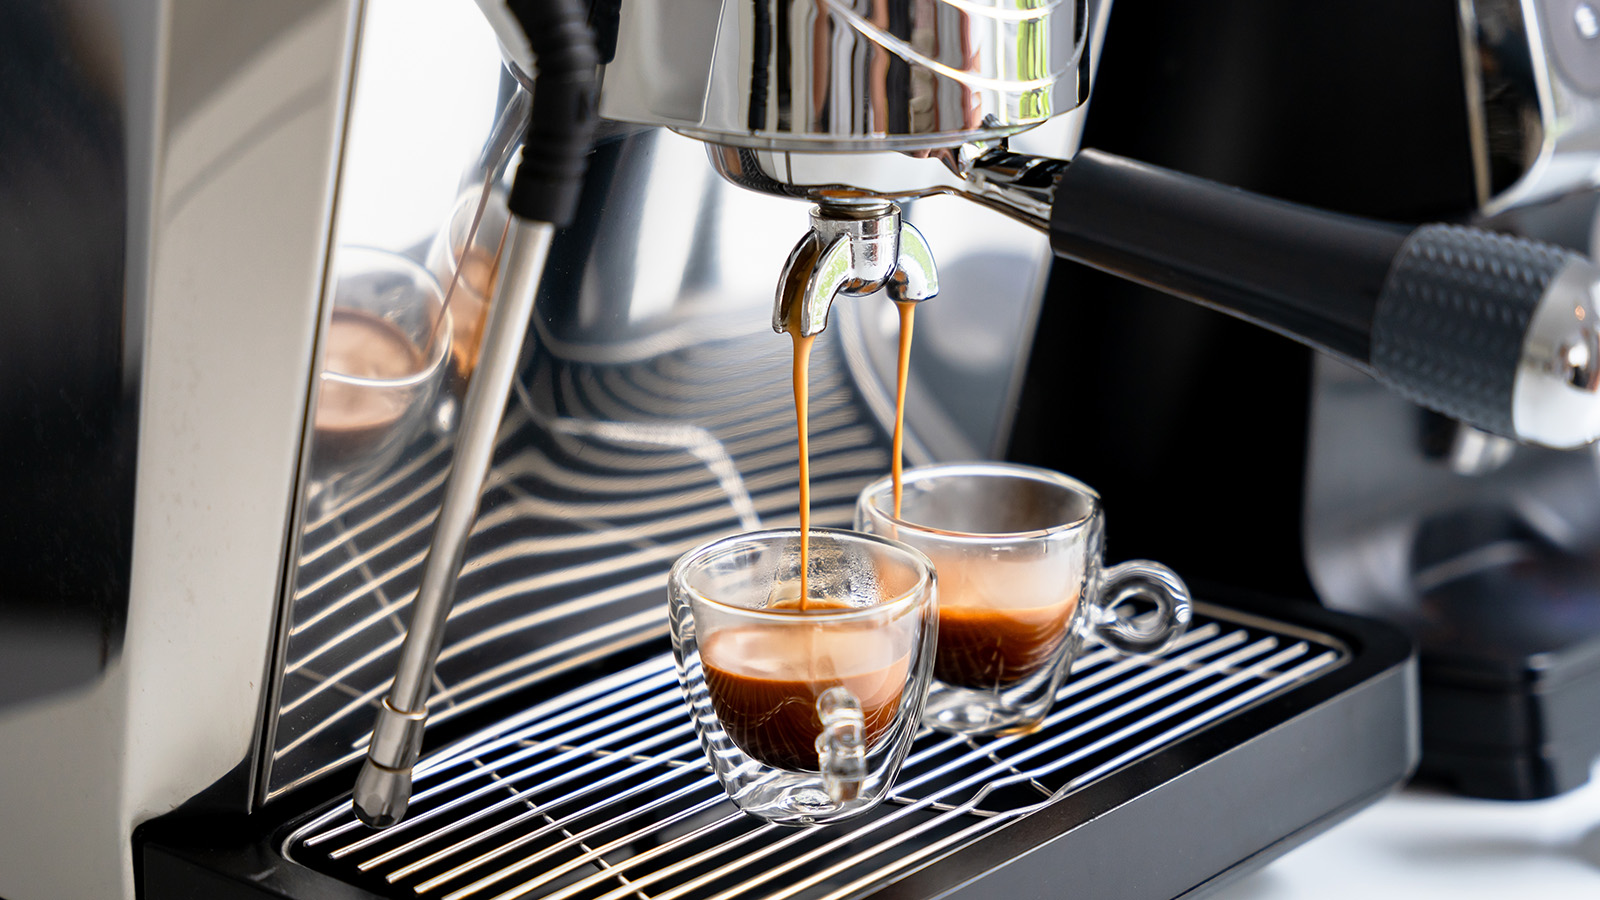
At this point, I may as well change my job title to Tom's Guide Coffee Editor. I've been testing the best coffee makers and espresso machines for five years, and I'm currently undertaking an SCA-Accredited Barista Skills qualification. But even as someone who's tried and rated countless espresso machines, I can tell you that if you're not pulling that perfect espresso, your machine might not be to blame.
When I spent the day at barista school last week, one attendee explained that he'd signed up to the class because he had all the equipment: a classy Lelit espresso machine, a high-end coffee grinder, and a premium coffee scale to hit that perfect ratio. The only thing standing between his setup and a great espresso, he figured, must be him.
Conversely, it might be the case that you're using a budget espresso machine, but still want to get the best drink possible with the equipment you're using. Regardless of what you're working with, these 3 tips I learned at barista school have made an immediate difference in the quality of the coffee I'm making from home.
1. The fresher the better
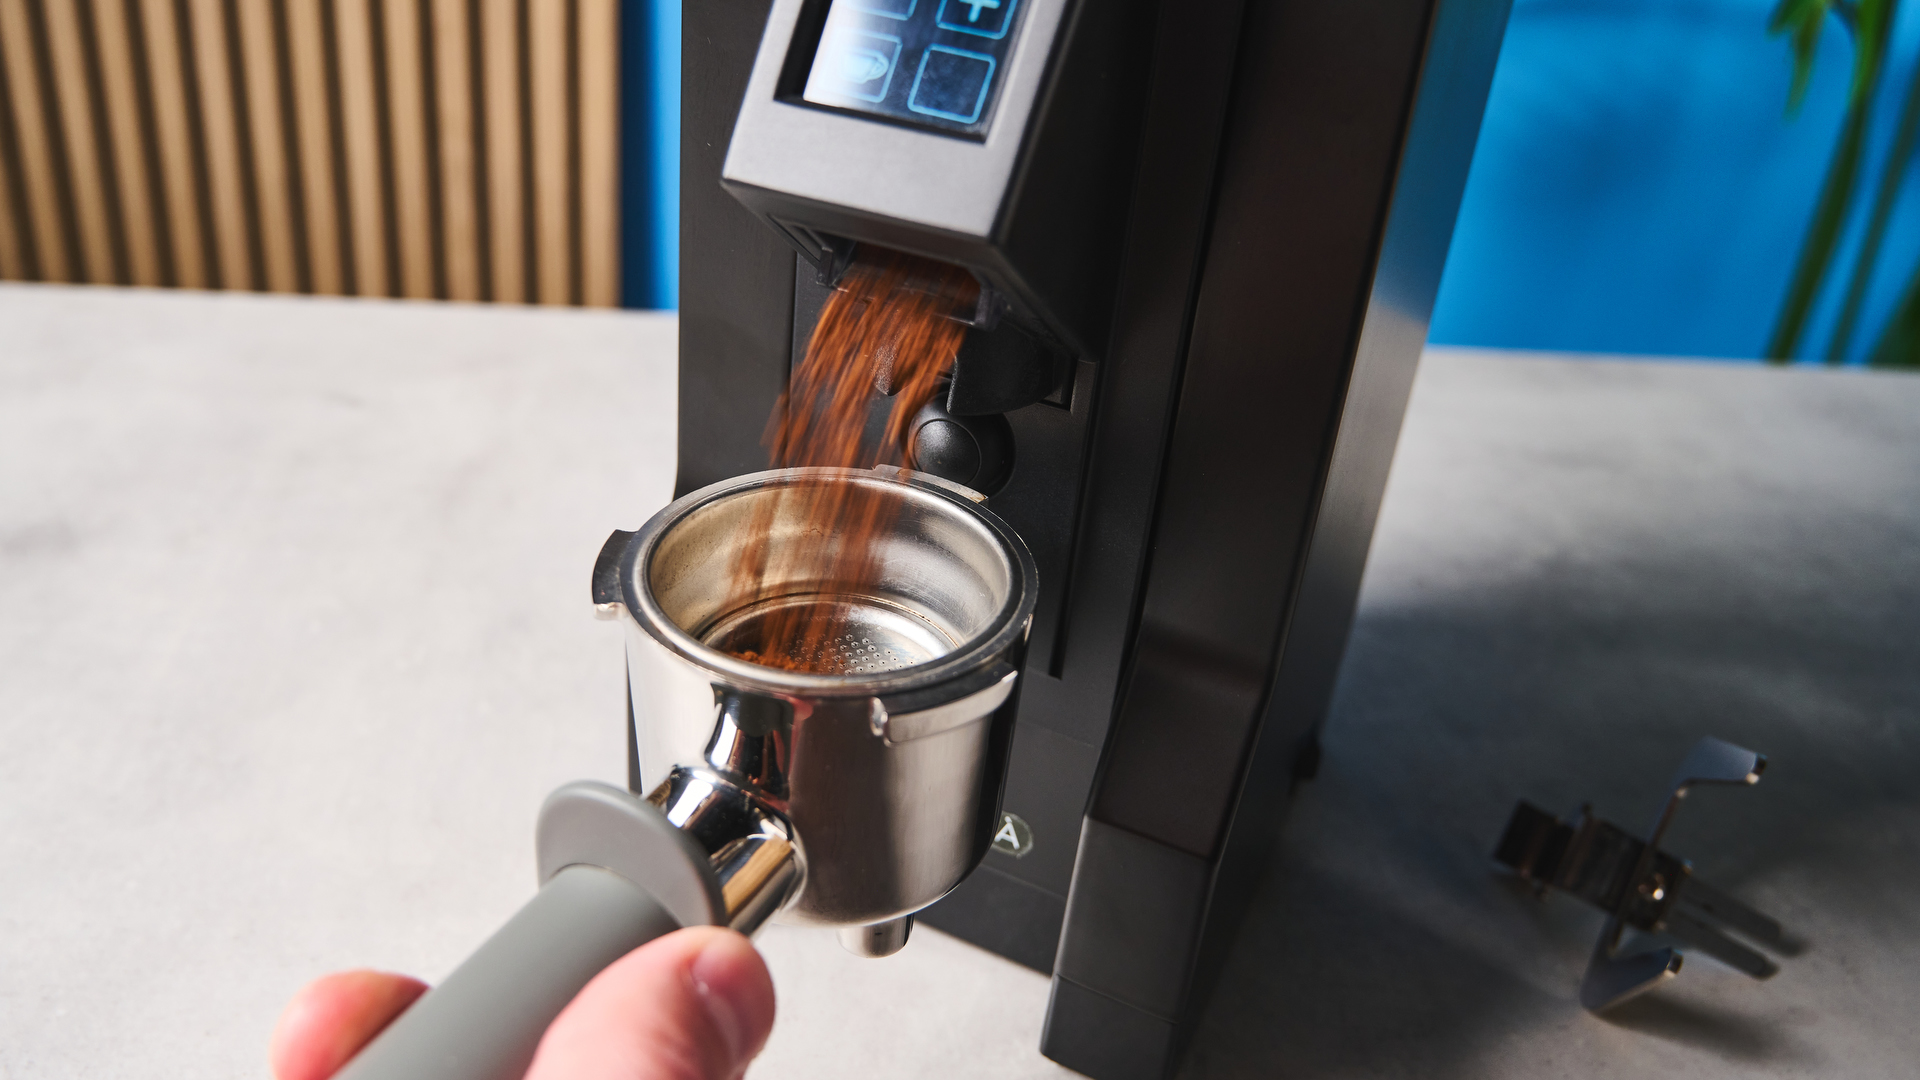
Good coffee beans are essential to a tasty cup of coffee. In fact, they're probably the only non-negotiable. So when the teacher told us all that we should be flushing out yesterday's grounds when we set up an espresso machine for the first time each day, I was more than a bit hesitant. I spend good money on these beans, so why am I throwing grounds away?
There are two reasons why it's worth flushing out your grinder before your first use of the day. The first is that your coffee starts to lose its fresh flavor as soon as you grind it, and even top coffee grinders will have some retention, which means that the first few seconds of your grind in the morning will actually be old grounds that will bring the overall flavor of your coffee down. The best way to get rid of this is simply to grind your beans for about 3-4 seconds and chuck out these grounds before making your first espresso of the day. This means every shot will be fresh and full of flavor.
The second reason you might want to do this is if you've changed your grind size. If your shot is pulling too fast or too slow, it's likely a reflection of your grinder settings. But if you change your grinder settings and are still finding that your coffee isn't coming out quite right, it might be because the grounds you're brewing with have been retained from your prior grind setting, meaning you'll have two different grind settings in one puck, which won't lead to a balanced brew.
If you're super hesitant to waste grounds there is a way around this, but it's a bit too much effort for me. Some people pre-weigh their coffee grounds before each shot, ensuring that they're only grinding the beans they'll actually be using for each espresso, which minimizes waste.
Sign up to get the BEST of Tom's Guide direct to your inbox.
Get instant access to breaking news, the hottest reviews, great deals and helpful tips.
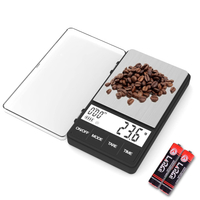
Tried and loved by TG's Reviews Editor, Peter Wolinski, this handy little scale is cheap and cheerful, and will serve you faithfully regardless of your brew method. It measures to 0.1g, features a shot timer and boasts a super long battery life from its 2x AAA batteries.
2. Don't scorch your coffee
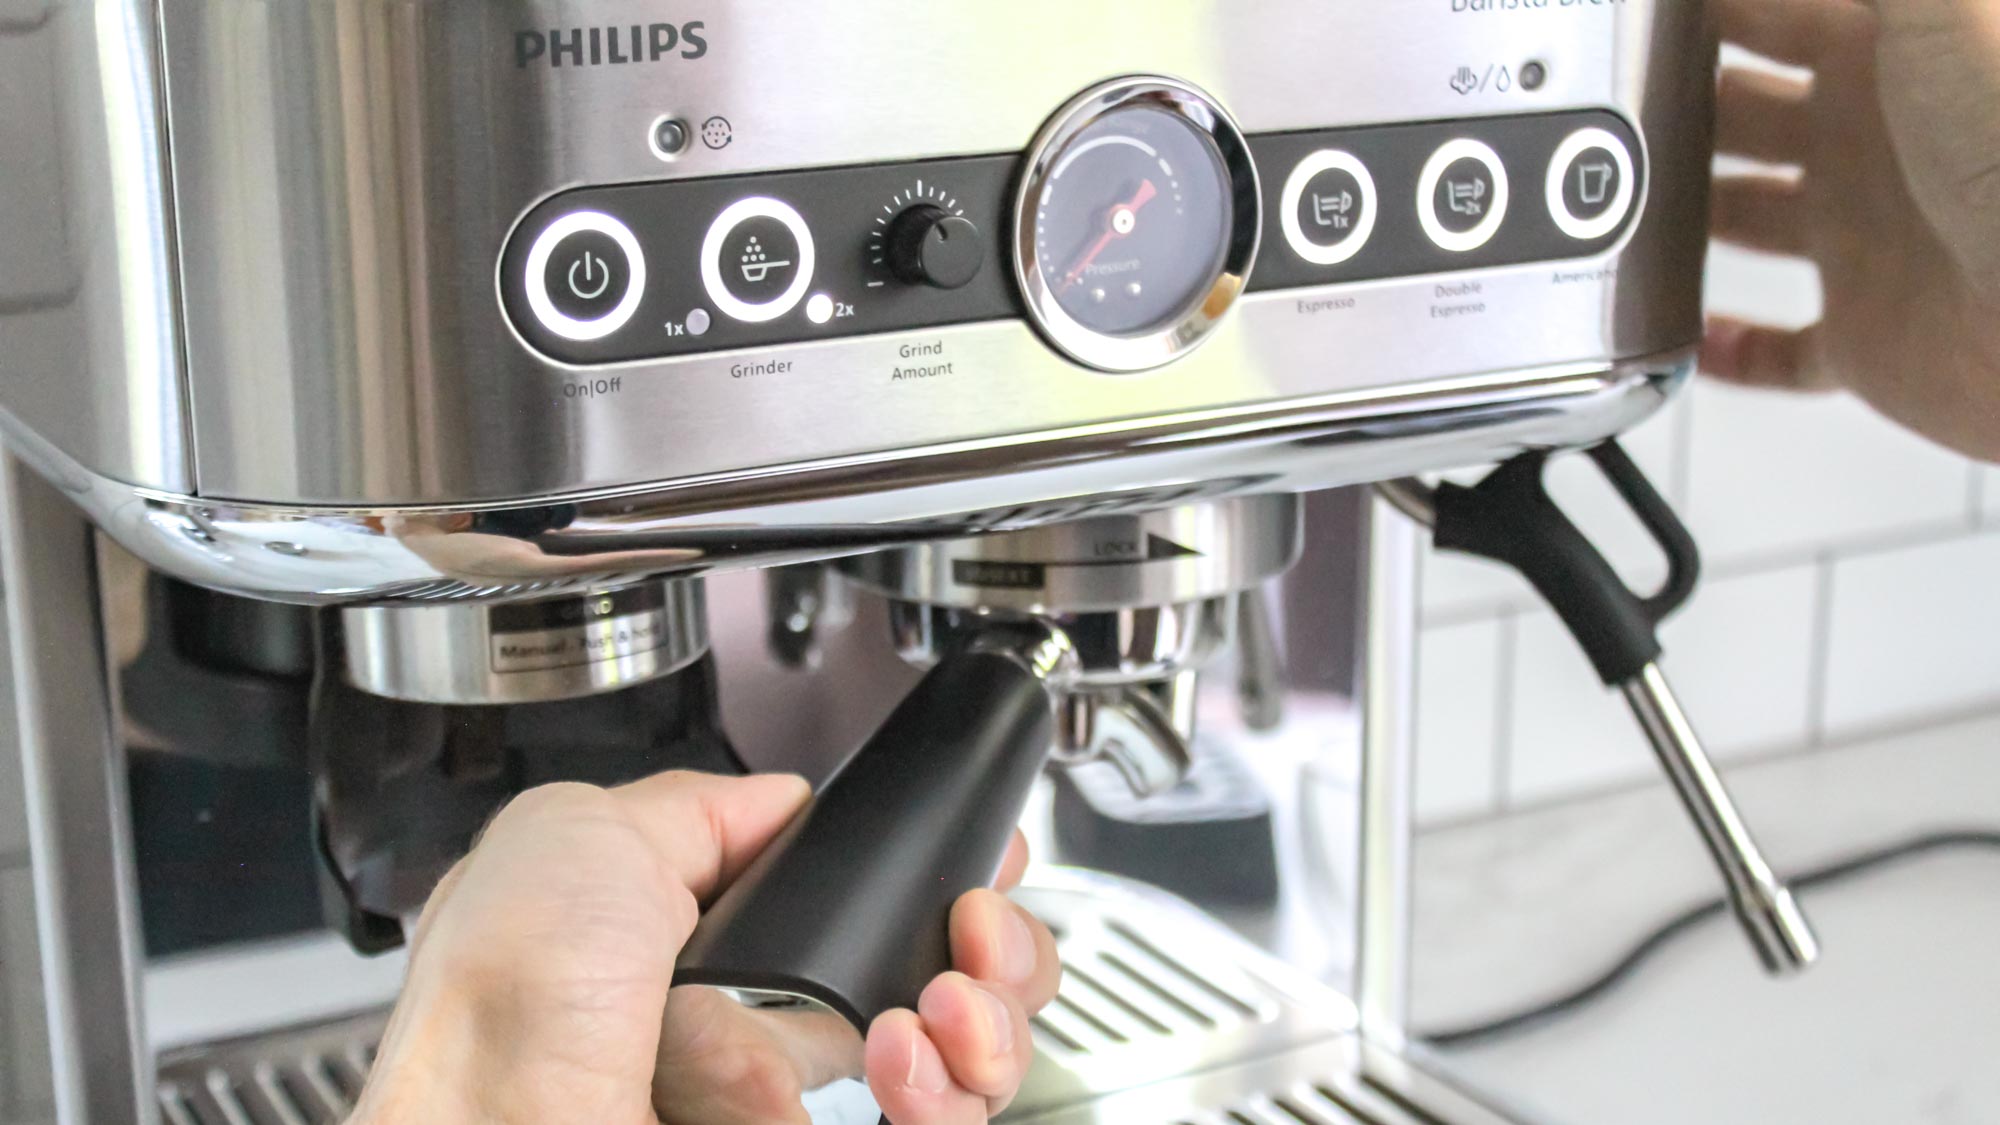
I'm guilty of grinding and tamping my beans, popping my portafilter into place and then faffing around with milk, syrup, or even finding my mug of choice, before brewing. This, it turns out, is a big mistake. Why? Because your group head is pre-heated and ready to go! You should ideally be pressing brew immediately after slotting your portafilter into place, or you risk burning your grounds as they sit waiting for an infusion of hot water to start the brewing process.
To illustrate just how seriously my teacher takes this, he told us to slot our fresh-tamped filter into place, start the brewing process immediately, and then put the mug under the machine just before those luscious strands of creamy (not burnt!) espresso start to flow. When you're dealing with fresh grounds and a hot machine, time really is of the essence.
3. Rinse, rinse, and rinse again
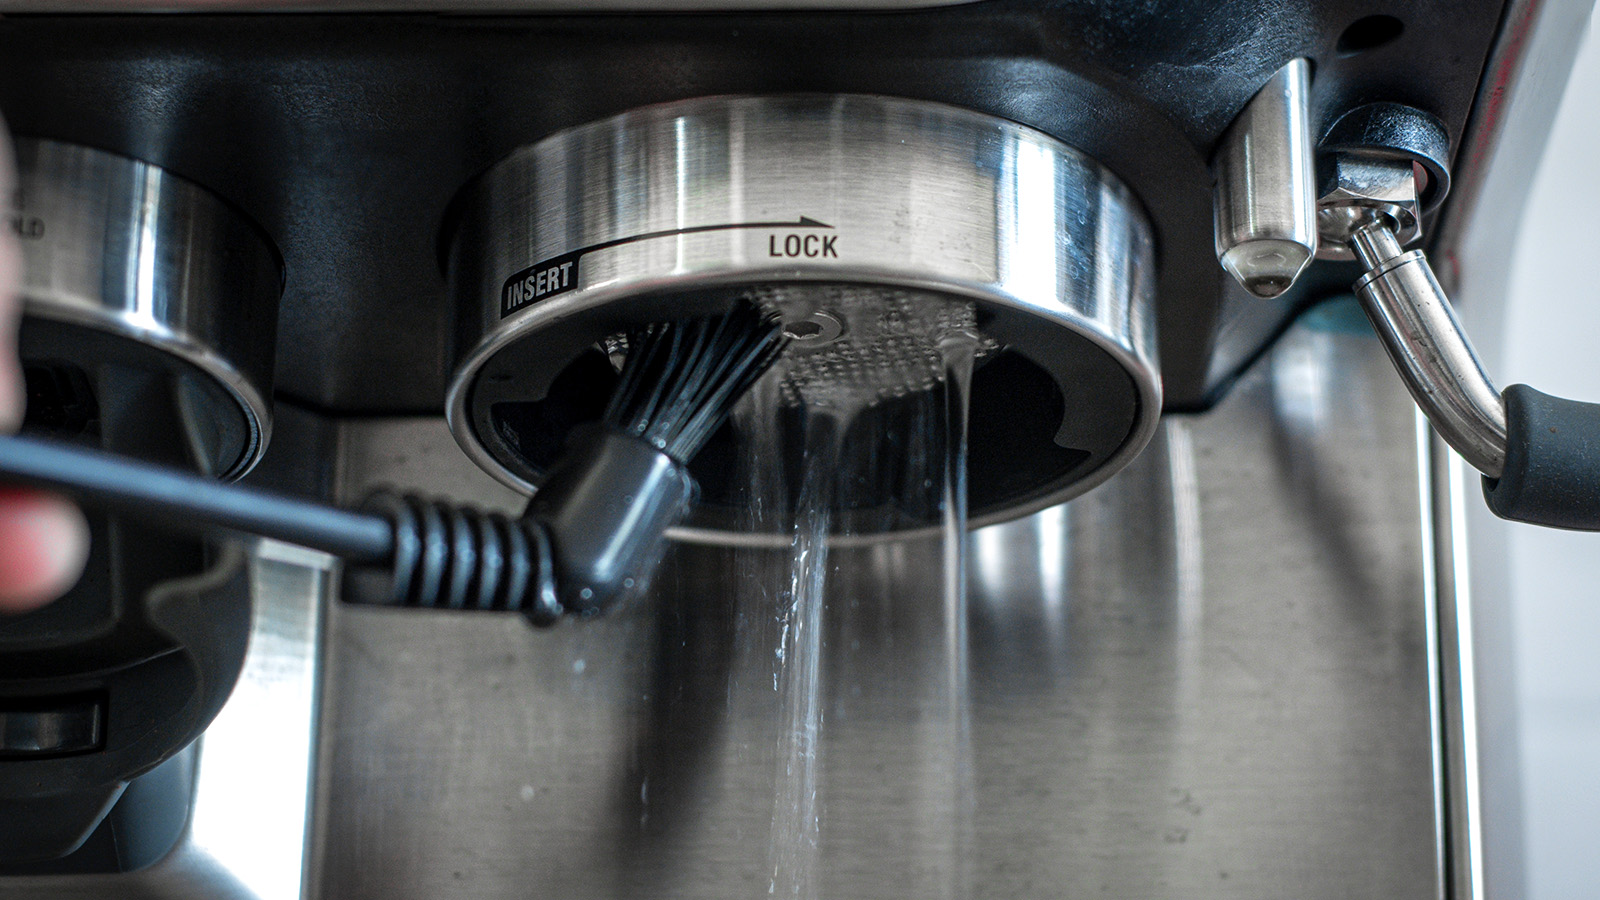
Once you're in the routine of brewing espresso after espresso, my teacher told us, it'll become second-nature to flush out your group head between shots. In a coffee shop setting this is useful because it keeps things extra hygienic and avoids contamination between shots.
Because your puck is pressed against the group head during brewing, it makes sense that grounds and oils will get lodged there and this will impact taste and performance over time. Because you don't really see it when you're brewing, it's easy to forget that this part of your machine needs cleaning, too.
Taking the time to flush it out between shots or, at the very least, before first use every morning, is a good way of stopping this buildup. All you need to do is press the 'brew' button with either an empty portafilter or no filter at all inserted, and you might be surprised (and a bit disgusted) to see that the water that comes out is a brown, muddy liquid. I don't know about you, but I don't want that in my finished drink.
More from Tom's Guide

Millie is the Senior Home Editor at Tom's Guide. She's been reviewing home tech for over five years, testing everything from coffee makers to the latest vacuum cleaners. Starting out in 2019 as a Staff Writer at TopTenReviews, Millie then moved on to Future's Homes portfolio, where she eventually oversaw all product testing as Head of Reviews.
With particular expertise in cookware and kitchen appliances, you'll struggle to find an air fryer Millie's not tested. She's traveled the world reporting on the latest home innovations and product launches, learning how to use pizza ovens from Pizzaiolos in Naples, and touring the De'Longhi factory in Venice.
When she's not reporting on home and appliance trends, Millie loves watching live music. She's currently learning the guitar - naturally, she plays a Fender.
