Can you save a woody lavender plant? Expert advice tips on how to make it fresh for summer
Extend the life of your lavender
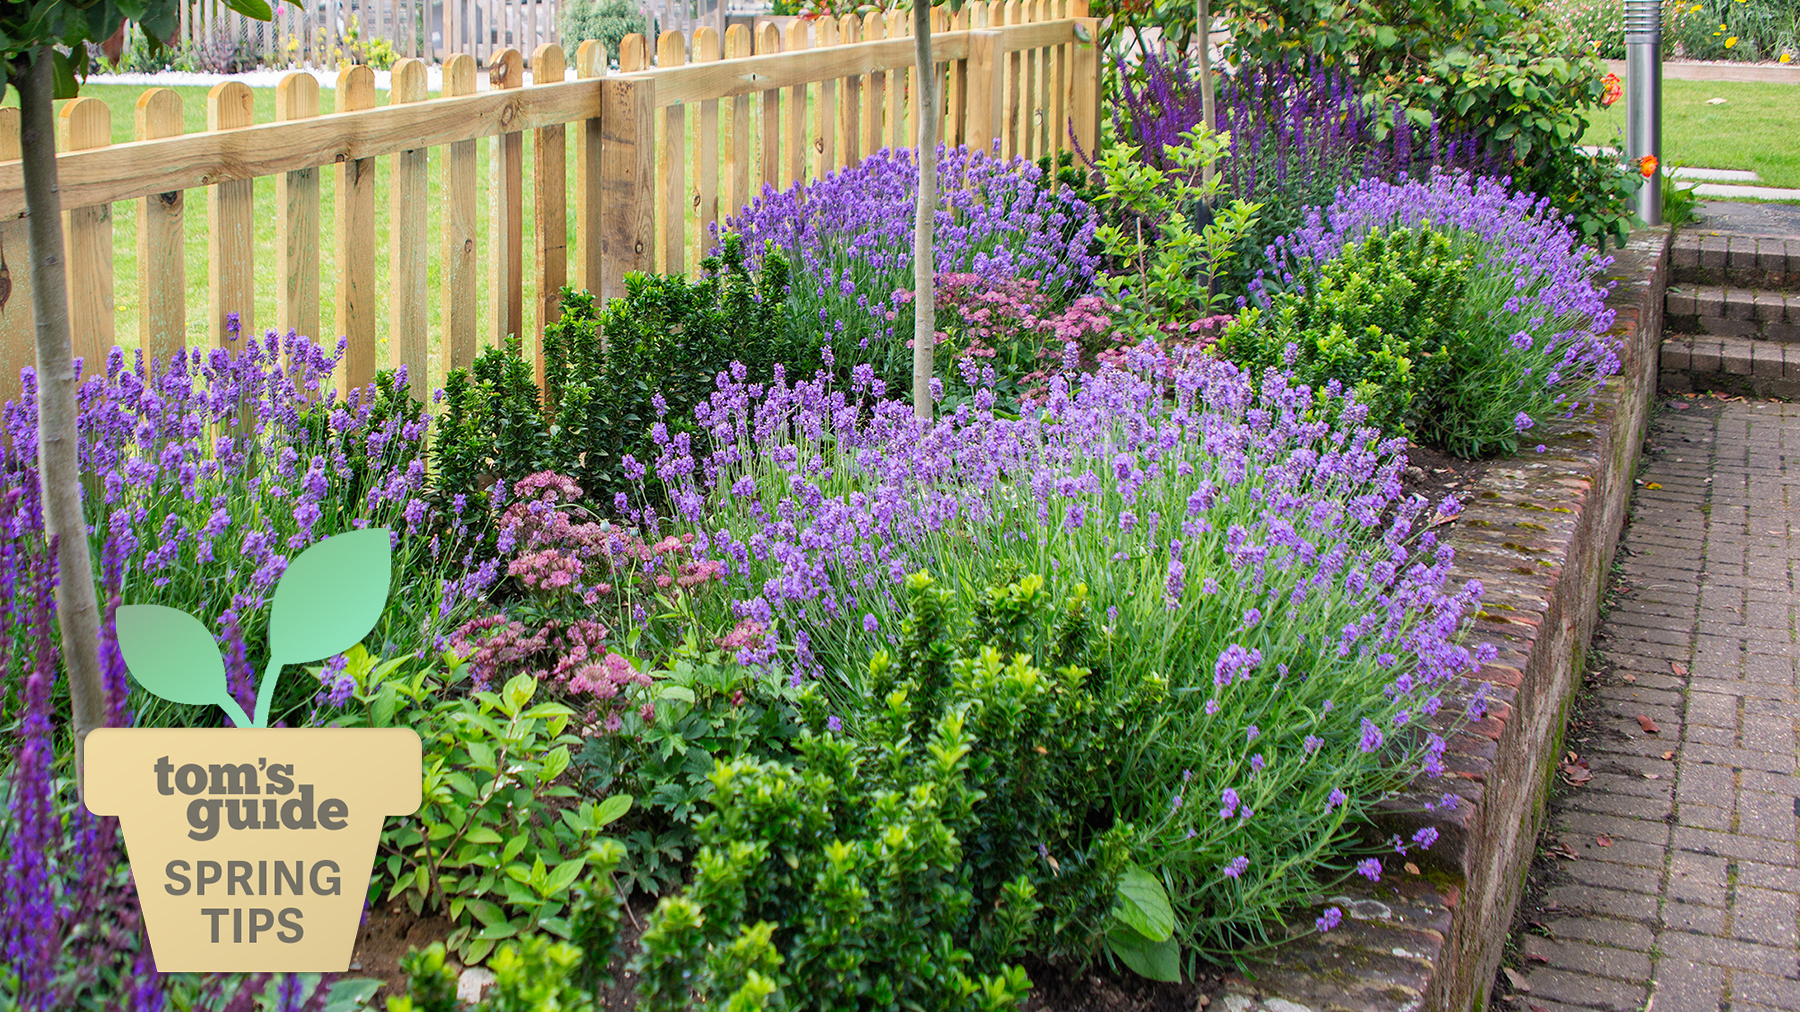
Lavender is a beautiful aromatic plant that is a popular addition to many gardens. Brush past one on the edge of a border, and a delightful scent will greet you. While lavender brings us joy, it’s also an excellent pollinator, with bees and butterflies attracted to its nectar. It’s also a plant that could help you sleep better at night.
Although lavender is a beautiful plant, it can become woody and lose its shape and vibrancy. I’ve had this problem with my lavenders and have never really known how to revitalize them — sometimes, I’ve even dug them up and started anew.
However, before you make the same mistake, we’ve gathered some expert advice from gardeners on how to revive and extend the life of your woody lavender and how to prevent it from becoming damaged in the first place. You might also be interested in how to winterize lavender.
How to tell if your lavender is woody
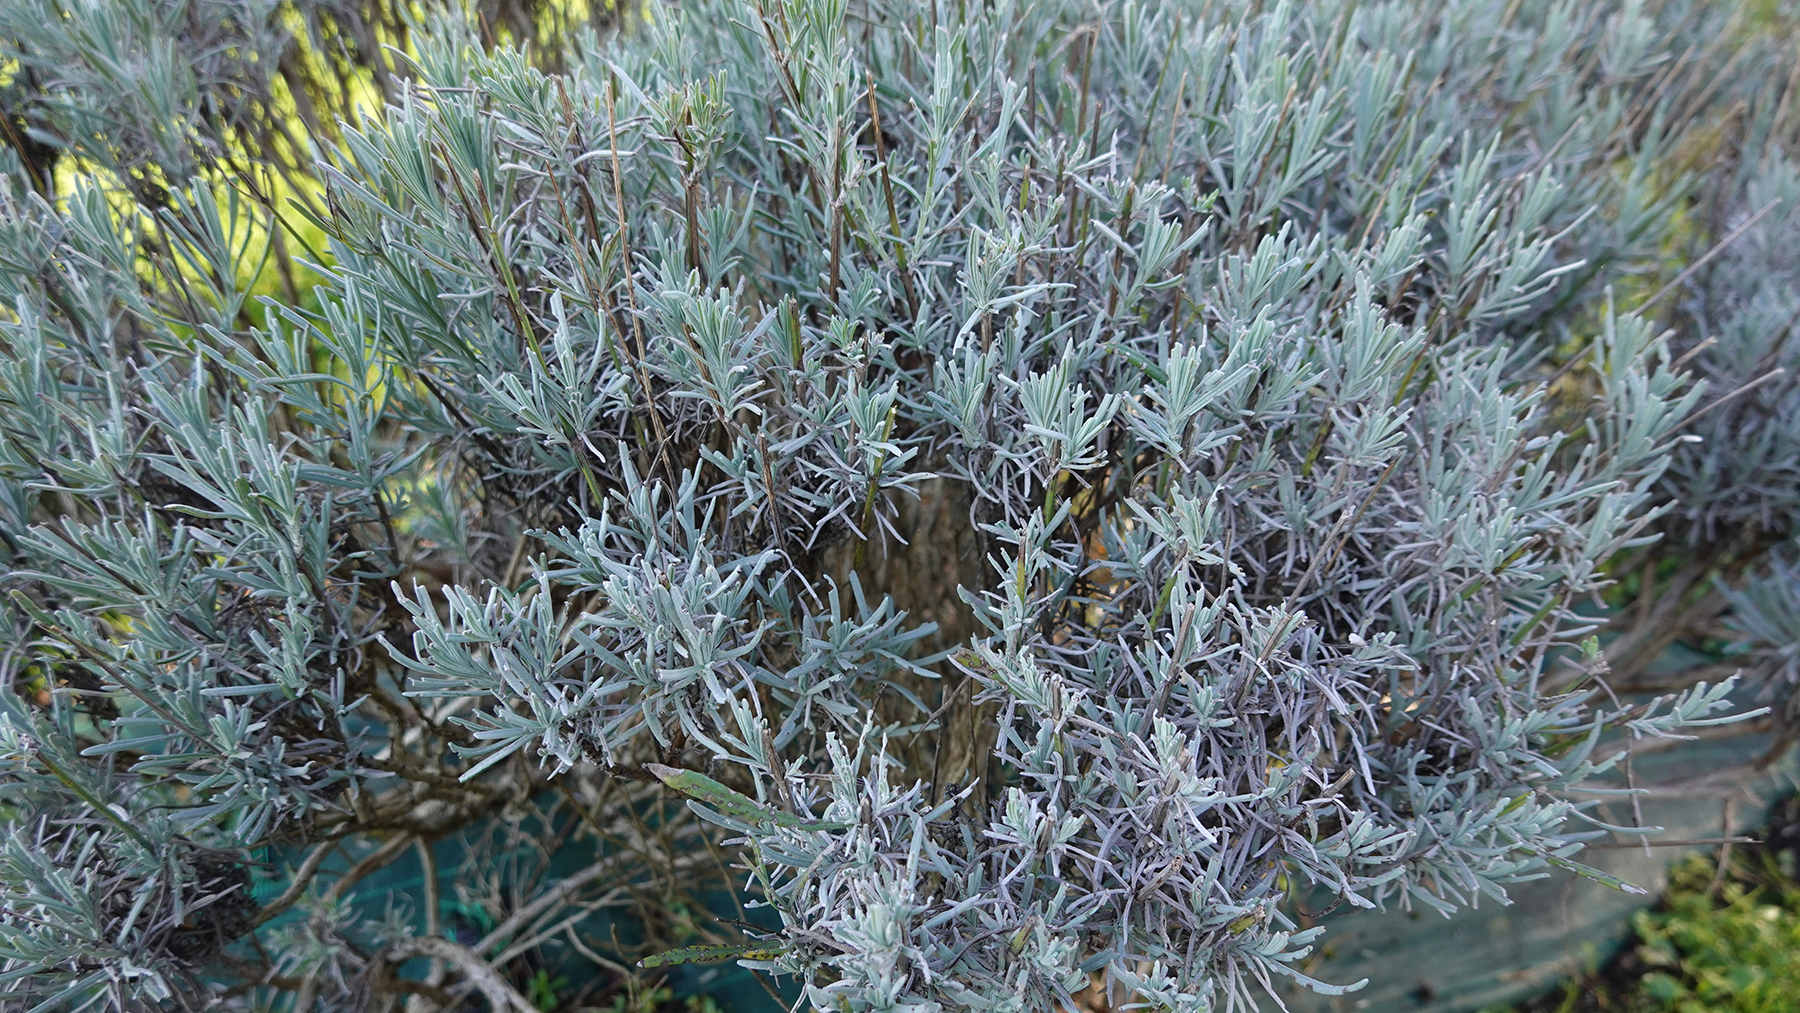
Certain visual signs indicate that your lavender is woody. Julian de Bosdari, CEO at Ashridge, says, “If your lavender plants are becoming packed with dead wood and flowers are increasingly sparse, then your plant is woody and needs treating as soon as possible.
Robert Silver, master gardener and editor-in-chief at Pro Gardening Blog, says to check for thick, rigid stems forming at the base and bare, leafless branches sticking out. Although he explains that some woodiness is expected as lavender ages, it will affect the blooms and health of the plant.
Can woody lavender be revived?
The good news is that woody lavender can be revived through pruning. Silver explains: “The best chance comes from cutting back all old, bare woody stems to just a few inches during early spring’s renewal pruning. Remove any dead or diseased wood inside the plant as well, shaping it into a neat mound.”
He then suggests amending the soil with compost and nutrients, as lavender’s new growth will require fertile soil to sprout. “With proper watering, fertilizing that new spring growth, and providing an enriched environment, the lavender can regenerate into a lush, blooming beauty again that same season,” adding, “If no fresh growth appears after months of coaxing, the plant is likely to be too far gone to recover.”
Sign up to get the BEST of Tom's Guide direct to your inbox.
Get instant access to breaking news, the hottest reviews, great deals and helpful tips.
What causes lavender to become woody?
Environmental stresses are the main reasons lavender becomes woody, with de Bosdari explaining that overwatering during the hot summer months and dense soil are the main contributors. Silver adds that temperature extremes can trigger premature woodiness, and the lack of pruning to remove old growth allows more woody branches to accumulate.
“Genetics also play a role, with some varieties naturally forming thick, woody bases faster,” says Silver. “As lavender matures, more energy goes into strengthening the woody base structure rather than herbaceous top growth. Proper care like pruning, ideal conditions, and managing soil fertility can delay excessive, unsightly woodiness for years.”
Restricted root growth
Growing lavender in pots may also cause a problem. Aileen Carroll, professional gardener and manager at Van Windens garden center in California, explains that lavender may not thrive in containers as it has an unusual root zone which can create a stressful environment and cause it to become woody. “Even small English lavender, Lavandula augustifolia, types can have root zones as wide as 6.5ft but just an inch or two deep! Growing lavender in a pot can be incredibly stressful for the plant. Additionally, poorly draining soil, or being buried too deeply in the soil, can stress the plant out and cause it to have woody-looking stems sooner,” she adds.
How to revive woody lavender
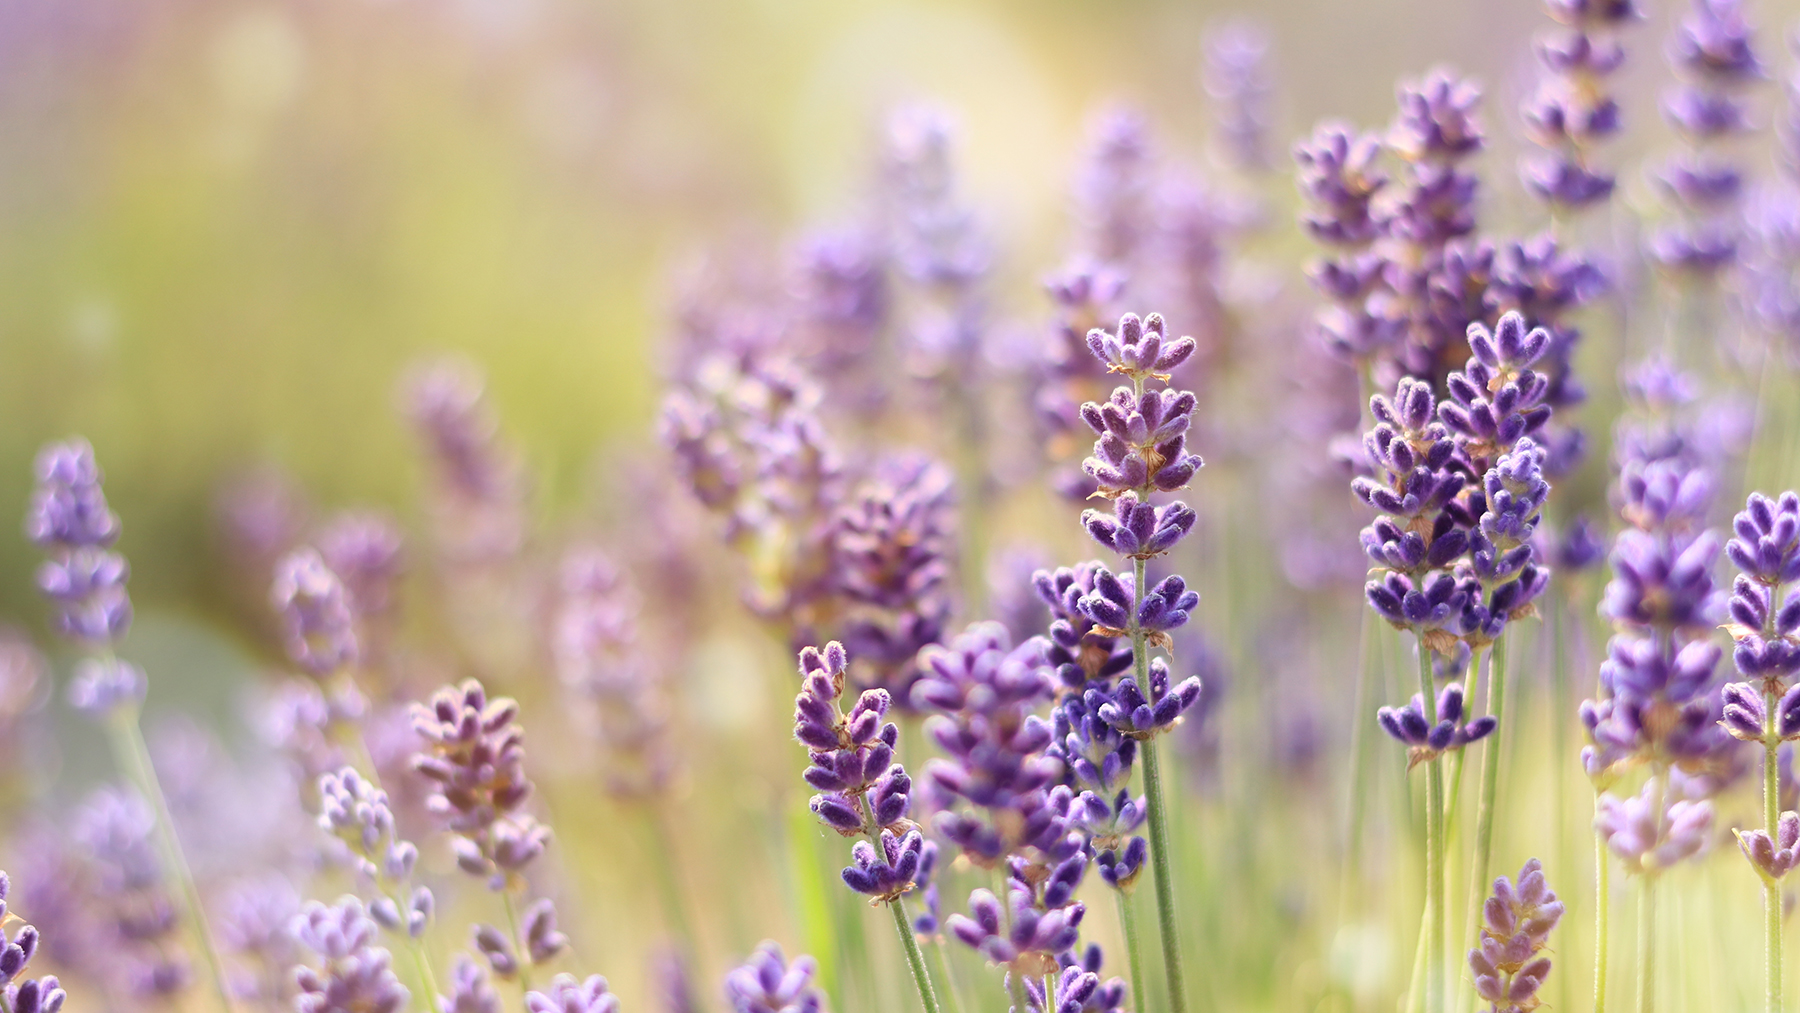
There are several ways that the health of lavender can be revitalized. Silver recommends amending the soil with well-aged compost or manure to give the plant vital nutrients. If the soil is compact he also suggests adding grit to enhance aeration and drainage, replicating lavender’s preferred growing conditions. It’s also important for the plant to be kept moist during its rehabilitation.
Silver advises continually caring for your lavender plants: “Nourish them with a balanced, slow-release fertilizer to facilitate their luxuriant development. Remain steadfast in your observations, removing any adjoining weed rivals that may appear and applying a layer of rock mulch to preserve soil moisture. With adequate sunlight, the lavender should regale you with a renewed burst of richly aromatic blooms and foliage by the season’s peak.”
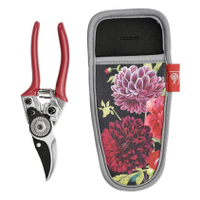
Burgon & Ball Pruners & Holster Set: $29.59 @ Amazon
These attractive red-handled bypass secateurs are part of the RHS 'British Bloom' collections and come with a floral-designed holster. They are ideal for pruning shrubs and roses and suitable for a smaller hand.
How do you prune woody lavender?
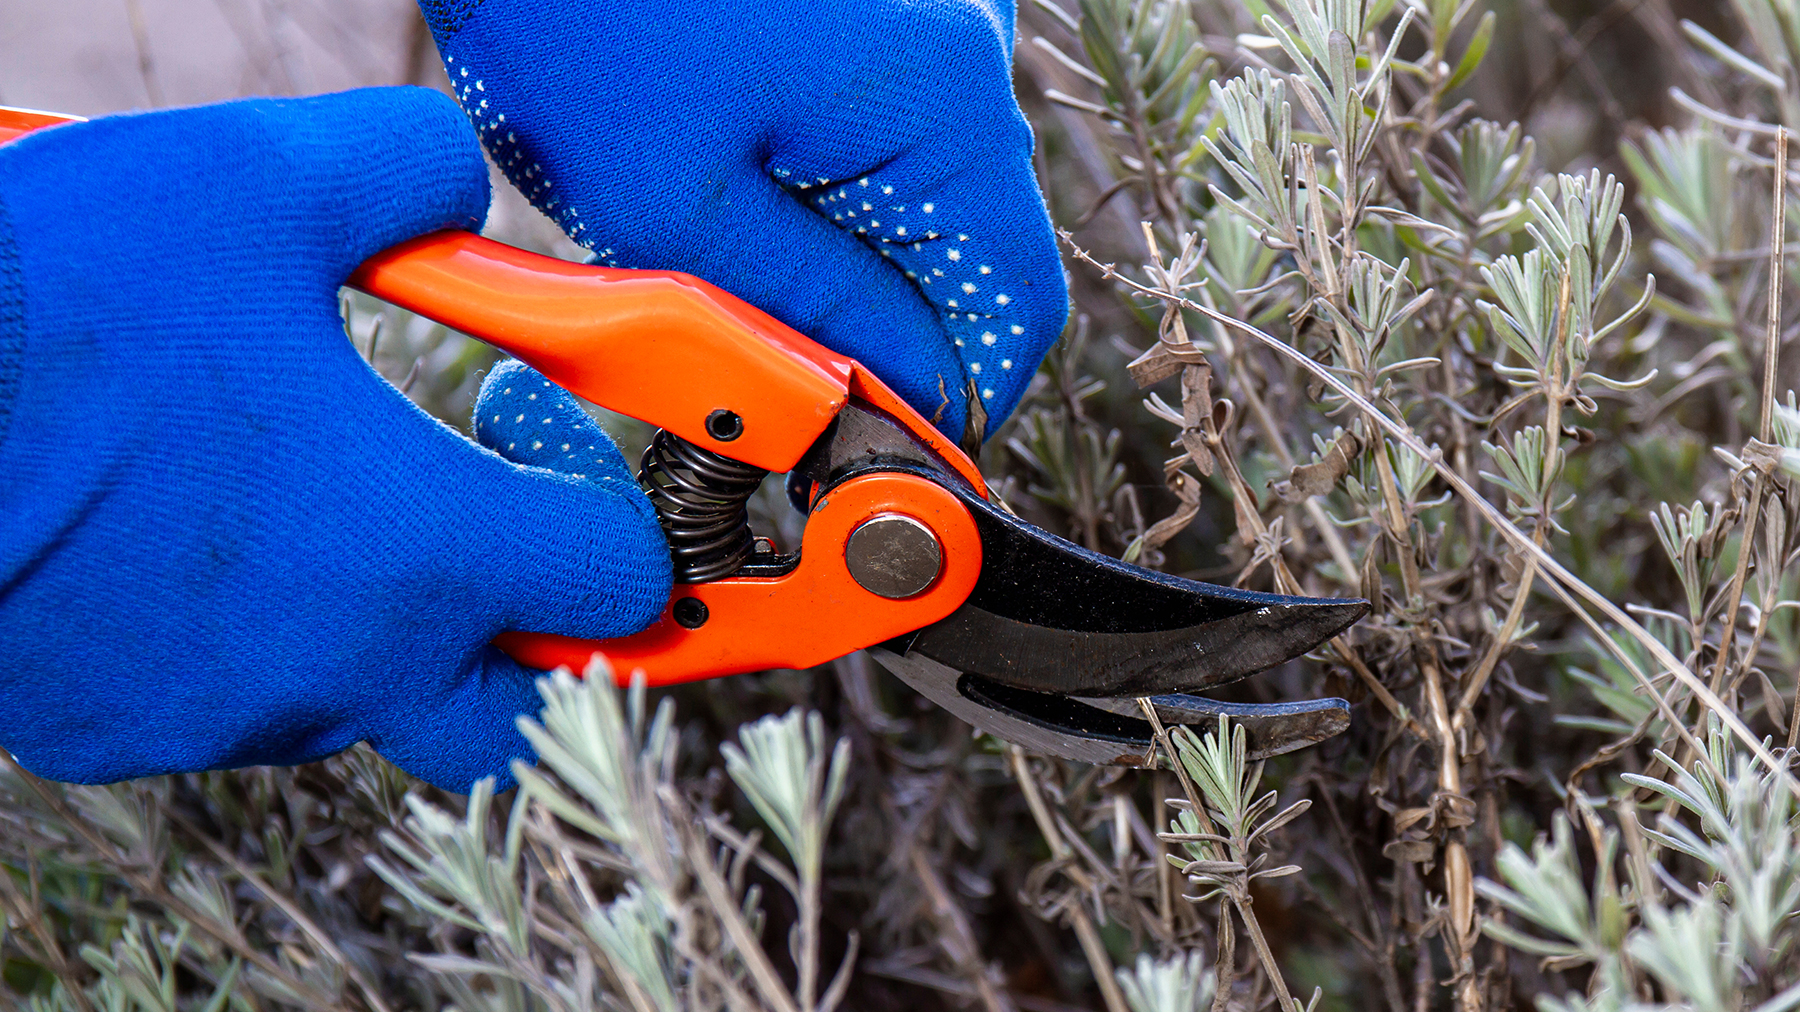
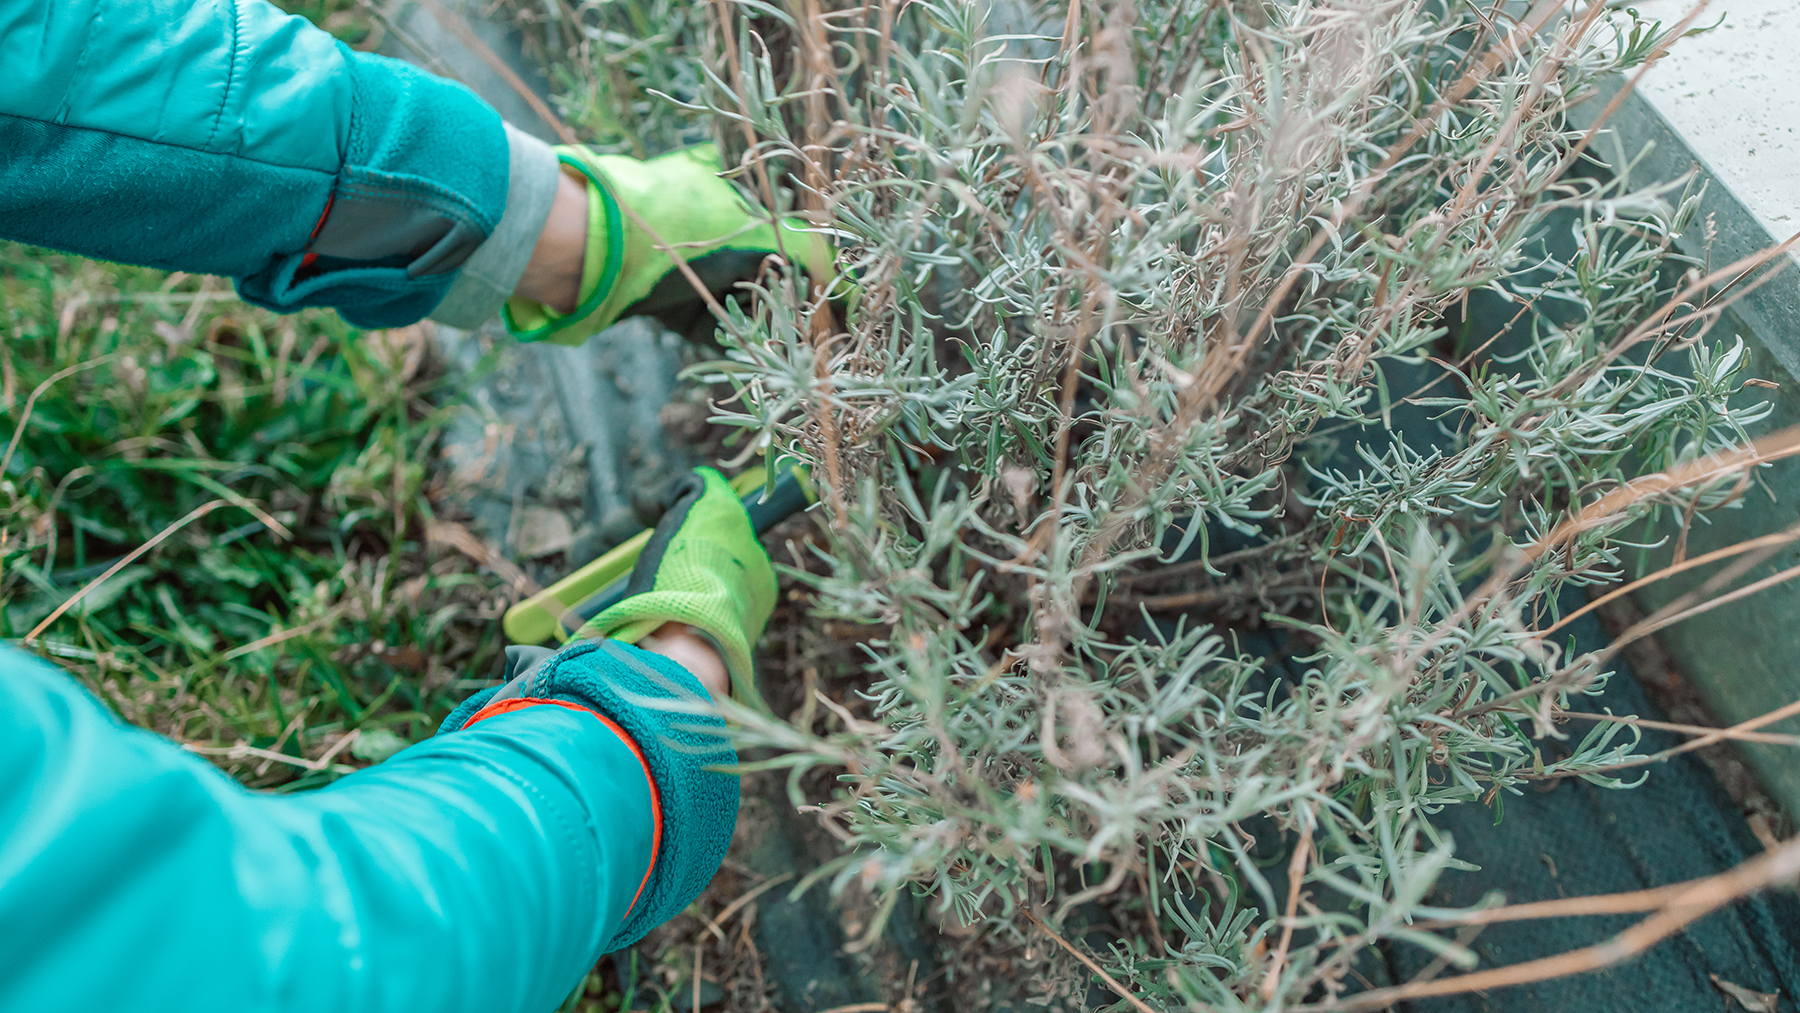
Besides improving the environmental factors for your lavender, pruning is essential to reviving your woody lavender.
But whatever you do, ensure you use a pair of the best pruning shears with a sharp blade to give a clean, healthy cut. De Bosdari recommends pruning your lavender in spring when the weather is warmer so that your plant can grow in a safer, more suitable environment.
“Restoring your lavender safely and effectively can be a lengthy process, so make sure you prune slowly, trimming each branch back without cutting into the brown wood,” he says.
In general, when pruning, it's not normally recommended to cut into old wood; however, he says it can reap some rewards when hard-pruning lavender. “When cutting dead wood, keep an eye out for small, swollen areas on the stem known as nodes. They play a key role in developing new leaves, branches, and roots — so make sure they are visible below your cutting point. Removing wood with nodes may prevent your stems from recovering.”
Silver recommends removing any dying or diseased wood from the plant’s interior, improving air circulation. Then, cut back any gnarled stems at the base, within a few inches of the woody crown, which will encourage fresh and vigorous growth. Finally, shape the remaining stems into a rounded formation.
More from Tom's Guide

Camilla Sharman has worked in publishing and marketing for over 30 years and has covered a wide range of sectors within the business and consumer industries both as a feature, content, and freelance writer.
As a business journalist, Camilla has researched articles for many different sectors from the jewellery industry to finance and tech, charities, and the arts. Whatever she’s covered, she enjoys delving deep and learning the ins and out of different topics, then conveying her research within engaging content that informs the reader. In her spare time, when she’s not in her kitchen experimenting with a new recipe, you’ll find her keeping fit at the gym. In the pool, stretching at a yoga class, or on a spin bike, exercise is her escape time. She also loves the great outdoors and if she’s not pottering about in her garden, she’ll be jumping on her bike for a gentle cycle ride.
