7 best herbs to grow on your windowsill — according to a garden expert
Benefit from the culinary and aromatic properties of homegrown herbs
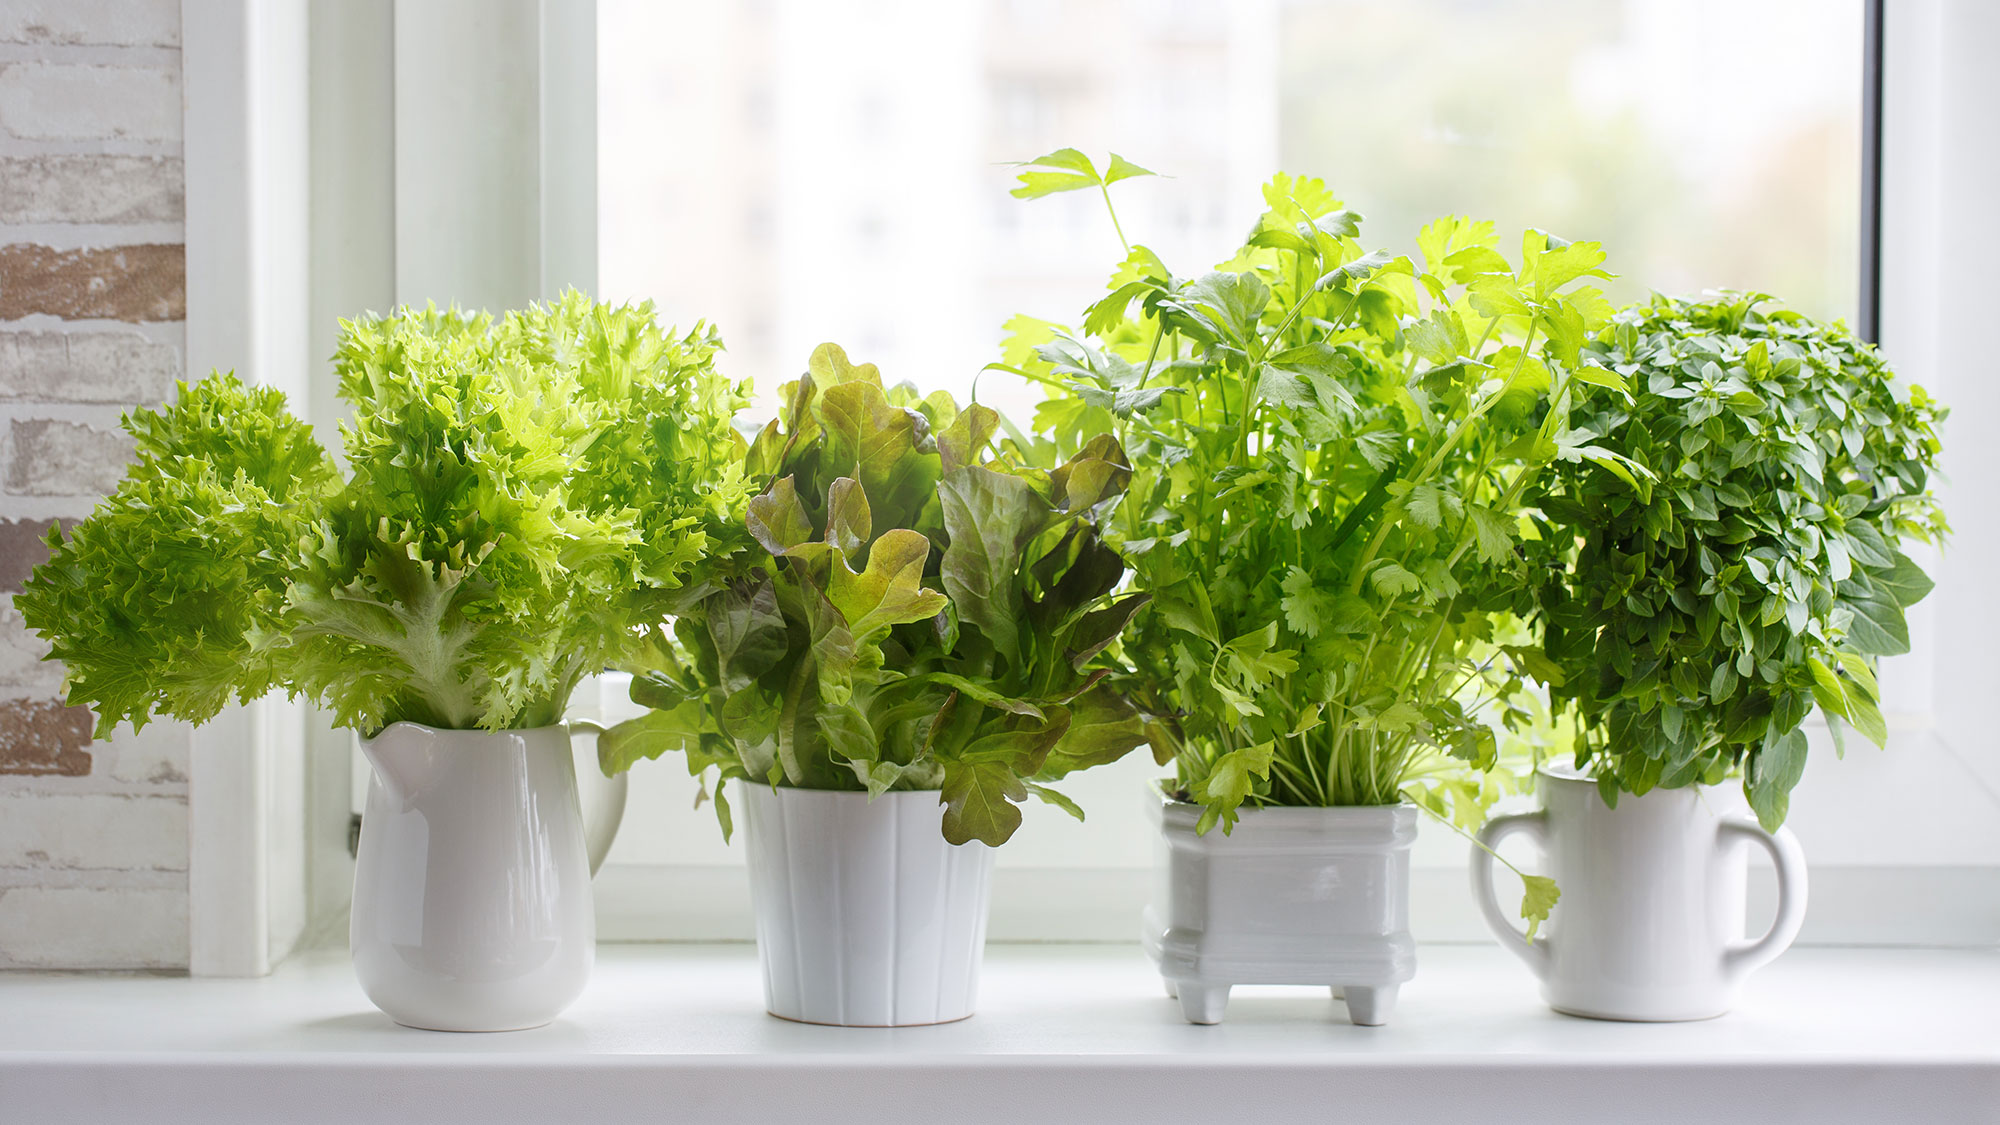
If you enjoy cooking delicious meals in your kitchen, it’s more than likely that you add herbs to enhance the flavor. But buying them direct from the grocery store can be costly, and plenty of herbs are wasted as they either wilt before you use them, you buy more than you need, or they lack that ‘homegrown’ flavor.
One sure way of using fresh herbs as and when you need them, without them going to waste, and with the best taste is to grow your own. As Park Seed explains, “The flavonoids that give herbs their flavor can break down over time. That’s why herbs and foods grown at home are more flavorful than what you can buy.”
The good news is, you don’t have to have a backyard to grow your own herbs. Although you can grow a herb garden outside, you can also create a herb garden on a windowsill. It's even better if it’s in your kitchen as you’ll have a constant reminder to add fresh, tasty herbs to your meals. What’s more, by growing your own herbs you’ll reap the benefits of eating herbs that are free of pesticides and fertilizers.
Wren Kitchens has teamed up with Peter Ivanov, plant expert at Fantastic Services to share the easiest 7 herbs to grow and nurture on your kitchen windowsill.
1. Rosemary
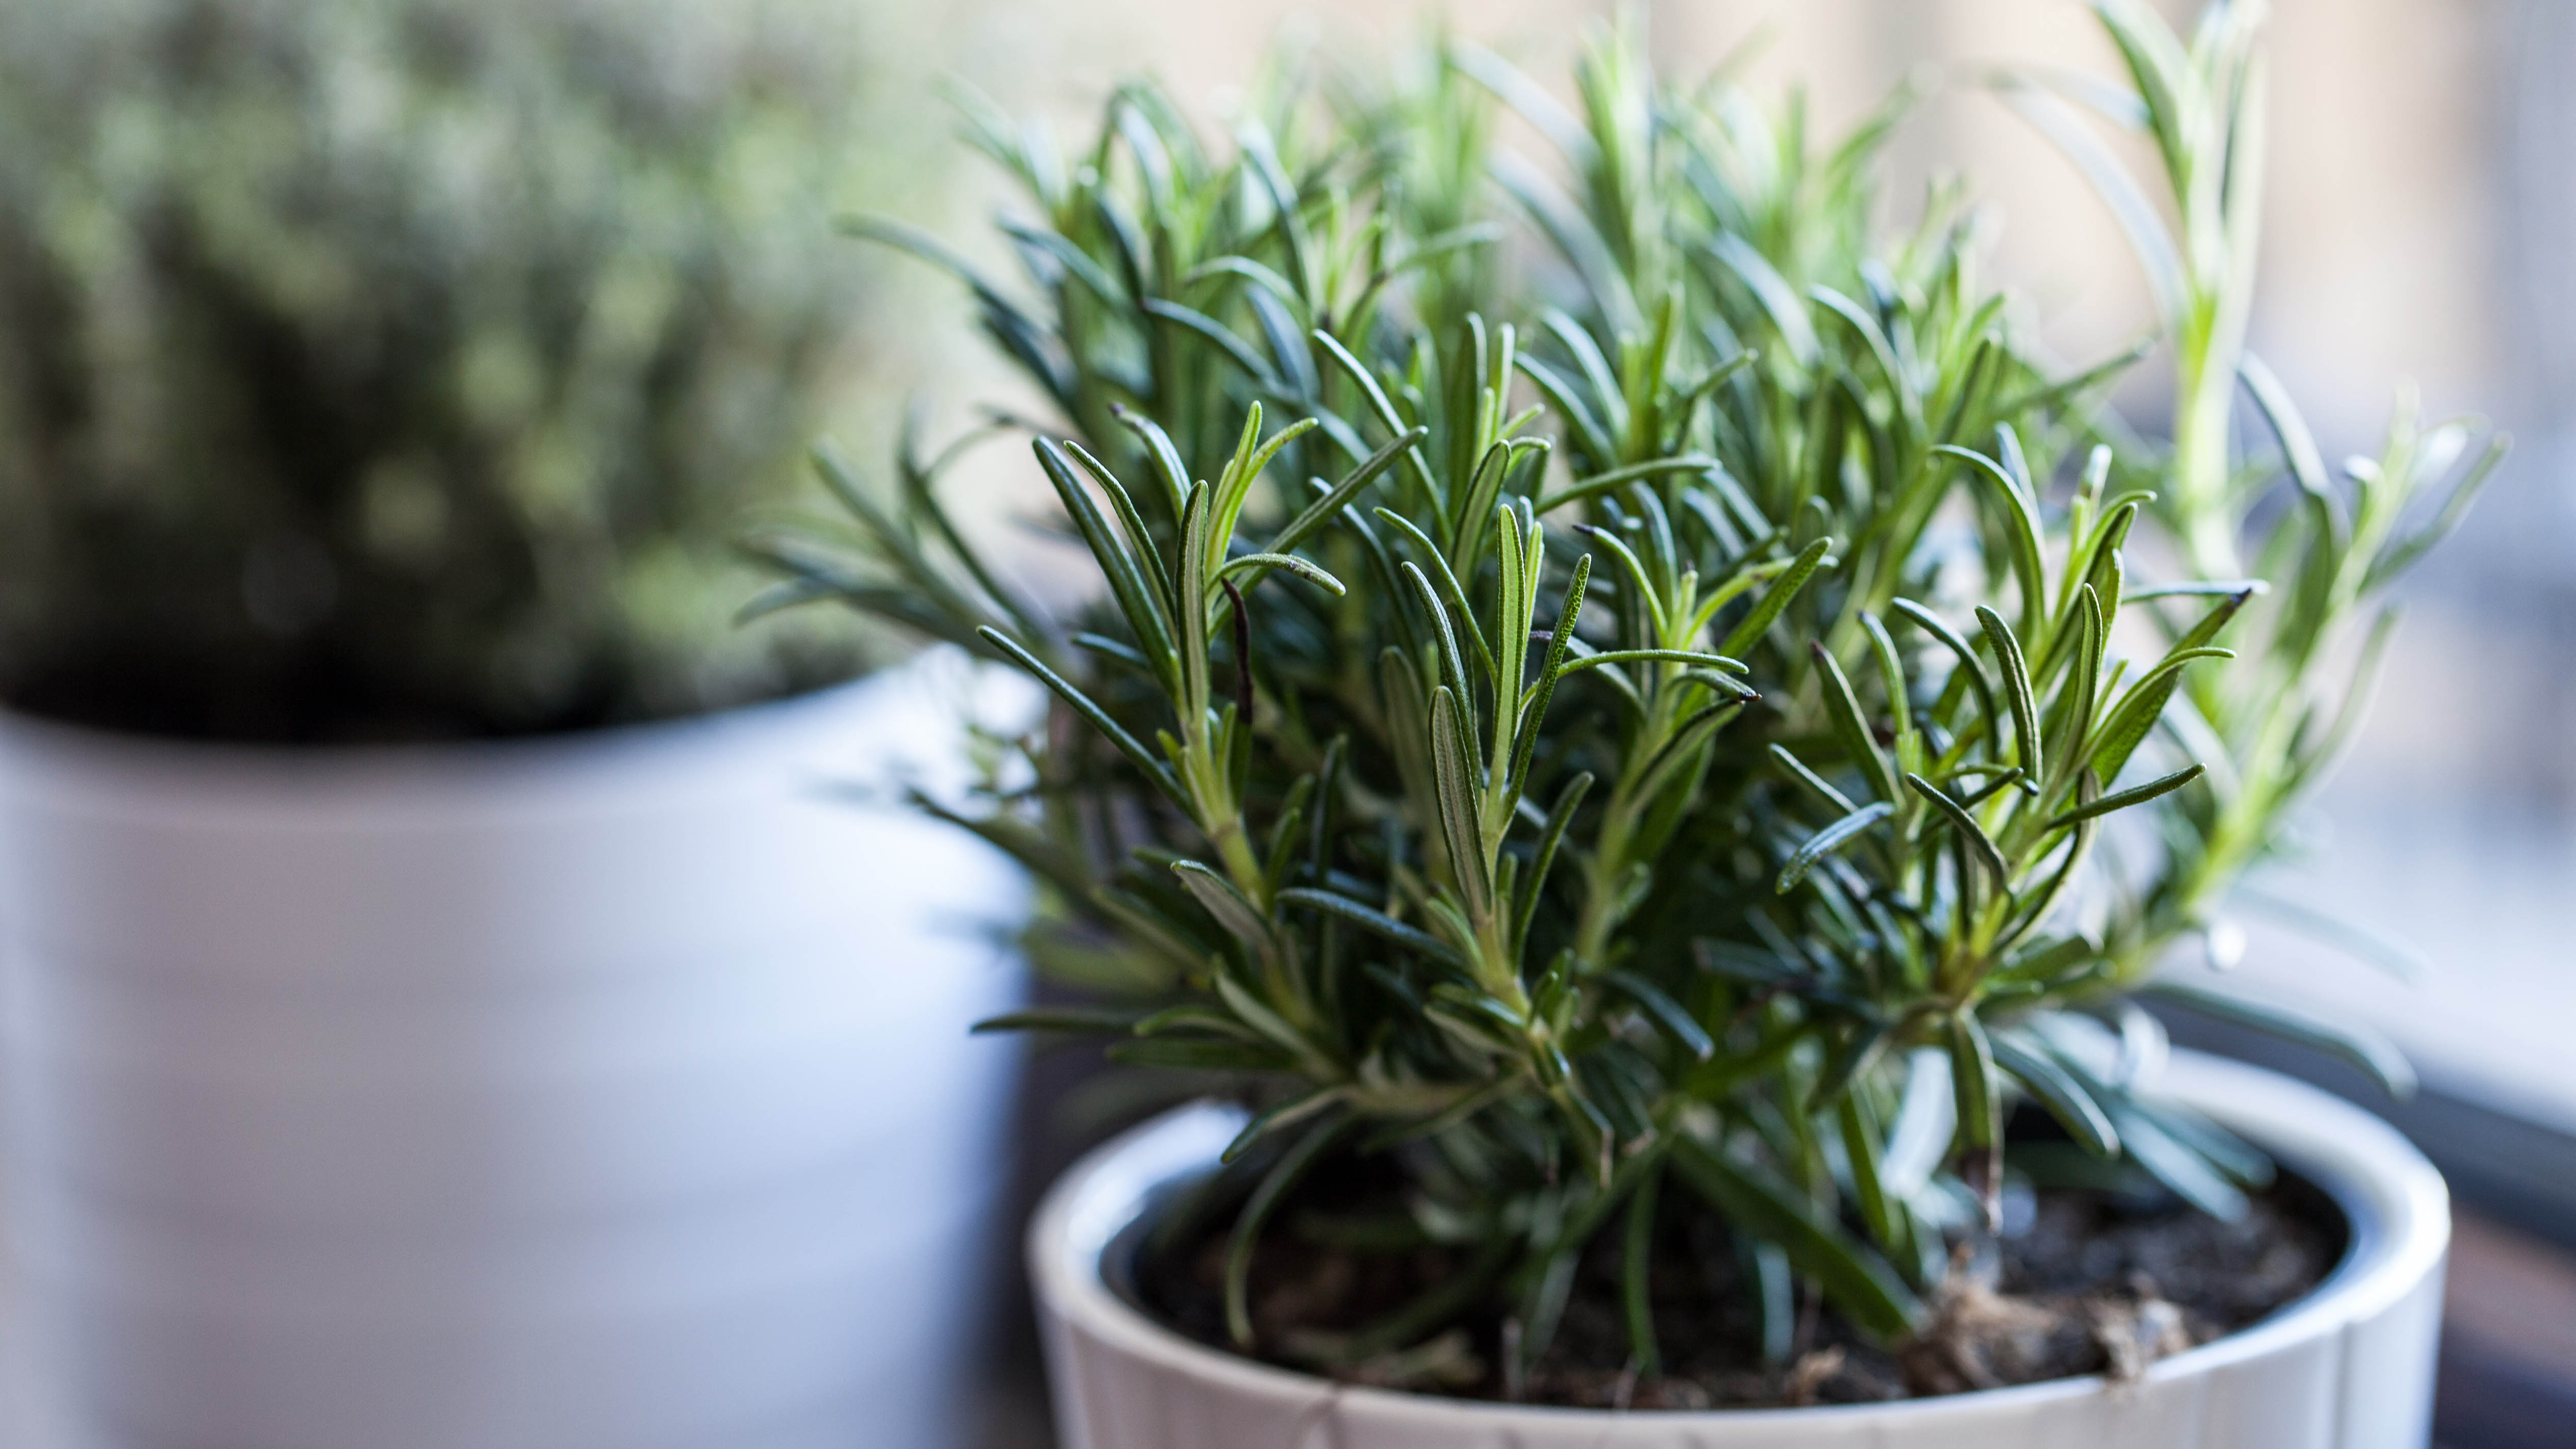
Rosemary is an ideal choice for starting your indoor herb garden, as it’s very low maintenance. However, it does take a while to grow, and according to Sow Right Seeds, it can take a year to reach maturity. Apart from giving it a spray with a water mist once or twice a week, all it will need is a regular prune to keep it healthy.
Known for its robust scent, rosemary naturally freshens kitchen air and adds a bold flavor to dishes, and as Ivanov says, “It’s a woody herb with a pine-like fragrance perfect for roasting meats and vegetables.”
However, apart from its culinary use, people burn rosemary in their homes to deter pests and to improve their wellbeing.
Get instant access to breaking news, the hottest reviews, great deals and helpful tips.
Top tip
It’s worth soaking rosemary seeds before growing. This process helps to ‘wake’ the seeds up out of dormancy. Place them in a cup of water overnight before sowing.
2. Thyme
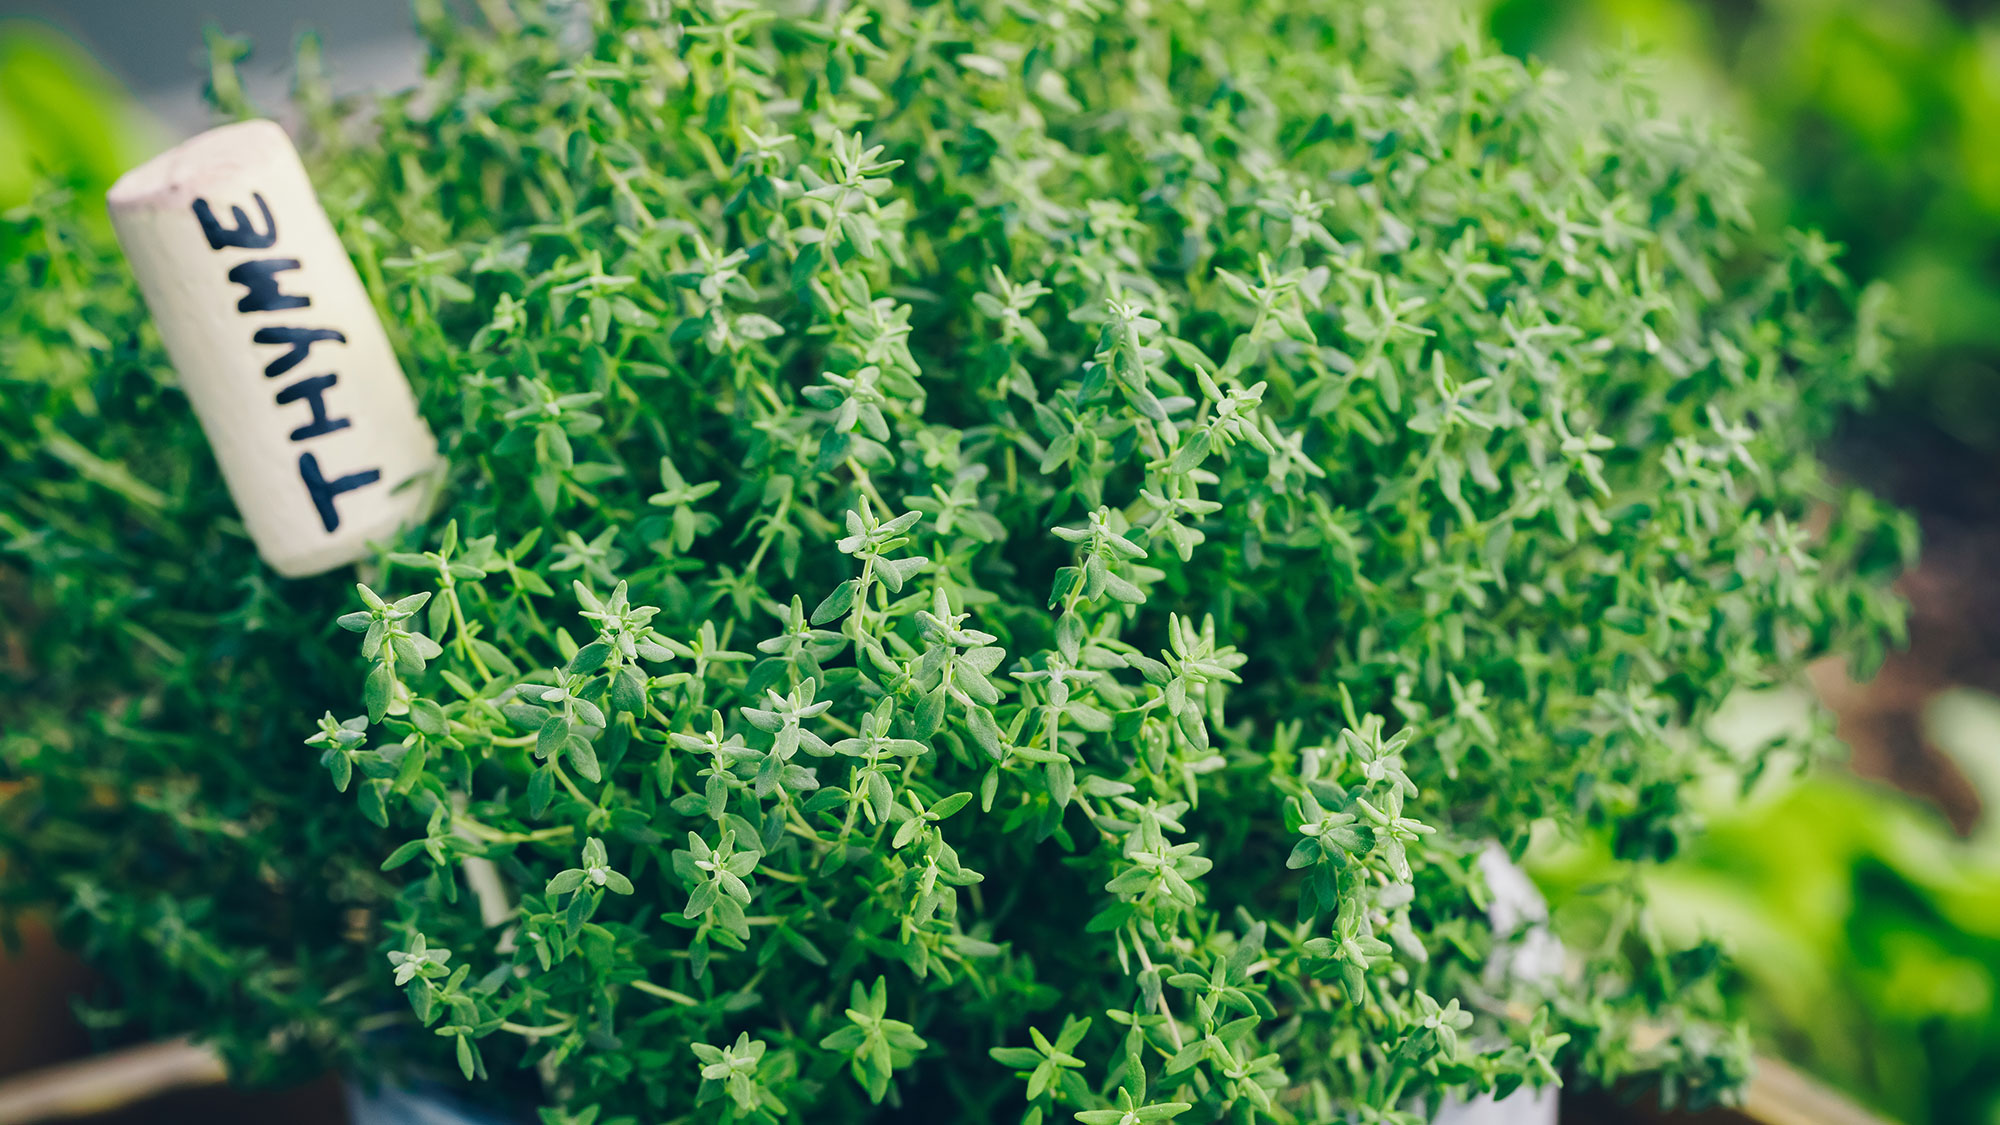
Thyme is an aromatic herb that grows well in small clay pots to ensure good drainage. It’s an eye-catching herb with small green leaves and delicate purple flowers that complement kitchen spaces. Thyme has versatile flavors popular in Mediterranean, French, and Middle Eastern cuisine. According to Ivanov, “Thyme enriches meat, vegetable, and bread recipes. Once established, it’s also drought resistant, much like rosemary.”
Top tip
Cut back woody stems to encourage fresh new growth and remove the flowers to increase foliage production.
3. Basil
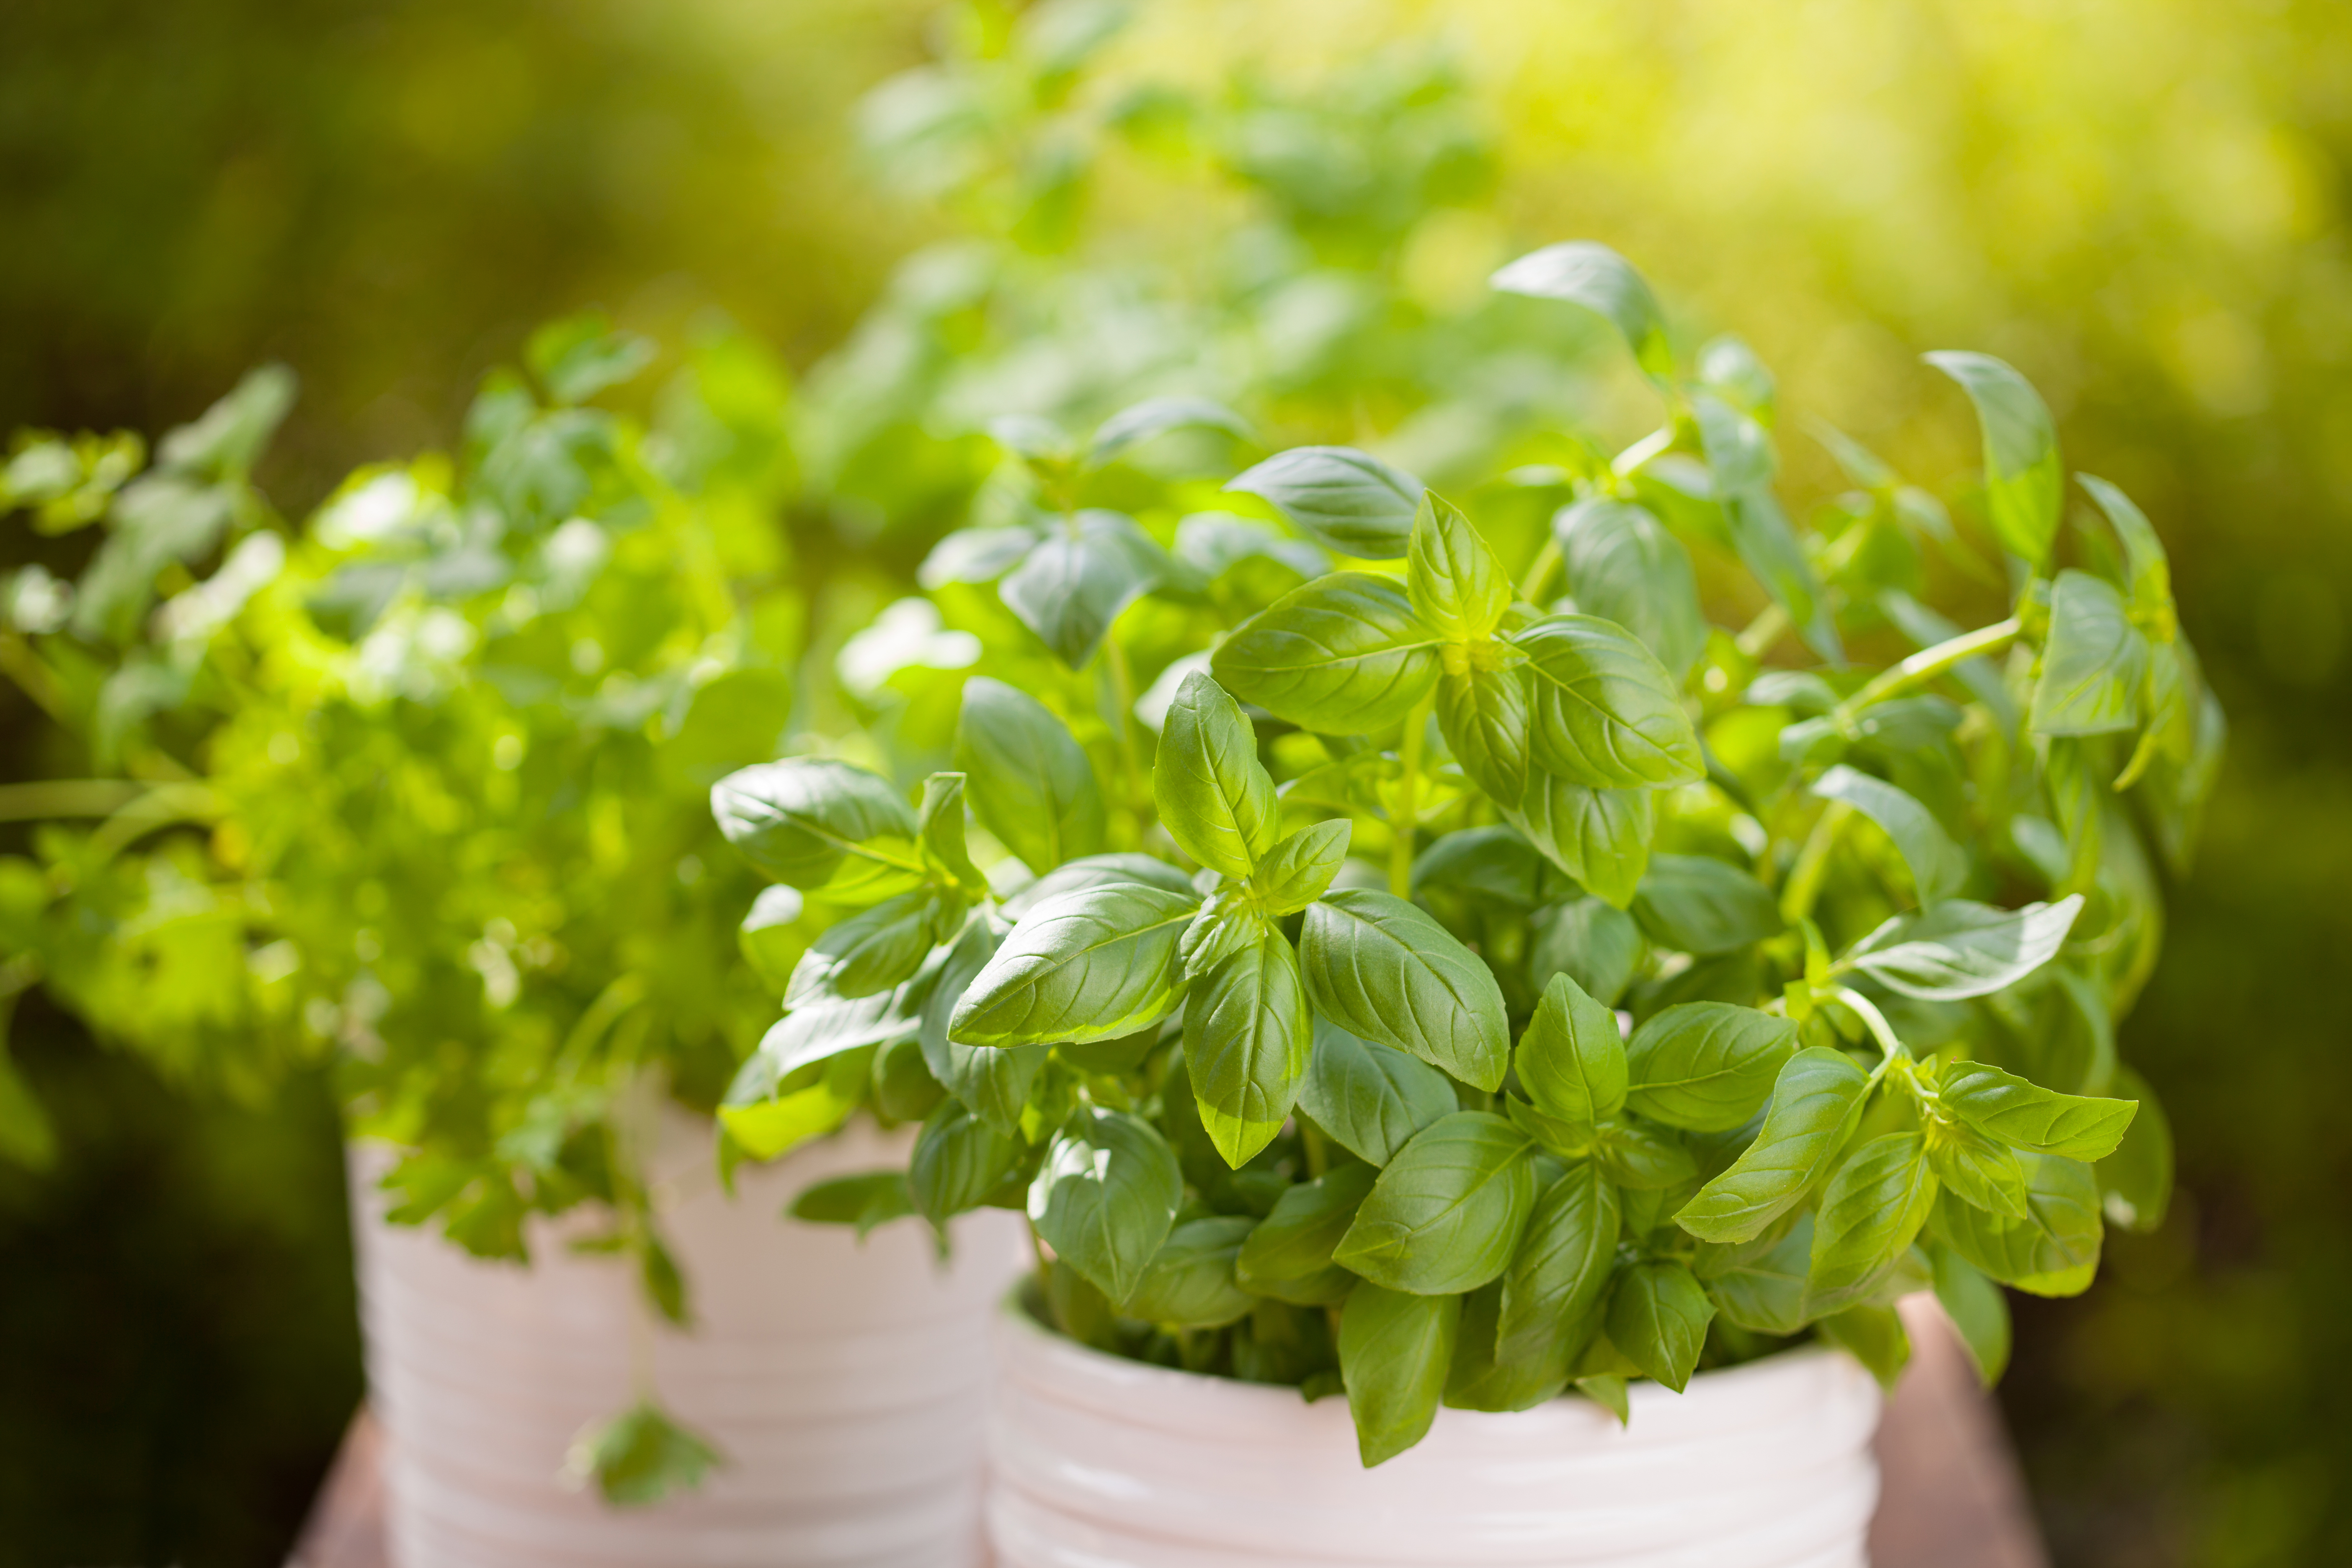
Basil is an excellent herb for first-time gardeners and likes a lot of sun and warmth. Although, for optimum growth, it also requires regular watering to keep the soil moist rather than soggy. To encourage foliage growth, pinch off the flowers as they grow.
Ivanov says, “Basil is a perfect addition to salads and Italian dishes such as pesto and pasta.” It's also a great companion plant for tomatoes and peppers, which are also perfect ingredients for salads and pasta dishes.
Top tip
Basil is a vigorous grower, so it may need repotting regularly to prevent outgrowing its pot.
4. Parsley
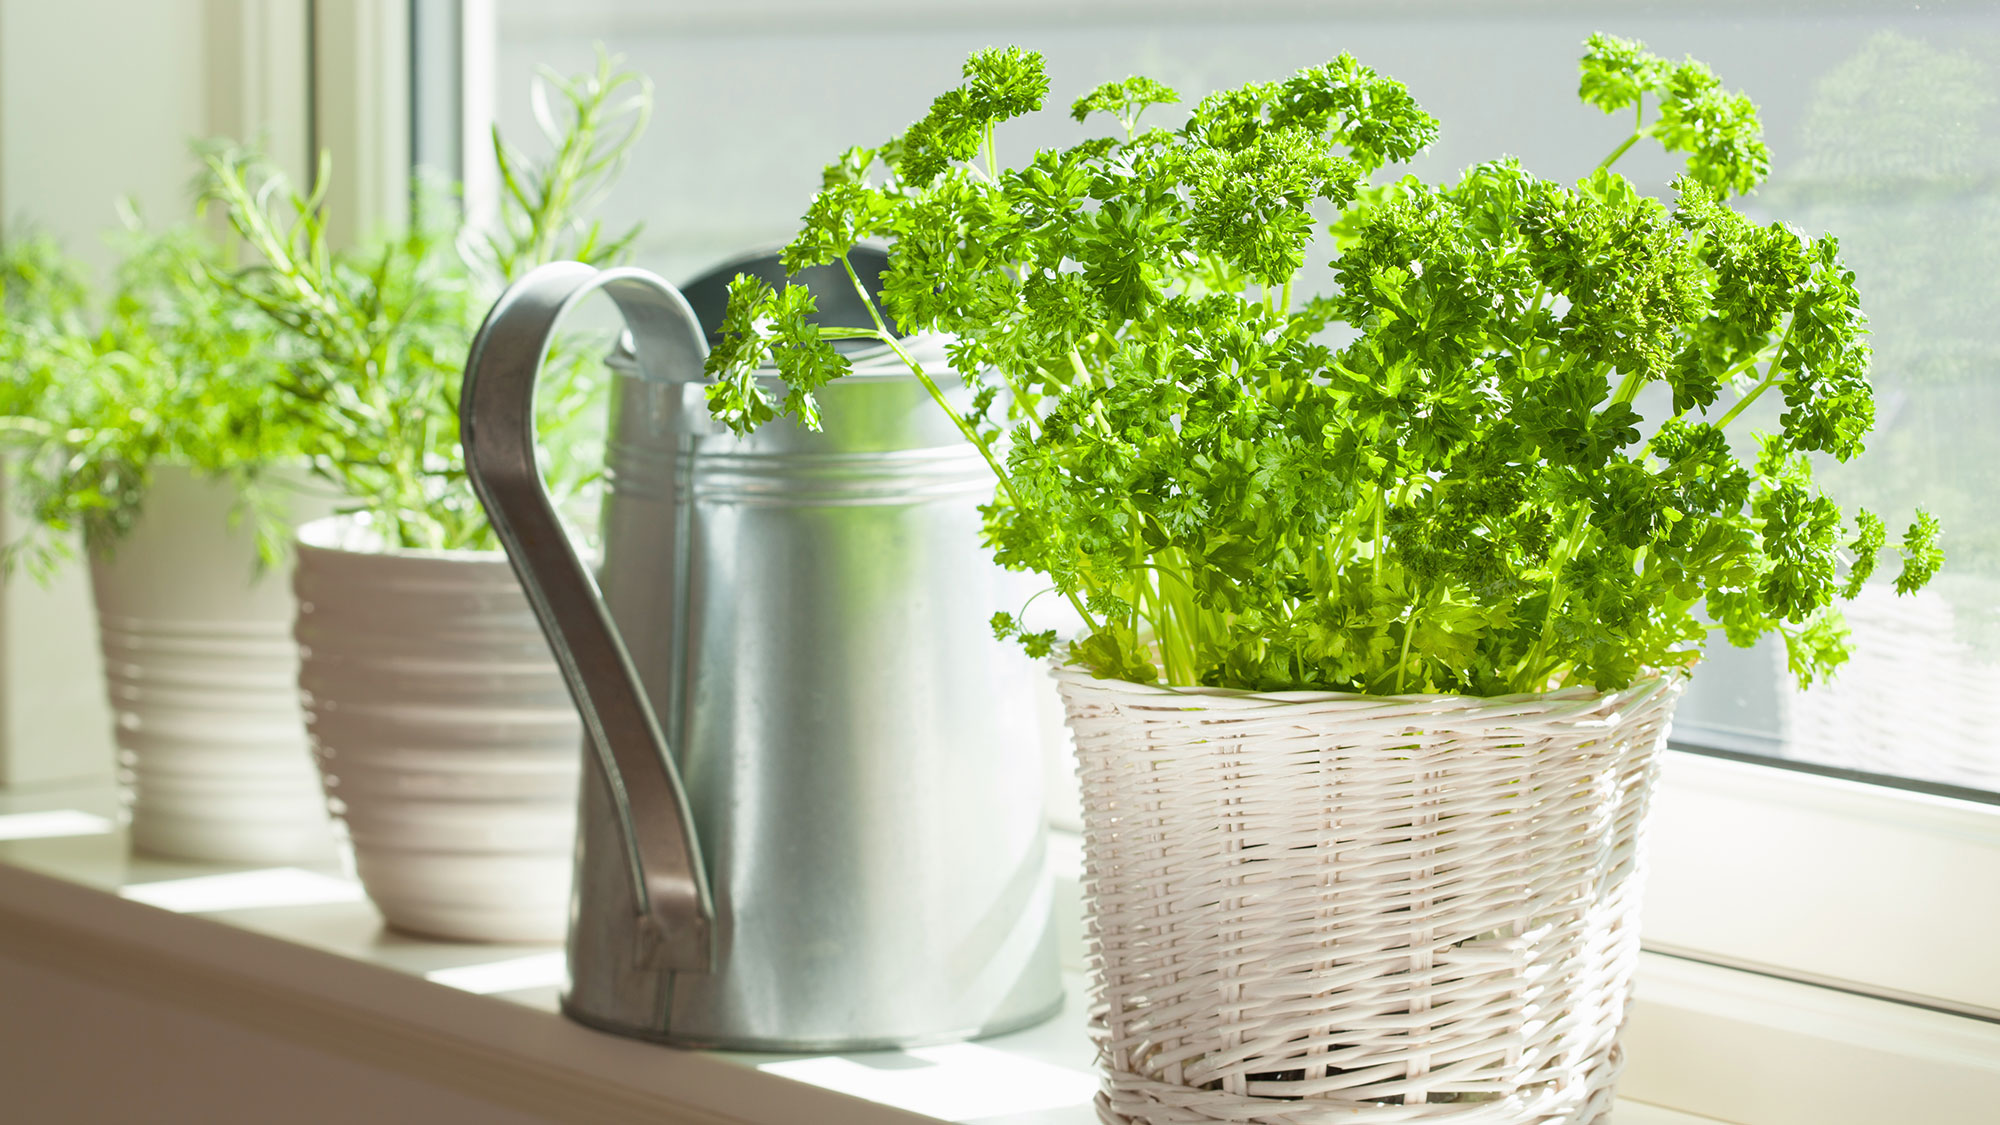
Parsley ties a meal’s flavors together and adds a bright note to almost anything you’re making. Ivanov suggests, “Parsley can be used as a garnish or in soups, stews, and salads.” Being a biennial plant, it lasts for two growing seasons, making it the ideal multi-seasonal herb. To prolong its harvest period further, Ivanov says, “Parsley needs nutrient-rich, well-drained soil and full sun exposure.” Parsley also benefits from the occasional feed from a general seaweed fertilizer.
Top tip
Of all the culinary herbs, parsley and basil are two that will perform well grown in a hydroponic environment because they thrive in moist conditions.
5. Chives
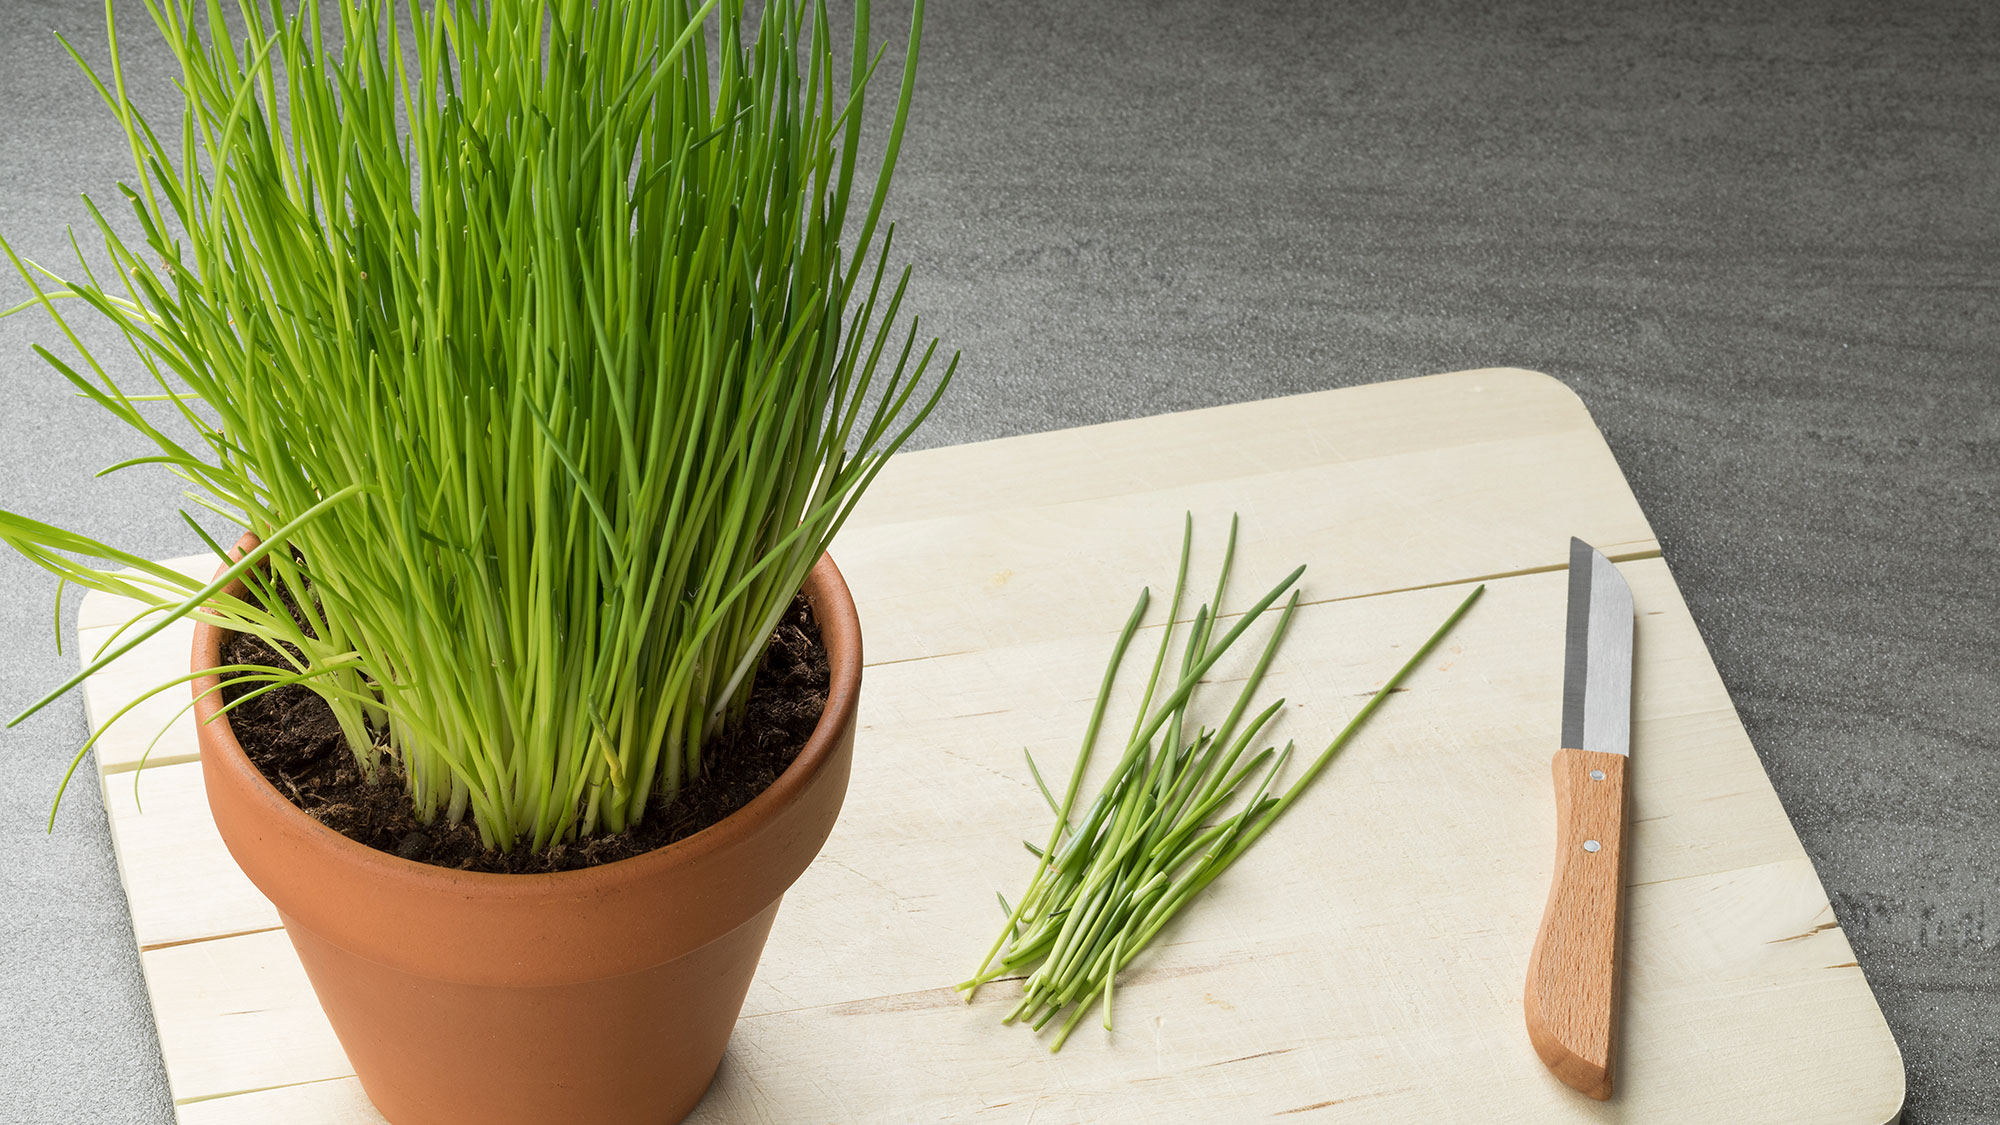
Chives are known for their long grass-like leaves and vibrant purple flowers, which are both beautiful and edible. Ivanov explains, “Chive plants need full sun and well-drained soil in order to get the flowers to bloom.”
Be sure to give chive plants lots of water in dry weather. Daily watering during the summer months may be needed to prevent wilting.
He says, “A mild onion-flavored herb, chives are perfect for garnishing soups, salads and potatoes.” They can be used fresh or dried, making your dishes look and taste better. My personal favorite is adding chives to homemade cheese scones to up the flavor stakes.
Top tip
The aroma of chives acts as a pest repellent that will keep bugs away from your indoor herb garden.
6. Cilantro
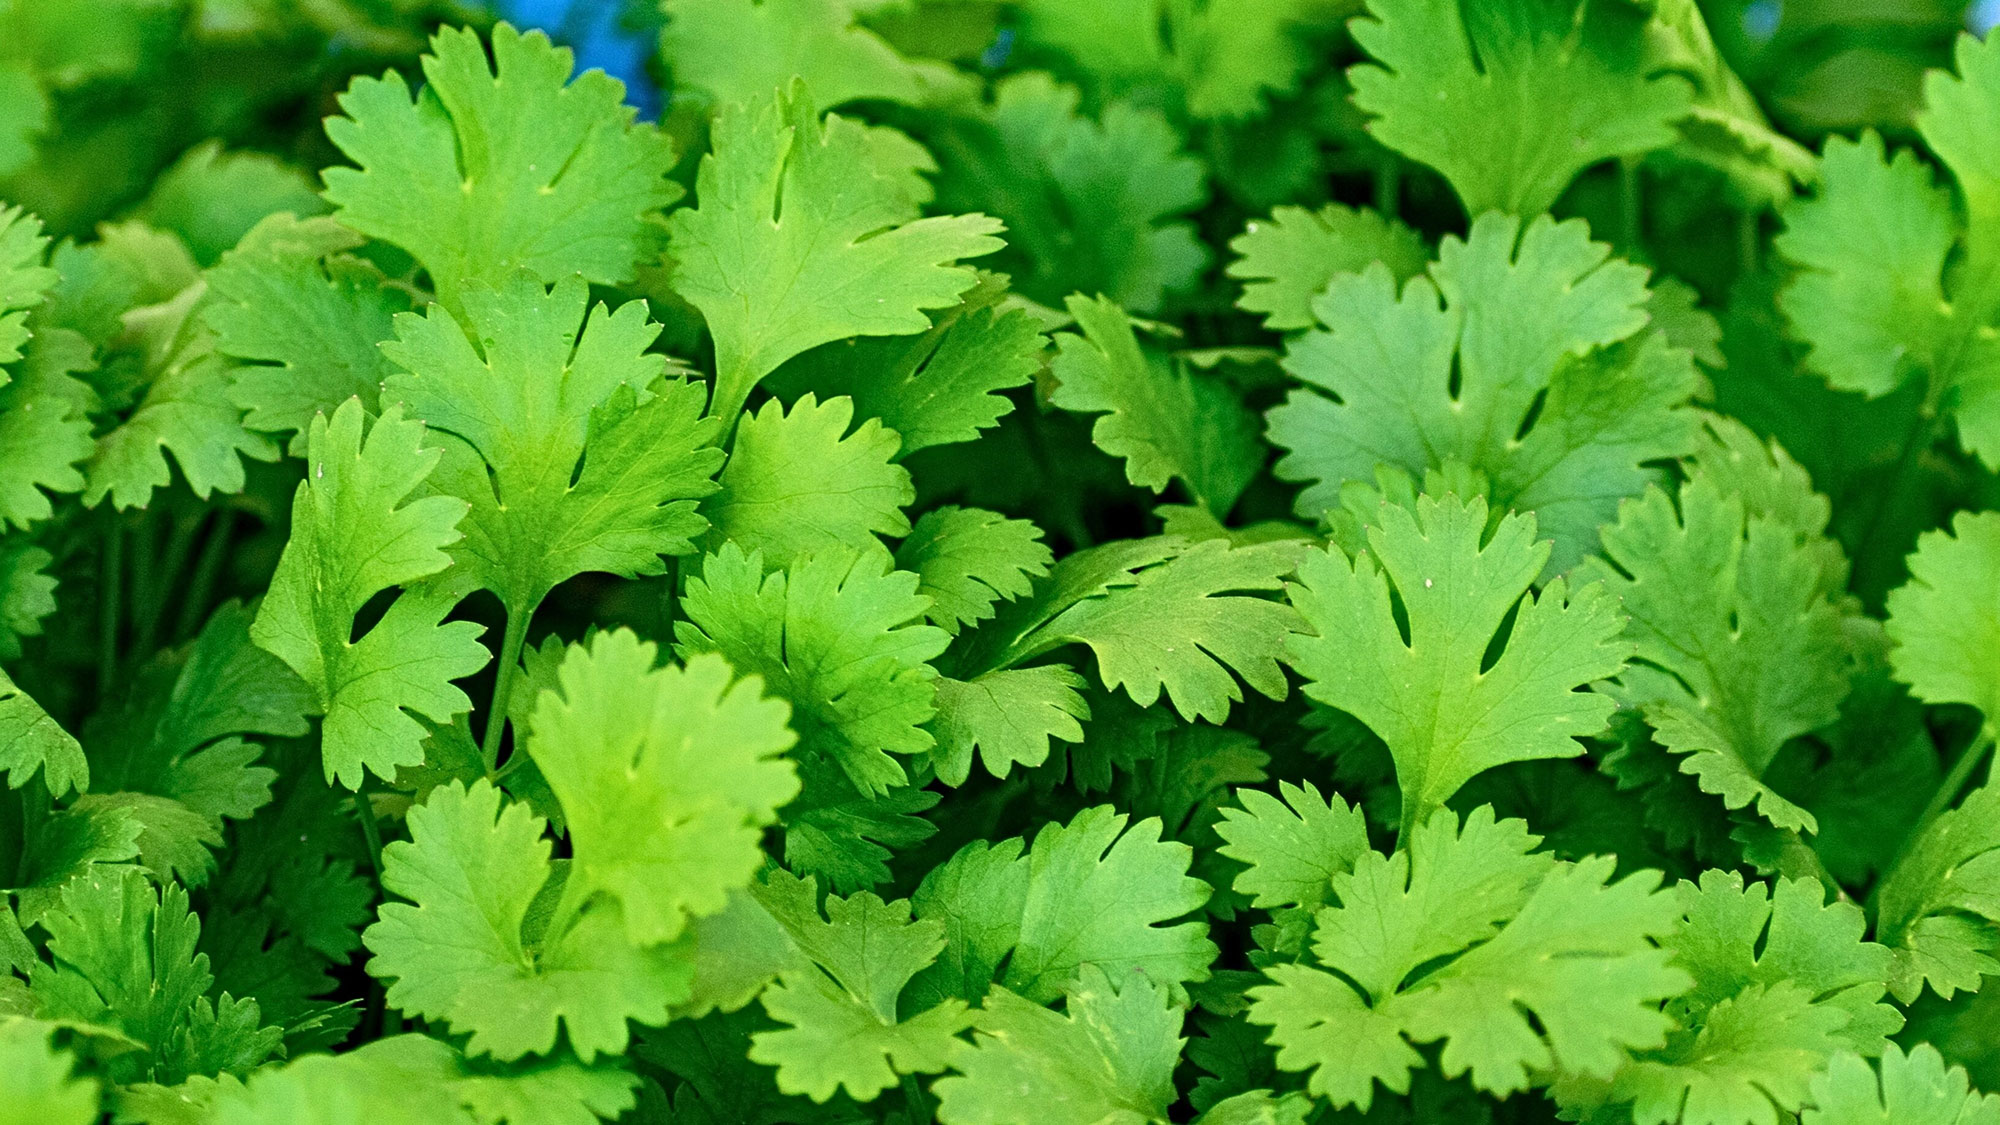
Cilantro has a distinctive, fresh, citrusy flavor that can be used in salsas, curries and soups. The leaves or cilantro seeds can be harvested from the white and pink flowers that bloom. Place coriander in full sun to partial shade in deep, rich, well-drained soil.
But Ivanov warns, “Cilantro can grow quickly and often needs frequent repotting. This can easily be done through removing the plant, untangling old roots, and replacing the soil.”
Top tip
Cilantro does best in cooler temperatures between 60-70°F, as it can taste bitter when exposed to higher temperatures, and the plant is at risk of bolting. Bolting is when the plant changes from being mostly leaf-based to flower and seed-based, and its energy is diverted from its roots and leaves to produce seeds.
7. Oregano
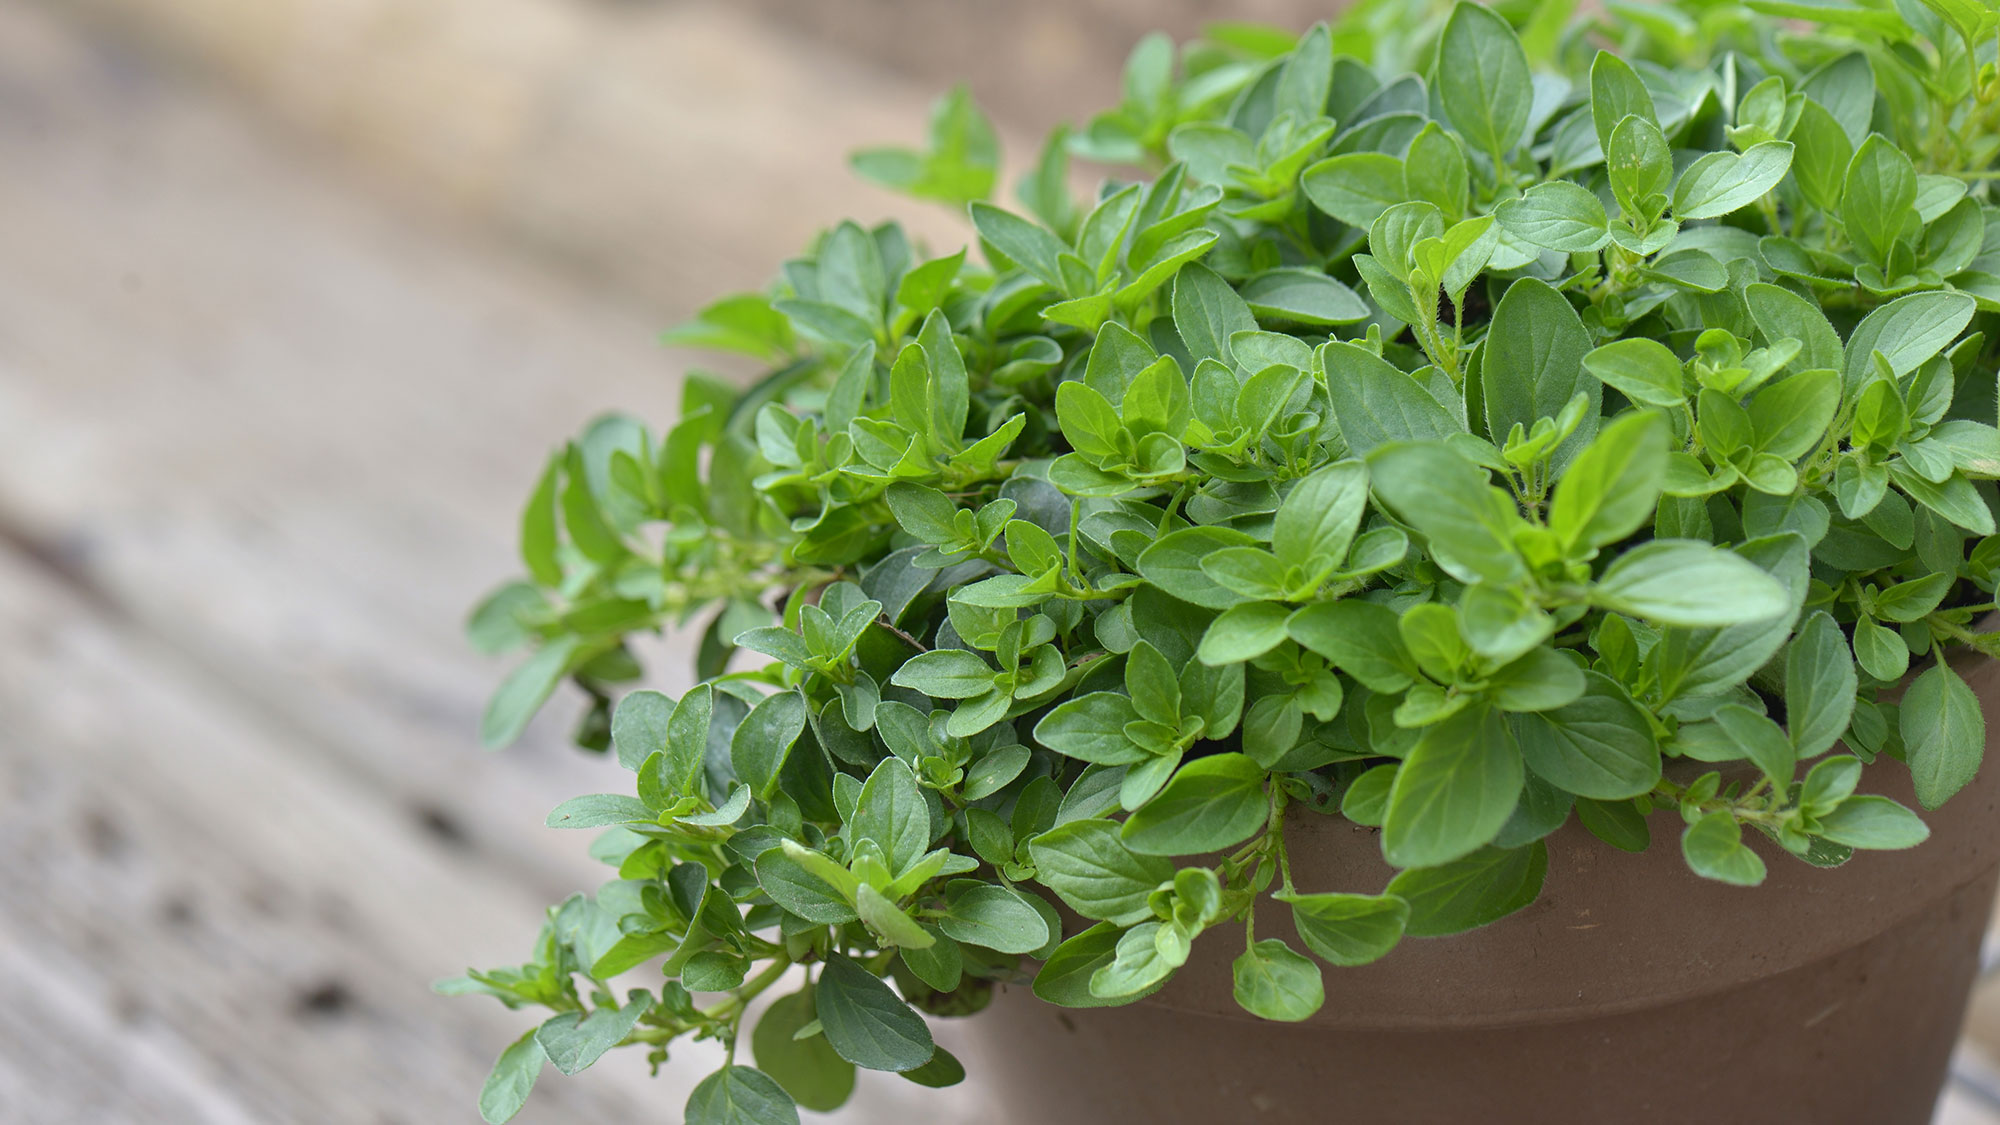
Like rosemary, oregano thrives indoors with minimal care and a little bit of patience due to its drought-resistant nature. Grow the compact plant in full sun and cut back plants regularly for bushier growth. Ivanov advises, “Oregano hates too much water and flourishes in slightly dry conditions. The best way to keep an oregano plant alive inside is to provide well-drained soil.”
Oregano’s distinct, earthy flavors are a natural pairing with strong flavors such as garlic or lemon and roasted fish and meat. For a more concentrated and potent flavor, use dried oregano.
Top tip
Oregano should be pinched back before flowering to encourage the best-tasting leaves.
Indoor herb growing tips
When you start growing herbs indoors, you'll gain from a beautifully scented home in addition to the culinary benefit. But to ensure your herb-growing journey is a triumph, Ivanov shares his advice on how to make your at-home herb garden flourish.
“For successful indoor herb gardening, choose pots with drainage holes to prevent root rot and use well-drained potting mix with sand or perlite. Position pots in sunny spots with at least six hours of sunlight daily, and only water when the topsoil is dry to the touch. Regularly check for pests and use natural pest control remedies like neem oil to maximize plant lifespan.”
When it comes to pruning and harvesting, Ivanov also notes, “Make sure to pinch back the tips of the plants regularly to encourage bushier growth. Harvest herbs in the morning, when their essential oils are the most concentrated, and avoid taking more than one-third of the plant at a time to guarantee continued growth.”
However, it's also worth knowing what 7 mistakes it's all too easy to make when growing herbs.
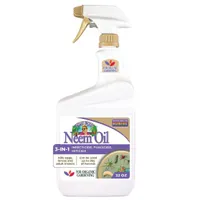
Bonde Captain Jack's Neem Oil Spray, 32oz: $11 @ Amazon
Neem oil is a multi-purpose, organic pest control solution for mites, flies and mildew, acting as a fungicide, miticide and insecticide. This ready-to-use product has an easy-to-use spray nozzle. It's suitable to use on roses, flowers, vegetables, fruits, herbs, indoor houseplants, trees and shrubs.
How to grow herbs from seed
The cheapest way to grow herbs is from seed. Here’s how to do it in 6 easy steps:
1. Fill a container with seed compost to the top.
2. Lightly tamper the top of the compost without making it compact.
3. Sprinkle the seeds on top and cover with a thin layer of compost or vermiculite.
4. Place the pot's base in water for about 5 minutes. Avoid watering from the top to prevent disturbing the seeds.
5. Place on a sunny windowsill, or to encourage faster germination, cover with a clear plastic bag to create a mini greenhouse.
6. Once the seedlings emerge, thin out the weaker ones to encourage vigorous growth.
More from Tom's Guide

Camilla is the Homes Staff Writer and covers everything to do with homes and gardens. She has a wealth of editorial experience, mounting over 30 years, and covers news and features, tests products for reviews and compiles buying guides.
Her work has appeared in business and consumer titles, including Ideal Home, Real Homes, House Beautiful, Homebuilding & Renovation, and Kitchen & Bathroom Business. She’s even appeared on the cover of Your Home, writing about her own house renovation.
Although she’s obsessed with decorating her home, she also enjoys baking and trying out the latest kitchen appliances. But when she’s not inside, you’ll find her pottering about in her yard, tending to her vegetable patch or taking in her prized hydrangeas.
