5 mistakes to avoid when hanging wallpaper — and how to do it right
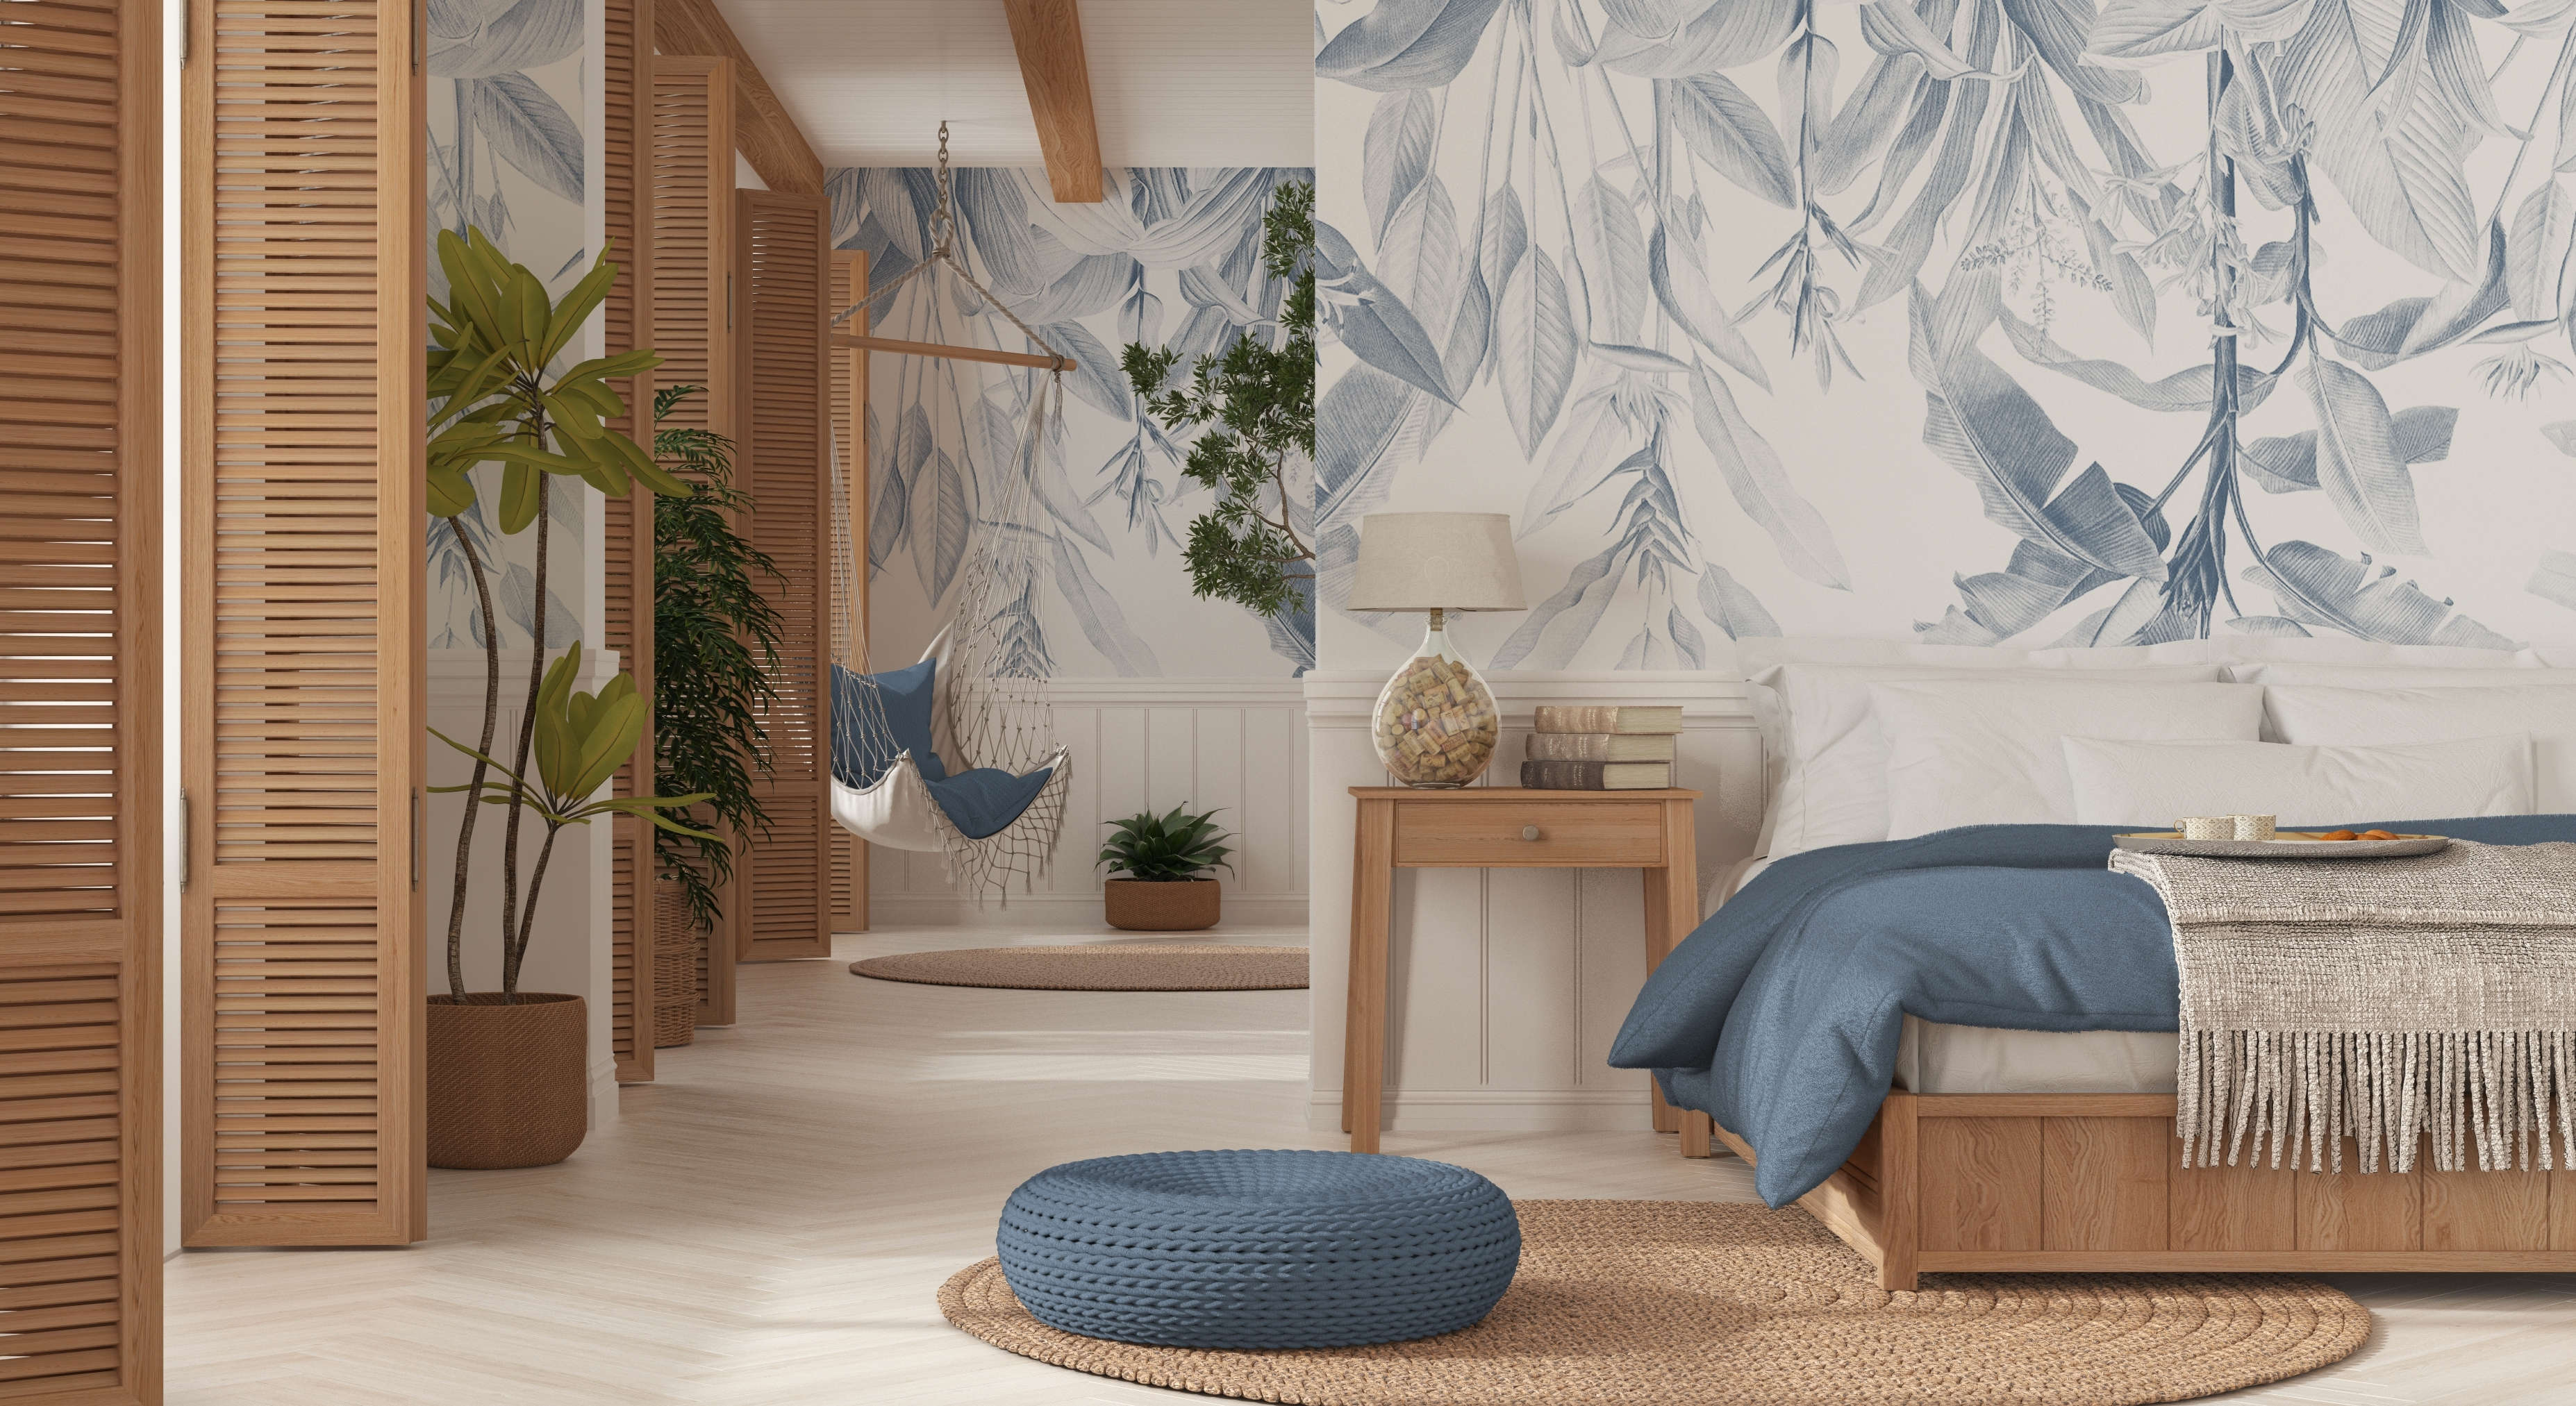
Wallpaper can be used in many clever ways to add impact to a room — it can be hung throughout a whole room, on a statement wall, or above wall paneling to create an interior scheme that is altogether more striking.
Many of us are happy to take on DIY decorating tasks in our homes, and wallpapering is no exception. Apart from saving on the expense of hiring a professional decorator, you’ll also gain the satisfaction that you did it yourself. But, while wallpaper can transform a room, it can also have the reverse effect if your DIY attempts go wrong.
So, before you get your decorating overalls out, it’s best to be aware of the common pitfalls to avoid when wallpapering. We’ve put together 5 mistakes often made when wallpapering to help you avoid a DIY disaster.
1. Messing up the math
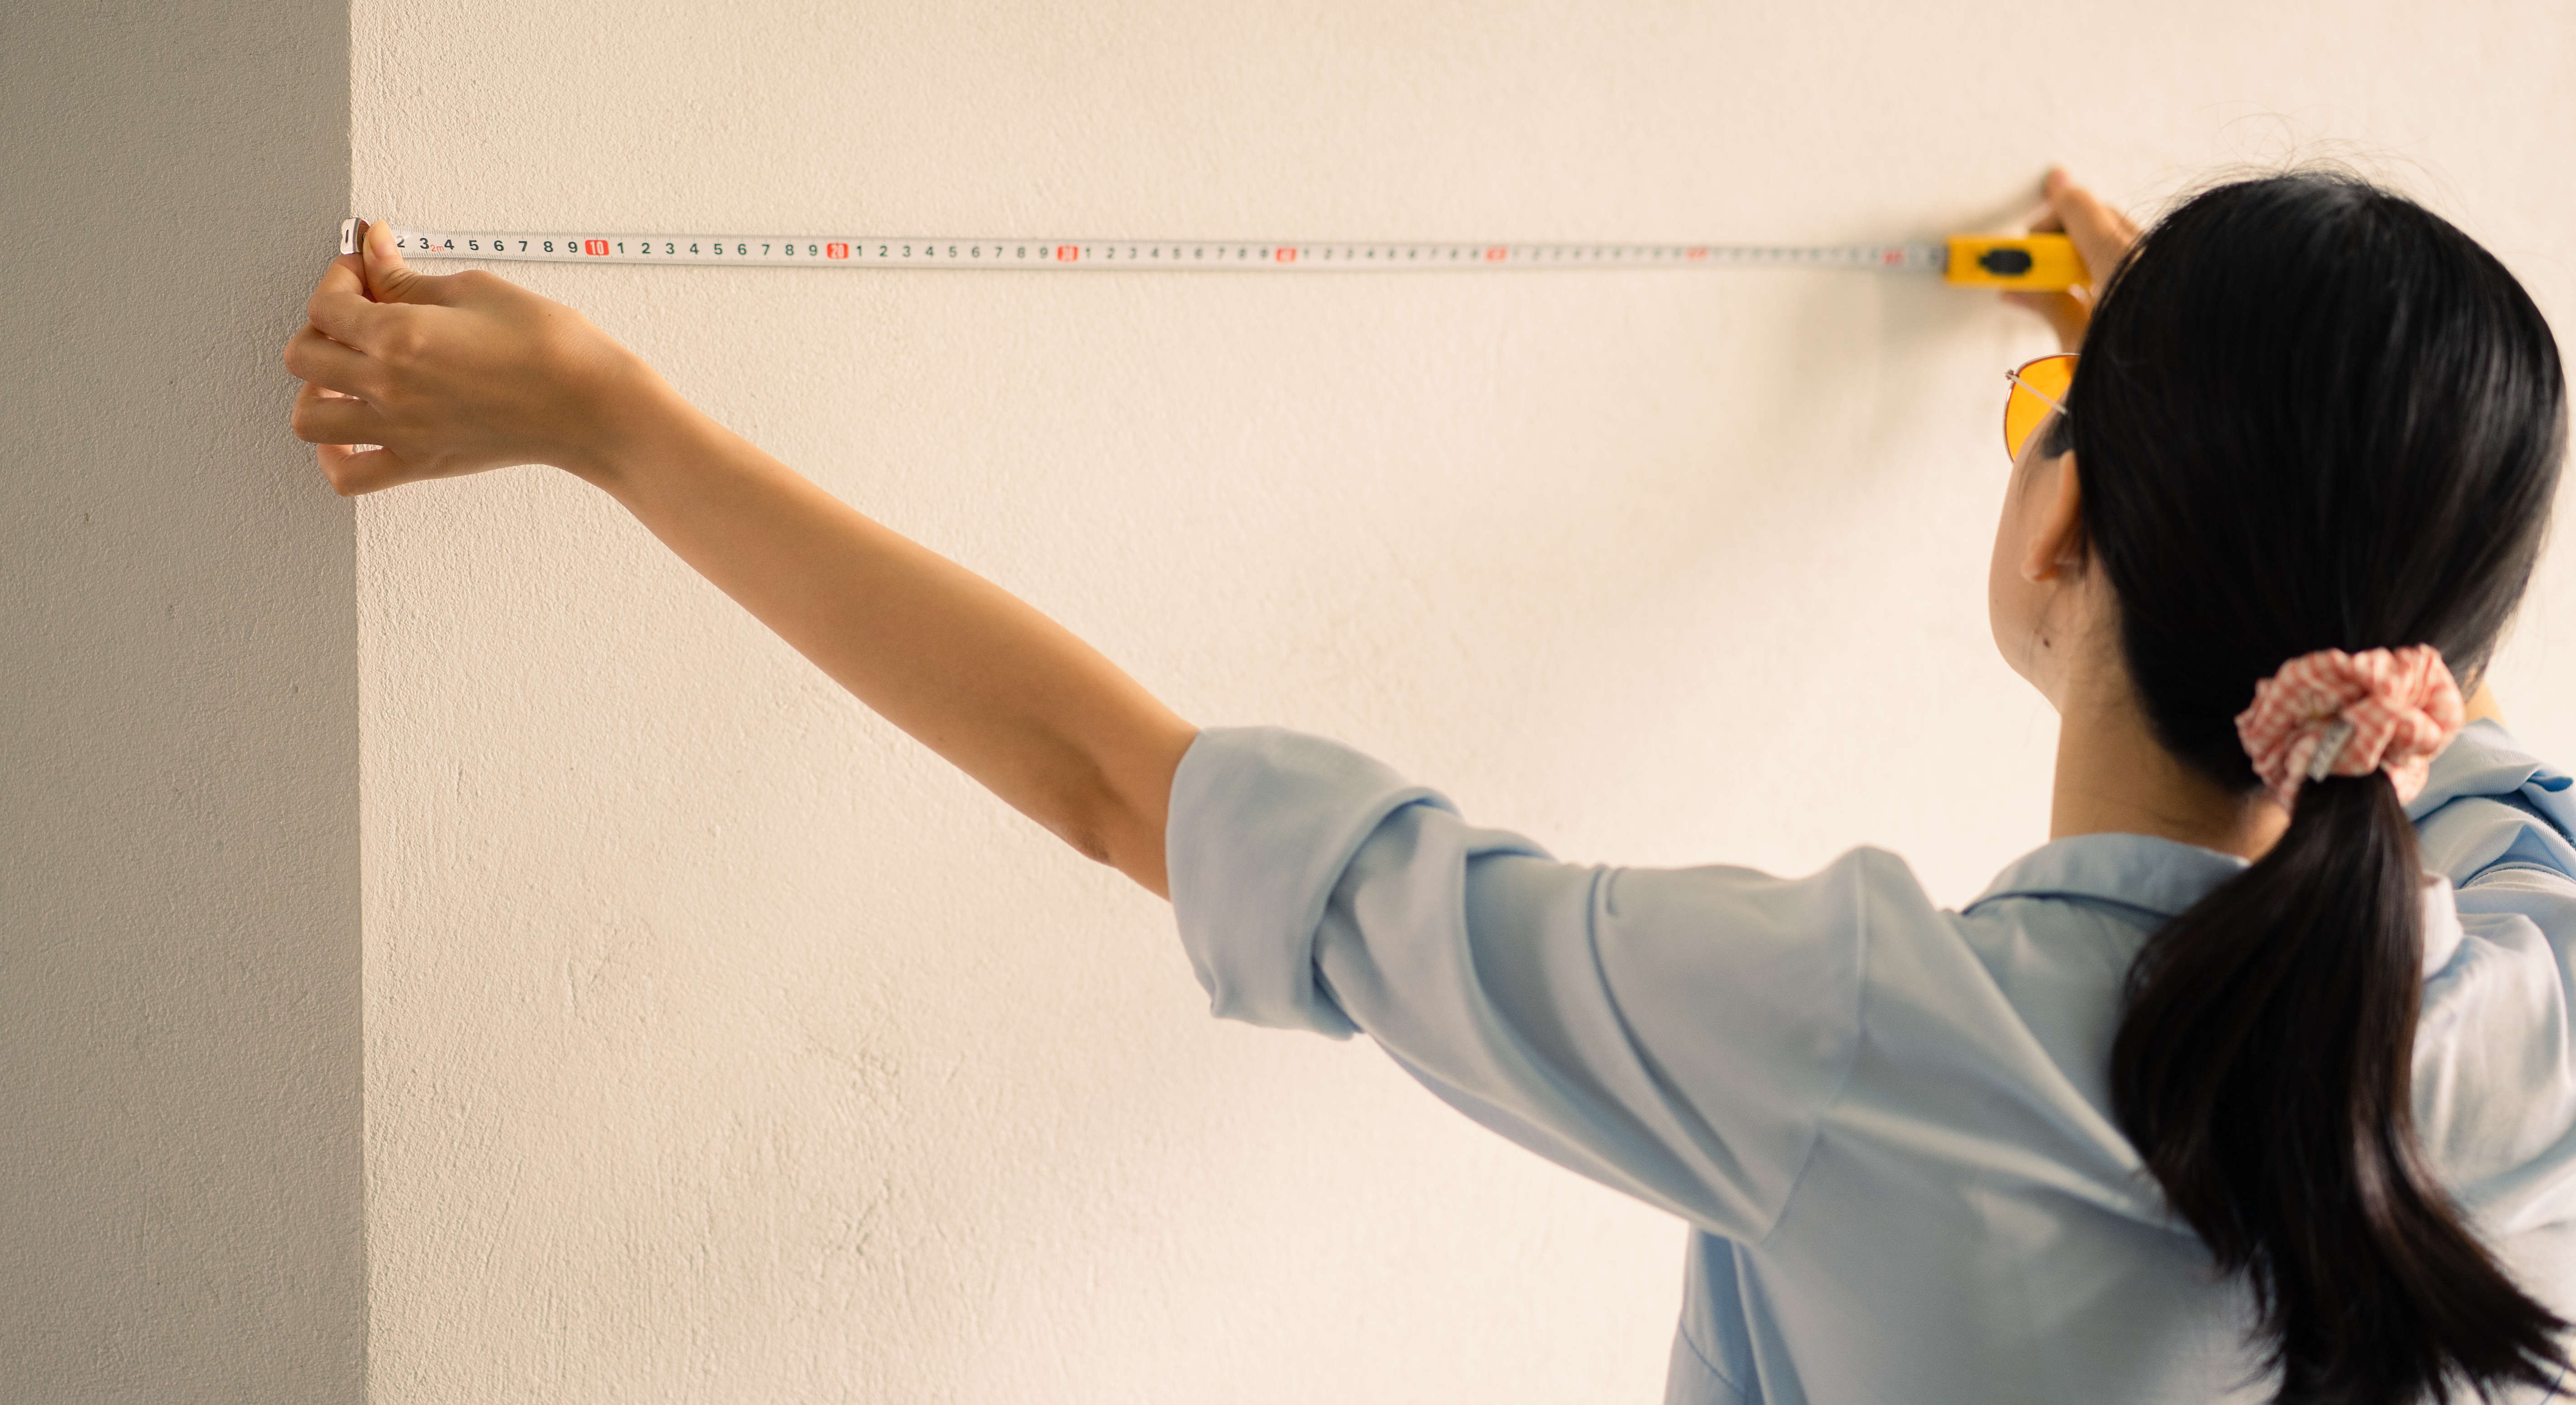
Before you start hanging your wallpaper, you must measure up correctly. Discovering you’re a strip or two short before you’ve finished hanging the wallpaper is particularly frustrating. You’ll not only have to go out mid-flow to restock, but you might find the same wallpaper batch number is no longer available, and the color on another batch could be slightly different.
Measuring up for a plain wallpaper or one with a small pattern repeat is fairly simple. Wallpaper Direct has a handy online wallpaper calculator that will estimate the number of rolls you need for your project. However, if you’ve chosen a wallpaper with a large pattern, you’ll have to add extra to your calculations.
Check the details on the wallpaper specs for the extra wallpaper you’ll need to leave for pattern repeats. And rather than being frugal, be lenient and leave room for mistakes. Returning a spare wallpaper roll is far less inconvenient than running out before the papering is complete. However, before you buy, check if the wallpaper can be returned.
2. Not prepping the walls
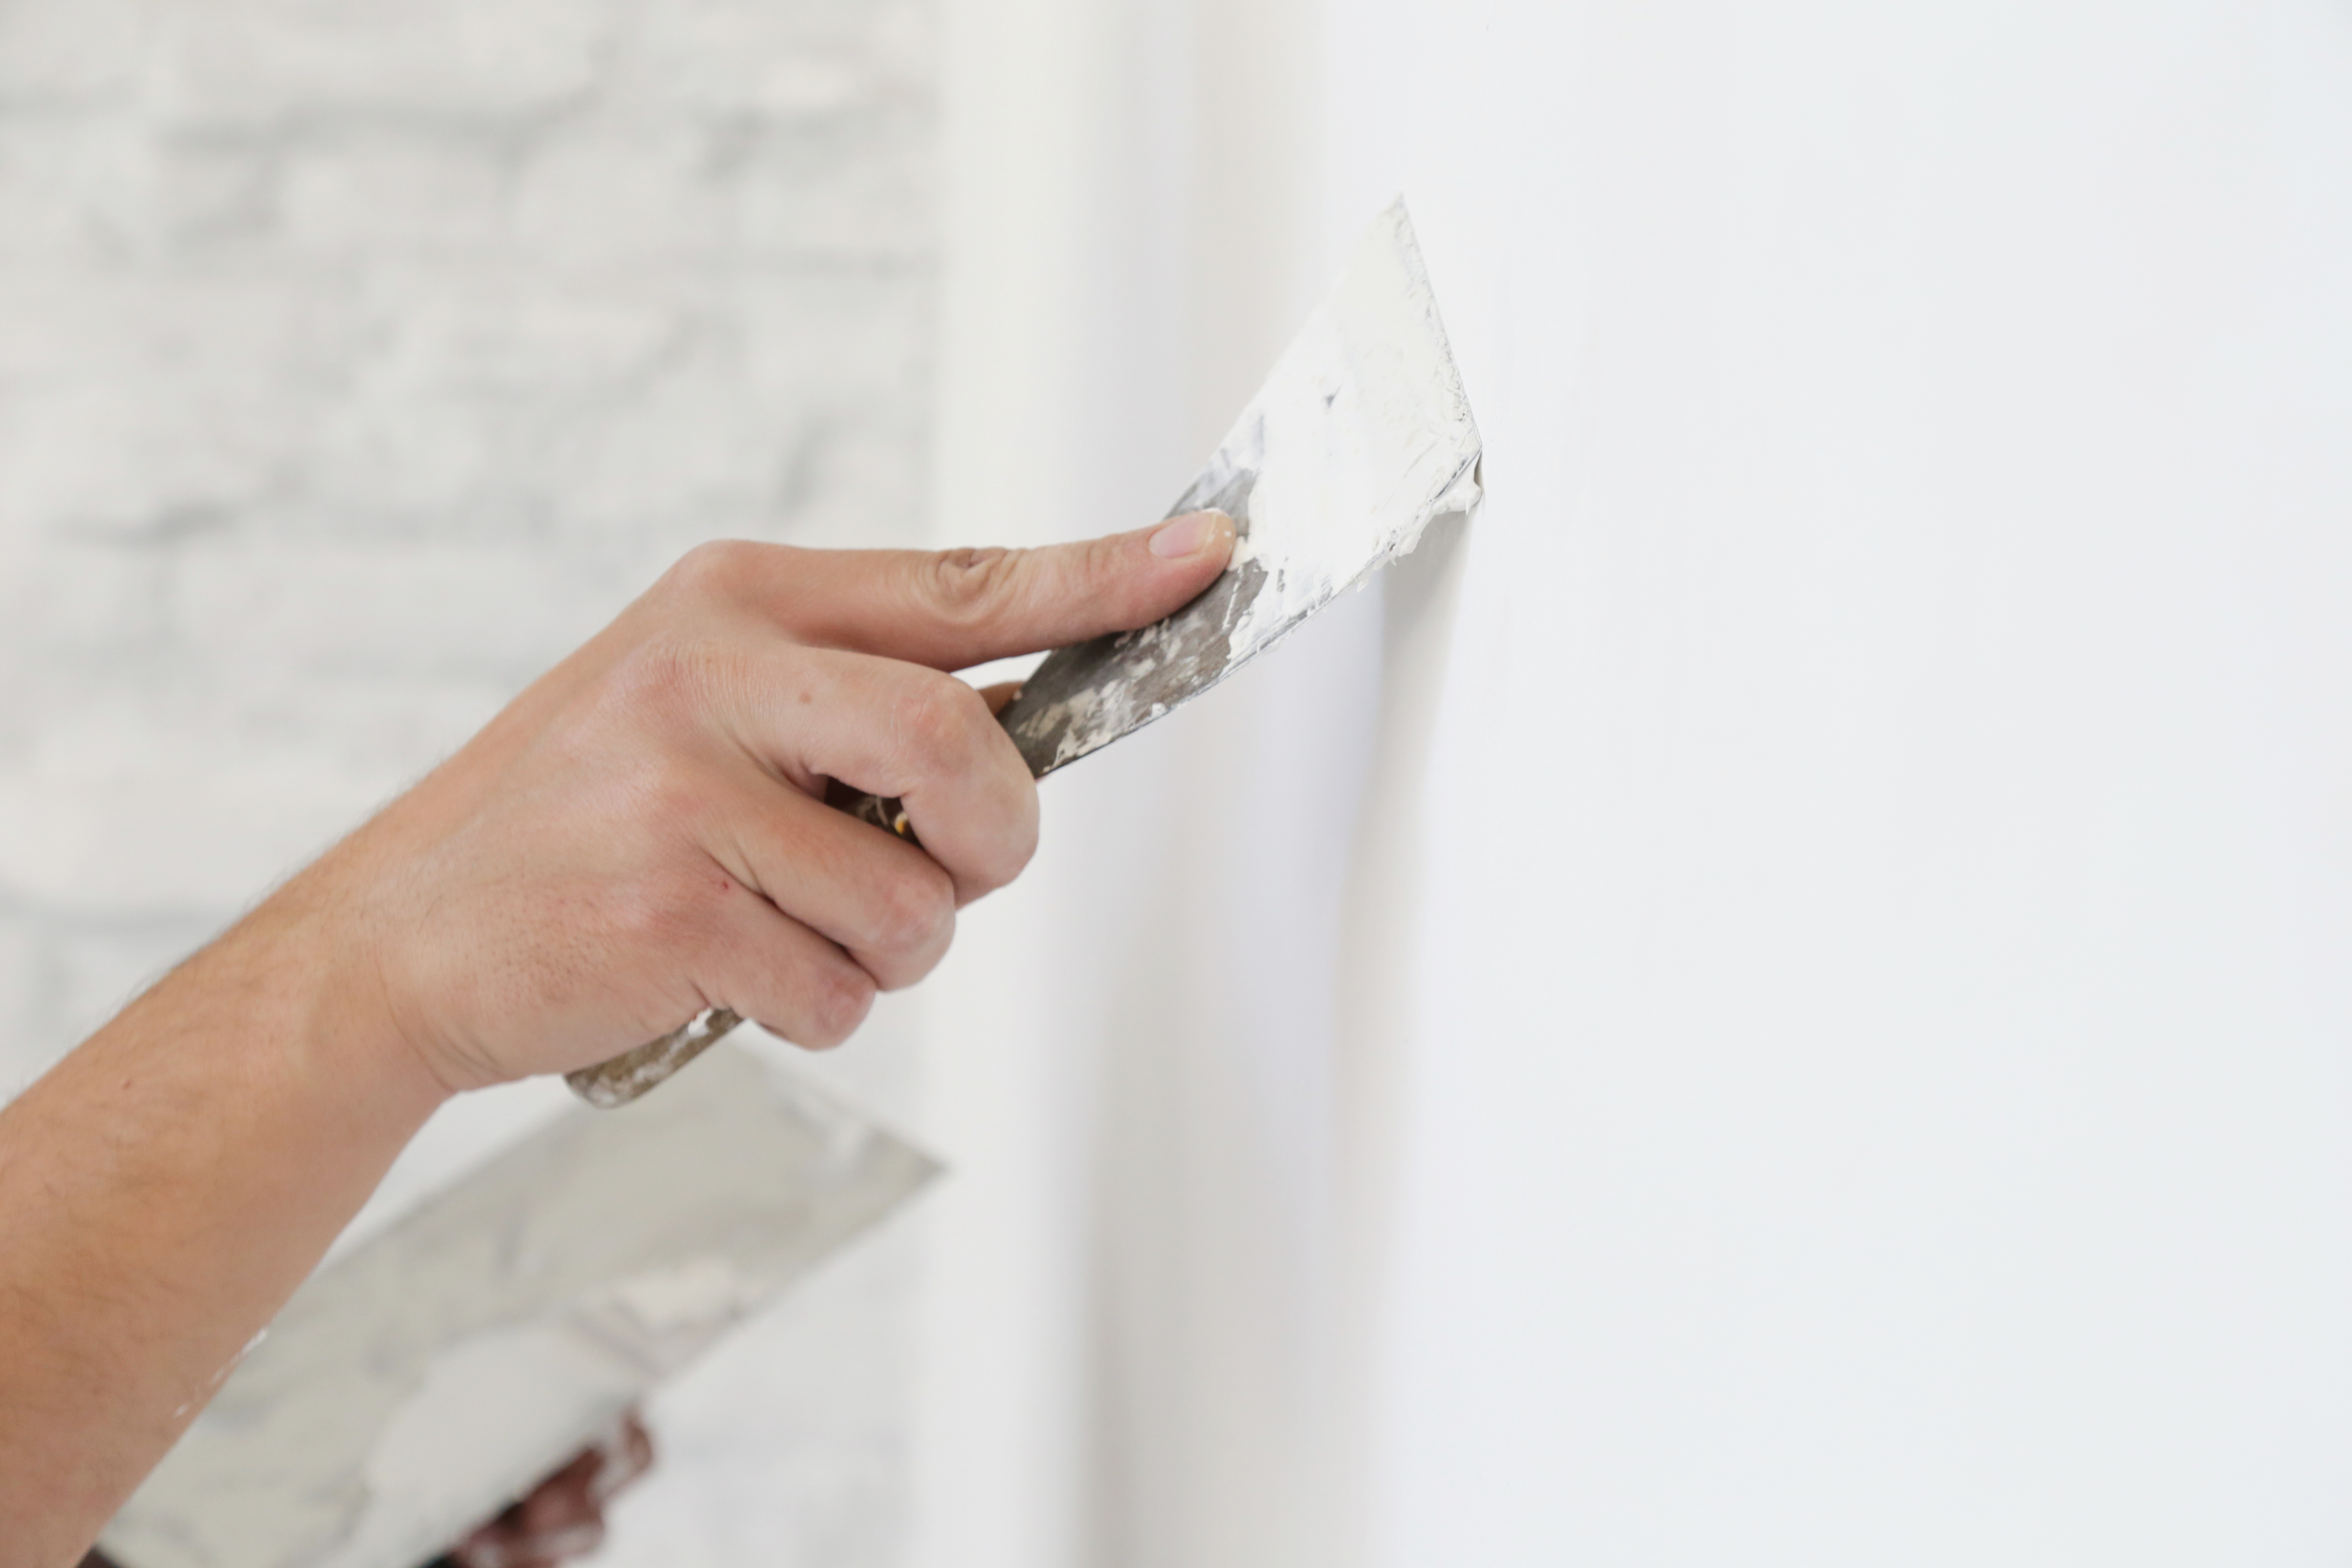
Although wallpaper can hide a few unsightly secrets on walls that are less than smooth — it doesn’t mean the walls don’t need to be prepped as lumps and bumps will still be visible. A prominent bump on my bedroom wall glares at me every time I go into the room, and it’s particularly obvious as the wallpaper has a sheen. It’s similar to how you choose paint for your interior, as shinier finishes will show imperfections more than those with a matt effect. So, if you do have imperfect walls, opt for a wallpaper with a matt surface.
Get instant access to breaking news, the hottest reviews, great deals and helpful tips.
To prepare your walls fill in any cracks or picture hook holes and allow the filler to dry before sanding down. Then, sand any other lumps and bumps on the wall before wiping down all the surfaces. Cleaning over the walls with a mix of warm water and white vinegar will do the trick.
Apply a primer
Applying a primer to the walls will help the wallpaper adhesive stick. It helps by filling pores in absorbent surfaces, creating a smoother surface for hanging wallpaper. It also allows more of the adhesive to do its job rather than being absorbed into the pores in the wall. If your walls are painted with flat or matte paint, it’s advisable to apply a primer; however, gloss and semi-gloss paints are less absorbent and won’t necessarily need to be primed.
3. Air bubbles appearing under the paper
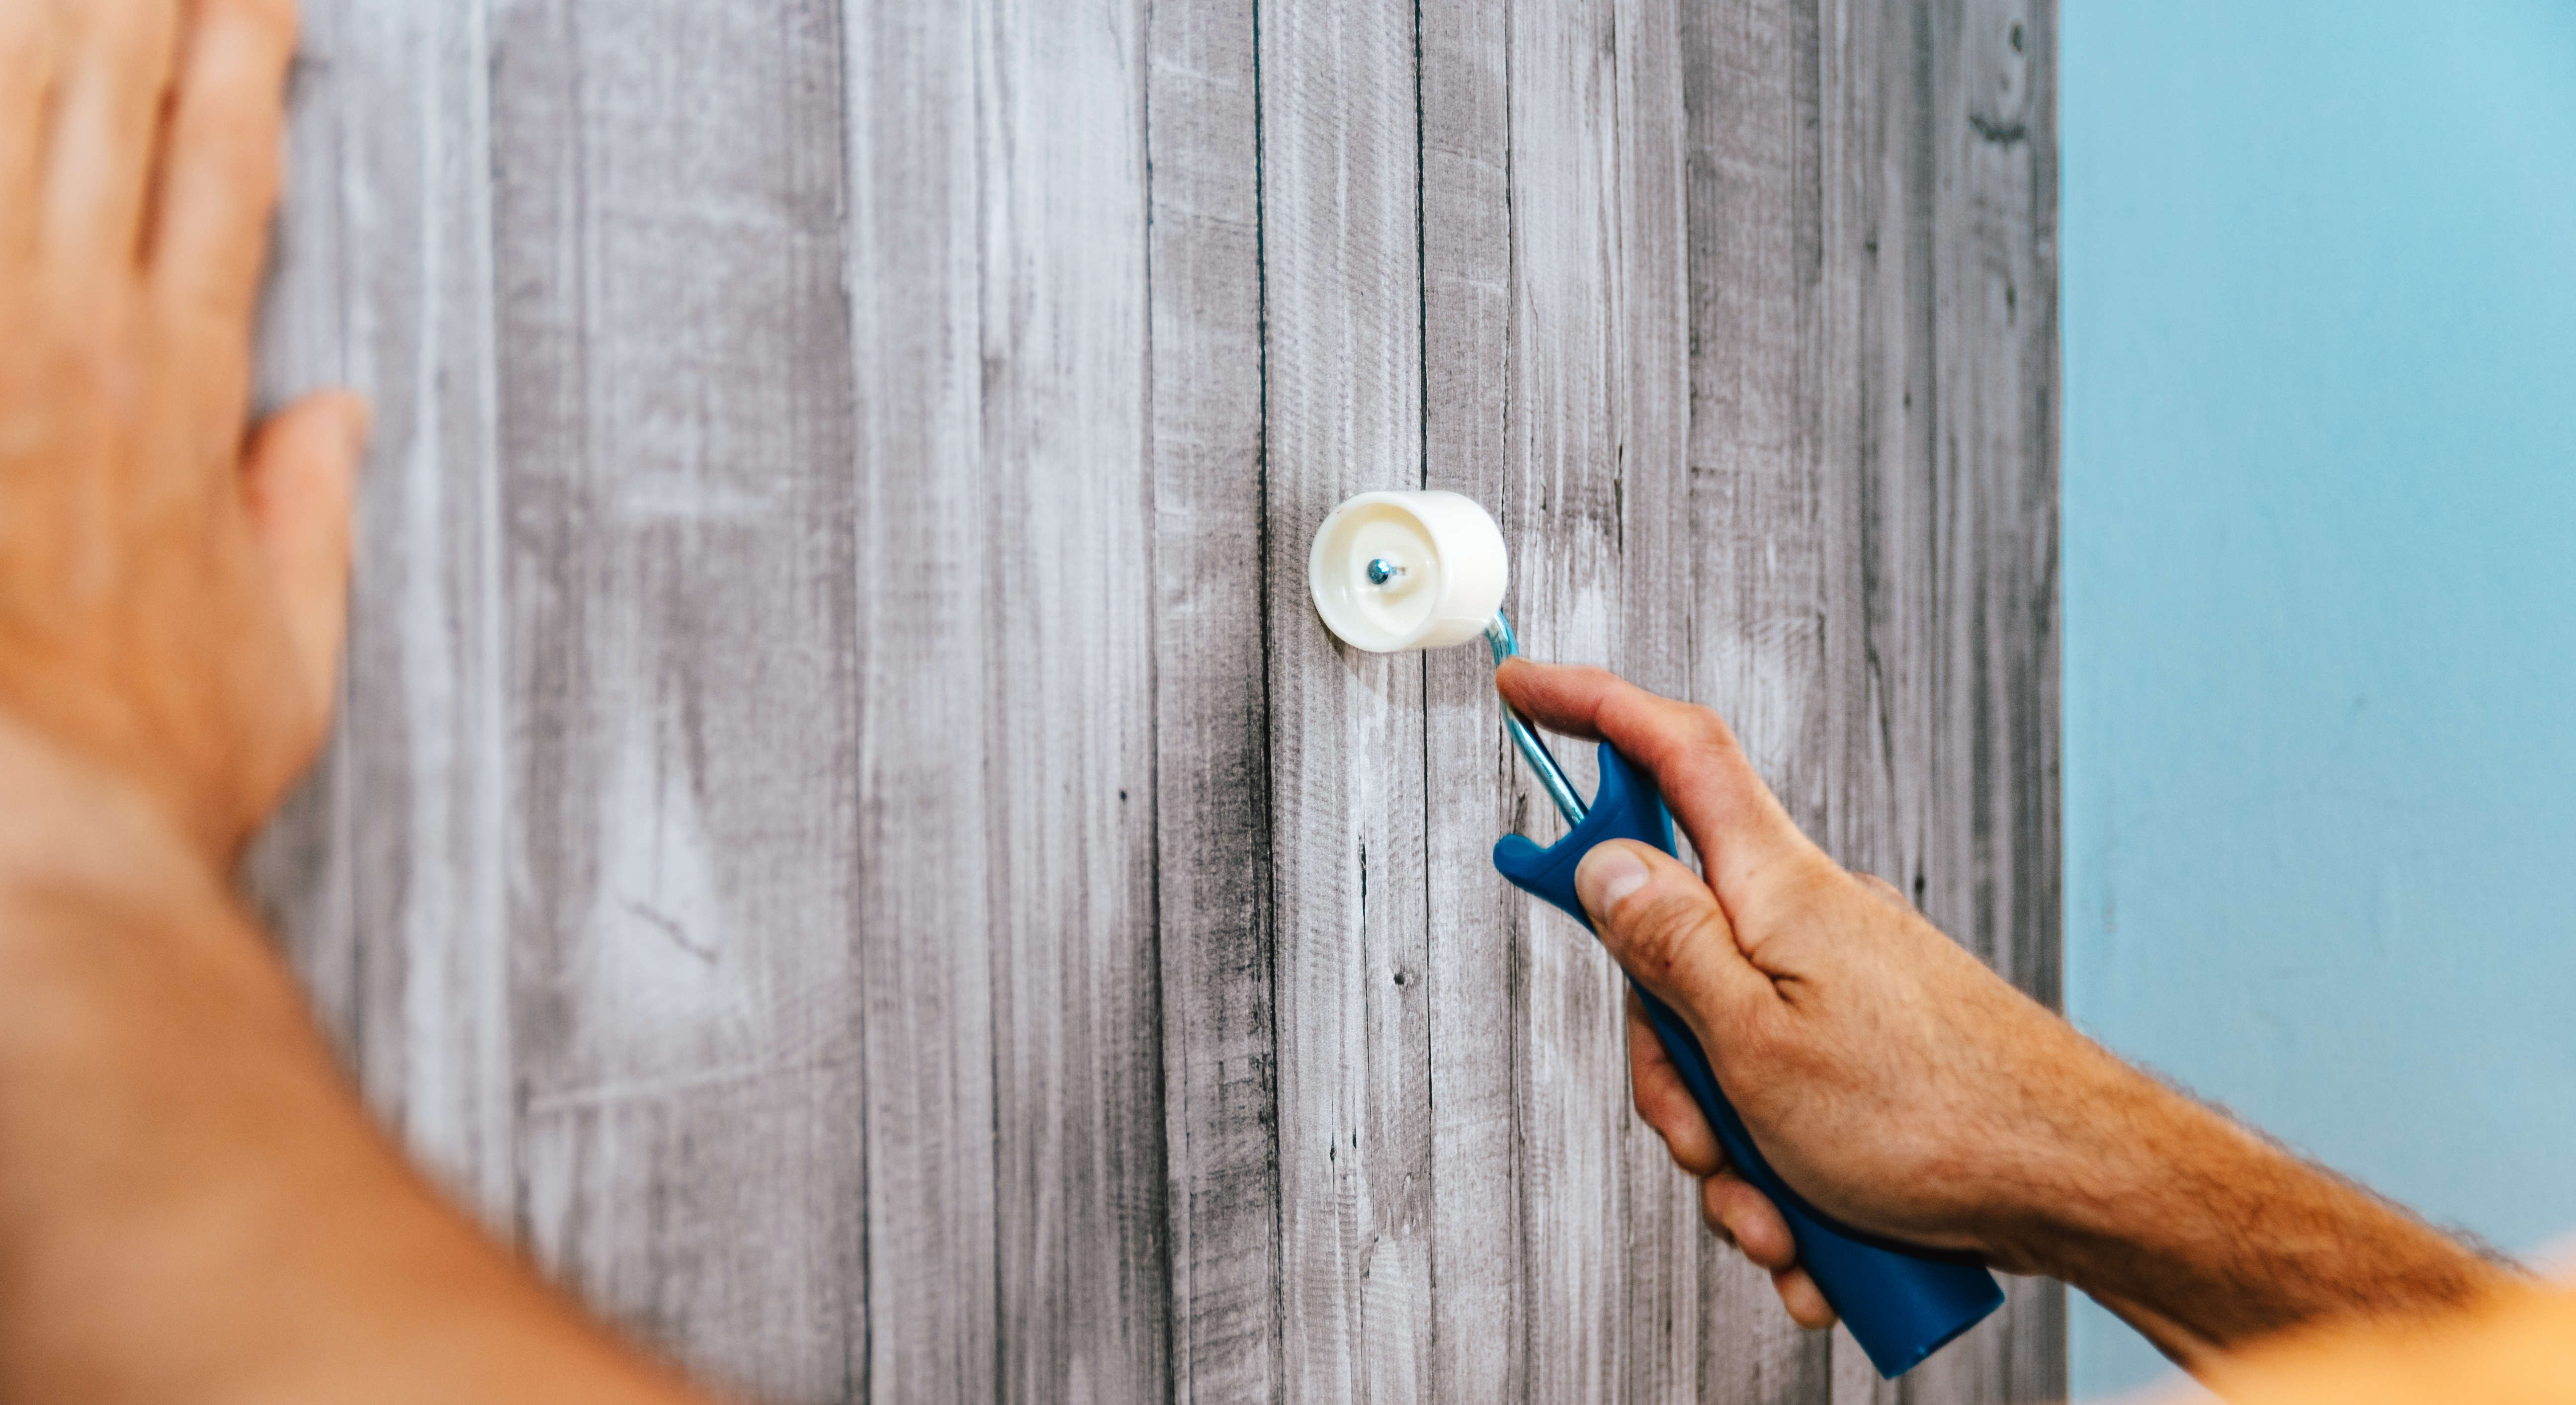
You’ll want your wallpaper to stay on your walls, but don’t get over-enthusiastic with the wallpaper paste. Using too much paste or not spreading it out smoothly can lead to bubbles and bumps appearing under the paper. Being in a rush can also cause a problem, as the adhesive needs time to settle before the wallpaper is hung. Always check the instructions on your wallpaper adhesive to see how long the paste needs to be left before hanging the paper.
So, how can you prevent bubbles from appearing? Priming your walls (as mentioned above) will help the adhesive stick and reduce the possibility of bubbles surfacing or your wallpaper lifting. But if bubbles do appear they can be removed using a wallpapering brush to smooth them out or with a wallpapering or seam roller. A foam roller is best as it's less likely to damage the wallpaper's surface.
An alternative is using a paste syringe — a special wallpapering tool that looks similar to a medical syringe. Draw up some paste into the syringe, pierce through the bubble with the pointed needle and spread the paste throughout the whole area, working it towards the pierced point. If the bubble is large, you may need to make a couple of insertions.
For larger bubbles, mark the shape of a cross with a cutter knife through the bubble, then apply some paste. Leave the paste to soak before pressing the wallpaper back into place.
4. Going offline
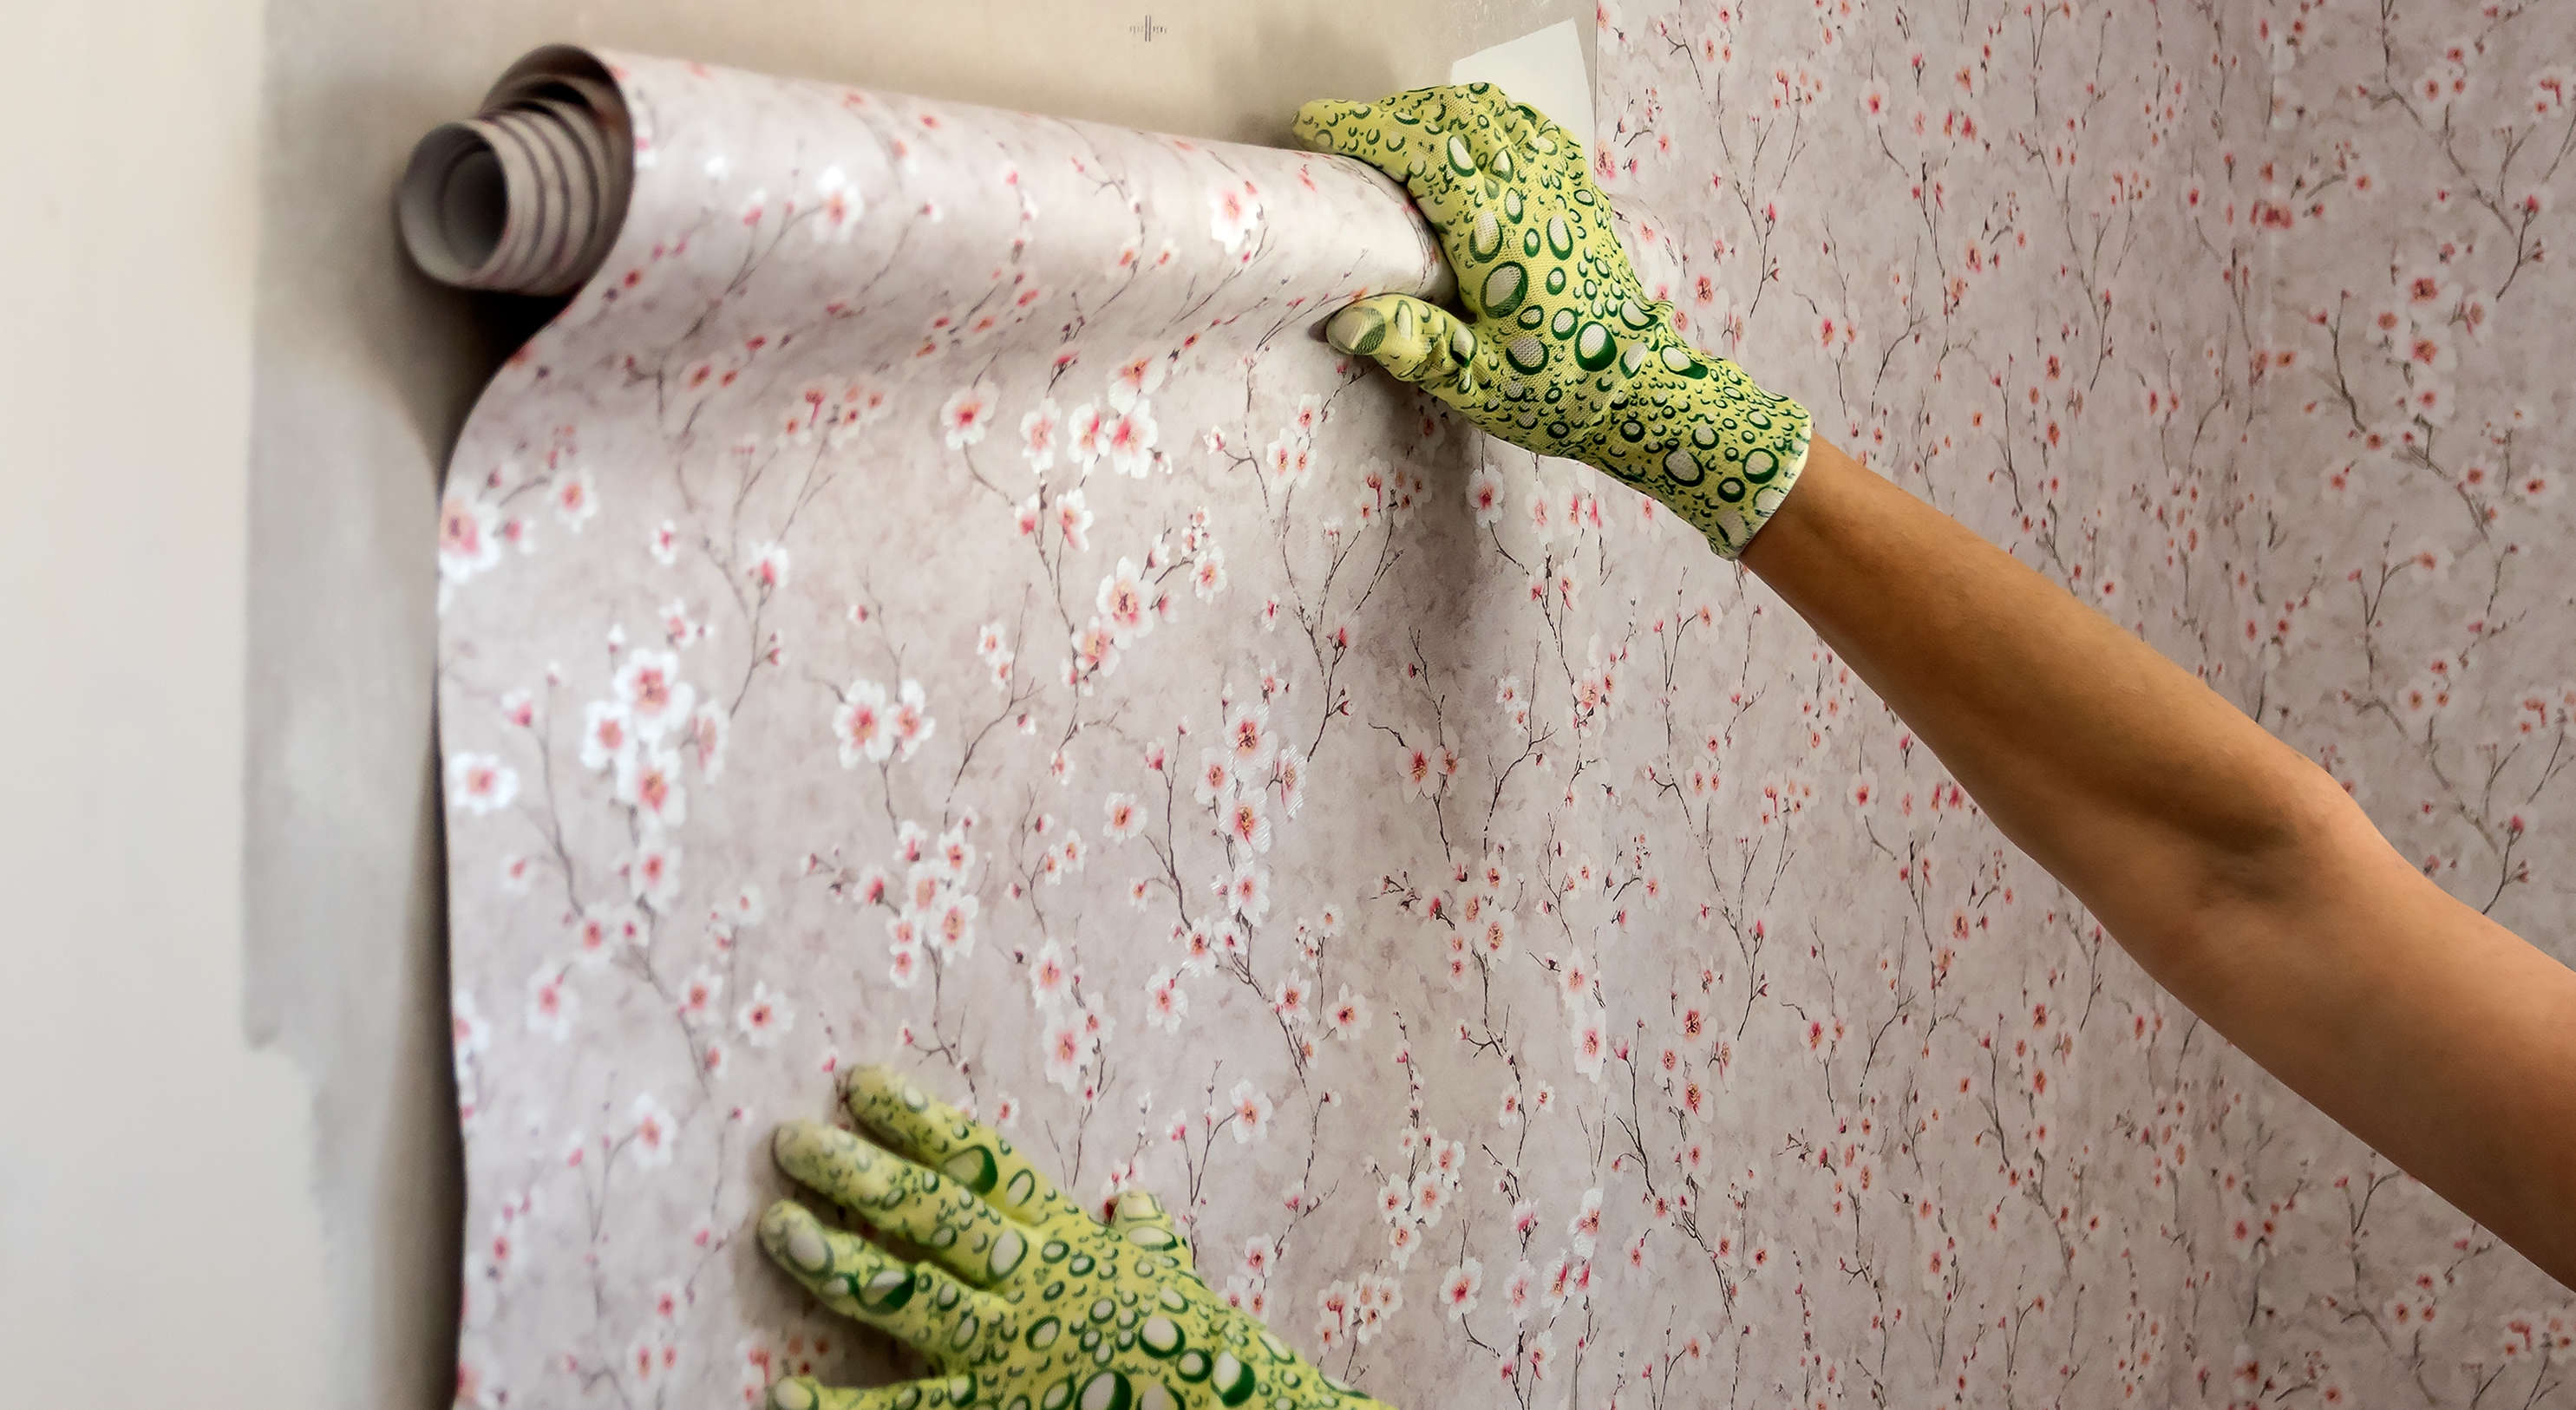
One of the trickiest parts of wallpapering is aligning the patterns on a wall. The tos and fros of holding the paper up to the wall and aligning the design can result in a paper that looks worn before it’s even hung.
Your wallpaper could look more shabby than chic. To avoid this issue, lay several wallpaper strips on a flat surface before it is hung. This will allow you to match the pattern from the top. Add a couple of inches to the top and bottom of the paper to enable you to trim it once it’s hung.
5. Leaving behind paste marks

Forgetting to clear up any residue wallpaper adhesive can add an unwelcome sparkle to the finish. Any paste that remains on the walls will leave a shiny spot that will be hard to remove. So, before you start putting your wallpaper tools away, get out a clean sponge and dampen it with fresh water, then wipe away the residue. Also, check for any paste on the kickboards and clean that up too.
If the paste has already dried, place a damp cloth on the spot for a few seconds to see if it will soften. If it does, dab at it gently to avoid damaging the wallpaper and wipe away the excess.
More from Tom's Guide
- Discover how to wallpaper a room
- Clever ways to use wallpaper in your home to stay on trend
- Plus, how to remove wallpaper without damaging your walls

Camilla is the Homes Staff Writer and covers everything to do with homes and gardens. She has a wealth of editorial experience, mounting over 30 years, and covers news and features, tests products for reviews and compiles buying guides.
Her work has appeared in business and consumer titles, including Ideal Home, Real Homes, House Beautiful, Homebuilding & Renovation, and Kitchen & Bathroom Business. She’s even appeared on the cover of Your Home, writing about her own house renovation.
Although she’s obsessed with decorating her home, she also enjoys baking and trying out the latest kitchen appliances. But when she’s not inside, you’ll find her pottering about in her yard, tending to her vegetable patch or taking in her prized hydrangeas.
