
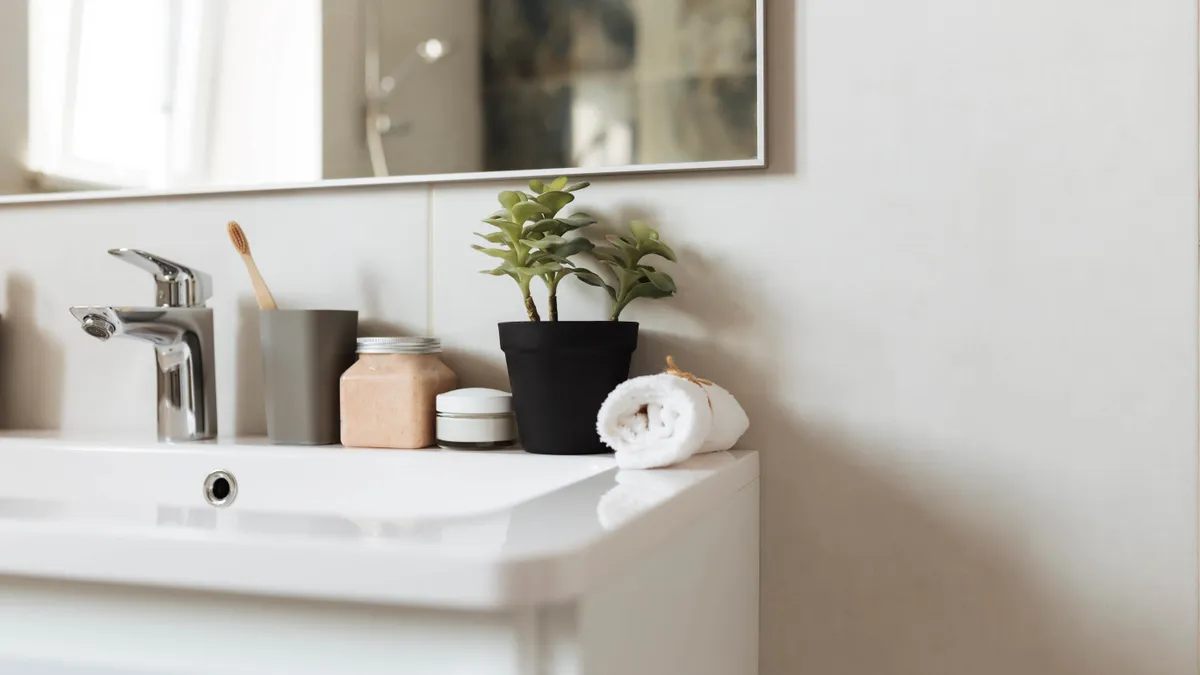
As spring cleaning season arrives, we diligently dust shelves, scrub floors, and refresh our living spaces — yet our personal grooming tools often remain overlooked.
Personal grooming tools collect significant amounts of germs with regular use. Electric toothbrushes may harbor thousands of bacteria in a small area, while hairbrushes gradually accumulate various germs and tiny particles like dust mites.
This unseen buildup not only compromises the effectiveness of your grooming routine but may also introduce unwanted bacteria to your skin, scalp, and mouth.
Regular cleaning of these essential tools extends their usable life and helps maintain optimal performance.
With these five simple cleaning techniques, you can ensure your beauty and grooming tools remain as fresh as the rest of your spring-cleaned home.
Electric Toothbrushes
Electric toothbrushes are breeding grounds for bacteria due to the moist bathroom environment and direct contact with your mouth. This makes them essential items to spring clean for better hygiene.
1. Detach and rinse

Remove the brush head from the handle and rinse both parts under warm running water to remove visible debris and toothpaste residue.
2. Prepare a cleaning solution

For the cleaning solution, you can choose your preferred option. Effective choices include a tablespoon of white vinegar in a cup of warm water or a mixture of 1 part baking soda to 2 parts water to form a paste.
For a commercial alternative, denture cleaning tablets dissolved in water also work excellently.
3. Clean both parts

Soak the brush head in the cleaning solution for 5-10 minutes to disinfect. Meanwhile, clean the handle with a damp cloth, focusing on buttons and textured areas.
You can also use a cotton swap to throughly clean the connection point where the brush head attaches.
4. Rinse and dry

Rinse all parts thoroughly with clean water and allow everything to air dry completely before reassembling.
Stand the handle upright and place the brush head bristle-side up.
5. Regularly replace

Even with diligent cleaning, replace your brush heads every 3 months, or sooner if bristles become frayed or discolored.
Hairbrushes
Hairbrushes accumulate hair, skin cells, dust, and product residue that can transfer back to your hair and scalp, making them prime candidates for your spring cleaning routine.
1. Remove hair and prepare for cleaning

Carefully lift accumulated hair from the base of the bristles, working from one side of the brush to the other. If your hair is long enough enough you should be able to use your hands to do this.
If you're struggling with removing hair from the bristles, use a comb, scissors or even a toothpick to make removal easier.
Next, prepare your cleaning solution. For plastic and metal brushes, fill a bowl with warm water and add a few drops of mild shampoo. And for wooden brushes, prepare a damp cloth.
2. Remove and soak (based on brush type)

For plastic and metal brushes, use a clean toothbrush dipped in the solution to scrub between bristle rows, focusing on the base where oils accumulate. Then soak the brush bristle-down in the solution for 5-10 minutes.
For wooden brushes or natural bristles, skip the soaking and instead use the damp cloth o gently clean between bristles without saturating the wood.
3. Rinse and properly dry

Rinse plastic and metal brushes thoroughly under running water. For wooden brushes, wipe with a slightly damp cloth to remove residue.
Shake out excess water, tap against a towel, and place the brush bristle-side down on a clean towel overnight. This position prevents water from seeping into the cushion or wooden base.
Electric shavers
Electric shavers collect skin cells, oils, and hair that can harbor bacteria and affect shaving performance, making them a perfect addition to your spring cleaning checklist.
1. Disconnect, disassemble and remove debris

Unplug the shaver and remove the shaving head according to your specific model's manufacturer instructions.
Tap the head gently against a hard surface to dislodge loose hair, then use the cleaning brush that came with your shaver or a small, soft paintbrush to sweep away remaining hair from blades and chambers.
2. Clean the components

For waterproof models, rinse the head thoroughly under warm running water. Alternatively, you can use compressed air to blow out debris.
Apply a few drops of warm water and mild soap, or dedicated razor cleaning solution if you have it on hand, to the blades.
If your model is waterproof, run the shaver while empty for 5-10 seconds to distribute the cleaning solution through the cutting mechanism.
3. Finish and dry

Wipe the exterior with a lightly dampened cloth. Allow all components to dry completely before reassembling, ideally for several hours to ensure no moisture remains that could damage the internal electronics.
Spring Clean your smaller grooming tools too
Don't overlook your smaller grooming tools in your cleaning routine. For nose and hair trimmers, remove the cutting head, clear debris, rinse or brush clean, and dry.
Tweezers need similar attention — wash in mild soap and water, and use alcohol wipes (or rubbing alcohol) to sanitize the tips.
Regular maintenance keeps these frequently used tools hygienic and working properly.
Organization and storage tips
1. Use drawer dividers

Keep different tools separated with drawer dividers or small containers, organizing by type or family member to prevent cross-contamination.
2. Promote air circulation

Store items upright when possible to ensure complete drying and prevent moisture buildup that leads to bacterial growth.
3. Cover and protect

Use covered containers for items like toothbrushes to shield them from toilet spray, which can travel up to 6 feet when flushing.
4. Ensure proper drainage

Choose holders with drainage holes to prevent water accumulation at the base of tools, which creates ideal conditions for bacteria.
5. Position strategically
Keep tool storage away from showers and sinks to minimize humidity and splash exposure, significantly reducing microbial growth.
More from Tom's Guide

You must confirm your public display name before commenting
Please logout and then login again, you will then be prompted to enter your display name.
