
Monster Hunter Wilds has finally been set loose! As the follow-up to the wildly successful Monster Hunter World, this game is already seeing incredible success on Steam and will likely sell big numbers on PS5 and Xbox Series X. As I said in my Monster Hunter Wilds review, this is an easy contender for game of the year.
This might be many players’ first Monster Hunter experience, which will likely be intimidating, considering how much this game throws at you.
There are also some new mechanics that veteran players have to contend with. Regardless of whether you’re new to the series or not, everyone can benefit from some helpful Monster Hunter Wilds tips to get them started.
Given some of this game’s opaque tutorials, you’ll need a helping hand to get started. Below, I’ll detail 7 things you need to know to make your initial Monster Hunter Wilds experience easier.
Try all the weapons
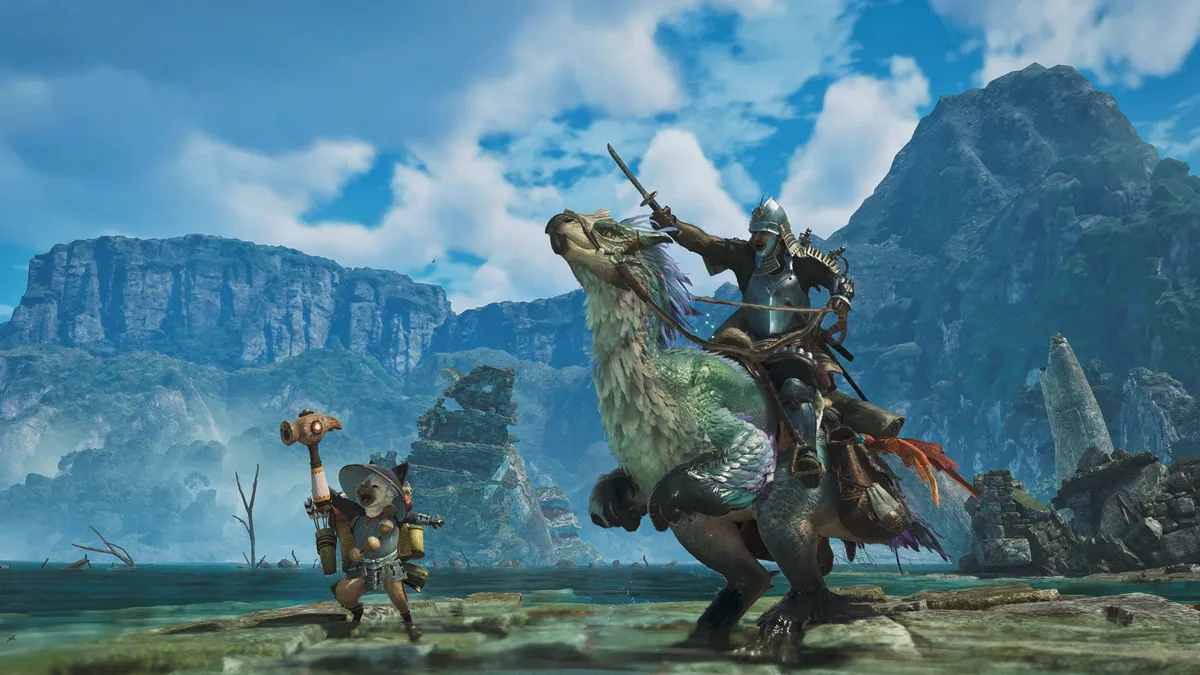
Monster Hunter Wilds features 14 different weapons, such as the heavy-hitting Greatsword, agile Insect Glaive, versatile Charge Blade, and more. Because of that, it’s good to head to the main base camp’s training area to try each weapon out to see which suits you best.
This tip is especially useful for newcomers since you won’t know which is your preferred weapon until you’ve tried them all. And while the training area is good to give you a feel for a weapon, I suggest doing a handful of hunts with each to see how they truly function.
It’s best to consider each weapon as using a different character in a fighting game—they all have specific strengths and weaknesses. Also, keep in mind that you can bring up to two weapons during a hunt, so you’ll want to become proficient with at least two—unless you’re like me and just rock the Charge Blade the entire time.
While everyone is different, I suggest that brand-new players start with either the Sword & Shield or Longsword since these are the relatively easiest weapons to master.
Study monster behavior

At launch, Monster Hunter Wilds features 29 different beasts to slay. And though some share certain characteristics, all of these creatures exhibit unique behavior.
Since no two monsters are alike, you’ll need to pay close attention to how they attack and defend themselves. Yes, hunts typically have 50-minute time limits, but you shouldn’t feel rushed.
When facing a new monster, don’t hesitate to step back to see how it tries to attack you. Conversely, see how it reacts to your attacks and adjust accordingly.
Every monster is a puzzle to solve, so keep a close eye on their behavior. Over time, you’ll intuitively know how to approach a creature—especially if you’re repeating missions to obtain certain monster parts.
Use Focus Mode

Focus Mode is a brand-new mechanic that gives you more precise control over your attacks and blocks. When utilized correctly, Focus Mode allows you to deal huge damage to monsters.
Attacking the same part on a monster may create wounds on that body part—denoted by a red gash. When you spot that wound, you can enter Focus Mode to highlight these wounds. Attacking wounds causes more damage than usual. Focus Mode also highlights any weak points the monster might have exposed.
To truly bring the hurt, you can use a Focus Strike on wounds. Every weapon has a unique Focus Strike animation, which is often flashy and brutal. In certain cases, these strikes will stun a monster or make it topple over.
Call for help

Monster Hunter Wilds is more forgiving than its predecessors, but it can still be a tough game, especially for newcomers. Thankfully, you won’t have to hunt alone.
Your trusty Palico feline companion follows you and lends a paw during hunts by default. And while your furry friend can be useful, it’s not a seasoned hunter. If you’re struggling to complete hunts, you can shoot an SOS flare to ask for help.
Doing so draws up to three NPC players who are remarkably good at both hunting and keeping the party alive with heals and buffs. Real-life players in your lobby can also answer your SOS call, and they’ll automatically replace an NPC when arriving in your game.
Though you can still have a fun time playing solo, you’ll have an even better time playing Monster Hunter Wilds with NPCs or other players.
The Slinger

The Slinger—which is like a grappling hook and slingshot in one device— isn’t new to Monster Hunter, but it has more utility than ever before.
Instead of picking up items by hand, you can use your Slinger to grab items from afar. You can do this while you’re on foot or when riding on your mount. Almost every item on the map has a use, so it’s best to grab everything you see with your Slinger.
The Slinger is also great for activating environmental hazards against monsters. For instance, you can shoot the Slinger at a jutting piece of rock and then pull that rock down on a monster, causing the beast to topple over.
There are various pods you can pick up and fire from your Slinger. Pods have different properties, such as flash pods that temporarily blind monsters. It’s good to experiment with different pods you find to see which works best against specific monsters.
Visit tents often

Between hunts, you’ll spend a lot of time inside tents located in base camps or that you build across the maps. They are where you’ll do everything necessary to prepare for hunts. You can restock and craft items, select and save specific load-outs, cook meals, and more.
The three predetermined load-outs found in your tent have most of the items you’ll need, though I suggest creating your own tailored load-outs.
Selecting a load-out is also a good way to drop off excess items you picked up while hunting and exploring. You’re also able to select your weapons and gear within the tent.
If you’re running low on zenni (money), you can sell unnecessary items, though I recommend not selling monster parts since you might need them for crafting purposes.
The radial menu lets you quickly access items and commands during hunts, and you can customize it in your tent. Your circumstances will differ, so I can’t tell you what to place in your radial menu. My advice is to go through your items list when in your tent to best optimize the radial menu.
Always forge new gear

Successfully slaying or capturing monsters rewards you with monster parts and other items. You can then use these items to craft stronger weapons and armor to allow you to take on stronger monsters. This forms the core loop of Monster Hunter Wilds and is something you shouldn’t neglect.
Forging new gear requires you to visit the smithy, Gemma, at the base camps. So long as you have the requisite items, she can craft all manner of armor and weapons for you. It’s always best to visit Gemma after every hunt to see what she can forge for you.
If you have your eyes set on specific pieces of gear, you can add them to your wishlist. The game will notify you when you’ve picked up a necessary item to craft gear and also show which monsters have what you need when you’re in the mission select menu.
More from Tom's Guide
- Kingdom Come Deliverance 2 is the first must-play game of 2025
- The best gaming PCs
- Dragon's Dogma 2 is the best RPG since Elden Ring


You must confirm your public display name before commenting
Please logout and then login again, you will then be prompted to enter your display name.
