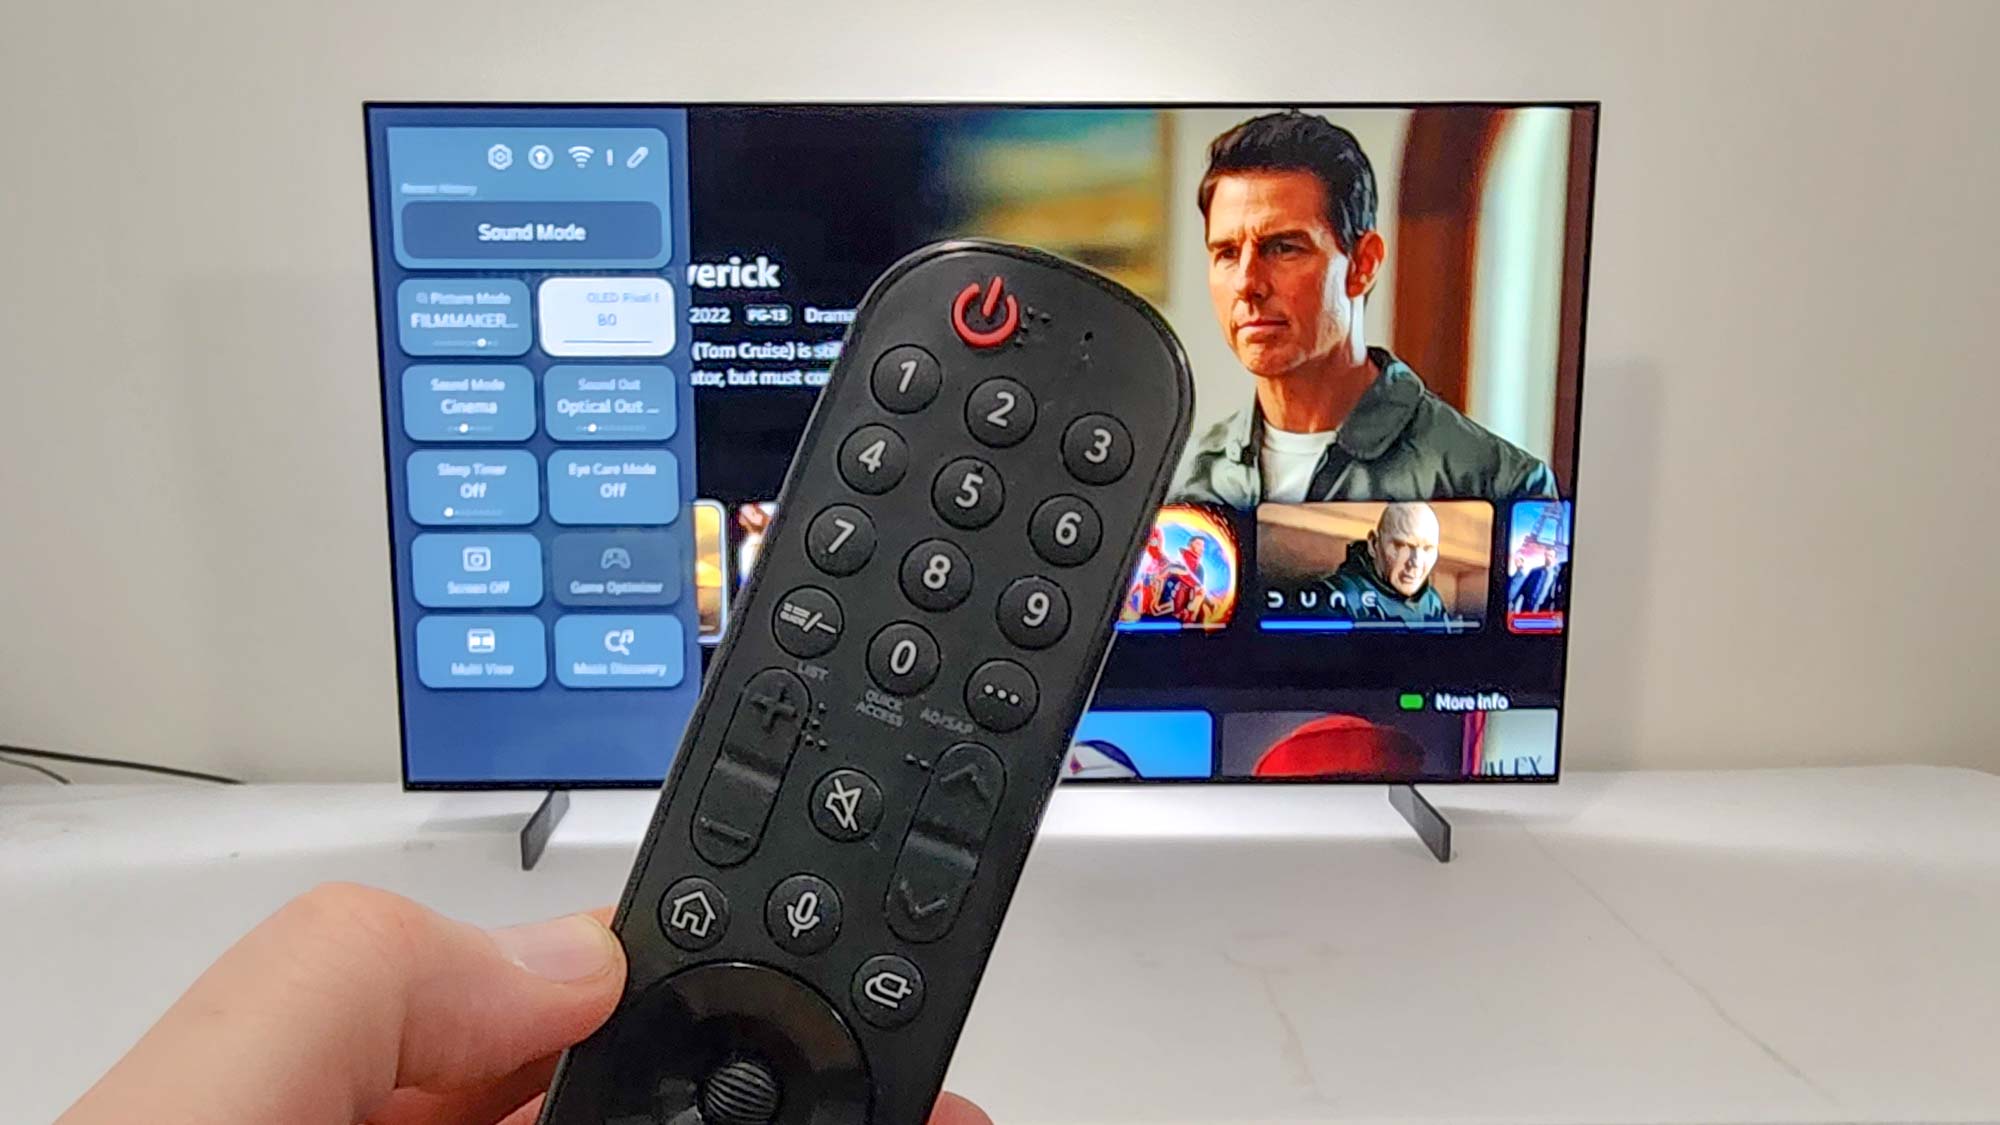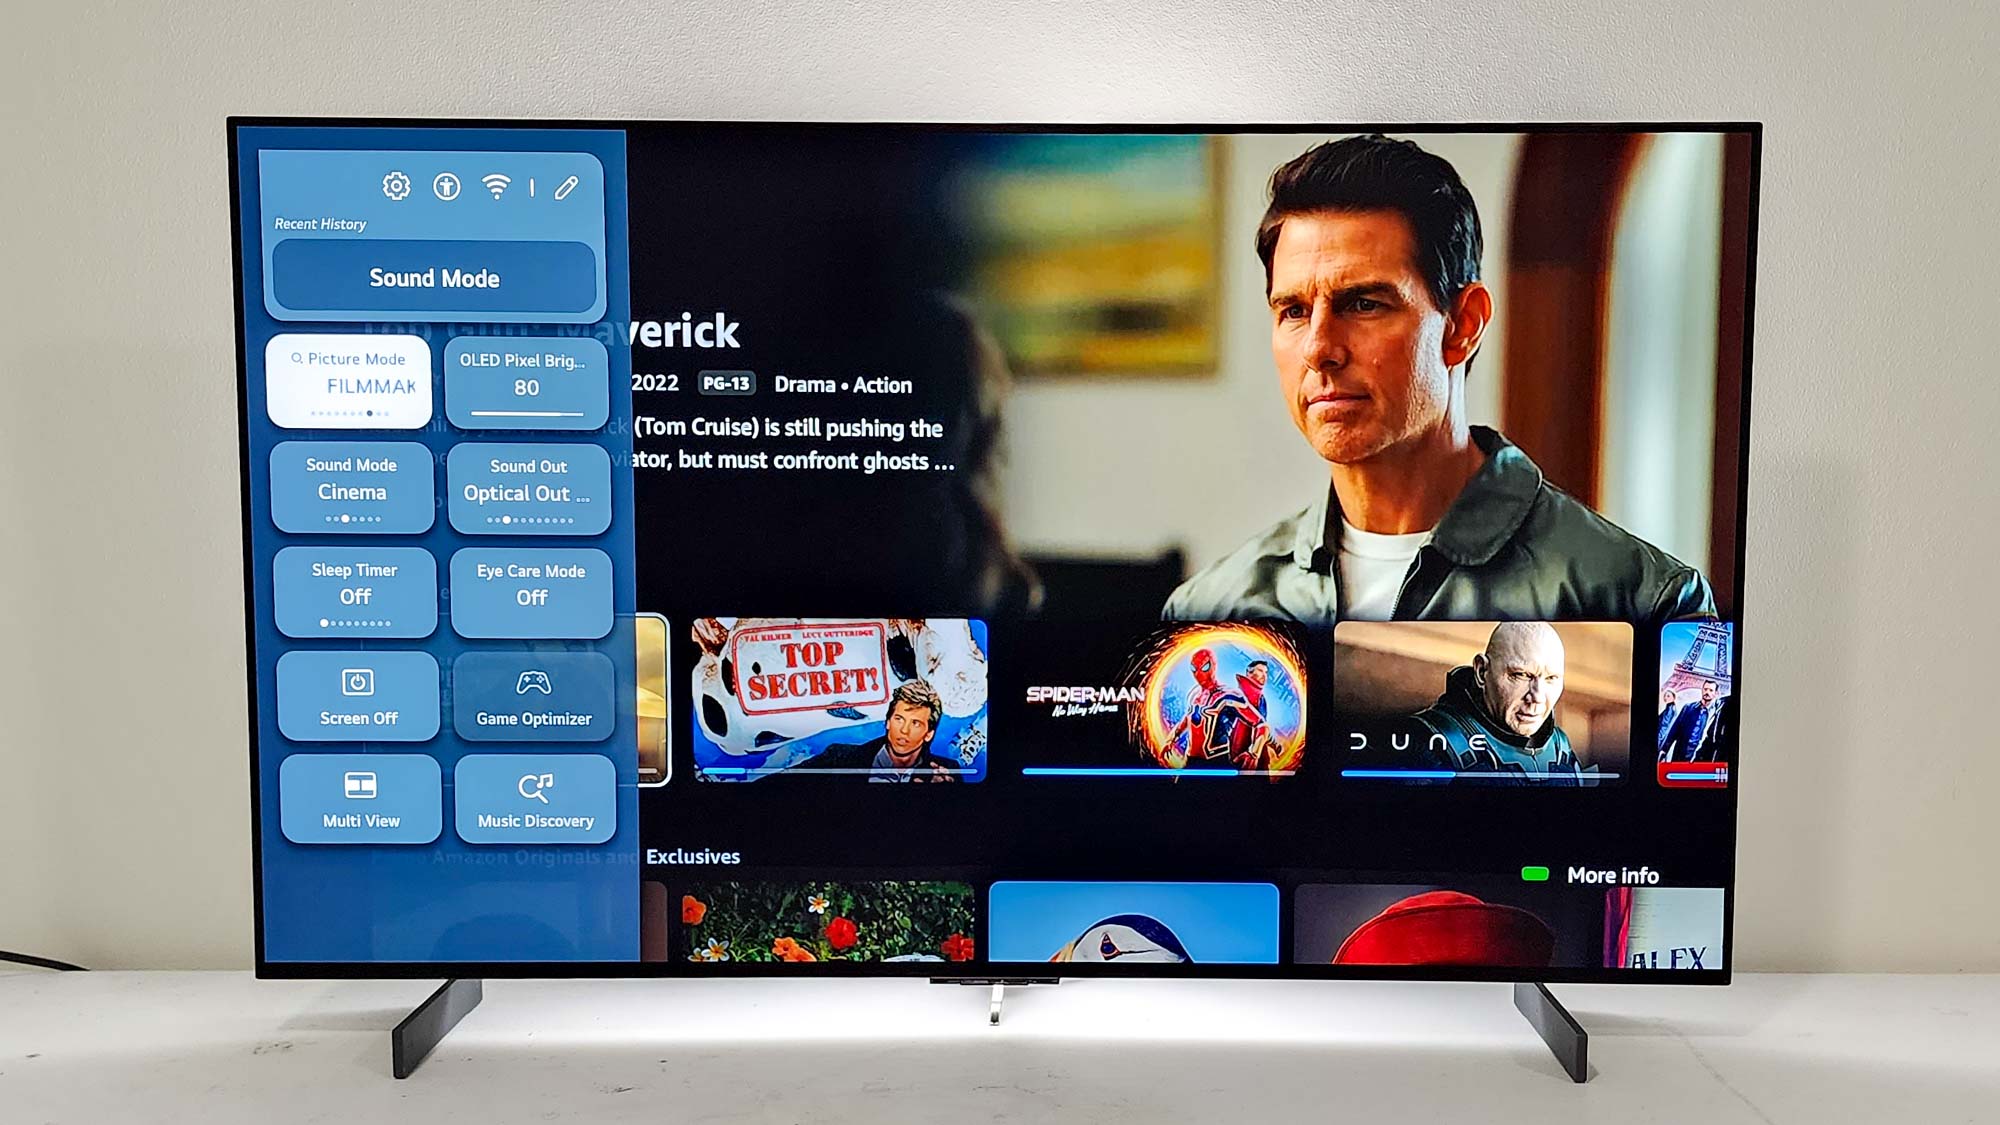
I test the best TVs for a living and despite having unboxed dozens of TVs over the years, I never get tired of setting up a new screen in my house.
Replacing a TV might mean a bit of heavy lifting, but when that new TV is up on the wall or on my home entertainment console, it’s a new opportunity to see how my favorite shows, movies and games look on the latest and greatest TV tech.
That being said, I do have a bit of a checklist I run through anytime I set up a new TV. It’s not very long — and it’s not required on every new TV as some come out of the box looking better than others — but I’d say that 90% of the TVs I test come out looking better after I tweak a few settings.
Not sure what settings you should be changing when putting up a new TV? Here are five things I change on every TV that I bring in for testing.
1. Take the TV out of Power Saver Mode

After agreeing to your TV’s terms and conditions but before you start watching anything, be sure to take the TV out of its Power Saver picture mode. This mode is almost always turned on by default and it saves you money by lowering the power draw of the TV.
Unfortunately, less power means lower brightness and dimmer colors. Basically, it will make any brand-new 4K TV look like the old model from 10 years ago that you finally got rid of.
Unfortunately, less power means lower brightness and dimmer colors. Basically, it will make any brand-new 4K TV look like the old model from 10 years ago that you finally got rid of.
As for what picture setting you should use instead, I typically tend to go for whatever the most color-accurate setting is. On some models that’s the ISF-Certified picture mode, on others it’s simply called Calibrated. If these modes are a bit too dim for your viewing space, don’t be afraid to use the Standard picture mode as that’s designed to work in almost any space in the house.
Sign up to get the BEST of Tom's Guide direct to your inbox.
Get instant access to breaking news, the hottest reviews, great deals and helpful tips.
2. Turn down motion smoothing — or turn it off completely
Unless you selected the Movie picture mode in the last step, you’ll probably have to go in and turn off motion smoothing. This is always found under settings and then picture. On Samsung TVs, go to Settings > Picture > Expert Settings > Auto Motion Plus Settings and turn them off entirely or turn them way down to a 2 or a 3. On LG TVs, just turn TruMotion off entirely.
Why is motion smoothing so hated? It creates artificial frames based on the incoming data. These extra frames can be helpful when you’re watching a fast-moving movie scene that’s jumping around, but it will make scenes without a lot of motion look stilted and weird.
3. Change the color temperature

After you’ve got the motion settings squared away, move onto the color temperature, often found in the same area of the settings. Here you’ll usually see five different options: Warm 1, Warm 2, Neutral, Cool 1 and Cool 2.
I like my pictures to either be neutral or slightly warm, so I’ll pick one of those two options, but you should pick the one that looks best to your eyes.
So what do these settings mean? Color temperature is an expression of color and can be thought of as a TV's equivalent to a camera's white balance. Neutral is exactly as it sounds — it’s usually the truest to the intended viewing experience. Warm color temperature causes a picture to take on a sort of sepia tone, making faces look a bit red but helps out color saturation. Cool color temperatures will make a picture look brighter, but usually at the cost of color saturation. All of them have their merits, but I typically tend to favor better color saturation over additional brightness.
4. Adjust the backlight to match your room
So how can you make the picture brighter? Well, after changing the color temperature to warm in the last step, you might feel as though the TV lost some of its brightness. To regain some lost ground, you can actually go into the settings and adjust the power of the backlight. Increasing the level of the backlight means a brighter picture, while decreasing the backlight means a dimmer picture.
Don’t go too far in either direction. Backlight boosting can make colors look oversaturated while a low backlight means details in darker areas of the picture will be lost entirely.
My advice? Don’t go too far in either direction. Backlight boosting can make colors look oversaturated while a low backlight means details in darker areas of the picture will be lost entirely. Usually five ticks in either direction should be enough.
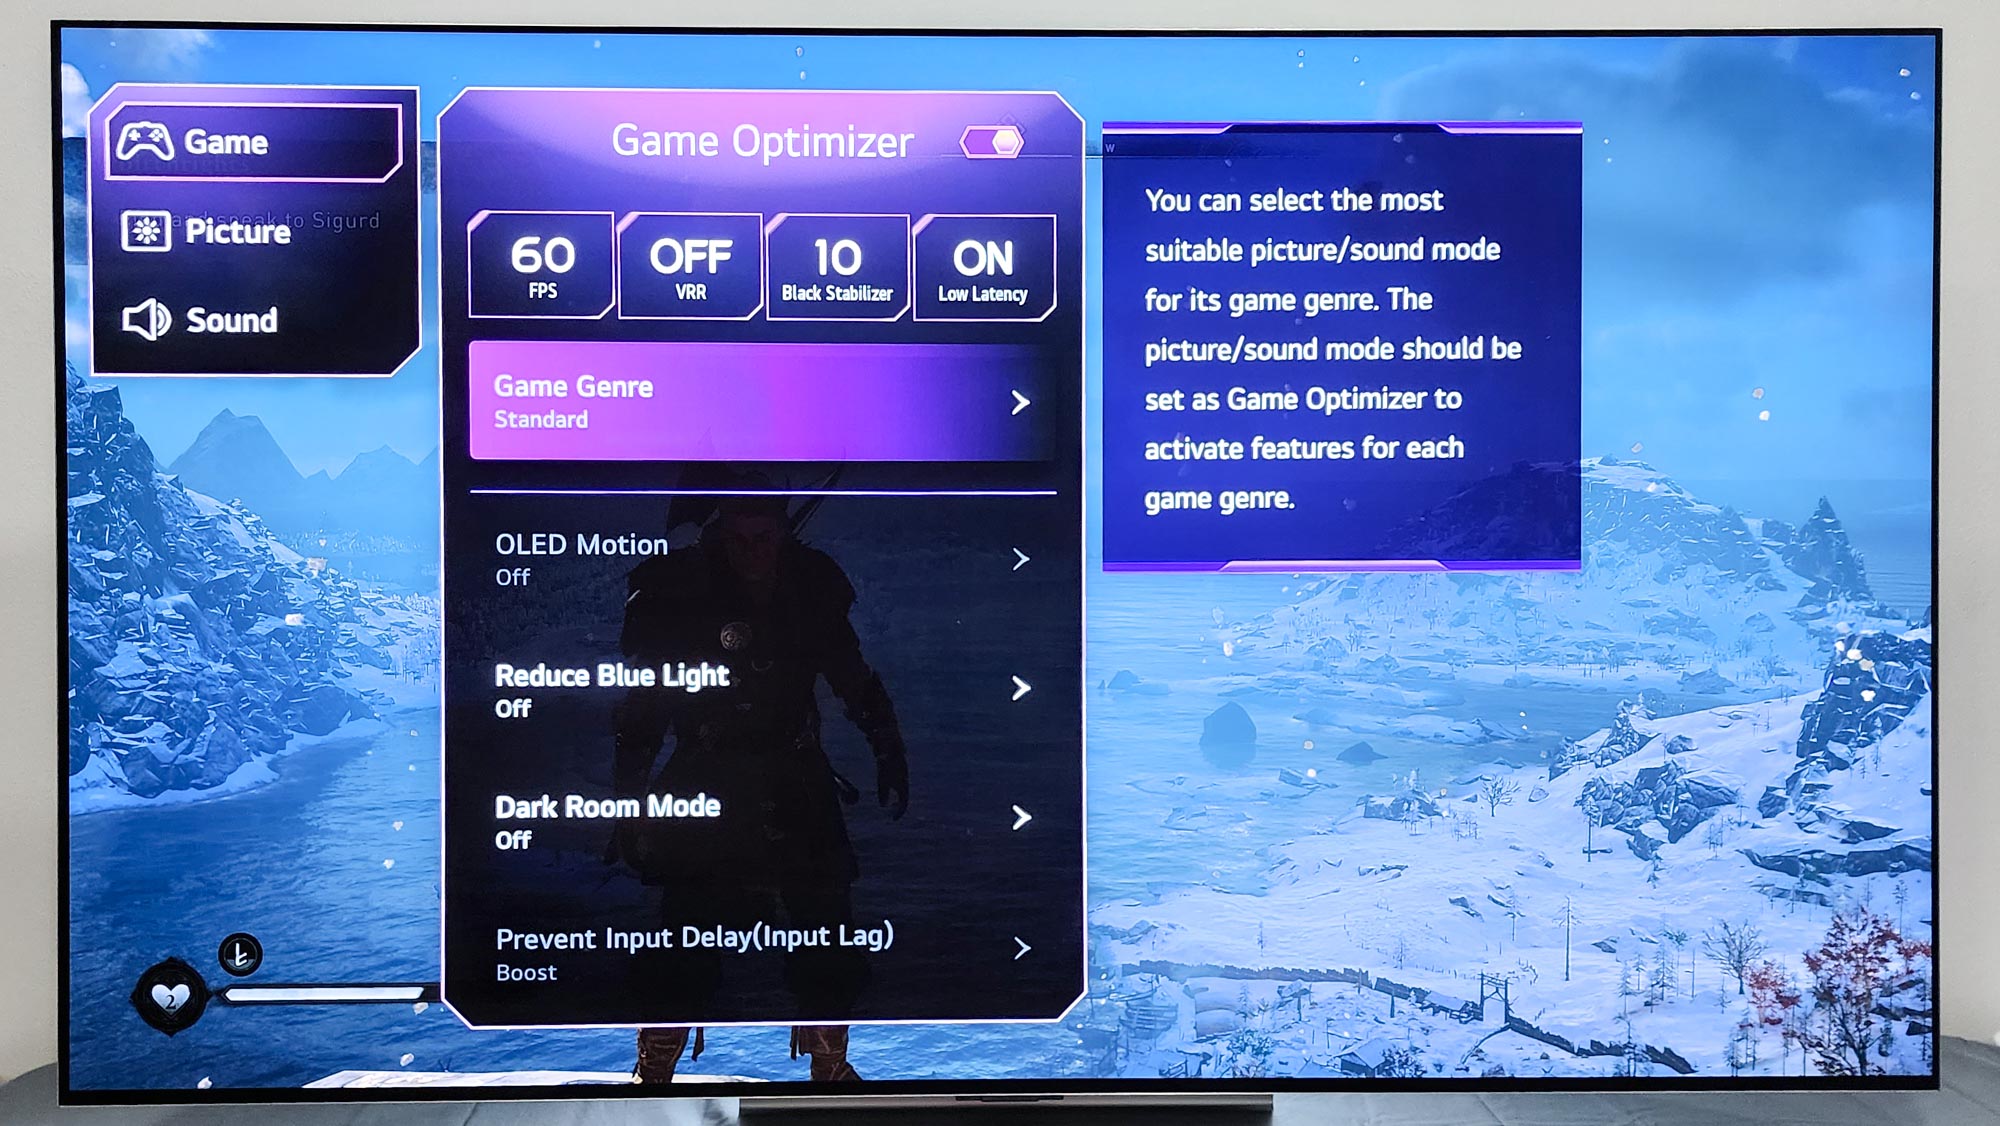
5. Enable “Enhanced HDMI” for your game consoles

This last setting doesn’t need to be changed on every single TV — but if you own a Sony or Hisense TV and you want to play games on your Xbox Series X or PS5, you’ll need to change it. It’s an option in the settings called Enhanced HDMI and it supports a resolution of 4K at 120Hz refresh rate. Without it turned on, you’ll still be able to play games at 4K/60, but your console will tell you that the TV doesn’t support 4K/120Hz playback, even when it does.
The good news is that, thankfully, not all TVs need this setting turned on. Some will have 4K/120Hz turned on by default on each of its HDMI 2.1 ports, so you don’t need to change anything at all to see games running at their highest resolution and frame rates.
Looking for the perfect TV for your Xbox Series X and PS5? Here are the best gaming TVs.
More from Tom's Guide

Nick Pino heads up the TV and AV verticals at Tom's Guide and covers everything from OLED TVs to the latest wireless headphones. He was formerly the Senior Editor, TV and AV at TechRadar (Tom's Guide's sister site) and has previously written for GamesRadar, Official Xbox Magazine, PC Gamer and other outlets over the last decade. Not sure which TV you should buy? Drop him an email or tweet him on Twitter and he can help you out.
