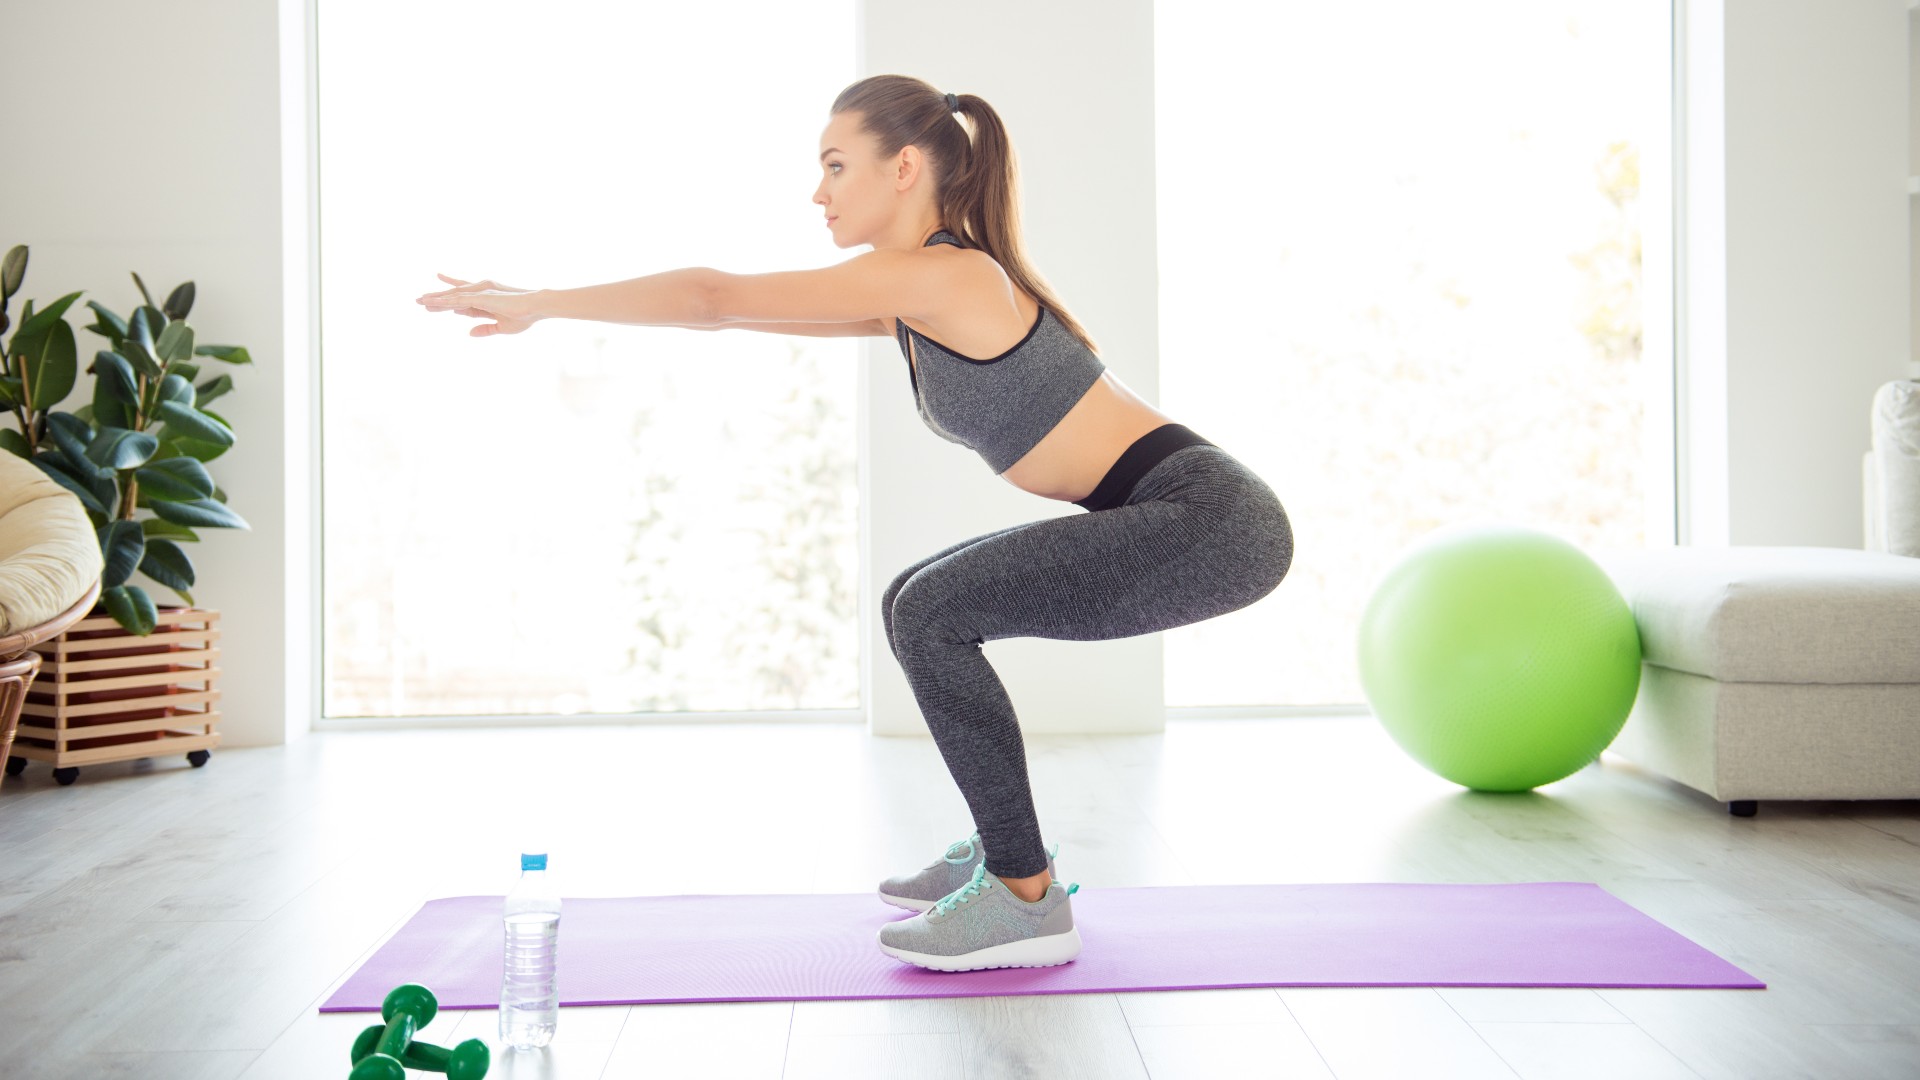
Ah, the famous butt wink — how do you fix it during squats? Squats are one of the most well-known fundamental compound exercises for building lower body strength, power and muscle, but the butt wink could put a dampener on your workout gains.
Never heard of butt winking before? You could be doing it without even realizing it. To execute the perfect squat, we cover three ways to avoid the famous butt wink and nail your squat technique instead.
So, you can focus on strengthening and sculpting your core, glutes, hips, quads and hamstrings without hurting your lower back. Here’s how.
What is a butt wink?
The butt wink happens when you have posterior pelvic tilt, meaning your pelvis slightly tucks underneath at the bottom of the squat and creates lumbar flexion. If you don’t have a personal trainer, you can easily self-diagnose it.
Check if you’re butt winking by performing a squat side-on in the mirror. If you notice rounding in the lumbar region — your lower back — we’re sorry to say that’s a butt wink.
There’s never a time you want to see this happen, especially when lifting heavy weights, so it’s best to correct it quickly, even when just using your body weight. If you don’t, you could overload your spine, leading to lower back pain.
How to squat
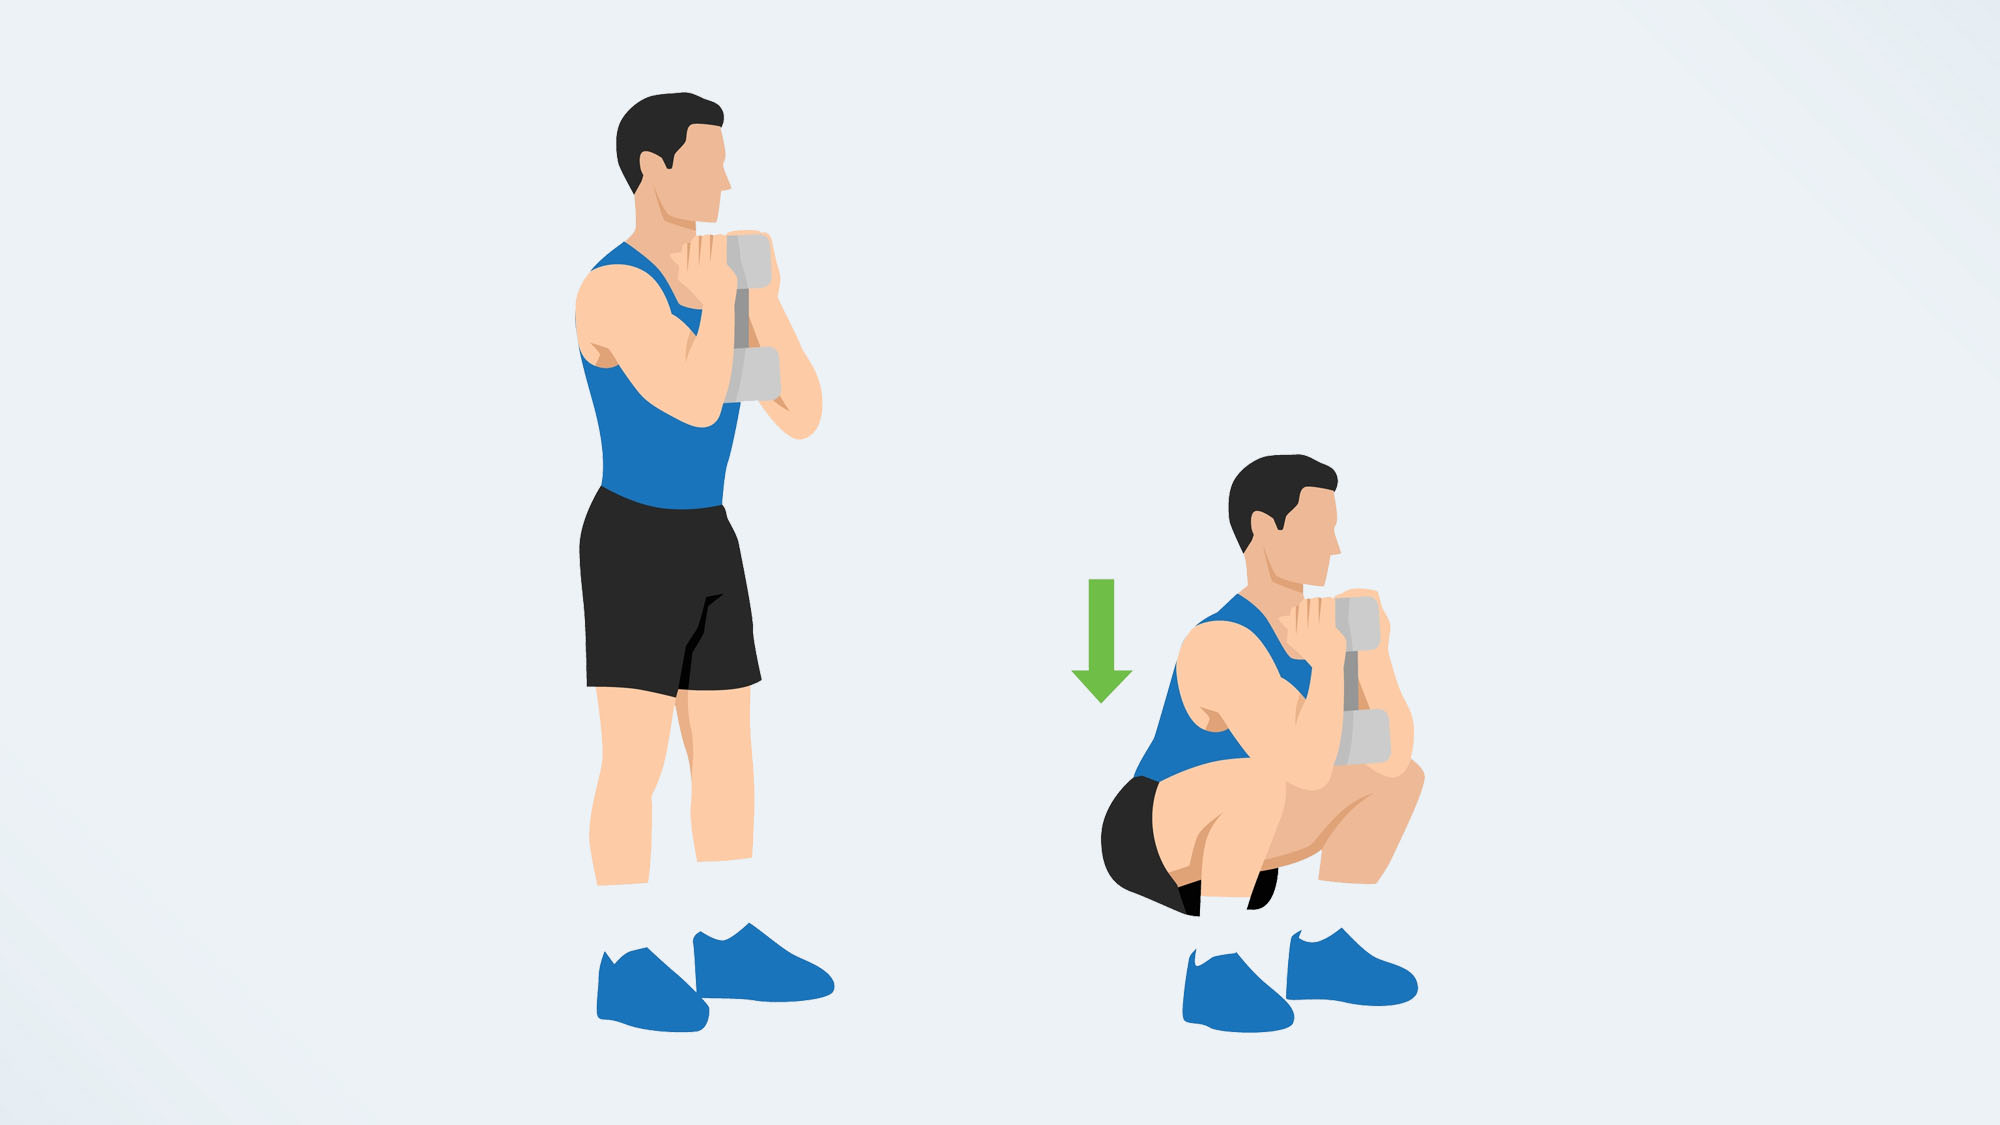
If you think you could be doing squats wrong, here’s the most common mistake.
Sign up to get the BEST of Tom's Guide direct to your inbox.
Get instant access to breaking news, the hottest reviews, great deals and helpful tips.
- Stand with your feet hip or shoulder-width apart. You can position your feet slightly wider
- Point your toes slightly outward at 45 degrees
- Bend your knees and send your hips back as if you’re sitting on a chair that’s directly beneath
- As you squat down, push your knees outwards so that they track directly over your middle toes
- Lift your chest, keep looking straight ahead and maintain a flat back. Avoid hunching or rounding your spine
- Lower until your thighs are parallel to the floor, keeping your knees aligned with toes, heels planted and spine neutral, then push through your heels to stand back up.
What causes a butt wink during squats?
Limited lower body mobility or instability are the most common causes of butt winking, commonly in the hips, knees or ankles, and improper squat form. If you’re unsure which one is relevant to you, there are a few ways to diagnose and fix it.
1. Squat form
Practice your squat form using the cues above: keep your core engaged, lower until both thighs are parallel to the floor, then check your back position in the mirror. Focus on maintaining a flat back and neutral spine position without tucking your hips under at the bottom or excessively lowering your chest forward.
2. Stance
Still winking? Adjust your stance to one that feels comfortable. We say hip to shoulder-width apart, but you could opt for slightly wider as long as your knees don’t cave in as you squat down.
Beginners — this could help nip instability and lack of motor control in the bud. Strengthening the lower body muscles used during squats — the glutes, hip flexors, quads, hamstrings and calves — will also help you execute the move with more control.
Fine-tuning your form should deal with the issue, but if you’re still butt winking or have to reduce your squat depth to avoid it, it’s time to shift focus to mobility.
3. Mobility
The International Sports Sciences Association refers to mobility as how well your joints can move through a range of motion, like hip rolls. Mobility accounts for motor control, which is key during squats, and keeping joints healthy and injury free.
Limited mobility in your hips, knees or ankles is the most likely culprit if you’re butt winking during squats. So, here’s how to test it.
Mobility tests for butt winking during squats
Try these.
Hip flexor test
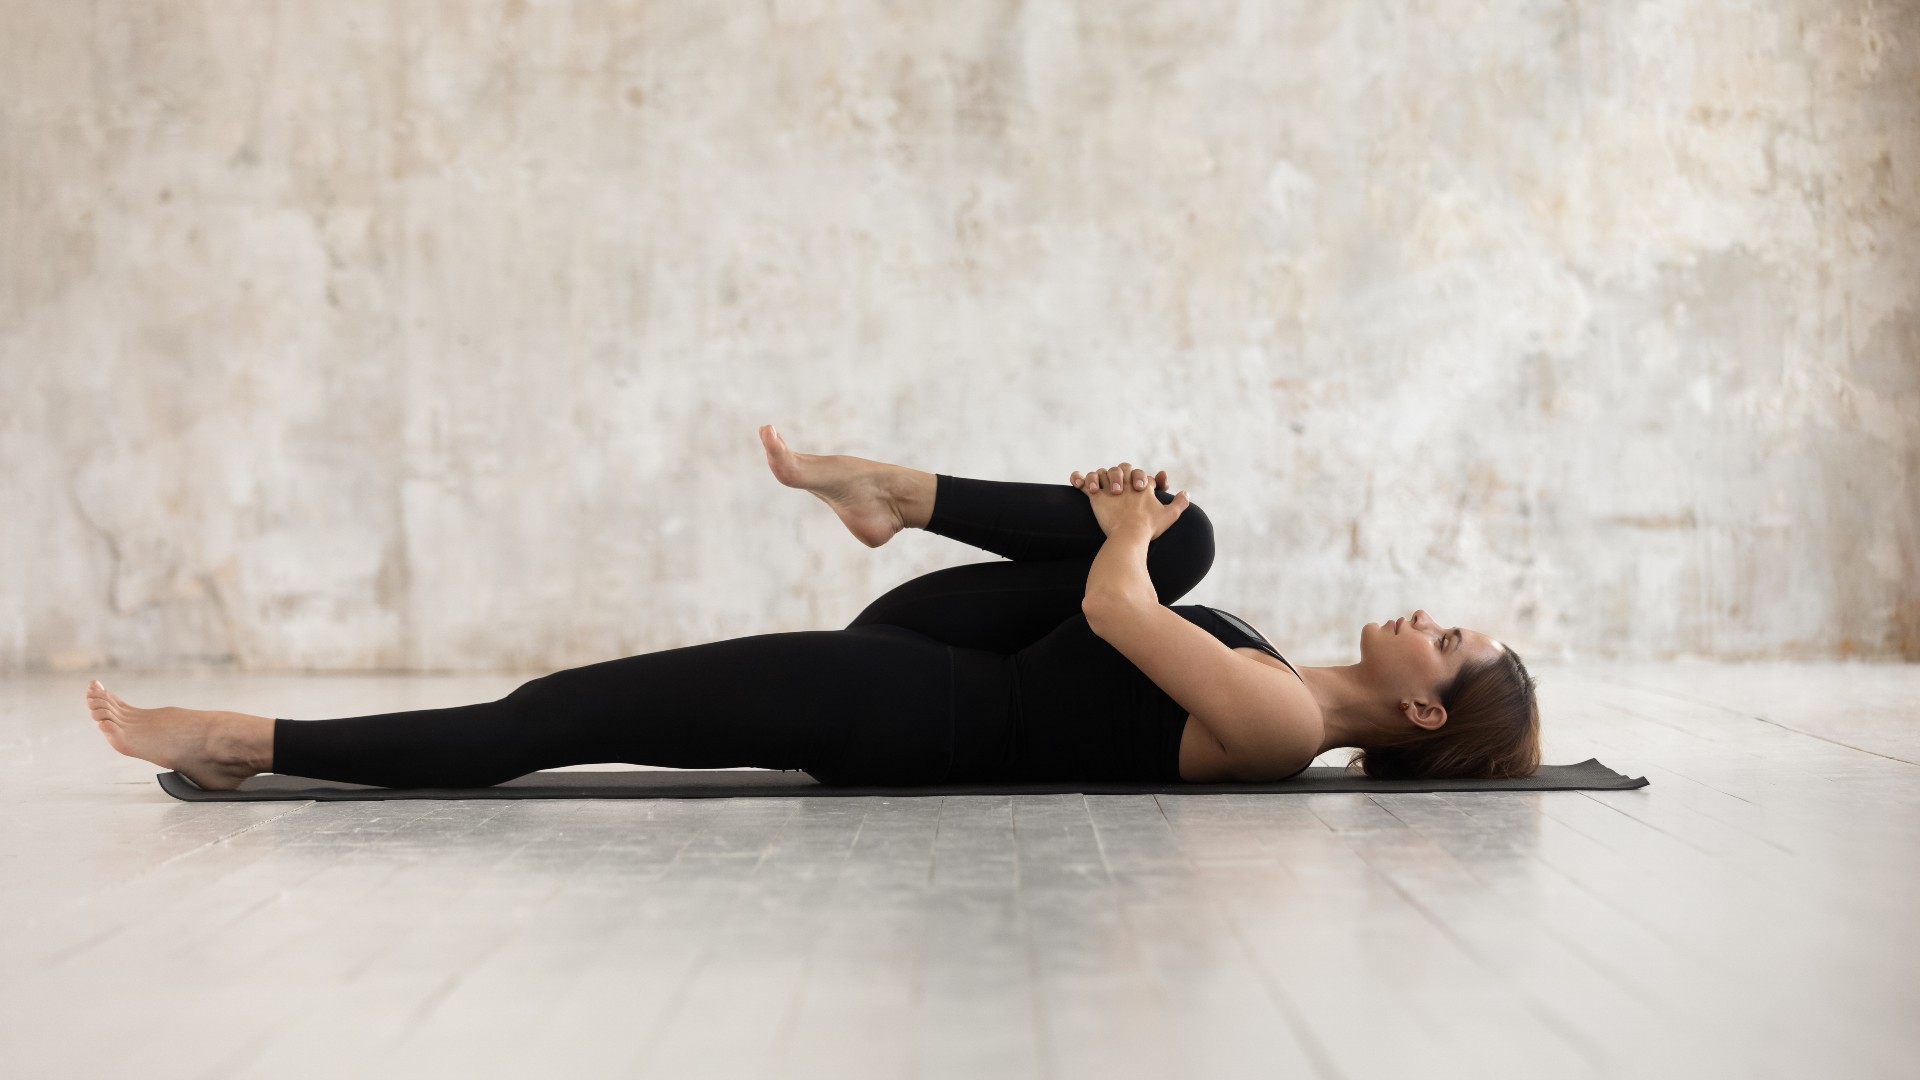
How:
- Start laying on your back with your left leg extended away from you. Press your lower back against the mat
- Bend your right knee and draw it toward your chest, keeping both shoulders pressed down
- Create a fist and place it between the gap between your thigh and chest
- Aim for less than two fists between your leg and chest. Ideally, there shouldn’t be a gap at all.
If your hips are tight, try these simple hip mobility exercises.
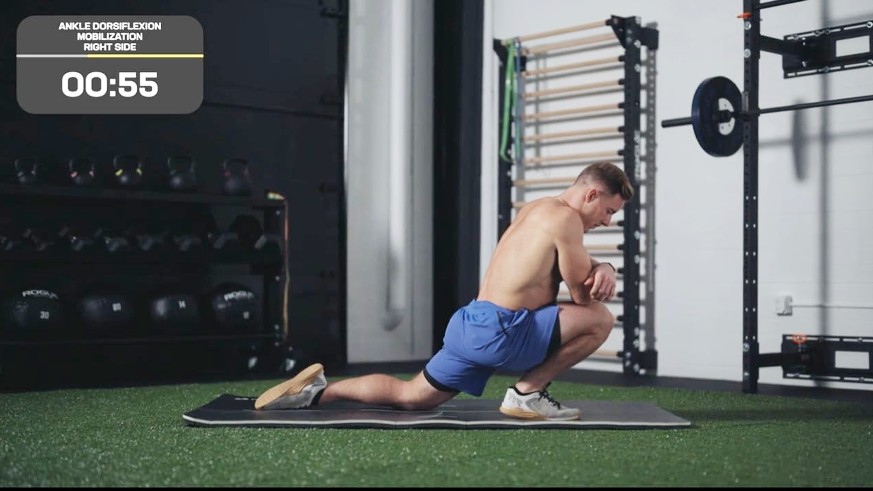
Ankle dorsiflexion test
How:
- Start in a half-kneeling position facing a wall with your knee stacked over your ankle
- Position your foot close to the wall, then place one hand horizontally between your toes and the wall
- Keep your heel planted, then press your knee toward the wall
- If you can’t touch the wall with your knee, you could have limited ankle mobility.
Try these stretches to boost flexibility in your hamstrings, calves and ankles. Ankle instability and tightness increase the chances of your heels lifting during squats and you'll also struggle with your knees tracking over your heels and toes. More open ankles will help you reach deeper positions (see below).
4 exercises to improve squat technique
Each exercise helps improve core strength and stability, hip and ankle mobility and squat range of motion while strengthening the muscles used during squats.
1. Plank
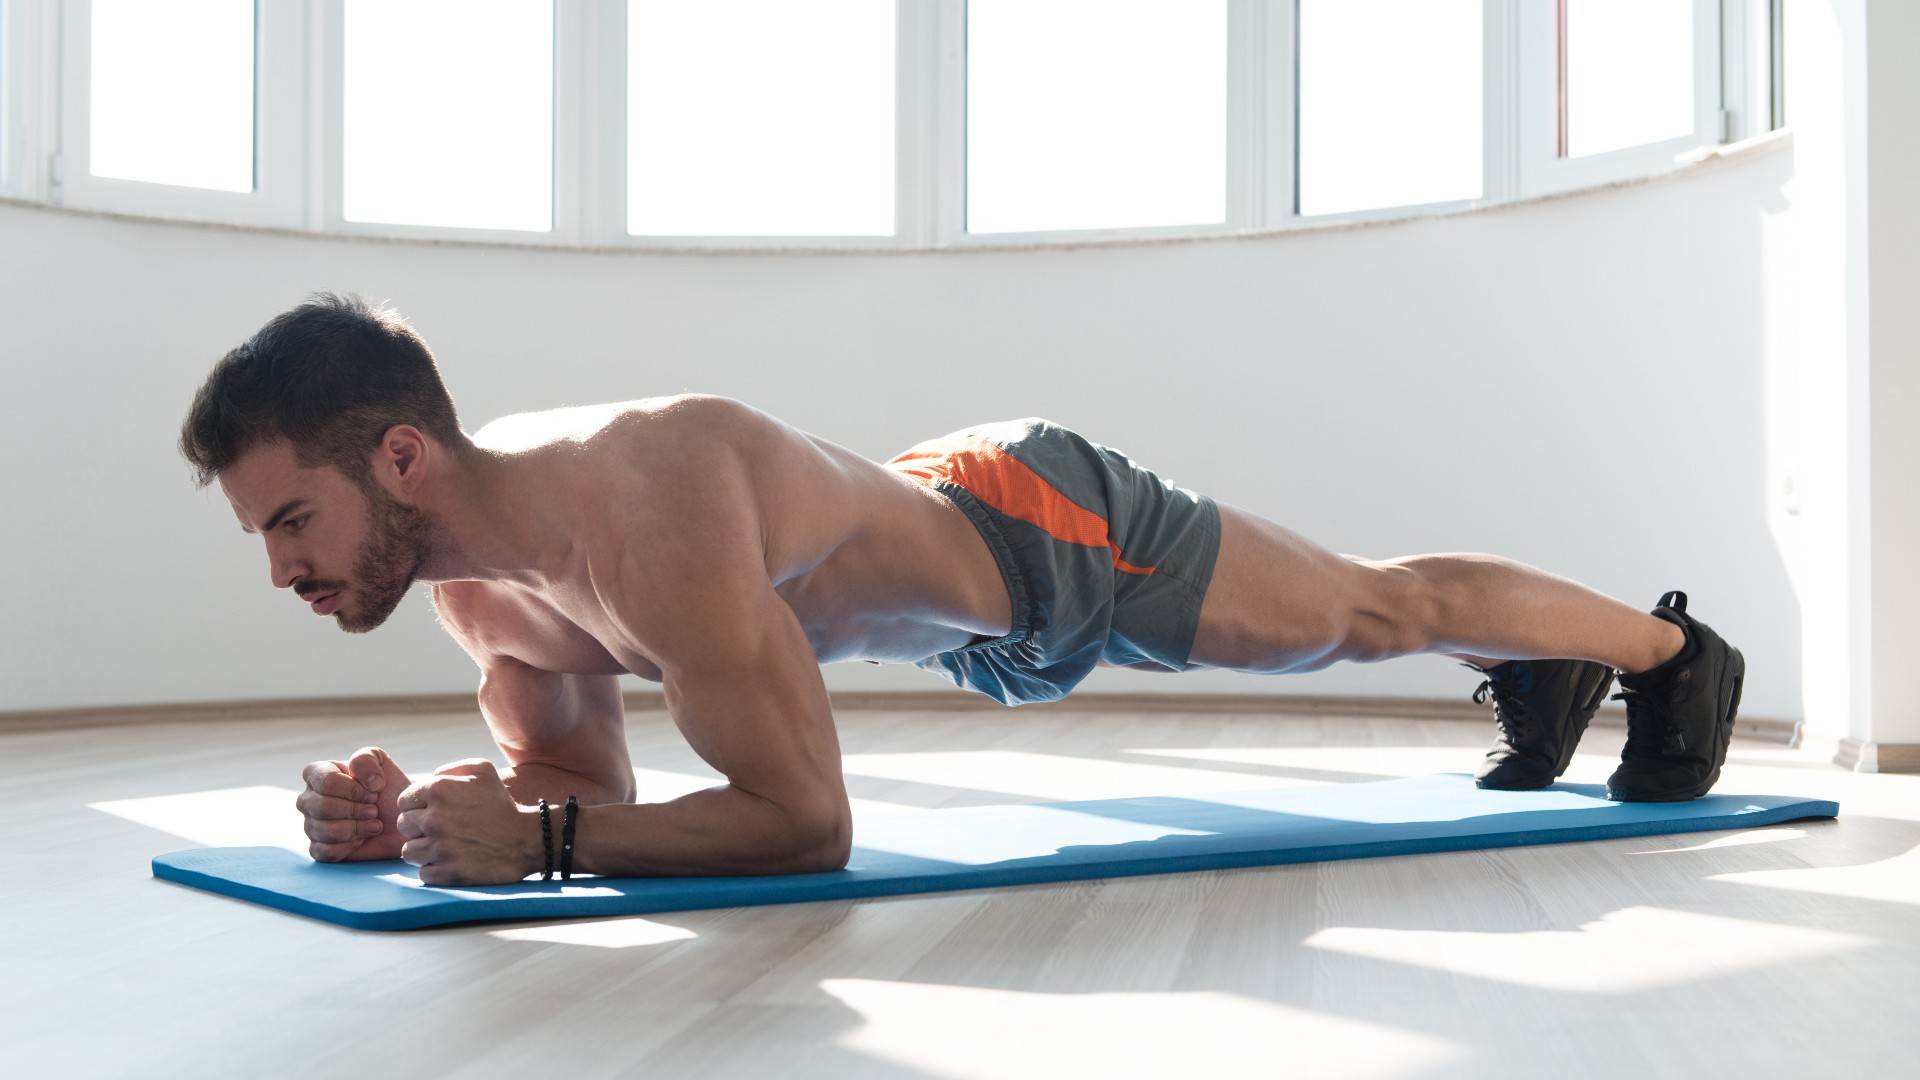
The plank strengthens muscle all over, including your core — a key group of muscles required during squats — and helps you practice stacking your spine over your pelvis without excessively flexing or extending your lower back.
You can find the best plank variations here. Try to hold for 20-30 seconds, rest for 10-15 seconds and repeat for several rounds. Slowly build to longer as your strength improves. Learn how to plank with proper form before you begin.
2. Bear squats
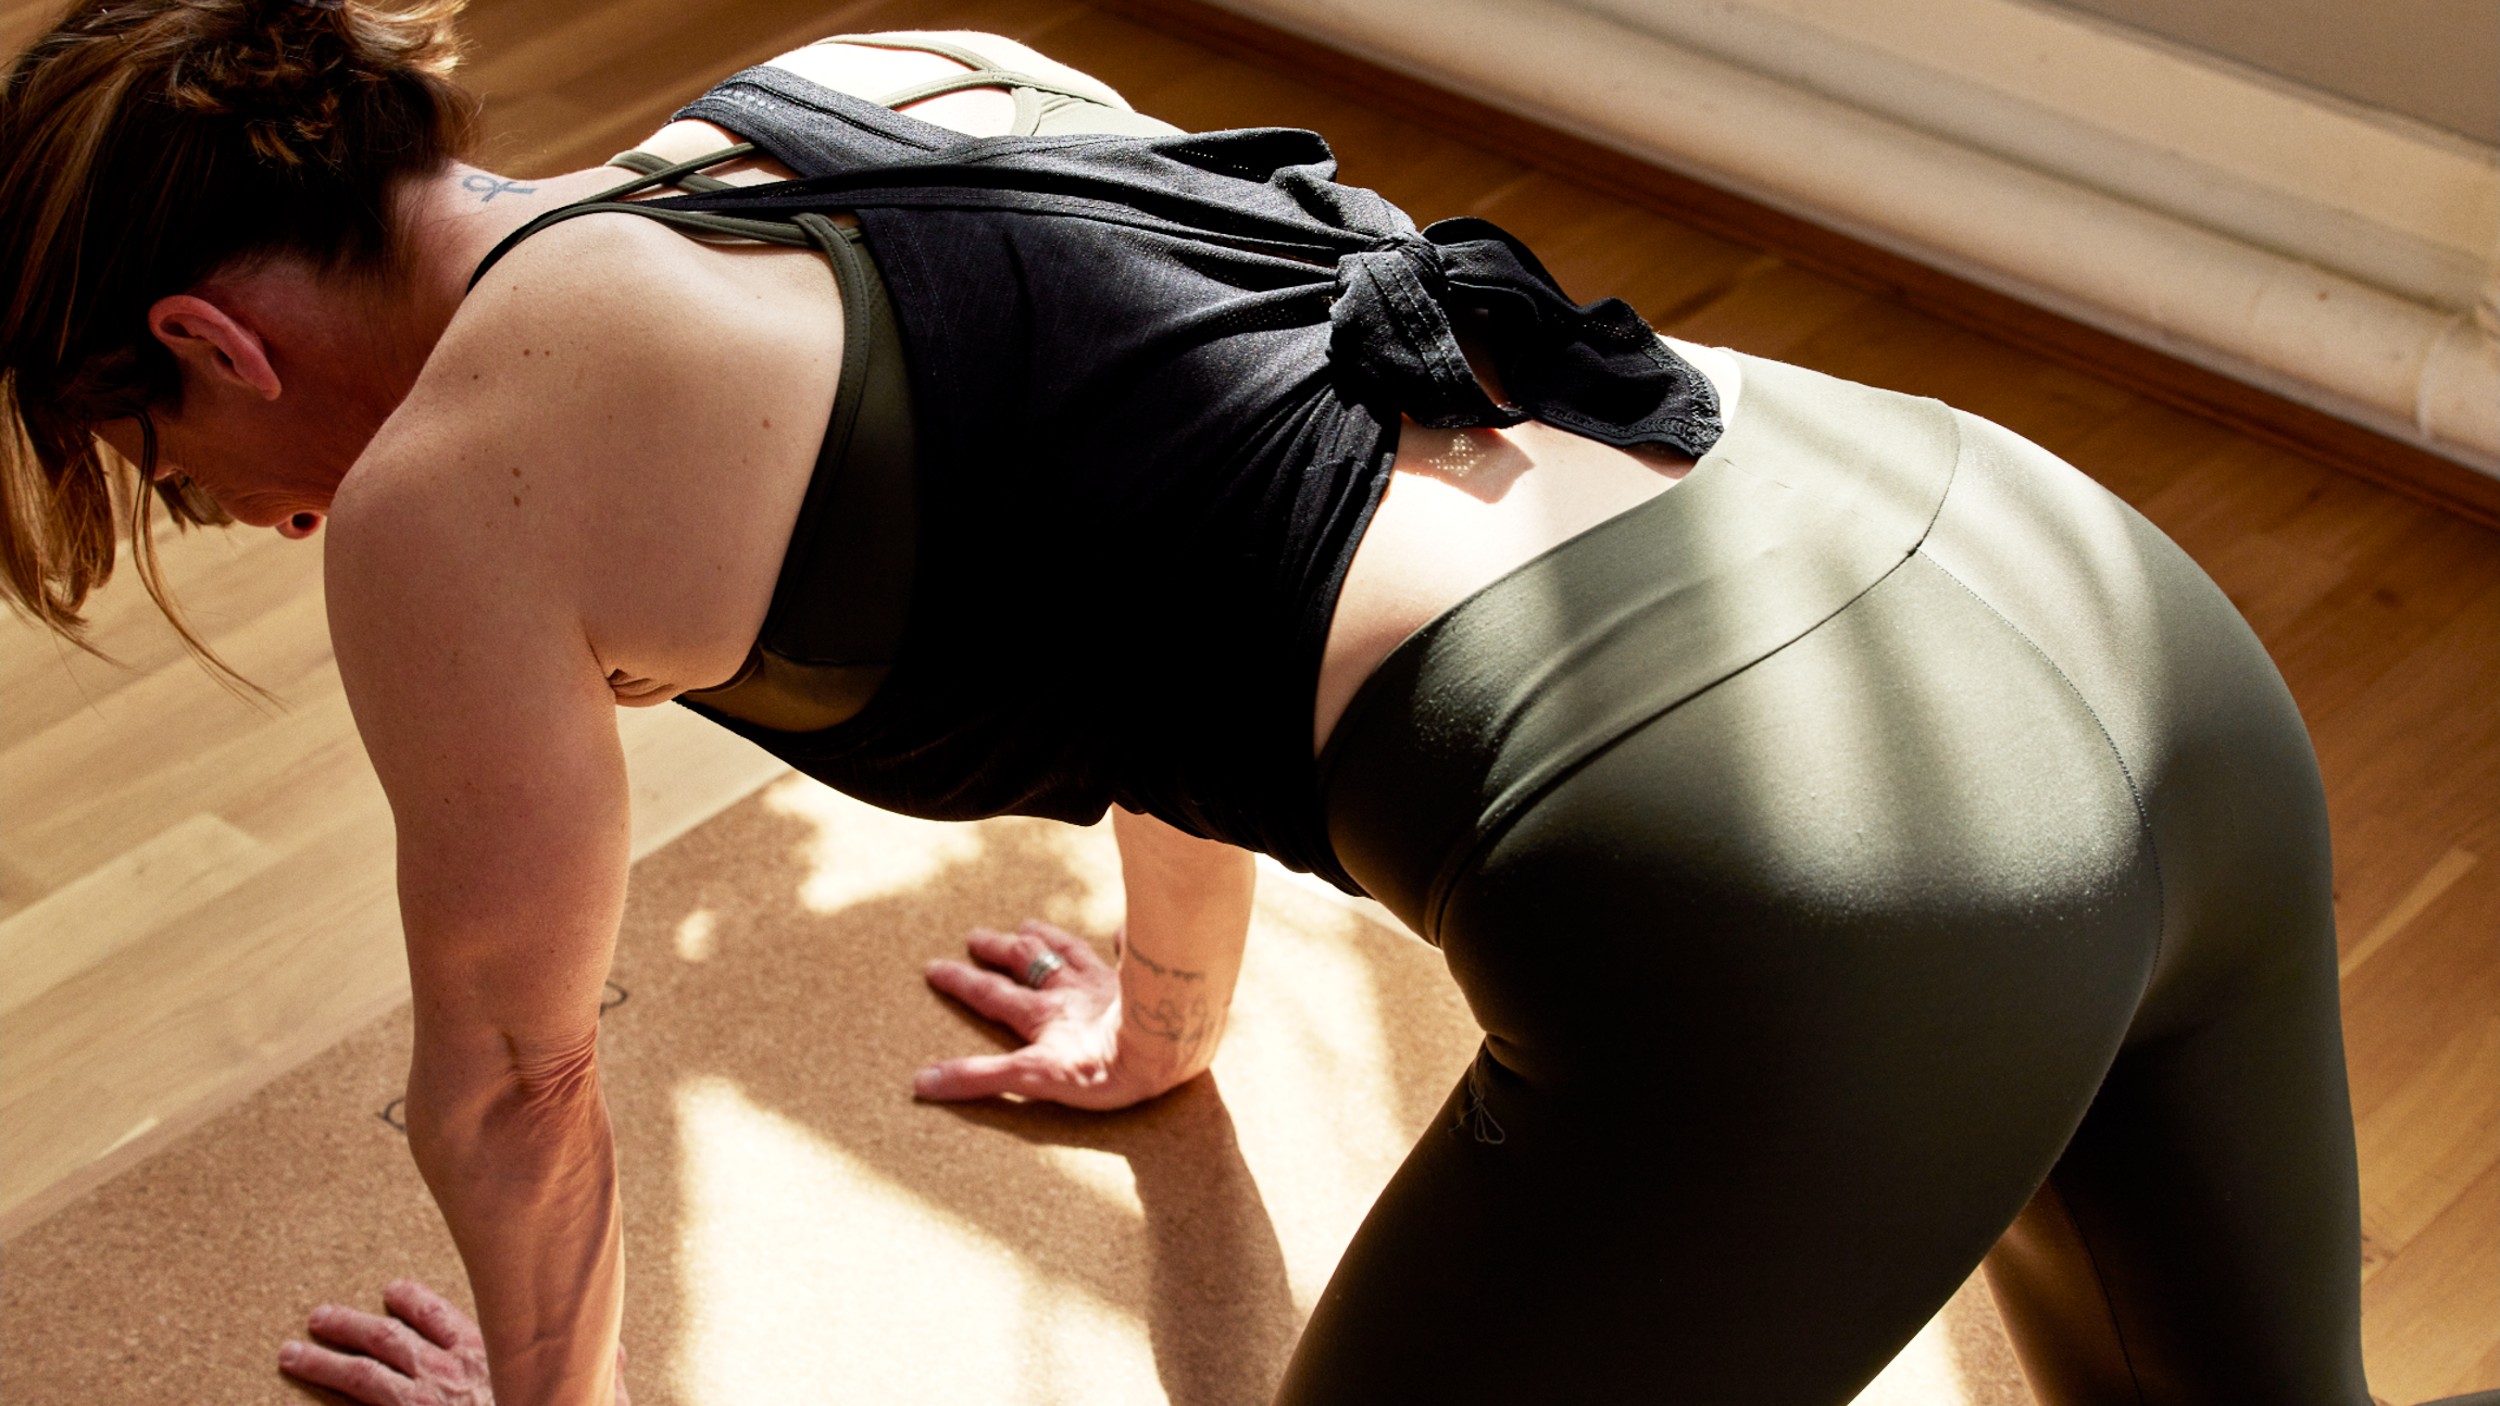
These follow the same movement pattern as squats but from a tabletop position, taking some pressure off the joints. The squat variation also develops strength in the quads and hamstrings and stretches the hip flexors, knees and ankle joints. All you need to do is push your bum toward your heels from a table top position.
Here’s how to do bear squats.
3. Iso wall squat
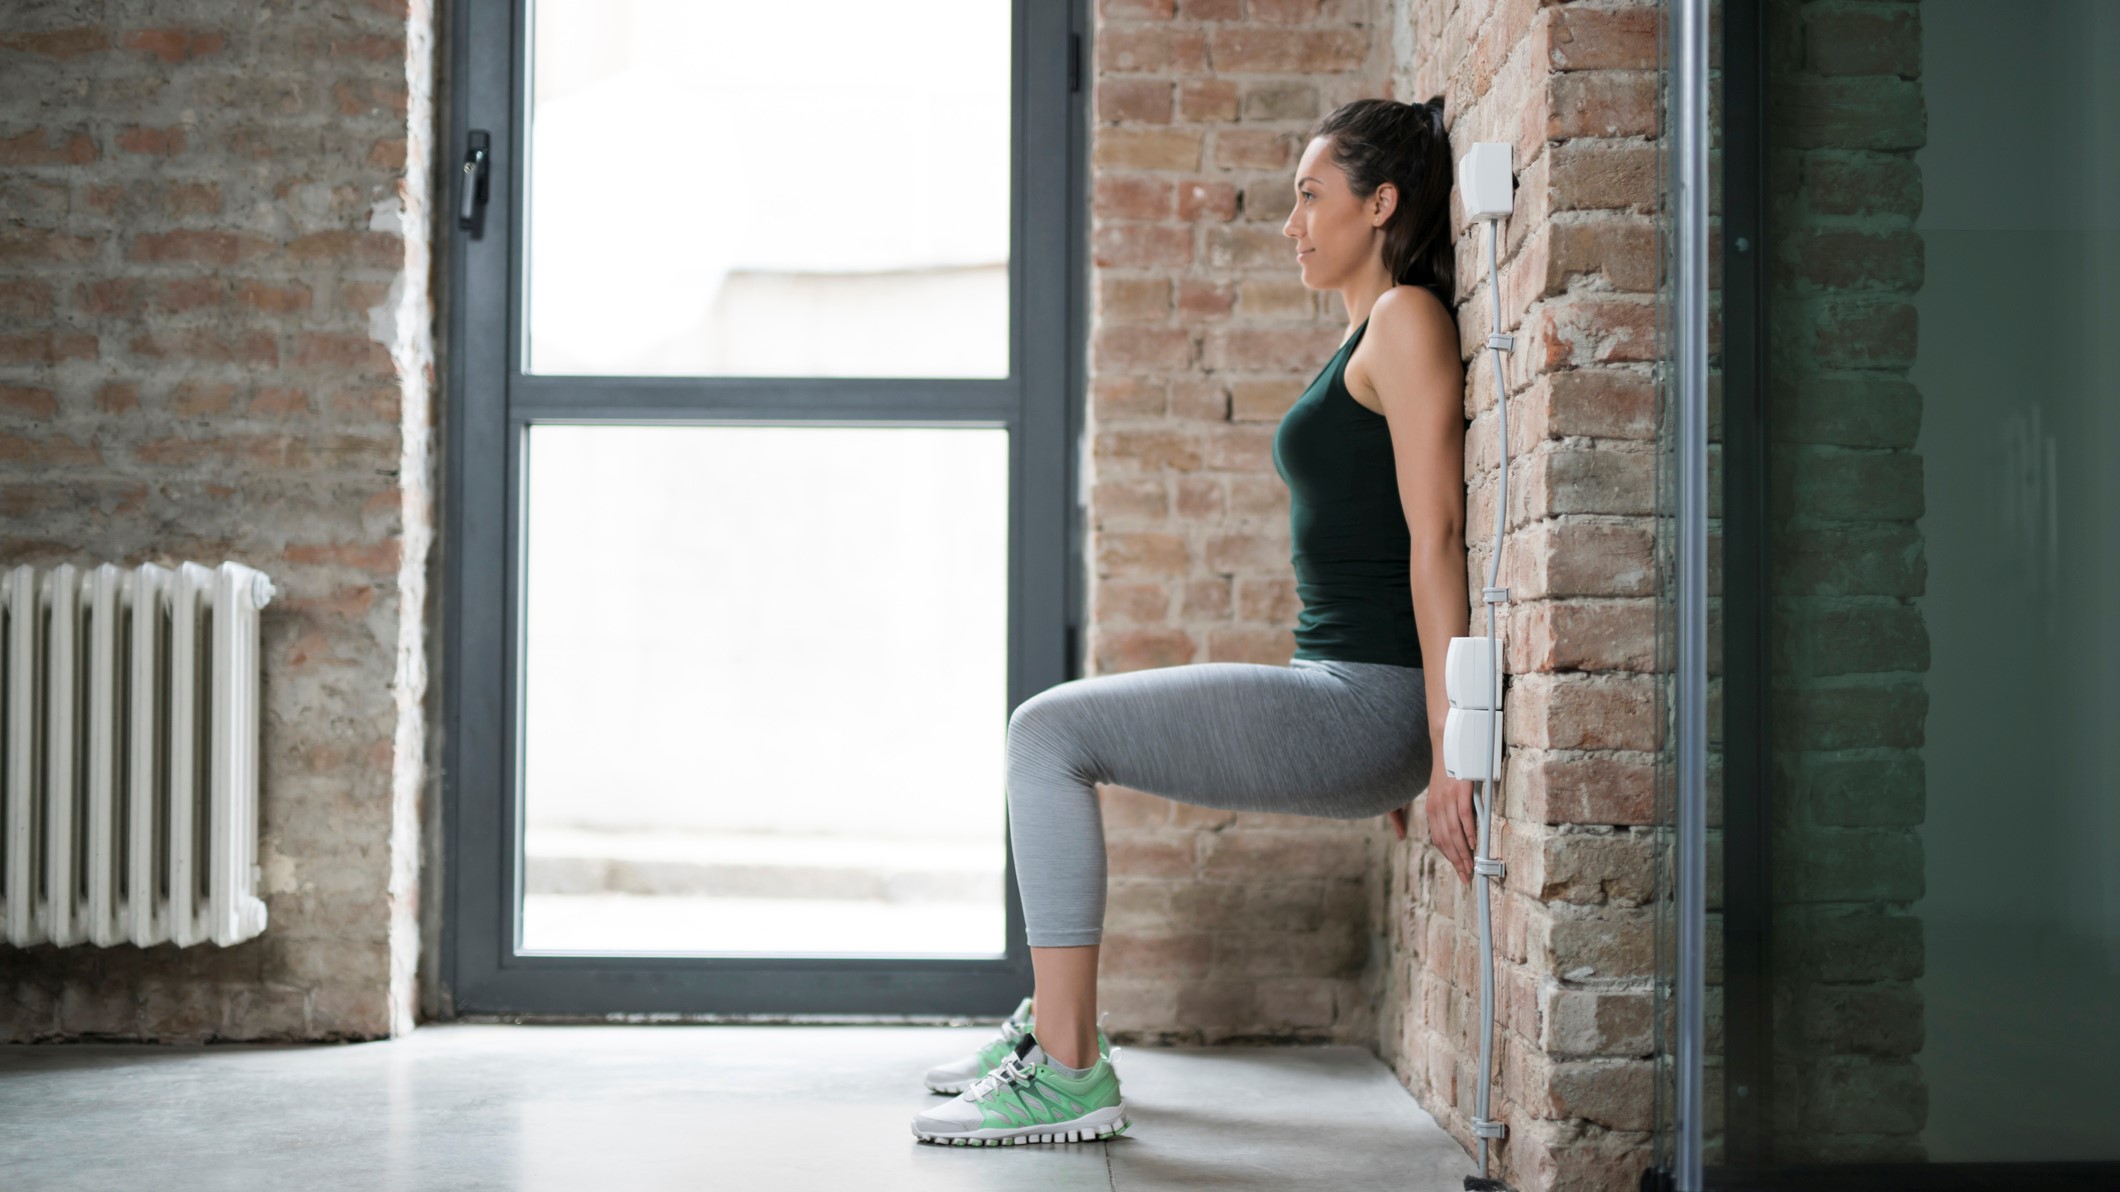
In the isometric vs isotonic exercise debate, isometric moves are brilliant for building stability.
An isometric squat hold activates and strengthens the same muscles as a squat without your muscles lengthening or shortening, which makes it a low-impact option for your joints. The move can also help you practice squat depth, increase your range of motion and contract your core while pressing your back flat against the wall and lengthening through your spine. Basically, you get far more support.
4. Bench squat
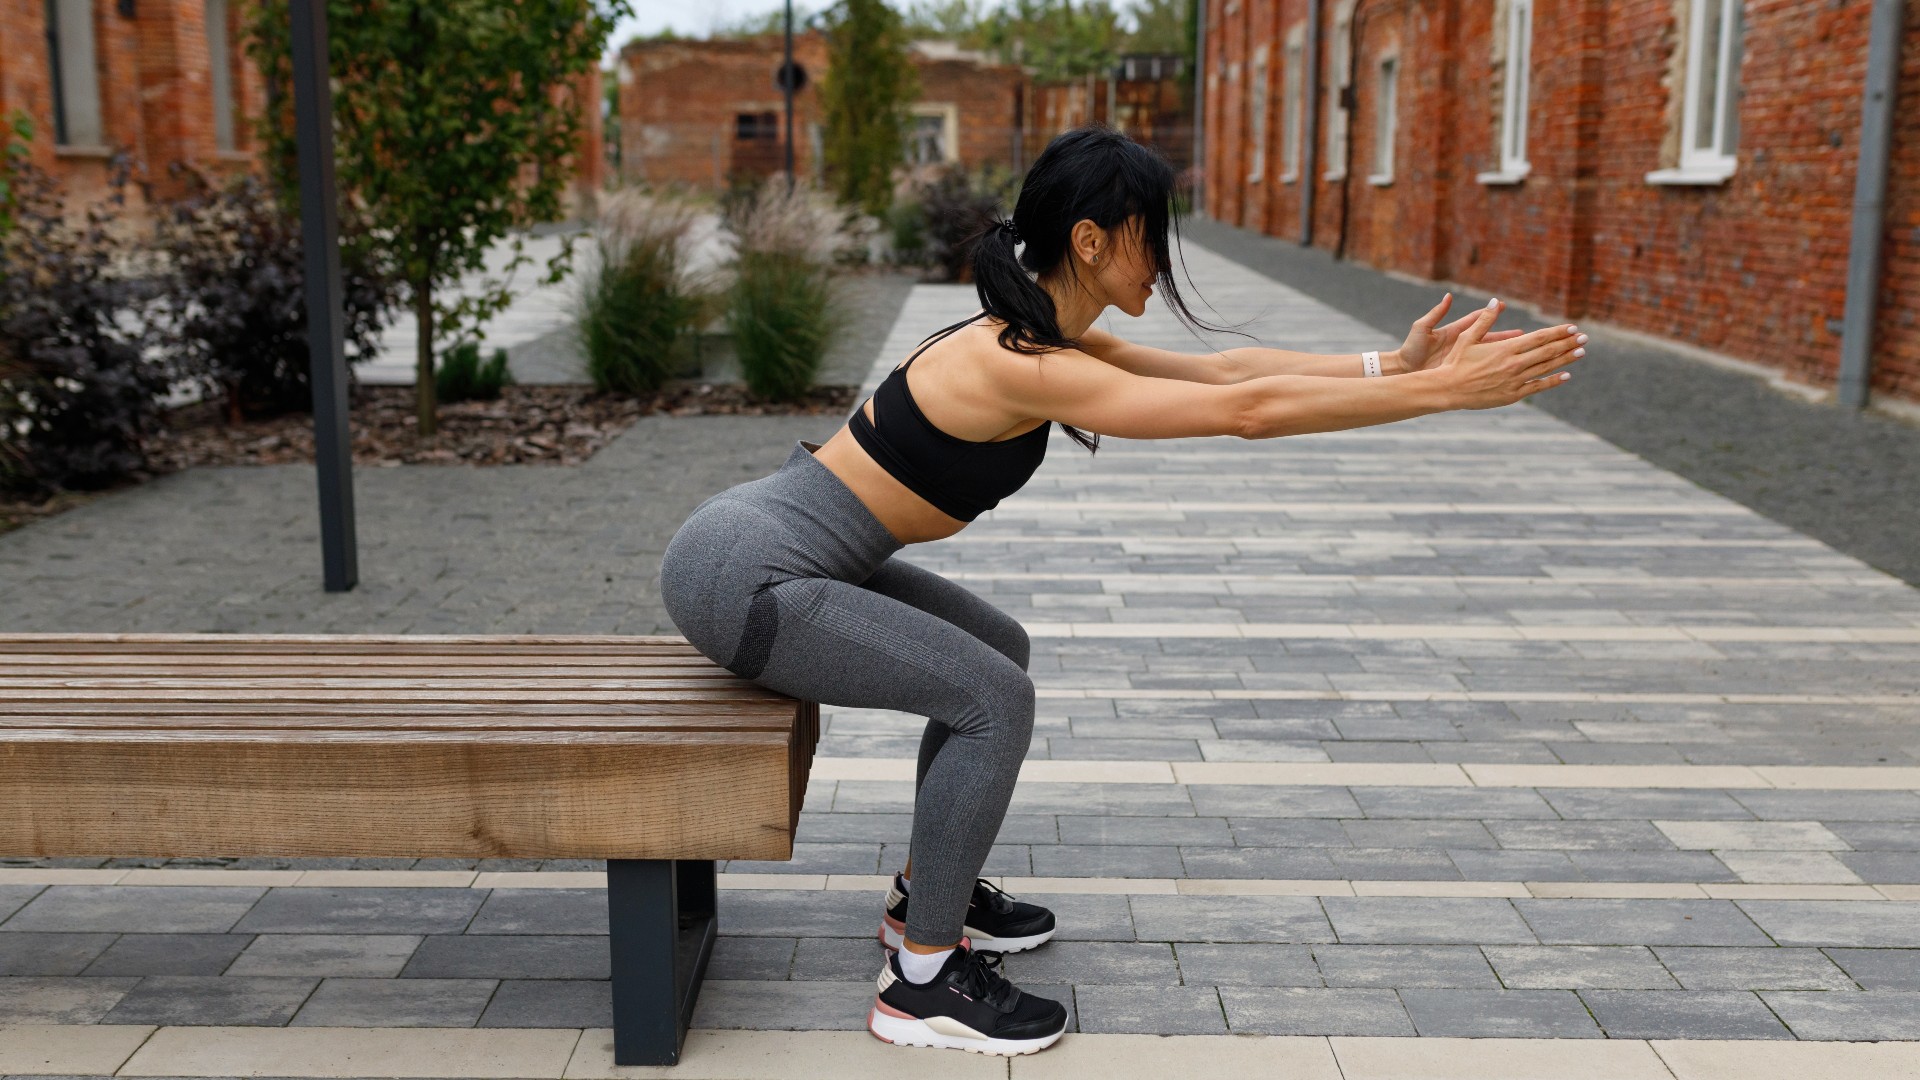
Earlier, we mentioned lowering into a squat like you’re sitting in a chair, so why not practice by doing just that? Practice using a chair, bench or box. Press your heels into the floor, then lower down. Try to execute a tap and lift, meaning you don’t fully sit down, which should help you nail the movement pattern and learn to engage your muscles properly. Be careful not to lean your chest too far forward.
If you're looking for more ways to improve your squat, check out these exercises below.
More from Tom's Guide

Sam Hopes is a level 3 qualified trainer, level 2 reiki practitioner and senior fitness writer at Tom's Guide. She is also currently undertaking her Yoga For Athletes training course. Sam has written for various fitness brands and websites over the years and has experience across brands at Future such as Live Science, Fit&Well, Coach, and T3.
Having worked with fitness studios like F45 and Virgin Active, Sam now primarily teaches outdoor bootcamps, bodyweight, calisthenics and kettlebells. She also coaches mobility and stretching-focused classes several times a week and believes that true strength comes from a holistic approach to training your body.
Sam has completed two mixed doubles Hyrox competitions in London and the Netherlands and finished her first doubles attempt in 1:11.
