7 Diastasis Recti-safe abdominal exercises to try
Rebuild your core – safely – with these essential moves

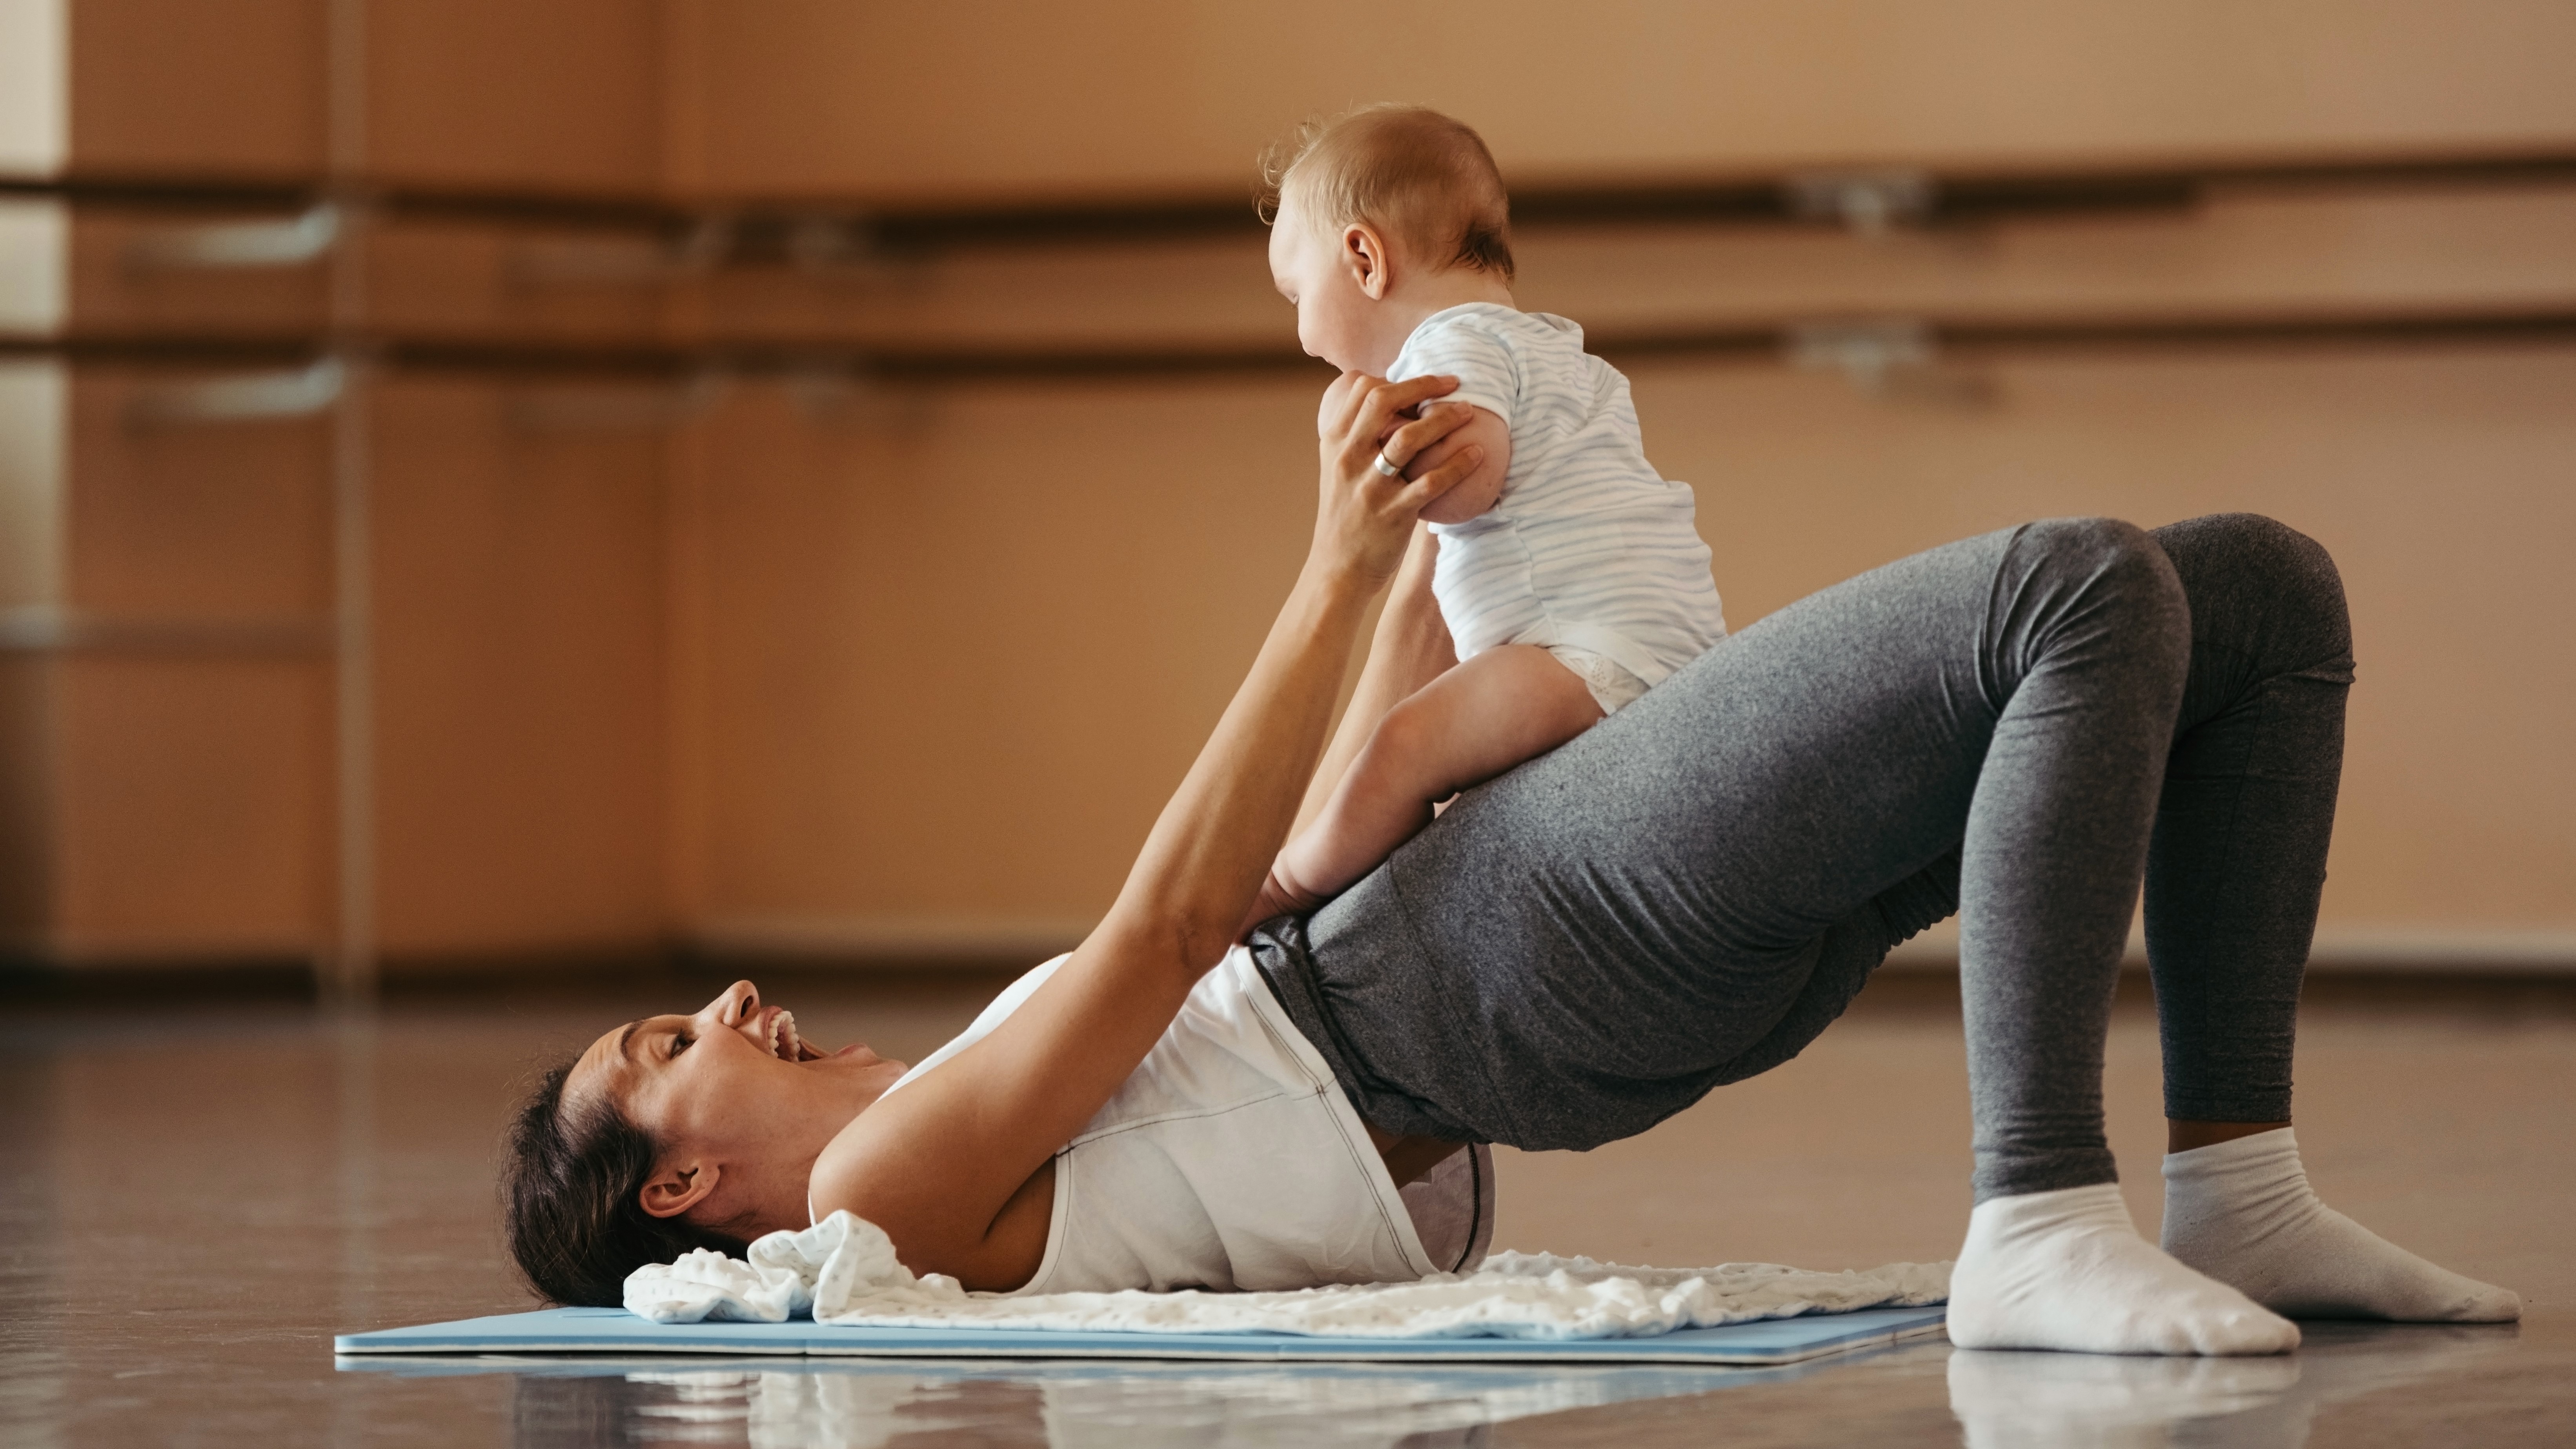
If you’ve just welcomed a new bundle of joy into your family, you may notice that your body feels a little different after nine months of pregnancy. It makes sense, of course — you don’t grow and house a ten pound human without some shifts and changes to your anatomy.
You may be eager to hit the gym once your doctor has given you the go-ahead, but if you’ve got a very common postpartum condition called Diastasis Recti — which will look and feel like a gap in your stomach, right above your belly button — there are some important considerations to keep in mind. While rebuilding your core should be at the top of your post-natal fitness list for many reasons, you’ll want to make sure you’re doing so safely and effectively.
So before you pick up a barbell or join a HIIT class, start with these 7 Diastasis Recti-safe abdominal exercises. If your condition is severe though, you’ll want to seek the guidance of a pelvic floor therapist before attempting any type of core work.

What is Diastasis Recti?
“DRA [Diastasis Recti Abdominis] is the separation of the rectus abdominis, or ‘six pack’ muscles, that occurs with pregnancy and newborns,” says Madison Banbury, PT, DPT, CF-L2, USAW-L1, a physical therapist and pelvic floor specialist. “During pregnancy, the tissue connecting the rectus abdominis muscles is stretched to allow for the growth of the baby. While expected and normal in pregnancy, this can stick around for a bit in postpartum women.”
However, pre-and post-natal women aren’t the only ones who are at risk for Diastasis Recti. “Contrary to popular belief, DRA actually occurs in both men and women...and even babies,” Banbury explains. “[It can] occur pathologically in overweight individuals or even those with poor abdominal control. In the case of overweight individuals, the tissue spreads in a similar way.”
What movements should be avoided with Diastasis Recti? “This will differ from person to person,” Banbury says. “Any activities that cause visible and dynamic doming or coning (when a bulge at midline becomes visible and worsens with exertion) should be avoided, or better yet modified, to permit safety and comfort. While for some this may be performing sit-ups, for others it may be donning shoes or rolling over in bed.”
7 Diastasis Recti-safe exercises to try
According to Banbury, “exercises that improve the tension and strength across the gap of the abdominal muscles, by activating the deep core and pelvic muscles, are vital to preventing and improving DRA.”
Sign up to get the BEST of Tom's Guide direct to your inbox.
Get instant access to breaking news, the hottest reviews, great deals and helpful tips.
These 7 exercises are sequenced from basic concepts to more challenging movements. If you’re just returning to the mat after pregnancy and childbirth, start with the beginning of the list and then progress to the later exercises as you get stronger. And remember — if your abdominal gap is severe (more than two fingers wide), make an appointment with a pelvic floor therapist before you begin any kind of fitness regimen.
1. Drawing-in maneuver with diaphragmatic breathing
The drawing-in maneuver may seem simple, but it’s a crucial step in regaining core strength, and one of the first steps in addressing Diastasis Recti. This exercise activates your TVA, or transverse abdominis — the deepest muscle of your core, responsible for stabilizing your pelvis and spine.
To perform the drawing-in maneuver, lie on your back with a neutral spine. Bend your knees and place your feet on the floor, about hip-width apart. Inhale, expanding your rib cage and allowing your belly button to rise with the incoming air. Don’t allow your lower back to arch excessively, and keep your chest and shoulders still. Exhale, pulling your belly button towards your spine and drawing your ribs toward the center of your body. Hold the engagement for 10 seconds. Continue for a set of 10 repetitions.
If you’ve got a yoga block or rolled-up towel handy, place it between your knees and squeeze inward as you engage your core — this will activate your pelvic floor muscles as well.
2. Supine Marches
Once you’ve mastered the drawing-in maneuver and diaphragmatic breathing, add in a march to further strengthen the deepest muscles of your core.
To perform supine marches, lie on your back with a neutral spine, knees bent, and feet on the floor about hip-width apart. Perform the drawing-in maneuver by engaging your core and pulling your belly button towards your spine. With your core engaged, gently lift your right foot off the floor, bringing your right knee directly above your right hip. Slowly lower your right foot back down to the floor. Continue for a set of 10 repetitions, then repeat on the left side.
After you’ve practiced supine marches a few times, try alternating between your right and left sides.
3. Heel slides
Heel slides are another great exercise to target the transverse abdominis, and a slight “ramp up” from supine marches.
To perform heel slides, lie on your back. Your spine should be neutral, with both knees bent and feet on the floor. Draw your belly button towards your spine and slowly elongate your right leg, allowing your right heel to slide along the floor. Keeping your core engaged, slide your right heel back towards your hips and return your right foot to the starting position. Continue for a set of 10 repetitions, and then repeat on the left side.
If you find your quadriceps and hip flexors are doing more work than your core, reduce the number of reps you perform, or go back to practicing supine marches. If you’re ready for something a little more advanced, try alternating between your right and left legs.
4. Toe Taps
Toe taps can be tricky even for those without Diastasis Recti, so be sure that you’ve nailed the previous exercises to avoid any unwanted movement compensations.
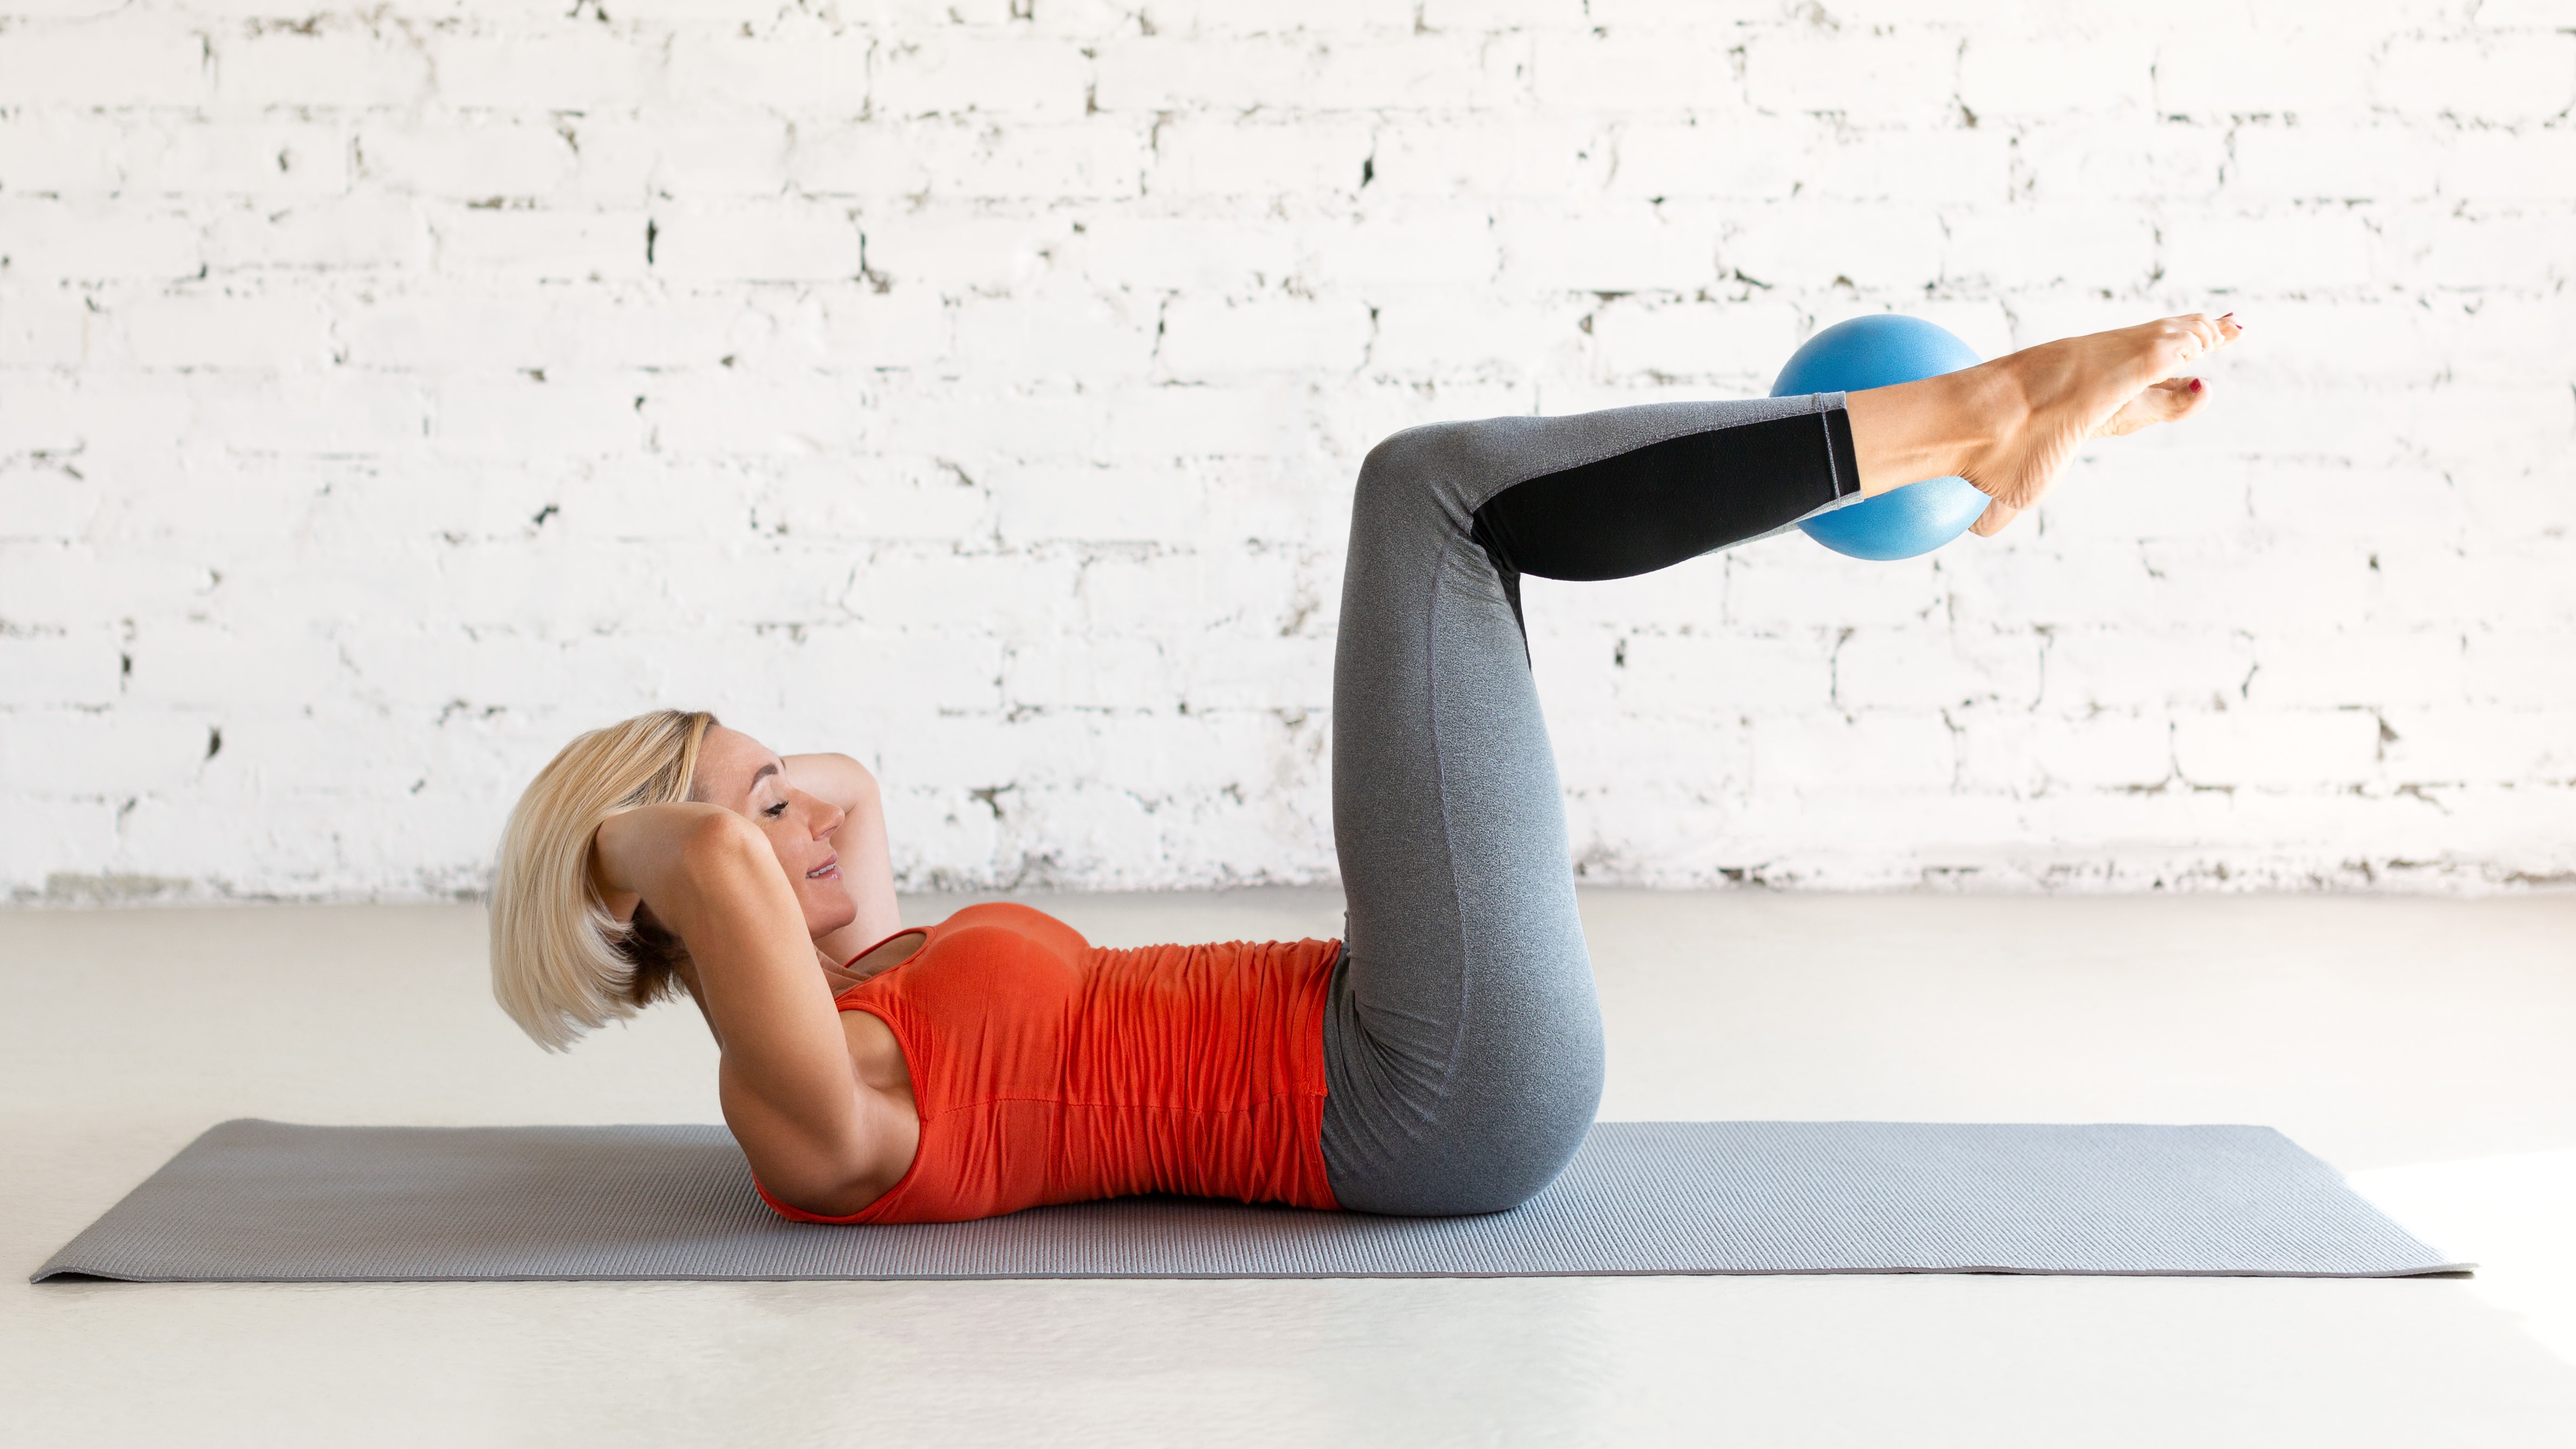
To perform toe taps, lie on your back with a neutral spine, knees bent, and feet planted on the floor. Drawing your belly button to your spine and engaging your core, slowly lift both knees to a table top position (knees aligned directly over your hips, with your shins parallel to the floor and your feet relaxed). While keeping your core engaged and not allowing the lower back to arch, slowly lower your right toe towards the floor. Lift it back to the starting position with control. Continue for a set of 10 repetitions, and then repeat on the left side.
If your lower back begins to arch, or you feel the exercise more in your thighs than your core, reduce the number of repetitions in your set. You can also choose to revisit supine marches and heel slides instead. If you’re up for the challenge, try alternating between the left and right sides.
5. Dead bugs
Dead bugs are often used as one of the beginning exercises in any core strengthening routine, not just for those who are postpartum. But like toe taps, they can be somewhat difficult to do correctly and require pretty decent coordination. If you’re not working with a pelvic floor therapist, it might be a good idea to meet with a certified personal trainer to ensure proper form.
To perform dead bugs, lie on your back. Your spine should be neutral, your knees should be bent, and your feet should be on the floor about hip-width apart. Slowly lift your knees to a table top position aligned over your hips, with your shins parallel to the floor and your feet relaxed. Raise both arms straight in the air, so that your wrists and elbows are aligned directly over the shoulders. Keep your core engaged, with your belly button drawn towards your spine. Slowly lower your right foot and your left arm towards the floor at the same time. Continue for a set of 10 repetitions, and then repeat on the other side.
If you’re having trouble coordinating your opposite sides, try practicing the upper body and lower body portions of the exercise separately. If your lower back starts arching or you find it hard to keep your core engaged, reduce your reps or revisit previously-listed exercises.
6. Drawing-in maneuver on all fours
So far, all of the exercises on this list have been done in a supine position (lying flat on the back). We’re returning to the basics with the drawing-in maneuver, but this time we’re doing it in a prone position — otherwise known as “on all fours.”
To perform the drawing-in maneuver on all fours, place your hands on the mat directly underneath your shoulders, and your knees on the mat directly underneath your hips. Don’t allow your lower back or chest to sink towards the floor, or your mid-back to arch excessively towards the ceiling – keep your spine in a neutral position. Inhale and expand the rib cage. Exhale and draw your belly button towards your spine, keeping your core fully engaged. Hold this position for 10 seconds. Continue for a set of 10 repetitions.
You may find it a little more difficult to perform the drawing-in maneuver while in a prone position, since your core muscles now have to work against gravity. If your form starts to fail, consider reducing your reps. If you feel your abdominals bulging out instead of drawing in, come back to this exercise later and make an appointment with a pelvic floor therapist.
7. Bird dogs
Bird dogs are one of the best core stability exercises you can do, and they deserve a place in your fitness regimen even after your Diastasis Recti is a thing of the past.
To perform bird dogs, place your hands and knees on the mat, aligned with your shoulders and hips respectively. Pull your belly button in, engaging your core muscles and keeping your spine in a neutral alignment. Slowly lift your right arm and your left leg off the ground, elongating both so that they’re parallel to the floor. Don’t allow your lower back to arch or your hips to shift. Return to the starting position. Continue for a set of 10 repetitions, then repeat on the other side.
Like dead bugs, you can practice bird dogs by performing the upper body and lower body portion of the exercise separately. If it’s hard to keep your form, reduce your reps or practice drawing in on all fours. If one-sided bird dogs feel doable, try alternating between the two sides.
More from Tom's Guide
Jennifer Rizzuto is a freelance writer and certified personal trainer based in Long Island, NY. She covers various fitness-related topics and reviews for Tom's Guide. She also writes sketch comedy and short films, and performs frequently as an actor, singer, and improviser. When she's not writing, working out, or performing, you'll find her trying to convince her husband to get a dog.

