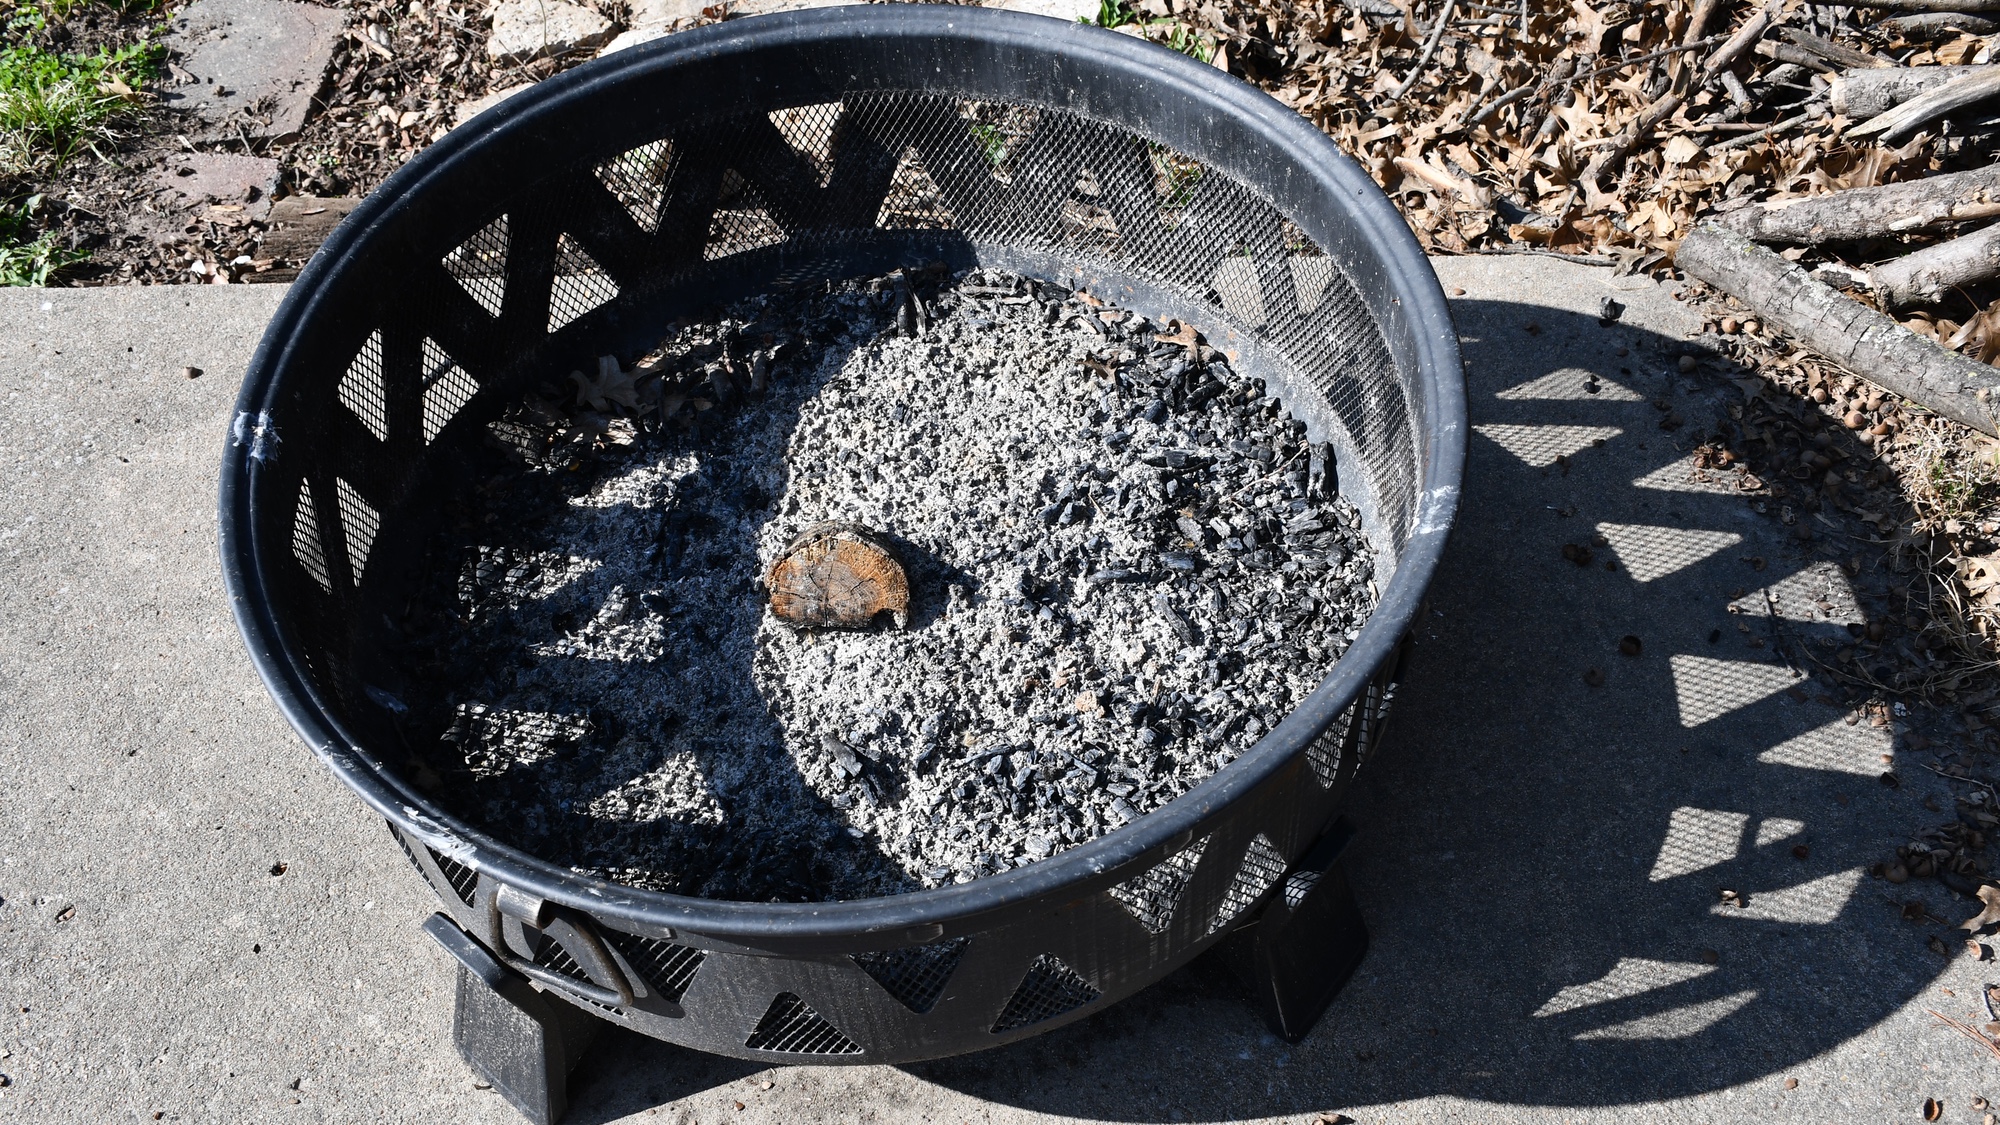
5 top tips for getting your fire pit ready this spring
Don't skimp on spring cleaning when it comes to your fire pit

The weather is getting warmer, and that means it's the perfect time to get everyone together for a backyard bash. And nothing beats sitting around one of the best fire pits for a BBQ or gathering.
But before you get the party started, make sure your annual spring cleaning extends to your fire pit. After all, we want things to stay fun rather than become stressful or even dangerous by skimping on regular maintenance.
It can feel like there's a lot to do to make sure your yard is in tip-top shape for entertaining, whether that's giving your backyard a makeover on a budget, gearing to cook up some burgers and hotdogs with one of the best grills, or getting your garden ready for spring. But don't stress just yet! We're here to help, so check out these five tips for getting your fire pit ready for spring.
If you're also looking to refresh and declutter the rest of your home, check out these five best spring cleaning hacks from a professional cleaner.
1. Remove debris

First things first: Make sure your fire pit is off before you dive into the cleaning process. That means cutting the gas supply or electrical connection, depending on what kind of connection you have. If you have a traditional fire pit, you're already good to go.
Start with the inside of your fire pit. Remove any debris, such as leaves, ash, dust, or curious critters that may have holed up inside over winter. Make sure to take the time to clear out the burner pan and around the burner area. Any leftover debris there will ignite the next time you light your fire pit, which could become a fire hazard or even damage the burner system. At the very least, you're going to be stuck cleaning up a mess that could have easily been prevented.
Ensure your fire pit's vents are clear of any debris that may have accumulated over the winter, as proper airflow plays a crucial part in operating your fire pit safely.
Sign up to get the BEST of Tom's Guide direct to your inbox.
Get instant access to breaking news, the hottest reviews, great deals and helpful tips.
2. Deep clean your fire pit
Now that you've got all the crud cleared away, it's time to tackle cleaning. You can use a dry scrub brush to remove any dust or other debris that's caked on the fire pit's interior and exterior. This step is especially important because any buildup of residual combustible liquid could result in stray flames.
For this next part, all you'll need is soapy water and a rag or sponge: Wipe down the base, exterior, inner components, burner area, and any fire pit accessories you may have. If your fire pit model has a vinyl cover, remove it and wash it inside and out in soapy water.
As you're cleaning, you may spot some discoloration caused by the high heat of the flames. Apply a paste made from mixing vinegar and baking soda to the area and let it sit for 15 minutes before rubbing it off with a cloth or non-metal scouring pad. Rinse with water, and either dry the area off with a towel or leave it to air dry.

If your fire pit uses fire glass, you're going to want to put on a pair of the best heavy-duty work gloves before removing anything. Carefully scoop out the glass using a stainless steel mesh strainer and gently dunk it into a bucket filled with a 50/50 mixture of water and vinegar. Let that soak for a solid minute or two, using the strainer to lightly swish the glass around while submerged in the solution. Once you're done, lay everything out to air dry.
To clean lava rocks, you can rinse off any soot or carbon buildup with regular old water. An important thing to note: Any material should be completely dry before you put it back in your fire pit.
3. Look for damage
Things can shift during the winter. Be sure to take a good look around the sides, top, and bottom of your fire pit for possible damage that may have occurred in the colder months. Some red flags to look out for: dents, holes, rust, or broken parts.
First, inspect the igniter and igniter wire to make sure they're still in tip-top shape. Depending on your model, that could include testing the pilot light to make sure it's still functioning properly as well as checking the burner and burner pan for signs of deterioration.
Then move on to any hoses, keeping an eye out for damage or warping that can be caused by temperature fluctuations over the seasons. Sometimes critters gnaw on fire pit parts too, weakening the structural integrity. So be sure to check your gas line for kinks or dents.
If your fire pit uses propane, don't forget to unscrew the air mixer from the tank hose and burner to ensure it's clear of cobwebs and creepy crawlers that may have curled up inside. For fire pits with battery-operated ignition systems, go ahead and swap out the old battery for a new one to ensure you have a reliable power source to last all summer long.
4. Keep an eye out for fire hazards
If you've already spruced up your garden to get it ready for spring, take a moment to make sure your fire pit still has enough clearance to operate safely. If not, you'll need to relocate it.
The exact dimensions can vary depending on regulations where you live and what model of fire pit you have, but in general, you'll need at least 3 feet of space on either side and 6 to 10 feet clear above to ensure the flames can't reach any awnings, low-hanging branches or other flammable material. You can always reference the manufacturer's requirements online or in your installation manual if you're unsure.
5. Start small before you turn up the heat

Now that everything's been cleaned and inspected, it's time for a test run. If you use fire glass or lava rocks, we recommend running this test before putting them back in so you can have a clear view of the burner.
Depending on what kind of model you have, make sure the control knobs are turned to the off position before trying to ignite your fire pit. Start small, running it at a very low setting, before turning up the heat.
If your fire pit starts making any weird noises or gargling sounds after you light it, turn it off immediately. This can be a sign that your gas line may be clogged with debris or has sustained water damage.
We have plenty of tips for turning your backyard into the perfect place for entertaining this summer. Check out our guide for the best outdoor speakers to keep grooving all season long. If your grass is starting to look a little brown or patchy, here are 7 tips to revive a dried lawn. While you're at it, consider adding some greenery that does more than just look great with these 7 plants to create more privacy in your backyard.
More from Tom's Guide

Alyse Stanley is a news editor at Tom’s Guide, overseeing weekend coverage and writing about the latest in tech, gaming, and entertainment. Before Tom’s Guide, Alyse worked as an editor for the Washington Post’s sunsetted video game section, Launcher. She previously led Gizmodo’s weekend news desk and has written game reviews and features for outlets like Polygon, Unwinnable, and Rock, Paper, Shotgun. She’s a big fan of horror movies, cartoons, and roller skating.
