Your Mac has a built-in screen recorder — here's how to use it
Capturing actions on your Mac with this hidden feature
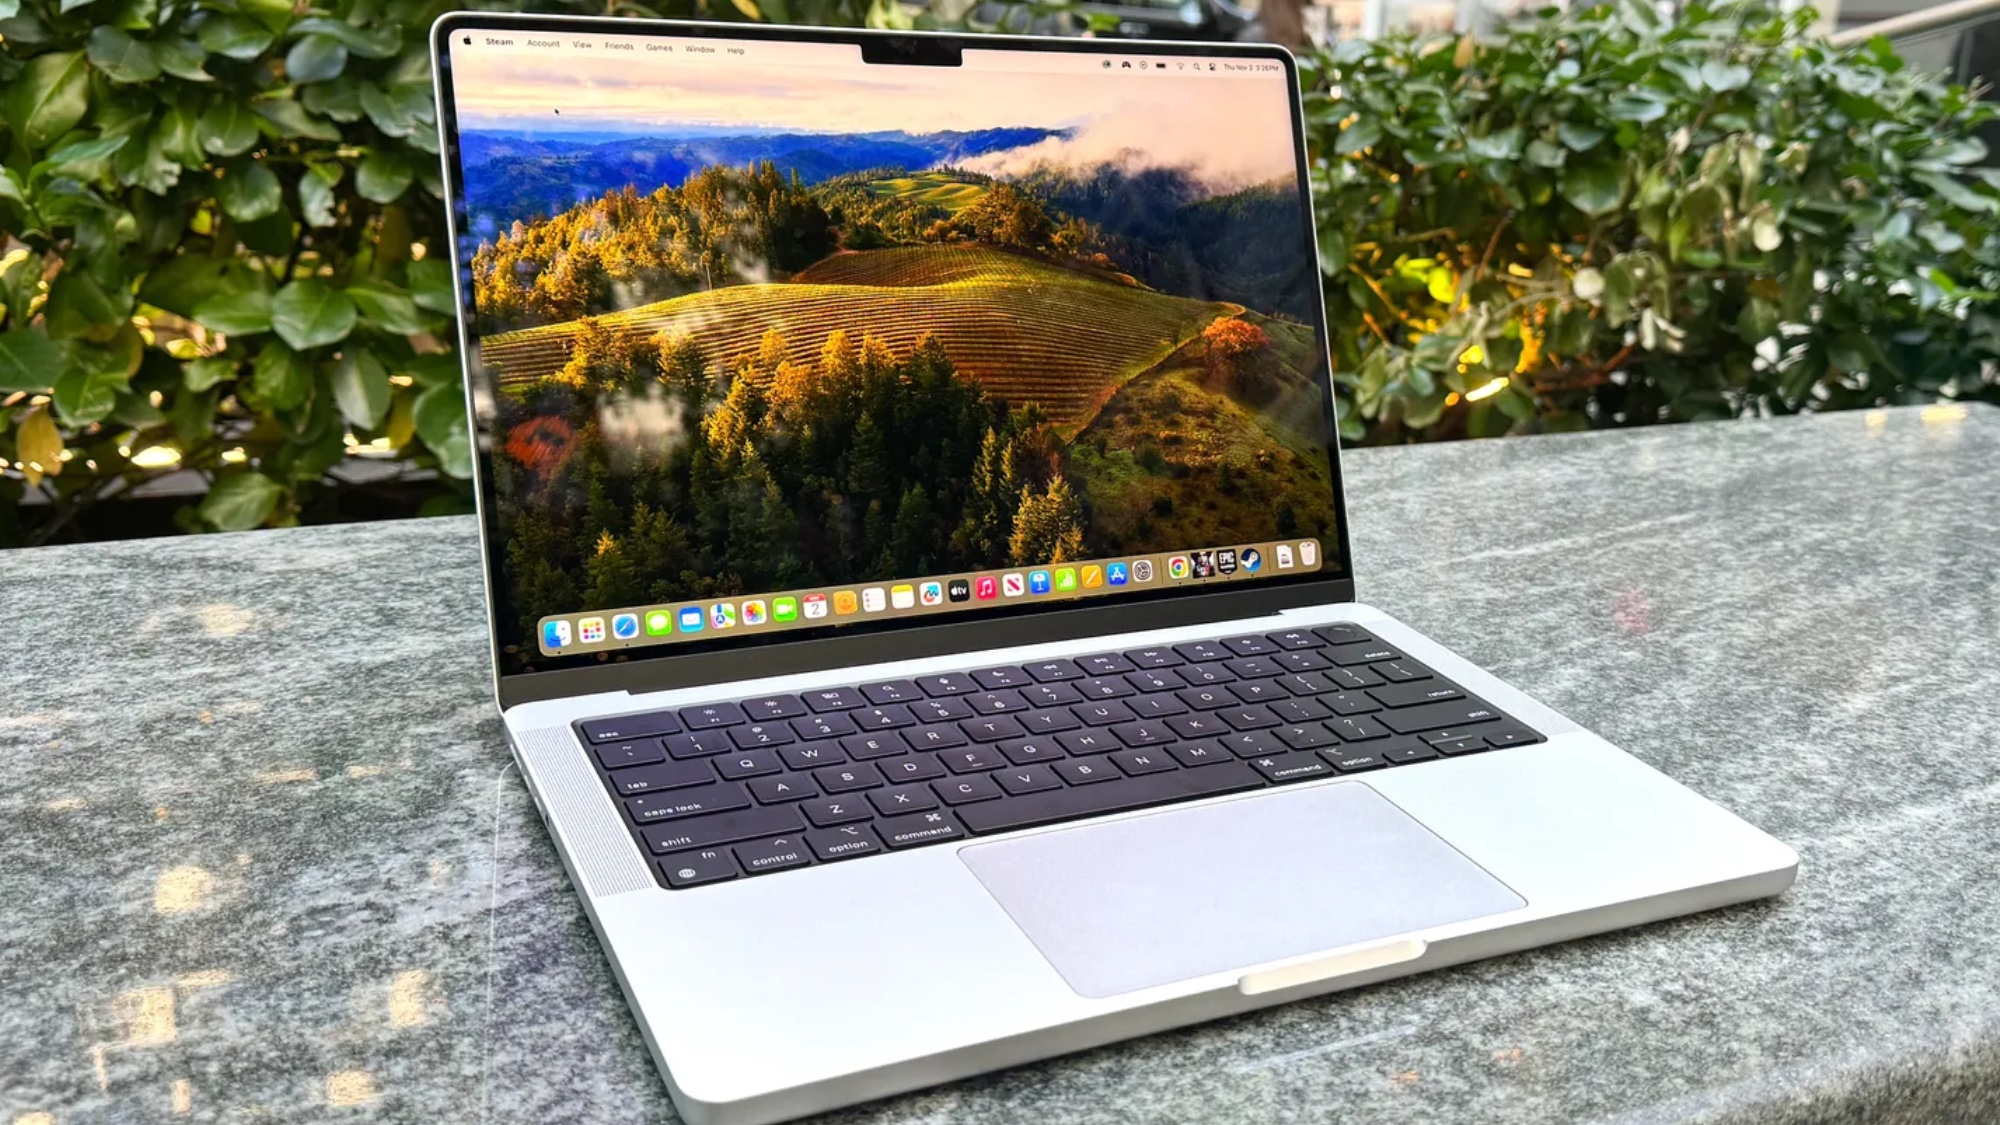
If someone asks you how to do something on a Mac, you have a handful of options. You could point them to one of Tom’s Guide’s wonderful How To tutorials, walk them through the steps in person while pointing at your screen, or create a screen recording that they can watch later at their own pace.
It’s that latter option which we’re about to explore in detail, showing how you can record the entire Mac screen or just a portion of it. Once you’ve learned this skill, you’ll also find it comes in handy for all sorts of tasks. You could use it to record a video playing on your Mac (you’ll need to allow access to a microphone to pick up sound), or record yourself playing a tricky part of a game.
Whatever you want to use it for, we’ve got you covered. So, let’s take a look at how to record your Mac’s screen with options to narrate, set a timer, and show the mouse pointer.
1. Launch the Screenshot app
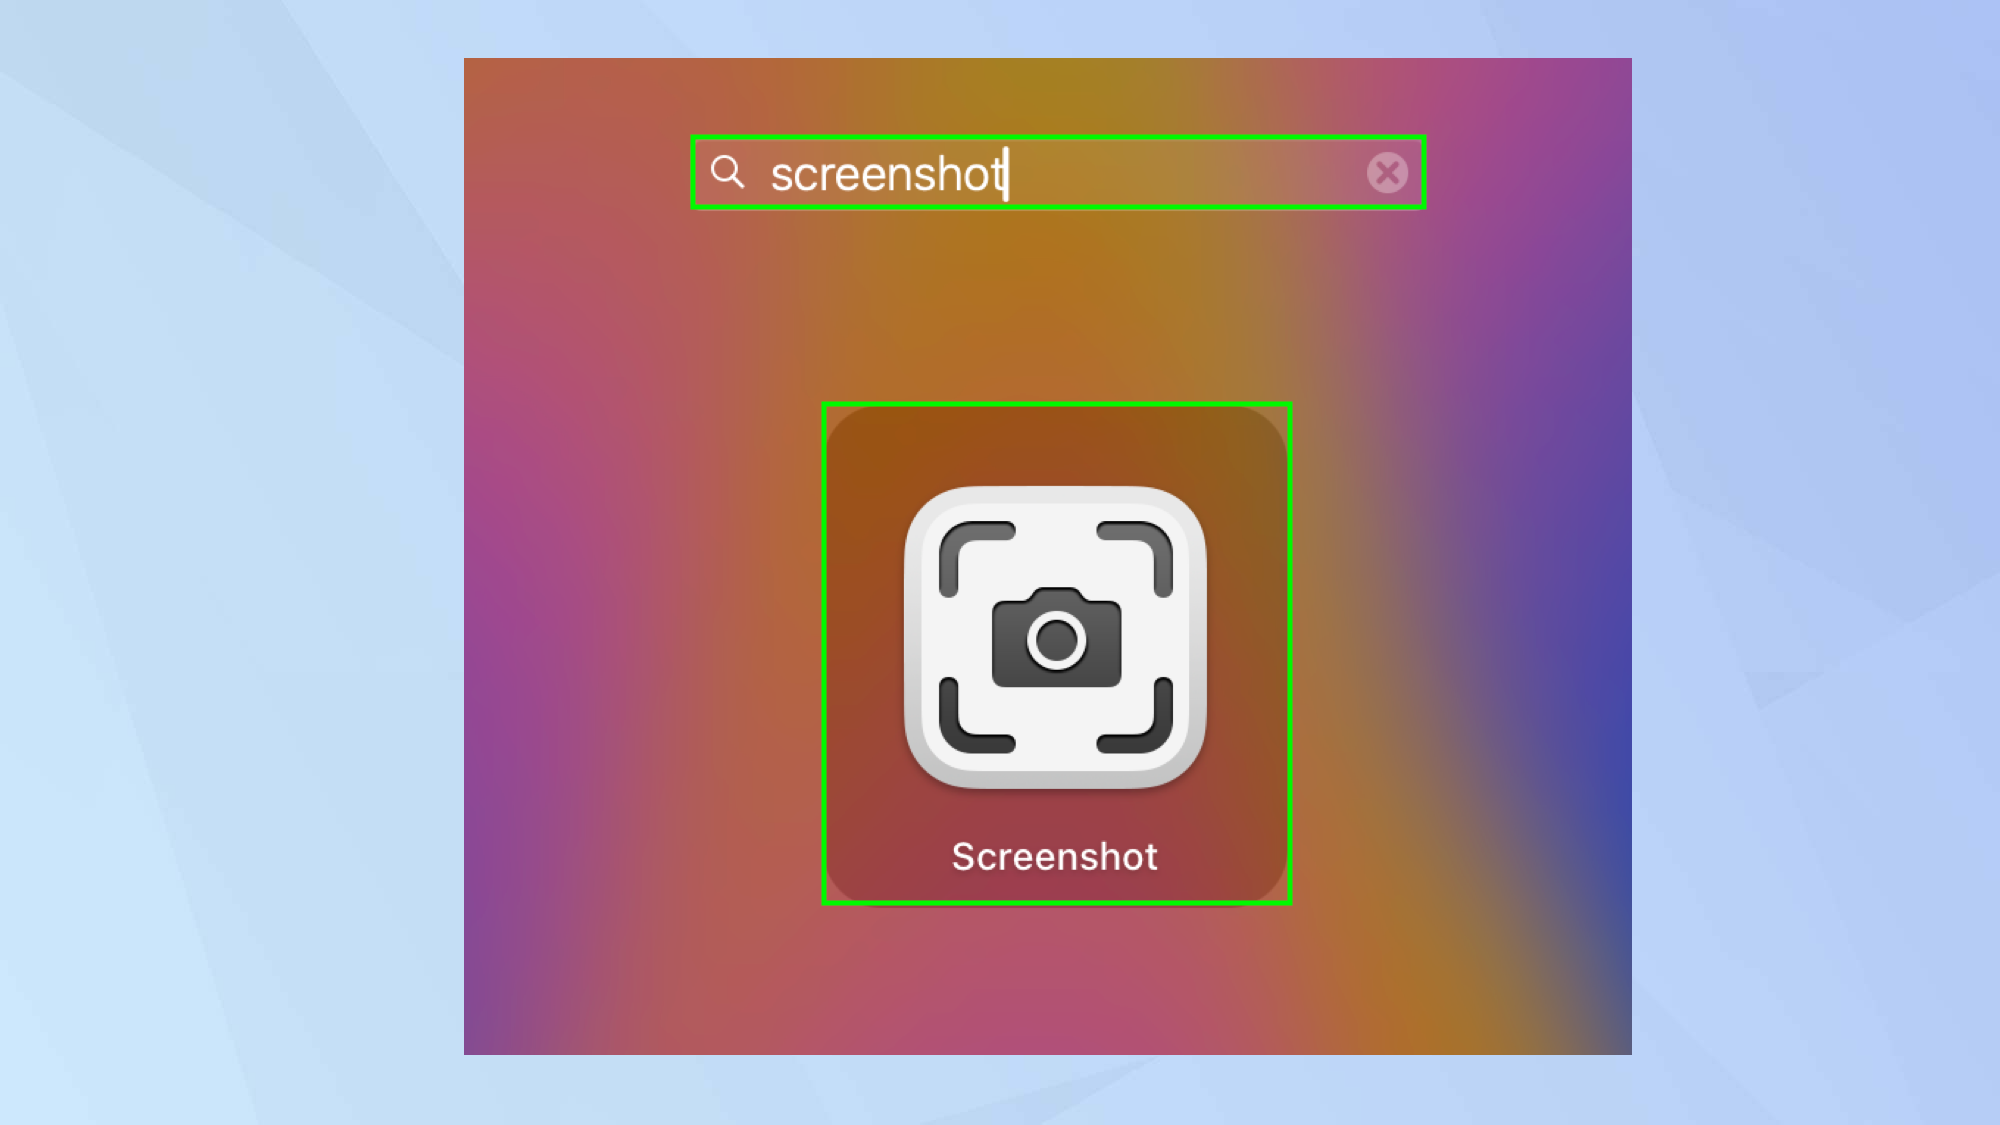
When you want to make a screen recording on a Mac, press Shift-Command-5 on the keyboard. Alternatively, select Launchpad from macOS’s Dock, search for Screenshot and click the Screenshot icon.
You can also launch the QuickTime app: when it’s open, click File, then select New Screen Recording.
2. View the tools
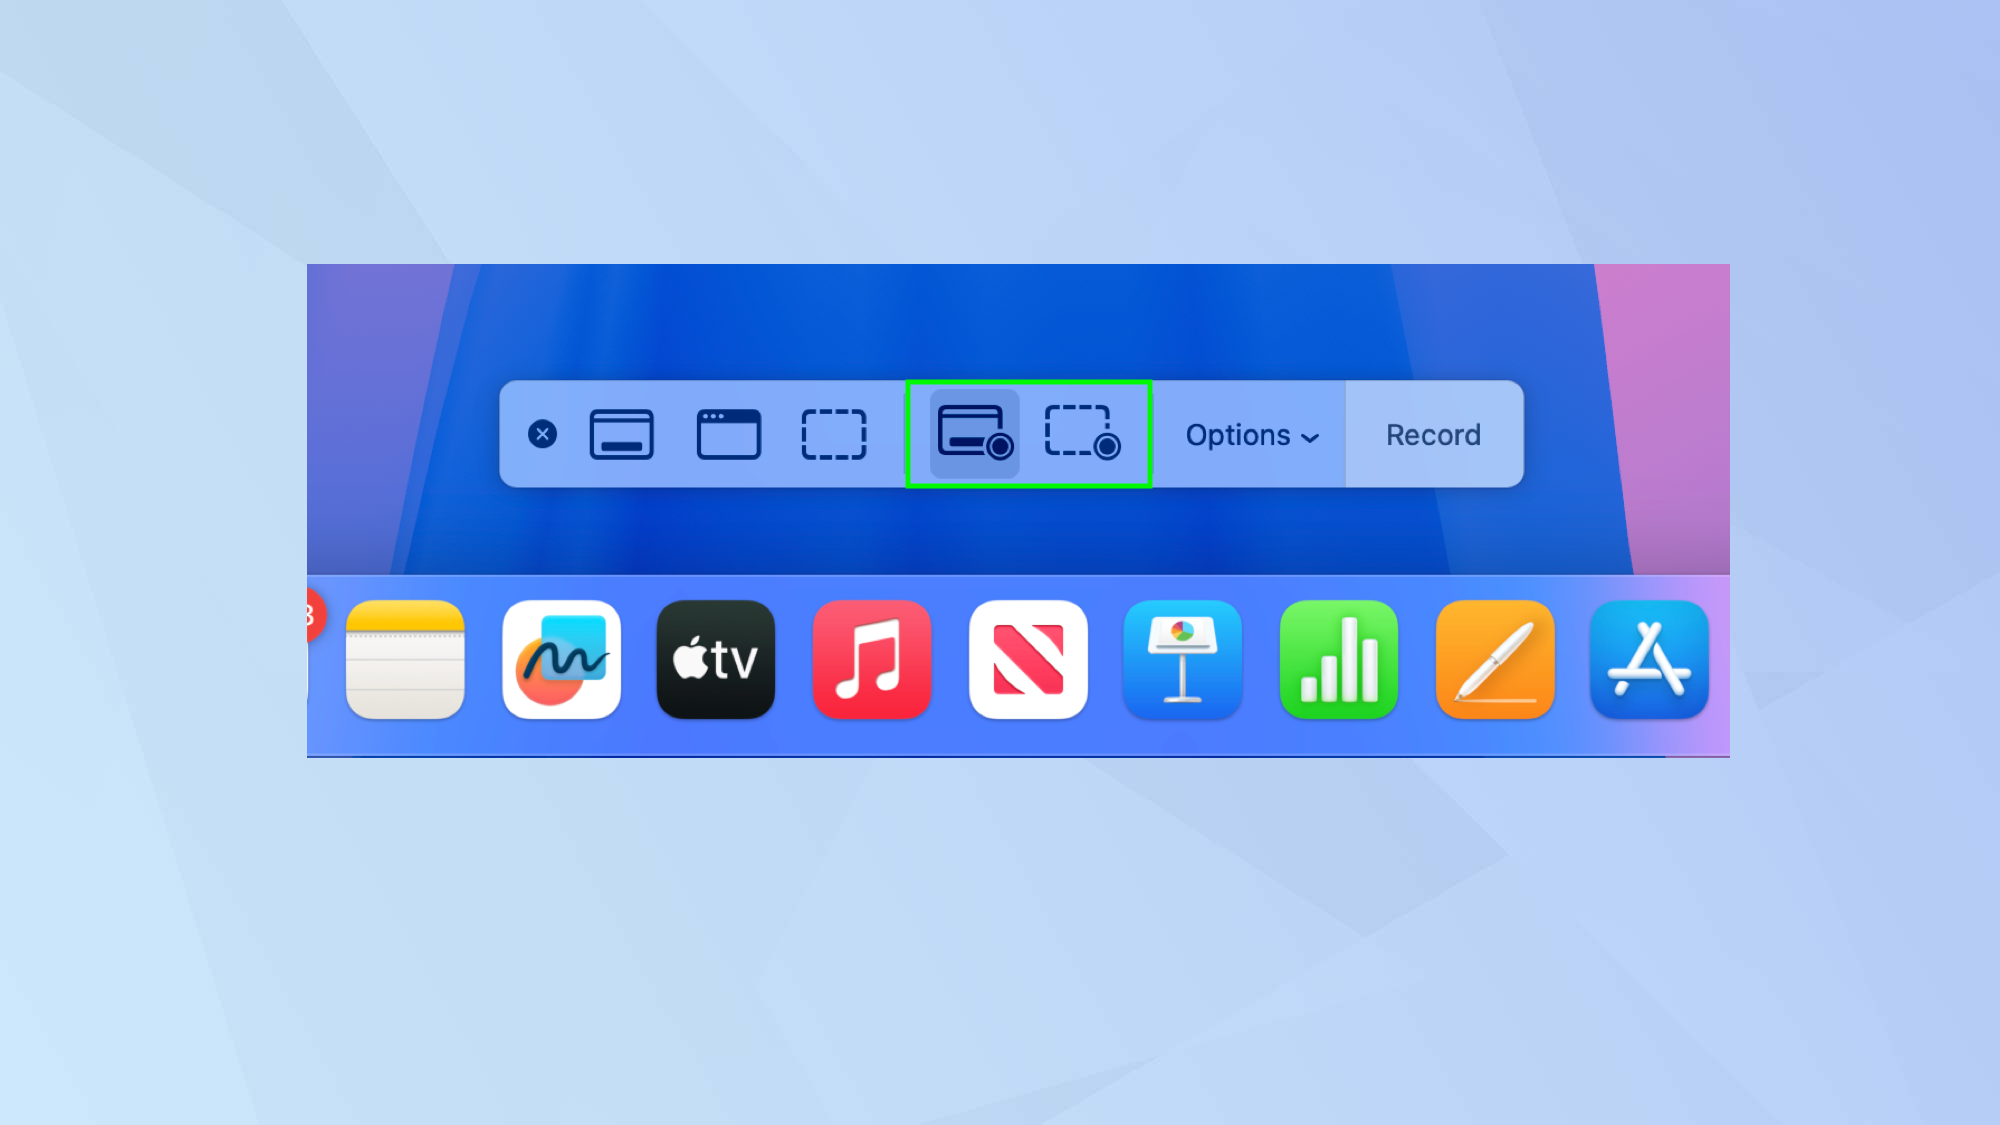
Look at the bottom of the display and you will see a set of options. There will be two icons that have a small round circle in the bottom-right corner. These are the recording functions.
3. Choose where to save
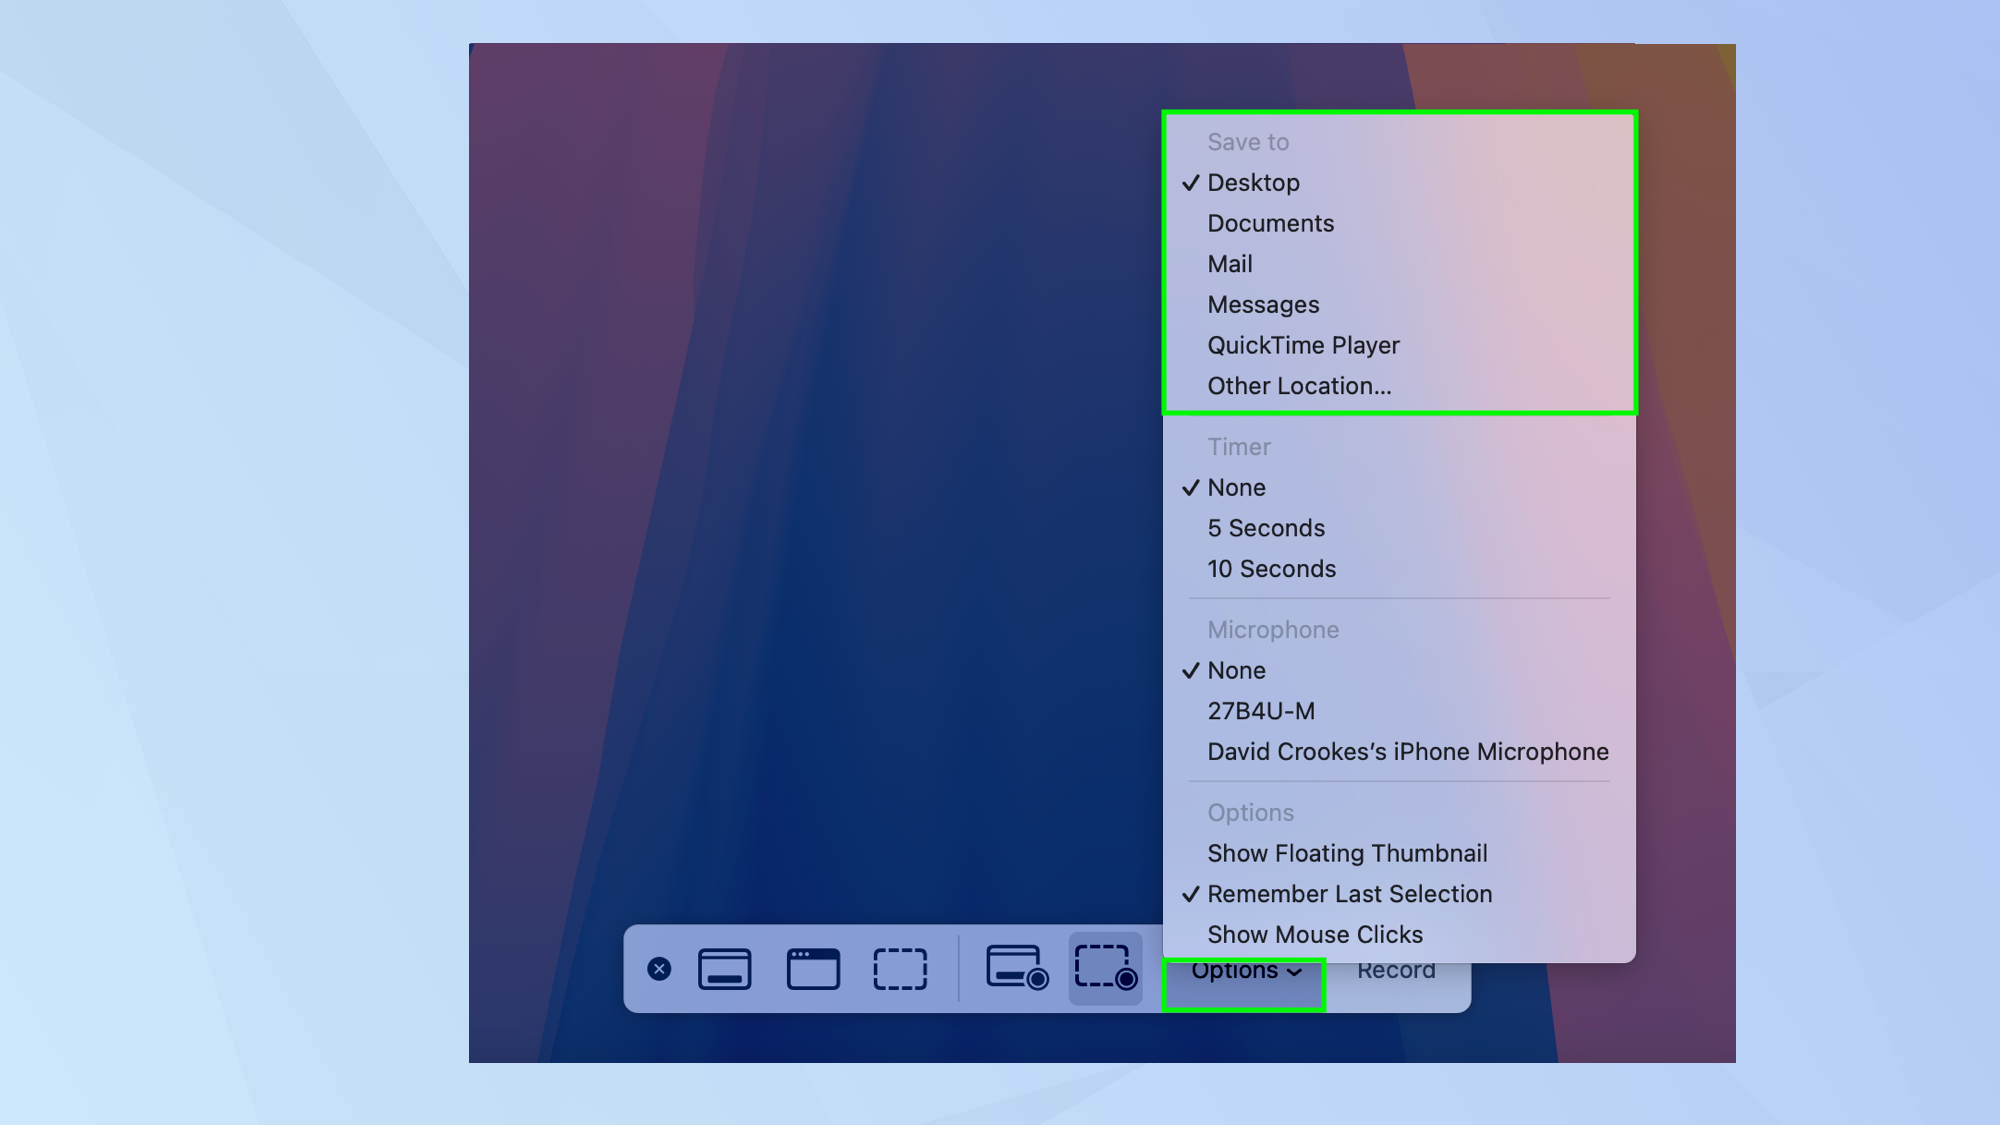
By default, recordings will be saved to the Desktop. You can, however, change this. Click Options and either select a preset location, or select Other Location and choose a folder.
4. Set a timer
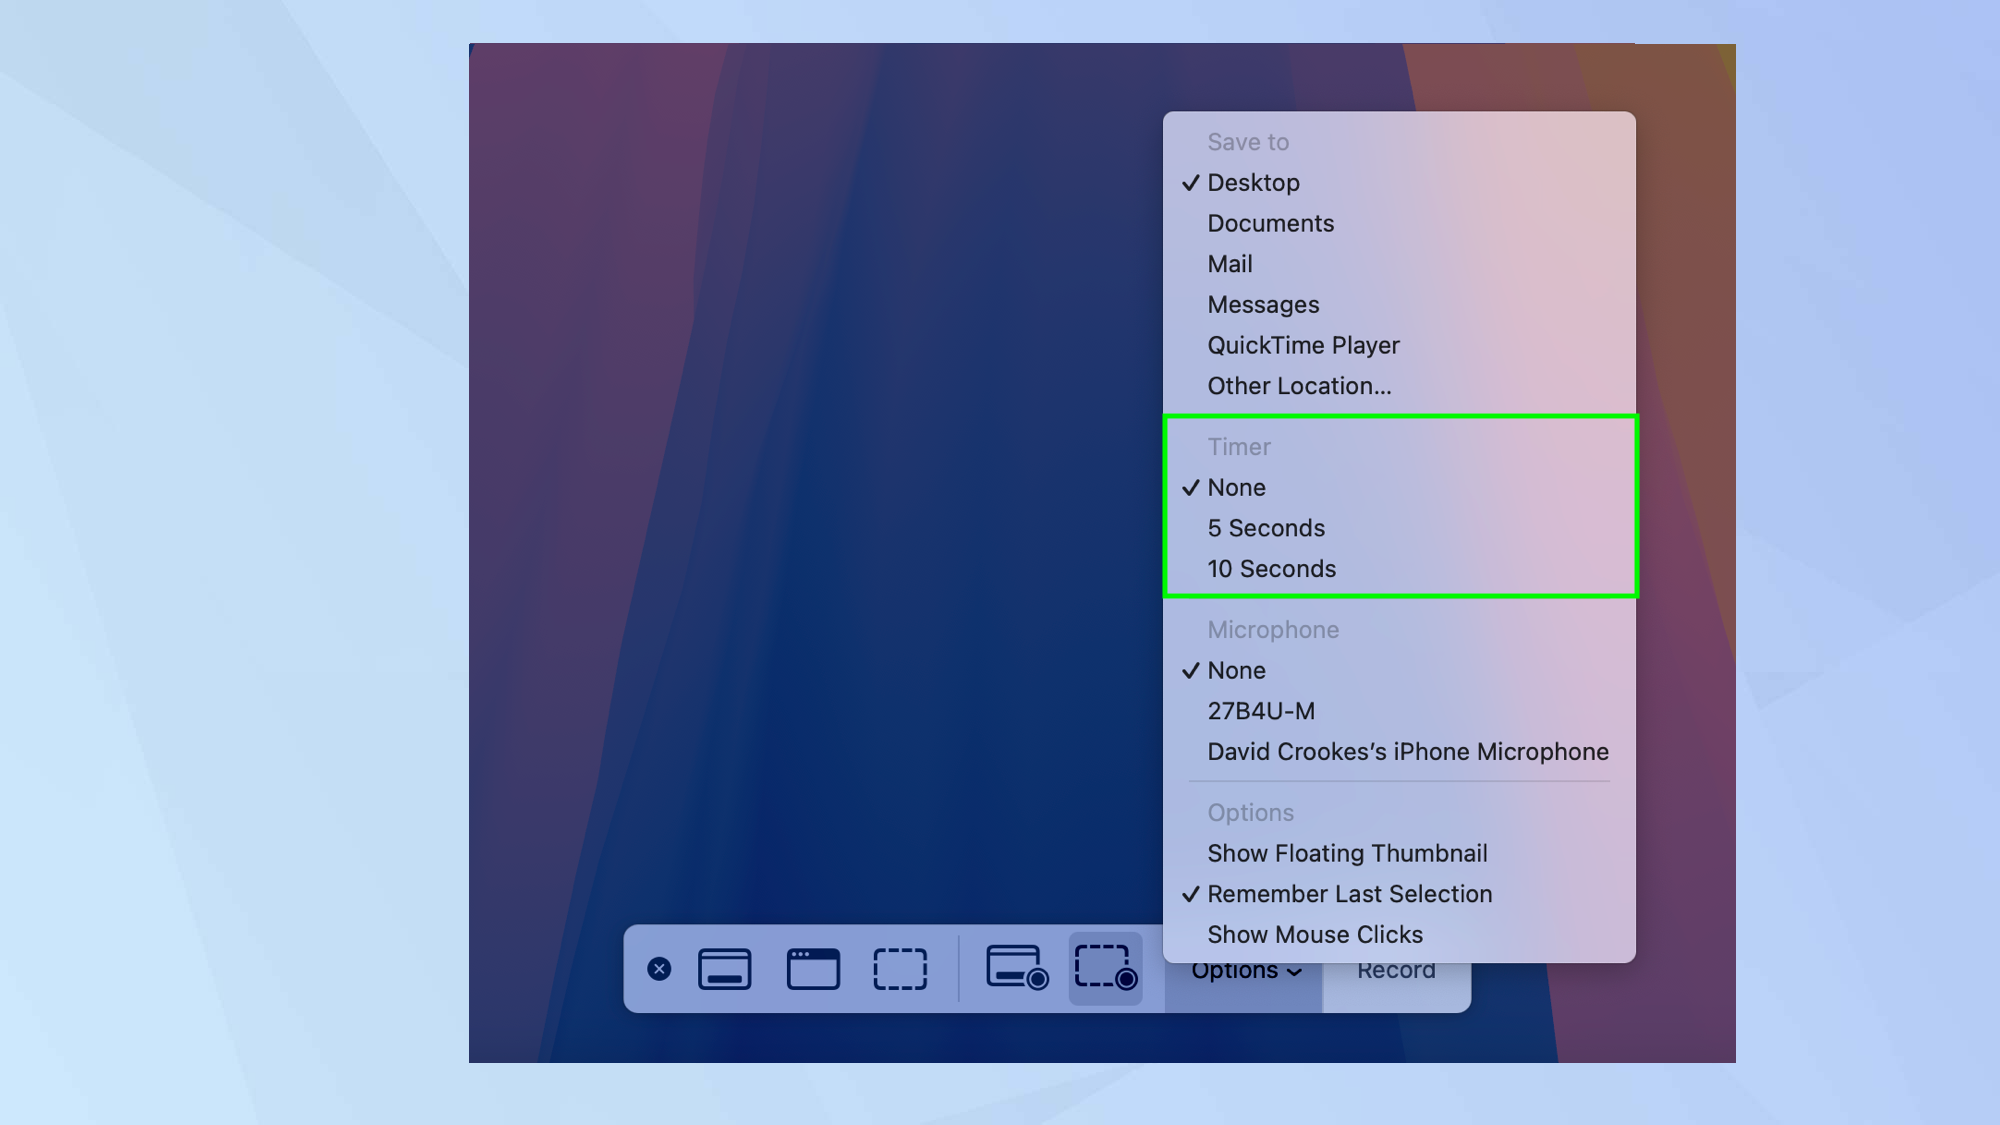
If you don’t want a recording to start immediately because you want to make sure everything is in place beforehand, you can set a timer in the Options — choose between five and 10 seconds.
5. Decide whether to narrate
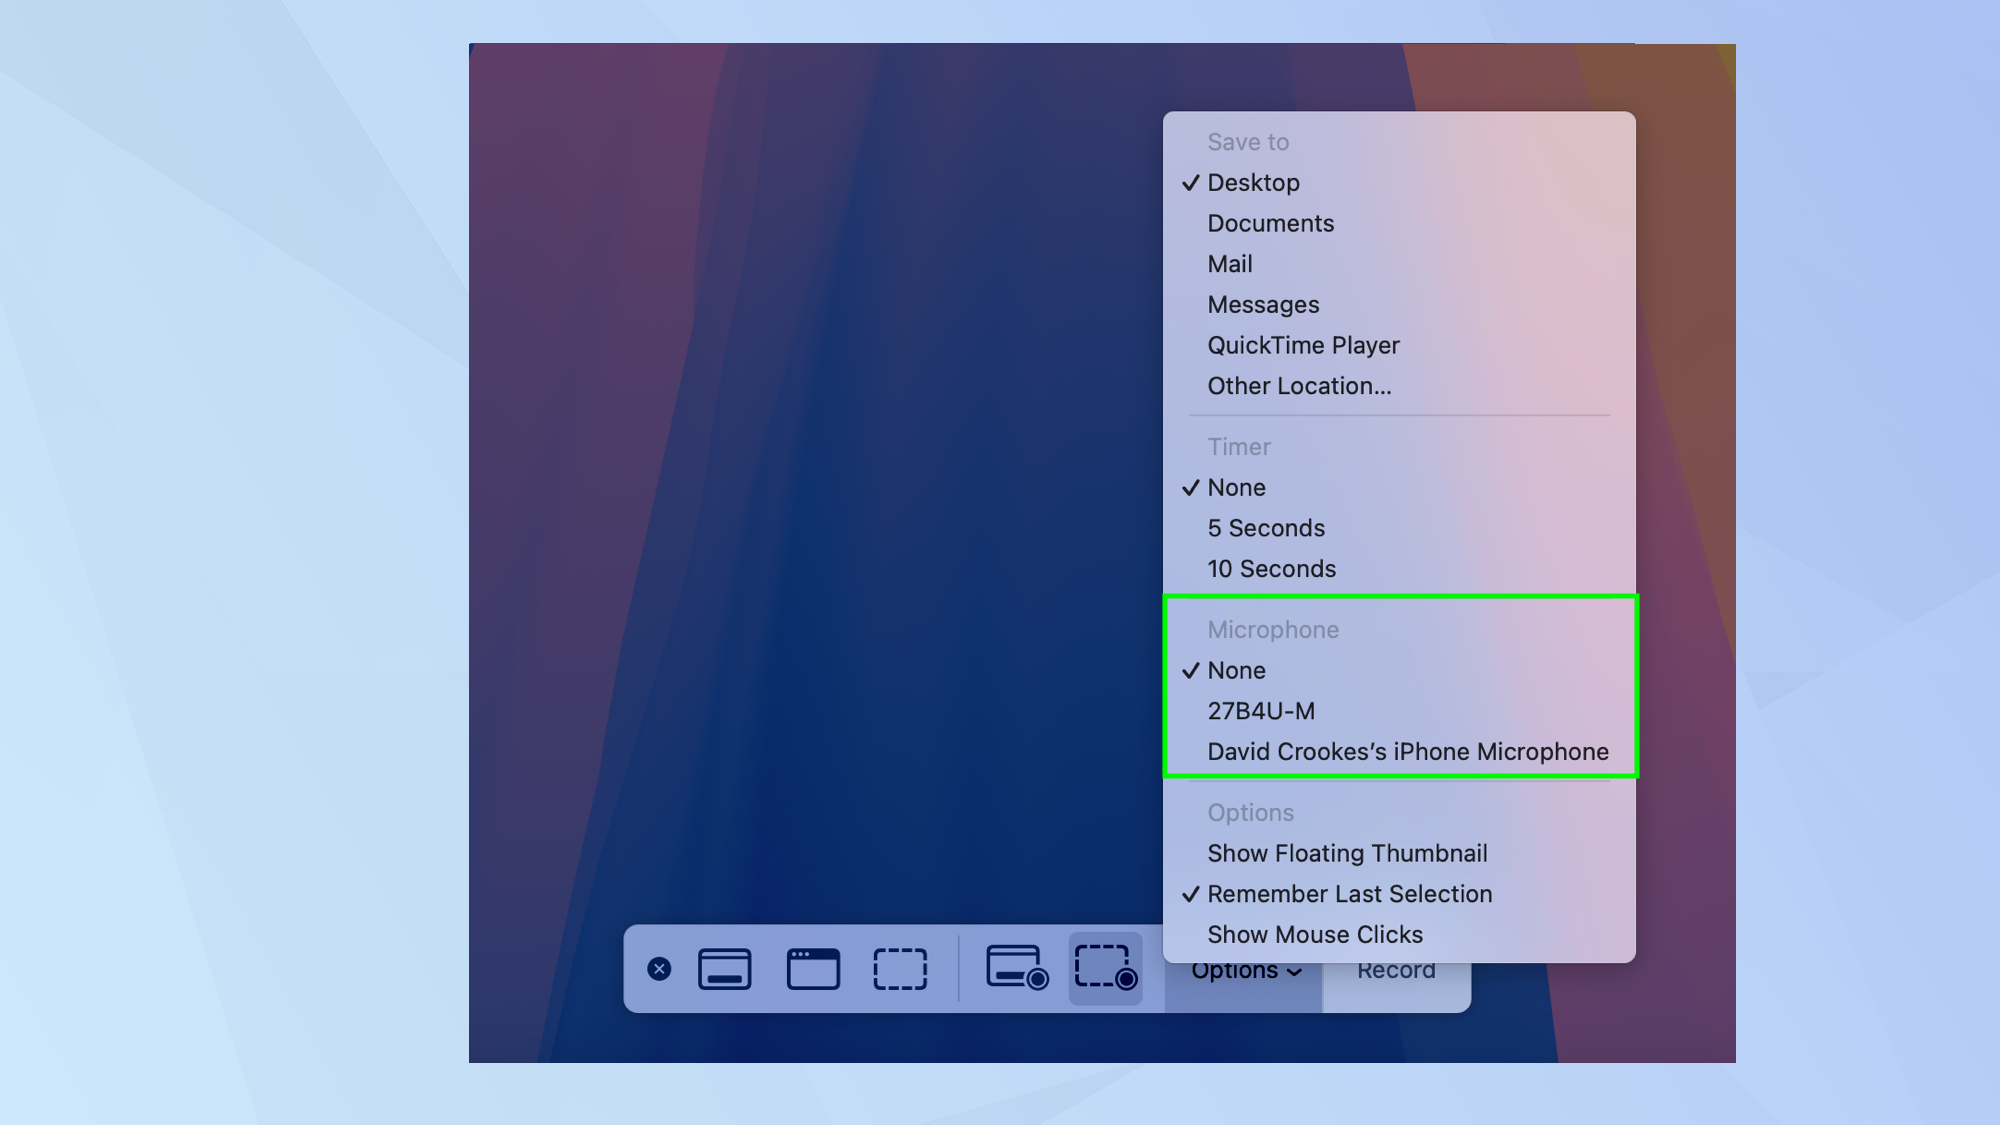
If you’re using a screen recording to demonstrate how something is done, then you may want to add some narration. If so, select Options and choose a microphone.
6. Show mouse clicks
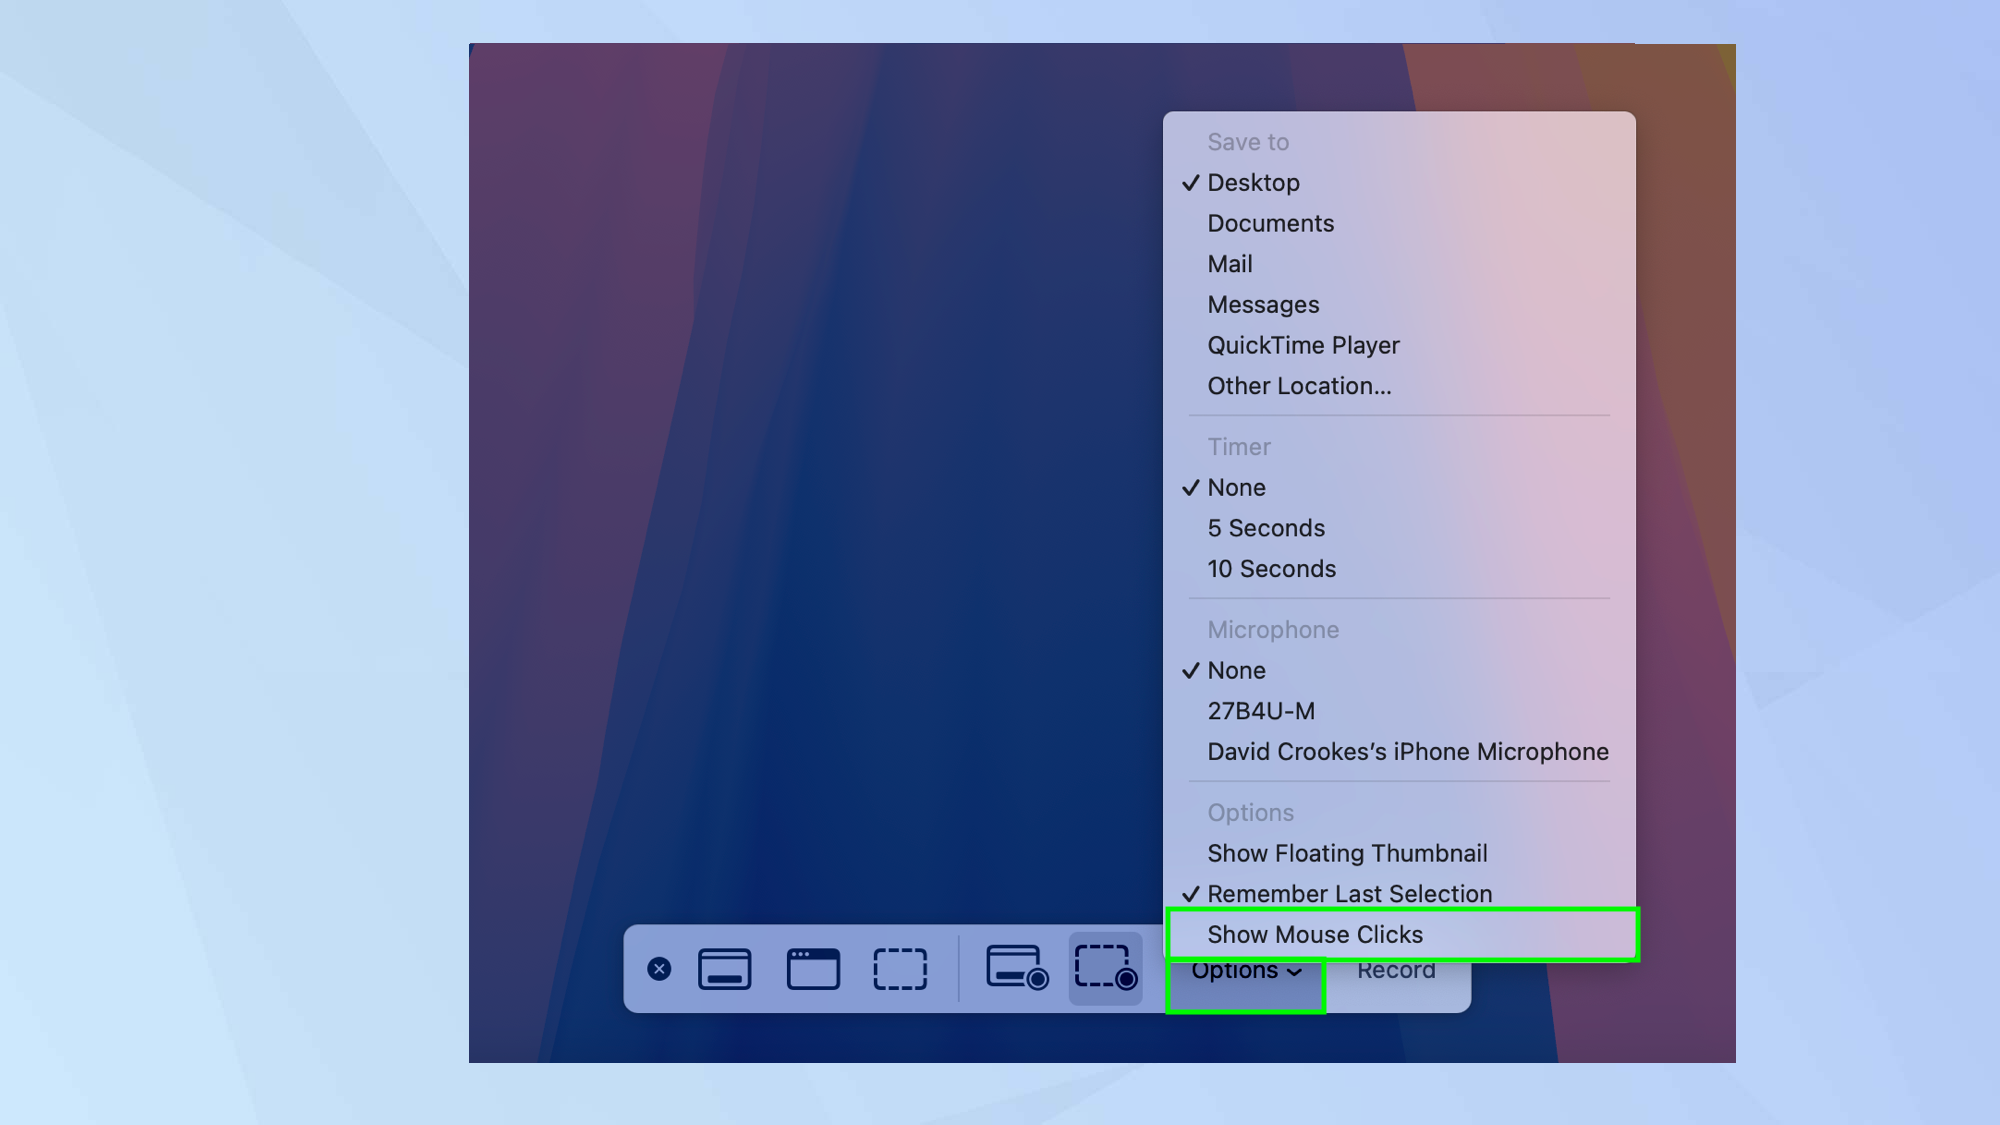
You can also decide whether or not to show mouse clicks which can be invaluable when creating a tutorial. For this, click Option, select Show Mouse Clicks.
7. Record the entire screen
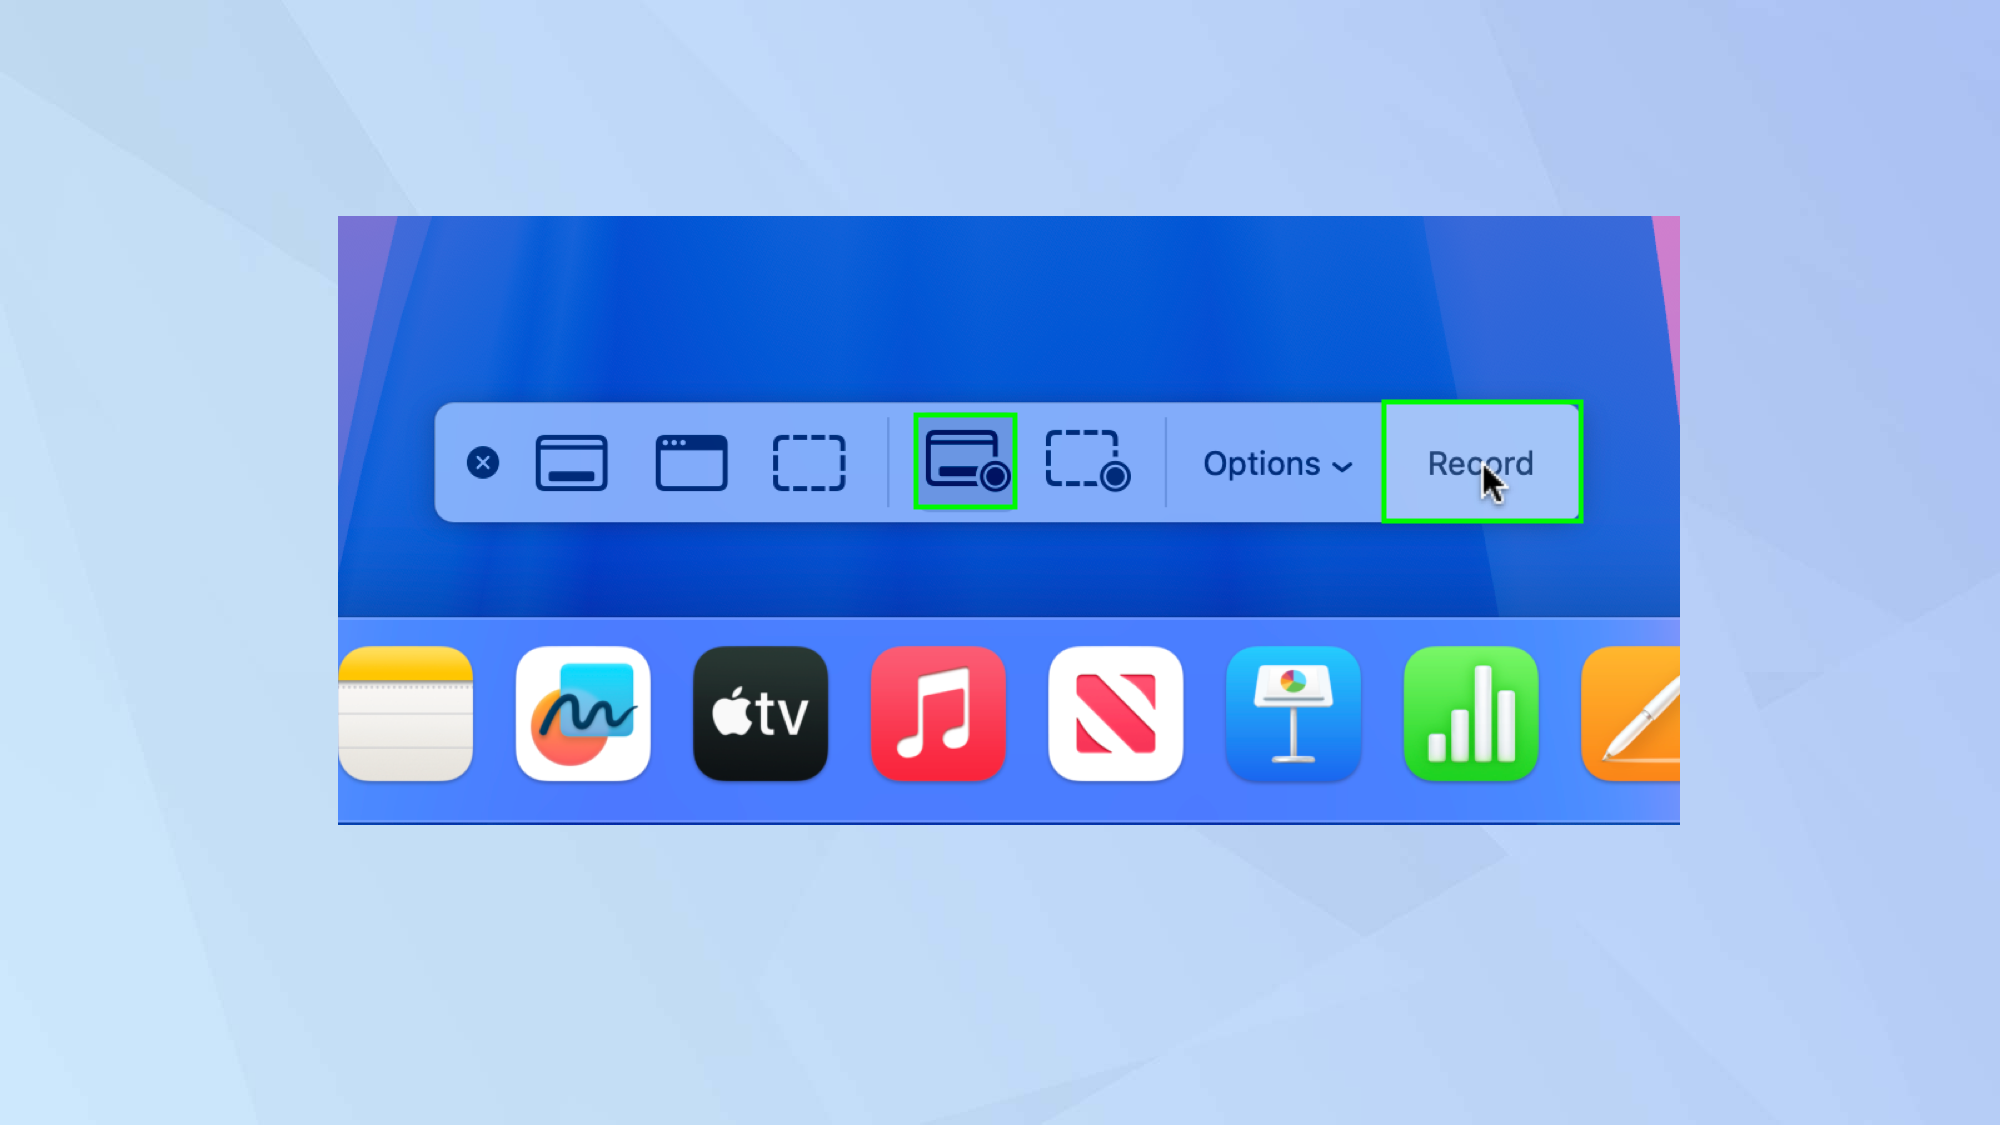
Now we’re ready to start recording. If you select the solid icon with a circle you can record the entire screen. When you’re ready, select Record.
8. Record a portion of the screen
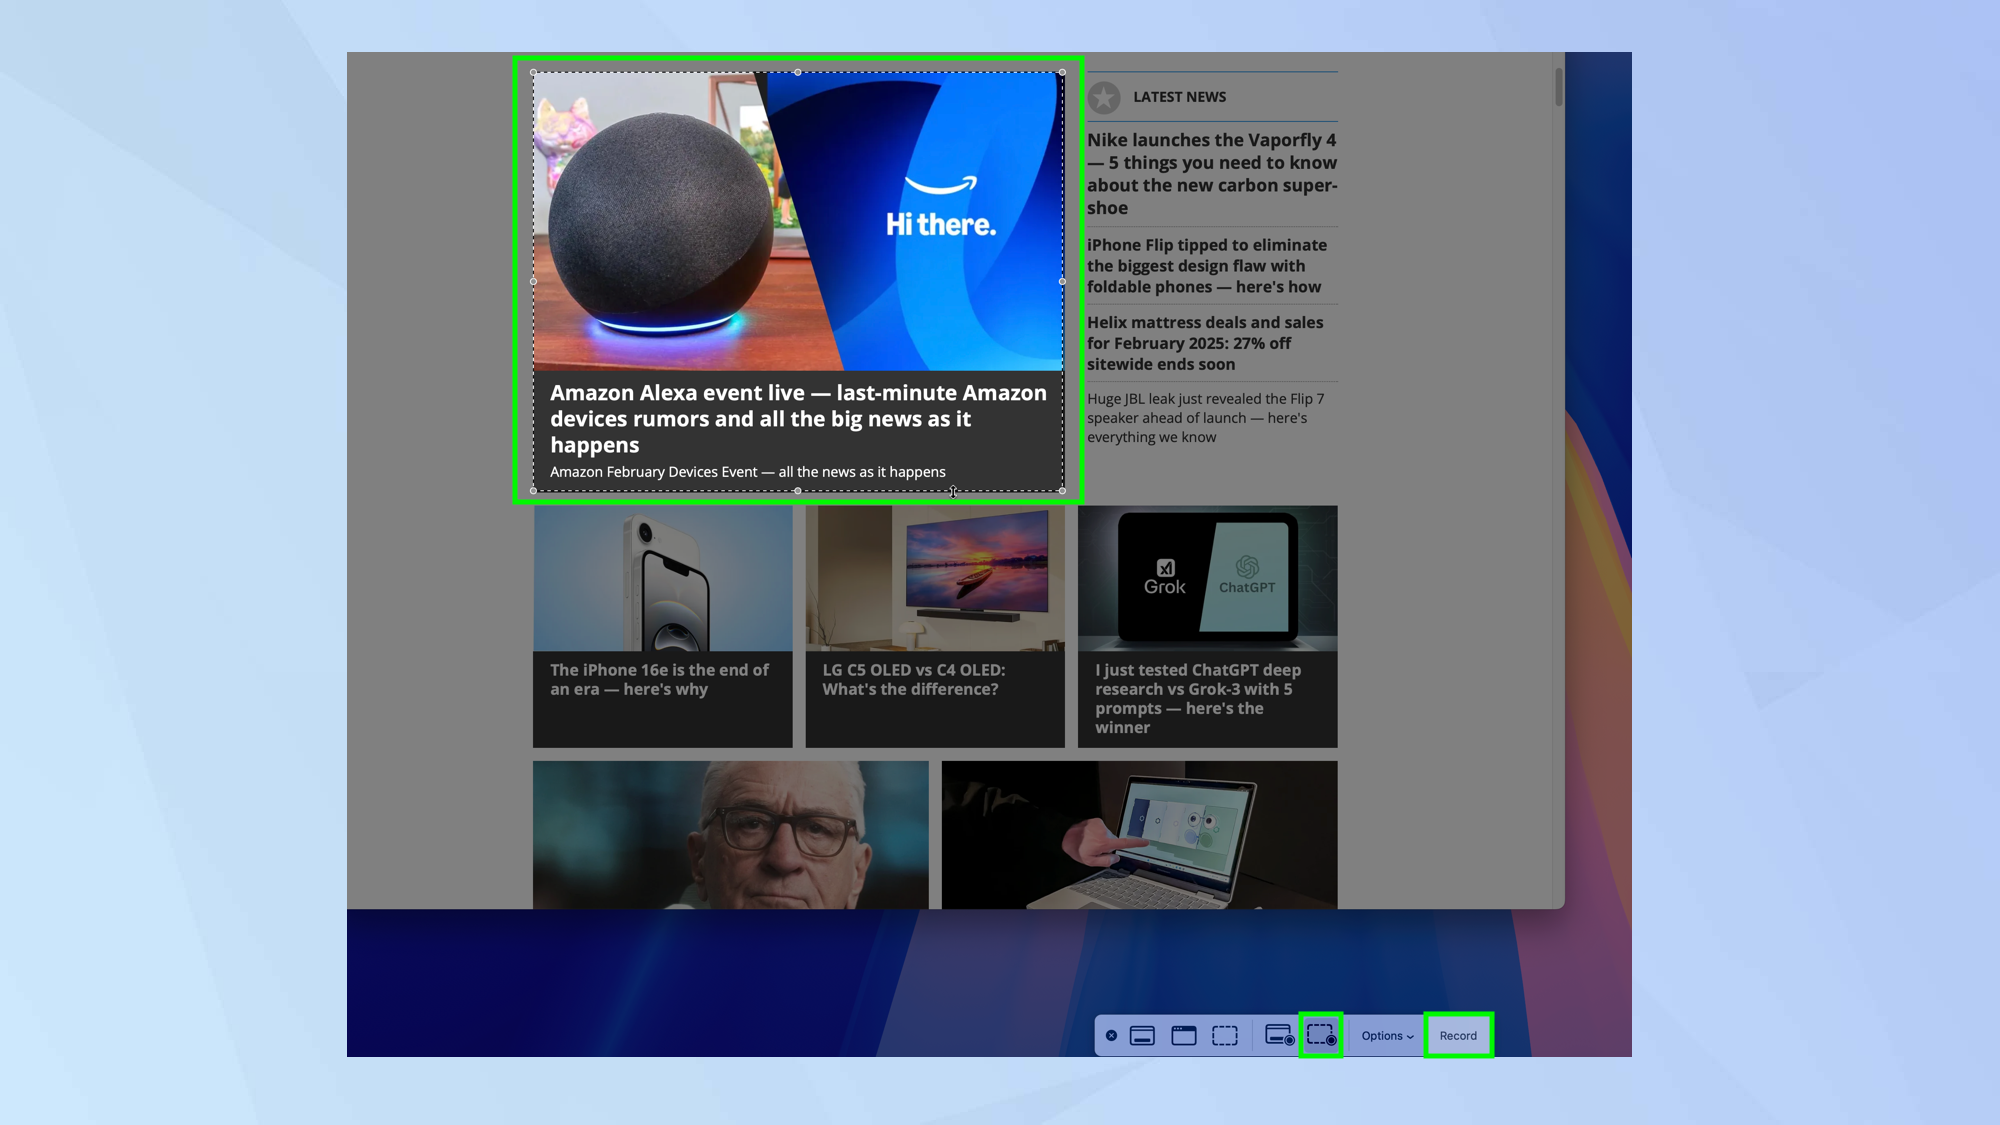
If you select the dotted icon with a circle, you can record a portion of the screen. You can drag the frame to reposition it or drag the edges to adjust the size of the portion. Then select Record.
9. Stop a recording
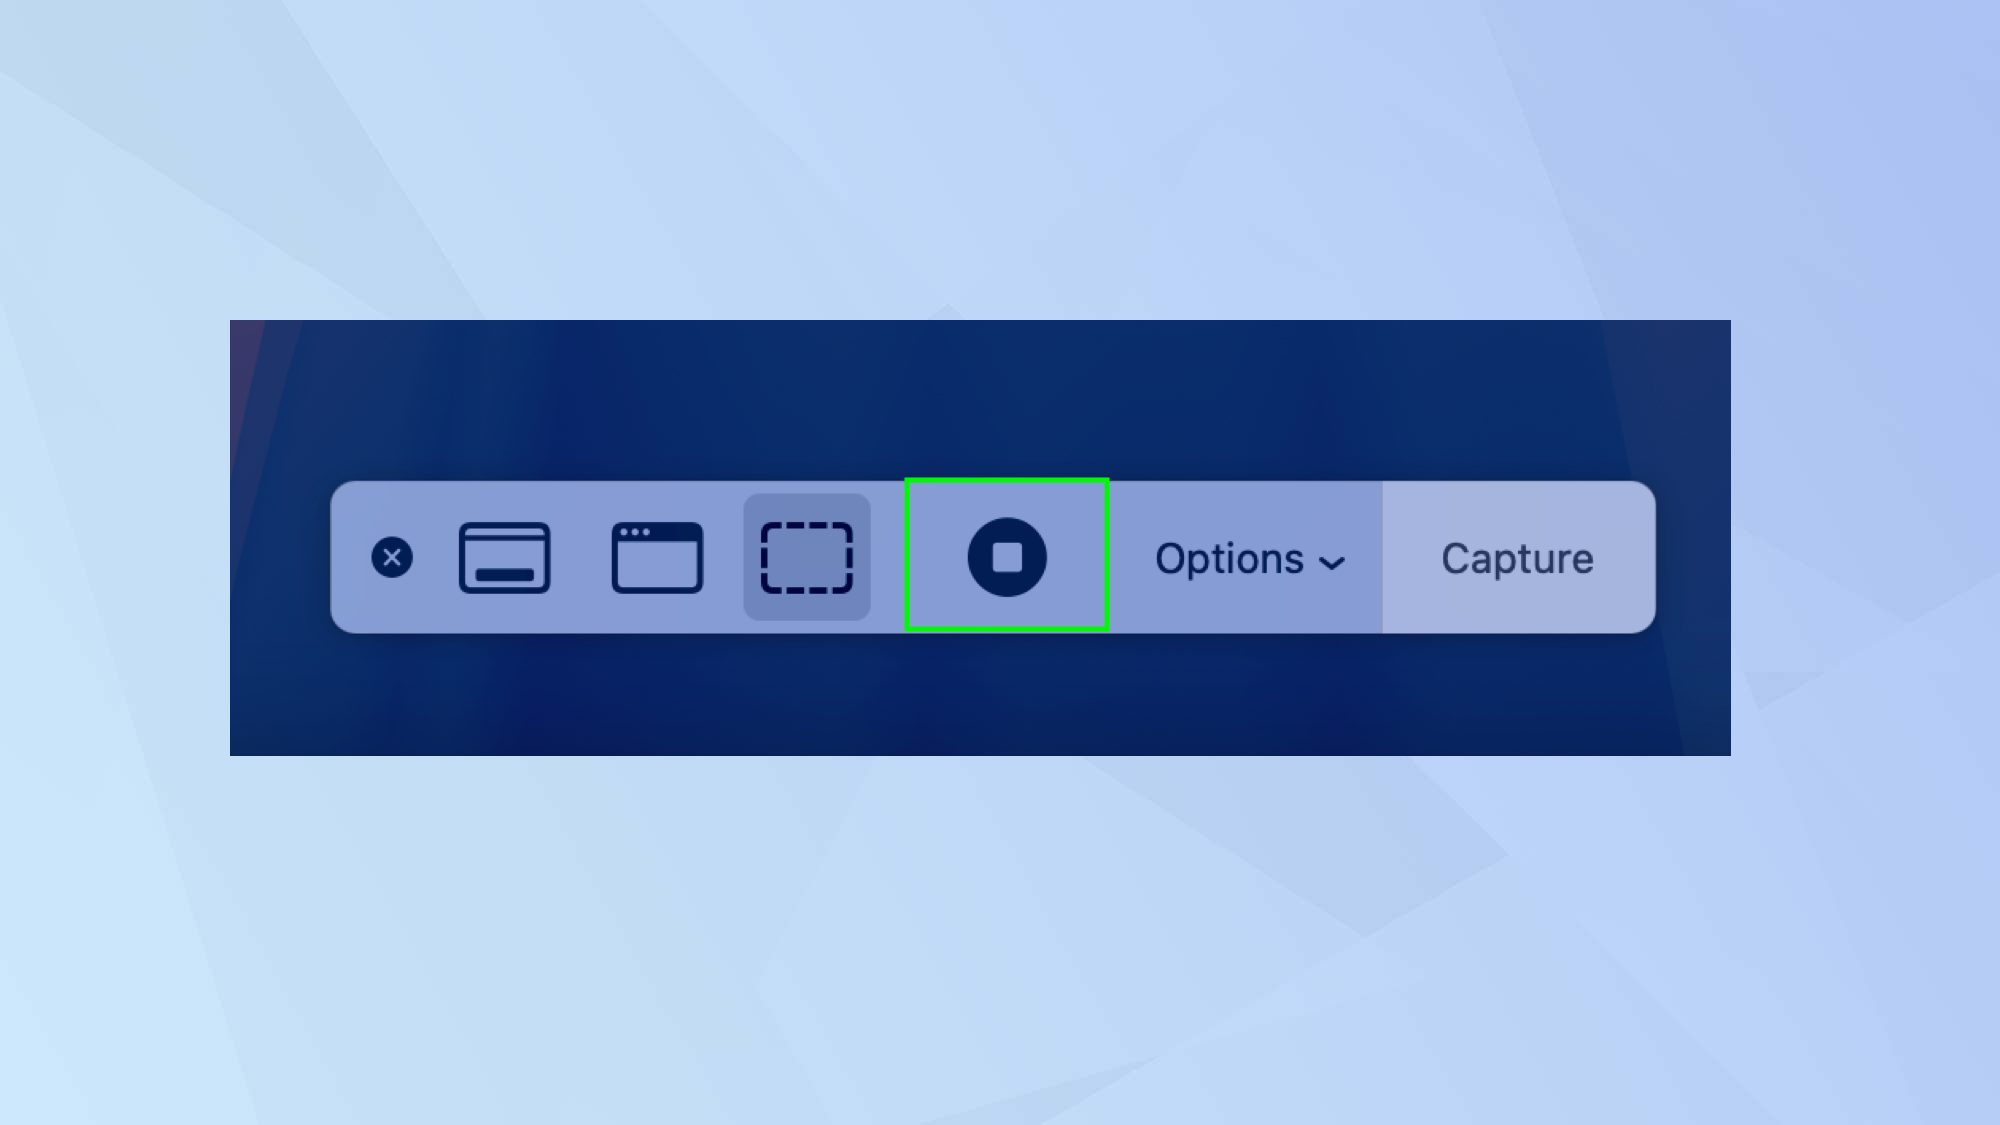
You can now allow the recording to progress and, when you’re ready to end it, launch the Screenshot app again and select the Stop Recording icon.
The recordings will be saved whether you decide to save them in step three. Just click a recording to open and play.
And there you go. You now know how to record the screen on a Mac. You may also want to learn how to record your iPhone screen — in fact, with iOS 18, you can discover how to record videos with background music. You may also be pleased to find out how to use Windows 11’s new screen recorder, too.
Sign up to get the BEST of Tom's Guide direct to your inbox.
Get instant access to breaking news, the hottest reviews, great deals and helpful tips.

David Crookes is a freelance writer, reporter, editor and author. He has written for technology and gaming magazines including Retro Gamer, Web User, Micro Mart, MagPi, Android, iCreate, Total PC Gaming, T3 and Macworld. He has also covered crime, history, politics, education, health, sport, film, music and more, and been a producer for BBC Radio 5 Live.
You must confirm your public display name before commenting
Please logout and then login again, you will then be prompted to enter your display name.


