How to record audio in macOS Sequoia Notes
Record and transcribe audio right in Notes with macOS Sequoia
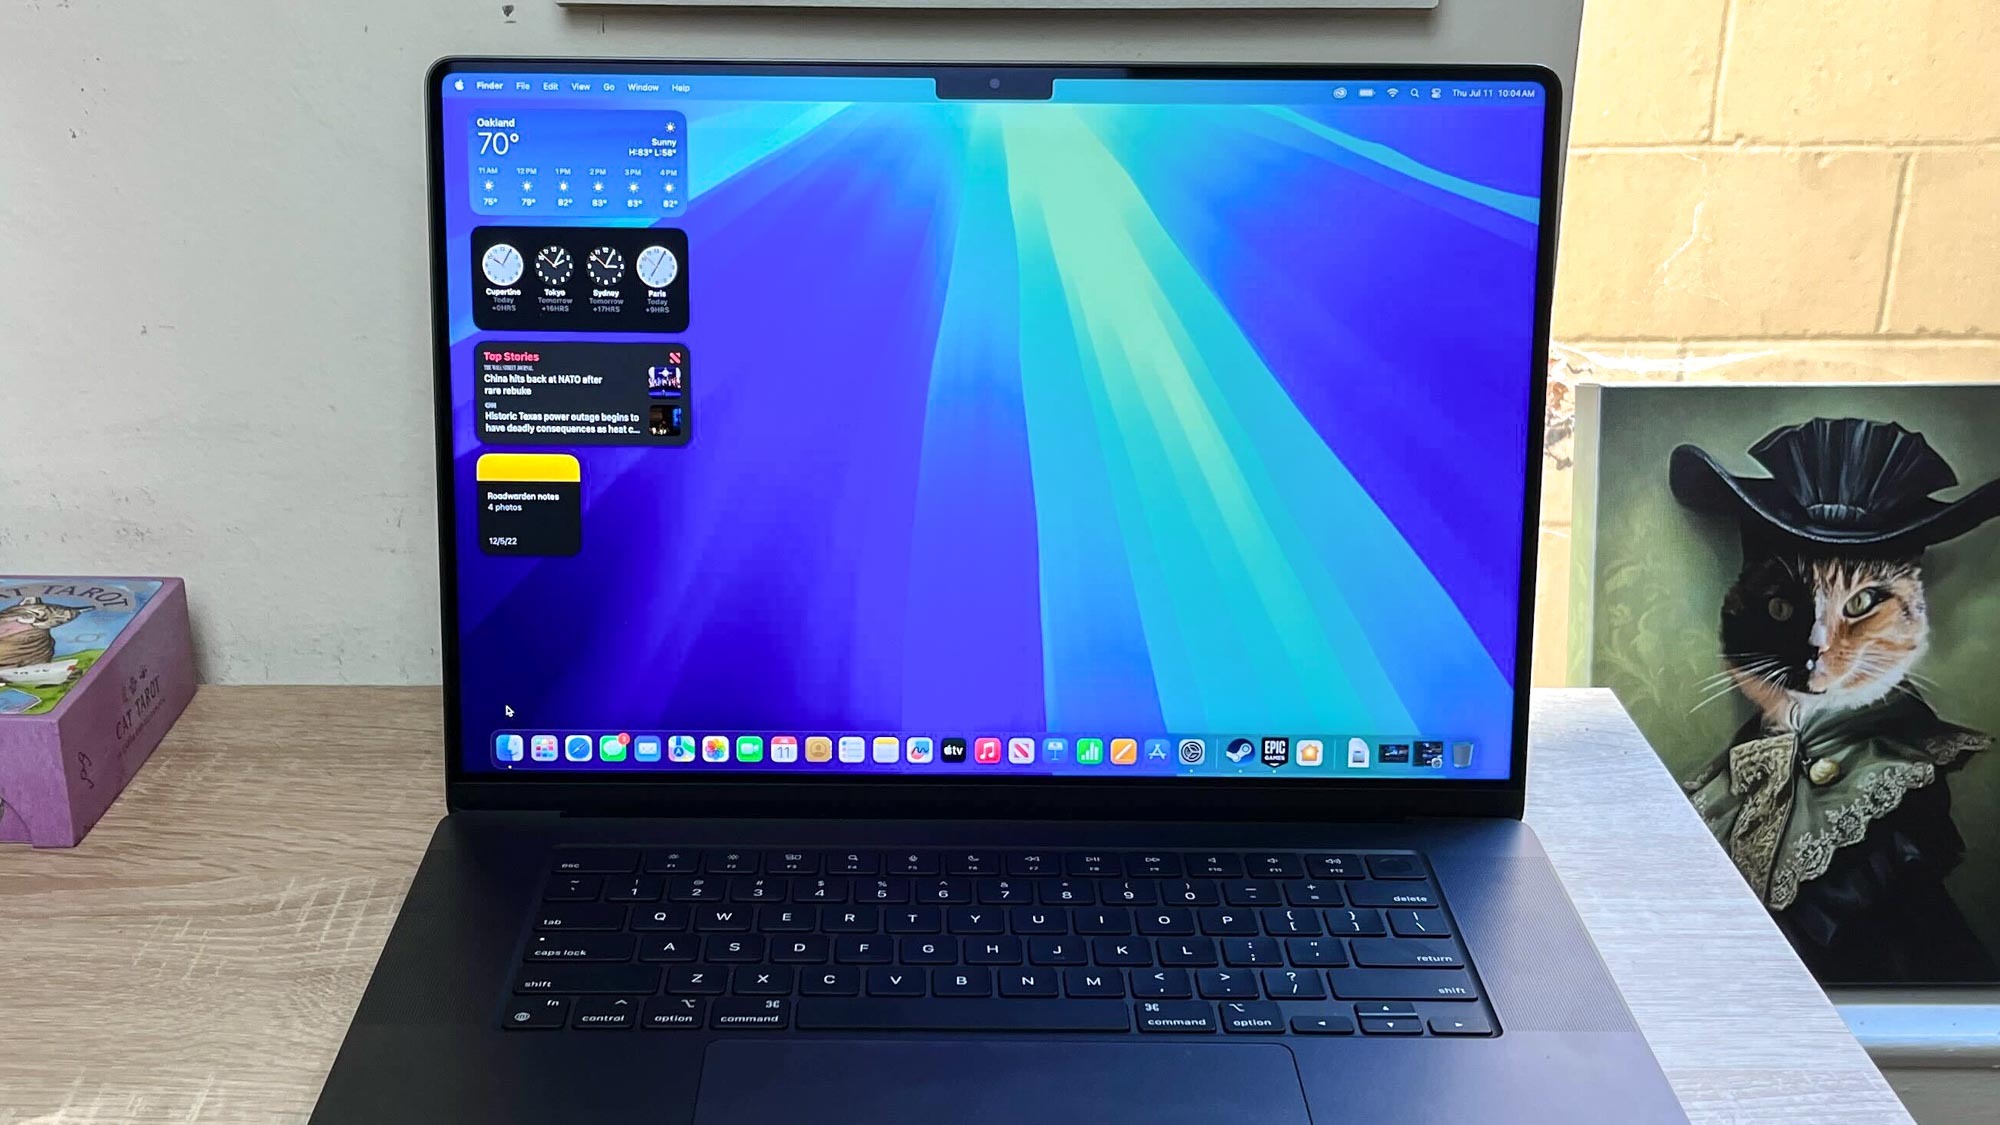
As a working journalist I often carry a digital recorder to record notes and interviews, so I'm especially excited about one specific new feature coming to macOS Sequoia: Audio transcriptions in the Notes app.
This upgrade adds a new button to the macOS Sequoia Notes app that makes it easy to record audio through your Mac's microphone. The Notes app will then automatically transcribe the audio for you, so you can quickly reference what somebody said without having to listen back through the whole recording.
Sure, it's not as cutting-edge as Apple Intelligence or as immediately useful as iPhone Mirroring, but this new audio transcription feature has quietly become one of my favorite additions in macOS Sequoia.
To help you get started, here's a brief step-by-step guide that will show you how to record audio in macOS Sequoia Notes.
How to record audio in macOS Sequoia Notes
- Open Notes
- Click the record audio button
- Press pause to stop recording when done
- Ctrl + Click to share your audio
Please note that you must have macOS Sequoia installed on your Mac to record audio like this in the Notes app.
The full version of Sequoia launches in the fall of 2024, so if you want to try this out before then you need to download the beta version. It's easy to do, and you can follow our guide to how to download the macOS Sequoia beta for step-by-step instructions.
1. Open the Notes app
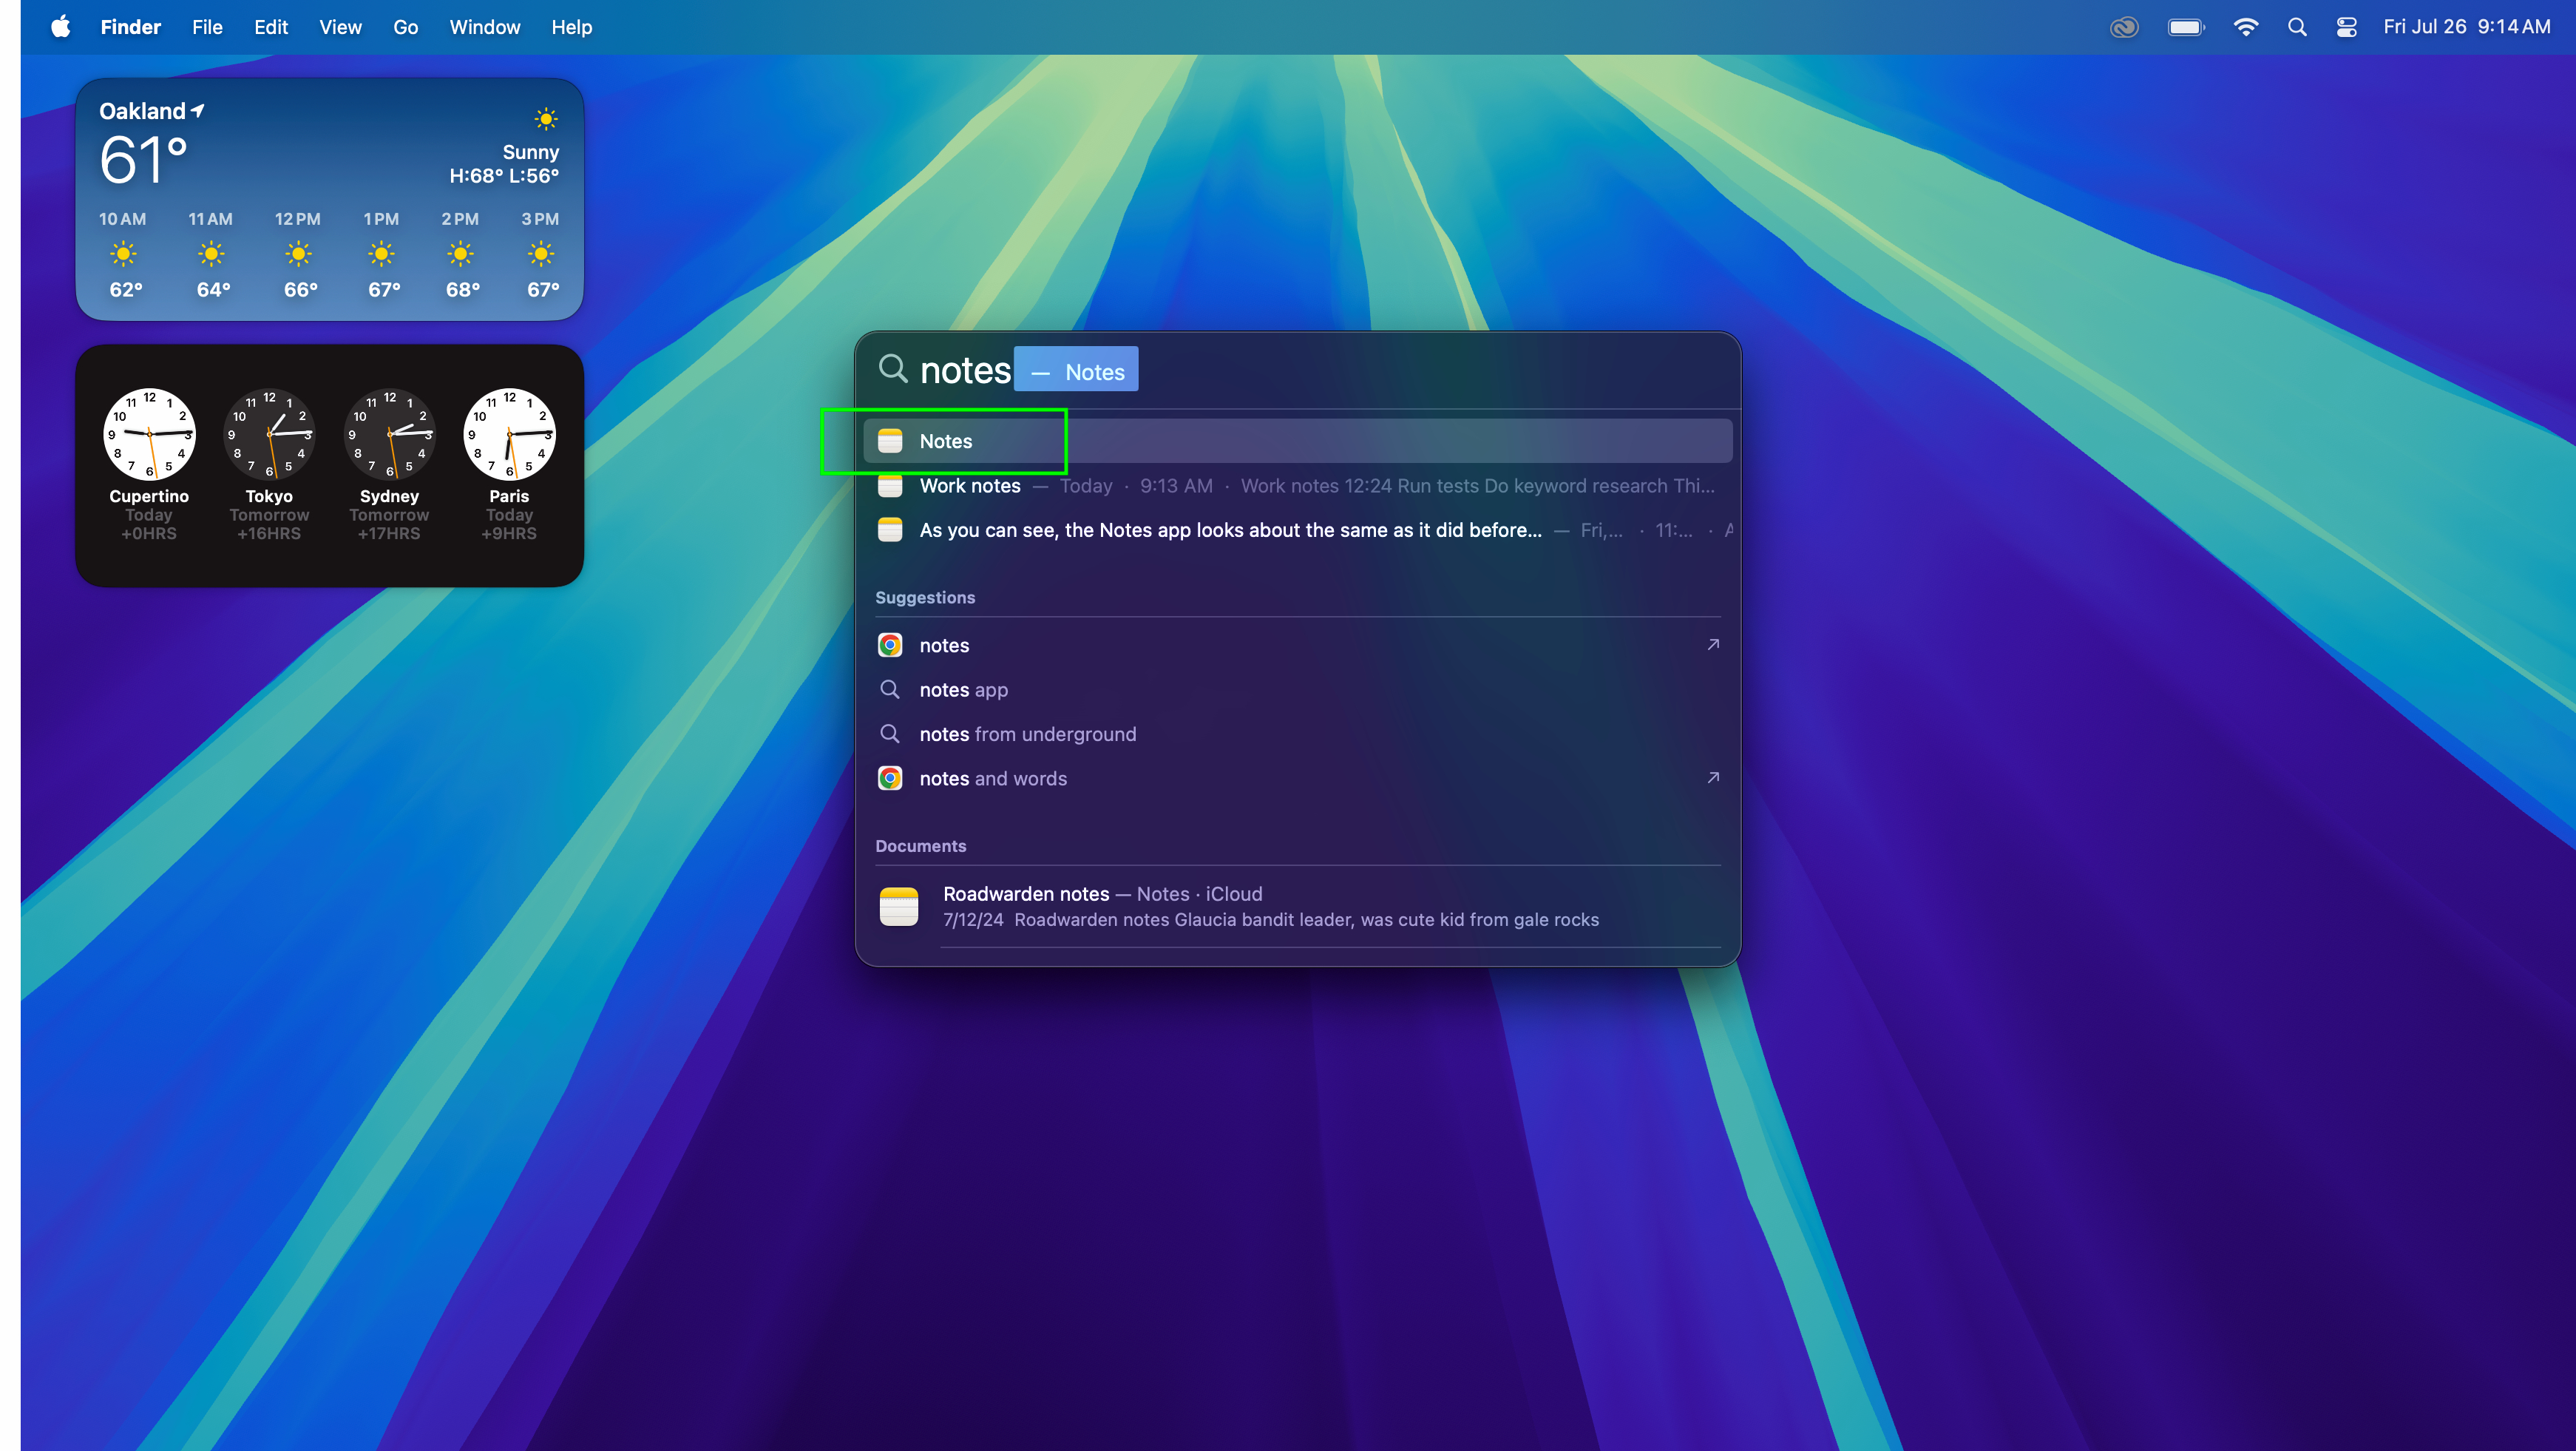
Obviously, the first step to using the Notes app to record audio is to open the Notes app. If you don't already have it open, the fastest way to get to Notes is to either launch it from your Dock or launch Spotlight Search (Cmd + Space) and type Notes, then launch the app when it appears in Spotlight Search results.
2. Click the record audio button
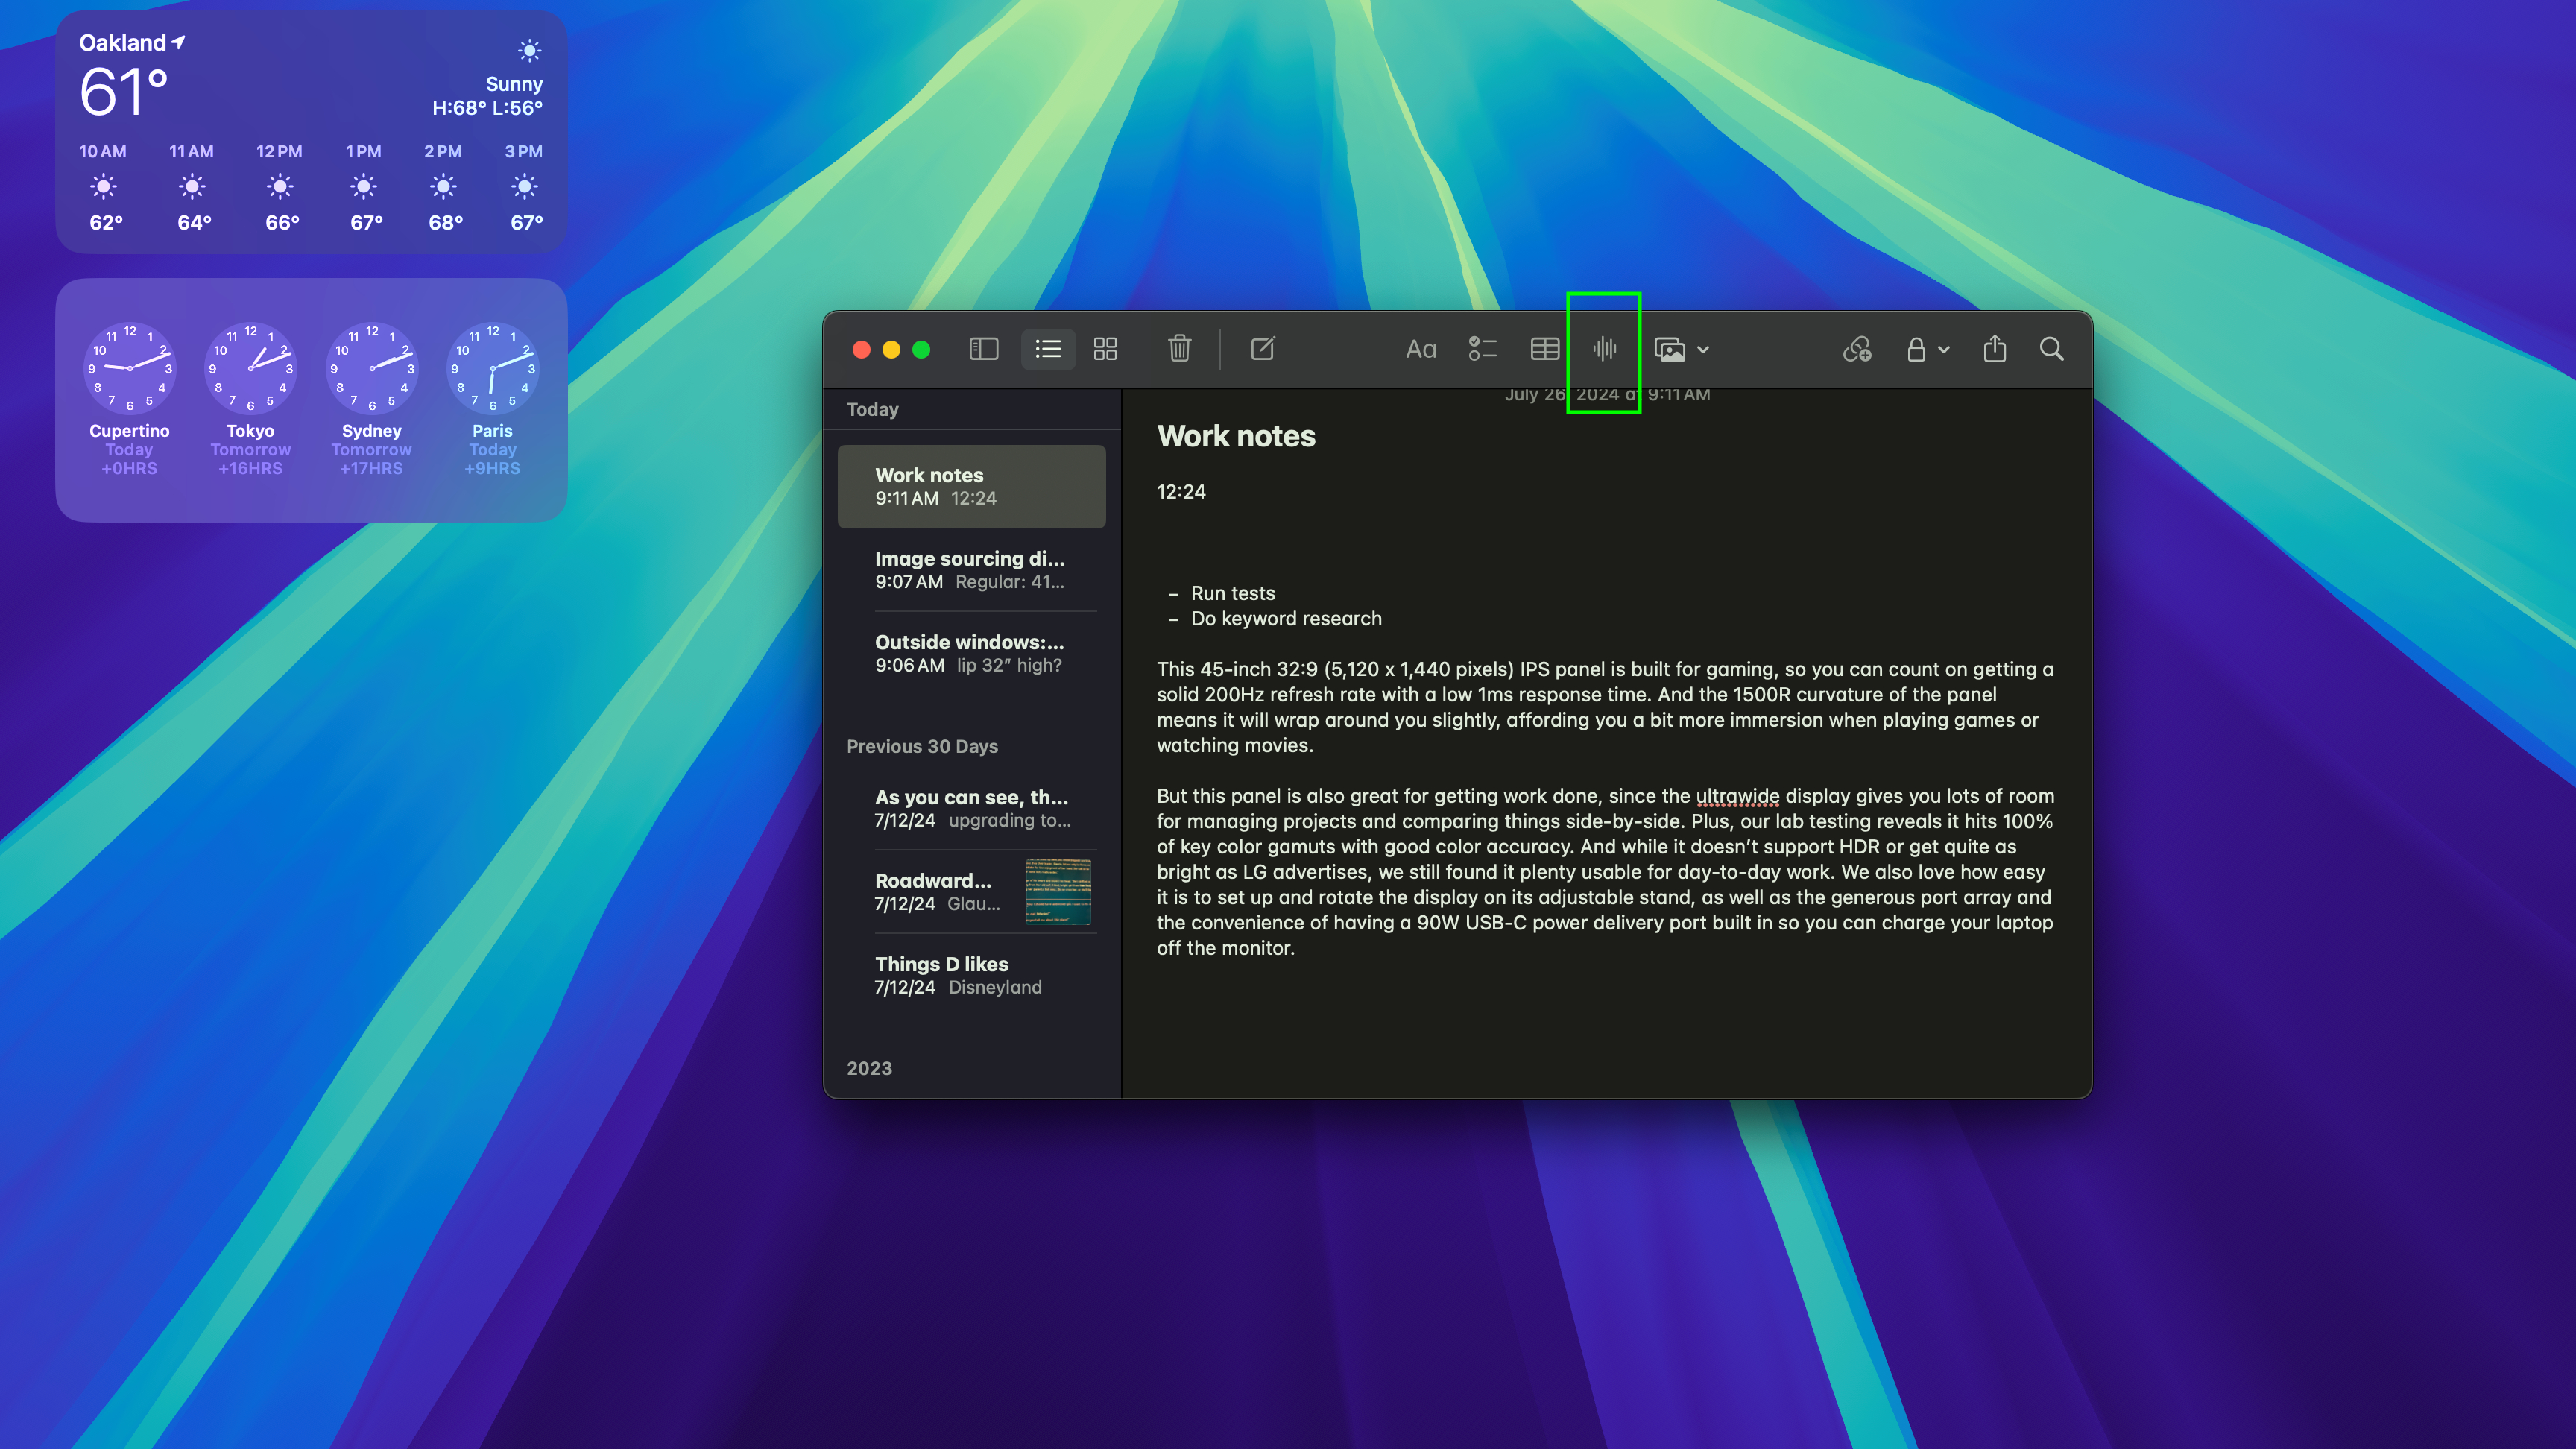
To begin recording audio through your Mac's microphone, click the record audio button at the top of the Notes app — it looks like a stylized icon of an audio waveform.
3. Press pause to stop recording when done
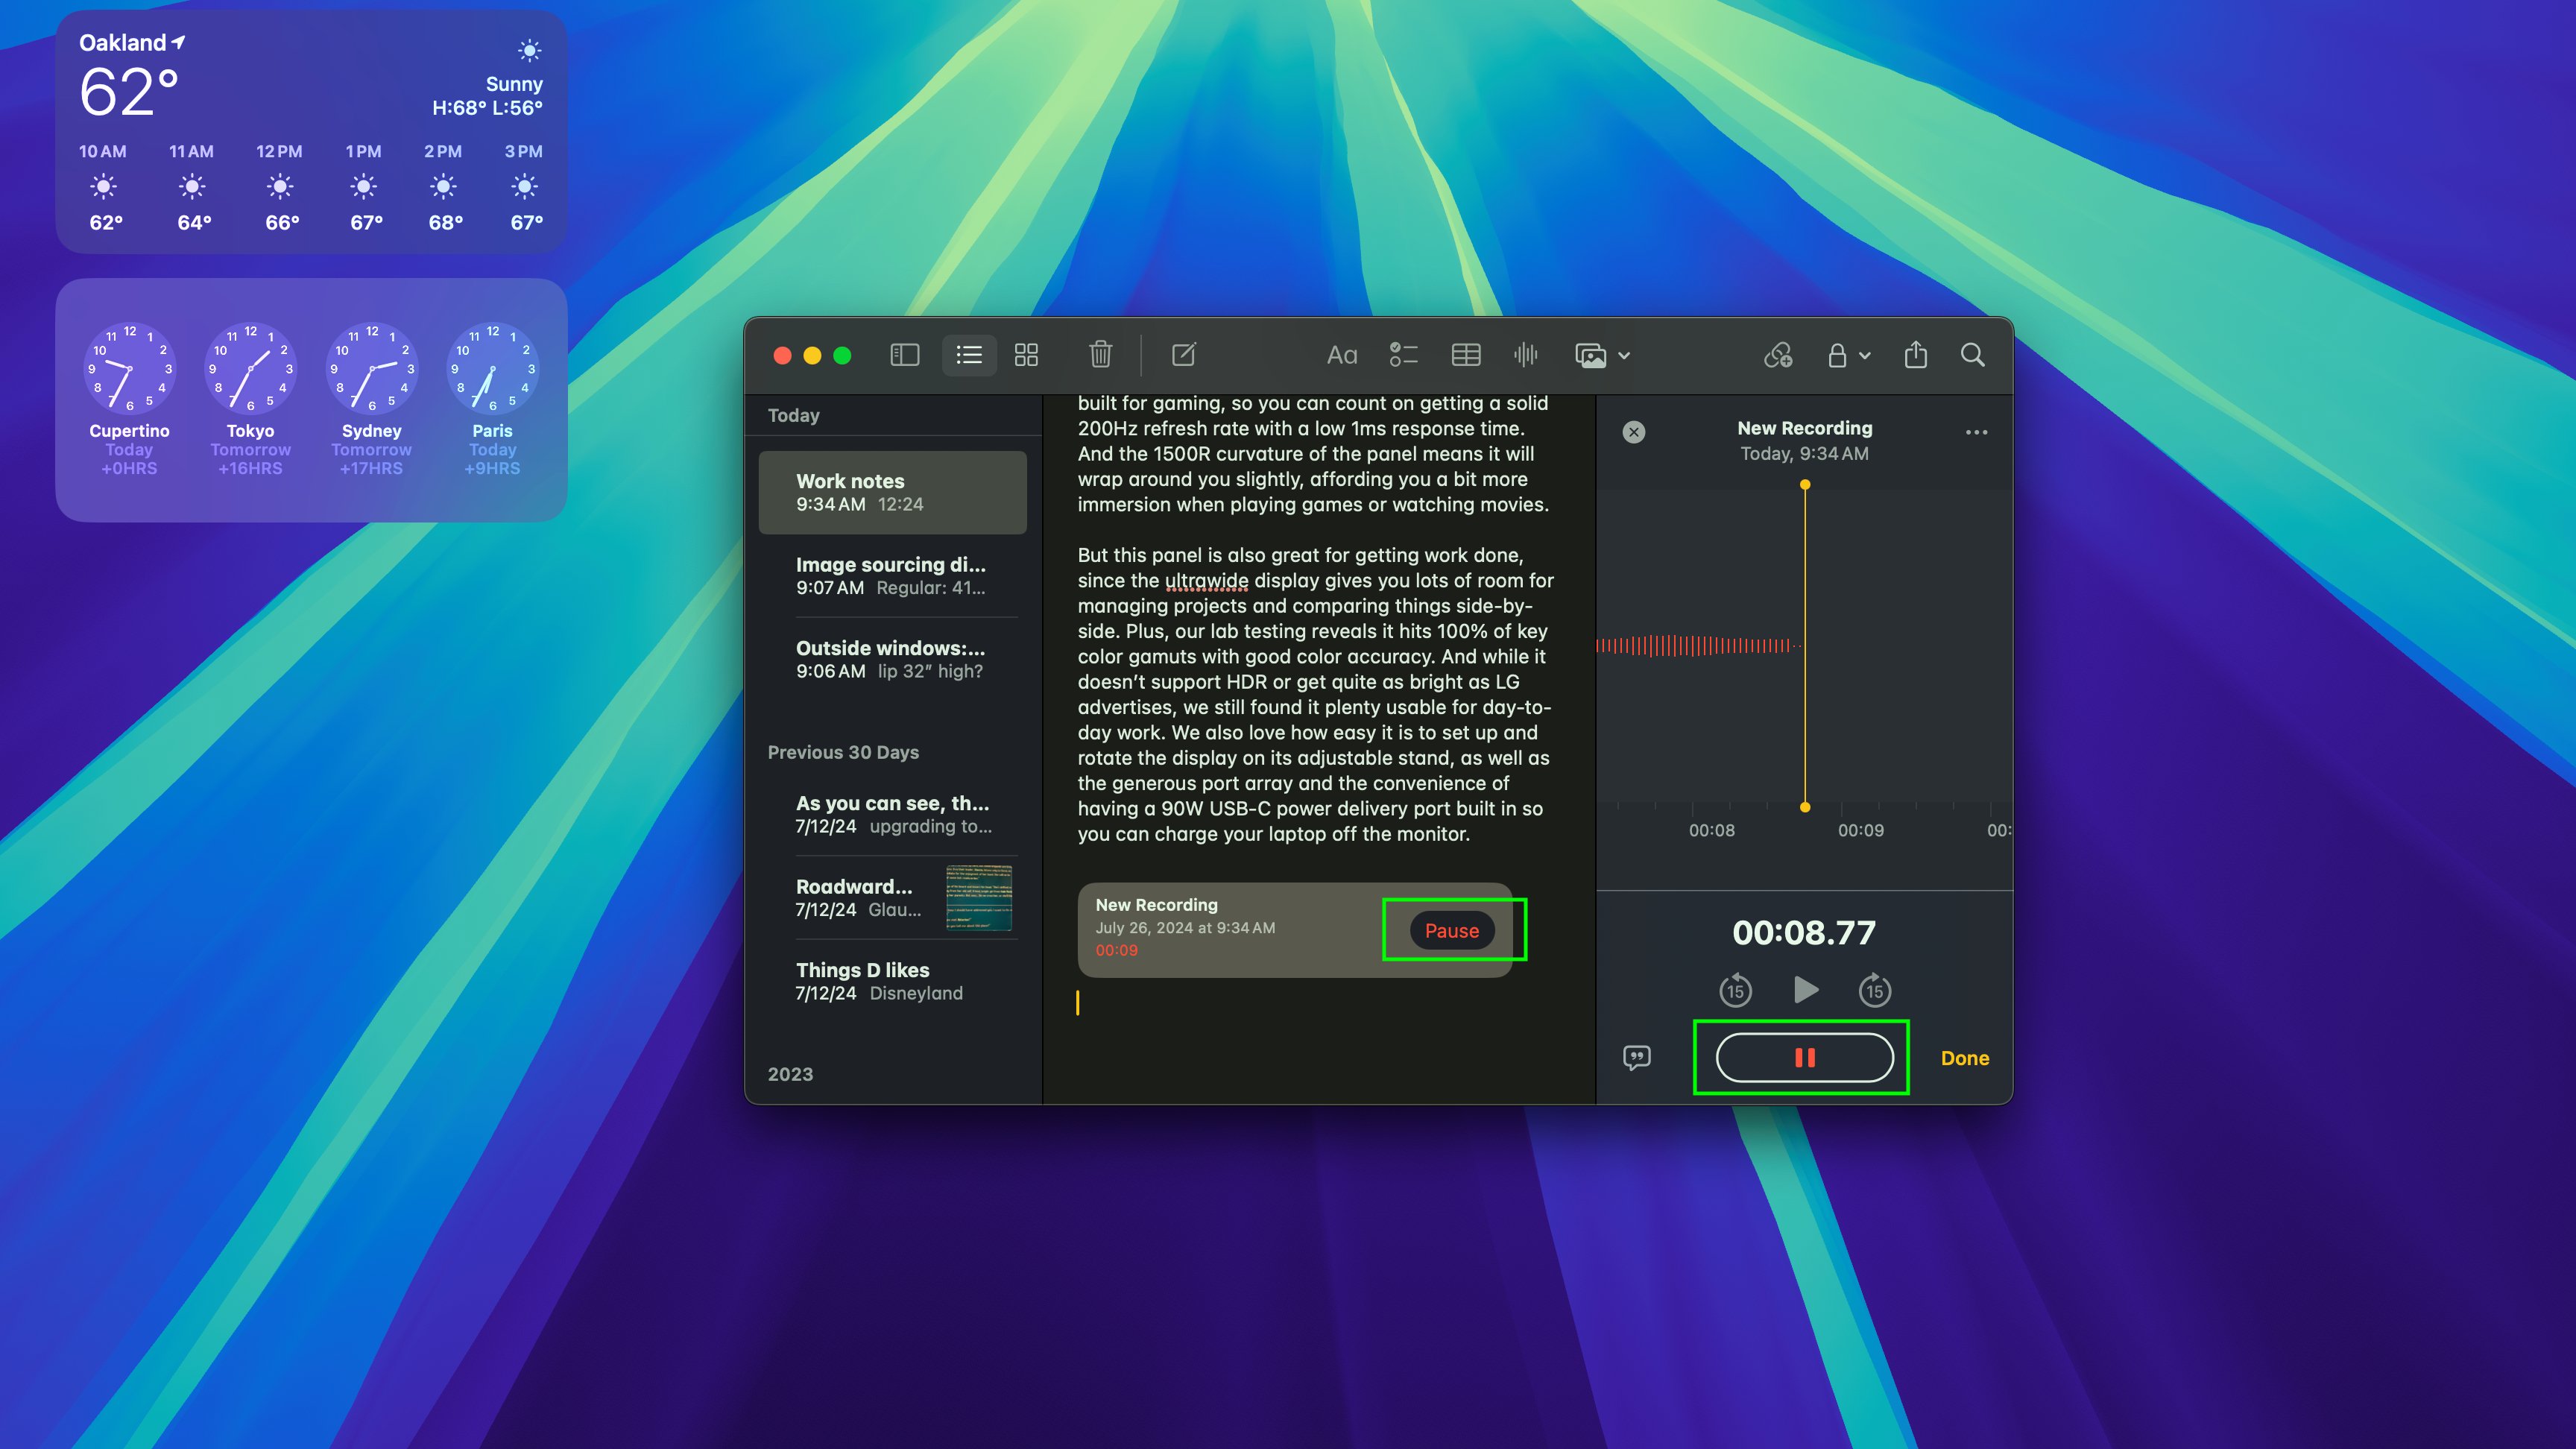
Once you hit the record audio button, a new recording panel will appear on the side of the Notes app with buttons to control the recording as well as a visual representation of what's being recorded.
You can record for as long as you wish, secure in the knowledge that what's recorded will be saved and transcribed. When you're done recording, press the pause button to stop.
4. Ctrl + Click to share your audio
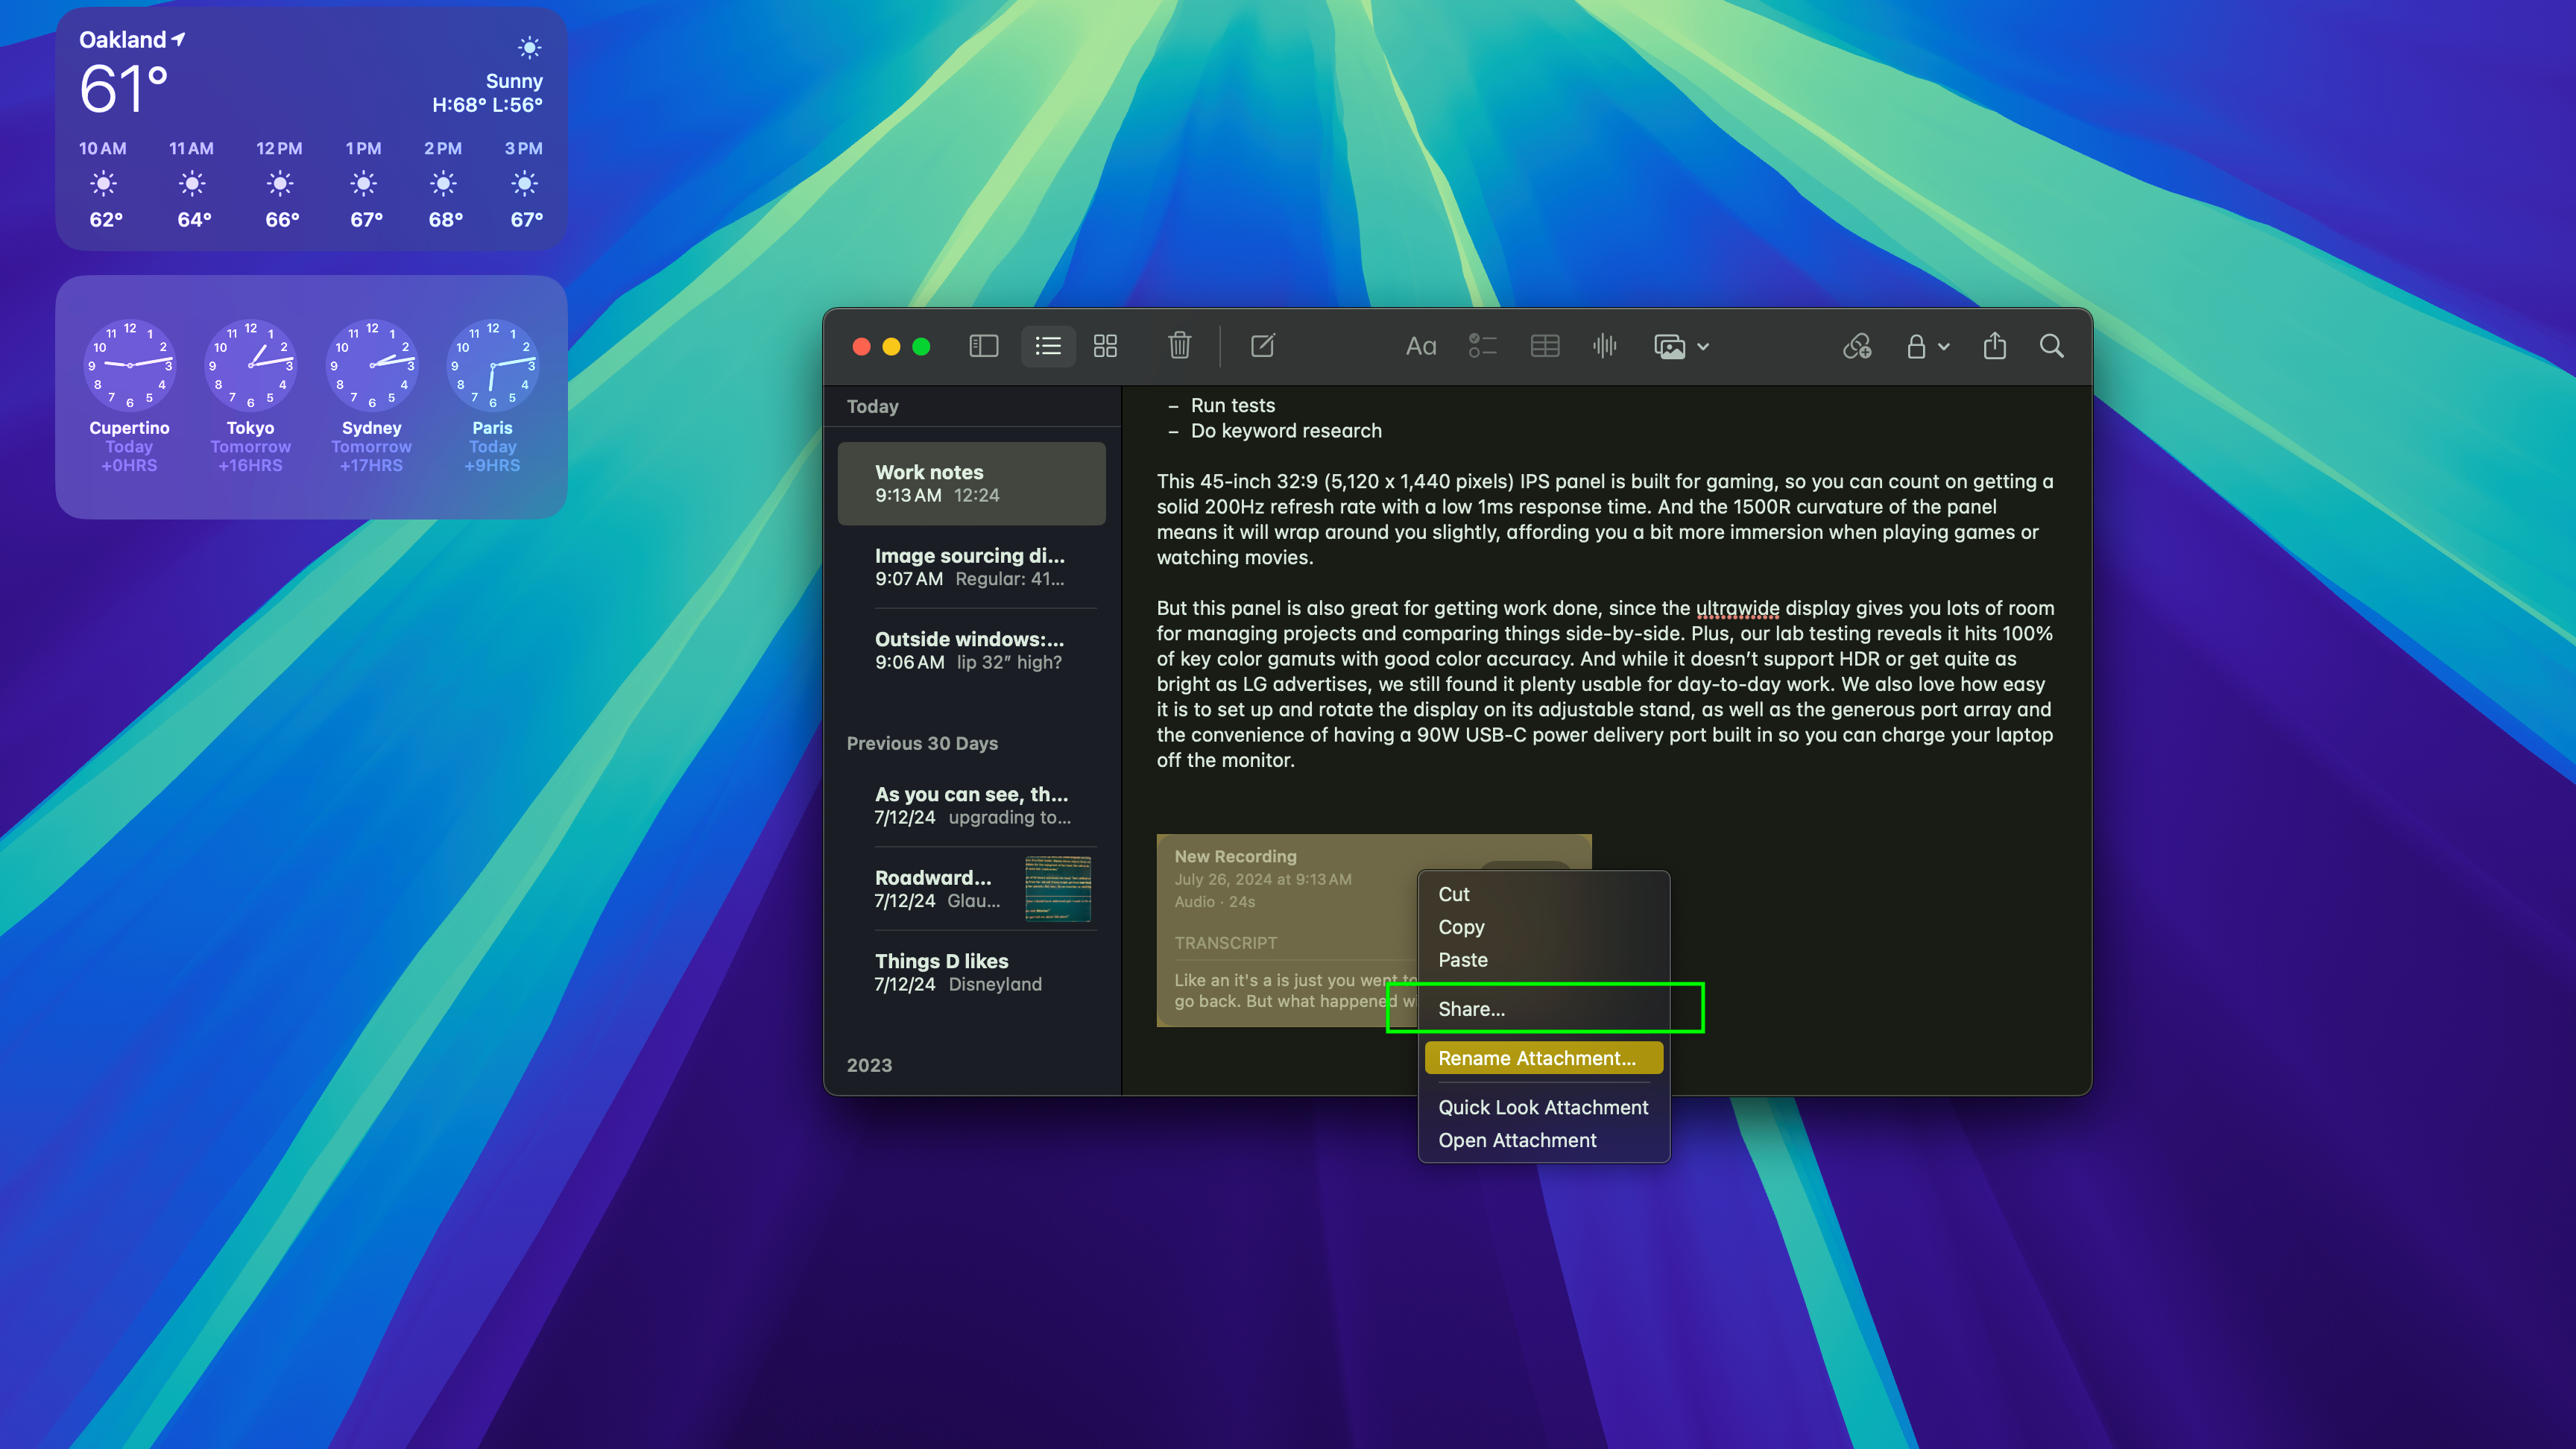
When you stop recording, you'll see your audio file inserted in your Notes app right alongside your existing text and graphics. The Notes app will automatically transcribe your audio as well, so you can see a snippet of what the recording is about right in your Notes app.
From here you can press the Play button to listen to the audio (and read the transcription) or Ctrl + Click the recording to share, rename or delete it.
There you have it! Remember that these audio recordings live in your Notes app, so make sure to give them descriptive names so you remember which files are where.
Sign up to get the BEST of Tom's Guide direct to your inbox.
Get instant access to breaking news, the hottest reviews, great deals and helpful tips.
For more tips on how to get the most out of macOS Sequoia, check out our guide to how to use window tiling in macOS Sequoia and how to set up iPhone Mirroring in macOS Sequoia.
2. Click the Record audio button

To begin recording audio through your Mac's microphone, click the record audio button at the top of the Notes app—it looks like a stylized icon of an audio waveform.
2. Click the Record audio button

To begin recording audio through your Mac's microphone, click the record audio button at the top of the Notes app—it looks like a stylized icon of an audio waveform.

Alex Wawro is a lifelong tech and games enthusiast with more than a decade of experience covering both for outlets like Game Developer, Black Hat, and PC World magazine. A lifelong PC builder, he currently serves as a senior editor at Tom's Guide covering all things computing, from laptops and desktops to keyboards and mice.
