I just built an RTX 5090 gaming PC — here’s what I used and how to build your own
Top tips I learnt from my 35 years of PC building
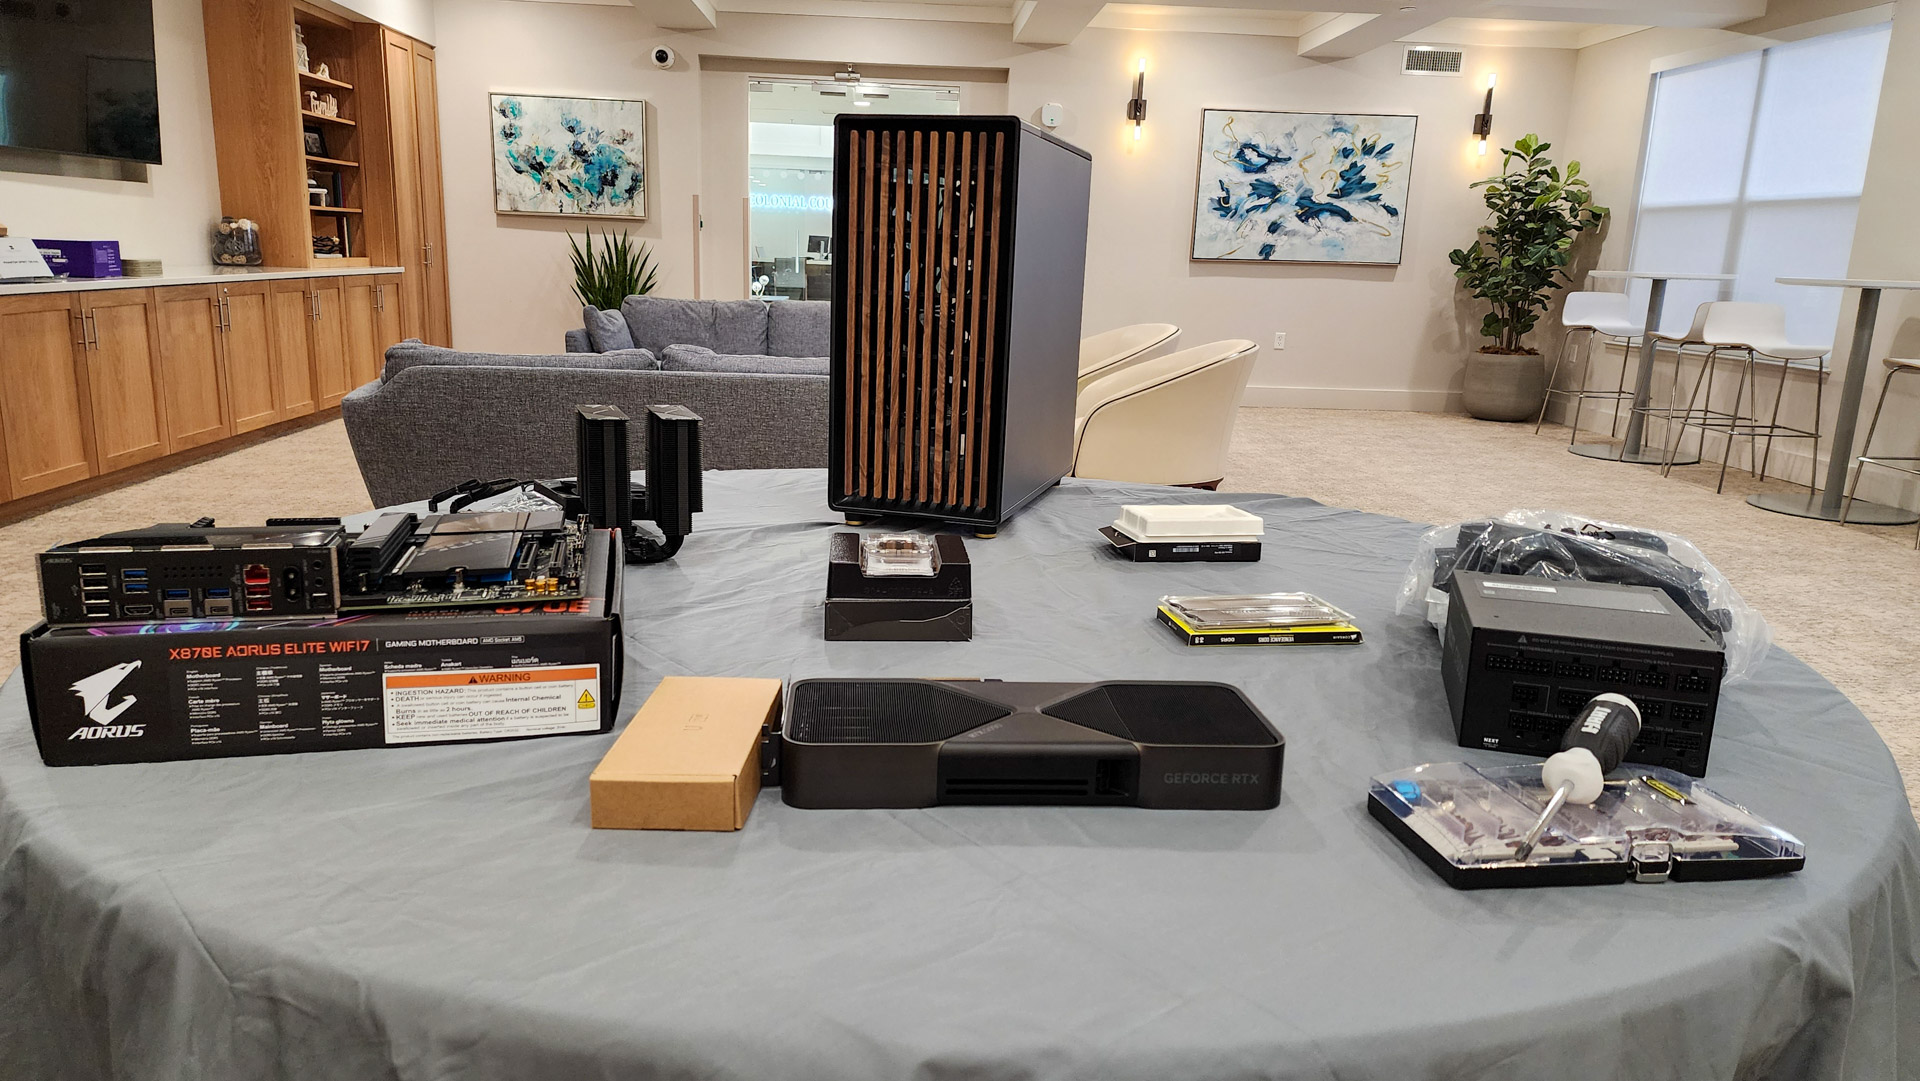
When I learned I’d be getting an Nvidia GeForce RTX 5090 card to test, a single terrifying thought ran through my brain: “What am I going to put it in?”
Though I have several computers I use for my daily work and play, they’re a few years old. I didn’t have a desktop with a fast-enough processor, a lot of RAM, or a power supply sufficiently beefy to handle this monster card.
That could mean only one thing: It was time to build.
I’ve been building computers for some 35 years, and even now, it’s my preferred method of obtaining the system I need. Not only can I precisely tailor the hardware to my needs and budget, but when the tech changes a few years down the line, I can swap in something new in just a few minutes.
It’s a level of control and creativity that doesn’t exist everywhere in the tech space, so I relish every opportunity to pursue it — and this was a golden one.
One thing was clear from the outset, though. I was going to (have to) splurge on this one. Computer building can be as expensive as you want to make it, so as I needed something stronger than average to bring out the best in that graphics card, I went for broke.
But it’s never necessary — you can build an outstanding system for a fraction of what I did this one. That’s something we’ll get into… next time.
Sign up to get the BEST of Tom's Guide direct to your inbox.
Get instant access to breaking news, the hottest reviews, great deals and helpful tips.
To choose the components for my ultimate 5090 build, I turned to Tom’s Guide’s sister site, Tom’s Hardware. Most of their top picks were terrific, and I went with them, although there were a couple of exceptions.
What parts did I use?
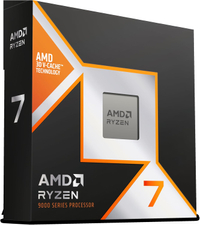
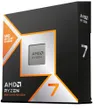
Paul Alcorn, Tom’s Hardware’s processor guru, didn’t hesitate when I asked him which processor I should put in this. “You need a 9800X3D,” he said. “Full stop.” It was easy to see why: It’s an eight-core, 16-thread beast using AMD’s Zen 5 architecture, which Tom’s Hardware’s own testing has shown is king of the hill. This processor’s popularity has made it a challenge to find, but some retailers (such as Newegg) offer it as a bundle with motherboards. Speaking of which…
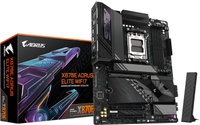
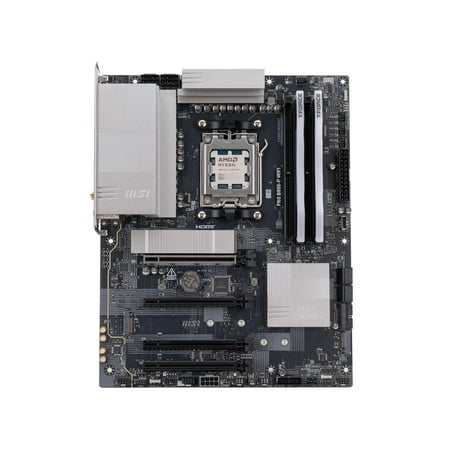
The processor determines a lot about the motherboard’s socket and chipset, so it’s often a matter of choosing features. Of the options I had for my processor bundle, I went with a Gigabyte X870E Aorus Elite Wifi7. It’s loaded with support for a lot of RAM and storage, and, as the name implies, Wi-Fi 7, so I’m ready for the fastest and most advanced wireless network connections I can get.
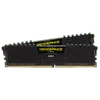
Tom’s Hardware recommended Corsair four-DIMM, 192GB kit, and I was going to go with that. ut, at least at this point in my life, I don’t need that much RAM. So, I went with a “mere” 64GB through two chips. It’s probably going to be more than enough, but if it’s not, I can add two more with no trouble. I can’t imagine needing more than 128GB anytime soon.
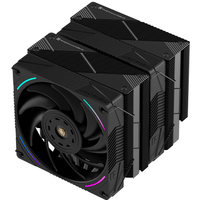
The five-star Tom’s Hardware review for this air cooler was loaded with superlatives (“This isn’t a competition. This is a massacre.”) as well as rhapsodic explanations of how it punches significantly above its price. A cooler that’s cheaper than the competition and performs better? I’m sold.
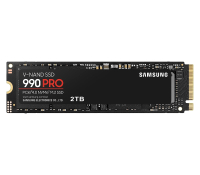
Another Tom’s Hardware winner, but I would have gone this route anyway. My previous testing and personal experience has shown Samsung makes some of the fastest storage on the market. And now that I could get a full 4TB of one of the fastest-ever SSDs for a price that was unthinkable just a few years ago, I needed no convincing otherwise.
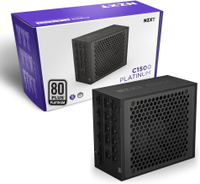
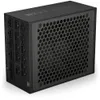
Knowing the crazy power requirements for top-end graphics cards (which have to be considered on top of all the other components), I knew I needed a 1,500W power supply with all the latest connectors. Tom’s Hardware had just the recommendation with this modular NZXT beauty. It’s not cheap, but if it can put out a lot of power, reliably, over a long period of time, it will be worth it.
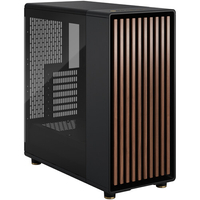
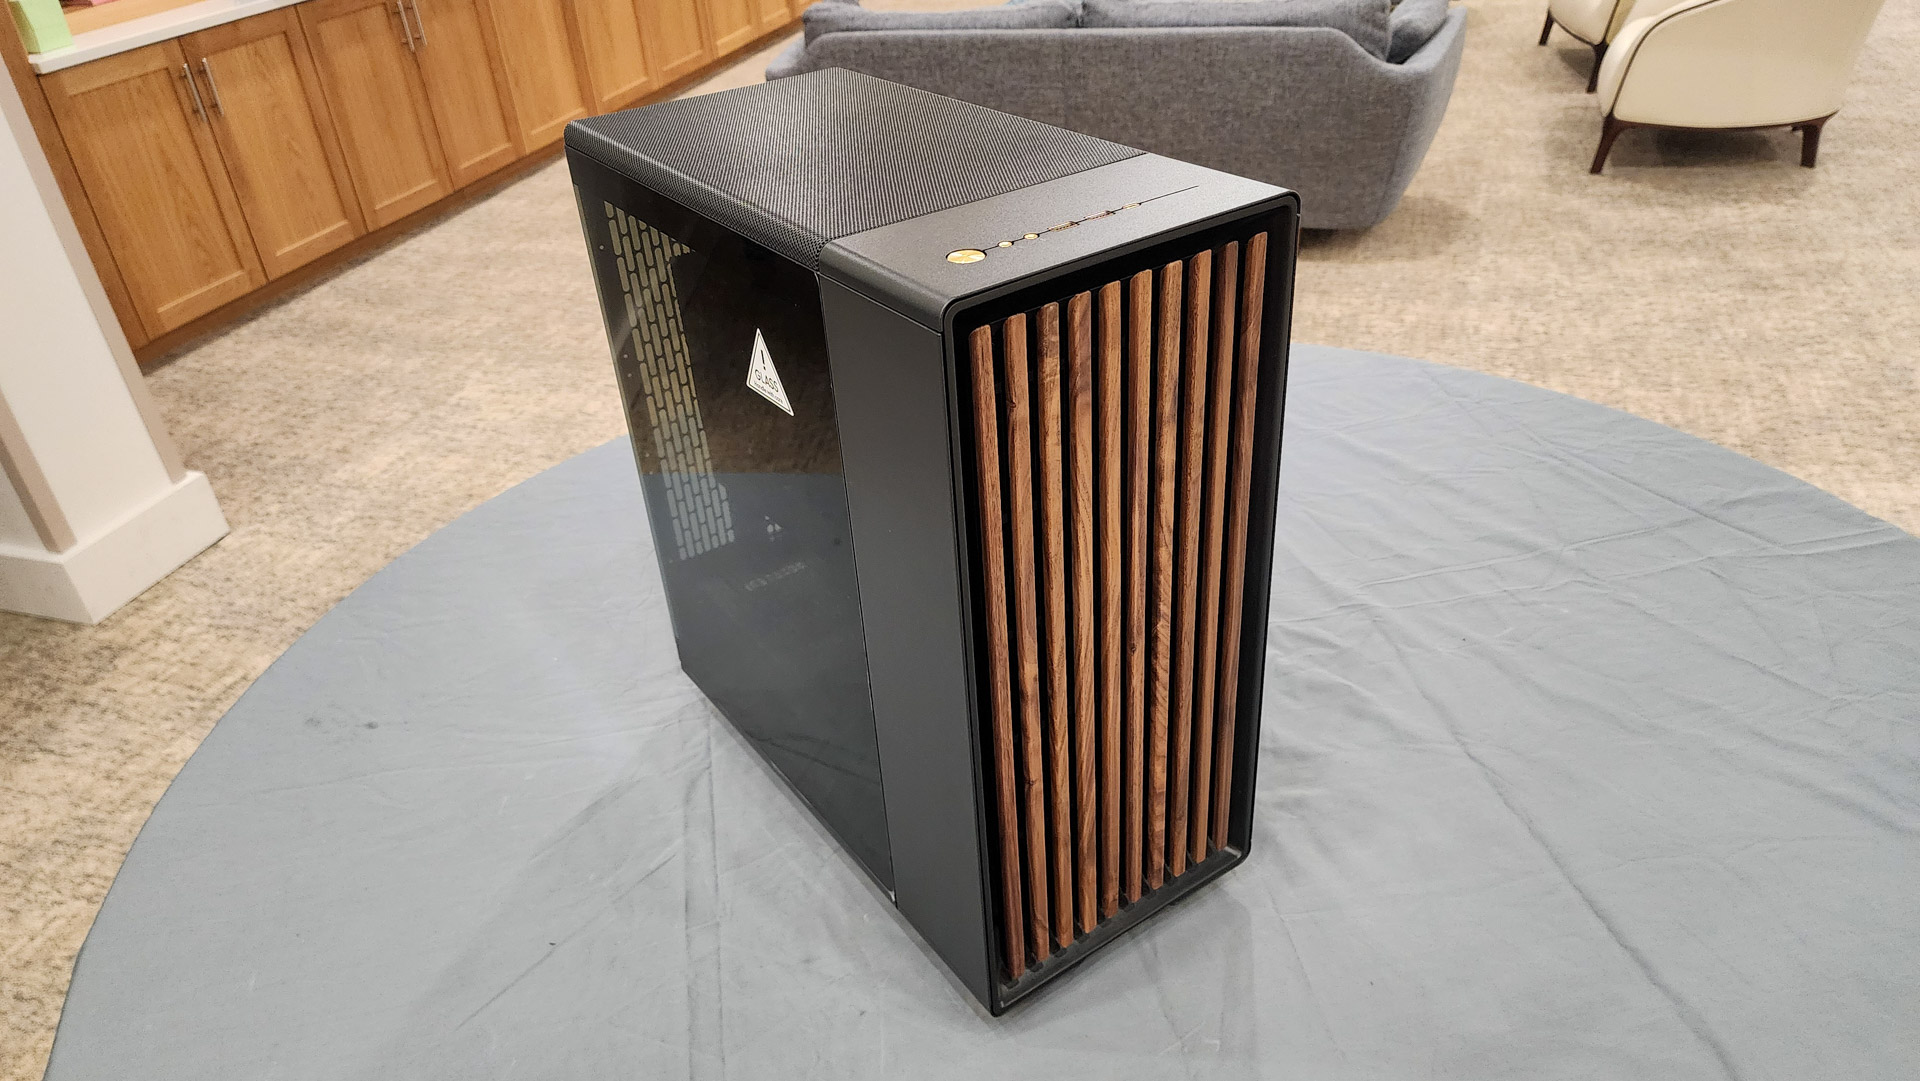
A case houses all your components, yes, but it’s also nice if it looks good. The Tom’s Hardware review of the Fractal Design North sold me; the retro wooden slats on the front panel look cool (I’m a child of the 1970s—what can I say?), and there’s plenty of ventilation and construction space. And it was priced under $150, making it an easy win-win.
How to build a gaming PC
Once all the components arrived, I set up a table and got to building. Hardware manufacturers have simplified the process a lot over the years, so the only additional tools I needed were a screwdriver and a pair of scissors.
Here are our build steps. Though they may differ slightly depending on the components, in general, they’re going to be similar from system to system.
1. Open the power supply bay
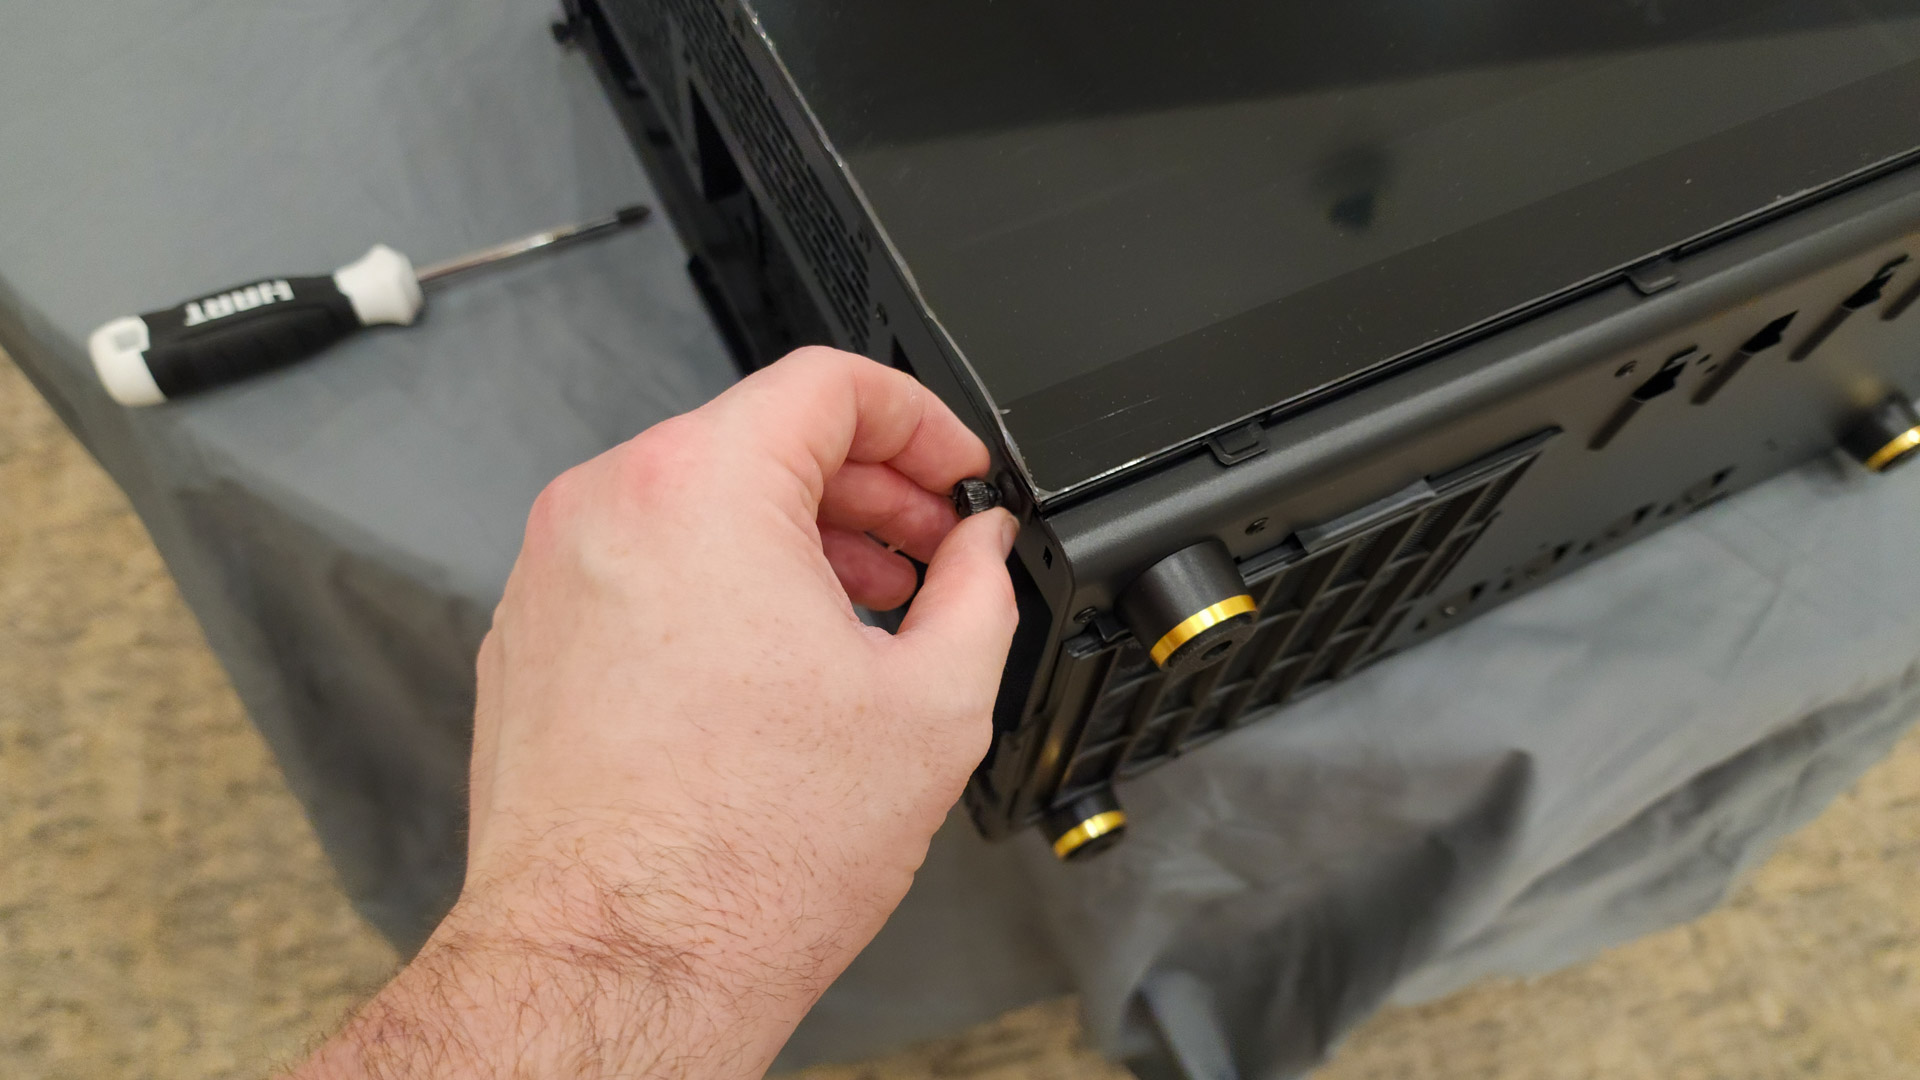
In the North case, the power supply bay is covered by a bracket that will eventually fit over the power supply. It opens by removing the thumb screws and pulling off the bracket.
2. Open the side panels
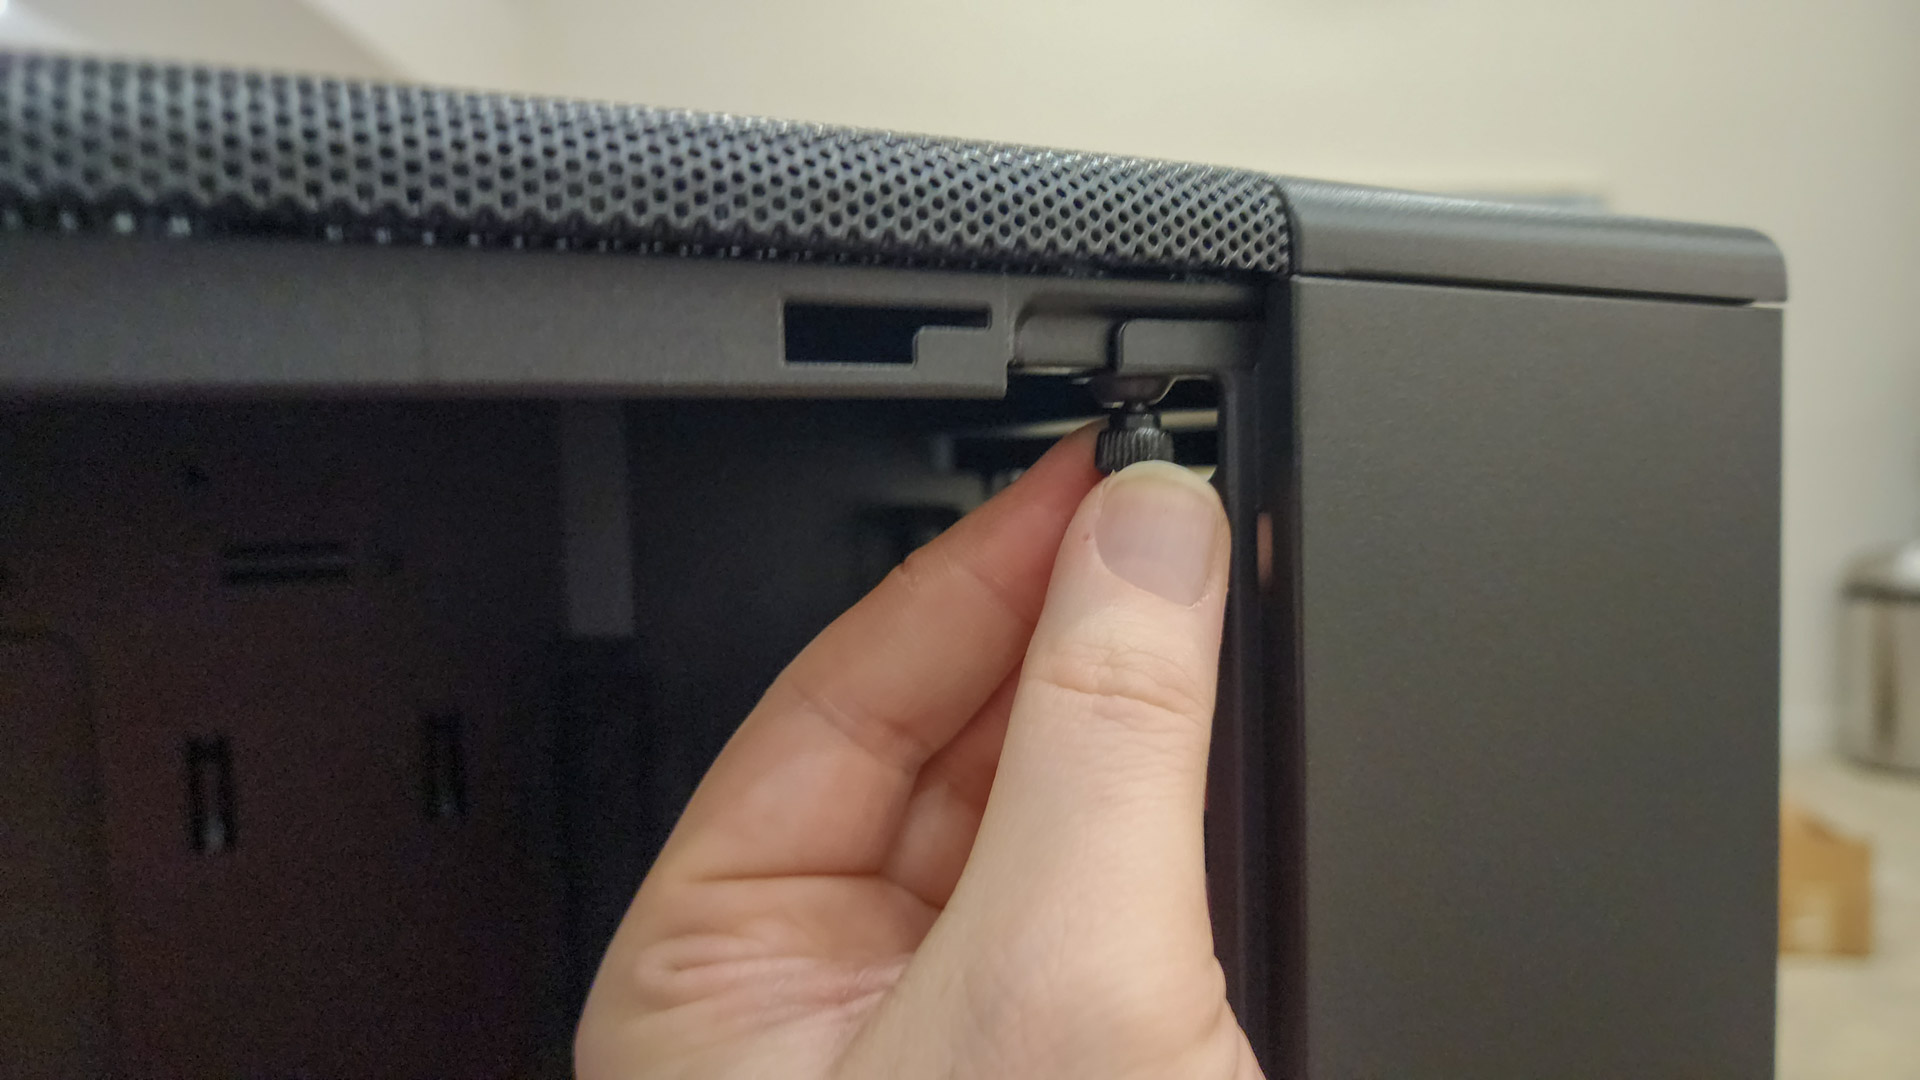
The case’s side panels are also held on by thumb screws. Removing them and pulling the panels back towards the rear panel gets them out of the way. The side with the glass door also has a smaller metal panel that can be removed by undoing another thumb screw.
3. Remove the front panel…
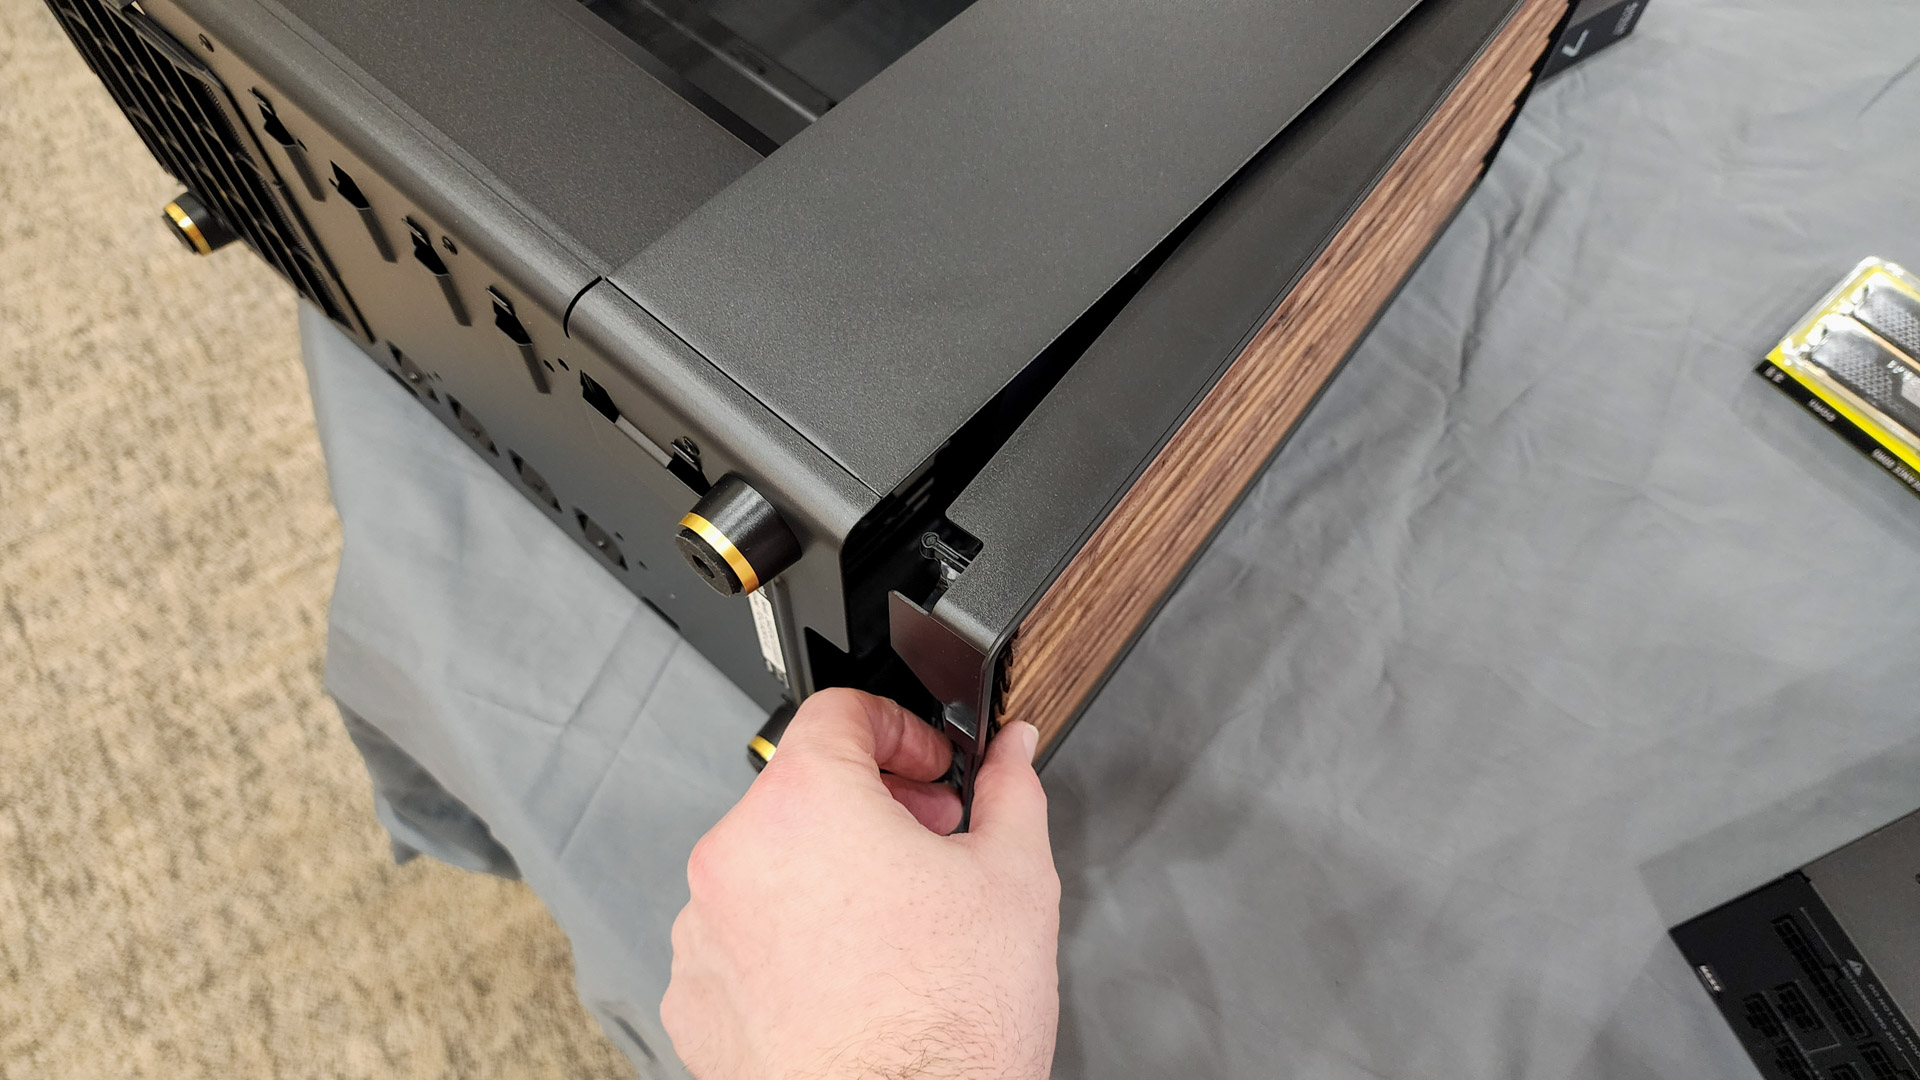
Like the side panels, the North’s front panel also pulls off to allow easy access to the insides, though this time without thumb screws.
4. …and anything inside
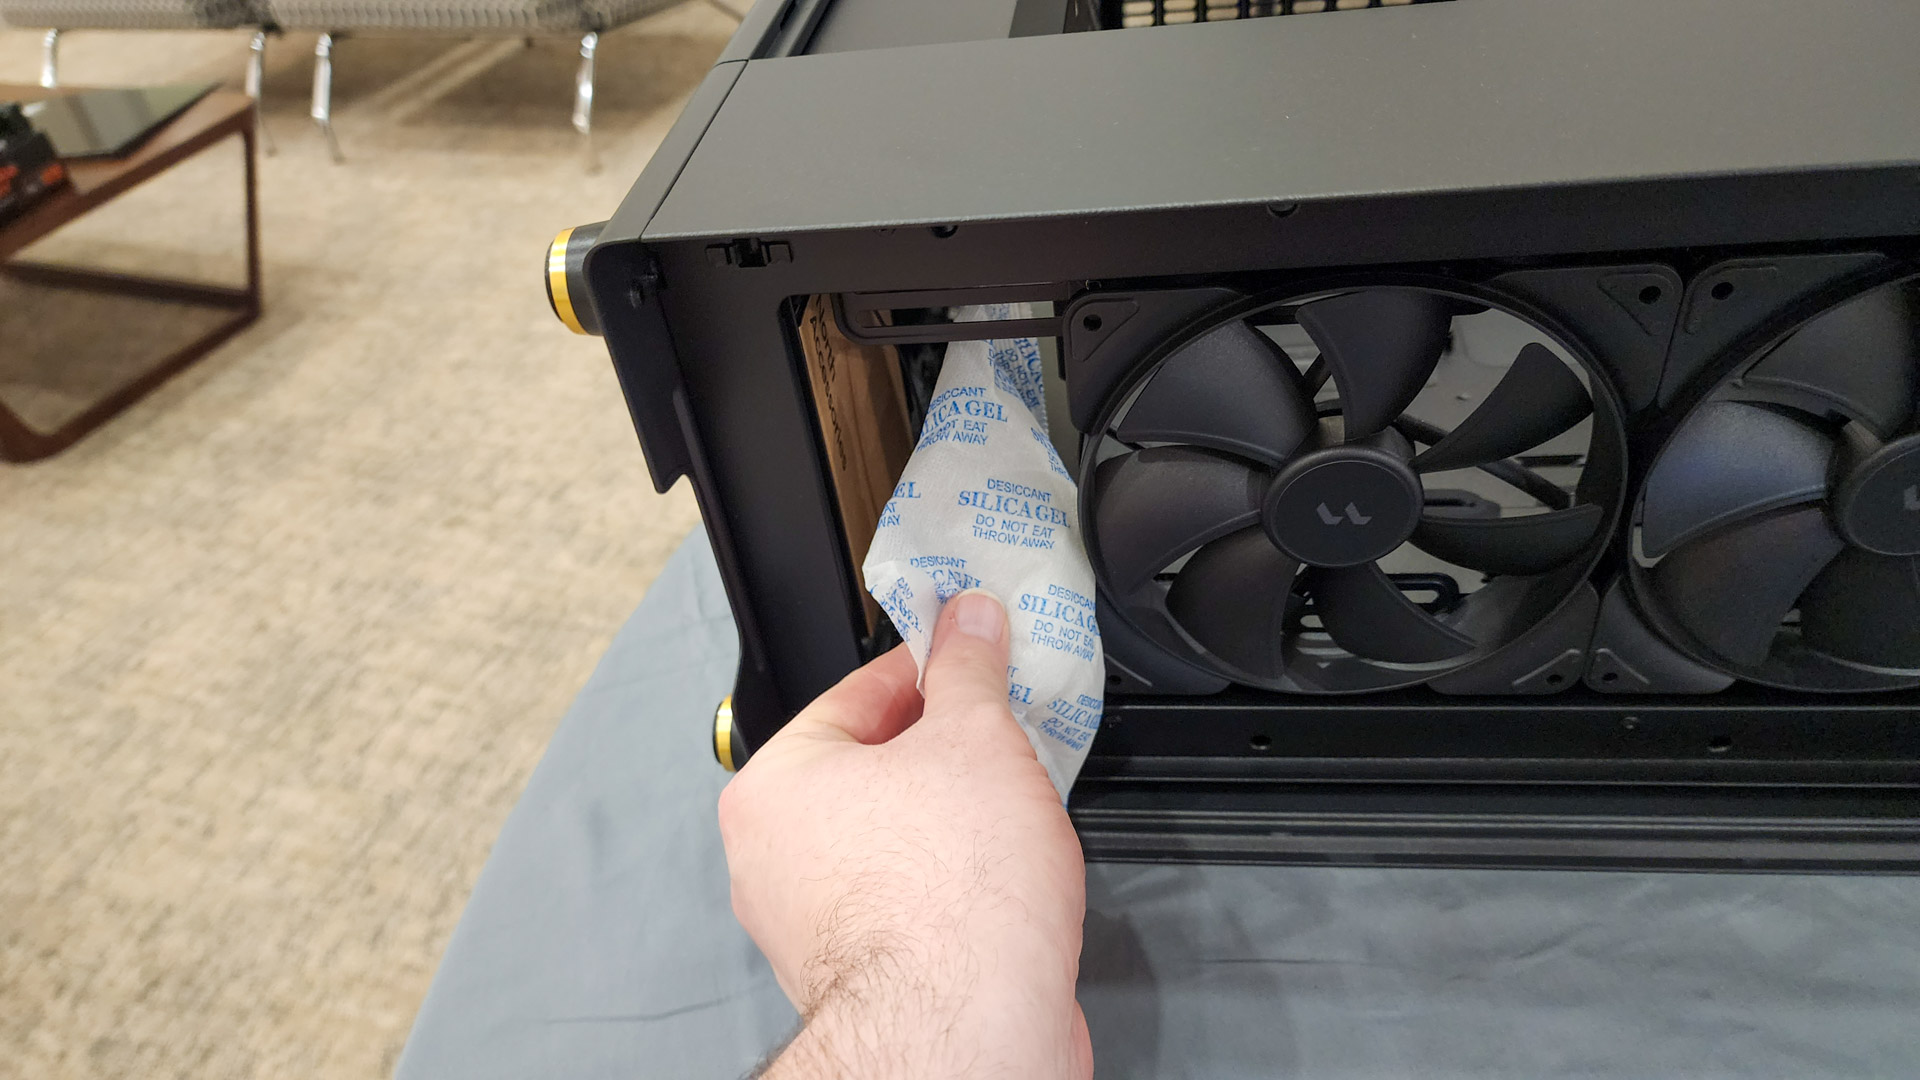
Like the side panels, the North’s front panel also pulls off to allow easy access to the insides, though this time without thumb screws.
5. Attach power supply bracket
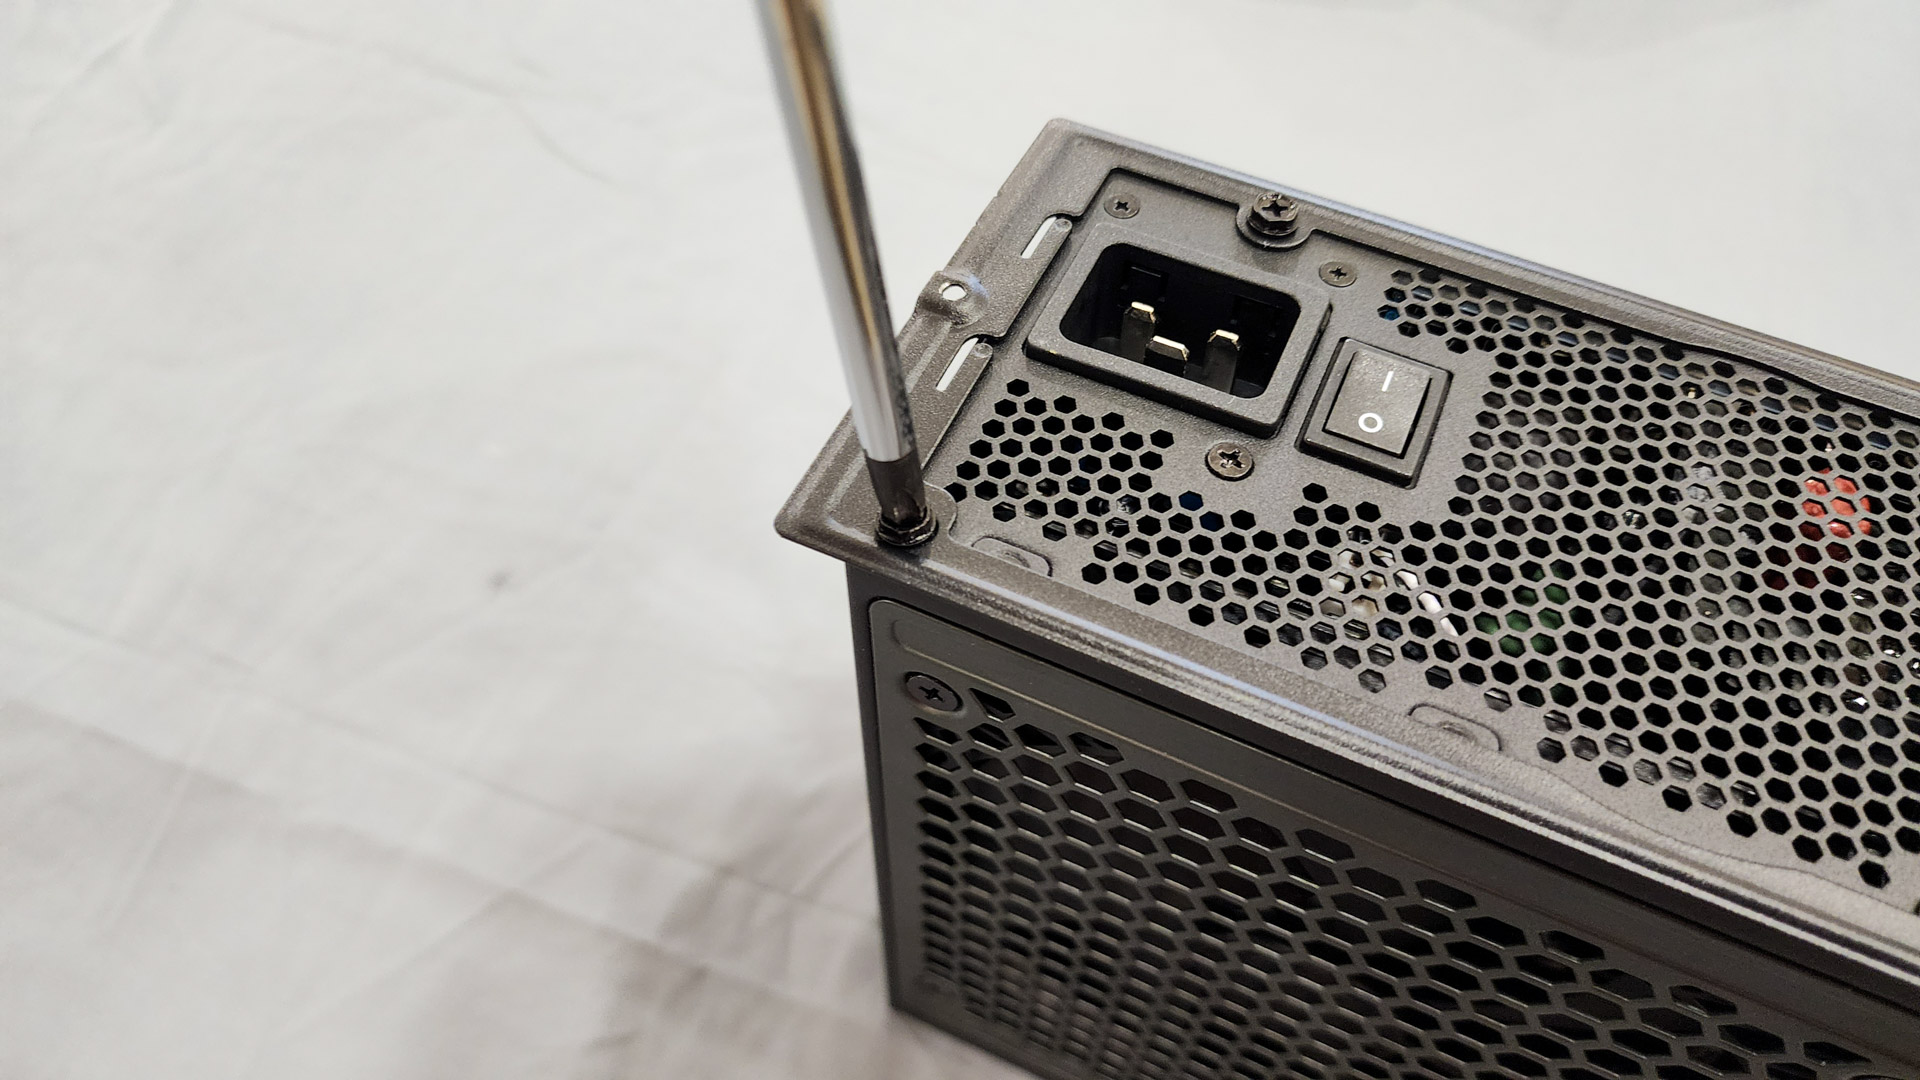
Now is a good time to attach the case bracket to the power supply, even if it’s not yet time to install it. Fractal Design has provided four screws in the case’s accessory kit for this.
6. Install the RAM
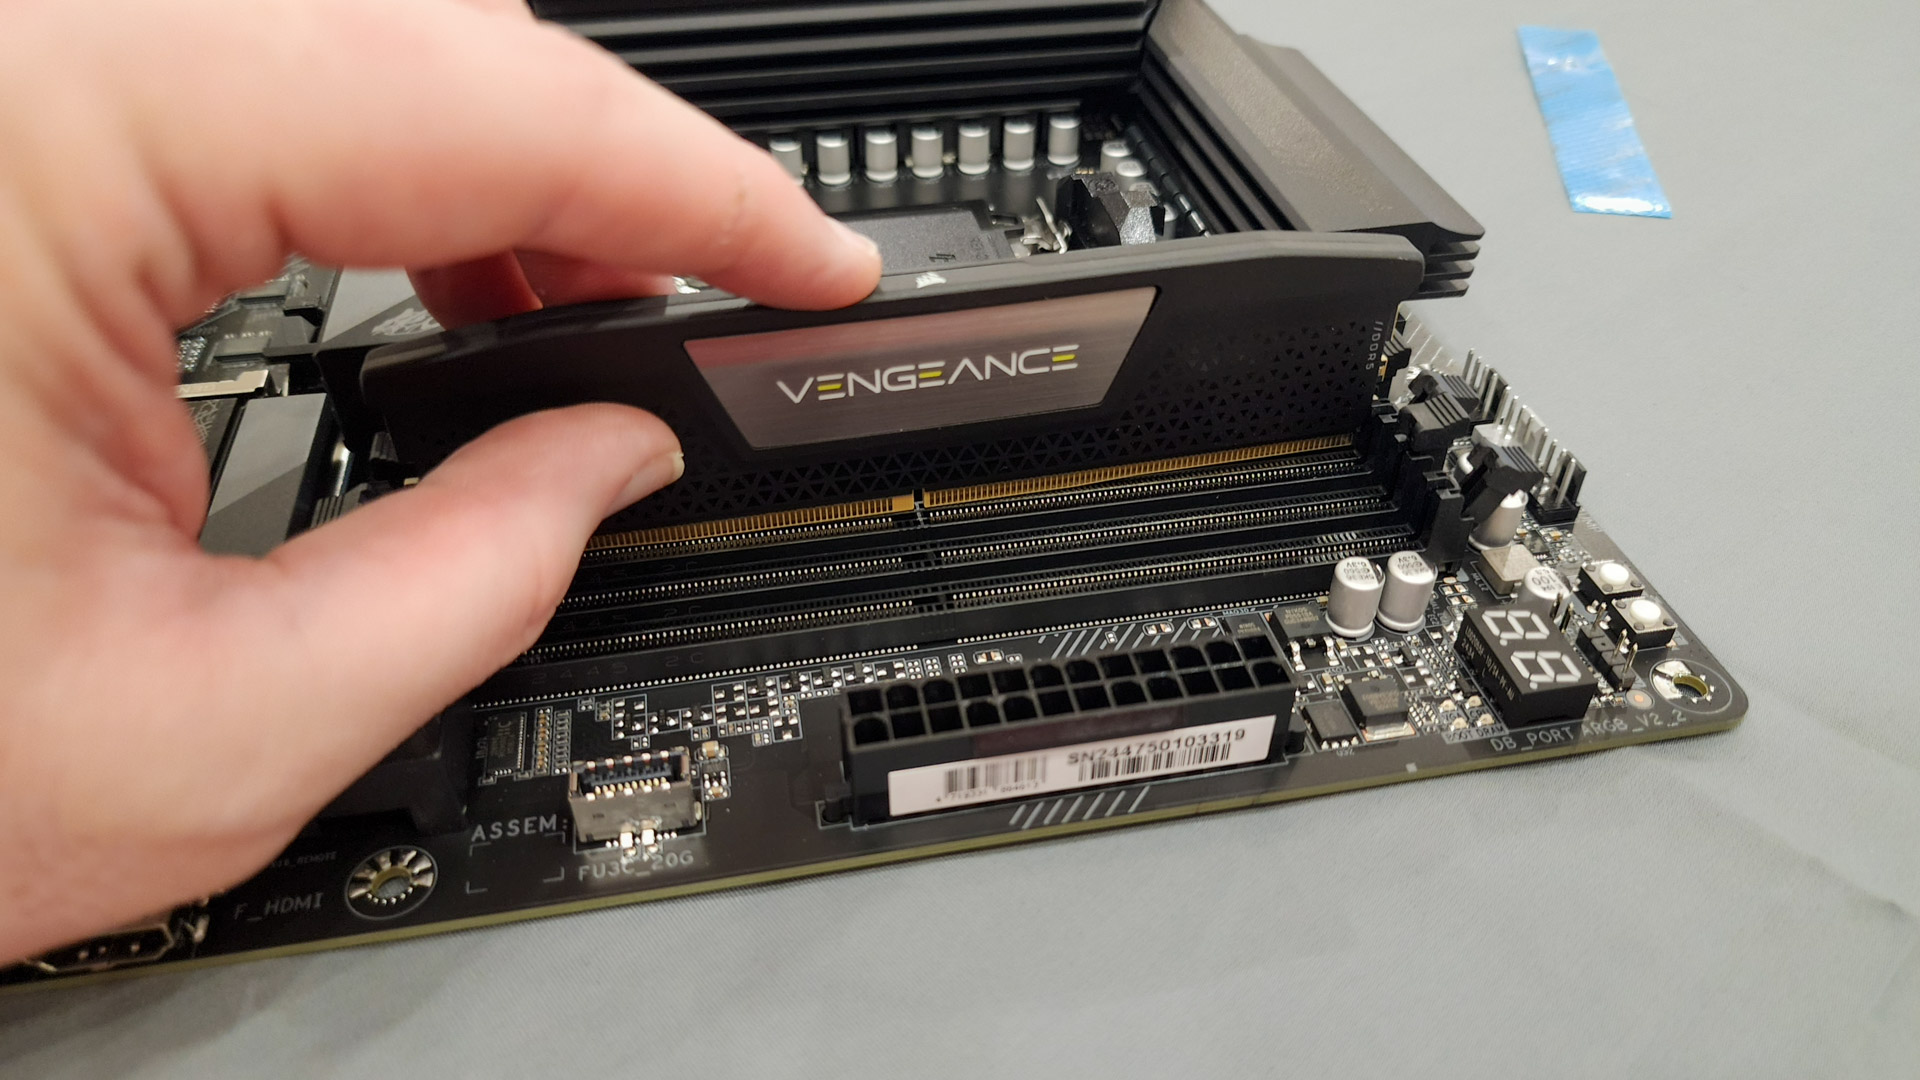
It is a lot easier to install components on the motherboard while everything is still outside the case. The motherboard’s manual documents the proper slots for the dual-channel RAM, so opening the side clips for those slots and pressing the DIMMs down until the clips lock into place gets the job done quickly and easily.
7. Open the M.2 slot
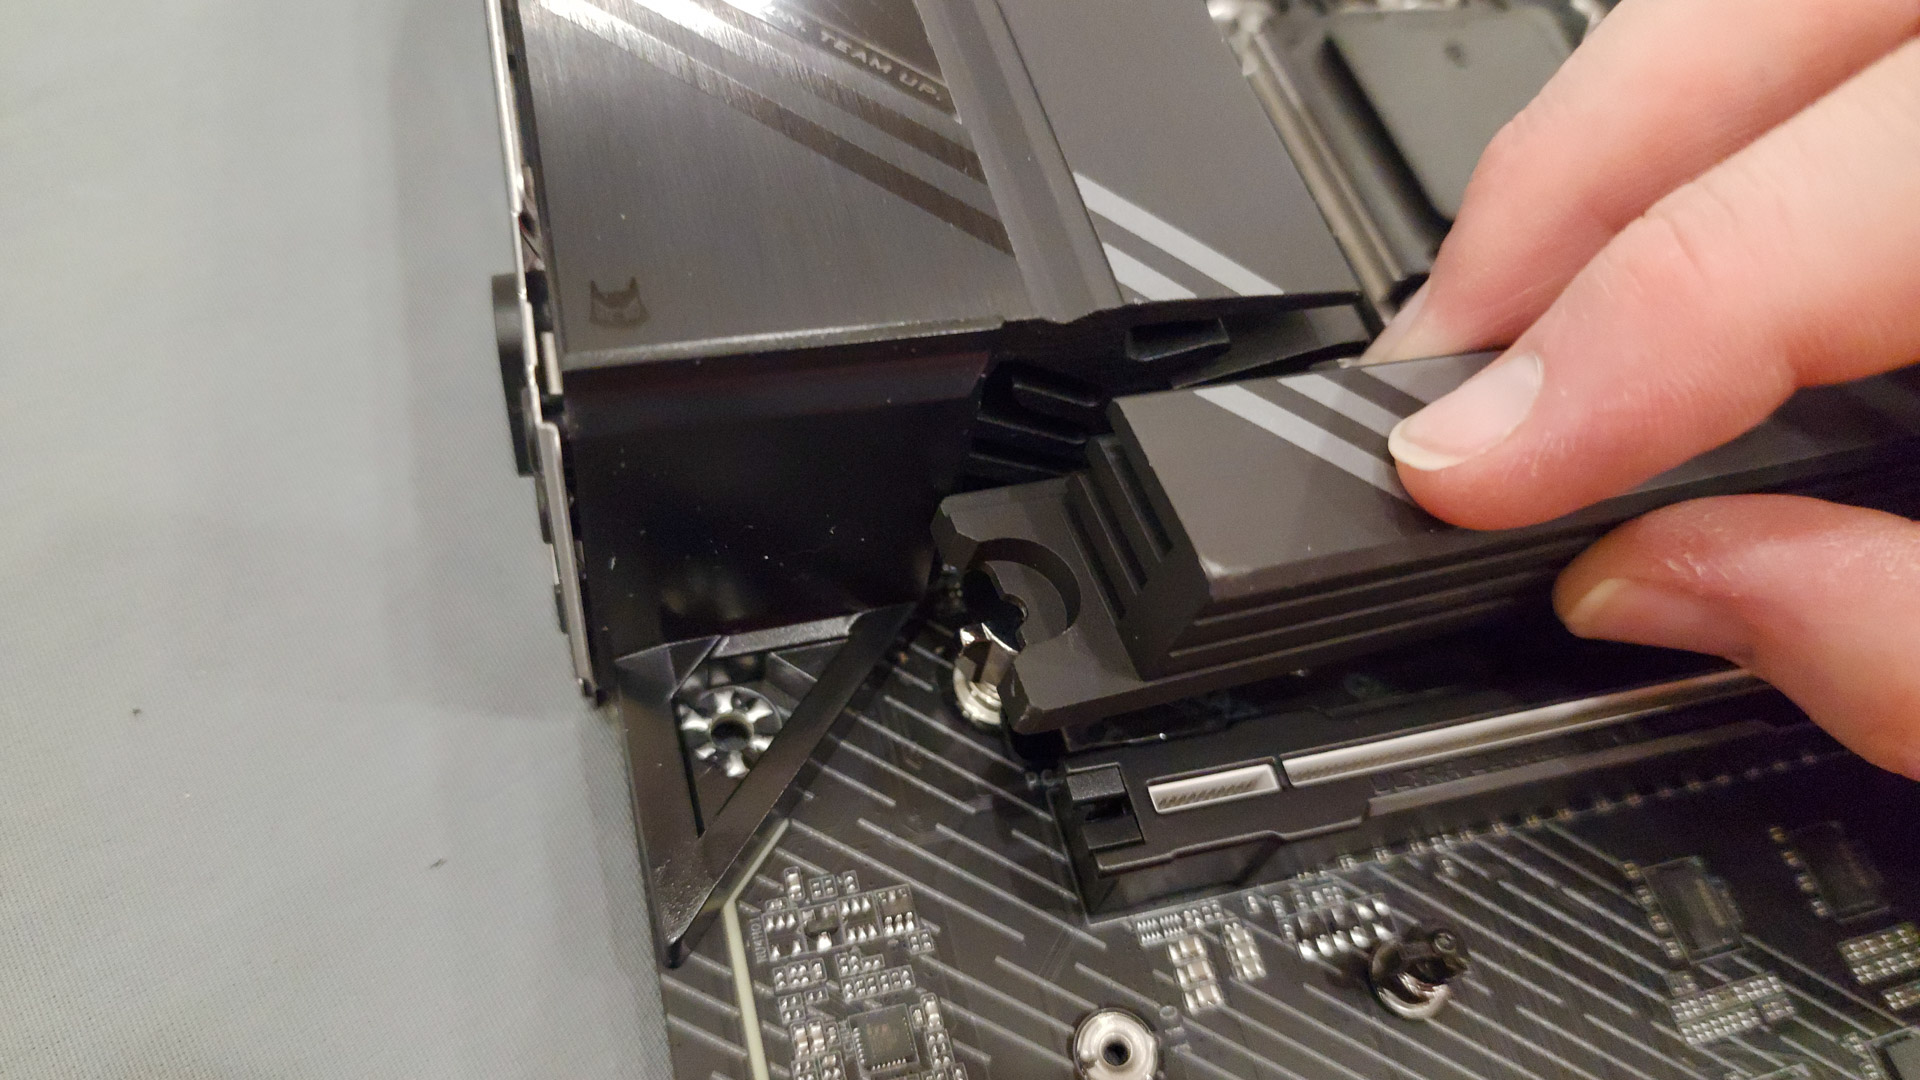
There are a number of different ways to add storage to your build, but M.2 slots are usually the easiest these days. On this motherboard, the main drive slot is located below a heat sink, which we have to remove by turning the fastener and pulling off the sink.
8. Install the SSD
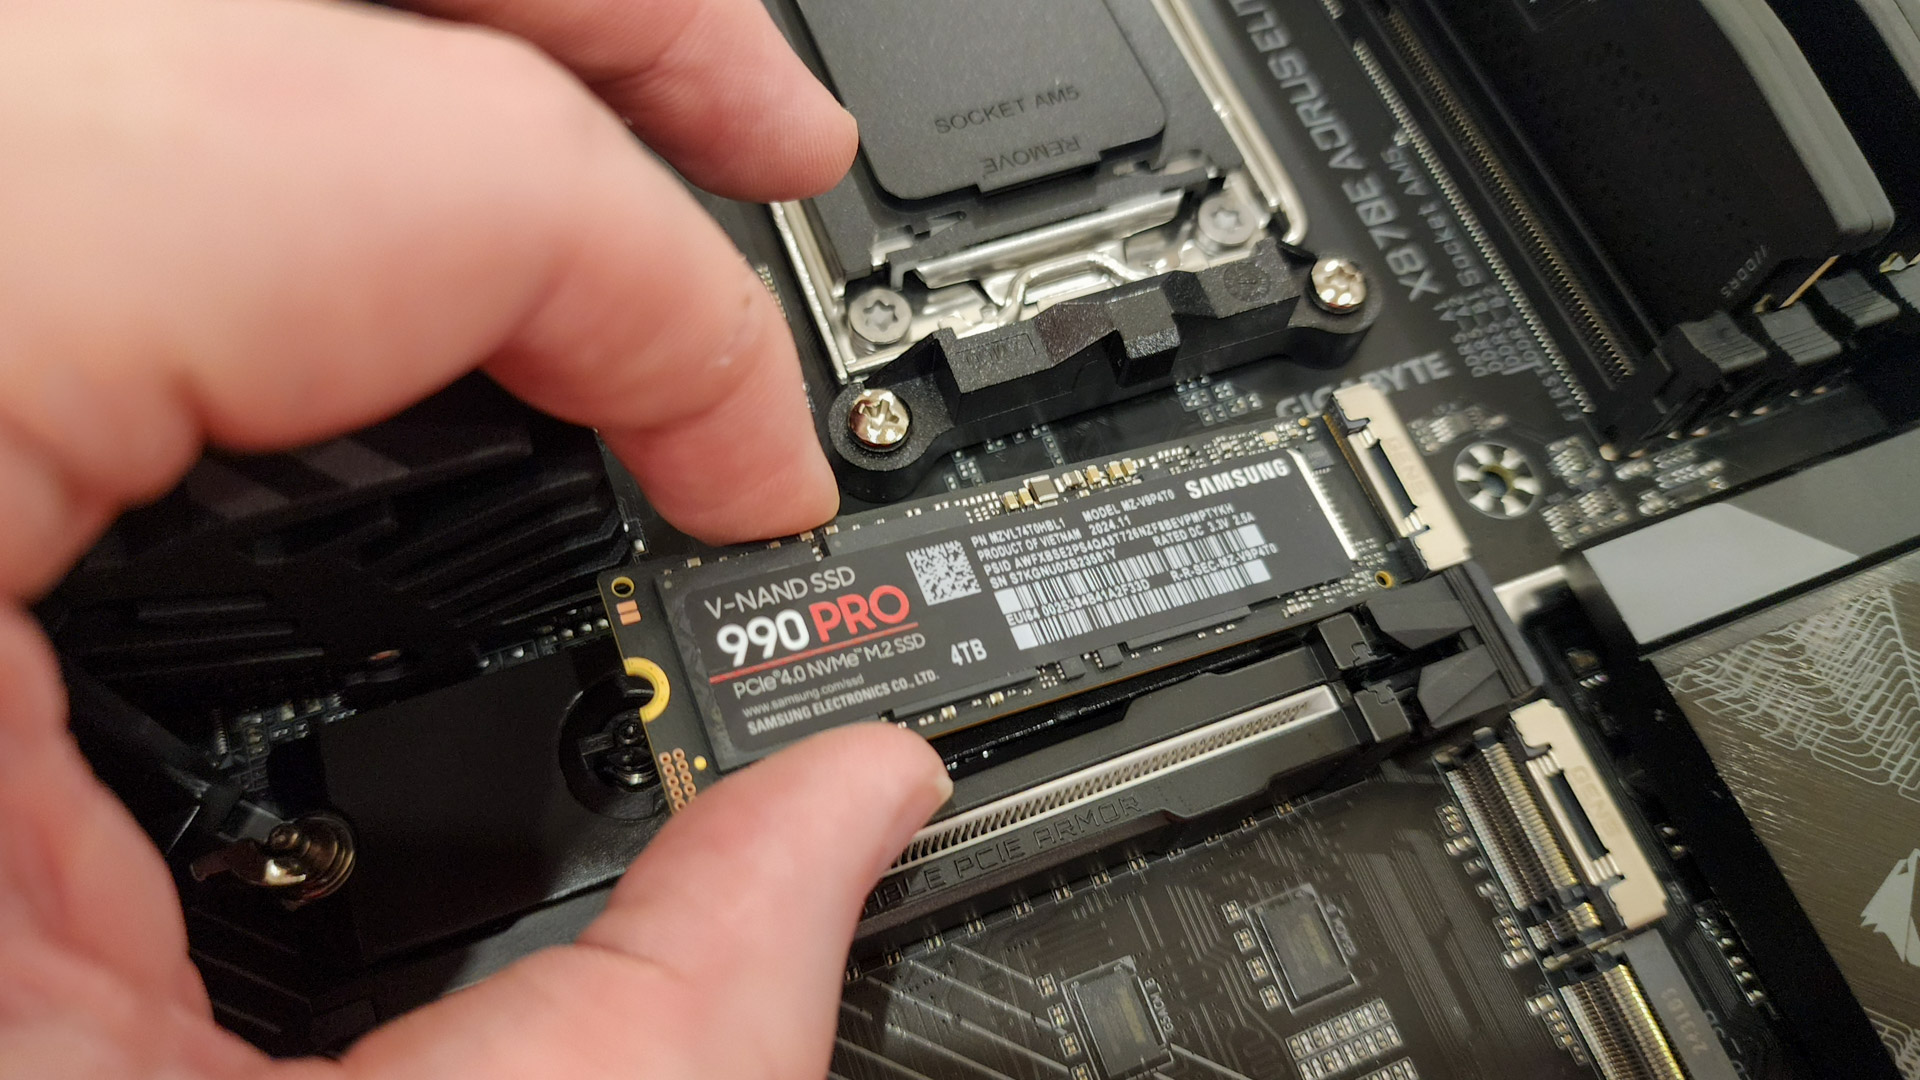
Installing an M.2 SSD is a simple matter of putting the drive in at an angle, then pressing it down (gently!) until it clicks. Sometimes, you have to secure it down with a screw; on this motherboard, just a turn of the fastener does the trick.
9. Replace the M.2 slot heat sink
After the M.2 drive is installed, the heat sink needs to be replaced. First, though, is removing the plastic covering from the thermal pad attached to it. Inserting the tab into the heat sink’s slot, returning it to position, and then locking it with the fastener finishes the job. Our motherboard has three other M.2 slots for additional storage, hidden under a larger heat sink just below this one. This is a good time to install any other drives you may have.
10. Open the CPU slot
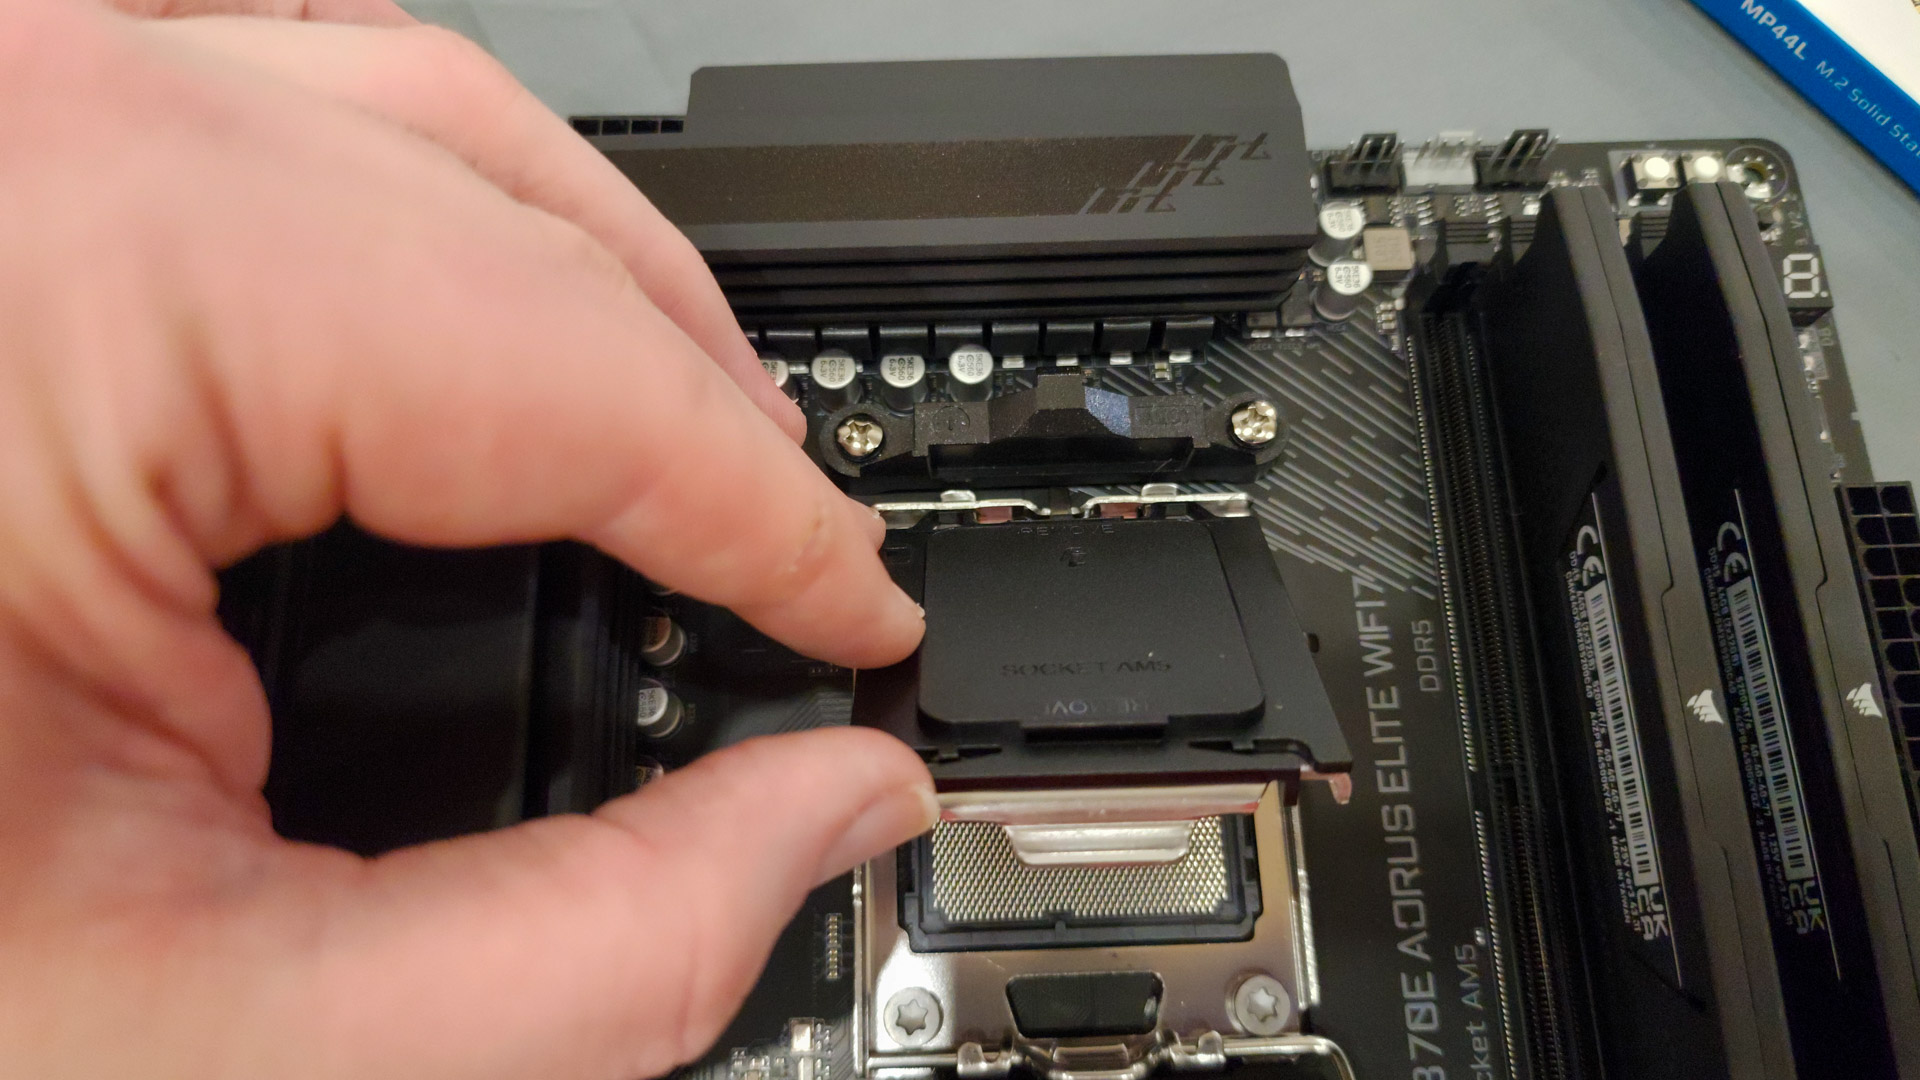
Motherboard manufacturers protect the fragile pins of the CPU slot with a plastic cover that needs to be removed before the chip can be installed. Opening the slot here means pushing down and out on the side lever and then lifting it up before pulling off the plastic.
11. Install the CPU
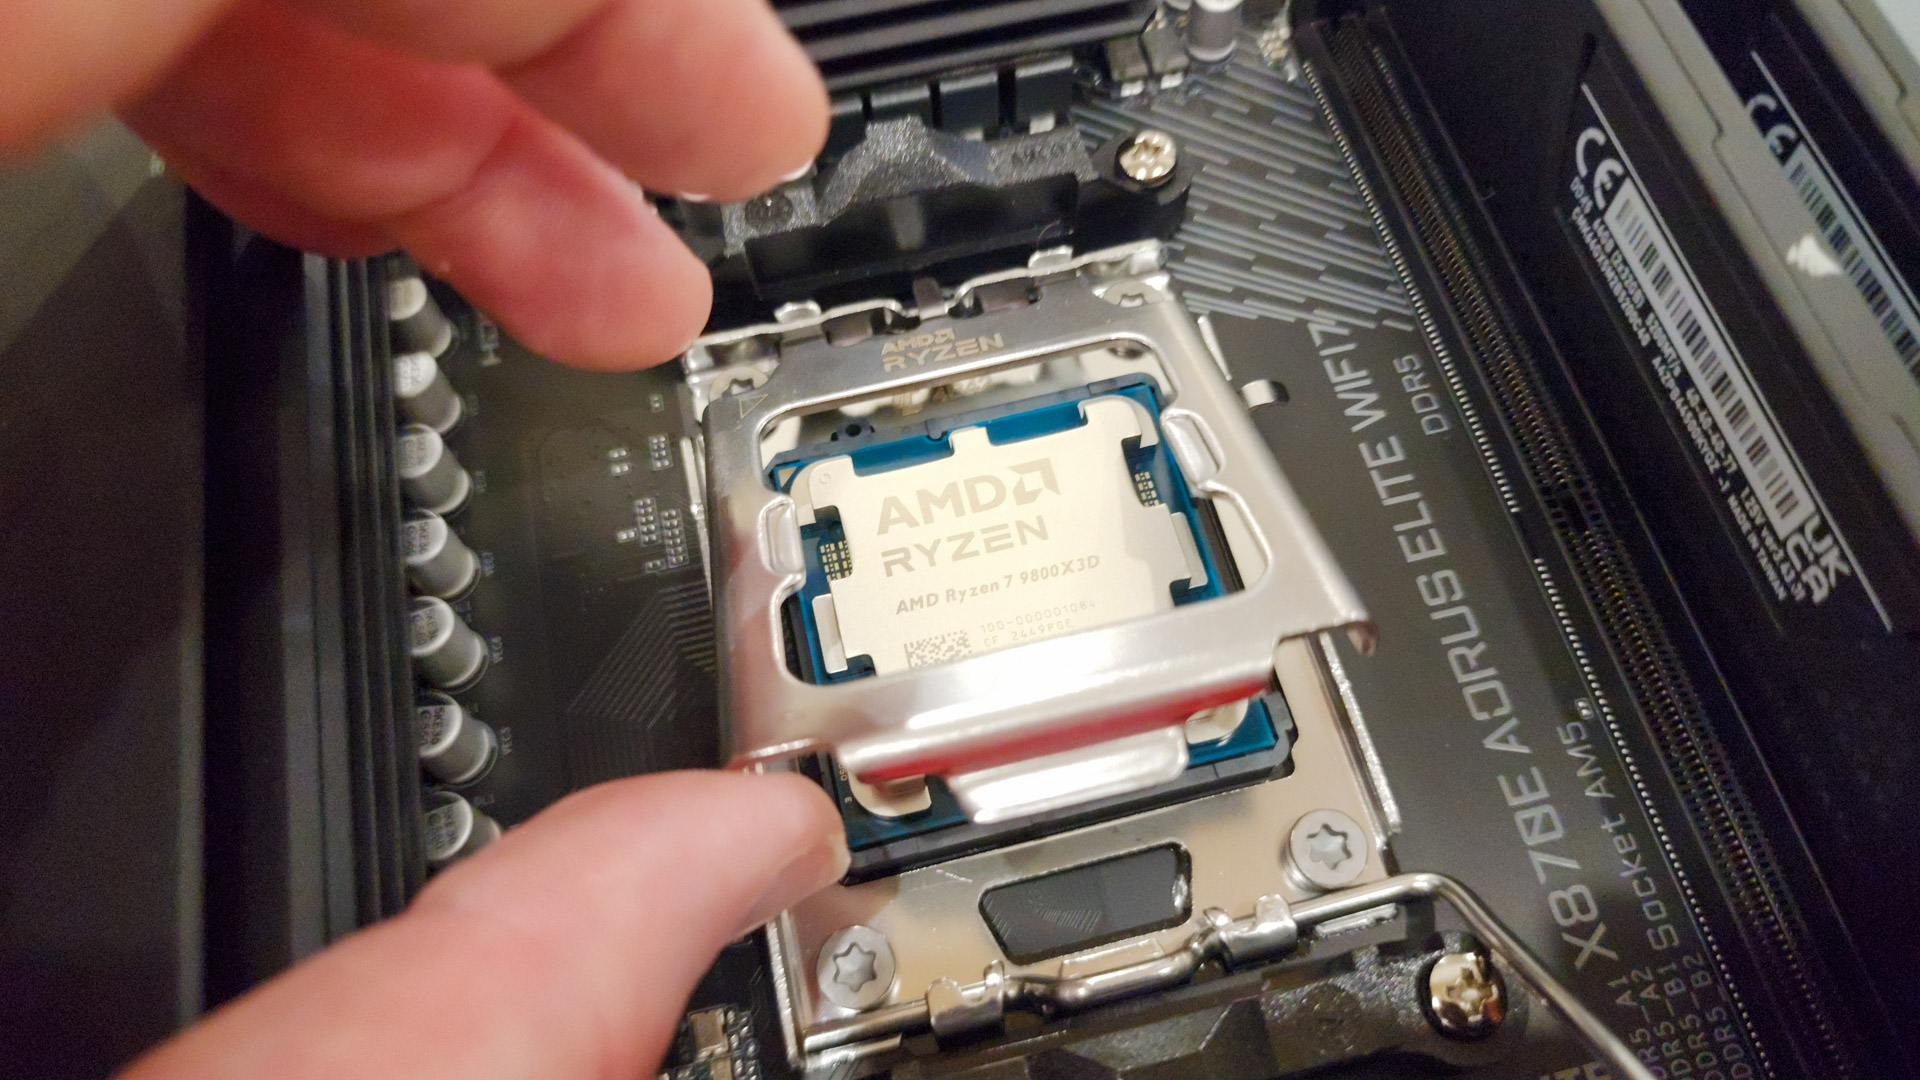
Ensuring the proper orientation for the CPU in the slot is just a matter of matching arrows. Are they both in the same corner and facing the same direction? Then you’re good. After doing that and laying the CPU carefully onto the pins, reverse the previous procedure: close the slot, and lock it down with the lever.
12. Prepare to install the CPU cooler
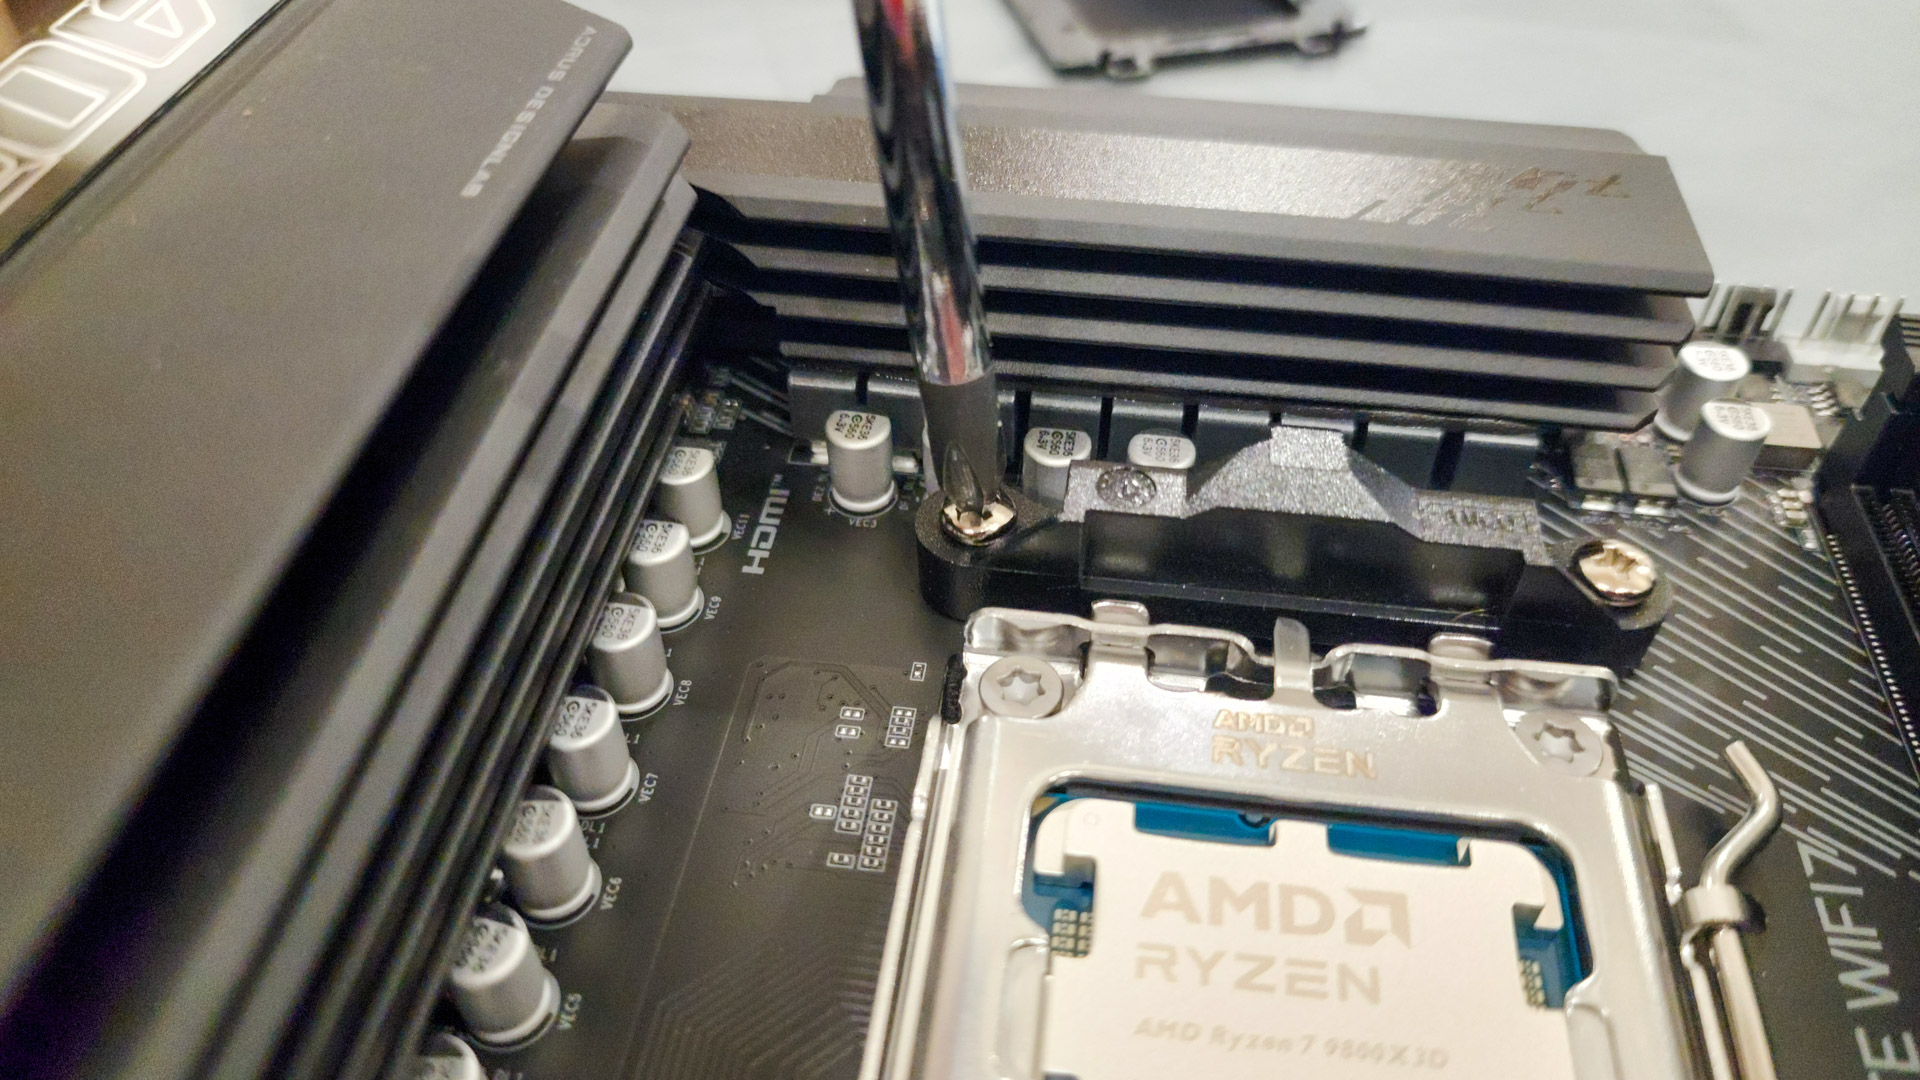
Keeping the CPU’s temperature low is critical, and the huge number of different coolers on the market means every installation procedure is a little different. Ours begins by removing the two plastic brackets around the CPU slot using our screwdriver.
13. Install CPU cooler standoffs
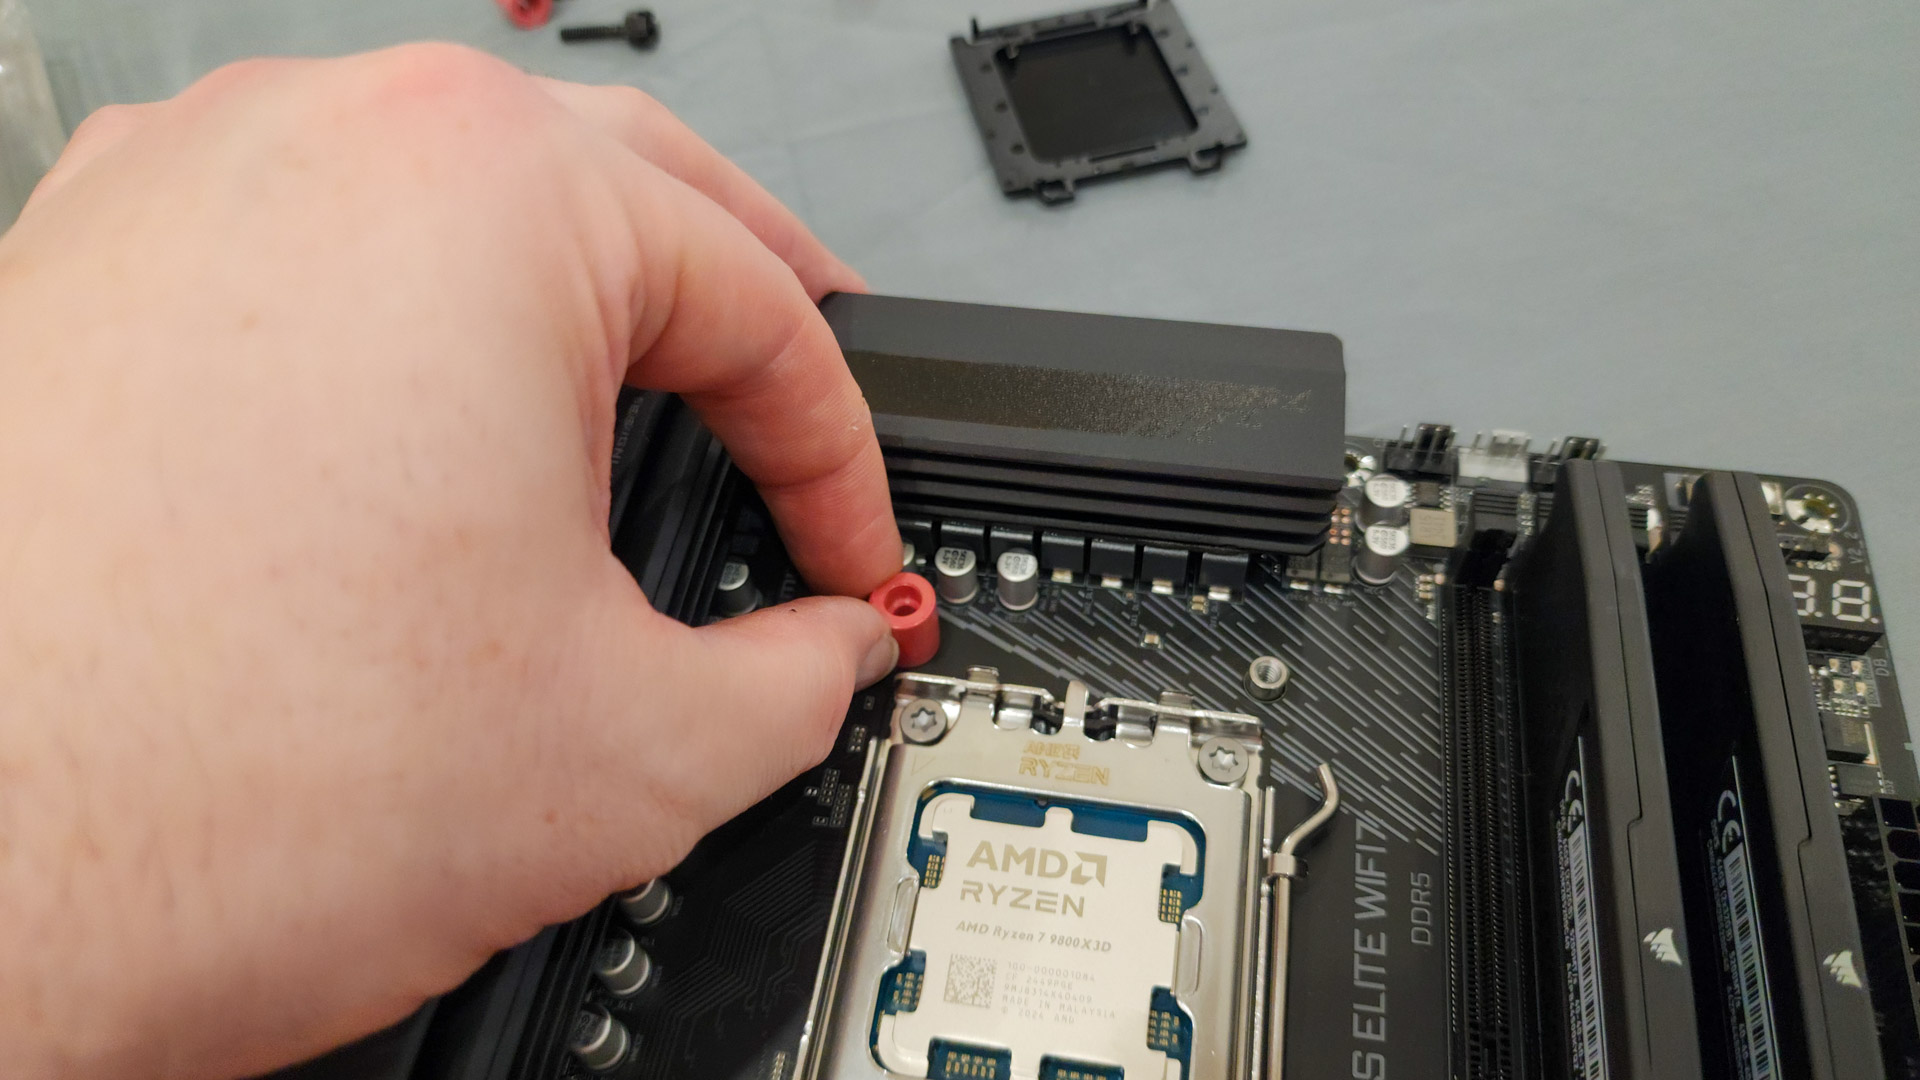
Our cooler is supported by a quartet of included red plastic standoffs that slip on right over the screws we just revealed.
14. Install CPU cooler brackets
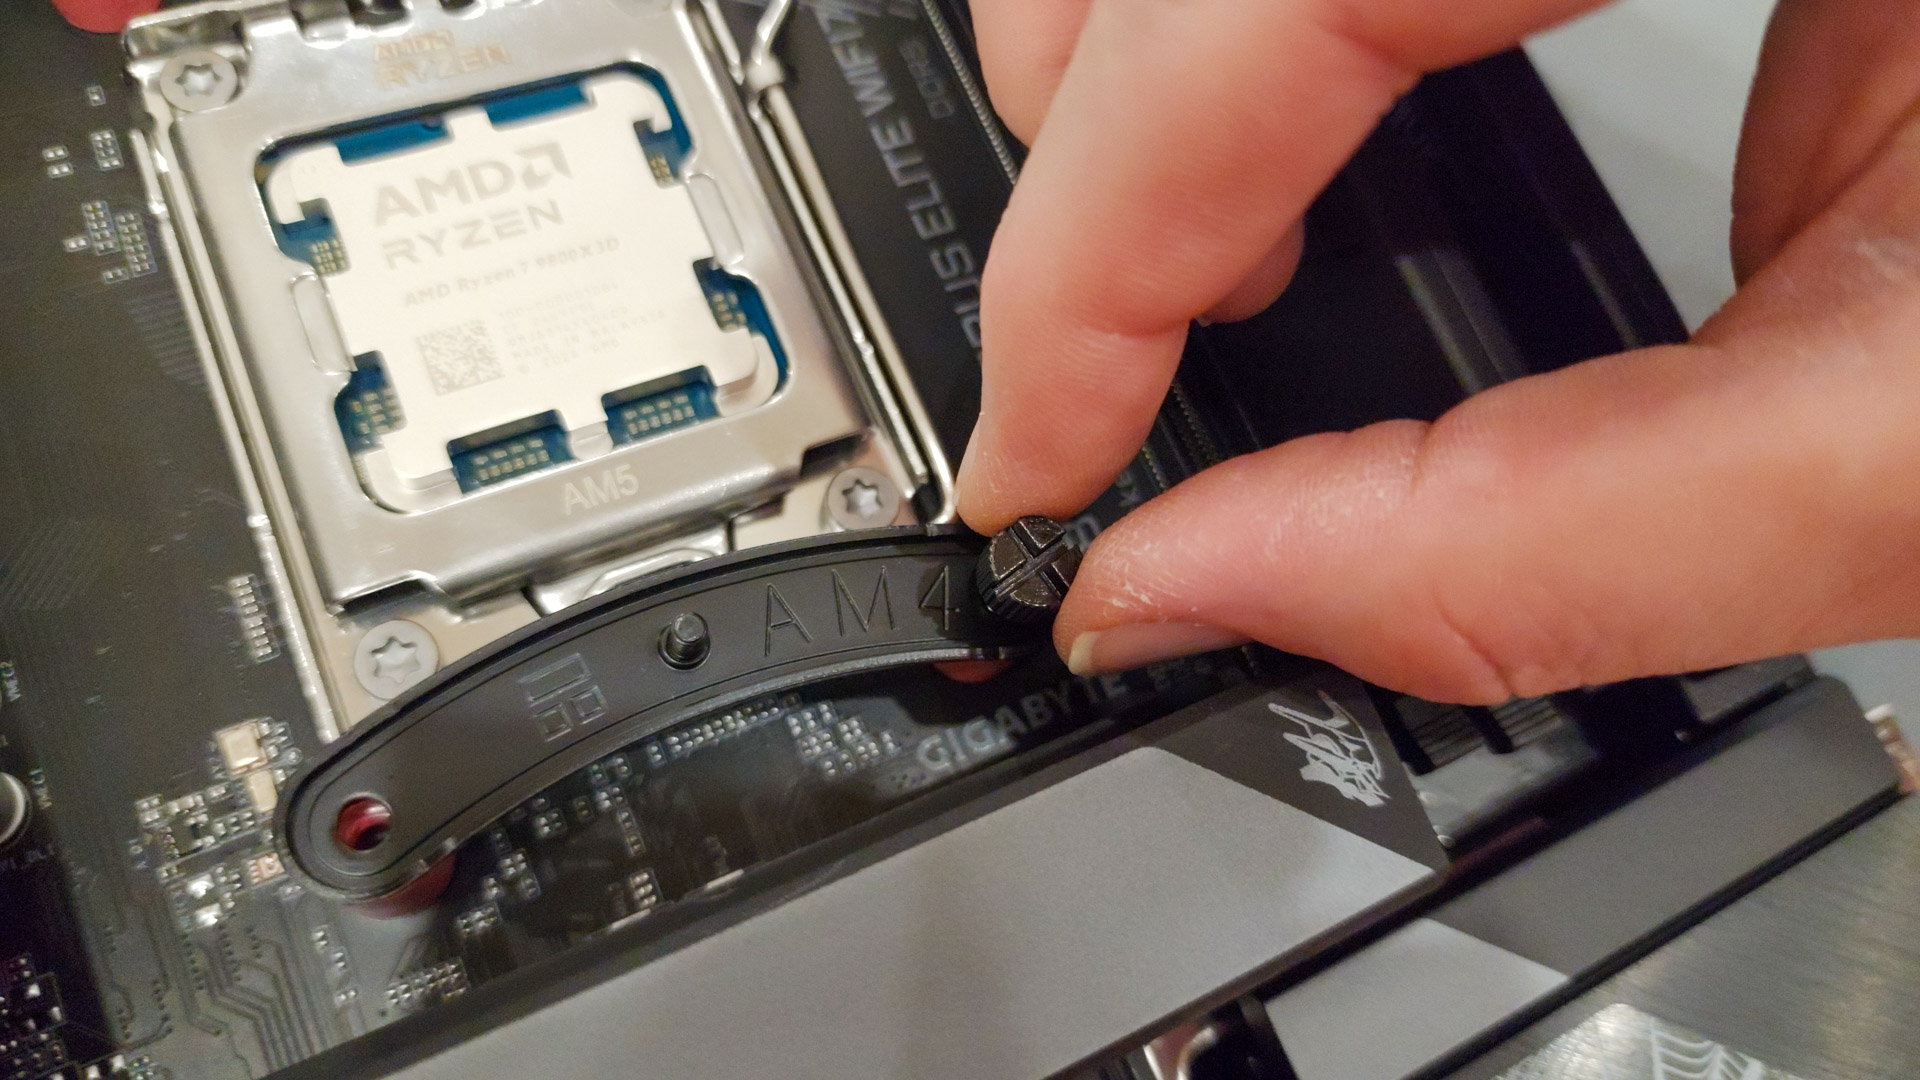
The brackets that hold on the CPU cooler are placed right on top of those standoffs and then secured with four thumb screws. The upward-facing screws on the brackets — which we’ll use in a minute — are built in.
15. Prepare the CPU cooler
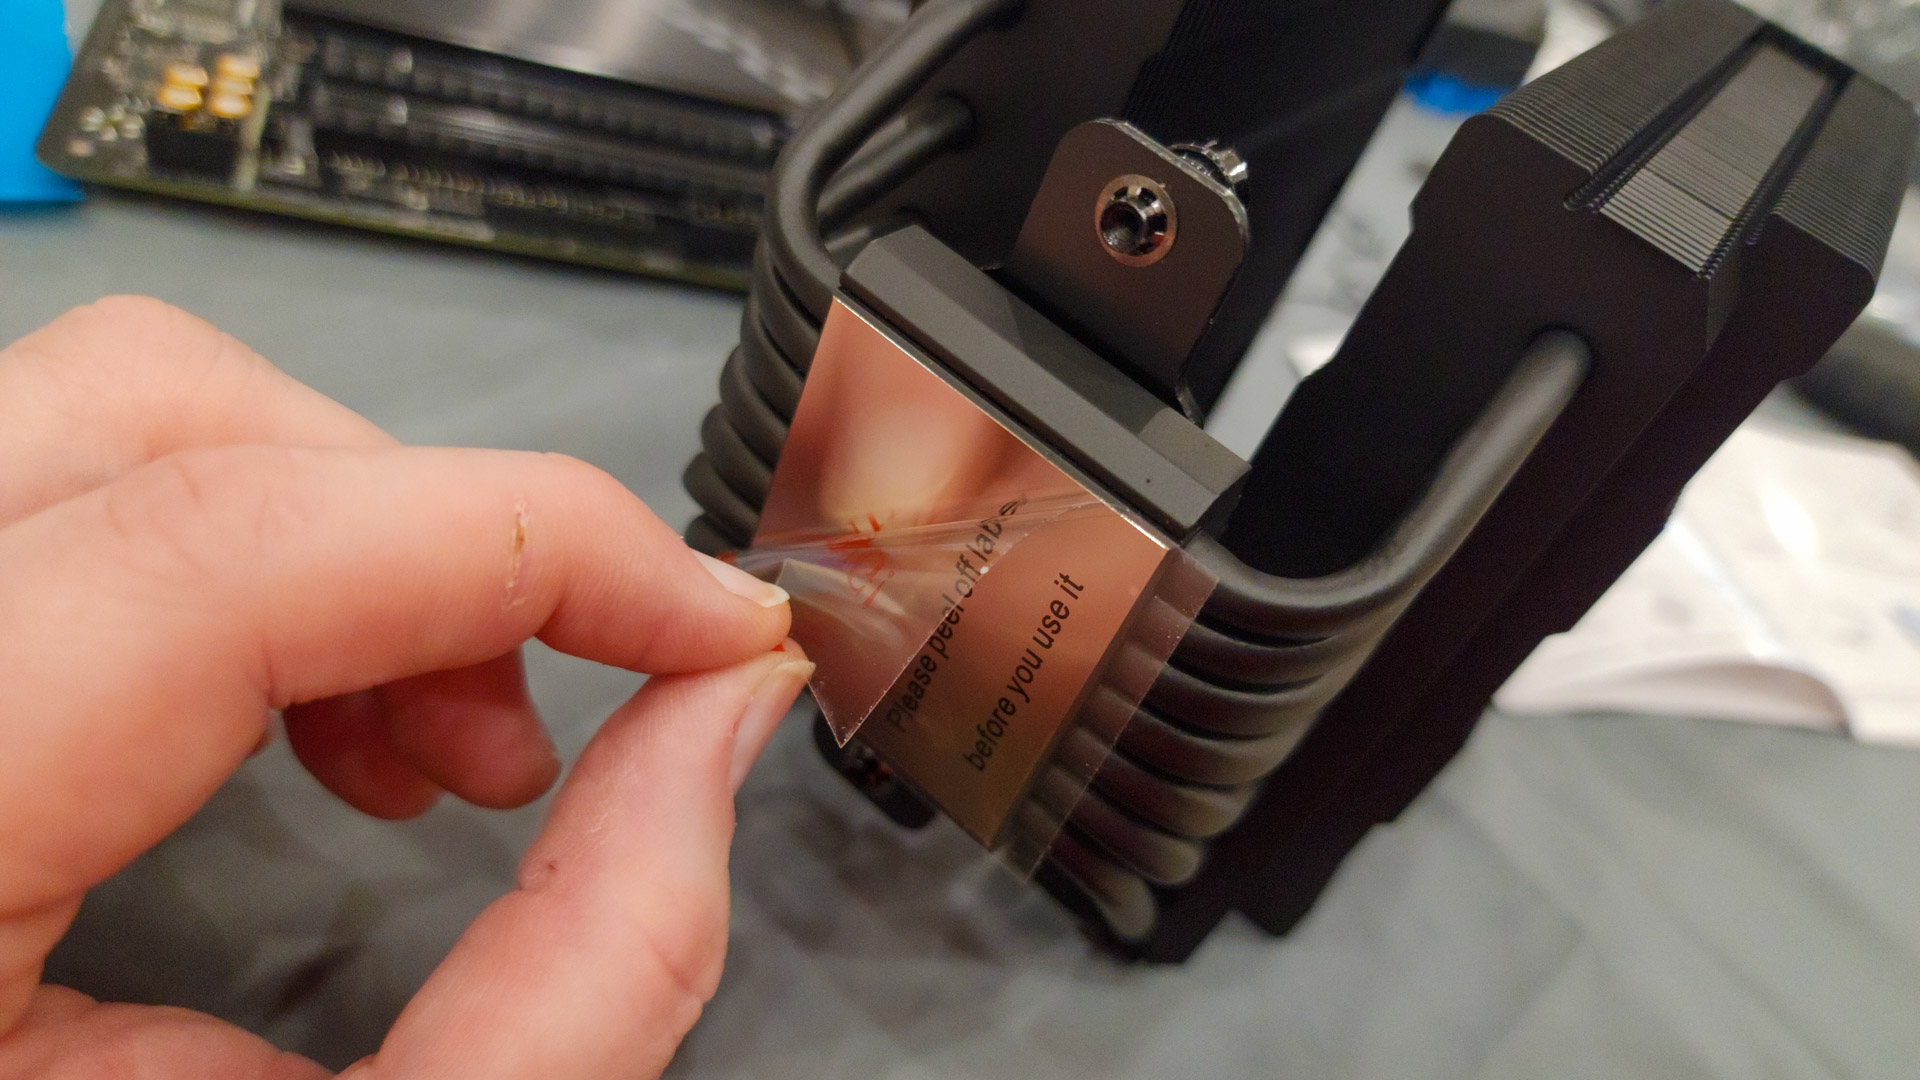
The CPU cooler’s contact plate is protected by a piece of plastic film that needs to be peeled off before installing the cooler.
16. Apply thermal paste
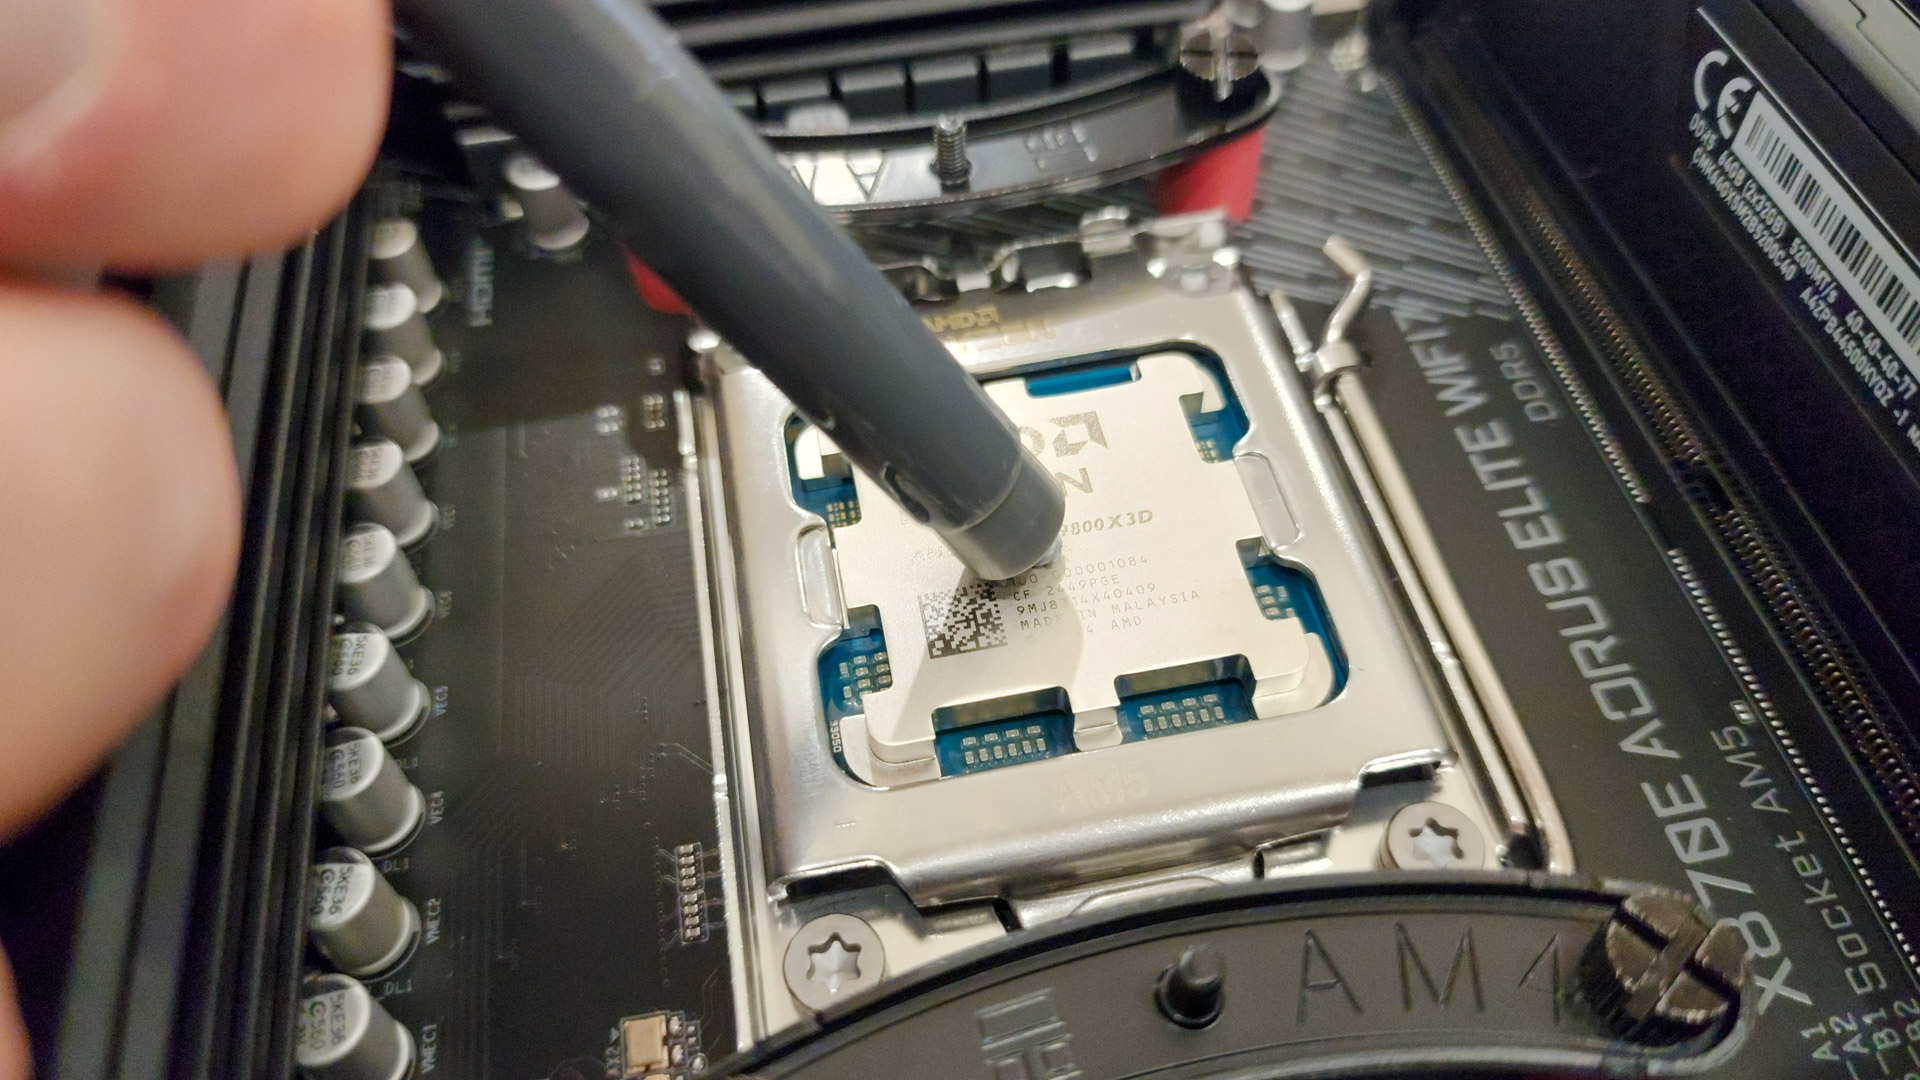
Thermal paste improves the heat transfer between the CPU and the cooler by filling in all the microscopic holes and eliminating air pockets between the two components. You can buy your own if you feel strongly about it, but almost all coolers will come with a tube or packet of the stuff, so you don’t have to. Squeeze on a small amount before continuing. You can improve its performance by spreading it out thinly and evenly with a thin plastic wedge. A credit card will do, but it will still work if you let the weight of the cooler smush it out for you.
17. Install the CPU cooler
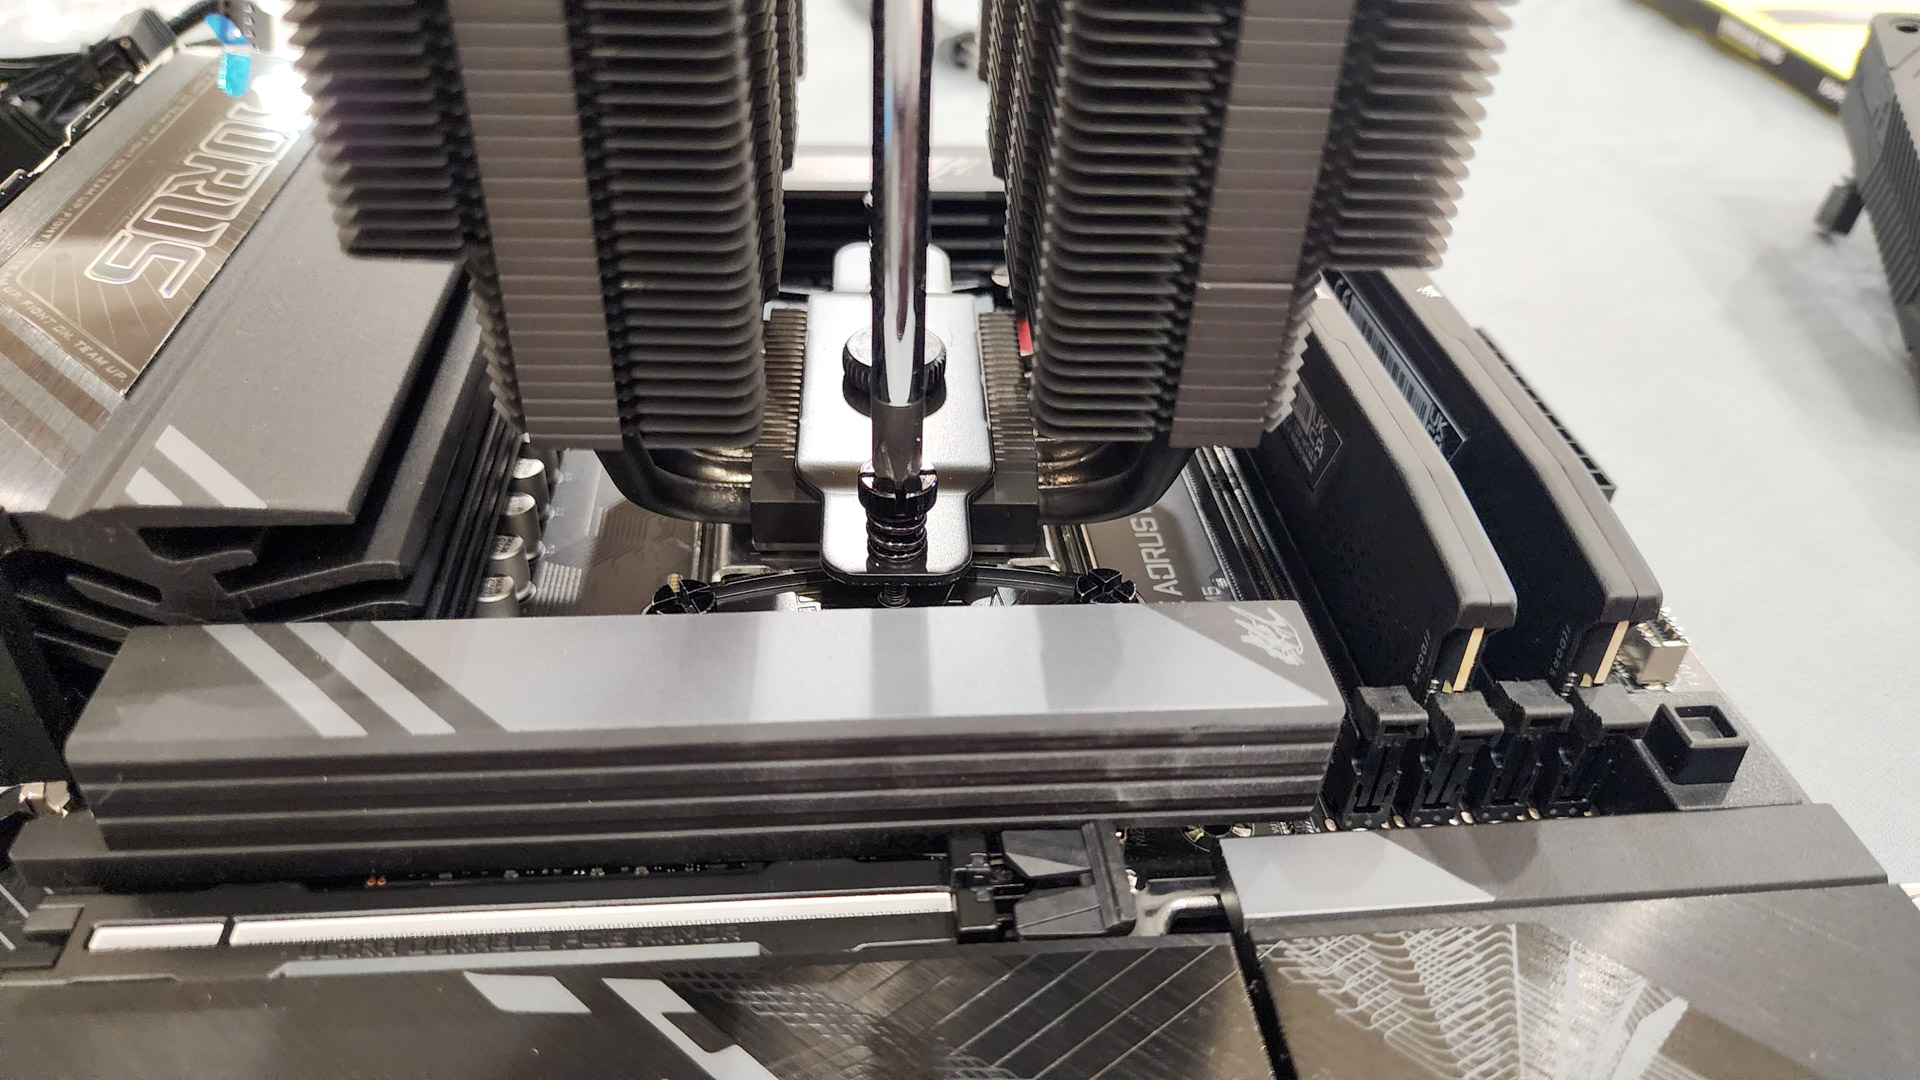
Again, every cooler is different, but many use a mechanism like the springy screws on ours. Turning them with a screwdriver is easy in theory, but they require a lot of downward pressure, which can cause the other side to pop up. You may want to hold it down to mitigate this (and a second pair of hands wouldn’t hurt).
18. Install the CPU fans
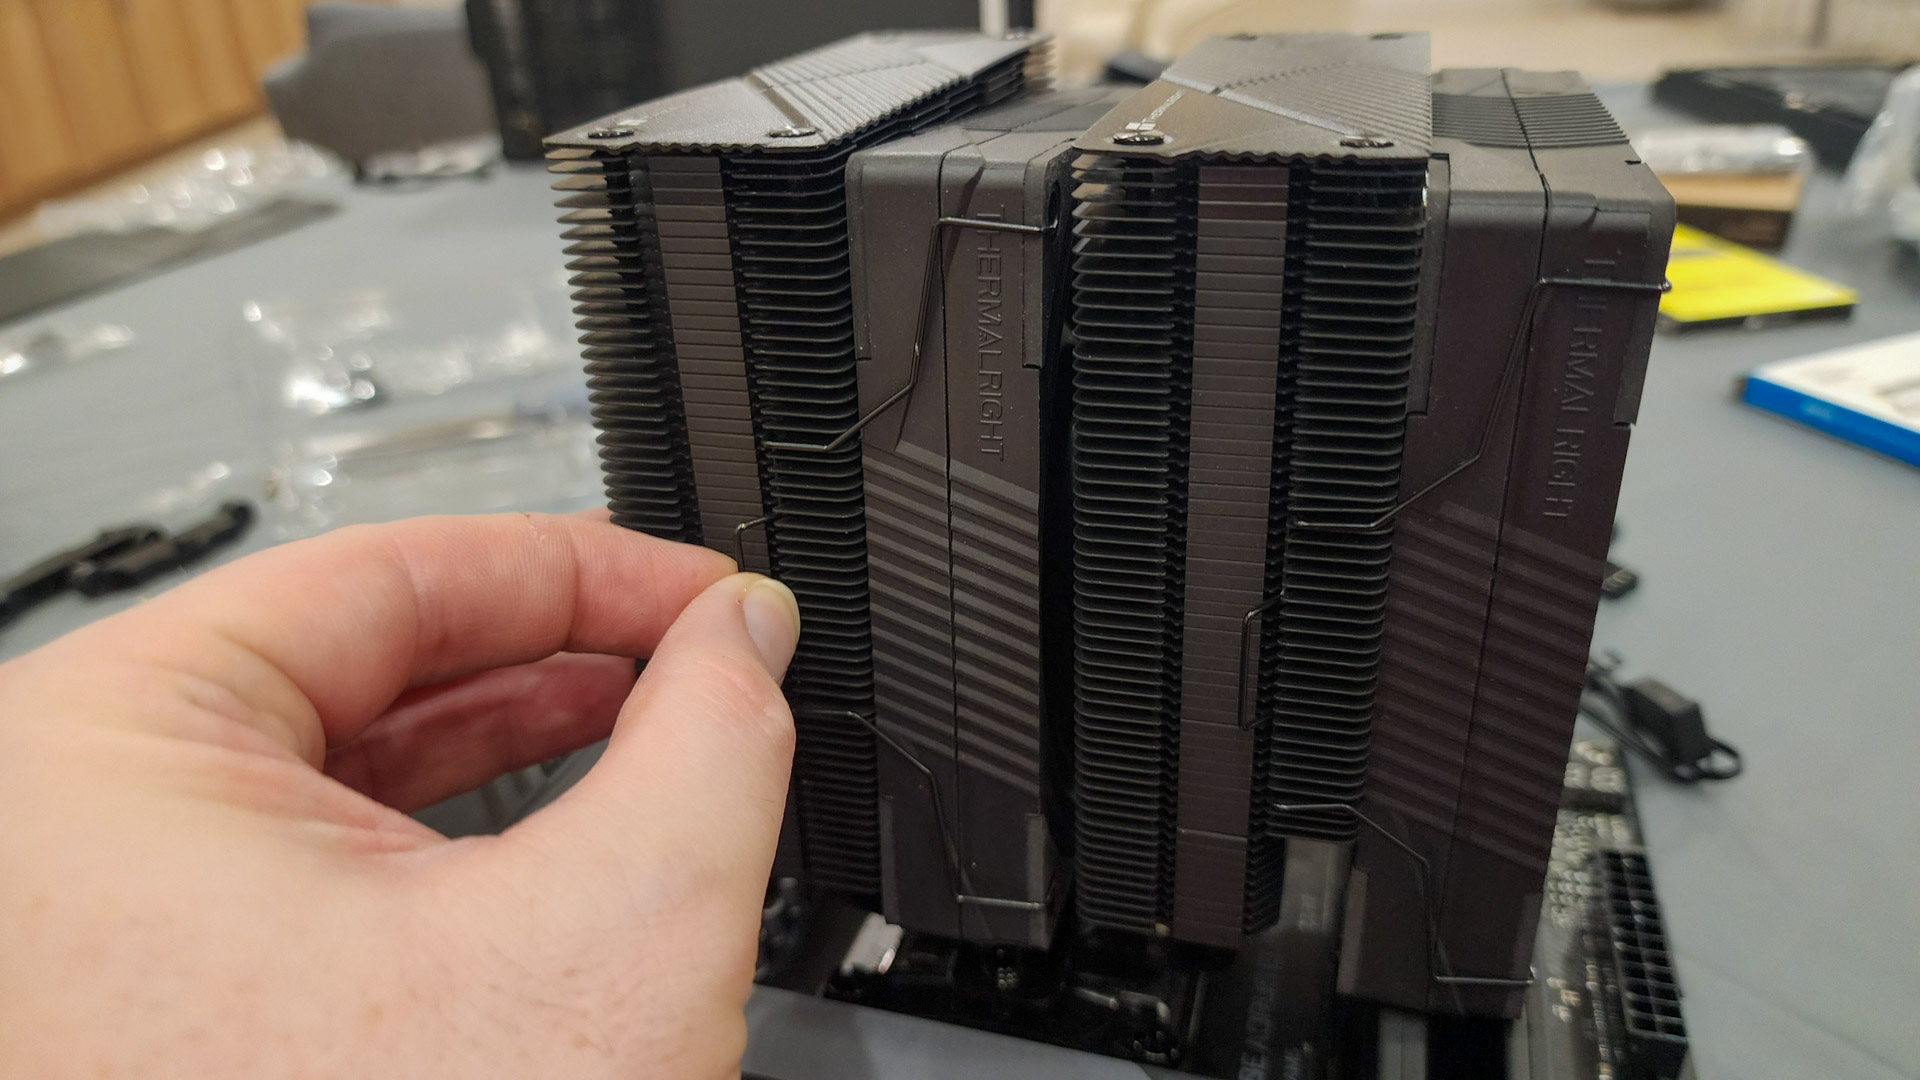
After the heat sink is in place, align the fans up against the fins (with the fans’ labels pointing in the direction you want the air to move—in our case, toward the back of the, uh, case) and attach them with the included clips. The two sides of each clip insert into the screw holes on the fans; pull out the bracket and lock it against the fans to keep them where you want them
19. Connect the CPU fans to the motherboard
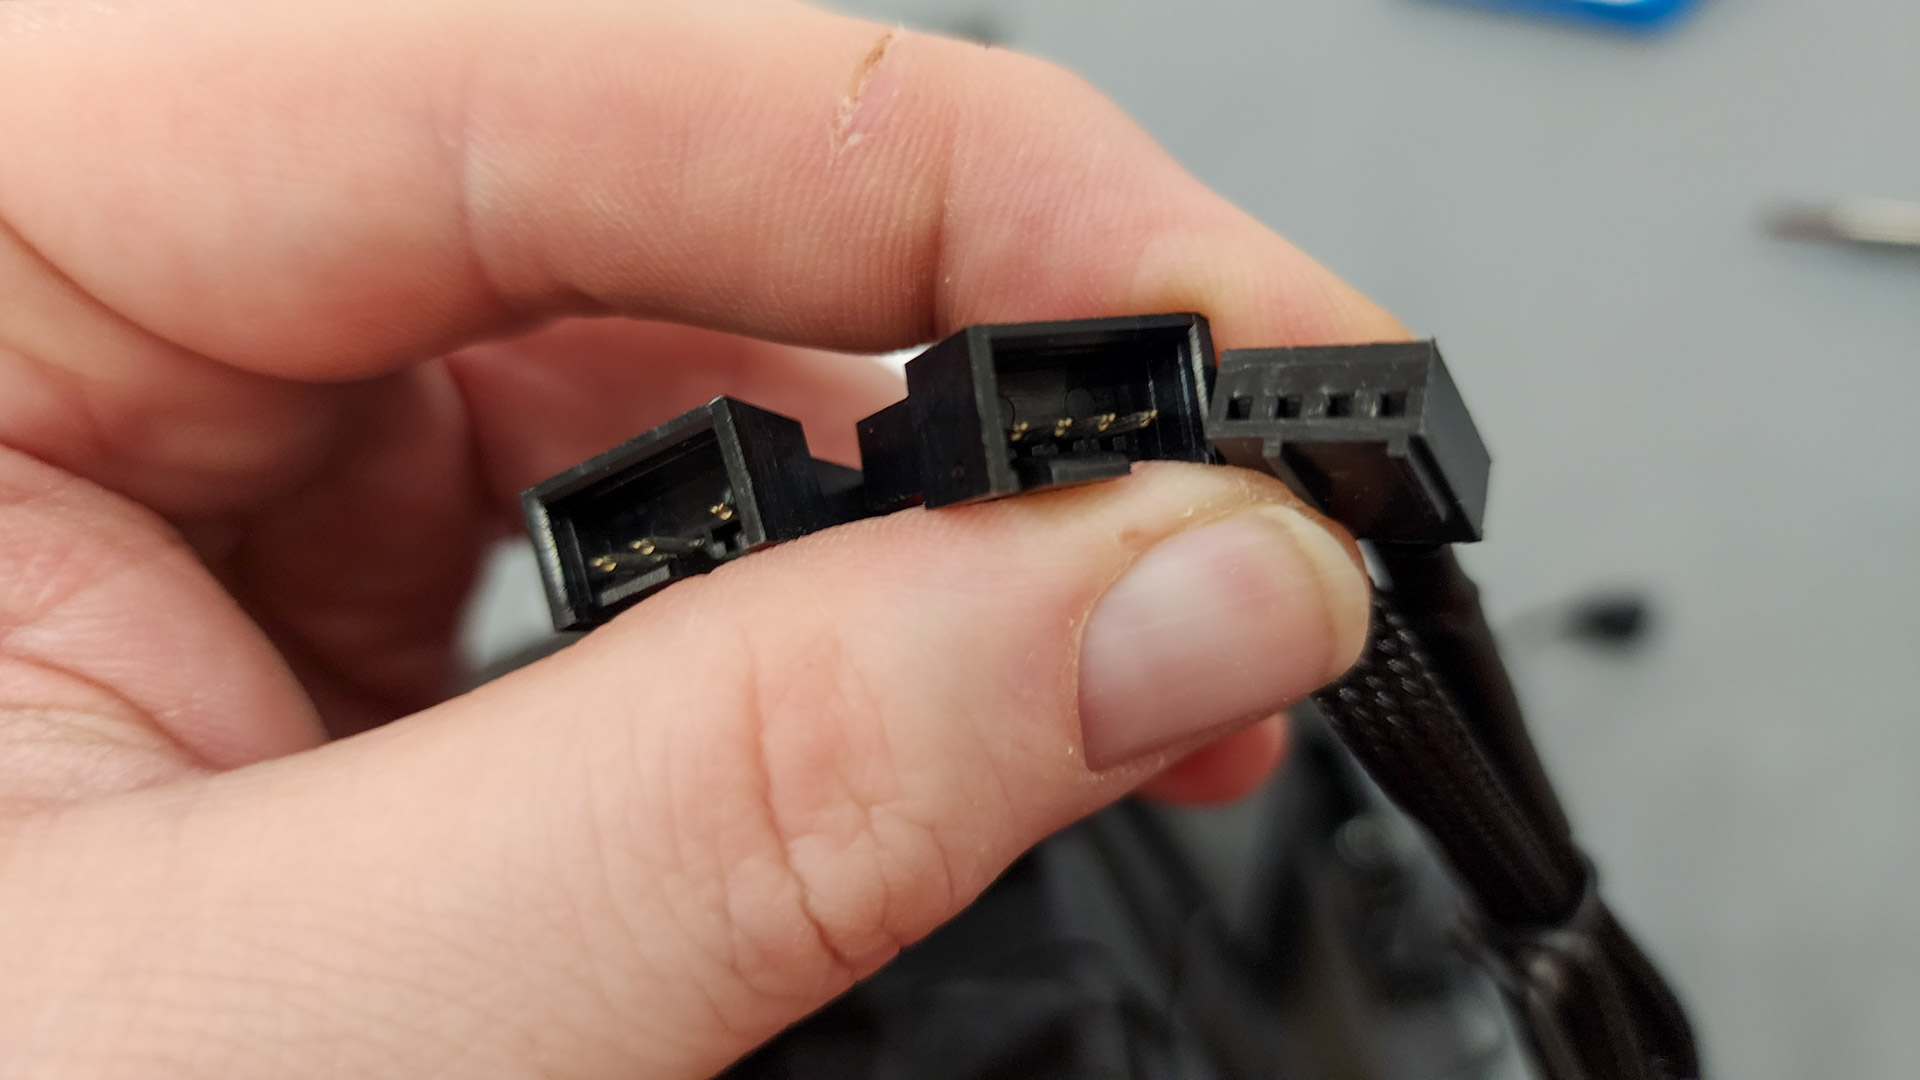
We’ll do most of this later, but due to the small size and (awkward) positioning of the motherboard CPU fan headers, it’s easiest to connect the CPU fans while they’re still outside the case. (Note that these fans have a connector that lets you power both with just one fan header — that’s definitely worth taking advantage of).
20. Install the graphics card
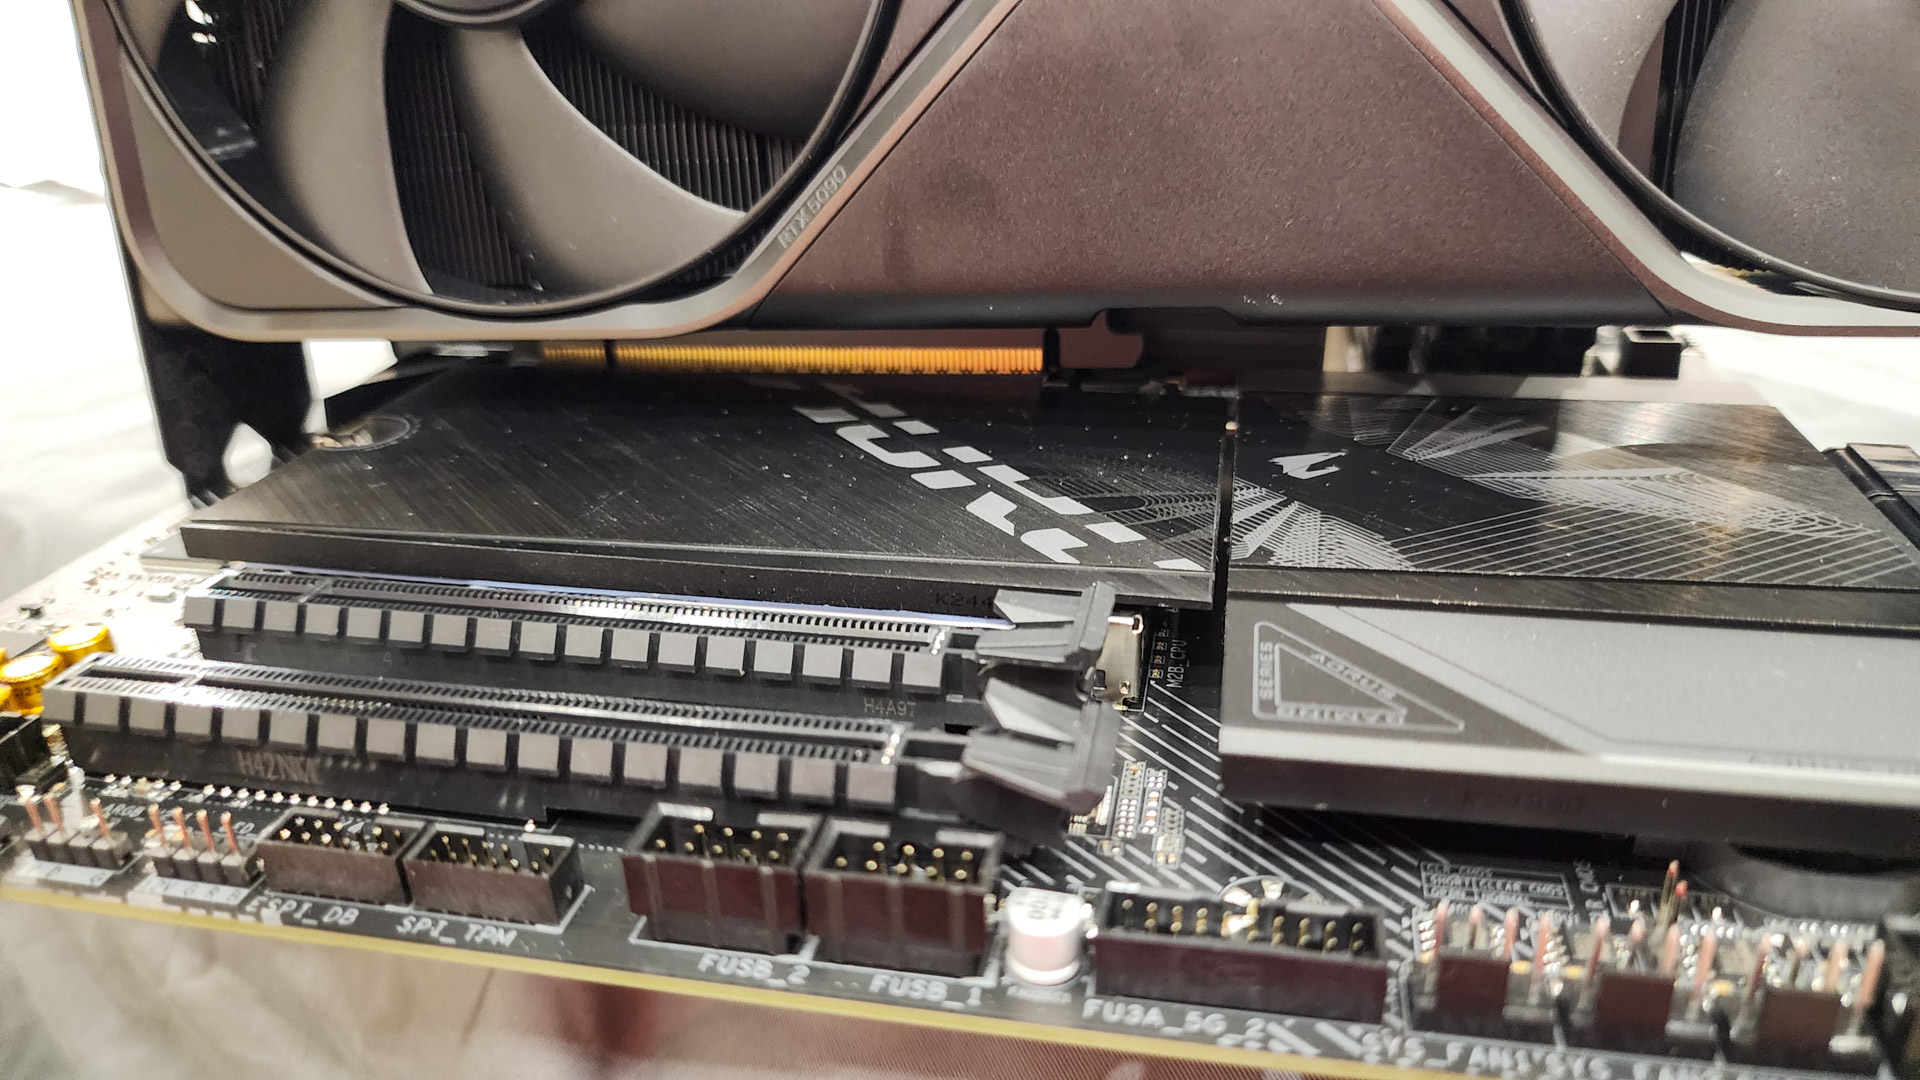
Finally—the moment we’ve been waiting for! Installing the graphics card is a simple matter of pushing the clip to open the PCI Express (PCIe) slot, lining up the card’s gold contacts inside it, and pushing the card down until it clicks. Well… It’s usually pretty easy. The size of the card and the M.2 heat sinks make it difficult to see what’s happening (and get the card all the way down), but it eventually locks into place.
21. Remove the PCIe slot spacers
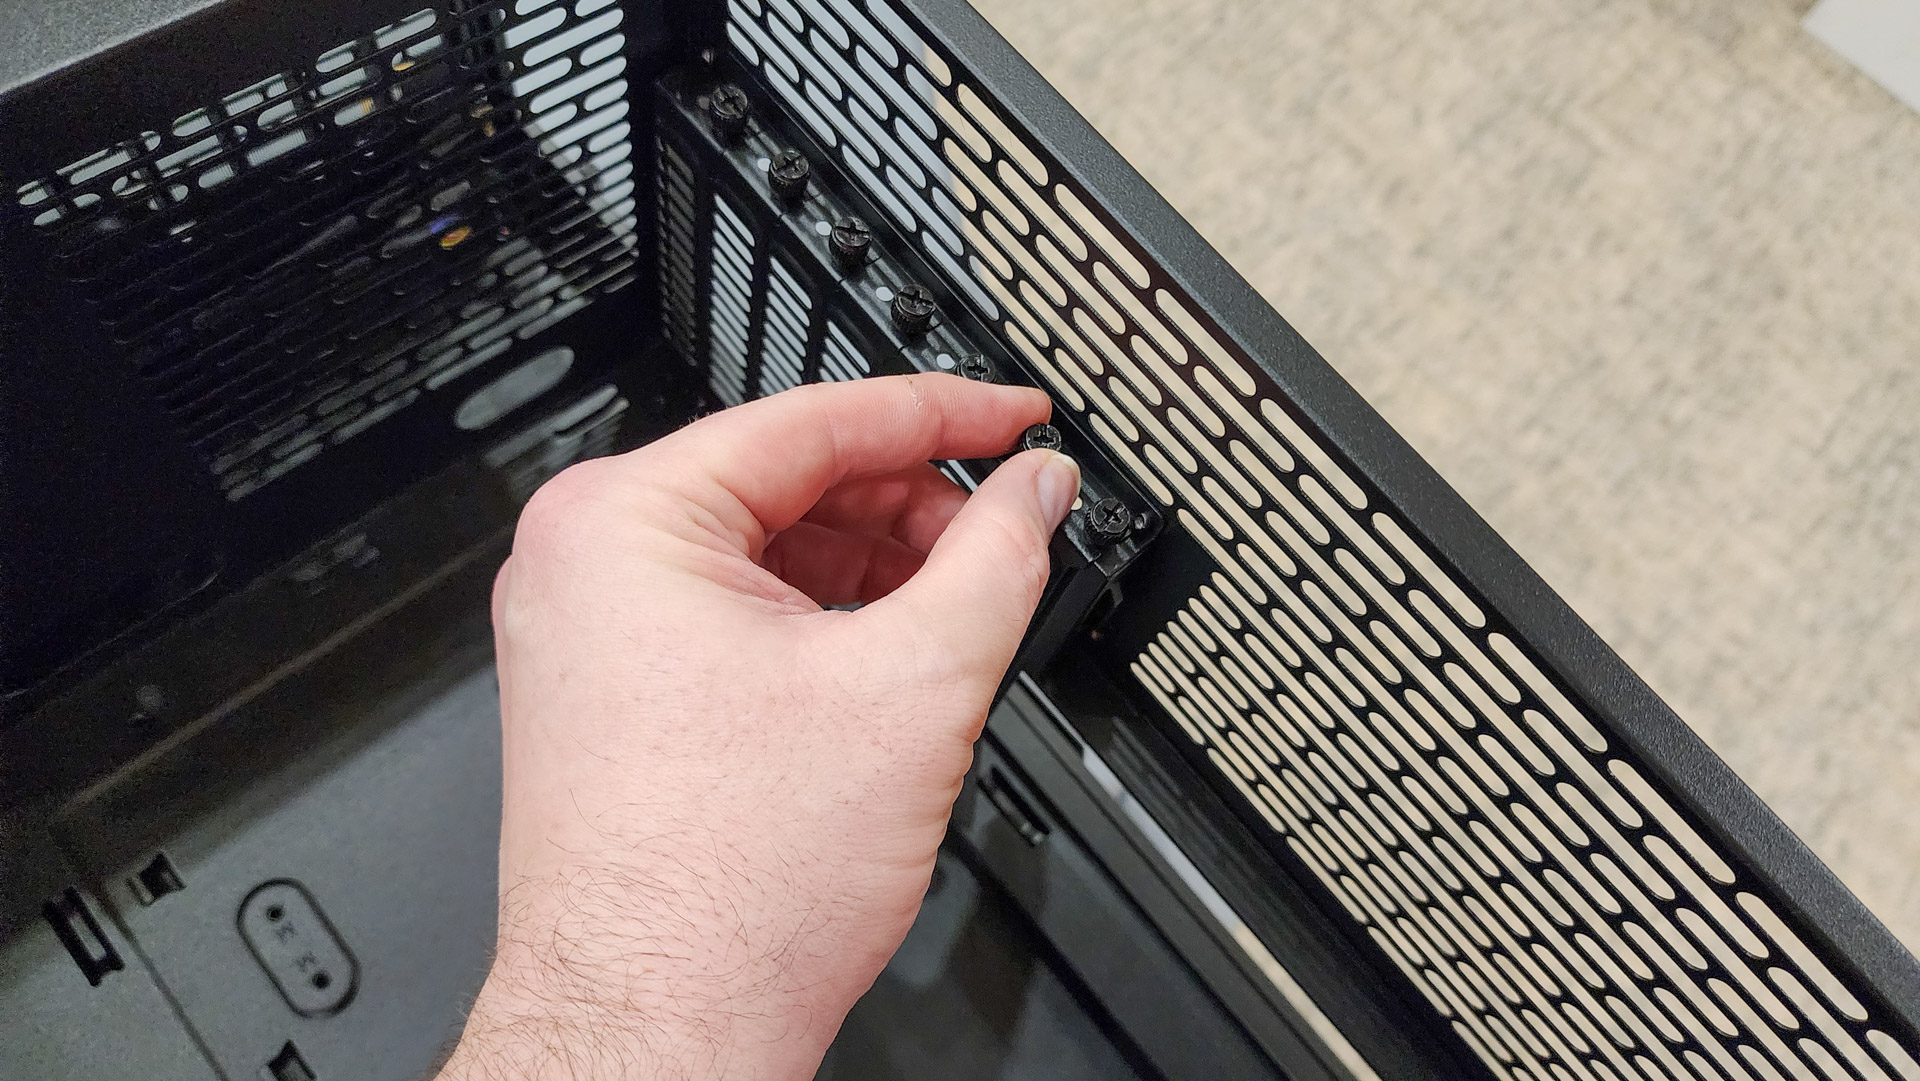
Now that everything is connected to the motherboard, it’s time to assemble the rest of the build. The ports on the back of the graphics card need to align with the case opening, but two slot spacers are blocking the way. To remove them, simply loosen the two thumb screws and slide the spacers straight out.
In our setup, we’re using the second and third slots from the left due to the motherboard’s design, which doesn’t align the card with the first slot. Keep in mind that every motherboard and case can vary, so double-check yours to ensure you’re removing the correct spacers.
22. Install the motherboard
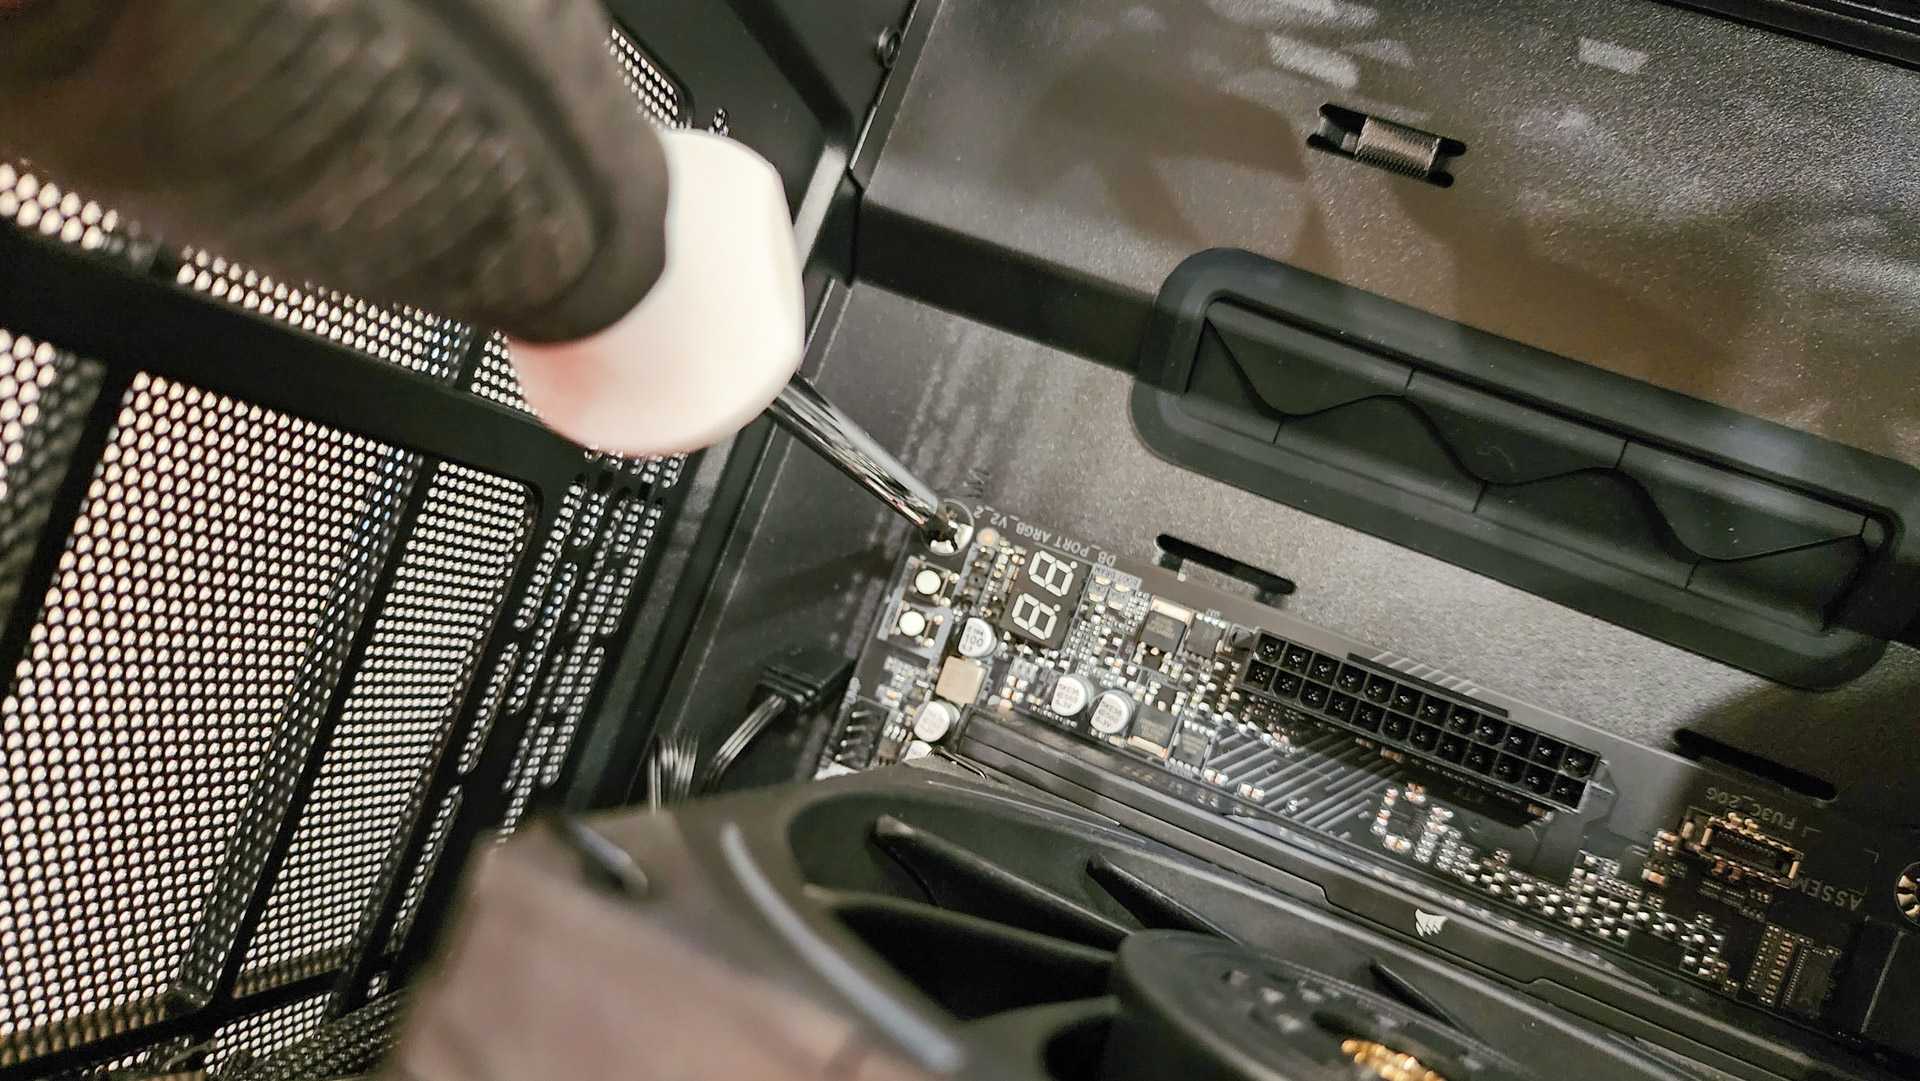
Getting the motherboard into the case is easy: lower it straight down where there’s room, and then push it to the back, lining up the I/O-panel ports with the rectangular opening. Our motherboard uses a permanently attached I/O panel, but you may need to snap yours on separately at this point.
We had more difficulty securing the motherboard to the case. It’s just eight screws, you say, but if the motherboard’s positioning is off by even a millimeter anywhere, the screw holes won’t line up. We had to realign ours a few times in order to get it perfect, but we did and then tightened down all seven screws. Yes, seven — the motherboard design blocked one of the holes.
23. Secure the graphics card
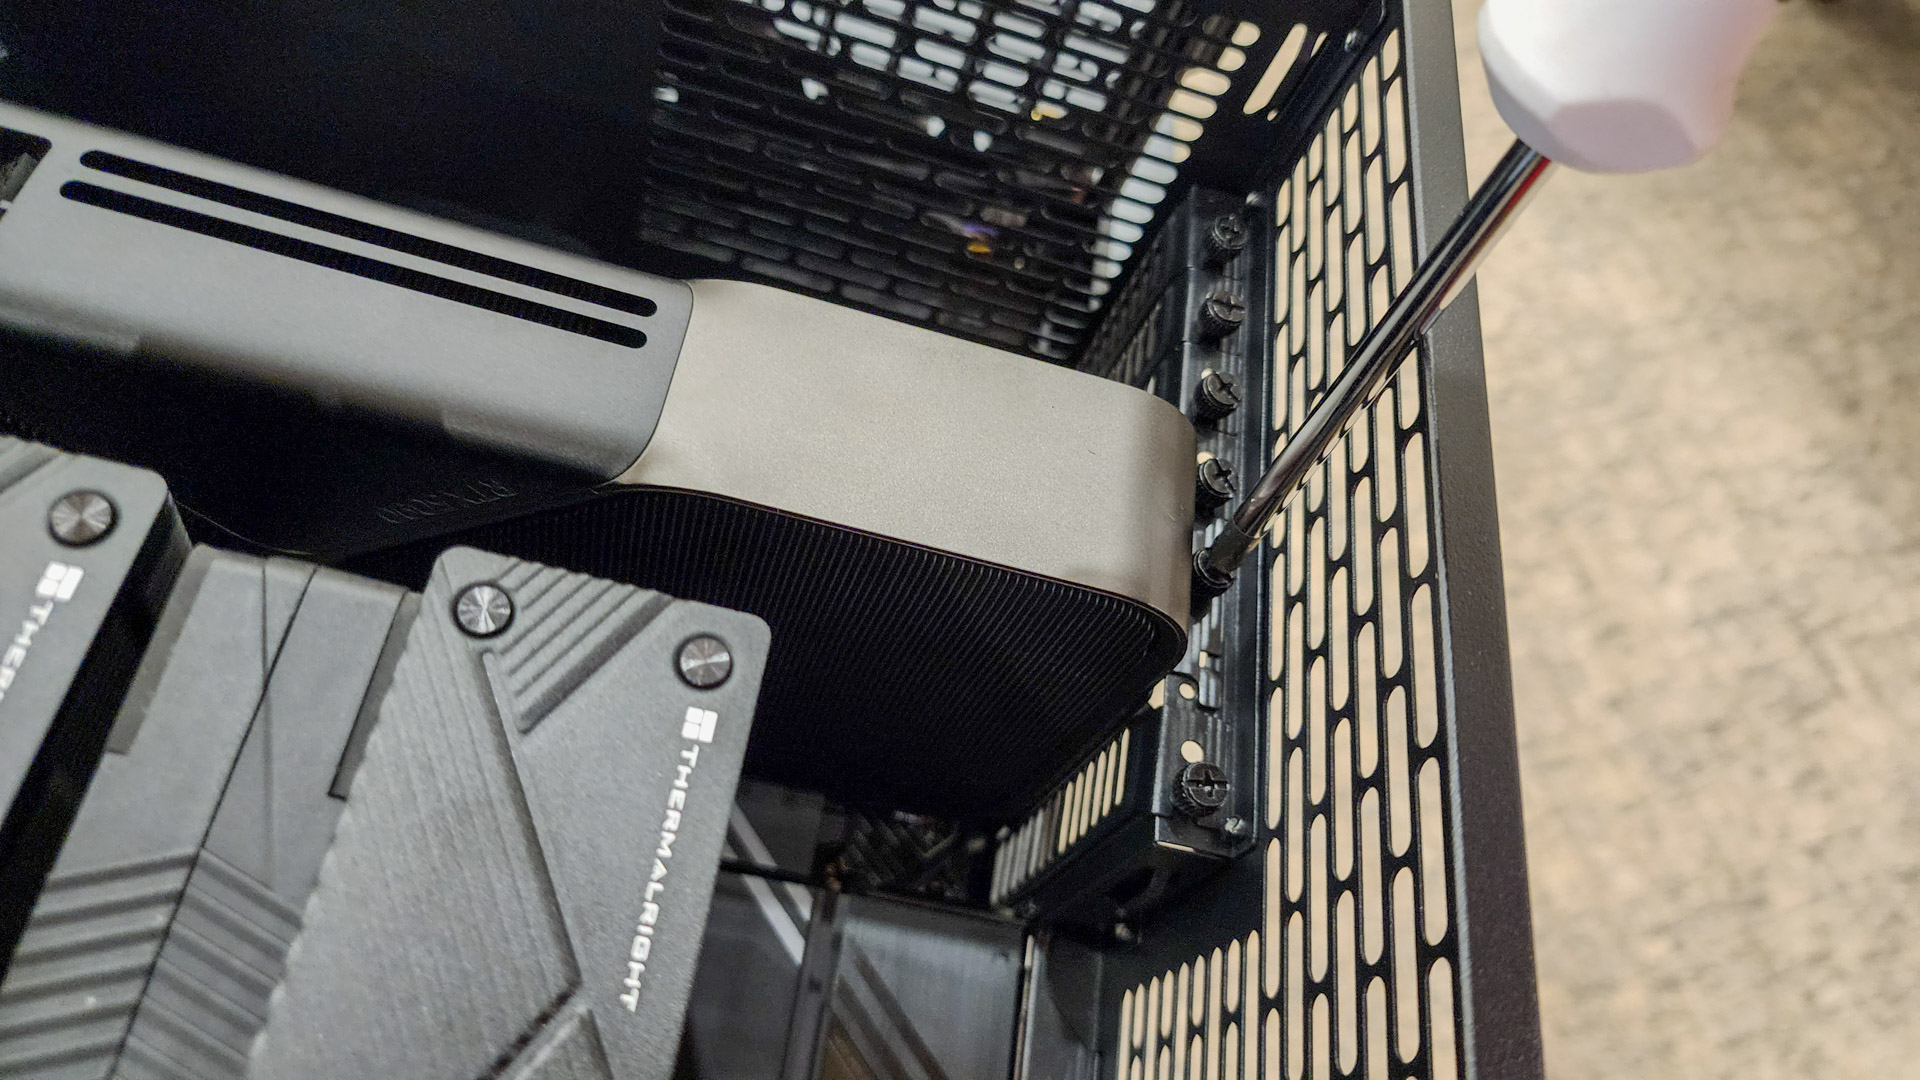
Once the motherboard is in position, the graphics card shouldn’t need much coaxing to get into the right place, either, but you might need to nudge it a bit to get it to line up with the rear ports. But once you do, tighten it down with the thumb screws you took out earlier. That’s almost it in terms of internal components — now we just need to do a few things to wrap up.
24. Connect component cables to the power supply
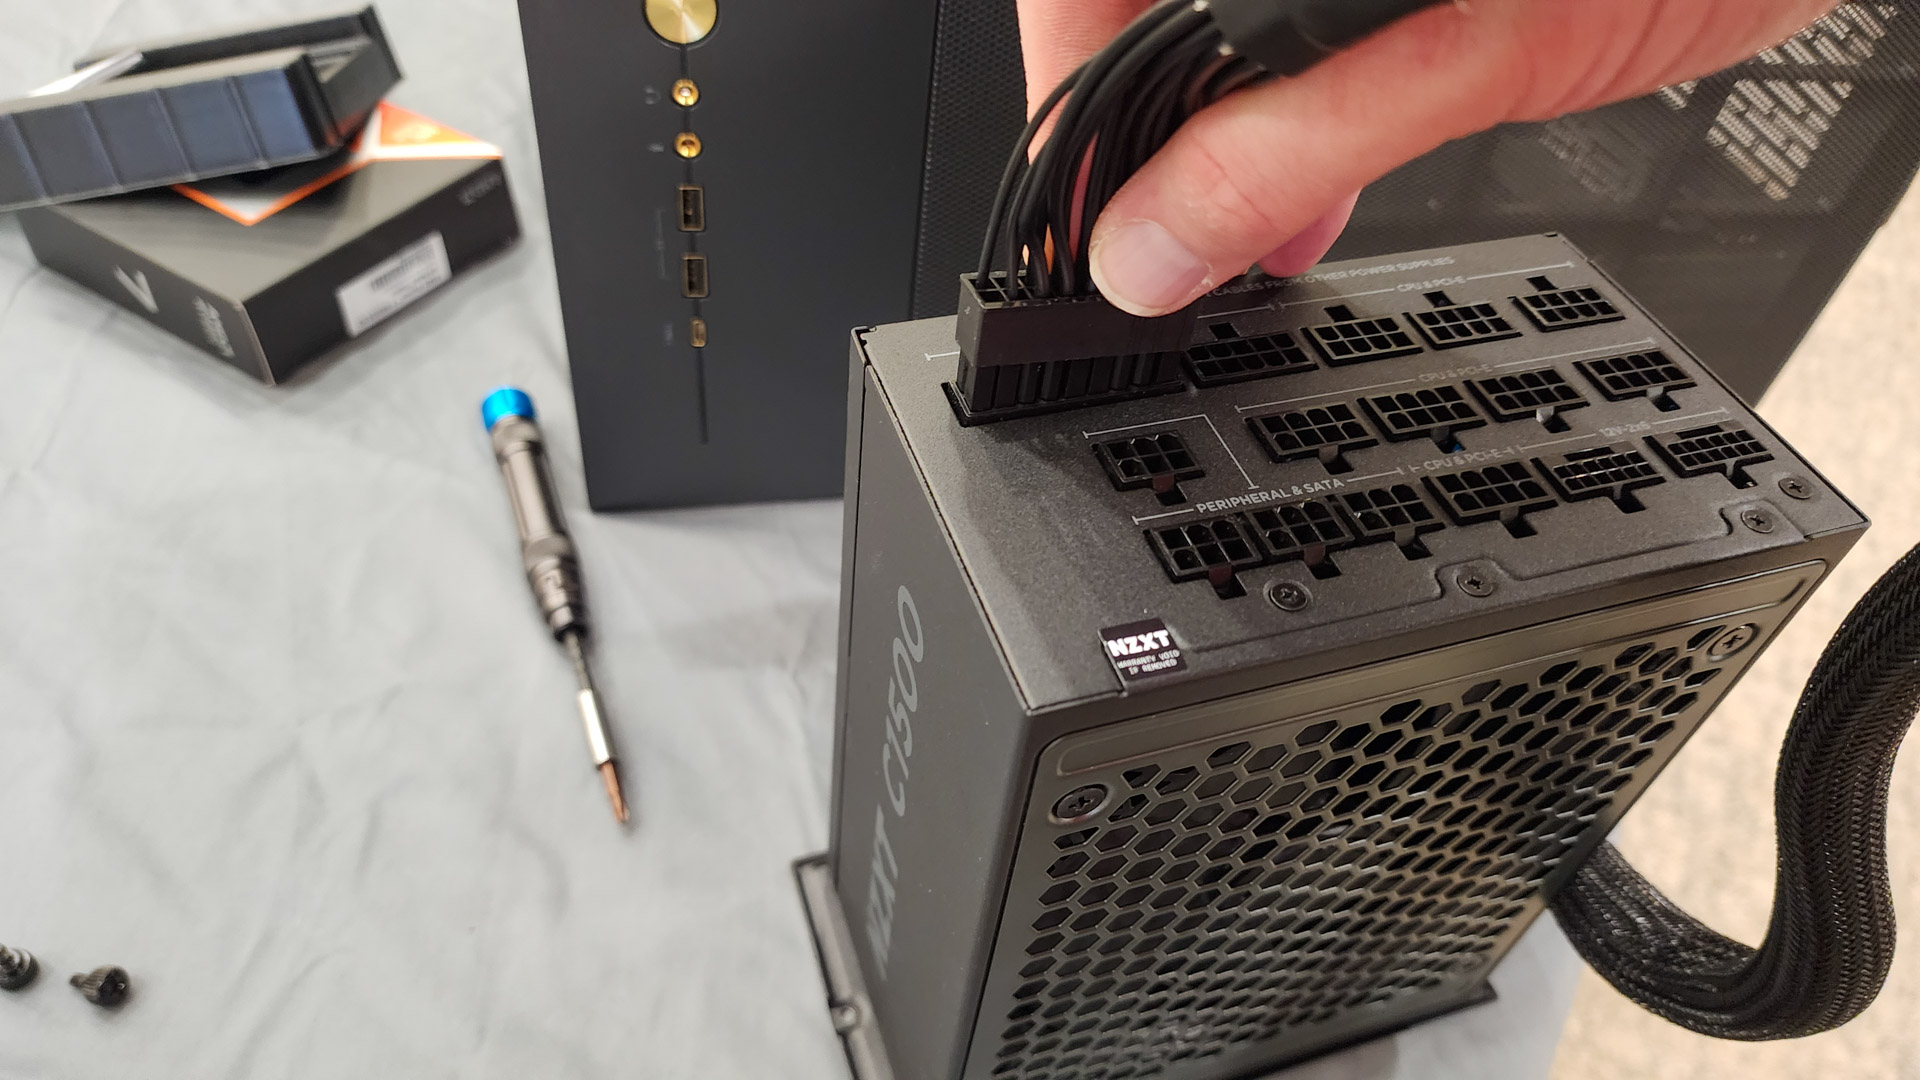
Modular power supplies mean you only connect the cables you absolutely need for your components, so you don’t have a lot of spare wires (literally) hanging around. But we’ll still have quite a few. To the extent you can, connect the power plugs now — again, you’ll have more room outside of the case.
25. Install the power supply
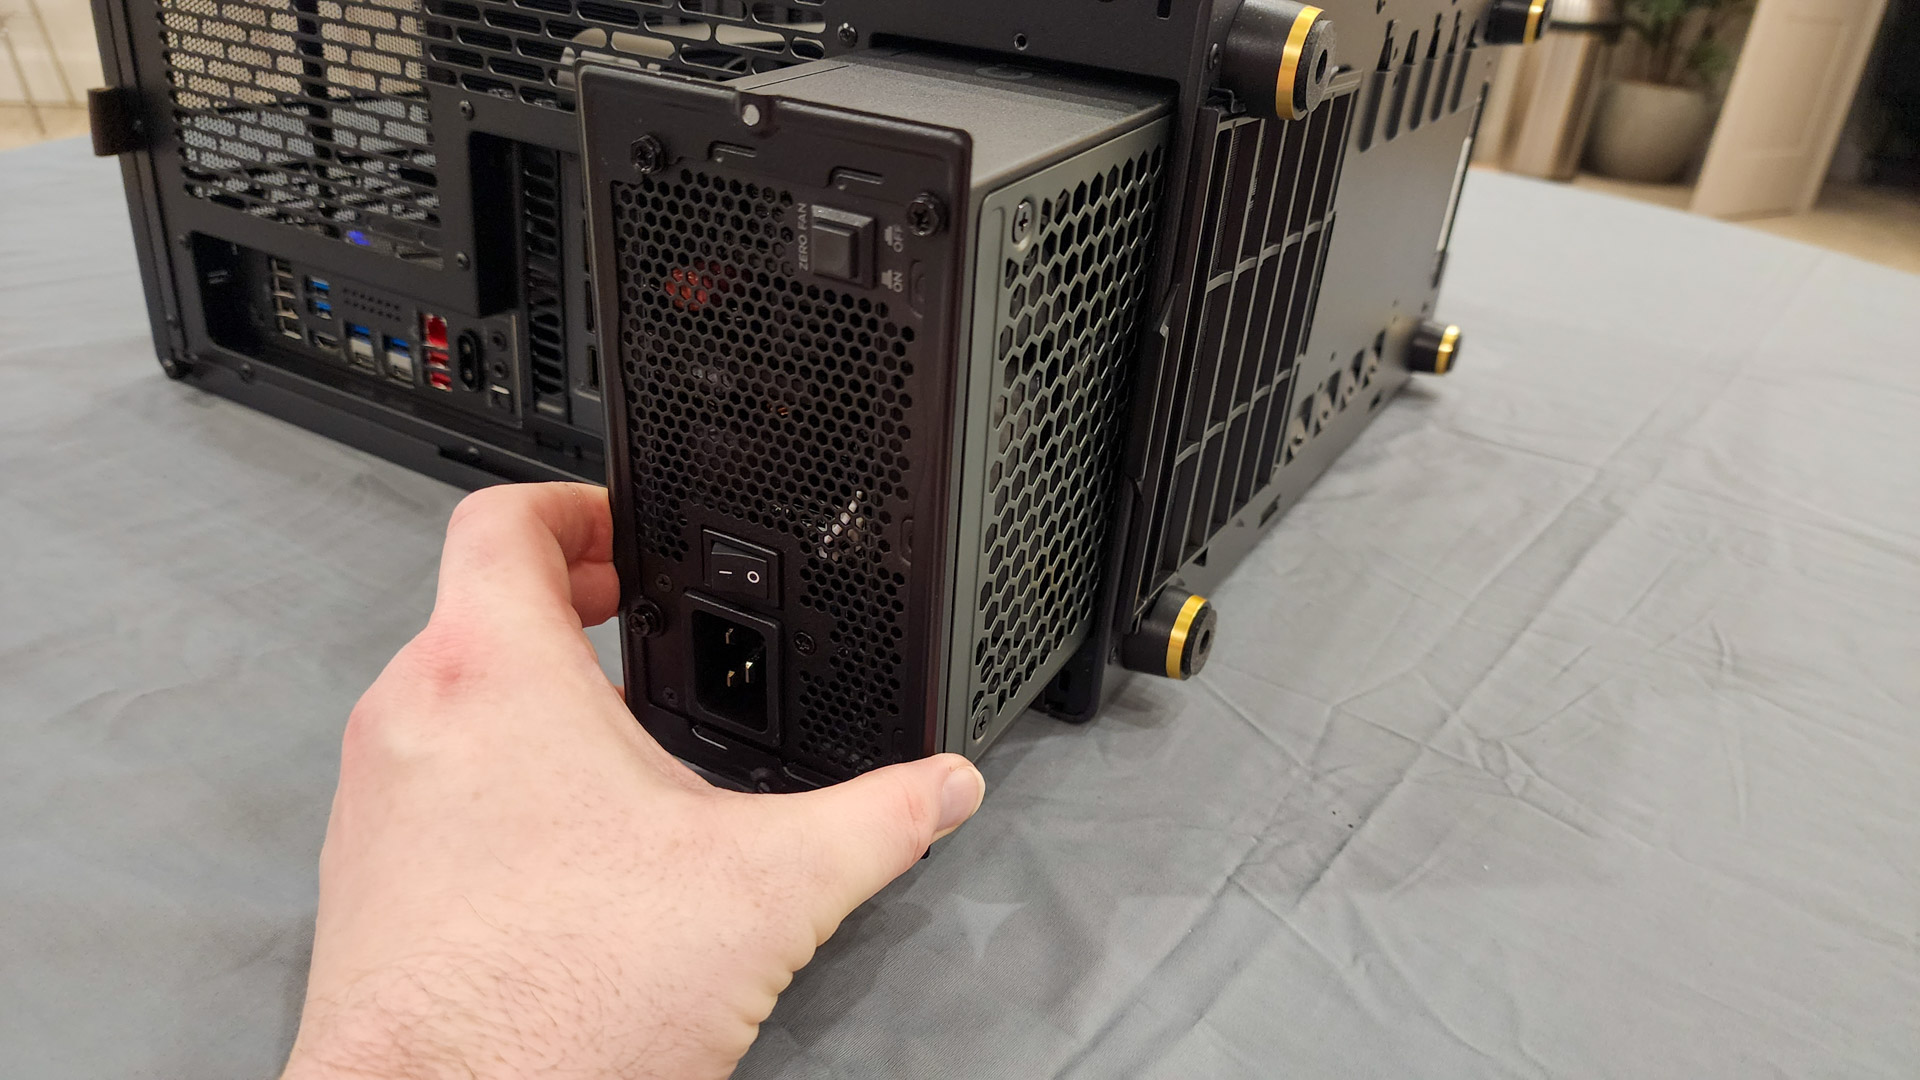
After connecting as many cables as you can to the power supply, snake the cables inside first so you can route them where you want them, then push in the power supply until the bracket is flush against the case’s rear panel, then secure it with those thumb screws from earlier.
Note: This won’t apply to every case, but the North had a spare 3.5-inch drive bay at the bottom that got in the way of the cables, so we had to pull out the bay. Just about every build requires some last-minute corrections…
26. Connect the internal power cables
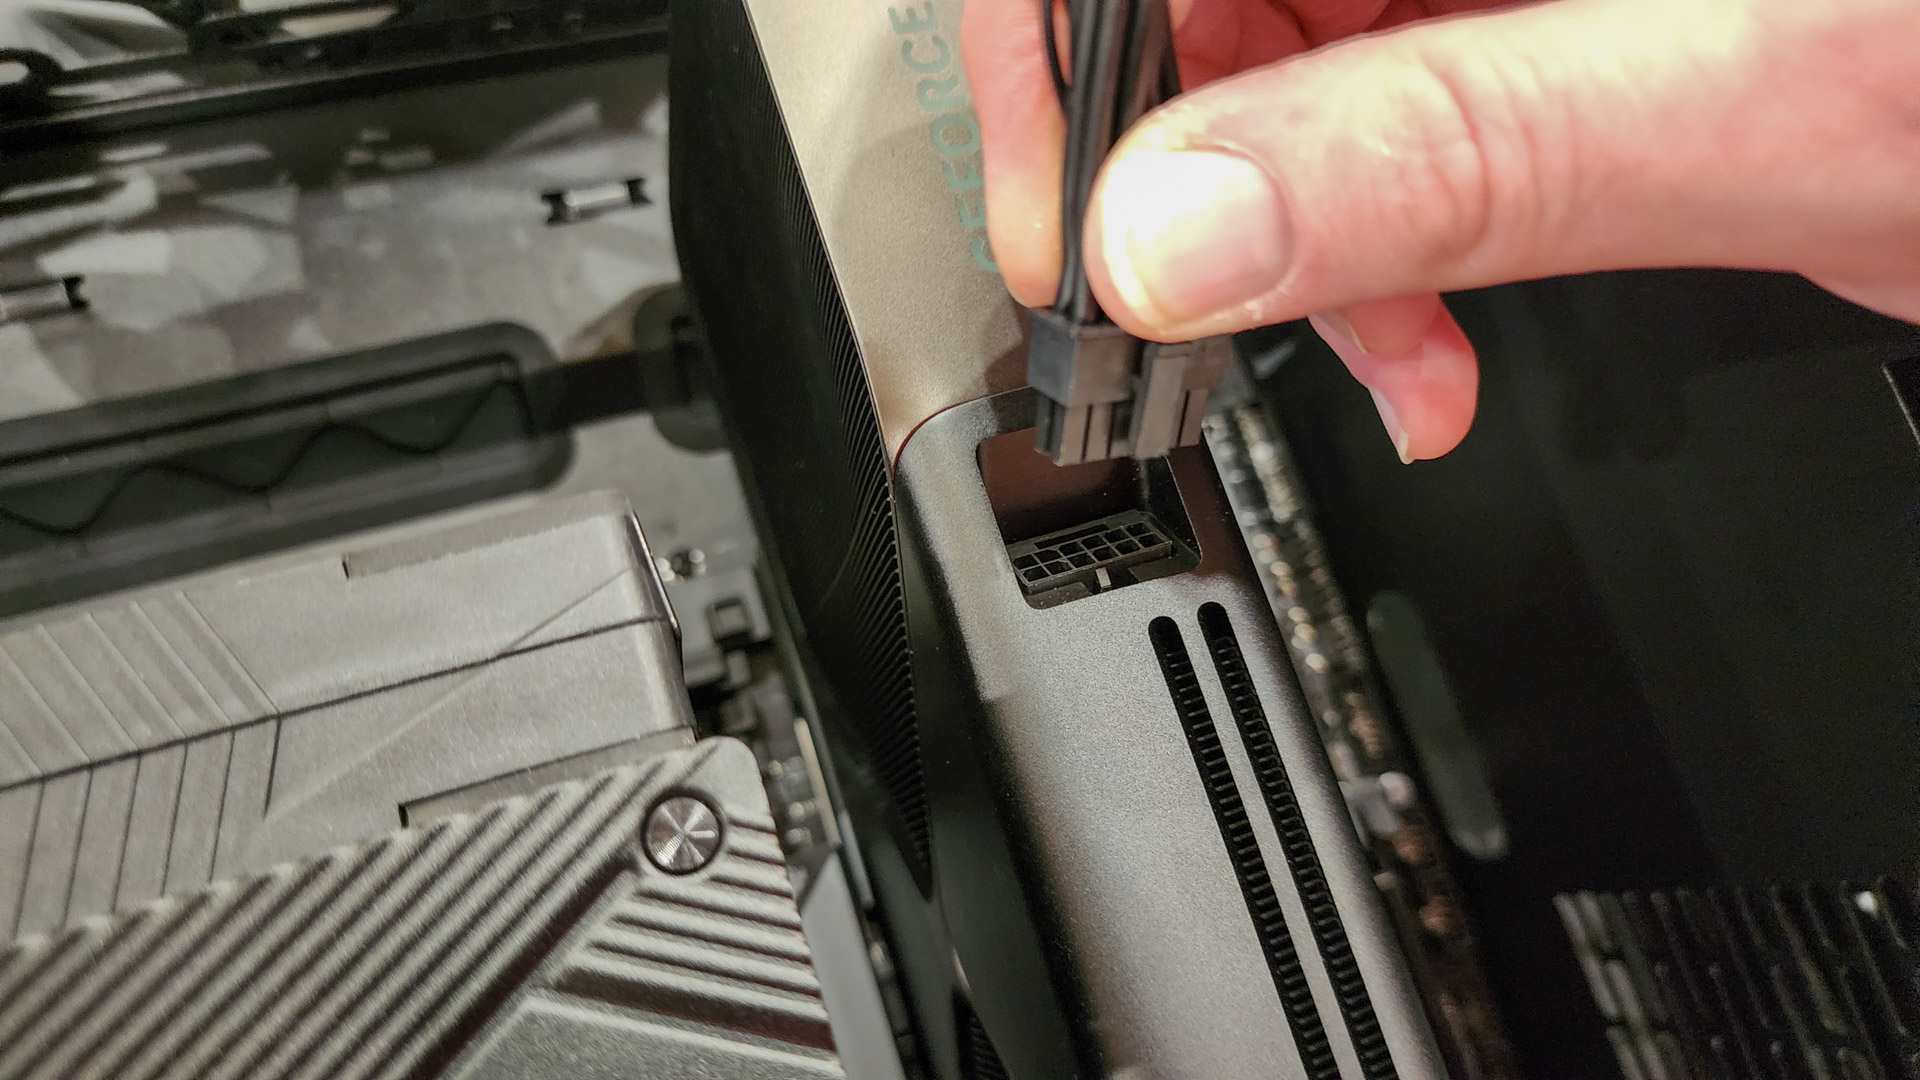
Having the power supply in place isn’t good enough—we have to actually power our components! Now’s the time, so find the appropriate ports on the motherboard or the add-ons and hook them up. From top to bottom: 24-pin motherboard power cable, dual eight-pin motherboard power cables, 12-pin 600W GPU connector.
27. Connect the front-panel ports, fans, and buttons
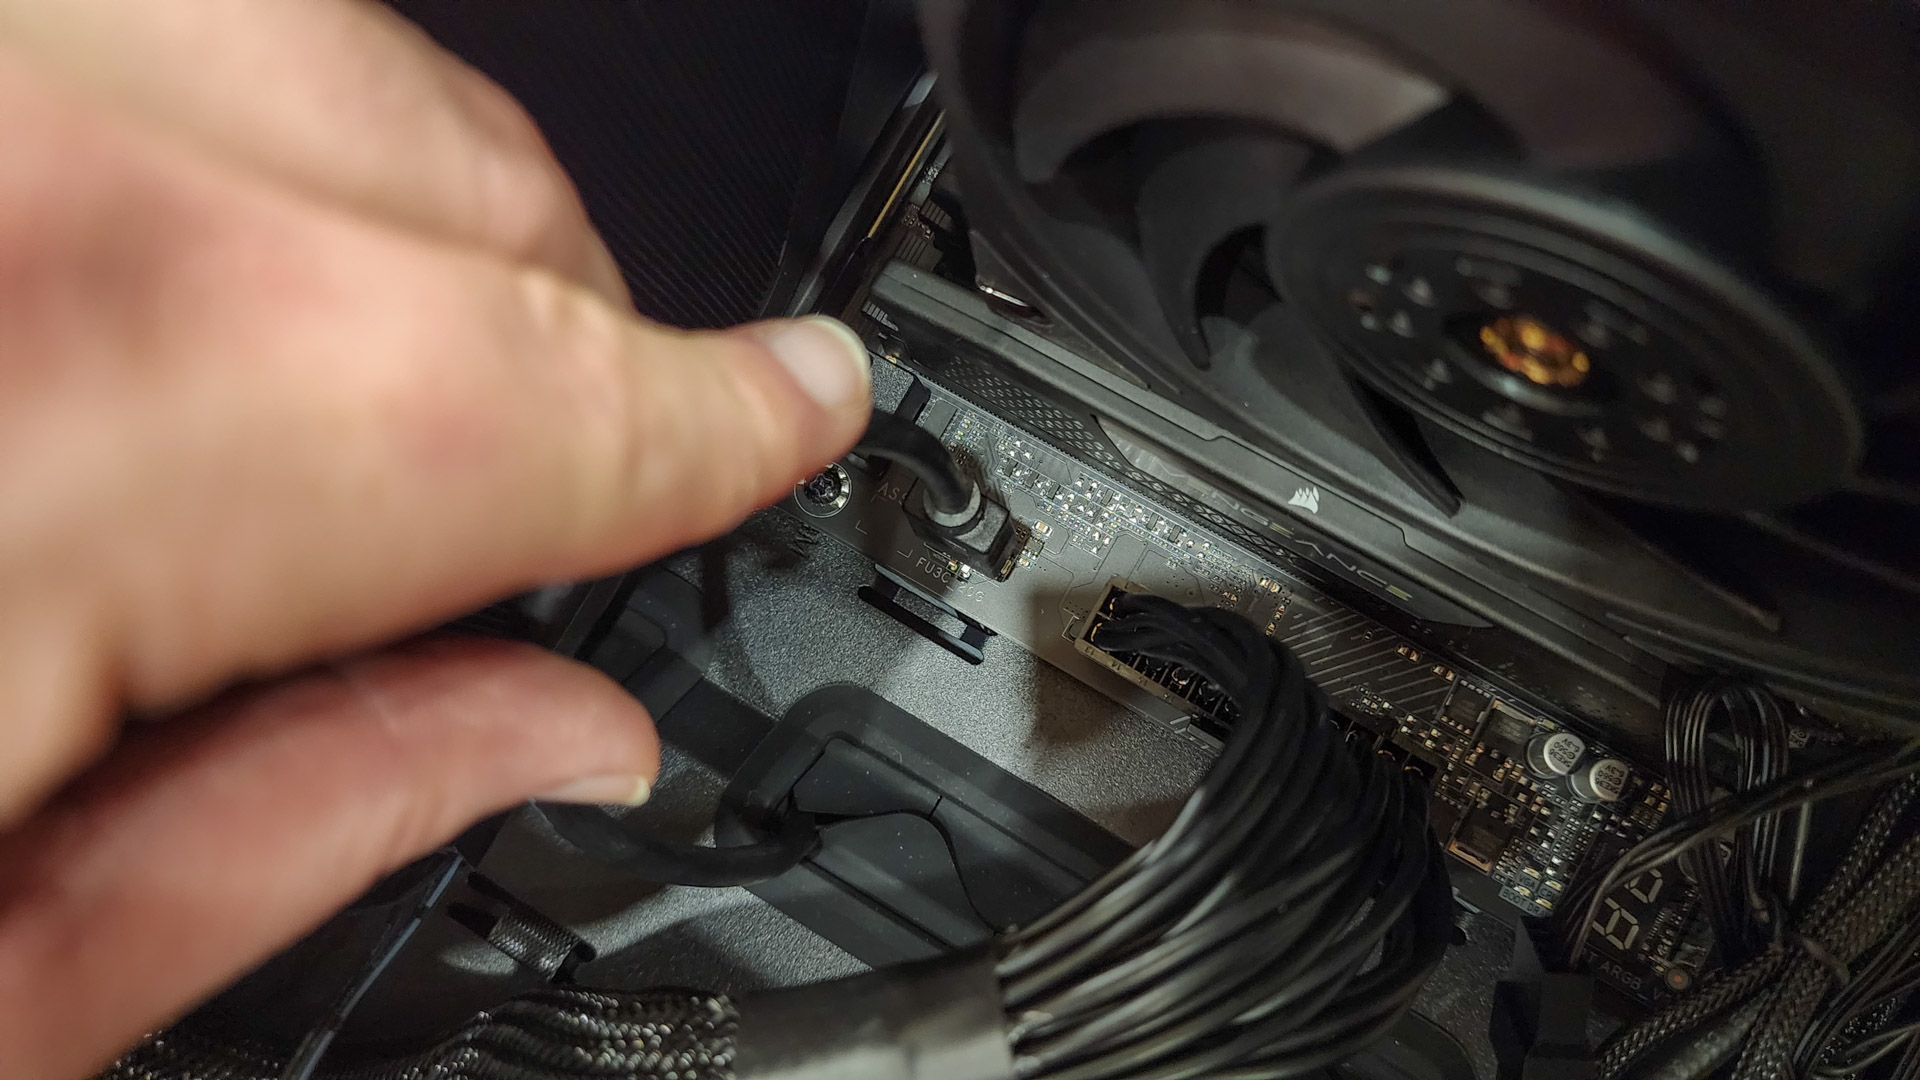
System building is fun! Almost entirely! The key word being almost! We are now approaching what many (including yours truly) consider the one possible exception: connecting the front panel ports and buttons. This requires snaking wires to tiny headers in exotic places with very little room to move and no way to make the job easier. But if you want your Power button and USB ports to work, you gotta do it.
After the cable glamour shot, from top to bottom: USB 3.1 Gen 2, HD Audio, USB 3.0 (left) and Power switch and lights (right), front-panel fans. Connecting the Power switch and LED light wires is probably the hardest part given their size and positioning.
Check the manual to make sure you’re putting the right wires in the right places, facing the right direction. Many motherboards come with a special bracket that lets you connect the wires outside the case, but honestly, ours made the process more difficult, so we skipped it. But if you’re methodical and patient, you’ll get it — it will be just a little easier next time.
28. Clean up the cables
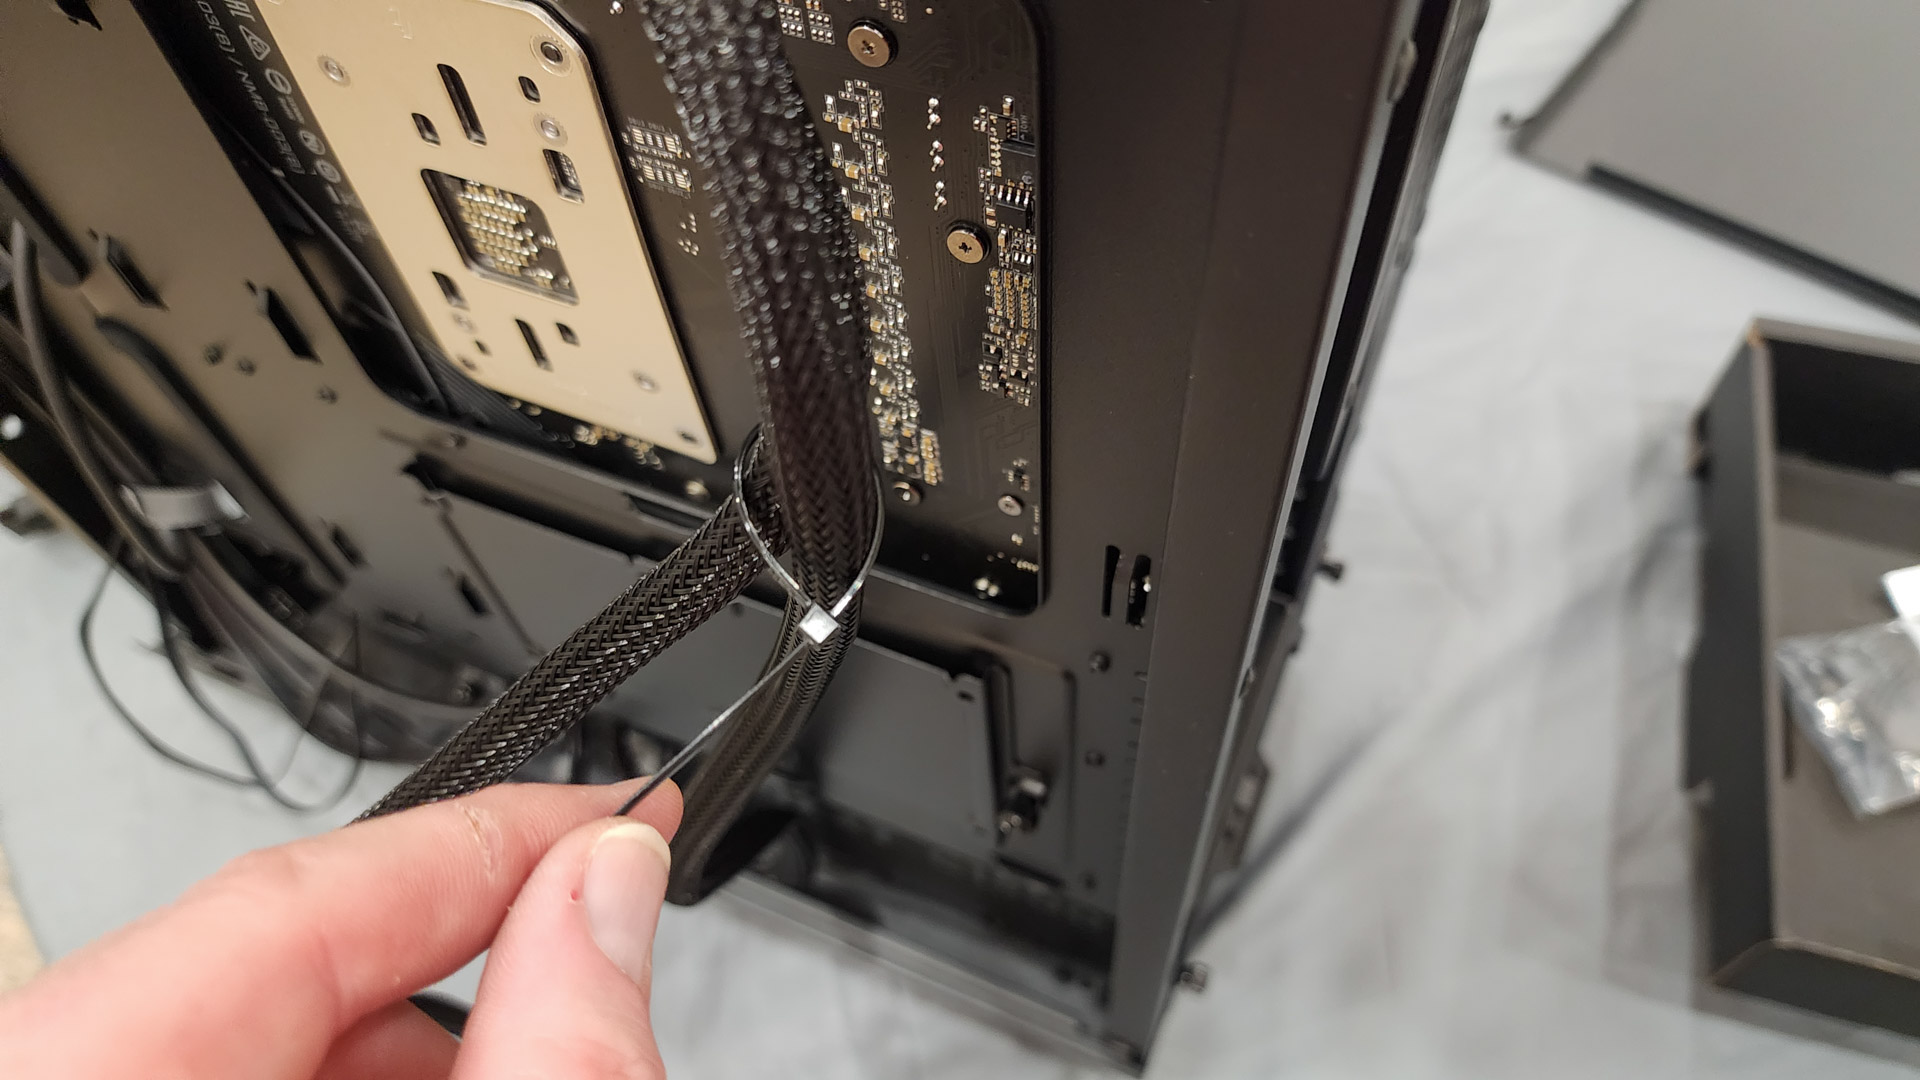
If you’ve made it this far, you are essentially done, and your computer will work — but cleaning up your mess will make things that much easier later. If you have cable ties (our case came with some), you can bundle cables together and stick them out of the way on the underside of the case.
But what’s even more important is routing the wires on the motherboard side. Most cases (including ours) have grommeted channels that direct cables and wires directly from the power supply under the motherboard and to exactly where you need them. This makes the cabled chaos of your case look a lot better, yes, but it’s also extremely beneficial for airflow.
For that reason, we strongly recommend taking the time to organize your cables (if you haven’t done so while going along). It may mean pulling a few out and rerouting them, but it will be worth it in the long run.
29. Close it up!
That’s all for the inside. Now it’s time to reverse course! Replace both side panels and return the thumb screws to their original positions. Once that’s done… so are you. Of course, you’ll still need to install an operating system (probably Windows, let’s face it) and your games of choice, but that’s the easy part.
With my ultimate 5090 system finished, I was ready to start testing the card. Check out this story to learn more about its performance. And I’ll be looking forward to doing plenty of more playing… er, testing… on this computer for many years to come.
More from Tom's Guide
- Where to buy RTX 5090 and RTX 5080 — launch live updates and stock checker
- I went sim racing with the Intel Arc B580 GPU — it proves you can get great PC gaming without breaking the bank
- I rarely stream PC games to my phone but Razer just convinced me with PC Remote Play
Matthew Murray is the head of testing for Future, coordinating and conducting product testing at Tom’s Guide and other Future publications. He has previously covered technology and performance arts for multiple publications, edited numerous books, and worked as a theatre critic for more than 16 years.
-
Chuck_Enthusaistic_Geek To me,this is a bad build for both budget and performance.Reply
Recommended parts for budget:
MSI z790 (any) WiFi 7
I7-14700kf
Corsair vengeance ddr5 7000 argb
Orico 4th m.2
Thermaltake or flower 1000w golf/platinum PSU
Sama sv02 (beautiful and cheap with USB c!)
Pick your 360mm aio liquid CPU cooler (it will come with decent thermal paste. All thermal paste can be re-applied after about 2 years to keep max performance.)
This build is half the price. My best advice: don't look at benchmarks. Look at gameplay comparison videos online. Intel beats AMD every single time when it comes to smoothness. AMD CPU and GPU always have this horrible stutter. When you have high refresh rates, it looks choppy. Intel/Nvidia minimize this. There is a reason that they dominate the steam hardware surveys. -
delldell314 Unbelievable!! Author claimed he got 30+ years of PC building experience. He don't even perform any motherboard boot test before installing to the casing. Or he must be so lucky that he never encounter any single problem in his PC building experience. N I thought I can learn good PC building trick rather than just another hardware flexing article.Reply
Another extra step is why install GPU when the m/b outside e casing. Due to the IO bracket at the GPU, it will b obstruct if m/b is lay on e table. In order to plug GPU onto the m/b without casing, m/b either need to stack on a box or a test frame. This is more for troubleshoot. -
delldell314 Reply
Regardless brand. As long as one who paid is happy with the price/ performance ratio. Don't matter amd/intel.Chuck_Enthusaistic_Geek said:To me,this is a bad build for both budget and performance.
Recommended parts for budget:
MSI z790 (any) WiFi 7
I7-14700kf
Corsair vengeance ddr5 7000 argb
Orico 4th m.2
Thermaltake or flower 1000w golf/platinum PSU
Sama sv02 (beautiful and cheap with USB c!)
Pick your 360mm aio liquid CPU cooler (it will come with decent thermal paste. All thermal paste can be re-applied after about 2 years to keep max performance.)
This build is half the price. My best advice: don't look at benchmarks. Look at gameplay comparison videos online. Intel beats AMD every single time when it comes to smoothness. AMD CPU and GPU always have this horrible stutter. When you have high refresh rates, it looks choppy. Intel/Nvidia minimize this. There is a reason that they dominate the steam hardware surveys.
Most impt is competition between brands. I don't wan Intel to lose or AMD to dominate. Either one of them lose, customer lose.
Nvidia is the best example if there is no strong competition . They can do whatever they want while consumer still suck it up and pay the ridiculous price.
Lastly not sure why u not get the smoothness. I using amd CPU/GPU n it was as smooth as any Intel system which I used. -
Chuck_Enthusaistic_Geek AMD vs Intel IReduSfmRNIView: https://youtu.be/IReduSfmRNI?si=qP6m5526HdhXPxgYReply
Check out that video - Look at the little line graph between the two CPU, also look at the 1% low FPS
The Ryzen has TERRIBLE studder. You see that as choppiness when you play games on high resolutions and high refresh rates. -
kylothow Reply
HAHAHAHAHAHAHA.Chuck_Enthusaistic_Geek said:To me,this is a bad build for both budget and performance.
Recommended parts for budget:
MSI z790 (any) WiFi 7
I7-14700kf
Corsair vengeance ddr5 7000 argb
Orico 4th m.2
Thermaltake or flower 1000w golf/platinum PSU
Sama sv02 (beautiful and cheap with USB c!)
Pick your 360mm aio liquid CPU cooler (it will come with decent thermal paste. All thermal paste can be re-applied after about 2 years to keep max performance.)
This build is half the price. My best advice: don't look at benchmarks. Look at gameplay comparison videos online. Intel beats AMD every single time when it comes to smoothness. AMD CPU and GPU always have this horrible stutter. When you have high refresh rates, it looks choppy. Intel/Nvidia minimize this. There is a reason that they dominate the steam hardware surveys.
I can't believe I found the Userbenchmarks guy in the wild. I recon it's useless to speak with someone who is so far removed from reality, but to anyone looking for actual building advice, look for benchmarks using real metrics (FPS average, max, 1% low, frame times and such) instead of some made up gut feels these deranged fanboys come up with. -
kylothow Reply
Don't worry, anyone with a working brain or a tiny bit of honesty agrees with you. Just ask any reviewer with a shred of integrity.delldell314 said:Regardless brand. As long as one who paid is happy with the price/ performance ratio. Don't matter amd/intel.
Most impt is competition between brands. I don't wan Intel to lose or AMD to dominate. Either one of them lose, customer lose.
Nvidia is the best example if there is no strong competition . They can do whatever they want while consumer still suck it up and pay the ridiculous price.
Lastly not sure why u not get the smoothness. I using amd CPU/GPU n it was as smooth as any Intel system which I used.
I wonder what must have gone wrong in the life of people that go around spreading misinformation on the Internet and doing team sports with consumer electronics. I can get political grifting. I can even understand to some extent what goes on in the head of flat earthers, but the whole Xbox Vs PlayStation, Nvidia Vs AMD, Intel Vs AMD is the most pathetic stuff ever.
