How to use Microsoft Copilot AI to add images to PowerPoint
Copilot brings your presentations to life in seconds
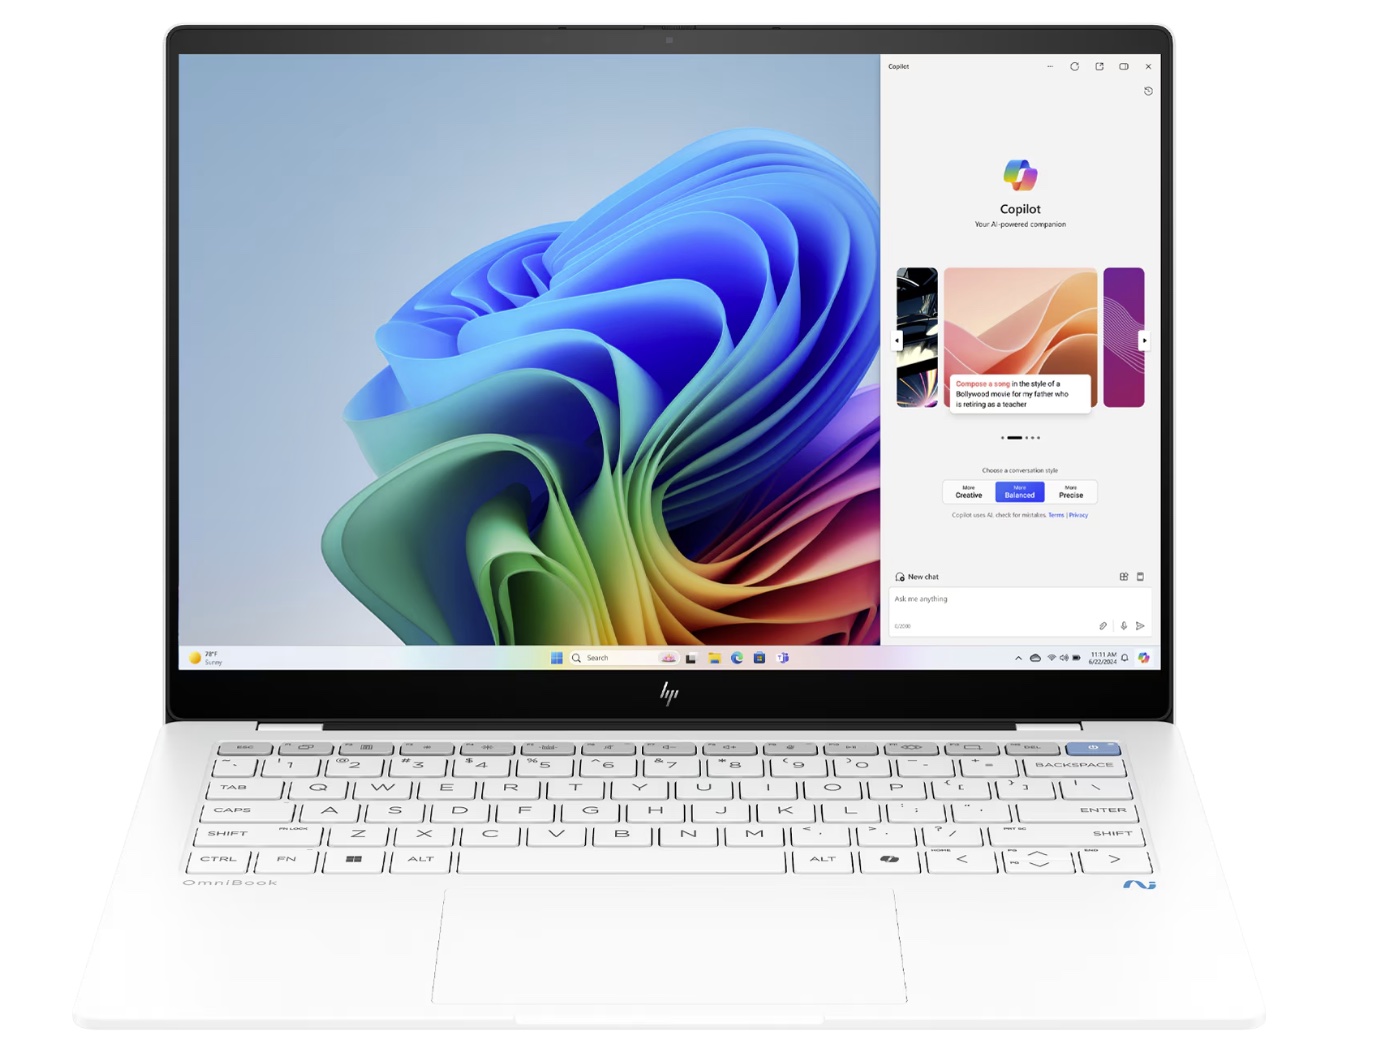
Learning how to use Microsoft's Copilot AI to add images to PowerPoint will save you lots of time in the long run. You won’t need to manually scour stock image libraries looking for a perfect photo or illustration and you can even make use of art that will fit your presentation like a glove.
Thanks to the magic of AI, finding and using images takes seconds and the good news is that they are entirely free to use. Every stock and AI-generated image is royalty free and, provided you use them exclusively within Microsoft 365 and Office apps, you can do what you like with Copilot’s creative content.
Since Copilot’s image generator is built on the same underlying DALL-E-3 model used in ChatGPT, you’re also benefiting from a tried-and-tested feature. It’s why we’ve said Copilot Designer is one of the best AI image generators out there and it’s going to help your presentation-creating workflow no end. So with all of that in mind, let’s take a closer look at how to use Copilot to add images to PowerPoint.
How to use Copilot to add stock images to PowerPoint
If you want to use a stock image — whether a photo taken with a camera or an illustration — you can ask Copilot to suggest one.
1. Choose a slide
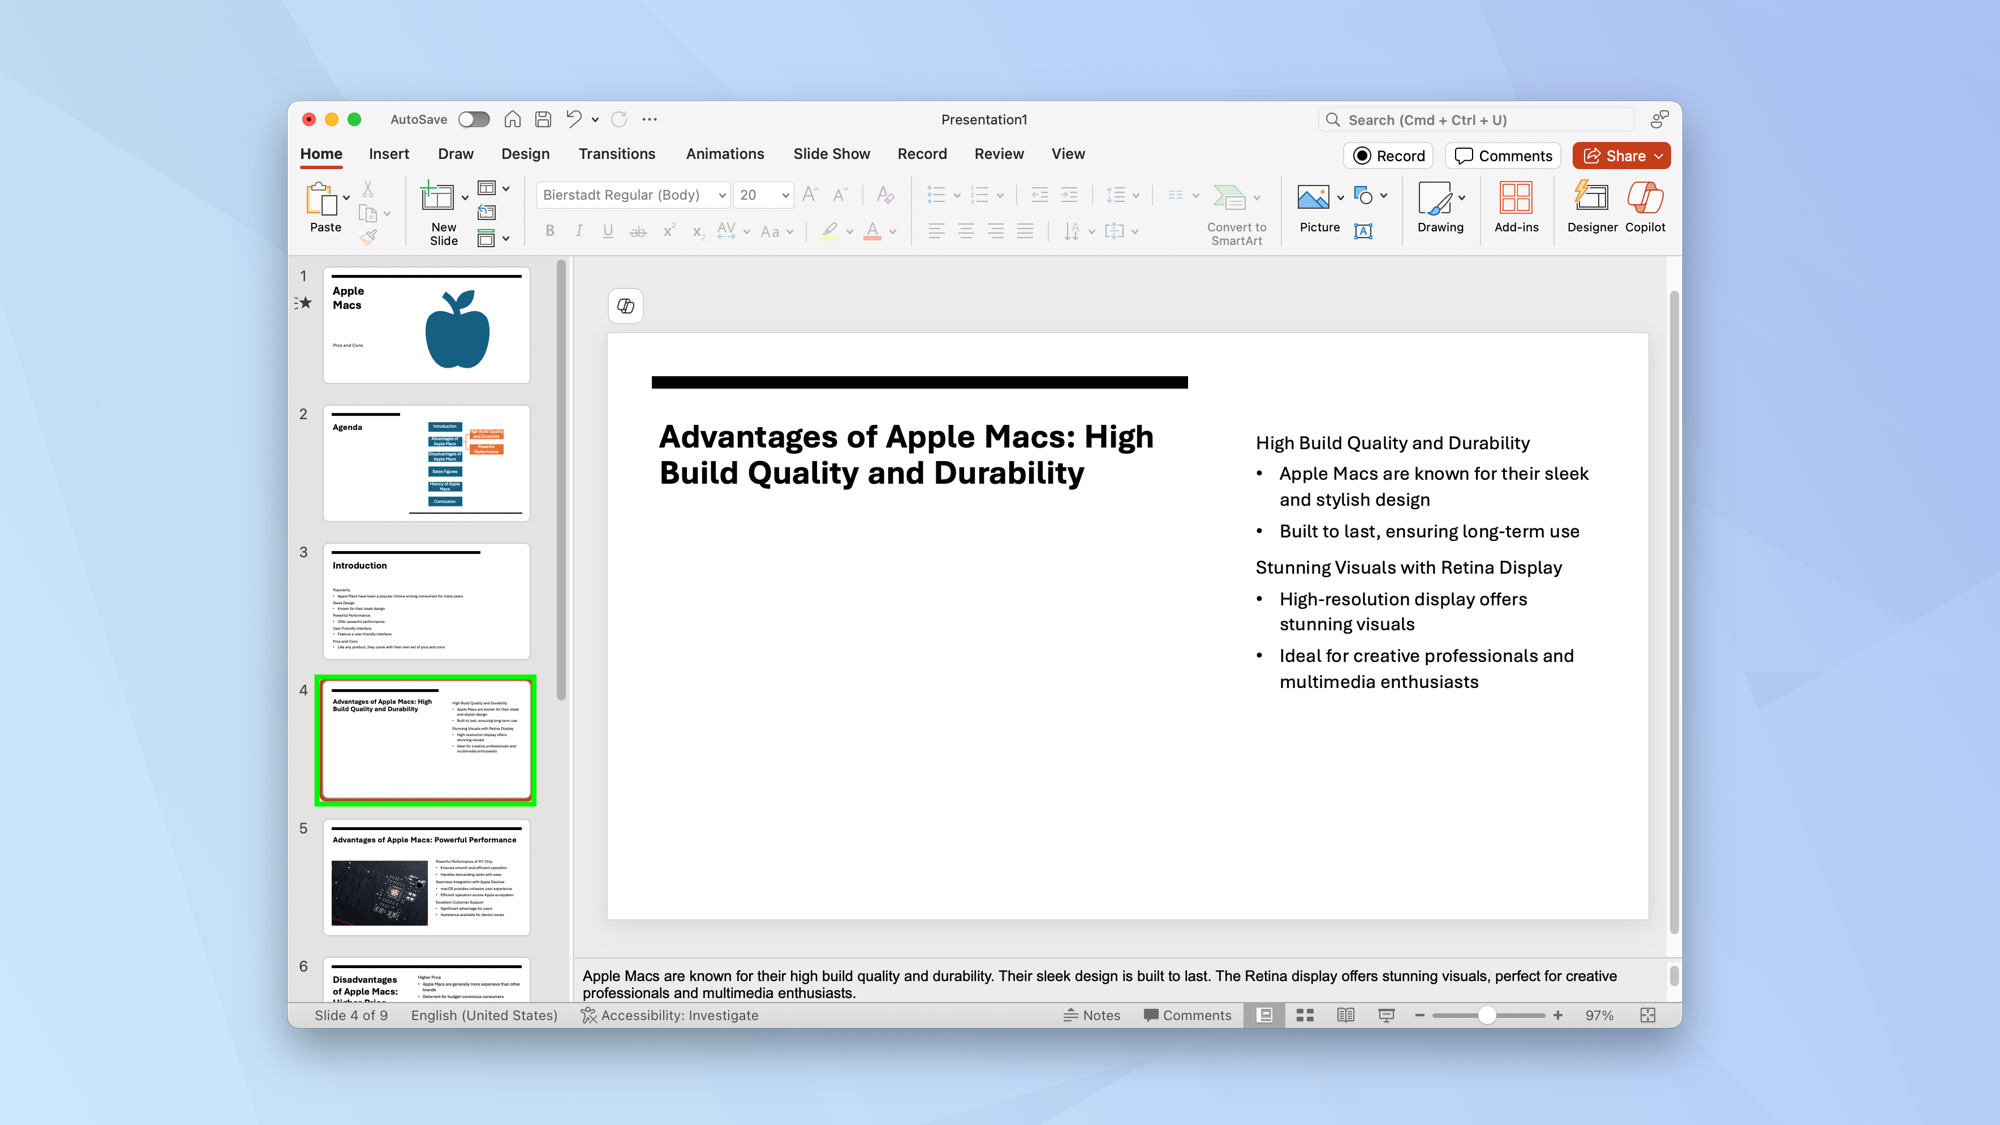
In Powerpoint, choose the slide on which your intended image will be placed.
2. Select Copilot
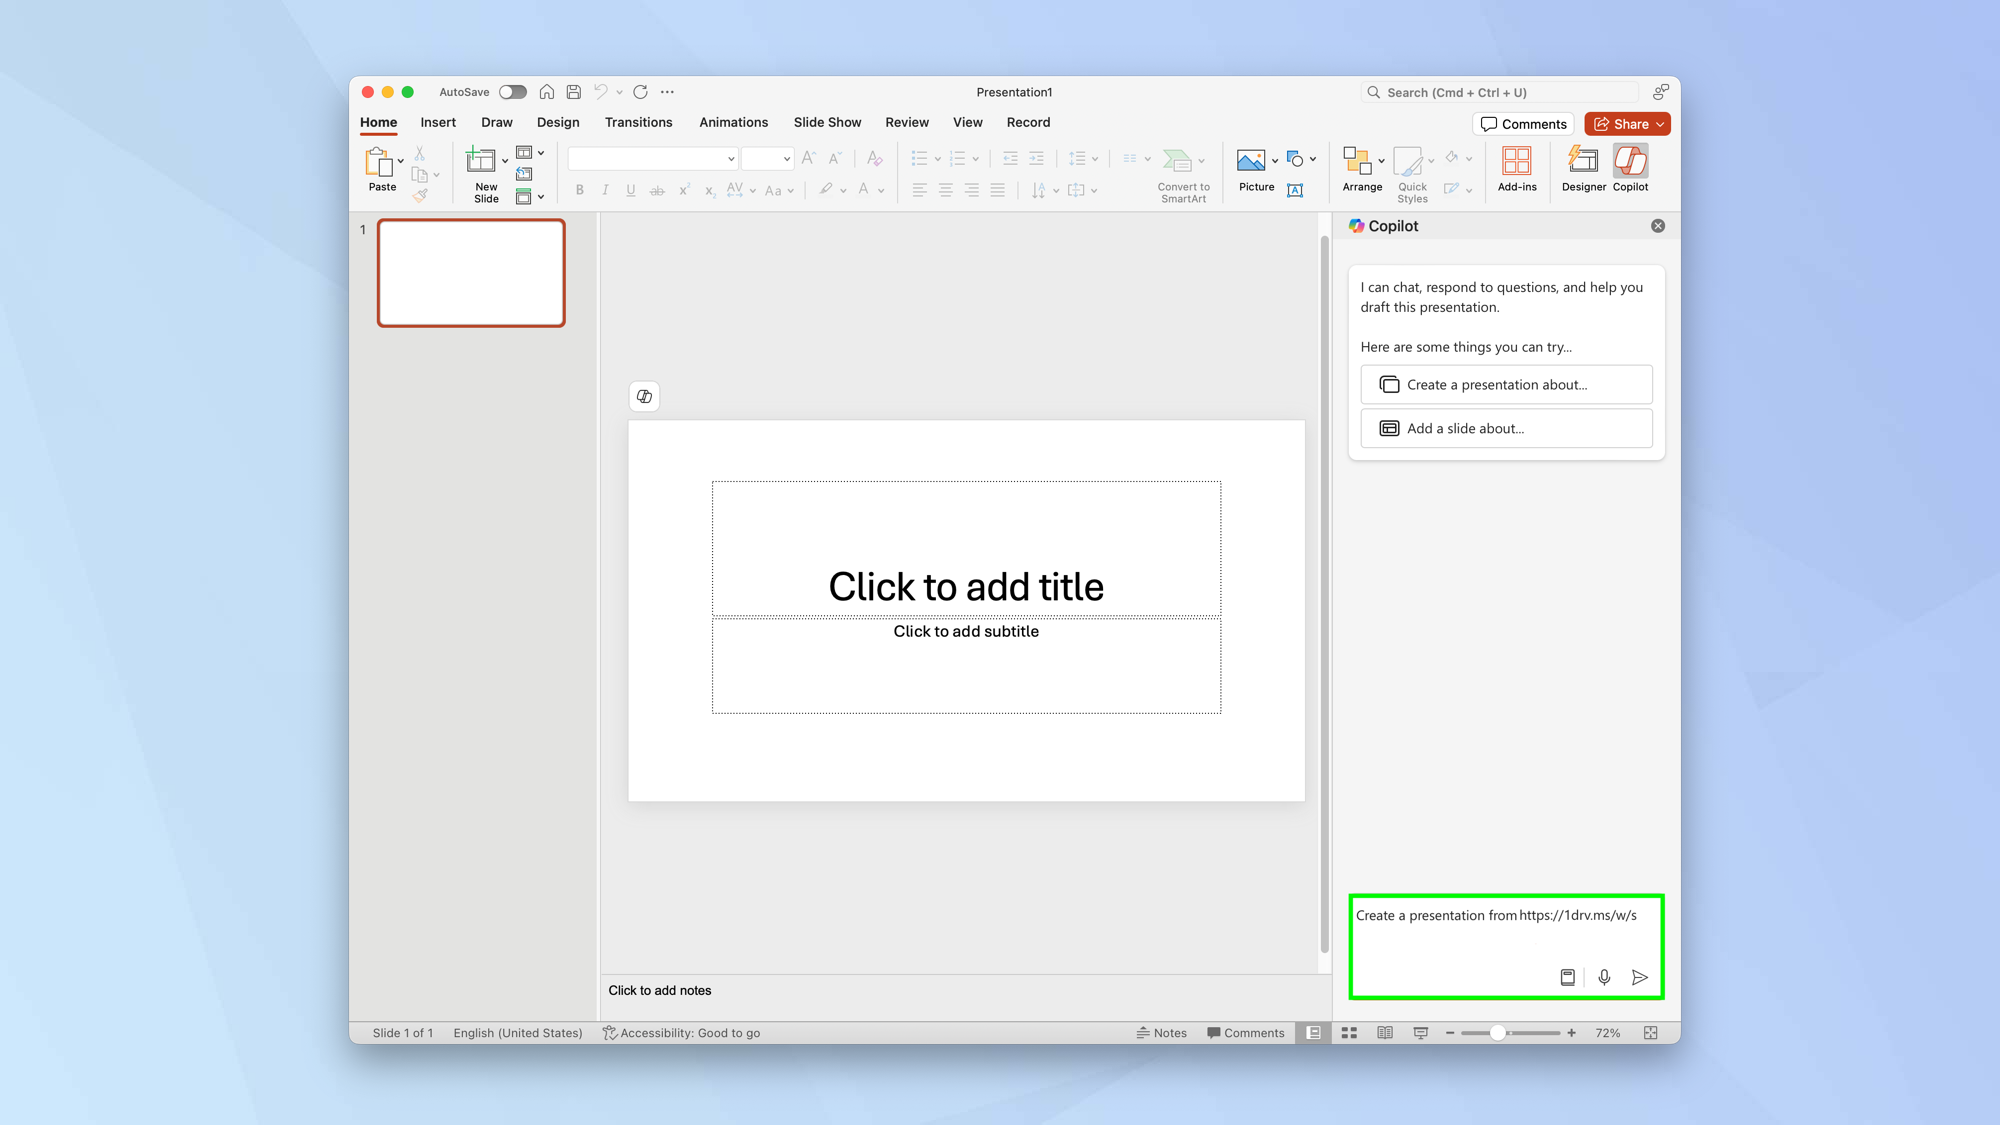
Now, select the Copilot icon and in the message box, type “add an image of”. Next, describe the type of image you want to add using natural language, for example, “a woman sitting at a desk with an Apple Mac”. Then click the Send icon.
3. Review the image
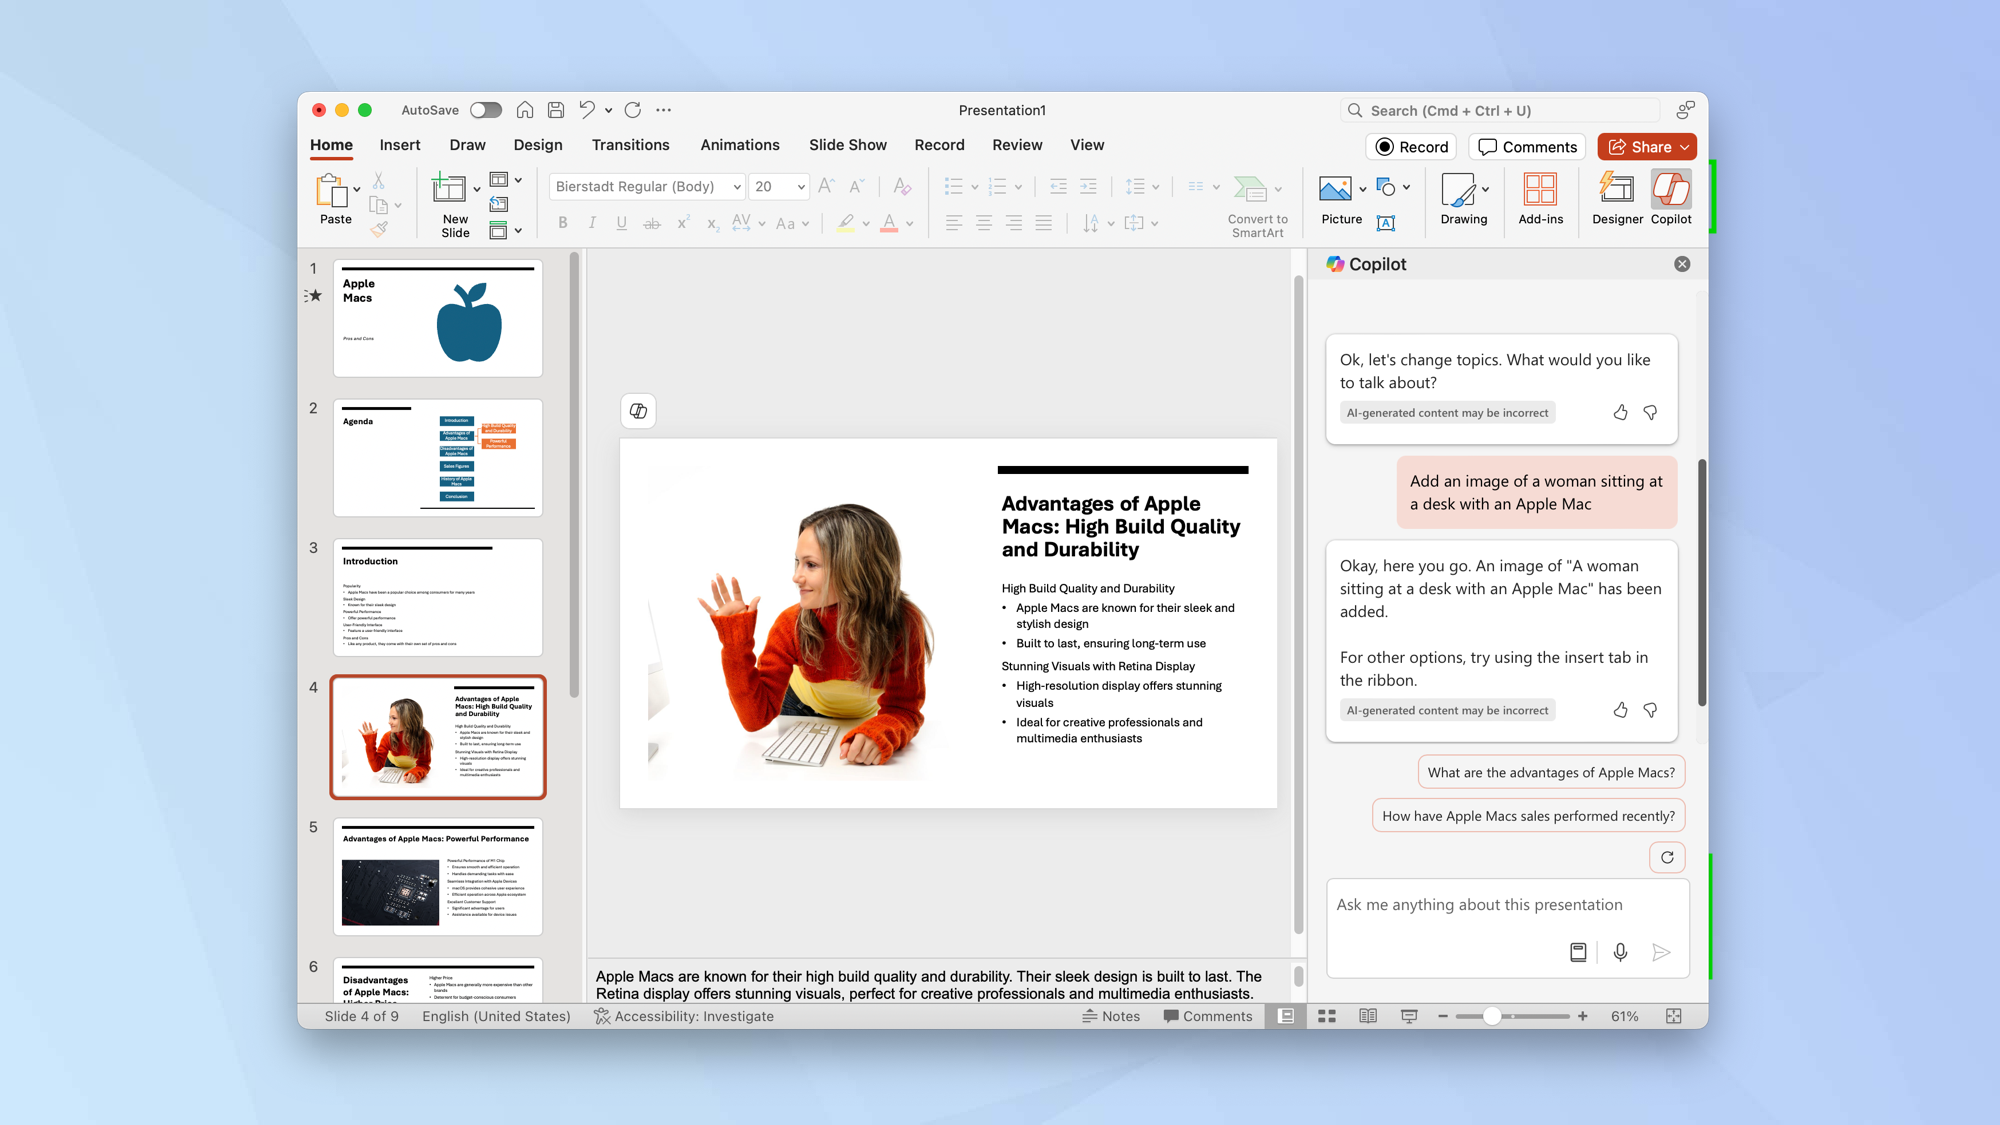
Copilot will look through stock images for you and automatically select one, placing it on the slide. If you don’t like it, you can repeat your request, perhaps being even more specific.
How to ask Copilot to generate an image for PowerPoint
Copilot Pro customers are able to use DALL-E 3 to generate AI images that can be immediately placed on to a slide. This currently works on the web version and Windows version of PowerPoint.
1. Choose a slide
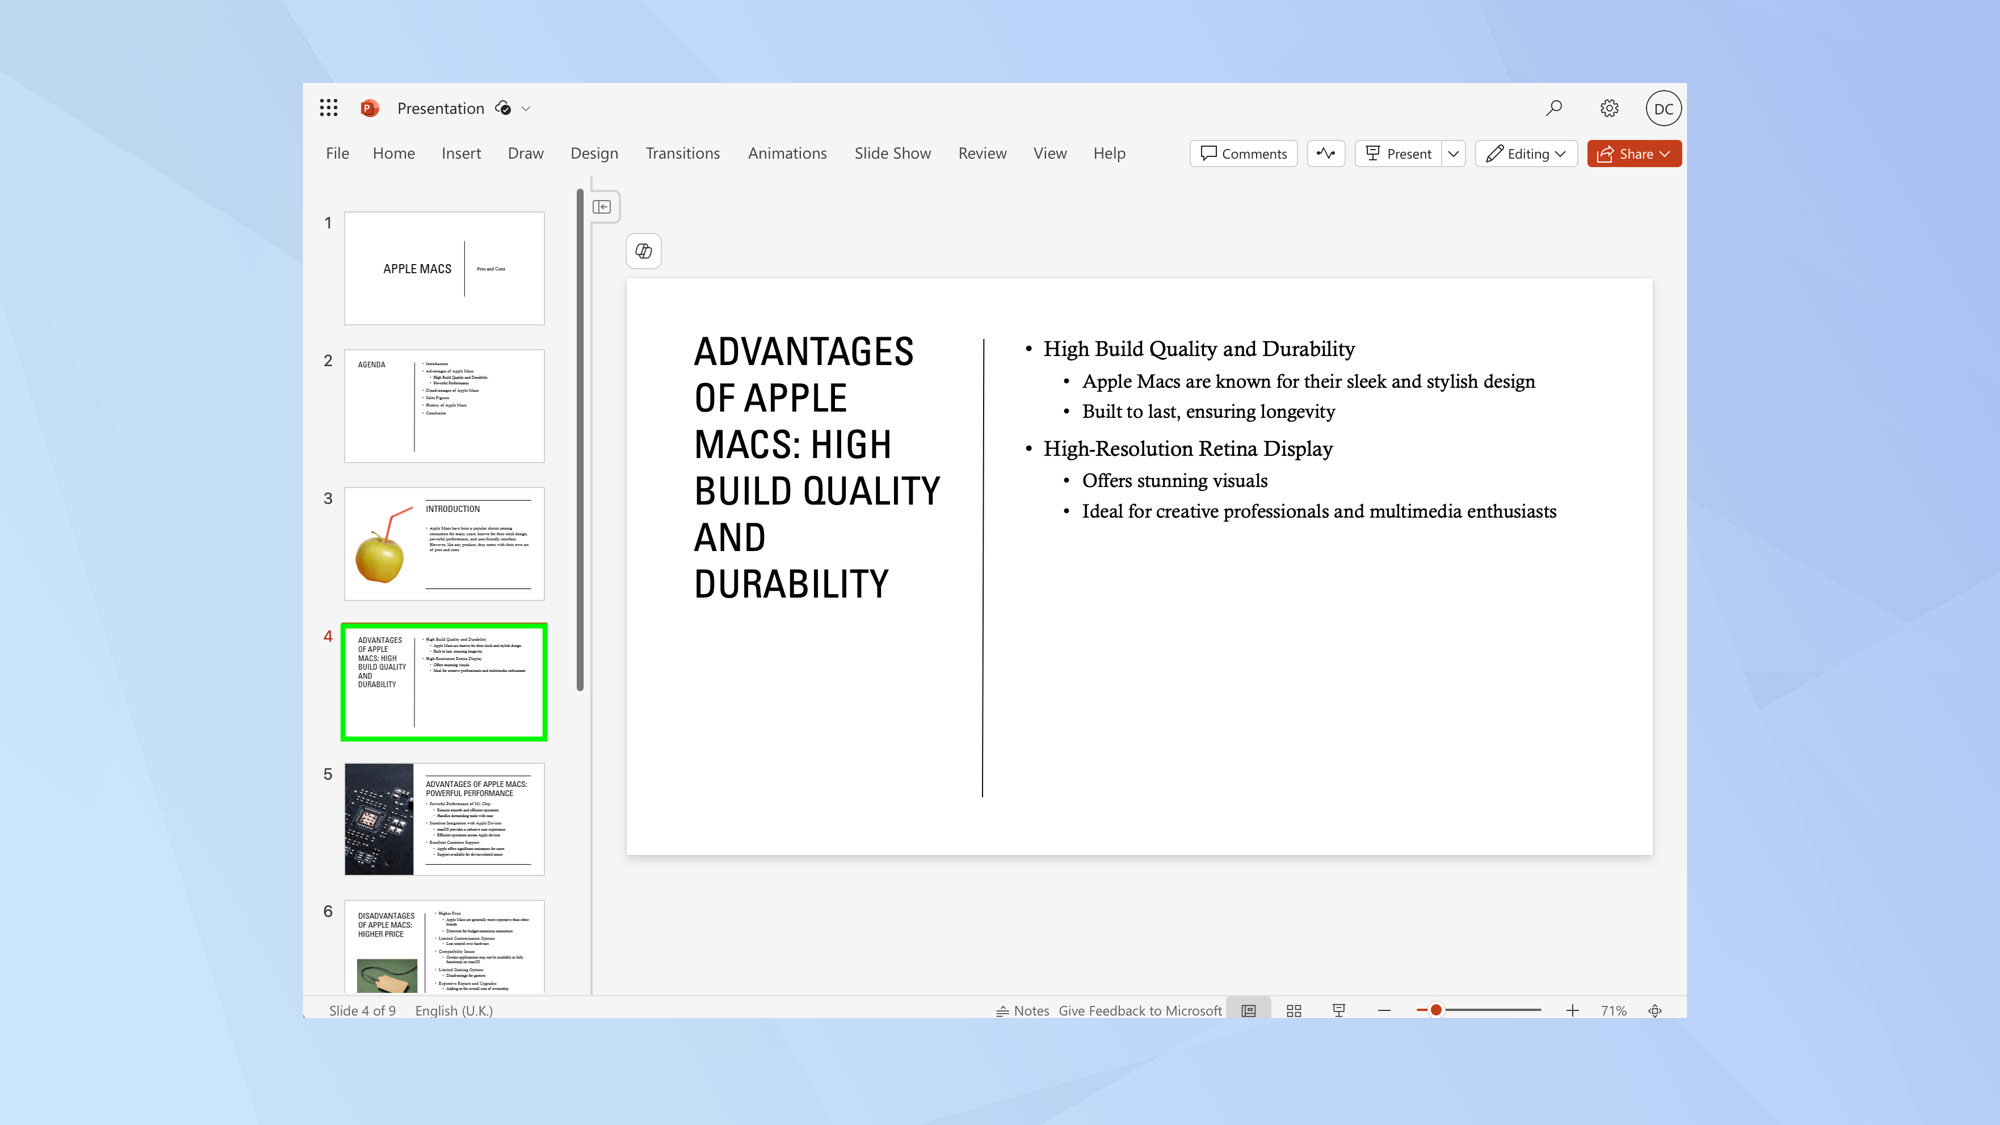
In Powerpoint on the web or in Windows, choose the slide on which your intended image will be placed.
2. Select Copilot
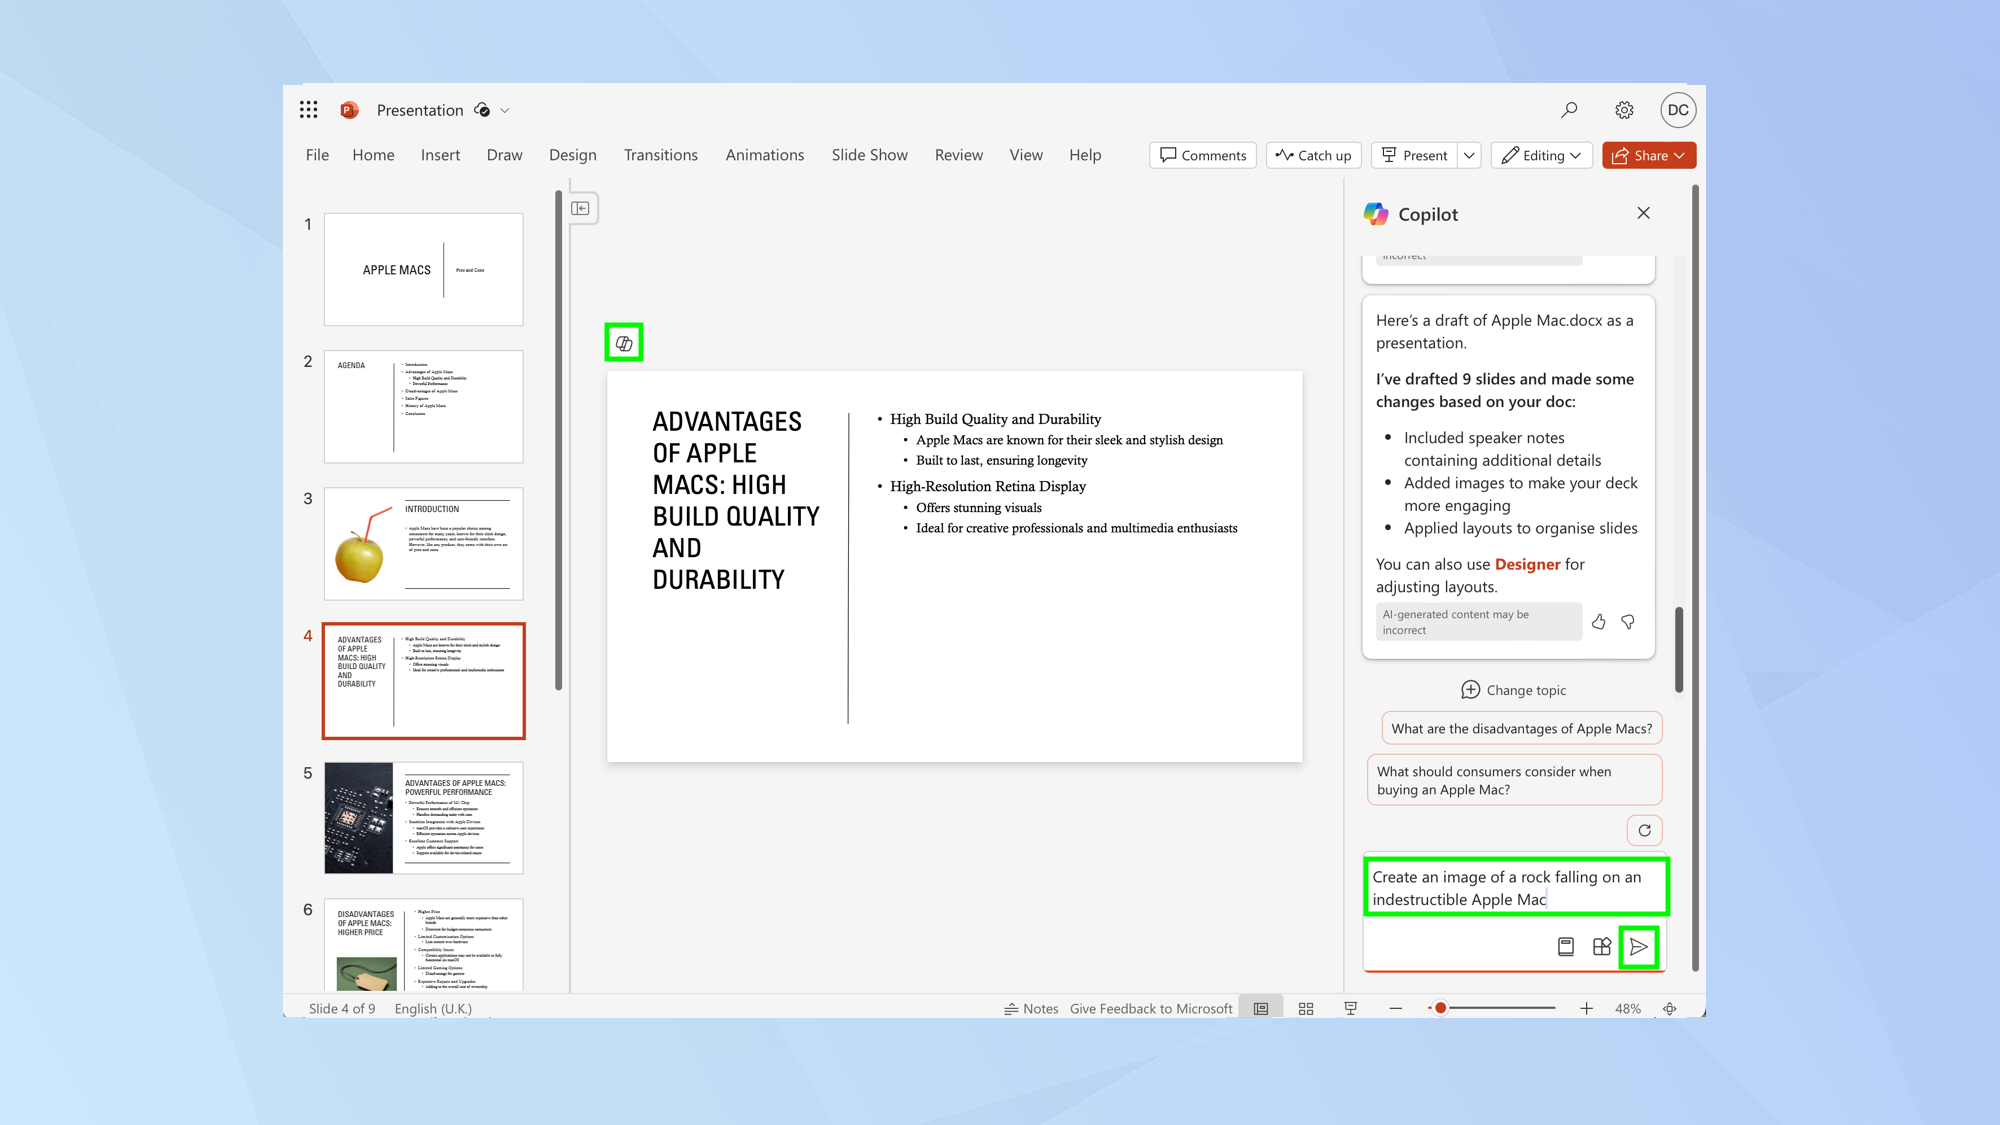
Click the Copilot icon and type "create an image of" in the message box. It's important to use the word "create" rather than "add," as using "add" will prompt the AI to assume you want a stock image. If you prefer, you can substitute "generate" for "create".
Follow up with a detailed description of your intended image. Once you've finished your description, click the Send icon to submit your request to Copilot.
3. Check out the images
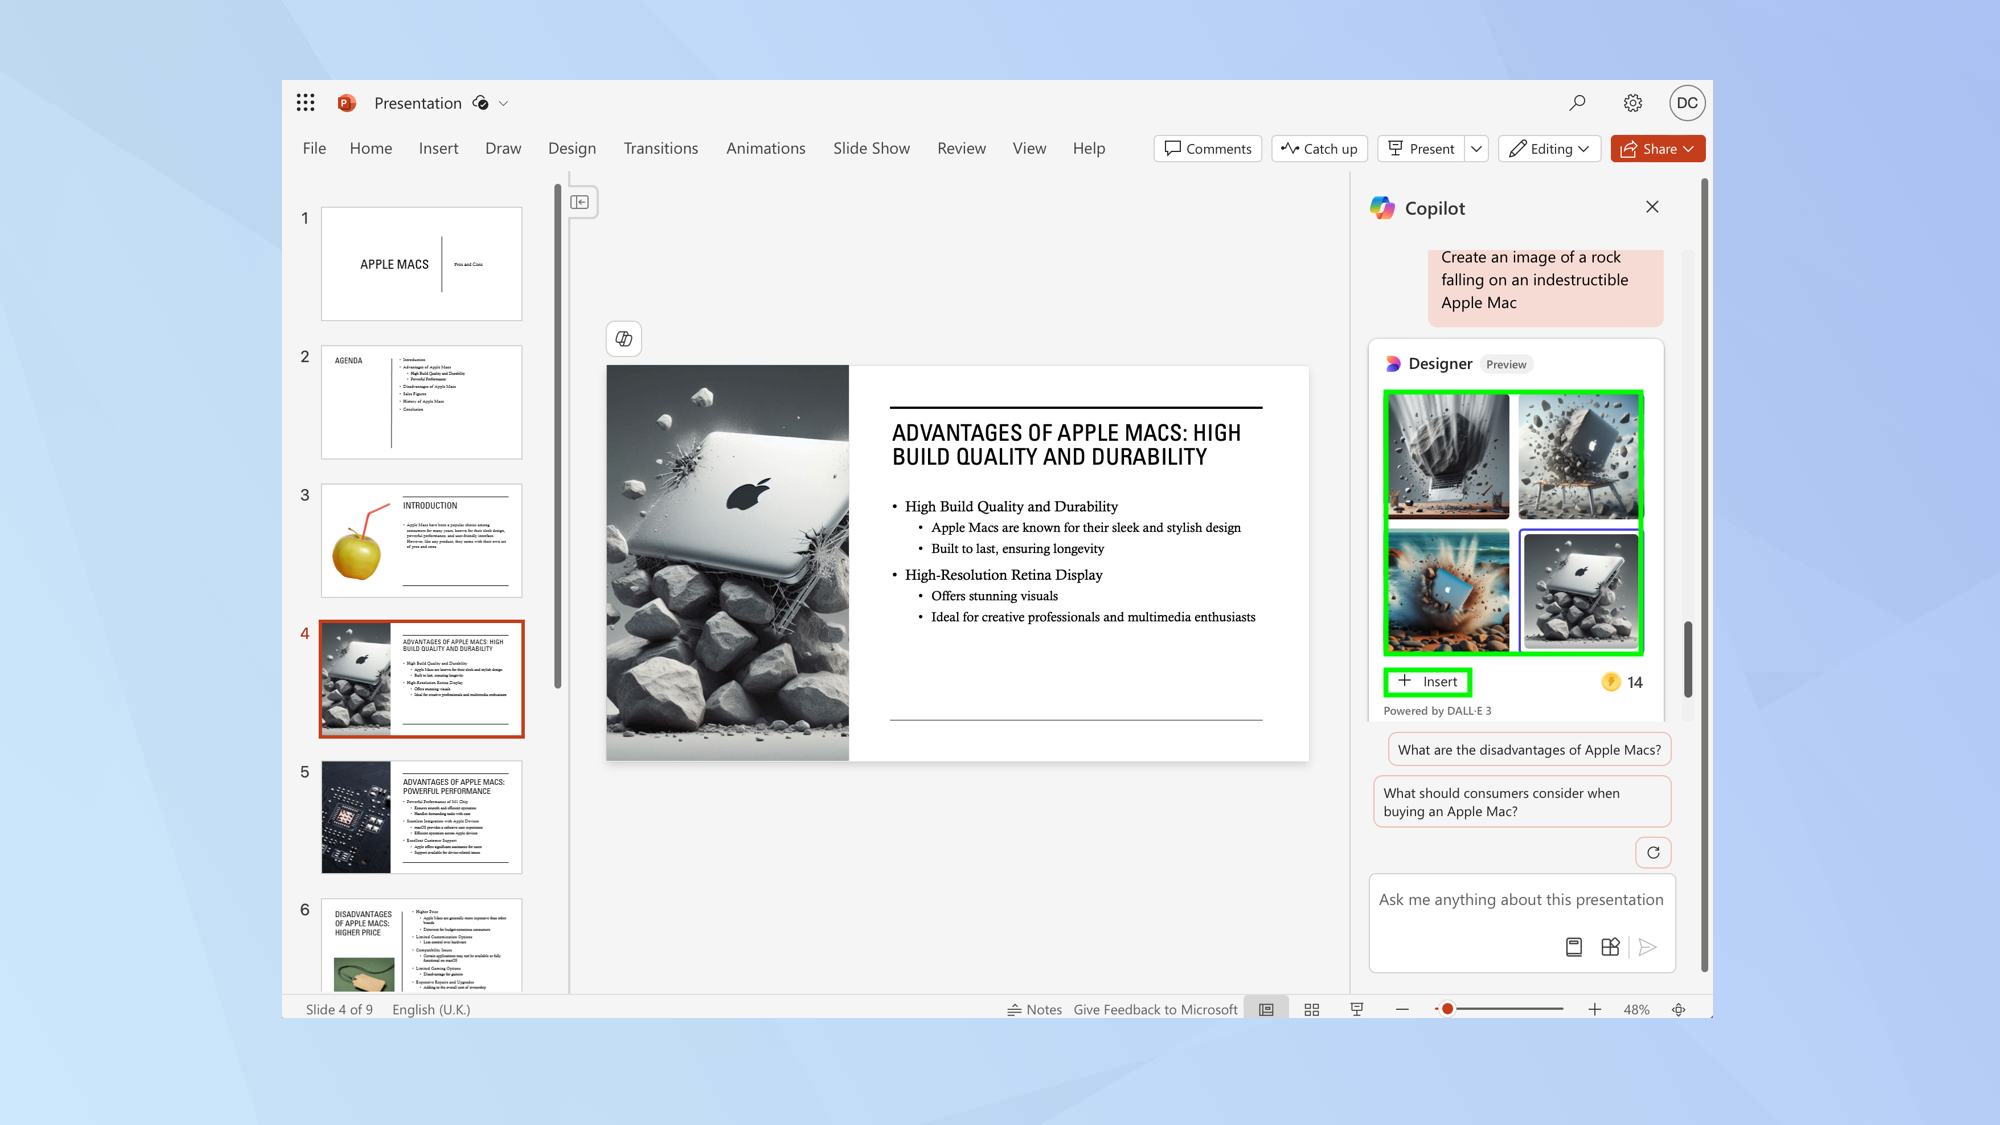
A selection of images will be created for you. Review the thumbnails and select an image that you would like to use. Then, click Insert and it will be added to your slide.
If you need another selection, repeat the same steps but perhaps be even more descriptive. You can add artistic styles such as “comic book” or “photorealistic”, as well as details like “close-up”. Remember, the more specific you are, the greater the chance you’ll get exactly what you’re after.
And there you go. You now know how to use Copilot to add images to Powerpoint. There are many other things you can do with Copilot, too, such as learn 7 prompts to get the most out of Microsoft Pilot or discover how to use the Restyle Image feature on your CoPilot + PC. Maybe check out how Microsoft’s new AI model can turn still images into gifs too.
Sign up to get the BEST of Tom's Guide direct to your inbox.
Get instant access to breaking news, the hottest reviews, great deals and helpful tips.

David Crookes is a freelance writer, reporter, editor and author. He has written for technology and gaming magazines including Retro Gamer, Web User, Micro Mart, MagPi, Android, iCreate, Total PC Gaming, T3 and Macworld. He has also covered crime, history, politics, education, health, sport, film, music and more, and been a producer for BBC Radio 5 Live.
