
Midjourney was one of the original artificial image generation platforms, and it remains one of the best. It allows for the creation of a wide variety of images and styles, with parameters that offer incredible flexibility and control over the final look of your image.
With its move to the web earlier this year — putting an end to the reign of the Discord bot — Midjourney has become even more powerful. This includes the addition of an editor, which lets you resize the generated image and have the AI automatically fill in the gaps.
Like any powerful platform that has grown and evolved, Midjourney has its quirks. This includes hidden settings that can make a big difference, and, of course, prompting techniques that let you get the image you actually want. It compares very favorably to other AI models, often outperforming them on most metrics.
I have tried to pull together a selection of the best Midjourney tips and techniques I've picked up over the years, primarily focused on prompting rather than features — so this will still work if you're working within the Discord bot and haven't switched to the web yet.
Prompting Midjourney
Prompting Midjourney is similar to any other AI image generator: it likes you to be specific, you can use natural language and if you're vague, it'll give you its best guess.
Now, I don't claim to be the greatest Midjourney user — not even a particularly expert one. But I do use the platform a lot and have generated a considerable number of images.
Some of the creators I've seen on social media produce mind-blowing content that truly showcases the artistry of AI. I'm talking about work that either wouldn't be possible with other forms of art, or that use AI techniques to blend ideas and styles not commonly seen in other areas.
I've gathered some of the best advice I've received, along with techniques I've developed myself, to help you improve your Midjourney skills. Feel free to share any tips I've missed or ideas you think might help improve my own images in the comments!
1. Be as specific as you can
Specificity is important. Midjourney, Flux and Ideogram thrive on description and detail. The less the model has to fill in the gaps, the better the image will reflect your idea. Midjourney does do well with simple prompts — you can even give it an emoji — but detail drives direction.
Not all descriptive terms are created equal. You should focus on the primary subject, background, color scheme and elements you want to ensure are included. For example if you want a red car, specify the color.
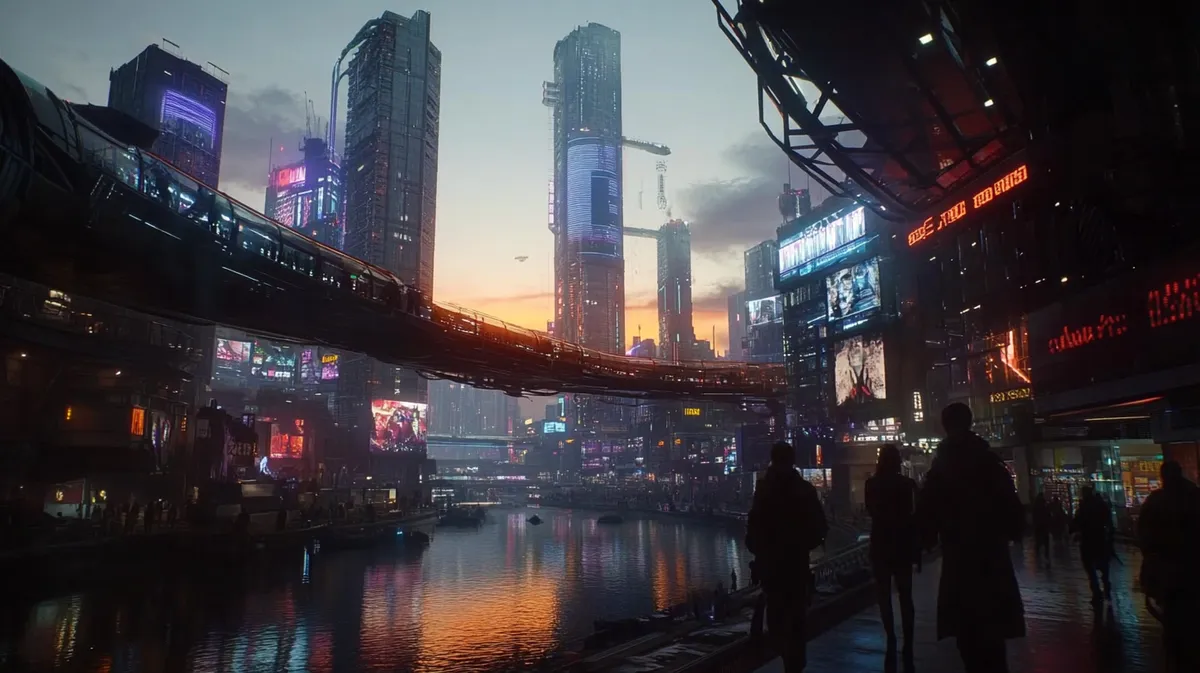
Here is a typical AI image of a future skyline. I wanted to include a river, so made a point of including that and the bridge in my prompt. I specified not just colors but light styles and outfits.
You should generally avoid vague terms. I'd steer clear of beautiful and cool unless you specifically need those terms in the context such as a cool whip logo.
Example prompt: "A futuristic city skyline at dusk, with towering glass skyscrapers reflecting the orange and purple hues of the sunset. A river winds through the centre, with a suspension bridge lit up by soft blue LED lights. People in cyberpunk-style outfits walk along the streets, with neon signs glowing in the background."
2. Define the camera and lens type
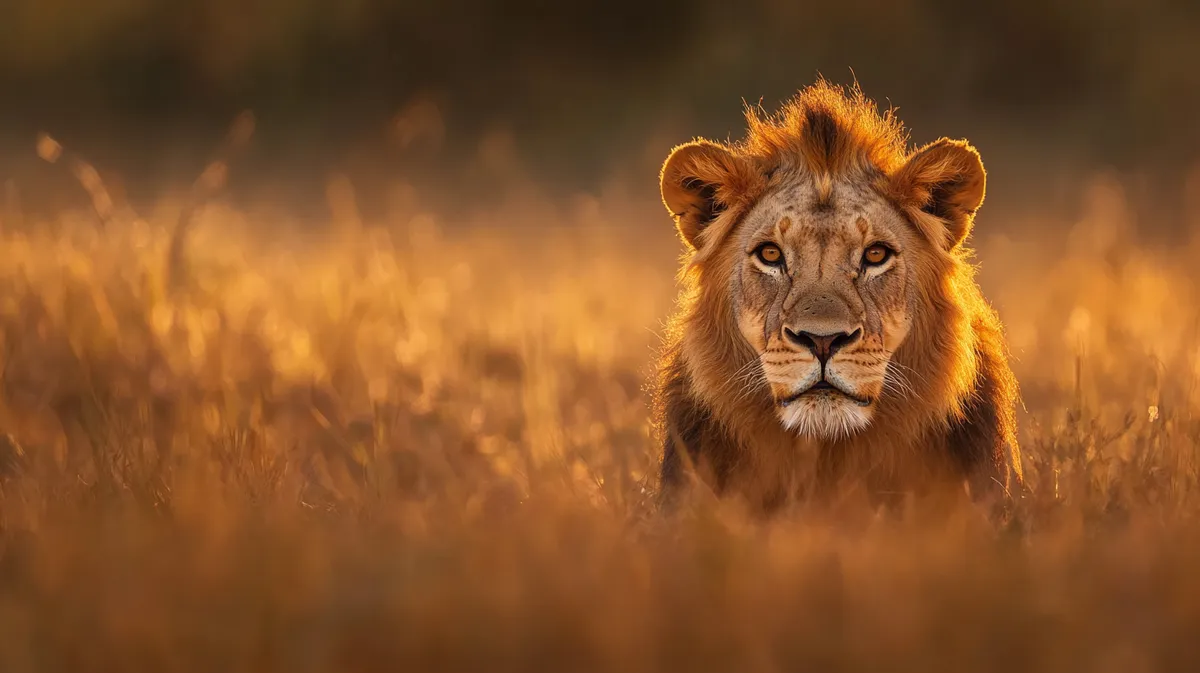
If you want an image that is as close to a real photograph as possible, define the camera and the lens settings. Like in photography, setting the lens, angle, type and focus can affect the final output.
Use terms like wide-angle, macro or telephoto as well as whether the shot is close or wide. If it's a smartphone look you want, it helps to specify the smartphone brand and model, as Midjourney can adapt to that. It can help to specify the era too, such as '90s or 6'0s. Reference camera terms such as "50mm lens" or "ISO 100" to get a more accurate and focused image.
Experiment by changing the camera in the same prompt. In my example for this tip, I set it as a 50mm lens. Try it for yourself but make it a 35mm prime lens to put more of the scene in focus than you'd get with 50mm.
Example prompt: "A portrait of a lion in the Serengeti, shot with a 50mm lens at golden hour. The focus is sharp on the lion’s eyes, with a shallow depth of field that blurs the tall grasses in the background. The light highlights the lion’s mane, creating a warm, glowing effect."
3. Get emotional

While generic terms like cool and beautiful aren't a great idea, getting more specific with emotive terms can add a better overall feel to your image. For example, using queues like melancholic, joyful or even ominous can impact the way the vibe and tone.
As well as the specific words you can pair them with environmental details to build an atmosphere for your image. If you want something with a somber feel, you might include "dark stormy skies," or for something more upbeat, you could use "bright, sunny skies with soft, golden light," evoking a warm, cheerful mood.
If you want to experiment, why not try swapping "serene and peaceful" in the prompt below with "dark and stormy" or "bright and festive" to see how it changes the image.
Example prompt: "A serene, peaceful forest at dawn, with soft sunlight filtering through the leaves. The scene feels tranquil and calming, with a misty glow around the trees. A deer is standing in the center, its head tilted towards the light, evoking a sense of quiet wonder."
4. Iterative refinement

This is the hardest of the tips to demonstrate as it doesn't involve just a single change, and there are multiple ways to go about the process. The concept is simple though: try, try and then try again until you get exactly what you were hoping for. The idea is we're refining the image by constantly making new versions to fix little issues with the generation.
You should start with a broad, simple concept — a prompt that might be a few words long — and then build on it by adding more details with each new generation. One way to do this is to give the first image to ChatGPT and ask that chatbot to describe it. Then have it add what you want to the prompt such as a change of color, different lighting or a tree.
Midjourney also has its own describe function which can be used in the same way, or you can play with the variation and remix options built into Midjourney to adapt the image. For example, you could use the first image as a reference when creating the next version.
Example prompt (initial): "A spaceship flying through a nebula."
Refined prompt (shared): "A sleek, metallic spaceship with glowing blue engines flying through a swirling purple nebula, with stars in the background. The light from the engines reflects off the ship’s hull, casting a faint glow on the surrounding space."
5. Using parameters

Finally, the true powerhouse of Midjourney is its parameters and the control they give you over the image you are creating. These are advanced settings that can control different elements like dimensions, quality, and even creative randomness. In the Discord days, you'd need to set them with a "--" but now some of it is a button on the web.
You can define the aspect ratio, image resolution, and focal point and set a style, image reference, chaos level and creativity. There are billions of style references in Midjoruney, accessed through the --sref command with either the word random, a URL or a number.
Because I've used "chaos" in the prompt, I've included all four images generated by Midjourney from the same prompt. Chaos gives you more variety between each image.
Example prompt: "A landscape of rolling hills under a clear blue sky, with a small village in the distance. The colours should be vibrant and slightly stylised, evoking a dreamlike feel. --ar 16:9 --stylize 1000 --chaos 20."
--ar 16:9: Sets the aspect ratio to 16:9 (wide format).
--stylize 1000: Adds a strong aesthetic style to the image.
--chaos 20: Adds some variety and randomness to the generation, while keeping it controlled.
More from Tom's Guide
- I tried Runway Gen-3 Turbo and it let me create realistic AI videos in seconds
- 5 best AI tools I use every day — tried and tested
- Gemini's free version beat Gemini Advanced in our tests — here's how


