How to Create Standard and Administrator Accounts in Windows
Most Windows accounts have administrator rights, but this is risky. Learn how to create separate administrator and standard-user accounts.
People who work in offices, or who share their computers, may already be familiar with separate user accounts in Windows operating systems. These separate accounts allow multiple users of the same computer to customize the look and feel of the operating system, as well as which programs are installed.
By default, user accounts in Windows have administrator privileges, meaning they allow you to install, modify or delete software. But this level of access carries security risks. Leaving aside users with malicious intent, downloading and installing harmful software using an administrator account can compromise an entire computer.
MORE: 15 PC-Cleaning Tools to Speed Your Computer
By contrast, installing harmful software using a standard-user account is often impossible. Even when it's doable, it generally leaves other accounts on the computer untouched and makes repairs much easier.
No one, even home users, should use administrator accounts for everyday computer use, such as Web surfing, emailing or office work. Instead, those tasks should be carried out by a standard user account. Administrator accounts should be used only to install or modify software and to change system settings.
If you're a Windows user who has administrative rights, you should create a separate administrator account, and you should downgrade your regular account to standard — even if you're the only person who uses the computer. (You can still perform administrative tasks by typing in the password to the admin account.)
How to create Windows user accounts
Sign up to get the BEST of Tom's Guide direct to your inbox.
Get instant access to breaking news, the hottest reviews, great deals and helpful tips.
Whether you share your machine with others, or want to give yourself an extra level of security, here's how to create a new Windows administrator or standard user account.
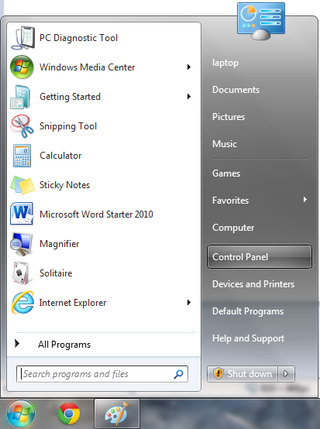
1. Open the Control Panel. The Control Panel is accessible from the Start Menu.
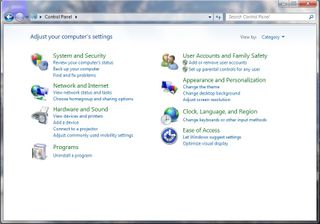
2. Click on User Accounts and Family Safety. This will bring you to the main user accounts menu.
3. Click on "Make changes to your user account."
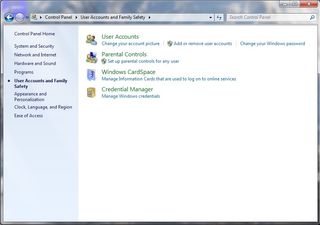
4. Select Manage Another Account. You can now see all existing accounts on your machine.
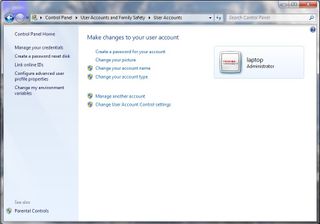
5. Click on "Create a new account." This will let you create a new user profile.
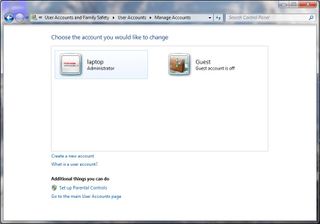
6. Create the new account. Enter a name for the new user account.

7. Choose which kind of account this should be. To create a standard-user account, select the Standard User bubble. To create an administrator account, select the Administrator User bubble.
8. Click Create Account. This takes you to the Manage Account page with all user accounts listed.
9. Click on the account you've just created. This gives you a list of account options.
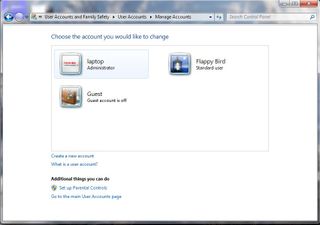
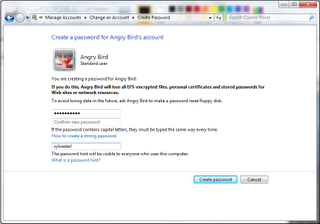
10. Create a password for the account. Click Create a password.
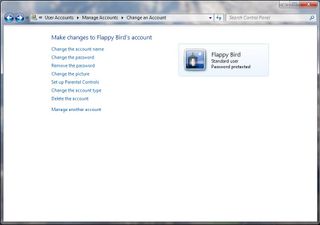
11. Type in a long, strong password twice. Then type in a password reminder, andclick the Create Password button.
How to change Windows user account types
Once you've created a separate administrator account, you'll want to downgrade all other accounts on the machine to standard. Here's how to change account types.
1. Repeat steps 1-4 as above.
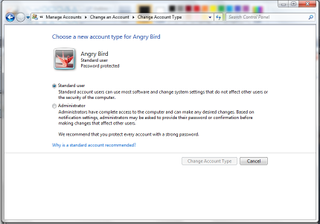
2. Click on the account to be modified. Select "Change the account type."

3. Select Standard User. Then click the bubble labeled Change Account Type.
Now you can ensure that every user on your machine has a discrete account, while you can also fall back to an administrator account and fix things if the machine goes belly-up.
Follow Marshall Honorof @marshallhonorofand on Google+. Follow us @tomsguide, on Facebook and on Google+.
Marshall Honorof is a senior editor for Tom's Guide, overseeing the site's coverage of gaming hardware and software. He comes from a science writing background, having studied paleomammalogy, biological anthropology, and the history of science and technology. After hours, you can find him practicing taekwondo or doing deep dives on classic sci-fi.
